Archive
Morley Bar Stool Leg Repair
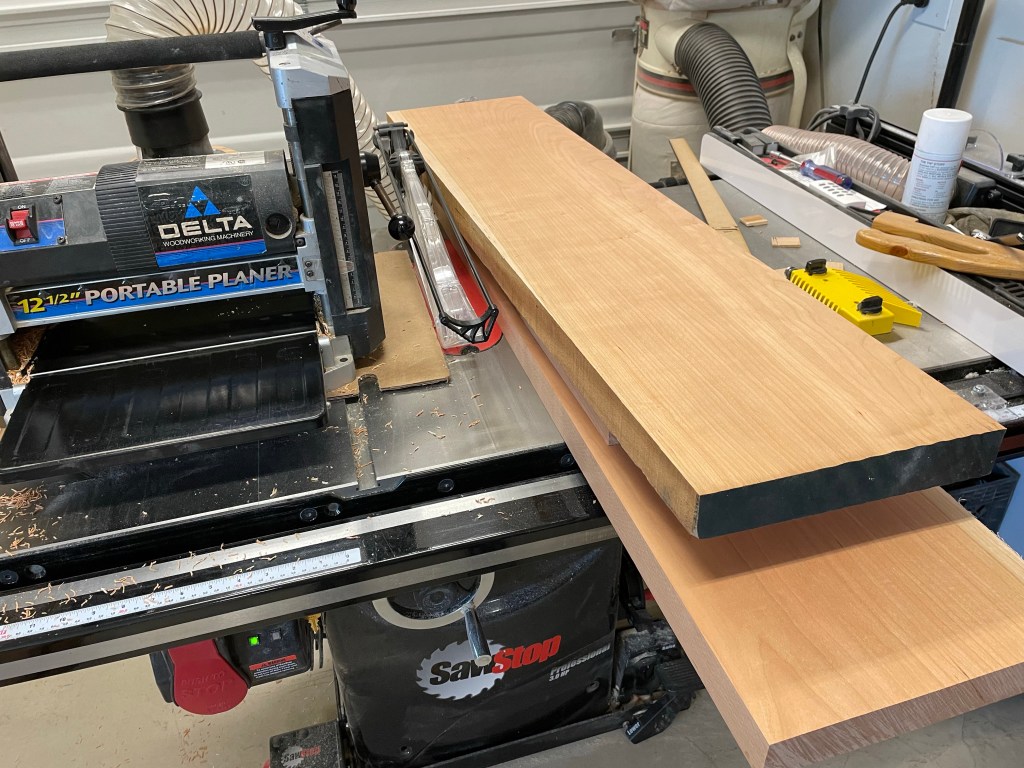
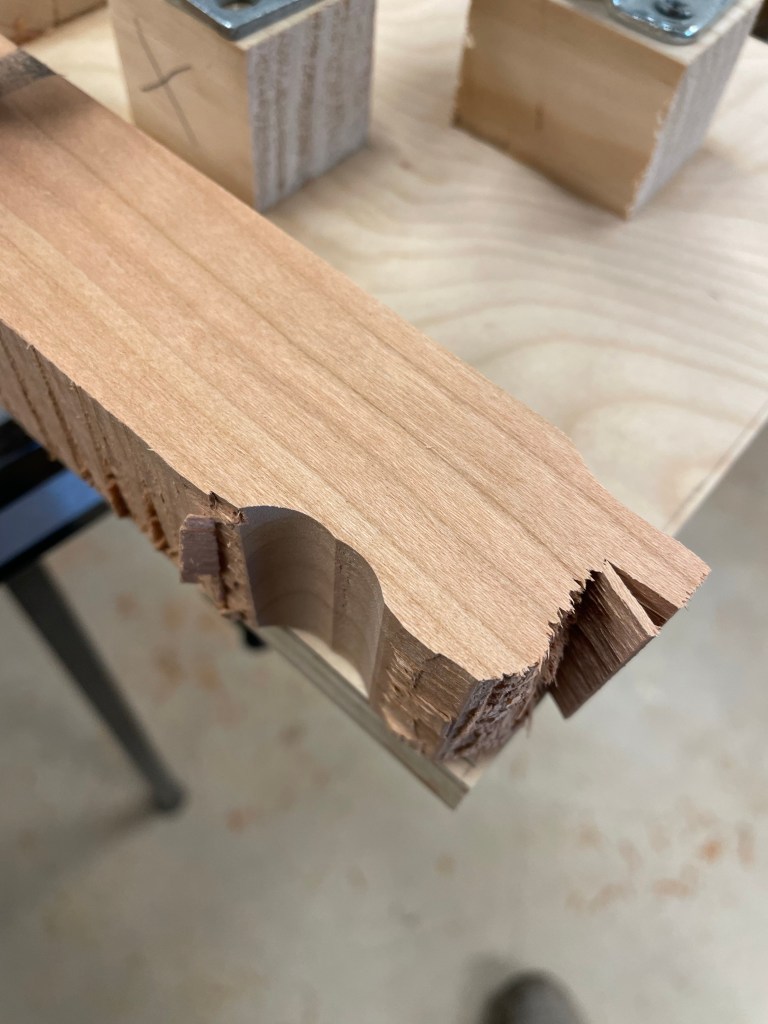
After the incident with the router leg template, things went fairly well with the exception of tear out on another leg. Managed to catch the grain and took a corner off one of the legs. Since it was close to the edge I made a repair before rerouting to salvage the lumber.
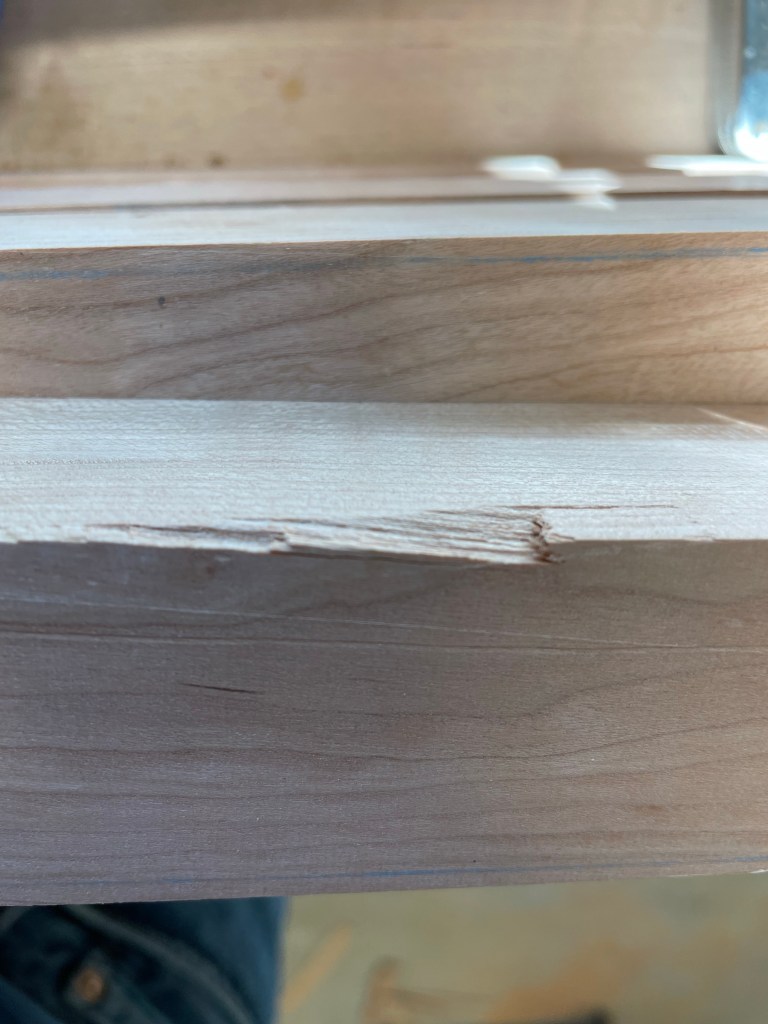
Digging through the scraps, I found a suitable piece of lumber that has similar grain and prepared a replacement piece to fit into the damaged area. Glued it in place and planed it flat and you can hardly tell there was a problem. Now I need to be careful to place the repair on the inside of the leg and no one will know.
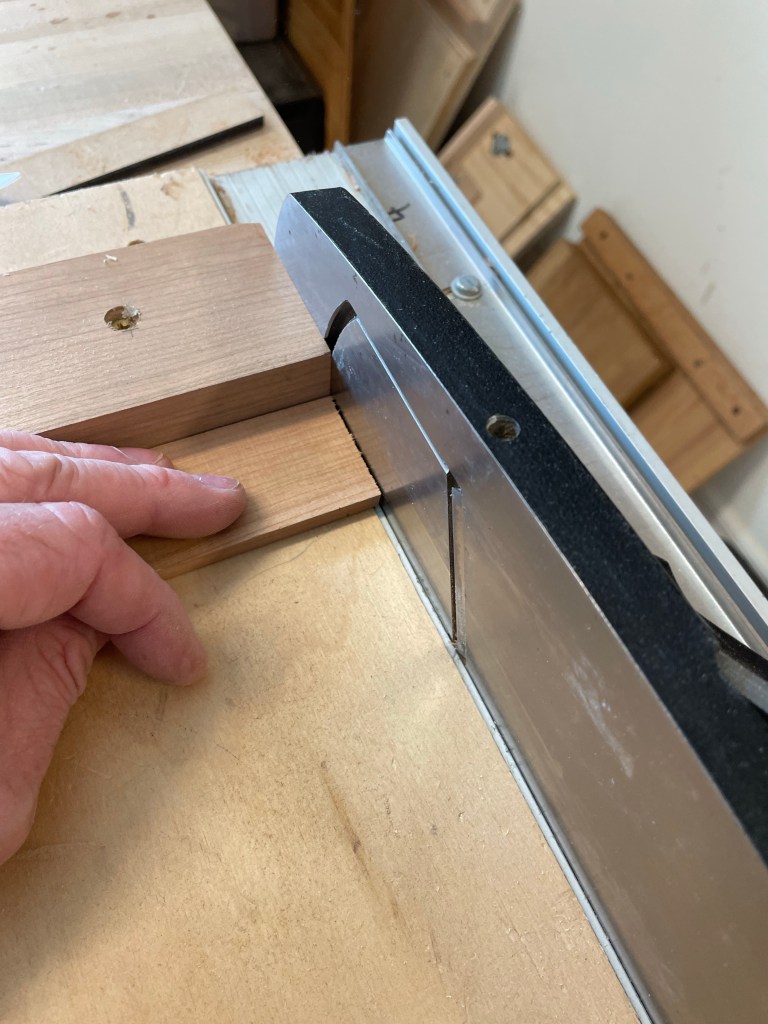
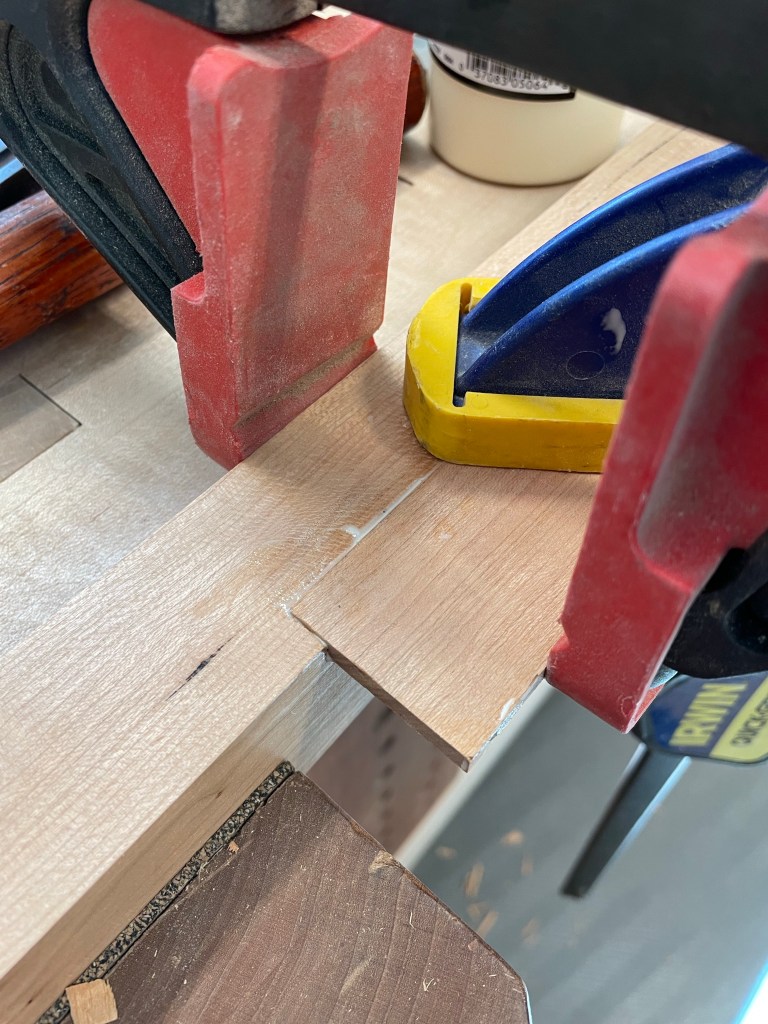
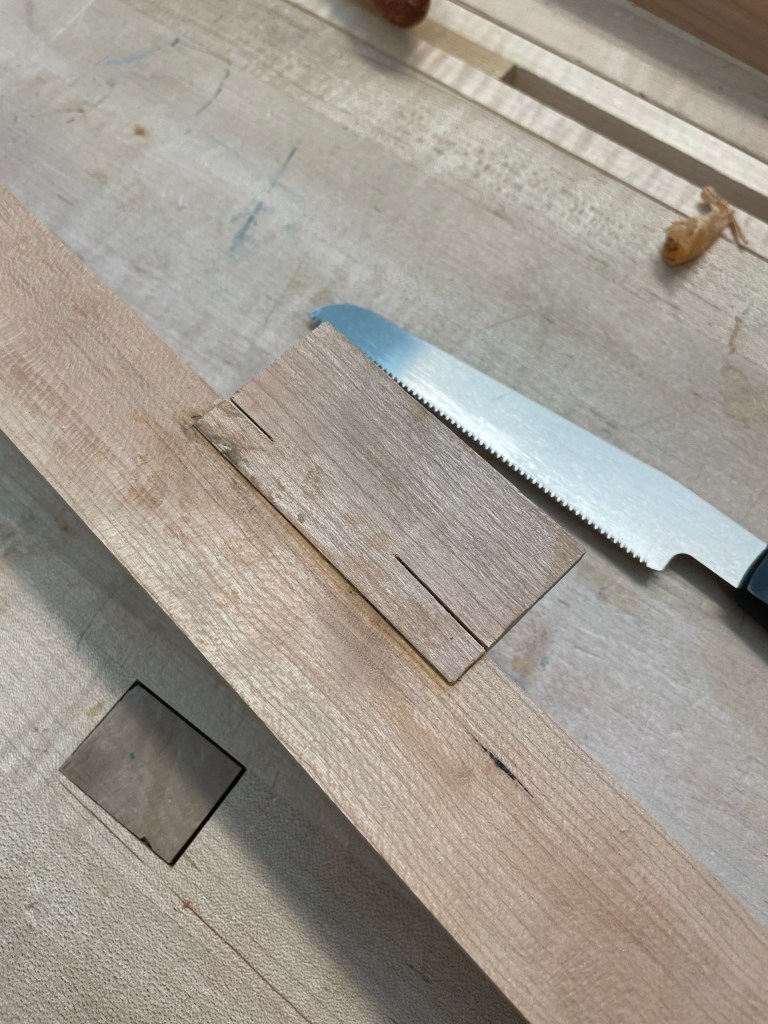
Hopefully I can confine the lessons and mistakes to the one stool and in the end probably reproduce another.
Morley Bar Stool – Legs
Getting the grain right on the legs is critical for both strength and appearance. I spent quite a lot of time with templates selecting which pieces to use and which to avoid. The lumber was then cut and dimensioned with the usual power tools. Finally I used the bandsaw to get close to the final dimensions and then it was on to the router and template. Very new techniques for me.


Using a guided bit and template I made the plywood jig then fastened on clamps and everything seemed to work well.

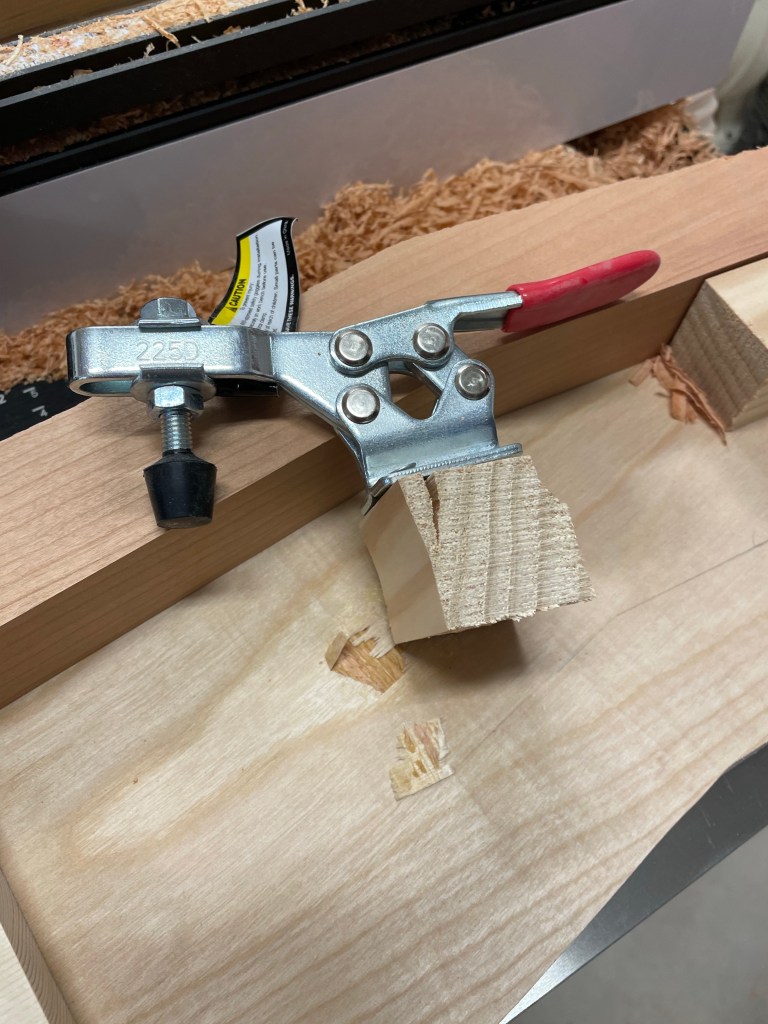
Until it didn’t….while finishing the third leg one of the clamp supports came loose and the router decided to make its own path. A few screws to repair the jig and a new piece of lumber were needed to complete the legs for all four stools.
Morley Bar Stool Seat
The original stool design has contrasting lumber for the legs and seat. its a design that I like and with the legs cherry, it made sense to go with a lighter colored maple for the seat. The seat design requires three pieces of lumber to be glued together followed by shaping on the band saw. The shaping jigs will be an entirely new process so let’s get moving!
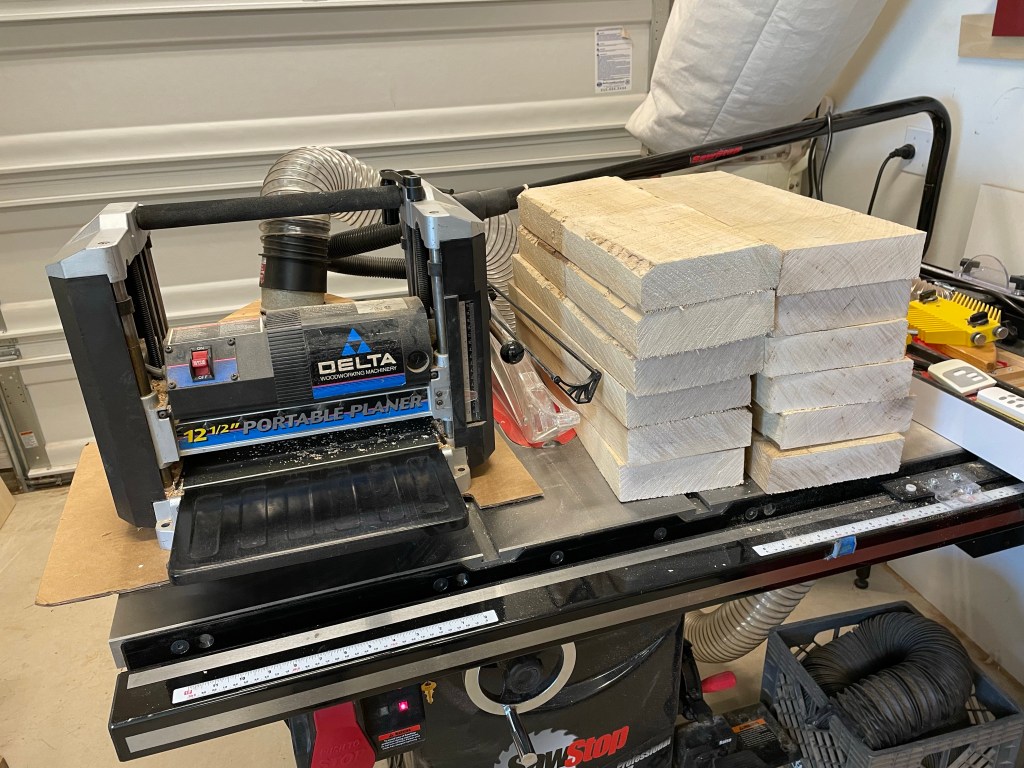
I used the usual methods for prepping the lumber to make the seat blanks. Handsaw to cut to length and then the planer to flatten the sides. Nothing unique from my other projects. Once the pieces were milled and edges square it was time for building jigs.

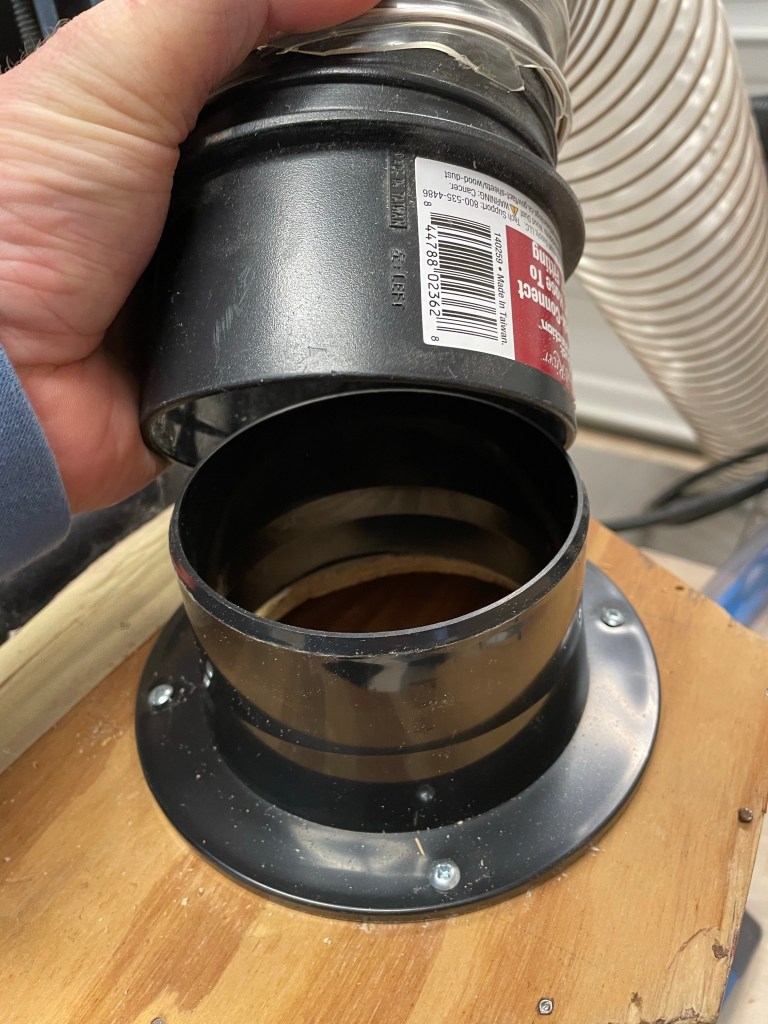
Along the way I did make a modification to my planer. I never purchased the attachment for dust collection (wish I had, but its now unavailable) and have been using a homemade attachment for many years. I finally swapped out the flange for attaching the dust hose and it is a much needed improvement.


The jigs for curving the seat were relatively straight forward (I did very well on the leg jig) It’s really a piece of plywood that is trimmed to fit the curve. One piece rides inside the other on the bandsaw and with a few clamps its done.

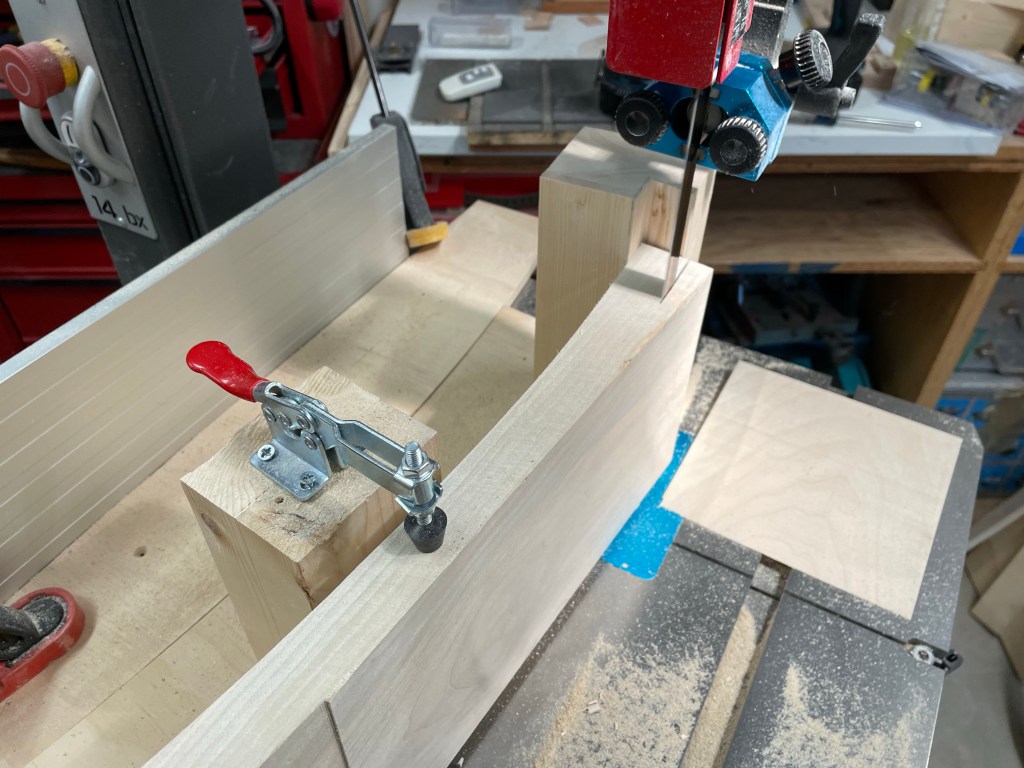
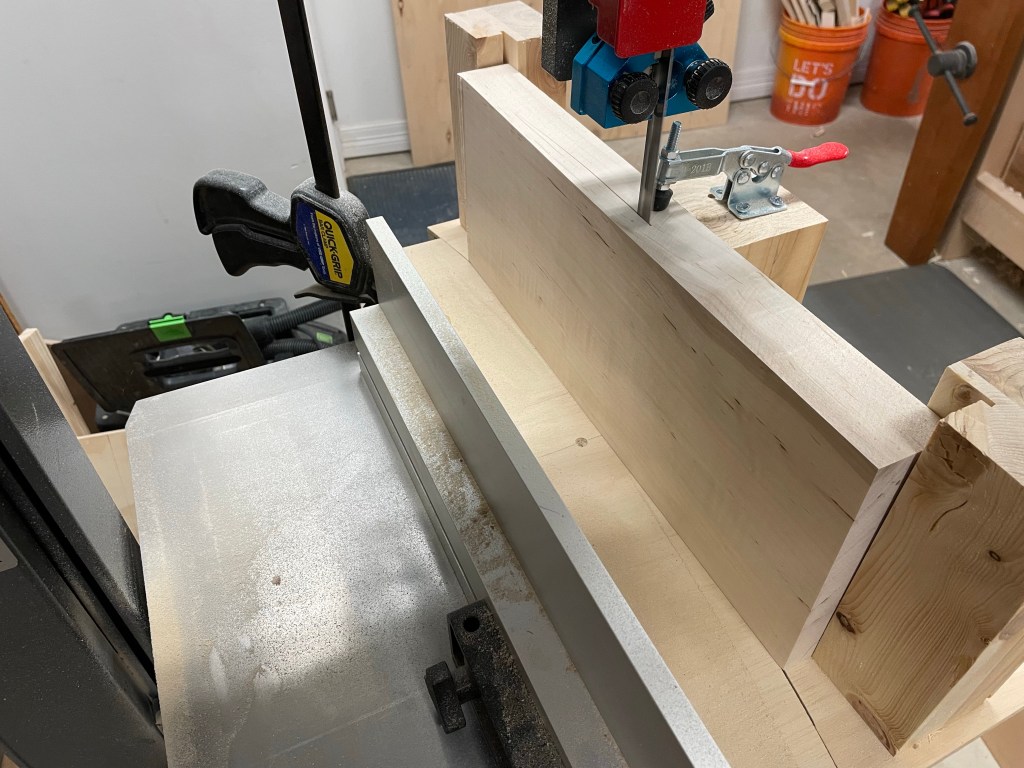
The only issue I had was a broken bandsaw blade which looks like a manufacturing defect.

Blanks were glued and clamped and the seats are 50% complete. All it needs is some shaping and trimming.


 orepass