Tool Chest – Lid Panel
Completing the Tool Chest lid requires preparing the panel to be inserted into the frame and adding the dust seal. I cut the panel to size and using my #4 plane smoothed the edges including the end grain. I remembered to work the end grain from the edge in to the center from each end to prevent tear out. Next is a groove around the panel to insert into the groove in the panel. Another excuse to use my plow plane. This is quickly becoming one of my essential go to planes. Couldn’t miss the chance to show a different type of shaving.
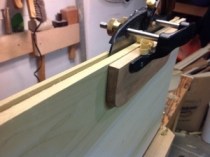

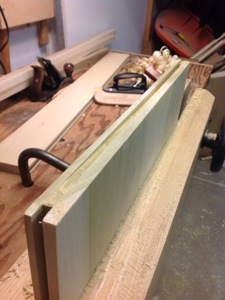
I used the same set up to tackle the end grain with the exception that I needed to be very careful not to tear out the end of the goove. By stopping short of the end the skate forced the plow plane upward at each pass leaving the groove in the first photo. Since the groove was not in the exact middle of the board I cut both end sections before adjusting the plane to reverse direction and clean up the rest of the groove in each end. The plane worked beautifully.

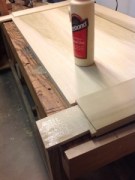
Next step was just glueing and clamping the panel. I had to take it inside after gluing so that there was enough warmth for the glue to set properly. Tomorrow the dust seal.


Sitting here reading your post, talking to myself saying “that is cool”.