Archive
Mortiser Adjustments
It takes time to learn the tips and tricks of the tools we use and often if everything is operating correctly there is little need to explore manuals. When I acquired the Powermatic Mortiser last year, I spent some time cleaning it and browsing through the manual. The machine has performed well, until I noticed that it was not holding the longitudinal (best description I could come up with) setting and creeping as I made longer mortises.
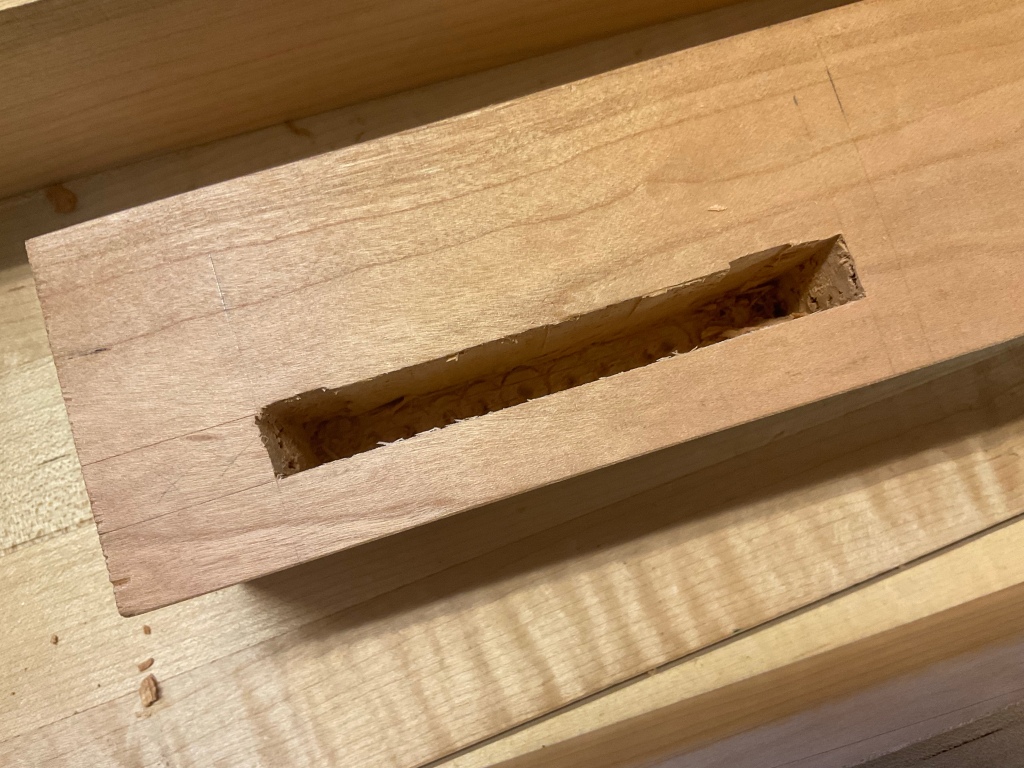
My first instinct was to check the alignment of the drill bit, but it appeared to be correct. Next I compared the movement of both the lateral and longitudinal adjustment wheels and noticed a distinct difference. The longitudinal adjustment turned freely while the lateral was stiff.
It was clear that I needed to find a way of holding the adjustment and looked for a knob on the handle similar to those on table saws…not there. After a little thought, I discovered the gibs on the side of the table and then the wing nut.

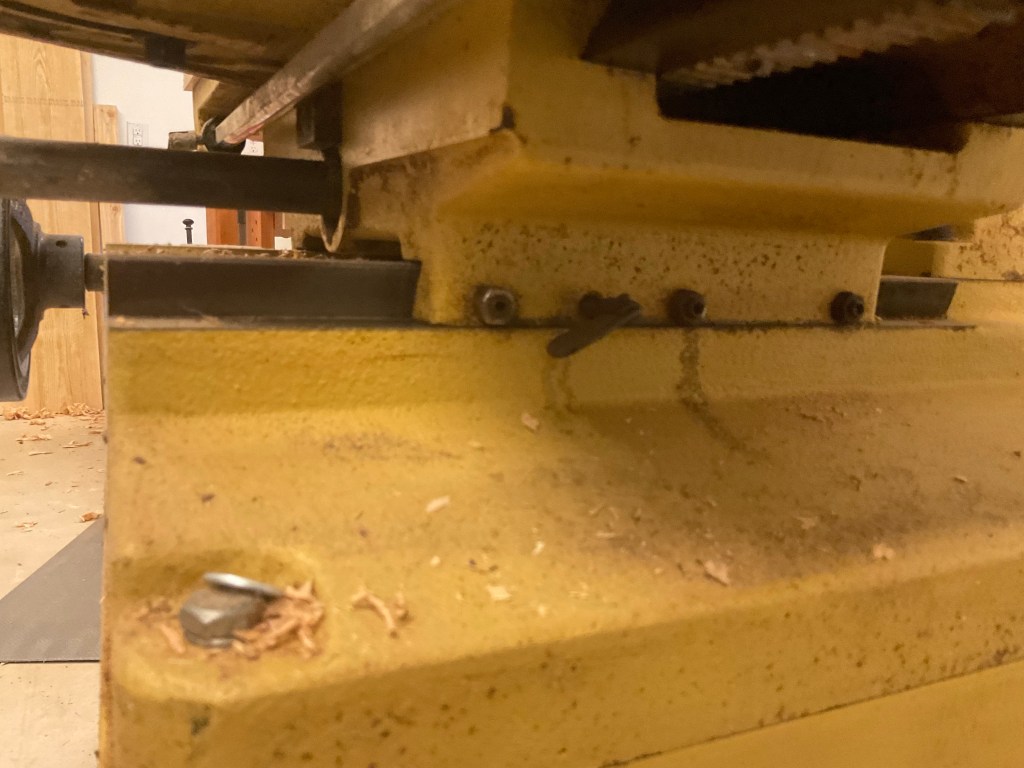
Additionally I went back to the manual to see if there was any advice on how tight to set the gibs. Interestingly there is no mention of these adjustments and the although they are pointed out in the parts diagram and list, the purpose is not obvious.

I started writing this blog to share a little bit of information, however it has really made me come to realize that many of the tools and skills we acquire over time require a certain amount of basic knowledge of mechanics, a willingness to try and fail and access to information. Fortunately the internet can provide a great resource and if you are in luck there may be someone you follow or a neighbor that is willing to answer your questions.
Expensive Milli-second
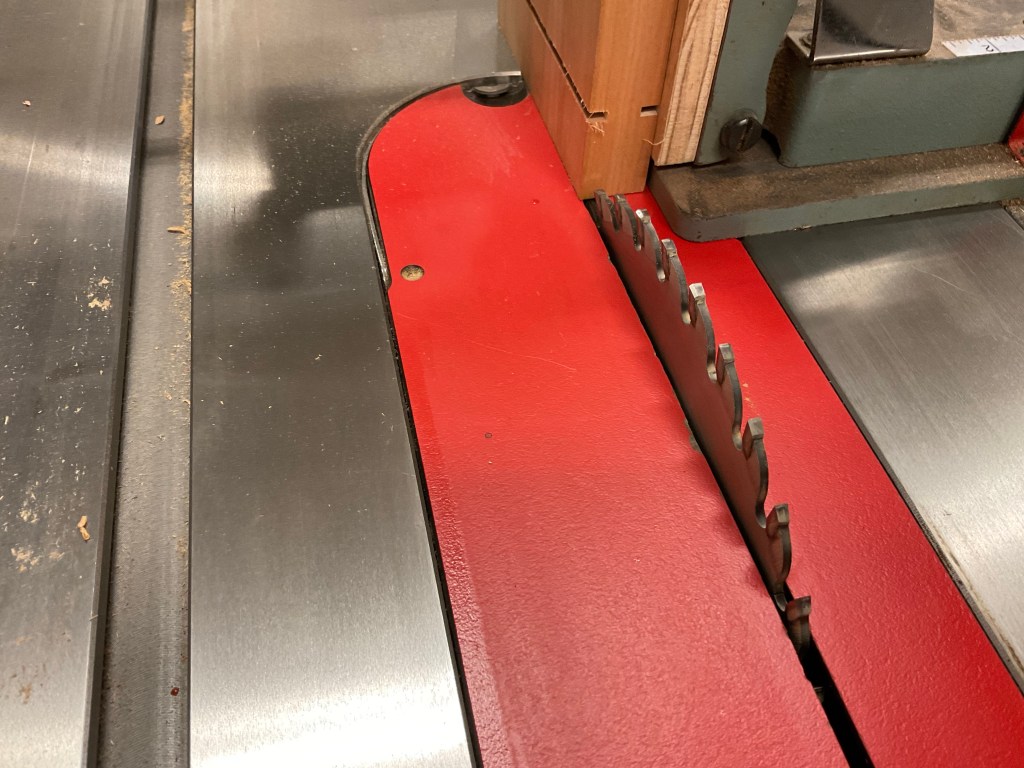
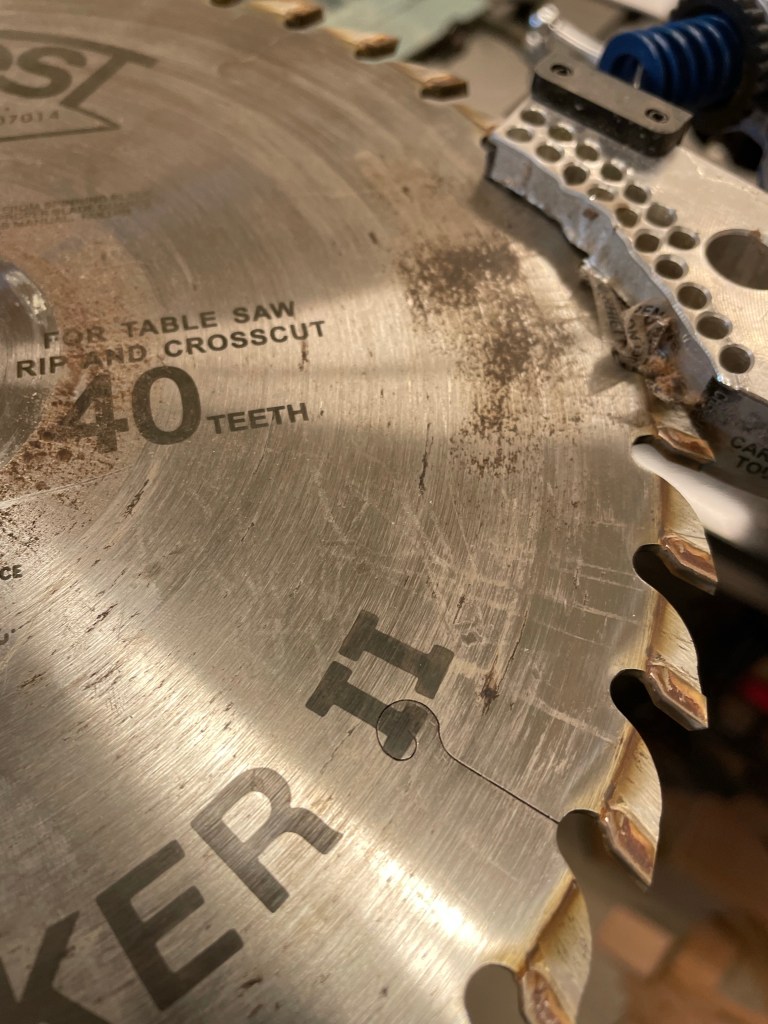
Often the worst part of a mistake is admitting it and the barrage of questions that follow. I’ve always believed that the only way to get better is to admit your mistakes, share them so others don’t make them and take your punishment. Today I packaged up my Forrest saw blade for repair and resharpening and purchased a new Sawstop cartridge, not due to a possible injury, but because I brought a tenoning jig too close to the blade.
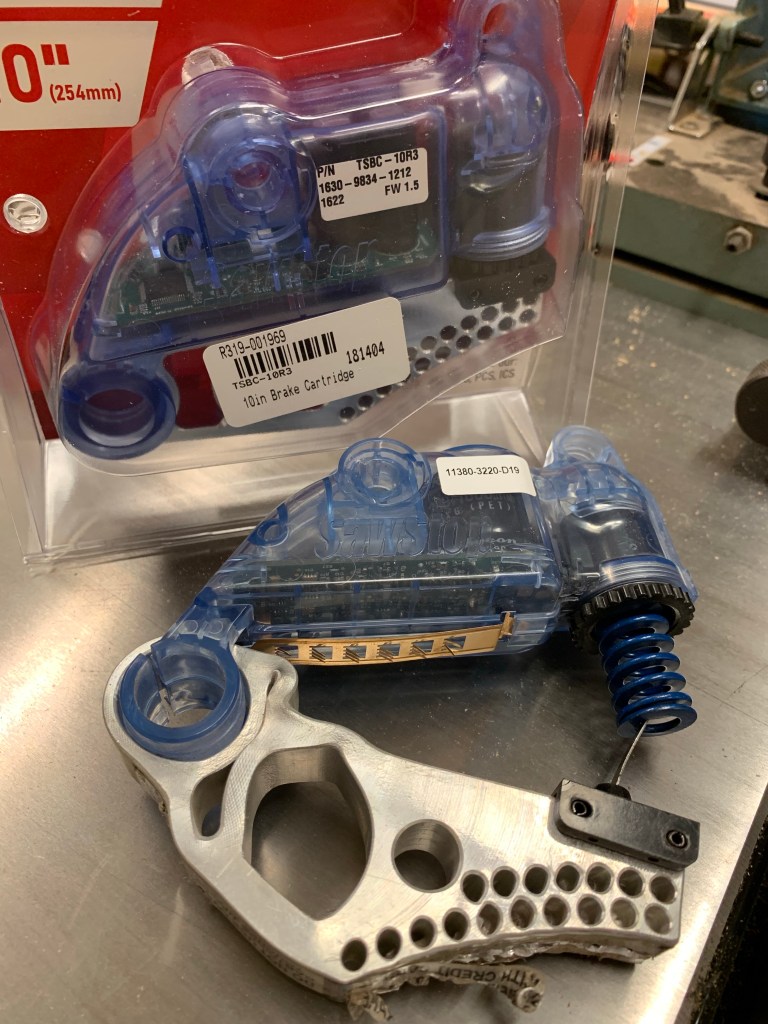
A couple of changes since this event occurred. I have added a piece of plywood to the surface of my tenoning jig to move the cast iron further from the blade, I will in the future be cutting on the outside of the tenon not on the inside.

The Planes in my hand
Watching YouTube and reading many blogs, it appears everyone has an opinion on the tools a woodworker should own. I much prefer to see a picture of someone’s bench to see the planes that have actually been used.
In my tool chest and cabinet are all the standard size bench planes with the exception of a number 1. Numbers 2,3,4,5,6,7,8 stand ready for use like chess pieces on a board. Obviously the project you work on often dictates the tool you should use, however there are three bench planes that will most likely find their way into my hand.
Sargent #409 – This plane is used on most projects and although officially a smoother has been used as a shooting plane, jointer, straight edge, and clamping caul. Occasionally if I’m doing a lot of work I’ll also have a Stanley #4 on the bench just to keep moving between sharpening. If you are asking why the Sargent before the Stanley , Ill direct you to another blog, but in reality it just fits differently and I like the look.

Stanley #7
A Stanley #5 is the go to plane for many people and I can’t disagree with the utility of the plane. It can handle most of the jobs of the #4 and many of the jobs of the #7, however I rarely find it on my bench. If I’m reaching for a larger plane it’s generally because I’m working a great length of wood of several feet and the bed length is critical to providing the surface I am looking for. It also has more mass. The #7 does not have the mass of a #8 which makes it easier to use and although I’ve used my #8 a few times I have not come across anything that a #7 can’t handle.

Finally my favorite bench plane is the Stanley#3 or Sargent 407. I may not use it as much as the Sargent 409 but I get a tingle when I reach for it in the cabinet. There is emotional magnetism with this plane that makes me want to use it. The lighter weight and slightly shorter bed makes it ideal for may of the small projects that I tackle.
Many people follow my blog and occasionally I get the question which plane should someone buy. It’s not something that can be easily answered, but I would initially get a #4 and if you are working with longer boards find a #7, I don’t think you would go wrong. If money is a driving factor you could get away with a #5. The other question that I’ve had is about the Lie Nielsen and Veritas versions. They’re great! When I started gathering tools the Stanley planes were widely available, very cheap and easy to repair. Today they are more expensive but still a bargain. It seemed like a low cost way to go and I’ve been very happy with my choice.
Shelix Planer
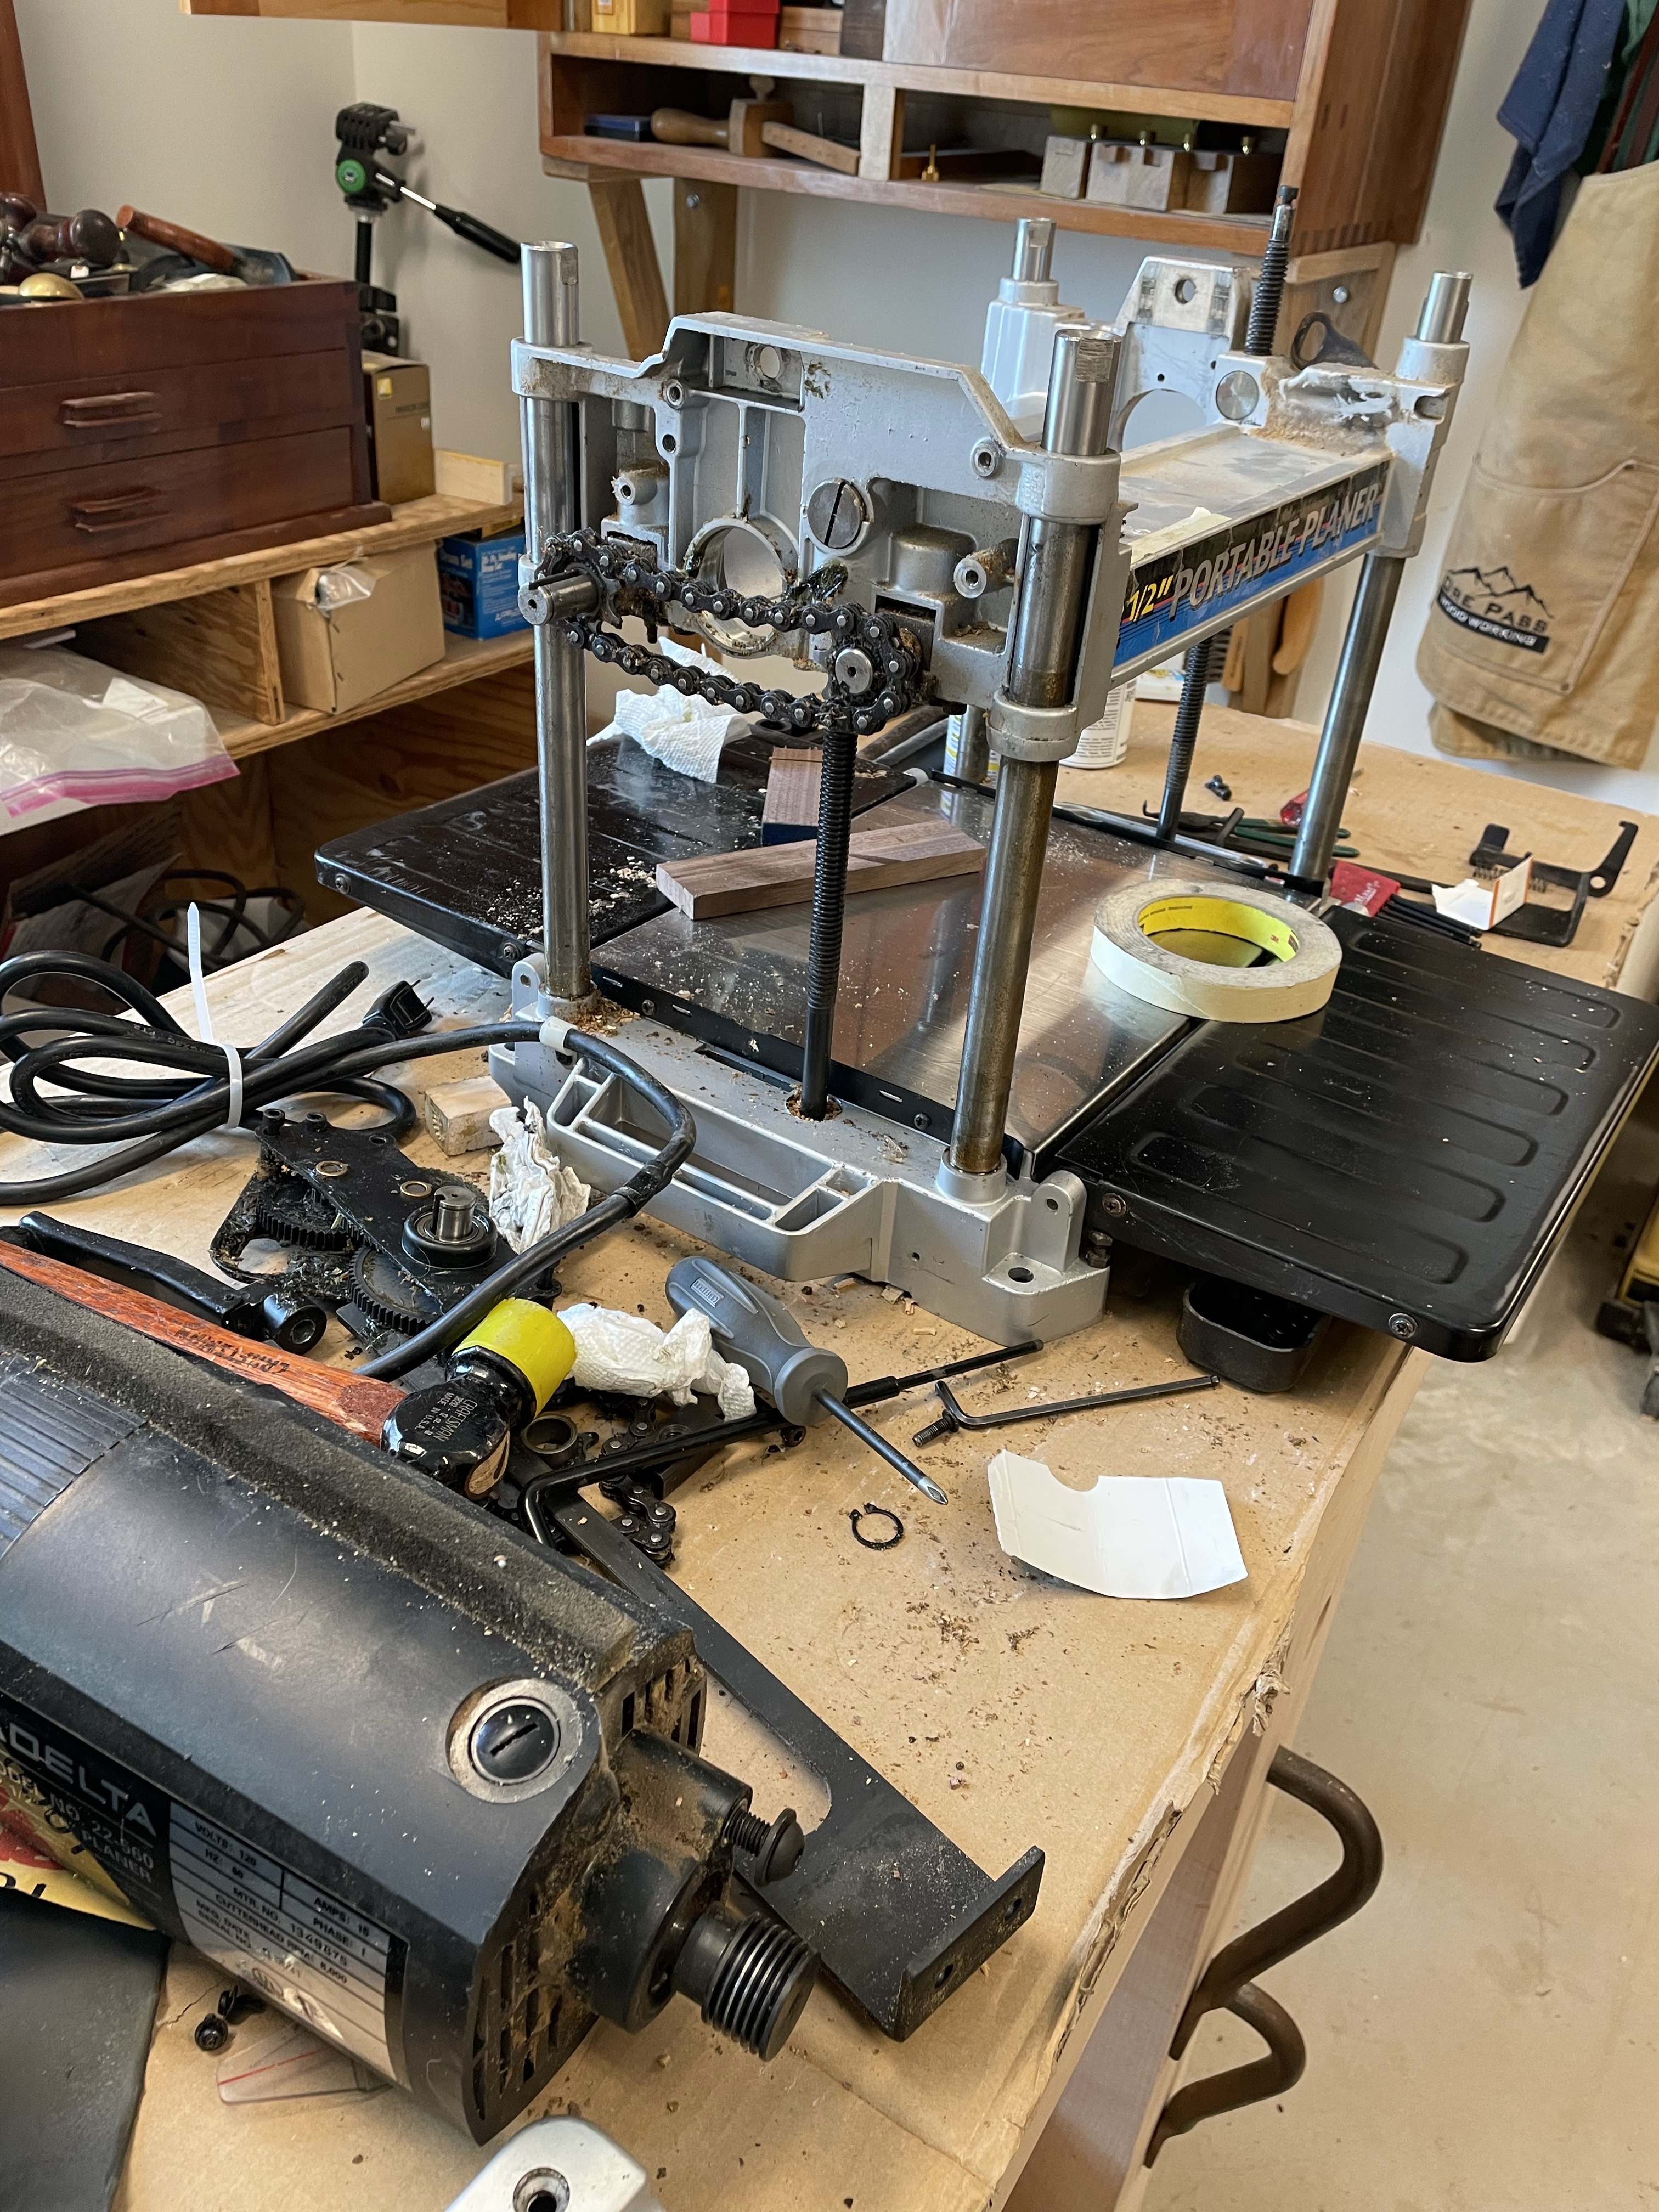
I have typically flattened one side of a board using traditional bench planes and used a Delta 22-560 Planer to flatten the other side. This has sped up my work process and kept me sane when I have limited shop time. I’m guessing the planer was purchased 20 plus years ago and I have been extremely happy. Sometimes I consider a larger planer but in reality the 12 1/2” has worked fine and it is very rare that I use a board that it can not handle. Over several years I have been watching many people install helical cutter heads in their planers and claiming better performance and lower noise.
Over the last couple of years the typical planer blades that I have purchased have disappeared and the blades purchased recently wear quickly. Many years ago Delta was the go to planer but this has quickly been overcome buy the Dewalt Planers. Subsequently knives are harder to find and I think most manufacturers focus on the higher volume sales for the Dewalt Planers. Where does that leave the owners of the Delta tools? Poor knives, new Planer or new cutter head.


Maybe I will look at larger pieces of equipment in the future but for now, I am content with the lunchbox planer. The Dealt planers have a good reputation but why change what I already have for a similar system. I opted to install a new Shelix cutter head and ordered it a few weeks ago.
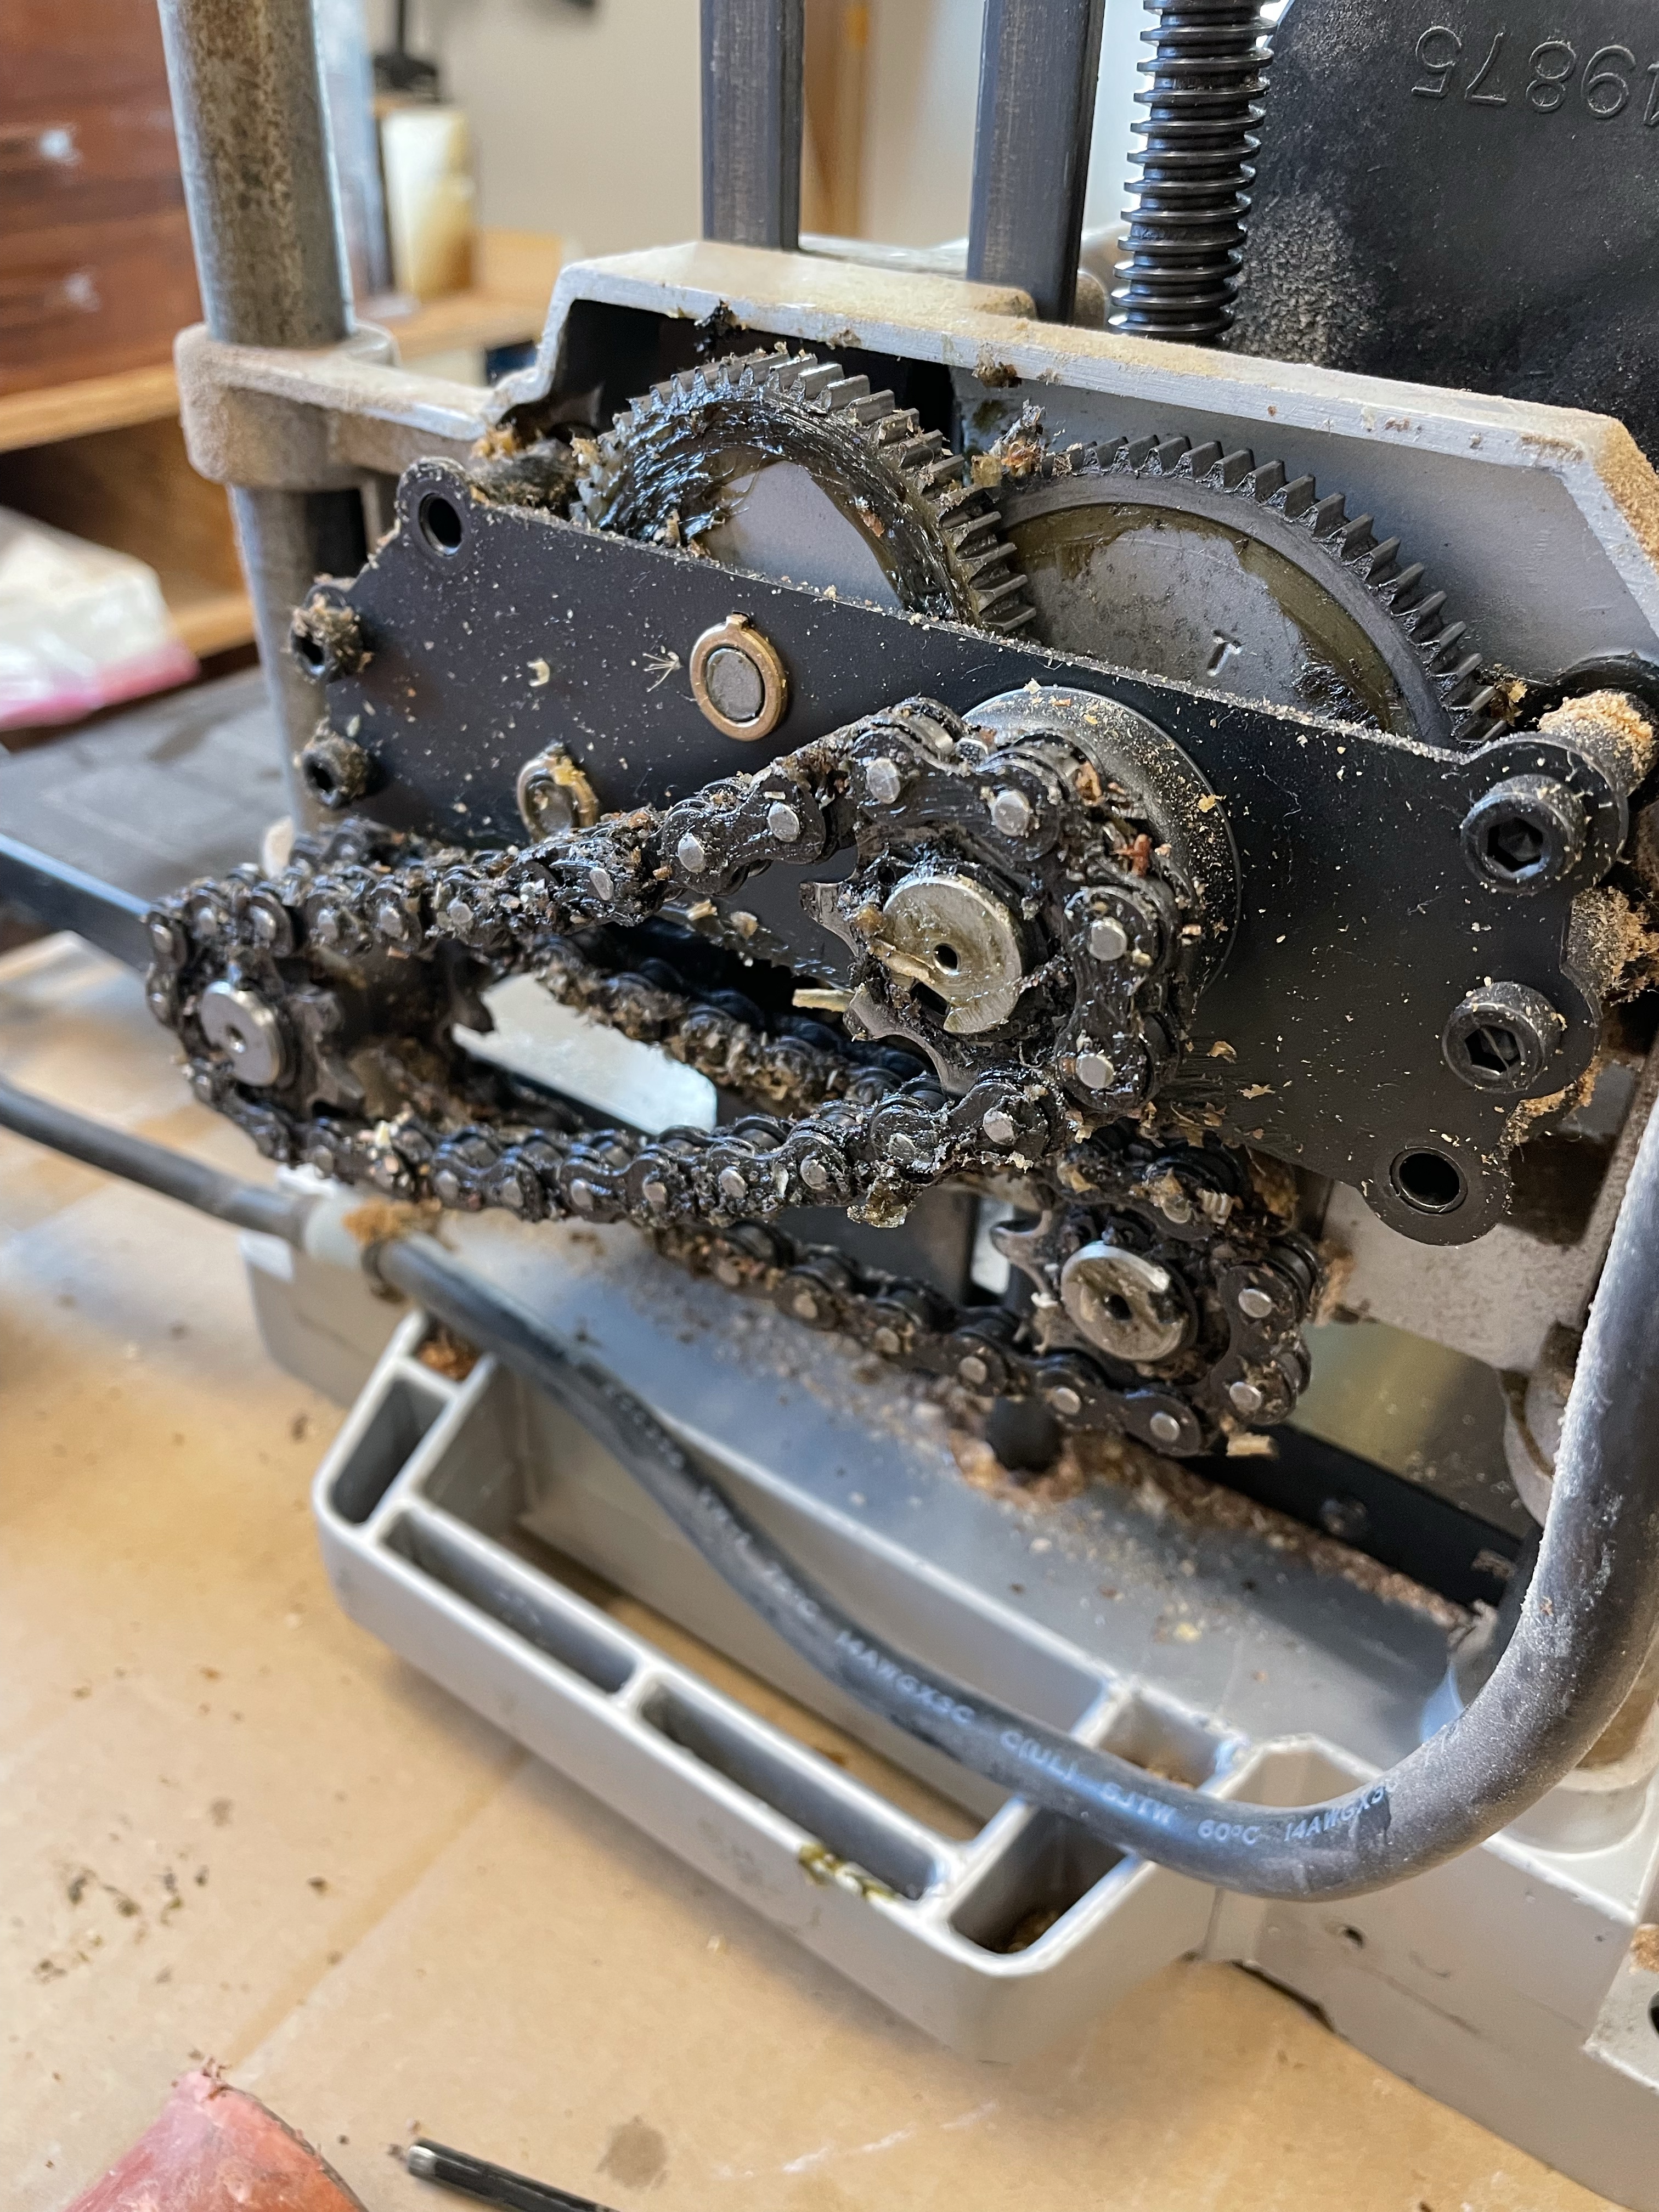
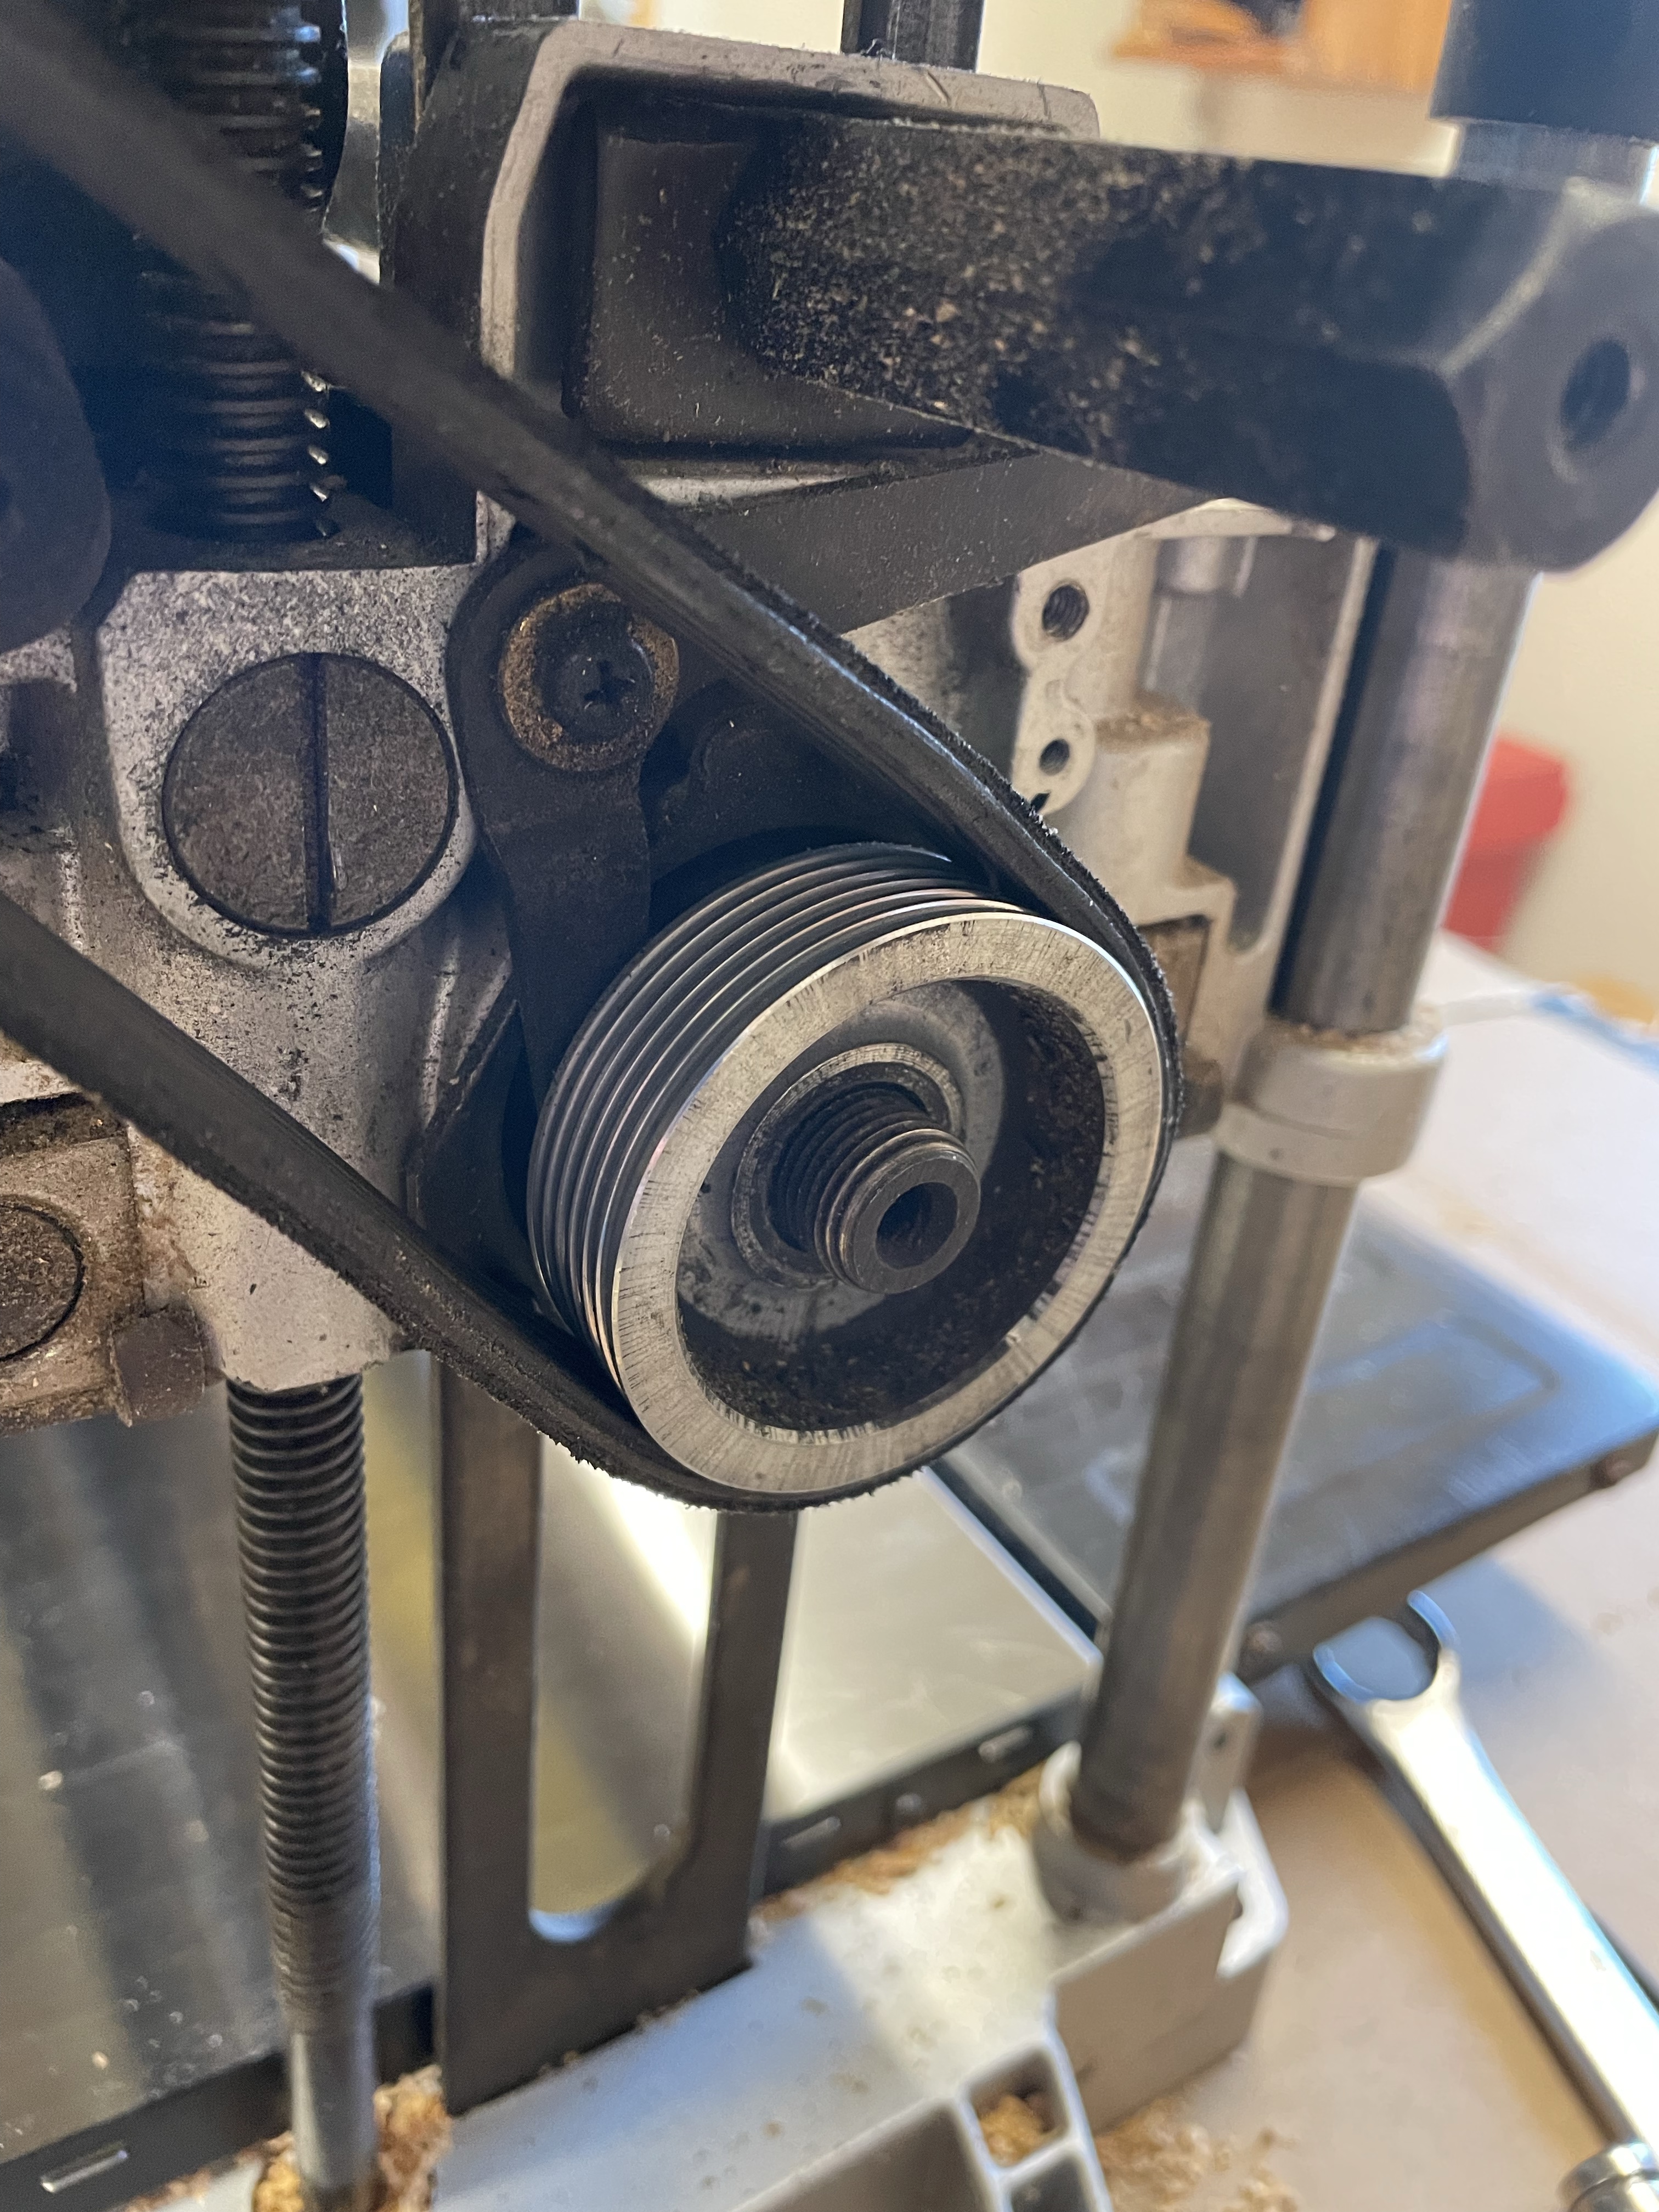
I took about four hours to remove and install the new head and along the way I have a few observations. Tools the average home owner may not have….15/16 wrench, and a bearing puller. Most home wrench and socket sets stop at 7/8”, fortunately I had the larger wrench and more importantly a bearing puller. Why I have that, I don’t recall, but it has sat in the bottom of the tool chest for years. The instructions were a little shaky and there are none for my model, but between instructions for other brands I figured out what needed to be done.
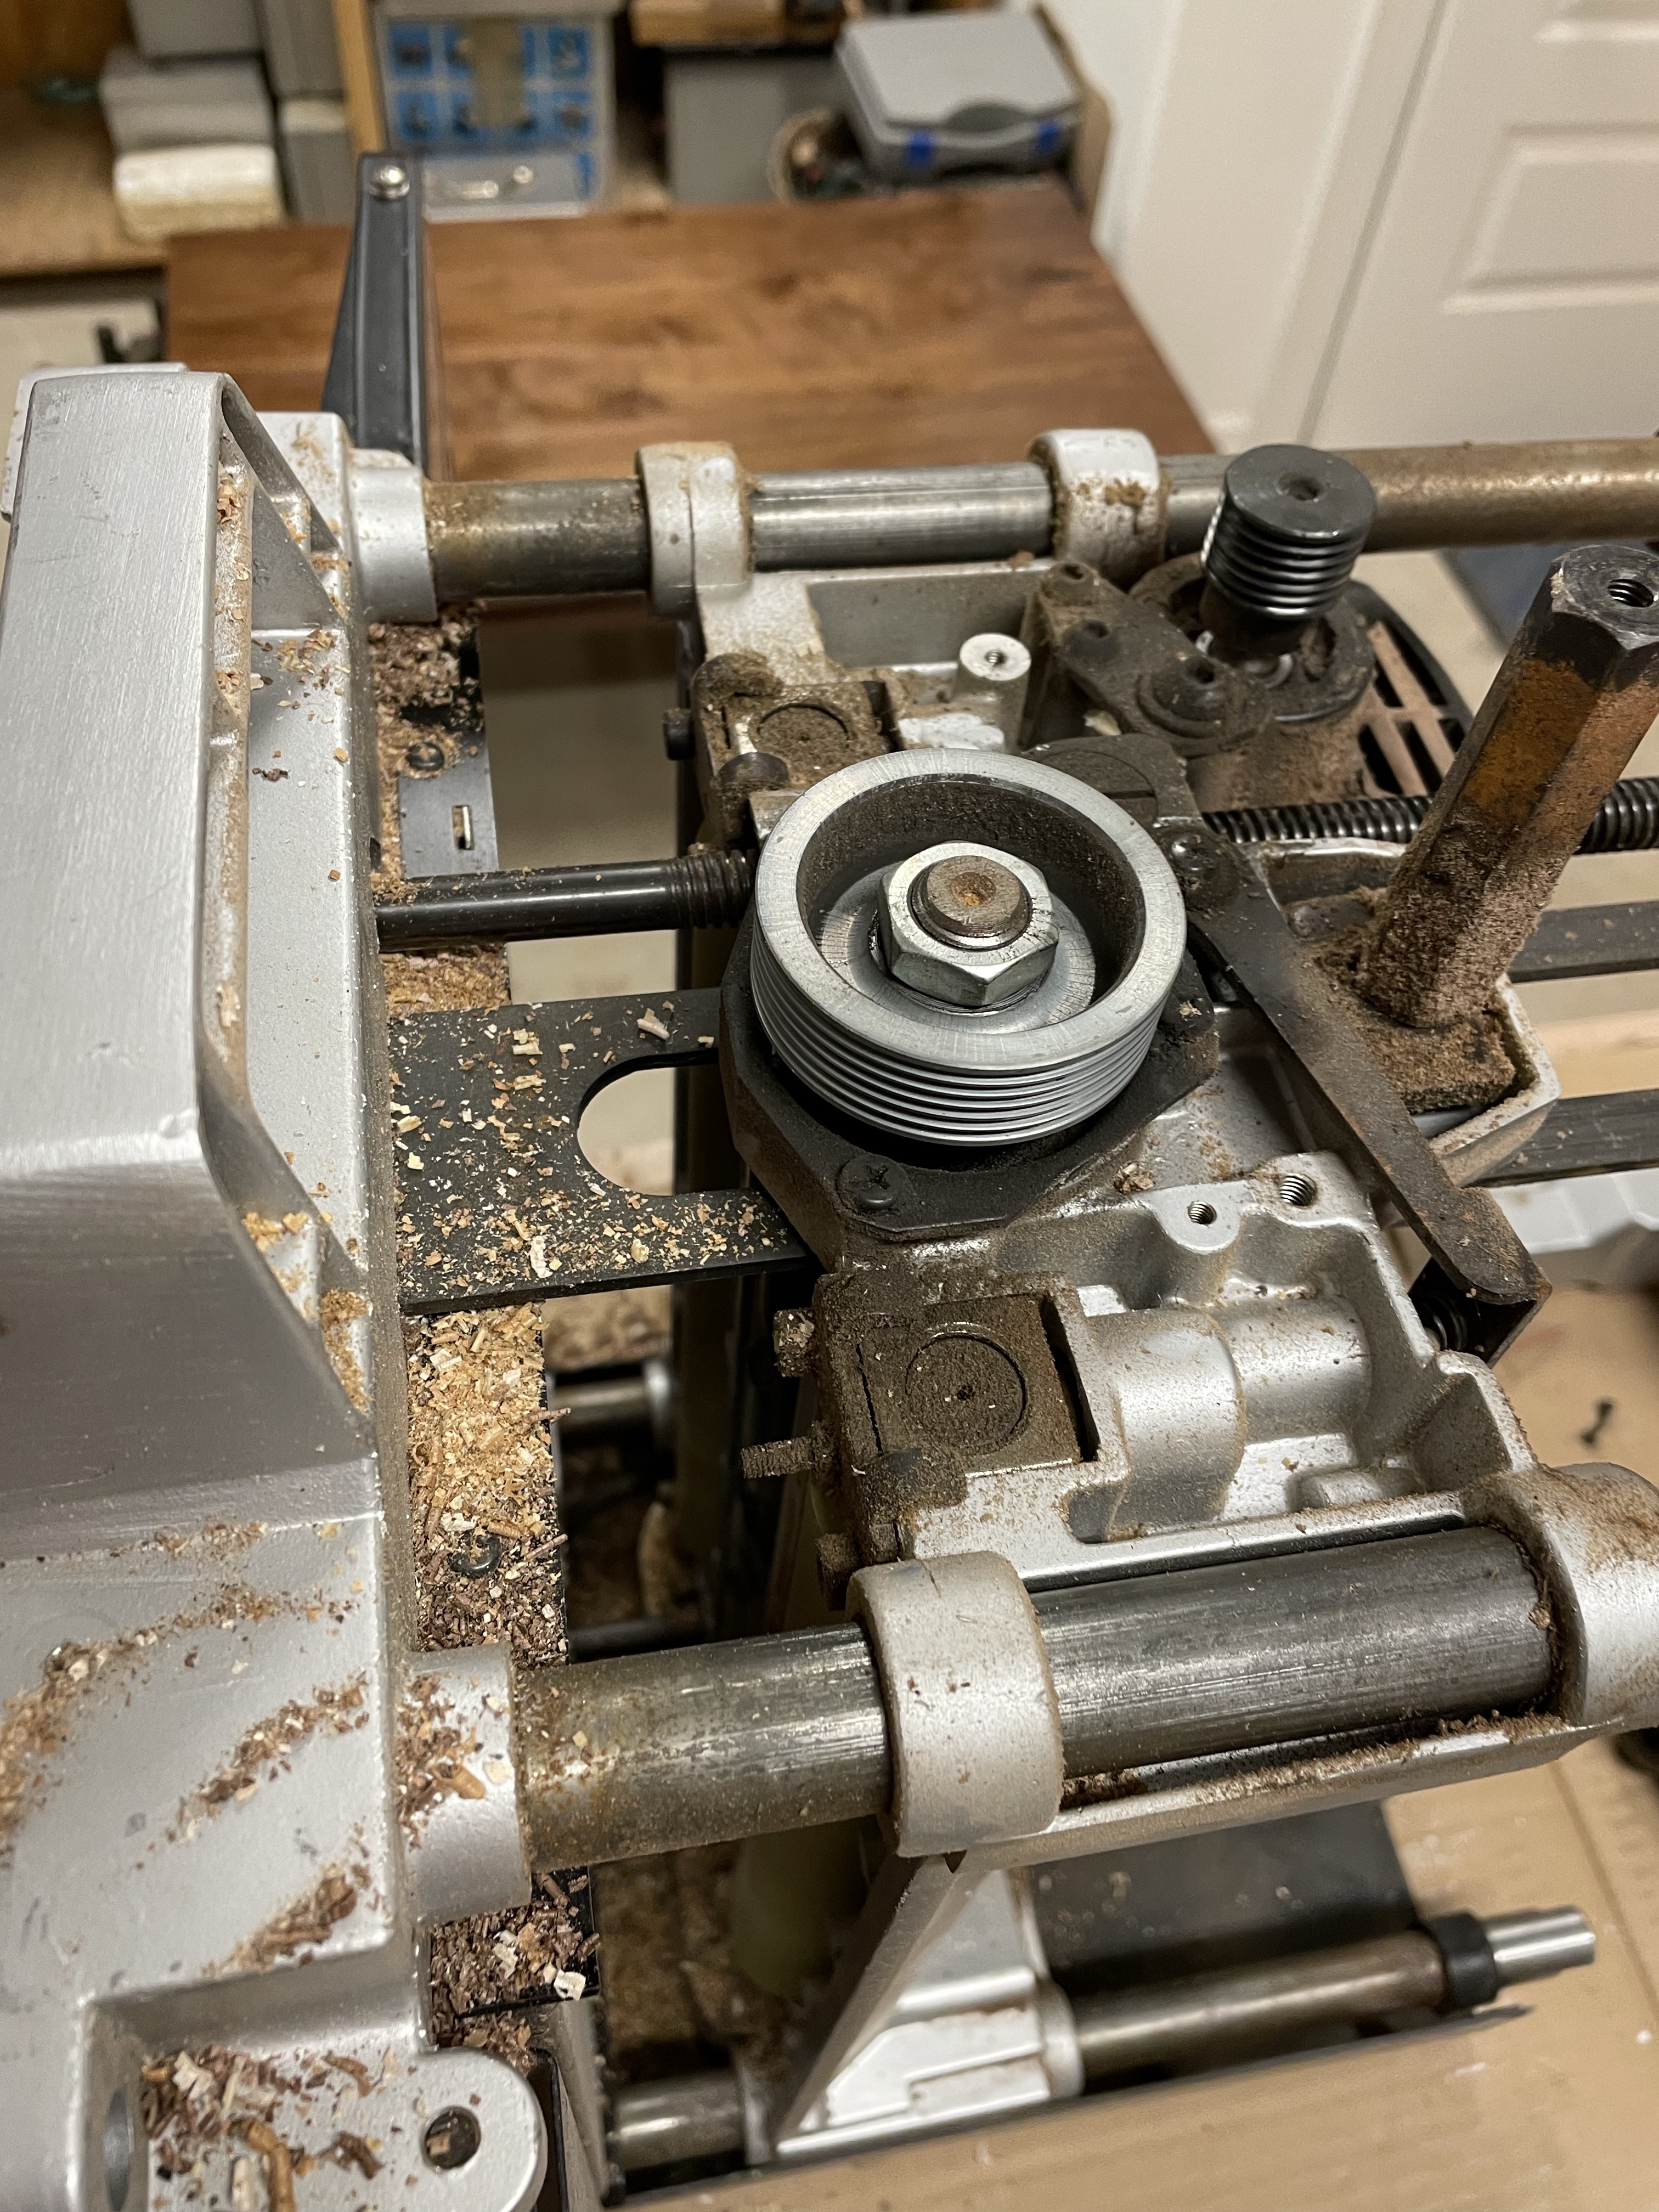
Once complete I took it for a test run immediately smelling burning plastic and managed to locate a couple of pieces of plastic. And a hole in the pulley guard.

Obviously something wasn’t right and after a little search I realized that the nut that came with the nut on the new head was a different thickness and rubbed on the guard. I contemplated looking for a different nut but instead opted to put a couple of shims to push the guard above the nut.

Overall the installation process was ok, but I wouldn’t want to take it on without the right tools and some mechanical knowledge. The instructions definitely leave something to be desired. The cut quality is excellent and for that I’m happy with the product.
Dust Collector Switch
Sometimes safety is all about making the right thing easy. Turning on my dust collector seems like an easy thing but when I have to walk around to the other side of my table saw in the middle of a project it often gets overlooked. There are a lot of expensive solutions, some that automatically start when a piece of equipment starts, some that even control ventilation gates. Perhaps the easiest solution is having a remote in your apron pocket that allows you to select what to turn on and at the press of a button you can turn the dust collector off and on.

A remote control and 5 plug in adapters, hopefully this is the cure fro my lazy streak!
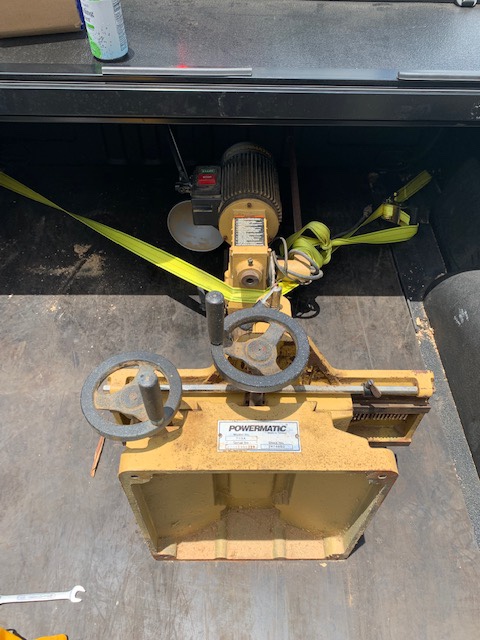
Powermatic 719A Mortiser Assembly
After the dramatic loading and unloading of the mortiser the cleanup and reassembly was fortunately very bland.

Powermatic 719A Mortiser
The air, heavy with moisture was like a blanket draped across my shoulders, the breeze bore the distinct scent of rain, a mix of soil, water and electricity, pausing with knees burning on the hot rubber I accepted fate and slowed down. Rushing would only result in an injury or damage to the tool. Stowing the straps and placing smaller parts in a box I sought the bolts that would allow a single person to do what required four and hour ago. There on the base were four 1/2” bolts and at the base of the column four Allen head bolts. Careful that the tool would not roll on my hand I removed the bolts and the 300lb tool became three manageable parts.
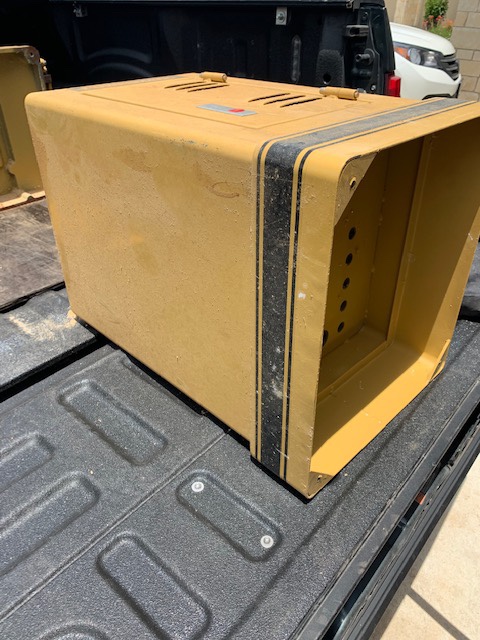

Positioning my table saw next to the truck, the two upper pieces slide easily out of the bed and I was able to wheel them into the shop, the base was light enough to be lifted to the floor. Closing the shop door I could feel the breeze increasing but now I was in the clear.

Moving heavy tools is no joke and there is a lot at stake. Frequently as woodworkers we rely on friends and neighbors to help. Today I was lucky, to have help loading and everything at exactly the right height to unload. Make a plan, adjust as needed and stop when its not making sense.
Sharpening Jig failure
I sharpen planes and chisels both free hand and with a jig. There’s no rhyme or reason as to why I choose one method over the other , it just happens. Last week when I had 4 planes to sharpen I used a jig. They were in poor shape and I knew they would need extra effort.
The first three were sharpened with an Eclipse style jig. They are inexpensive and work well. I failed to notice that the wheel in the jig was not turning and managed to flatten it.

The final plane was sharpened by hand……..I imagine this is a very low cost part, but impossible to get. May have to reconsider my sharpening methods.
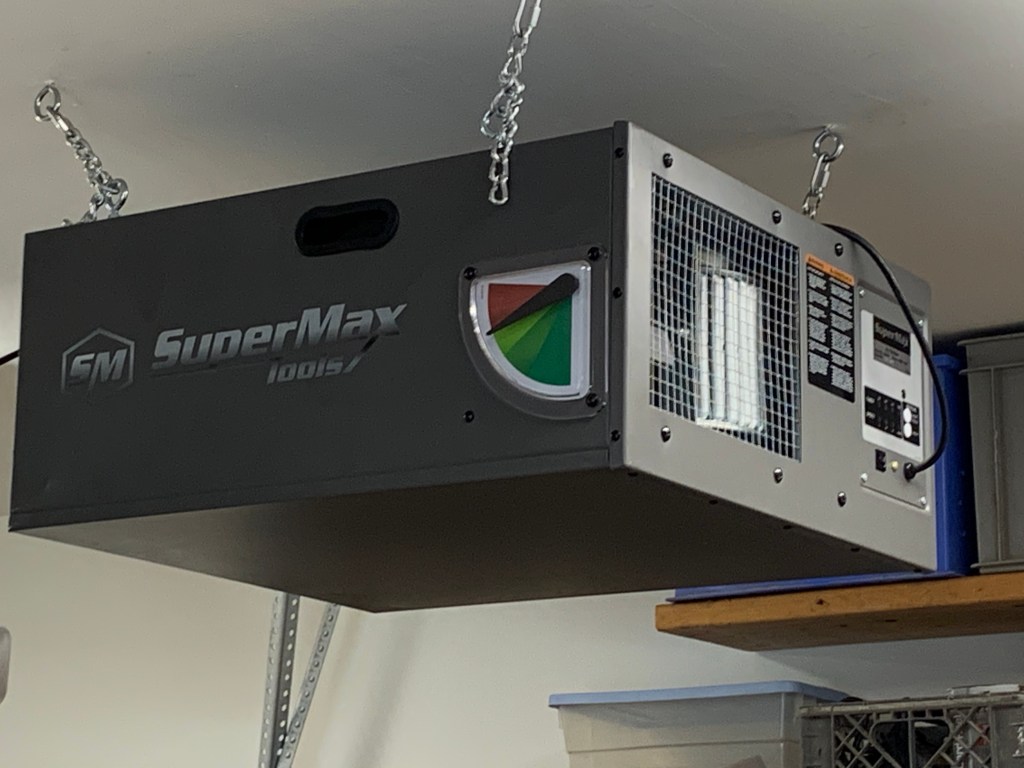
Supermax Air Filter from Laguna
Packing up my shop over a year ago revealed a lot about my woodworking. The most noticeable is the amount of fine dust coating everything. Although most of my work is done with hand tools I do use a planer and tablesaw to speed up stock preparation. It’s safe to say that most of the dust comes from these operations and in spite of using a dust collector, more needed to be done.
After a small amount of research, a Supermax Air Filter arrived at my front door and after some planning and help I mounted it to the ceiling joists. If you want to see the unboxing video, there isn’t one, but I’ll provide a brief description. Grabbing my pocket knife, I slit the tape closing the cardboard box, flipped the box over, slid the box over the styrofoam and gently removed the air cleaner. After checking that all the parts were there I stared at the 60+ pound machine for a couple of weeks until I figured out a safe way to install it.
I’m looking forward to trying it out and if you want to know more shoot me an email.
A Sargent in the House!
Admittedly, the things that bring me the most joy are simple; a smile and a wink from my wife, an excited dog when walking in the door and a fun text from the kids. My favorite food is a cheeseburger, preferably with bread and butter pickles and I prefer hand tools for woodworking.

Looking in my tool chest the majority of bench planes are Stanleys. Like most of you there are a couple of specialty planes from modern manufacturers, but if you look through my blog the constant companion is a Stanley. All that said, could I be tempted by other manufacturers?

Several years ago while wandering around a
the Sargent plane above caught my eye. There were plenty of Stanleys, Miller Falls and other manufacturers, but this was the one that stood out. It seemed to be slightly heavier than the equivalent Stanley and the sides thicker. The price seemed high and the “don’t want to discuss price” attitude of the owner made me walk away empty handed. Since then I have kept my eye out for a Sargent Plane and stumbled across one on Ebay the other day. Admittedly I do not need another bench plane! But like a good cheeseburger sometimes you have to indulge yourself!
Meet Sargent VBM 409, a new addition, welcome to the family!

More pictures to come.
As for the cheeseburgers; I allow myself one a month so no need to worry about over indulgence.
