Archive
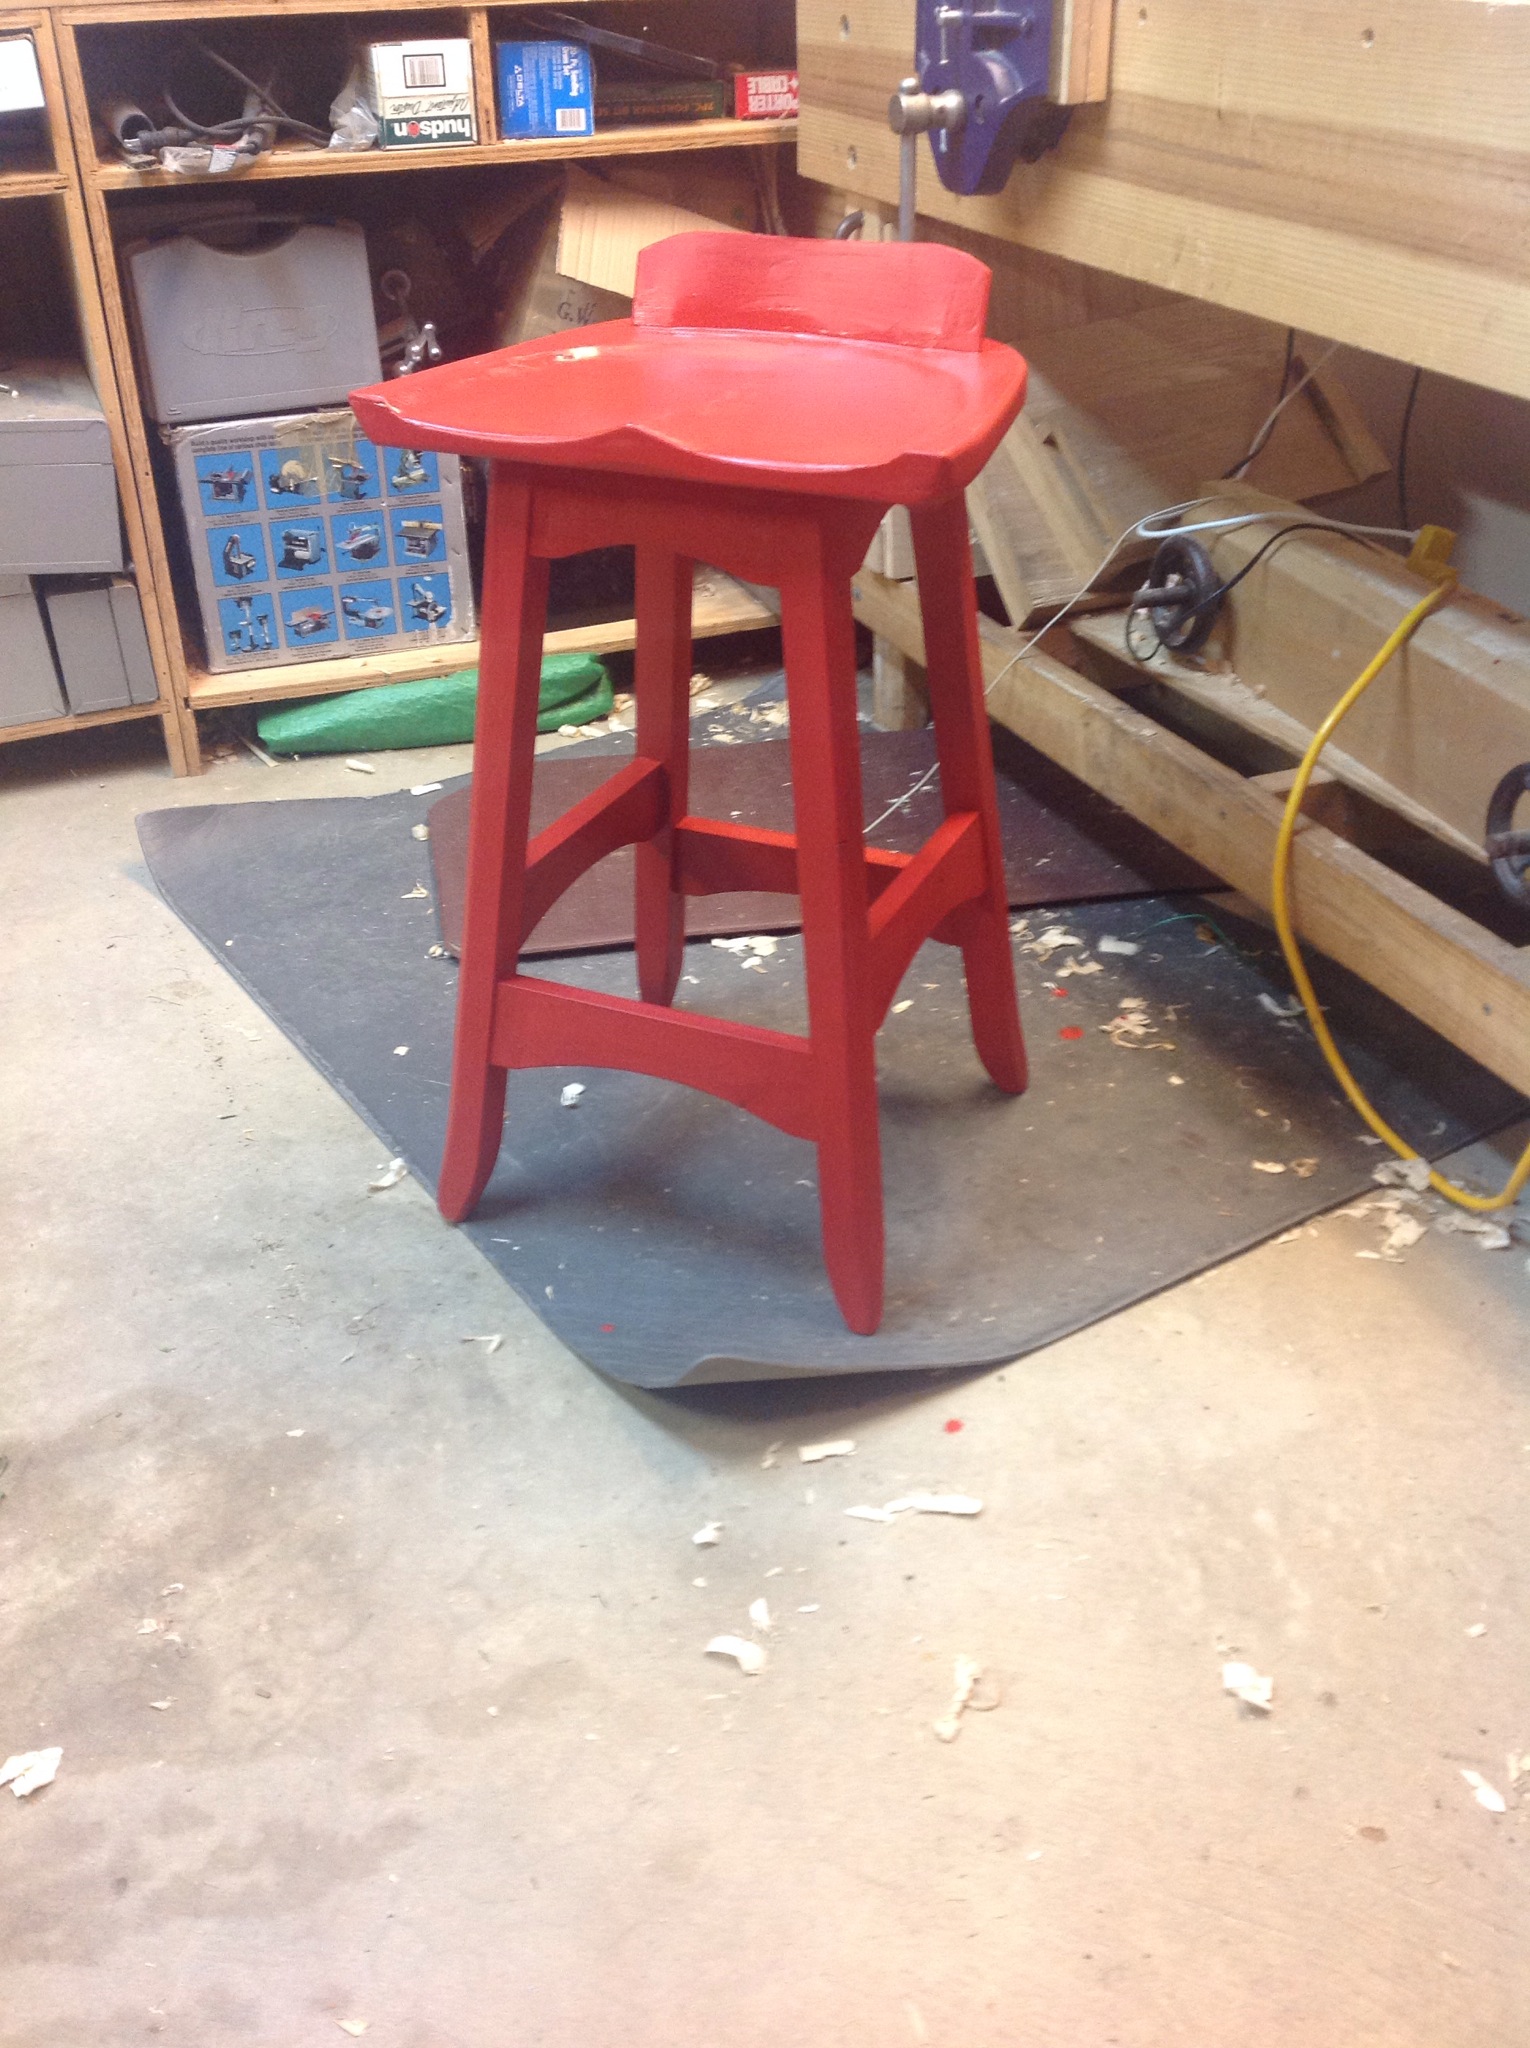
Bench Stool Finished
When I completed my tool chest over a year ago I purchased a can of paint which has stayed on the corner of the kitchen counter. Red chili did not seem to be right for the chest so I submit it here as a possible color for the completed stool. A couple of thoughts as I finish this project.
1. How in the world did it take this long?
2. I don’t really like working in soft woods!
3. It was fun making the tenons and mortises especially with the angles.
4. The stool is really comfortable.
5. One day I will stage a photograph without the clutter.
6. Onwards to the next project!
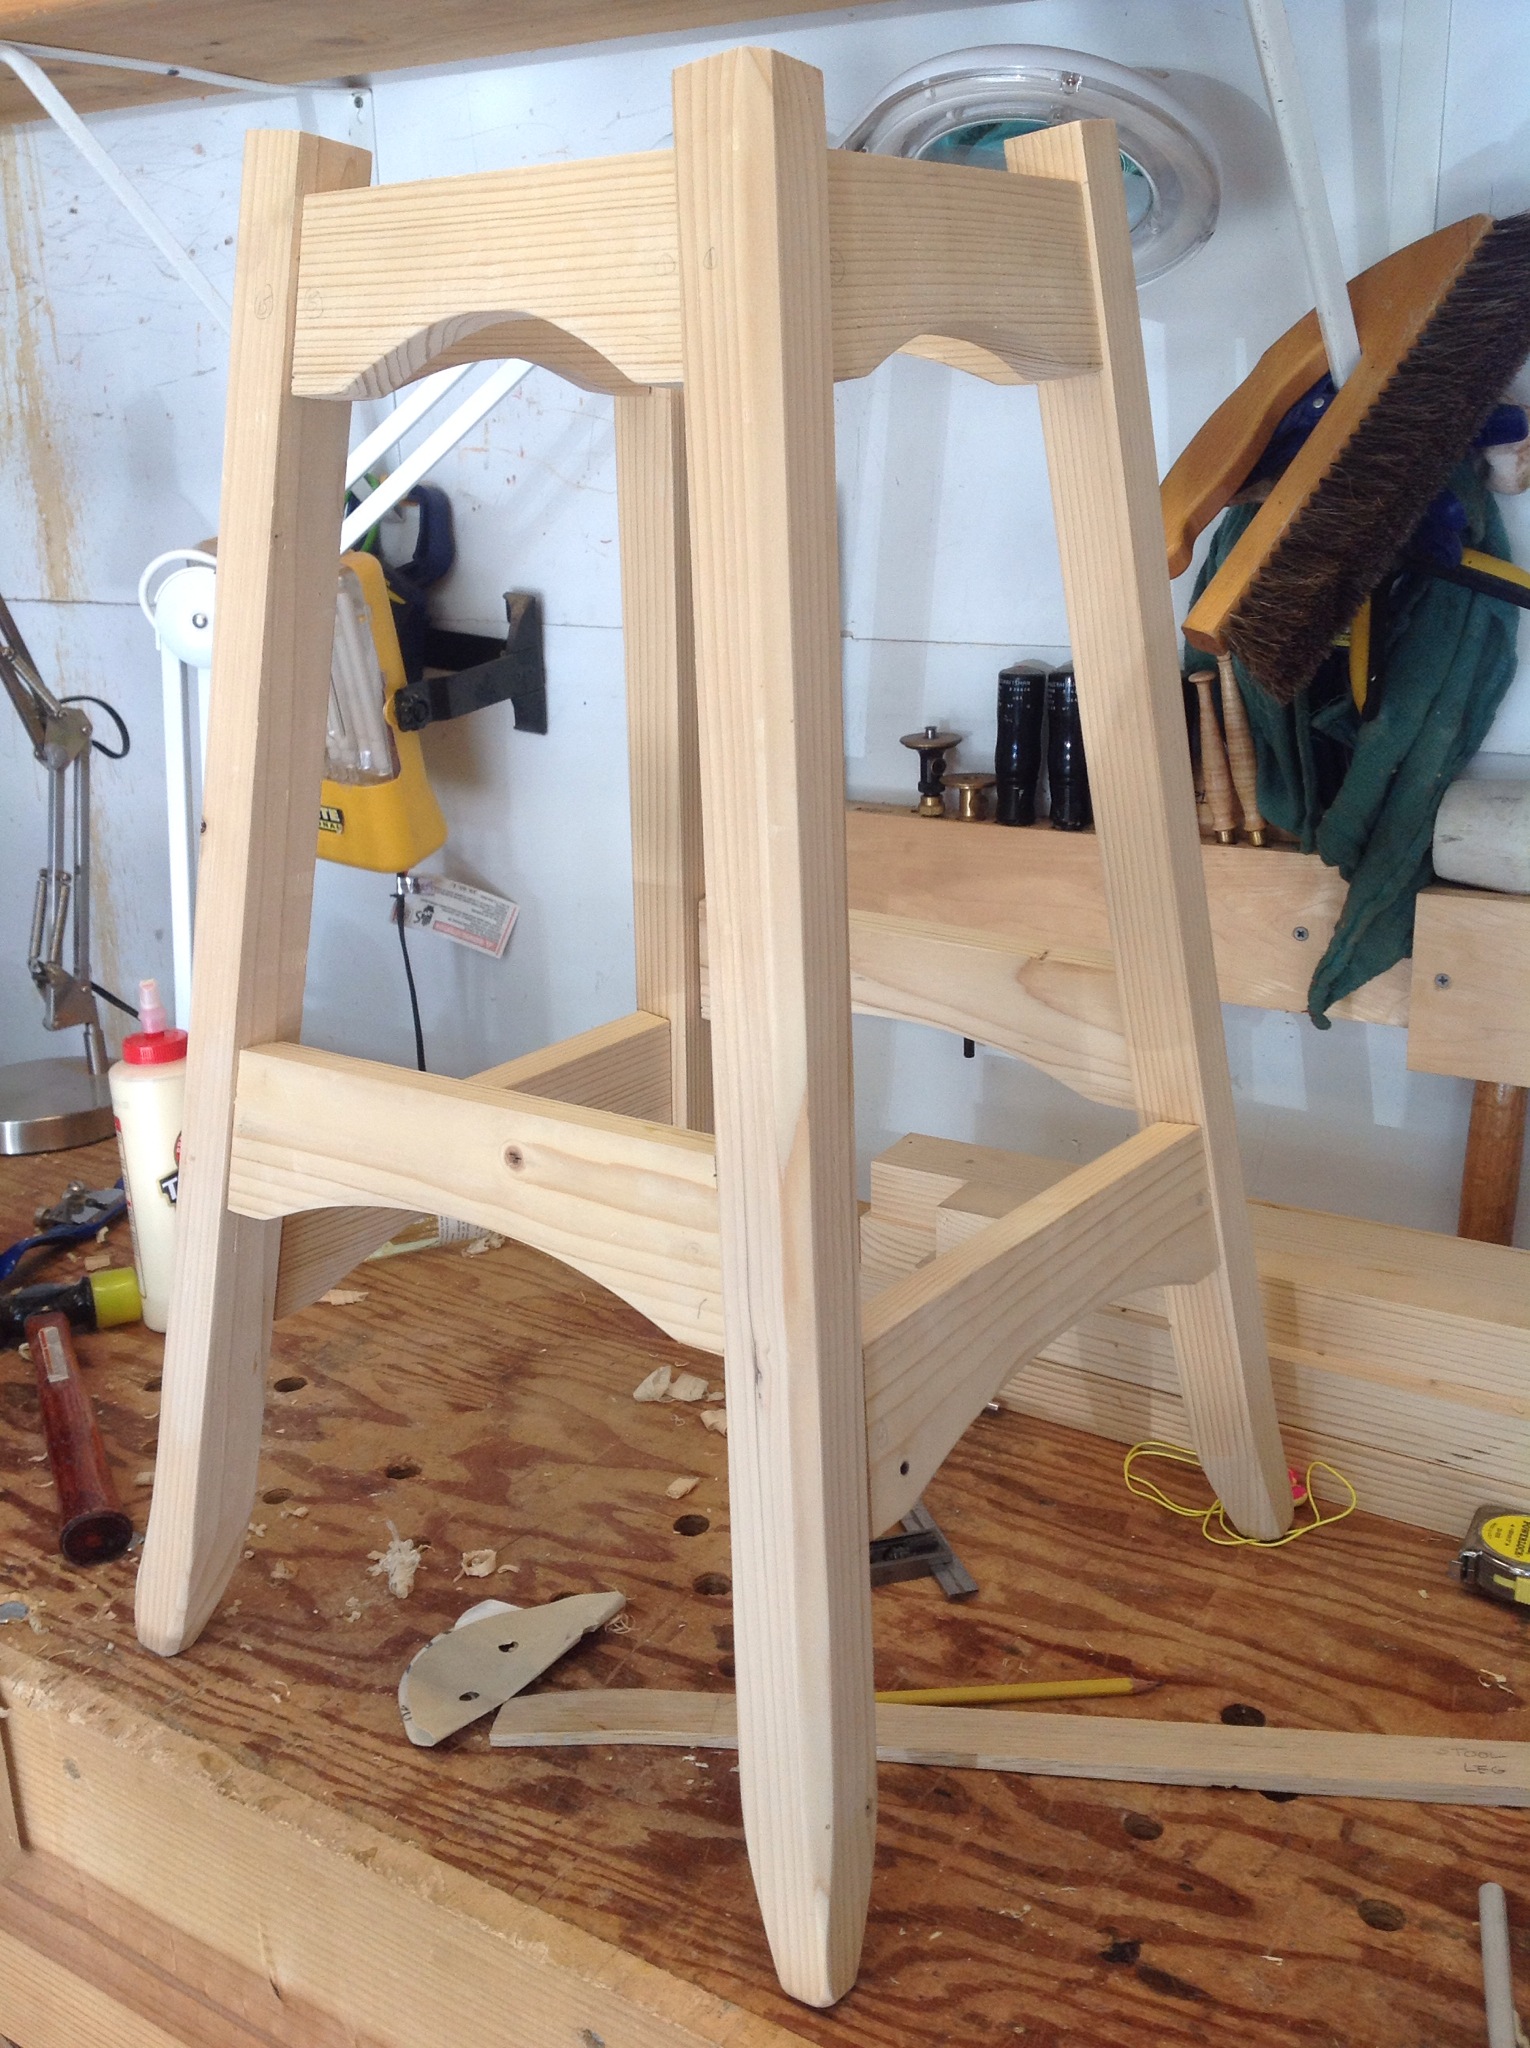
Bench Stool in one piece
With all of the parts complete, I attached a couple of pieces for the screws and attached the seat.

Next the back support was attached with glue. I am still not sure of the size and shape of the back support but it is now attached.
Fin

Finally the seat is attached using screws.

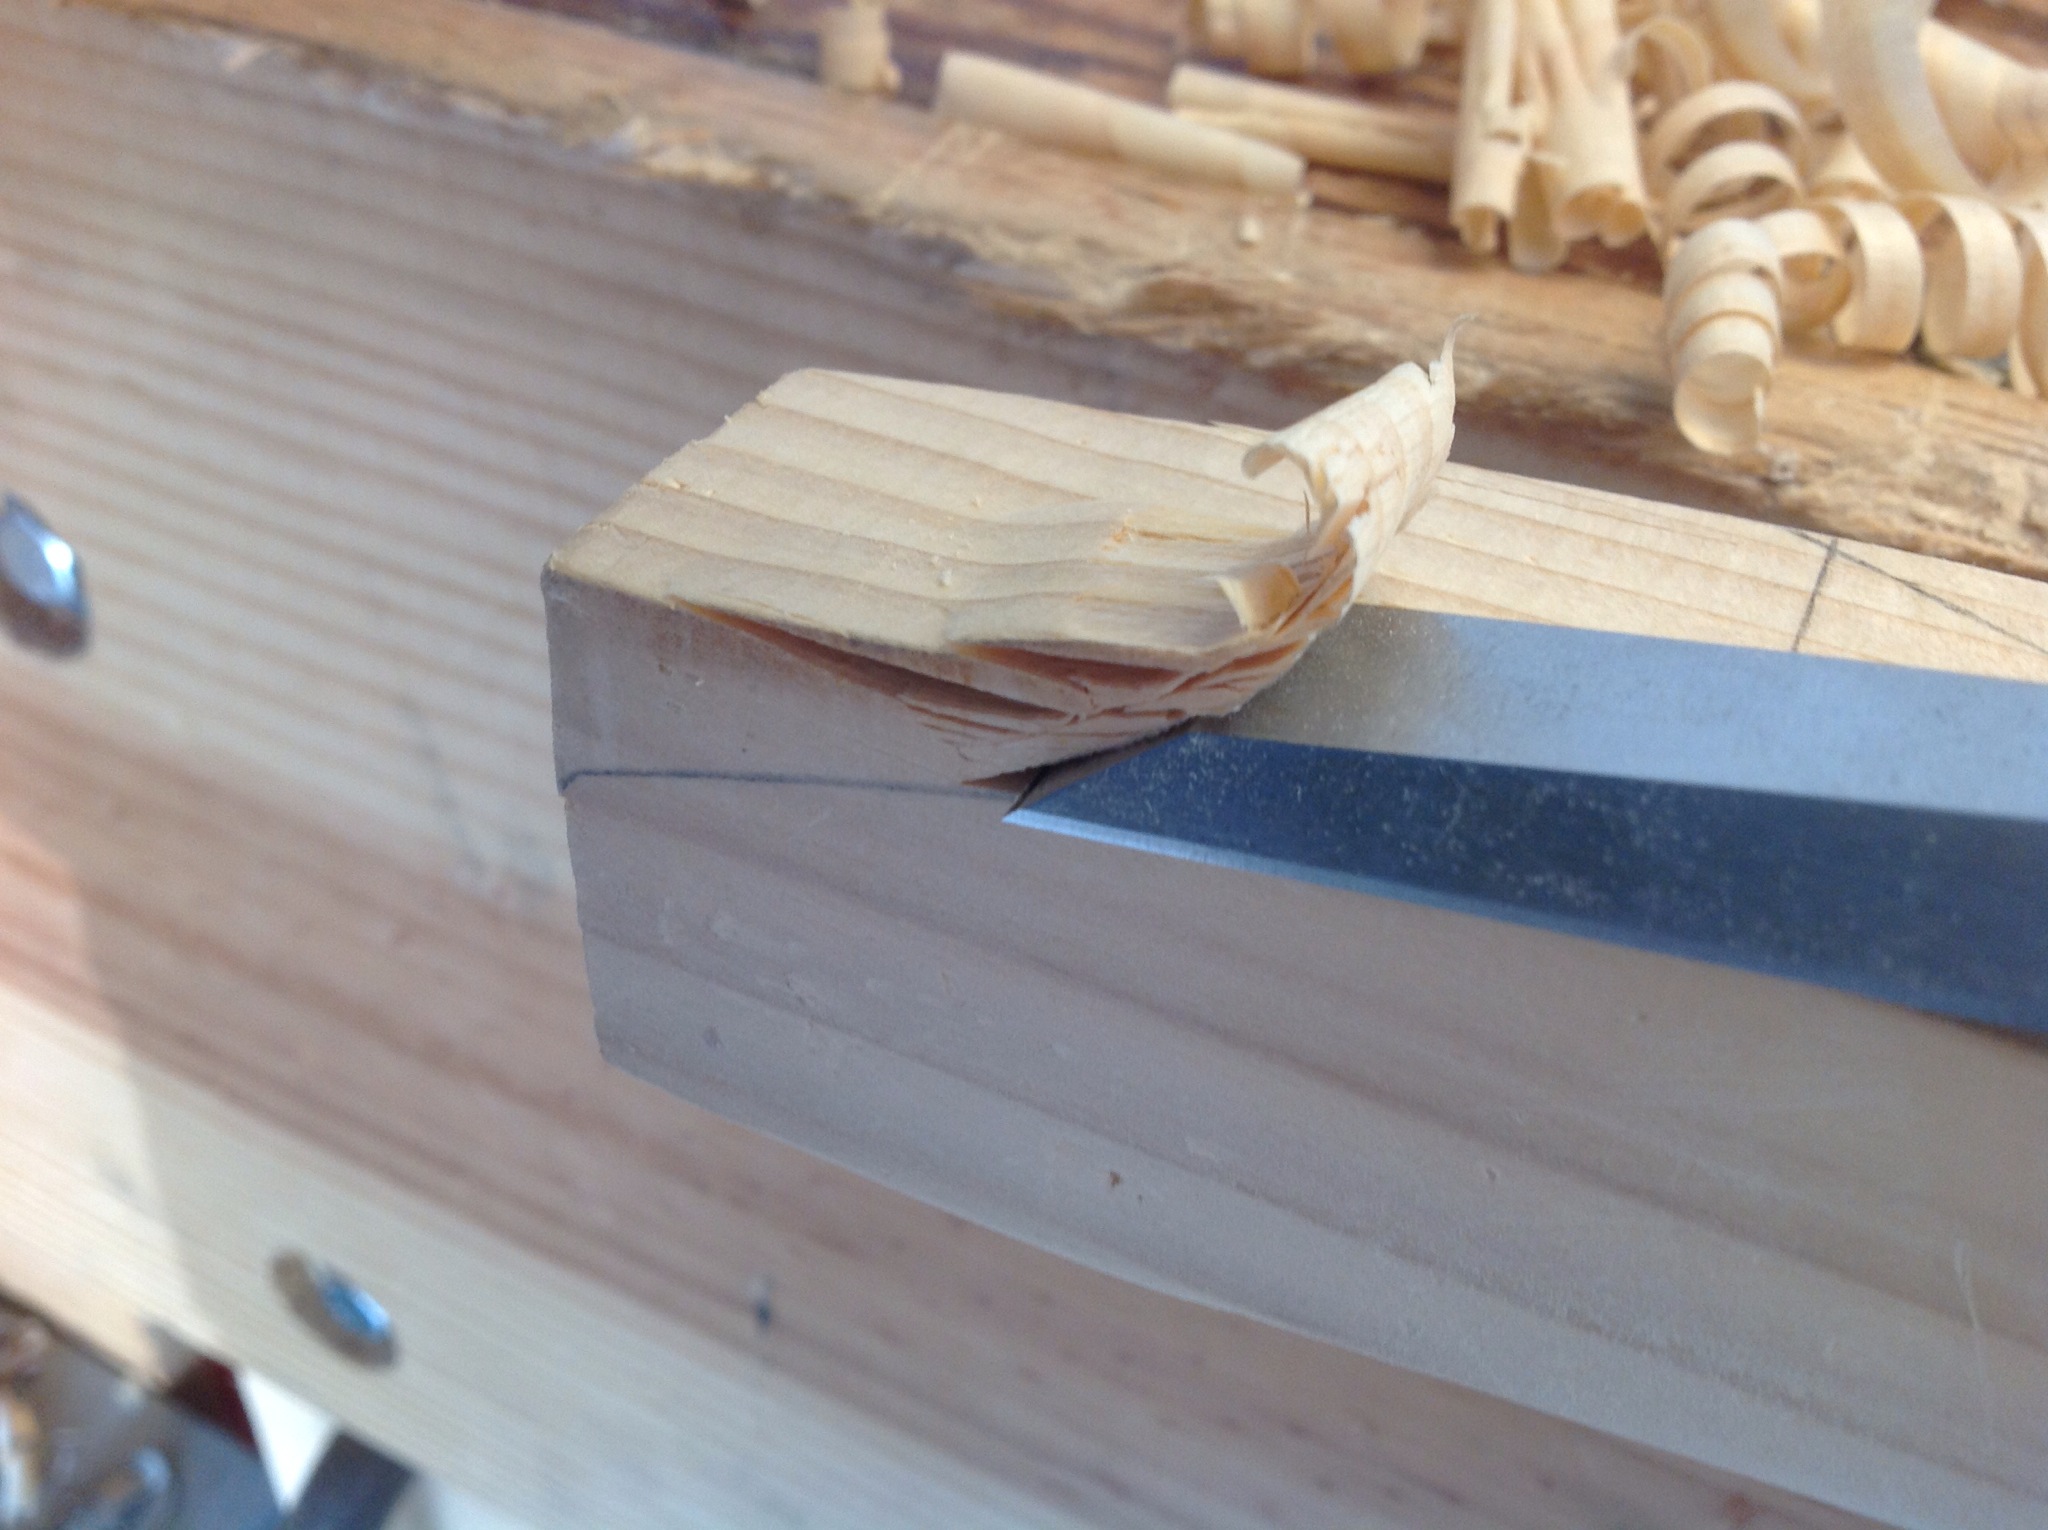
Of course who could forget the little repair needed when I sent the chisel through the leg.

Seat shaping
Throughout the past week time was spent shaping the stool seat. As demonstrated by Paul Sellers I used a #7 gouge. This is my first experience with this tool and it has been fun. Took a little time to work out the sharpening technique, but all is well.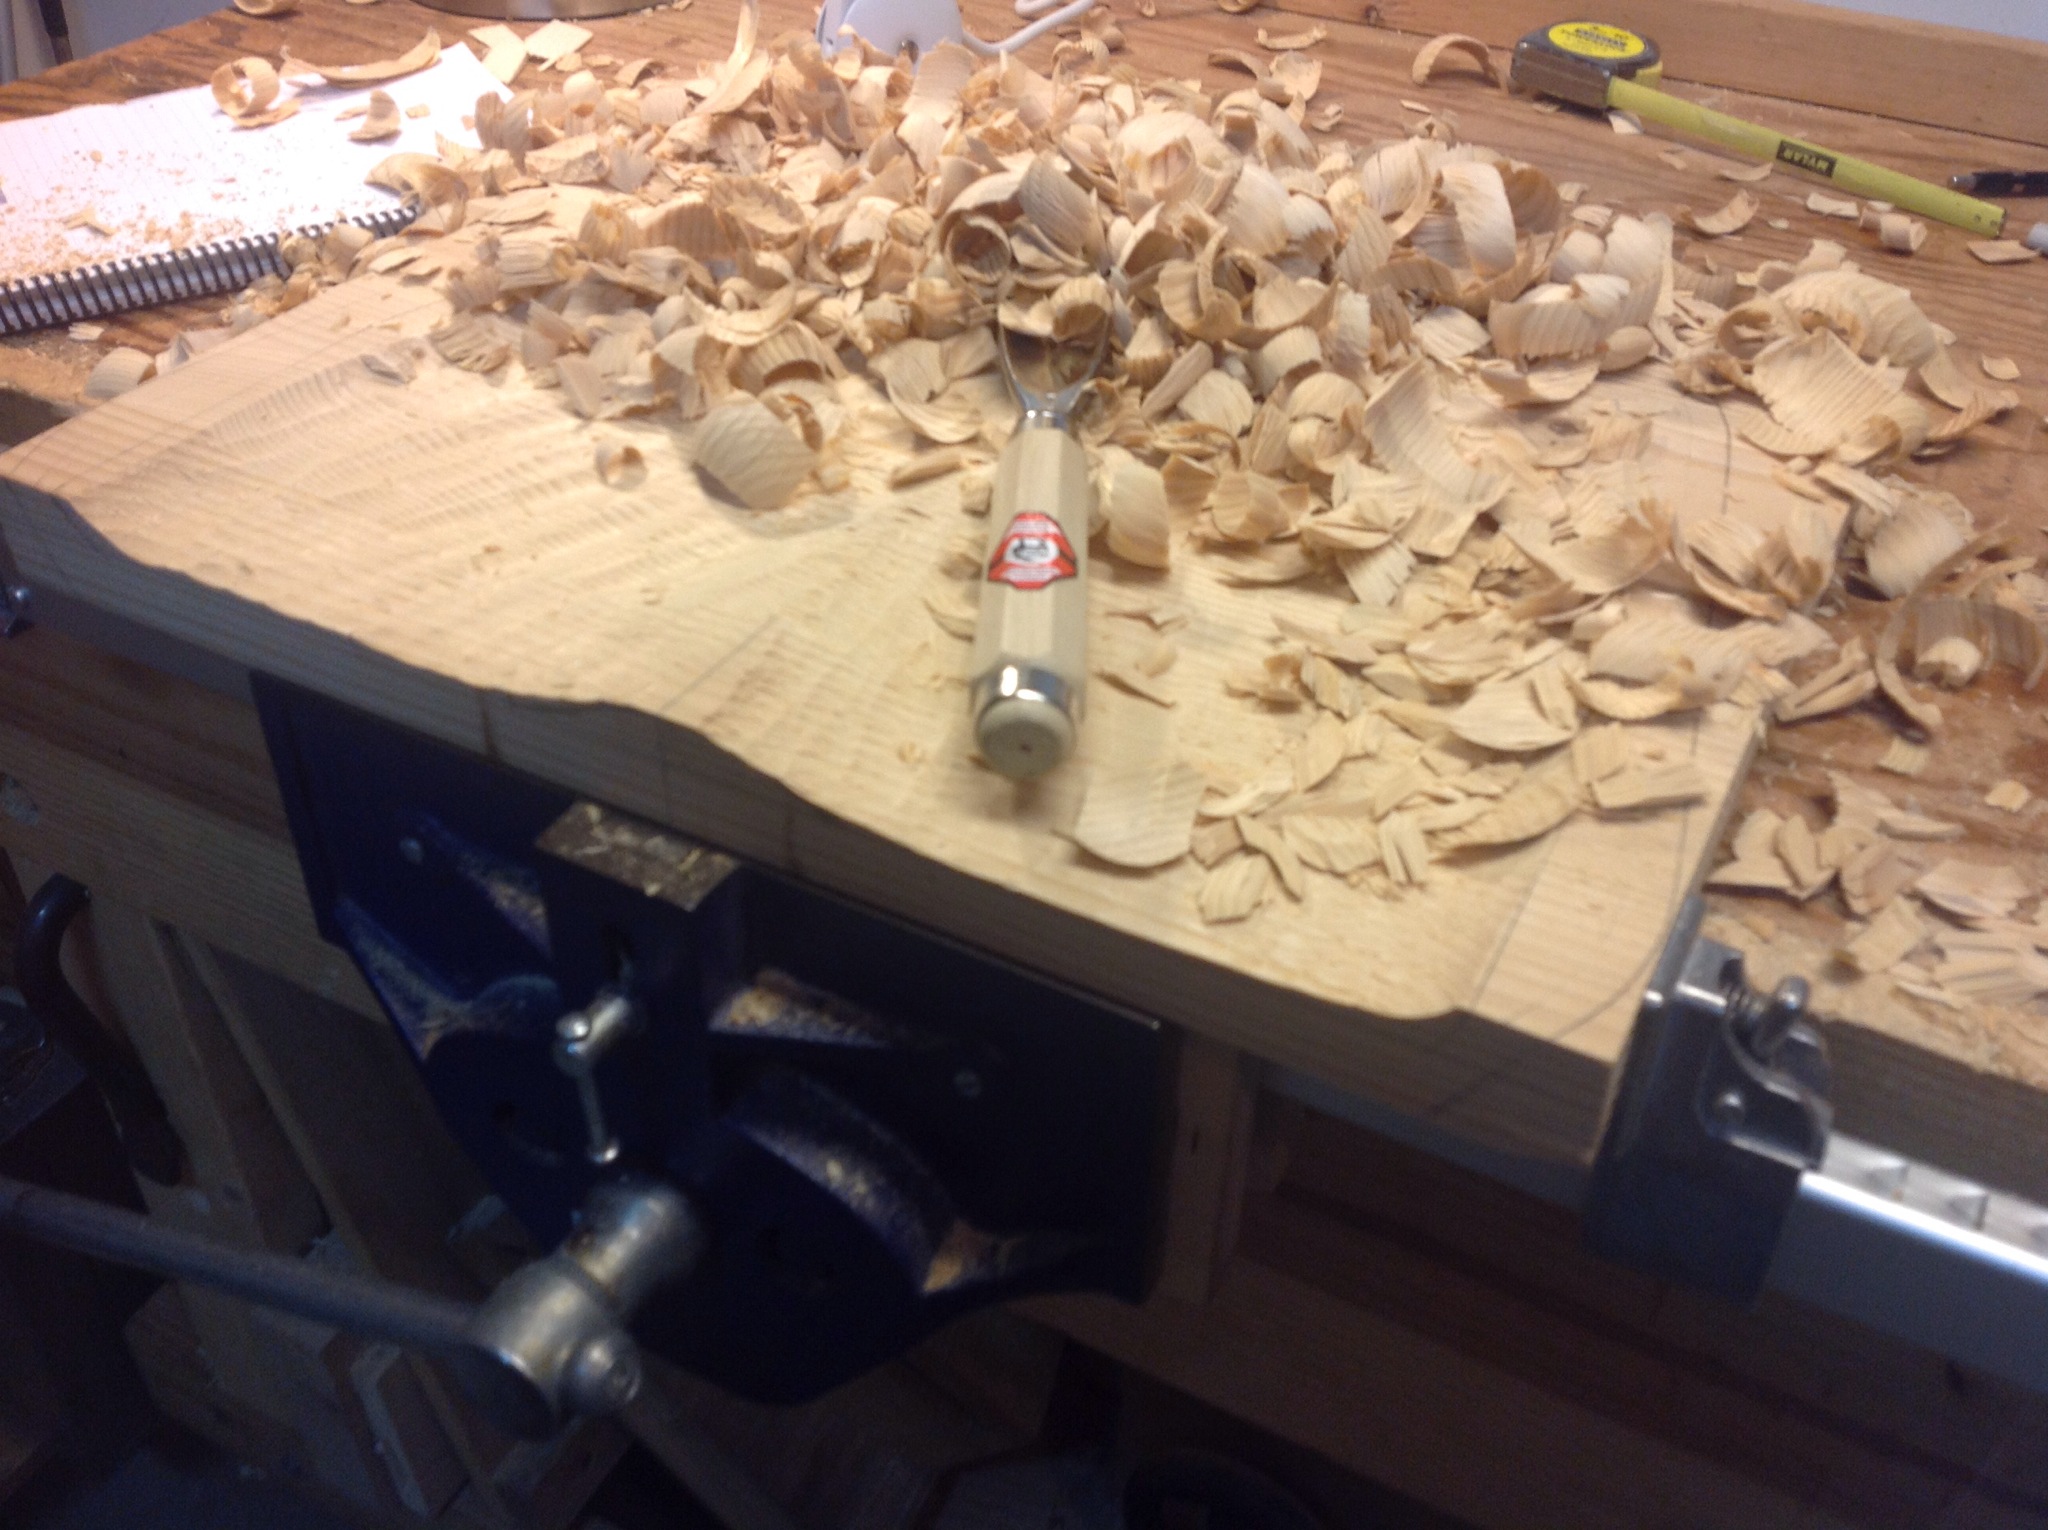
The most surprising aspect is how little time it took to get the shape I wanted. If I am calculating correctly approximately two hours over a couple of evenings. There are a few areas that need to be smoothed and some shaping in the front to ease the edges, but the bulk of the work has been completed. In the background of the photograph is the plane that I began last winter specifically for this project. It worked fairly well and helped with the smoothing after using the gouge. Doing this project again I would make a smaller plane.
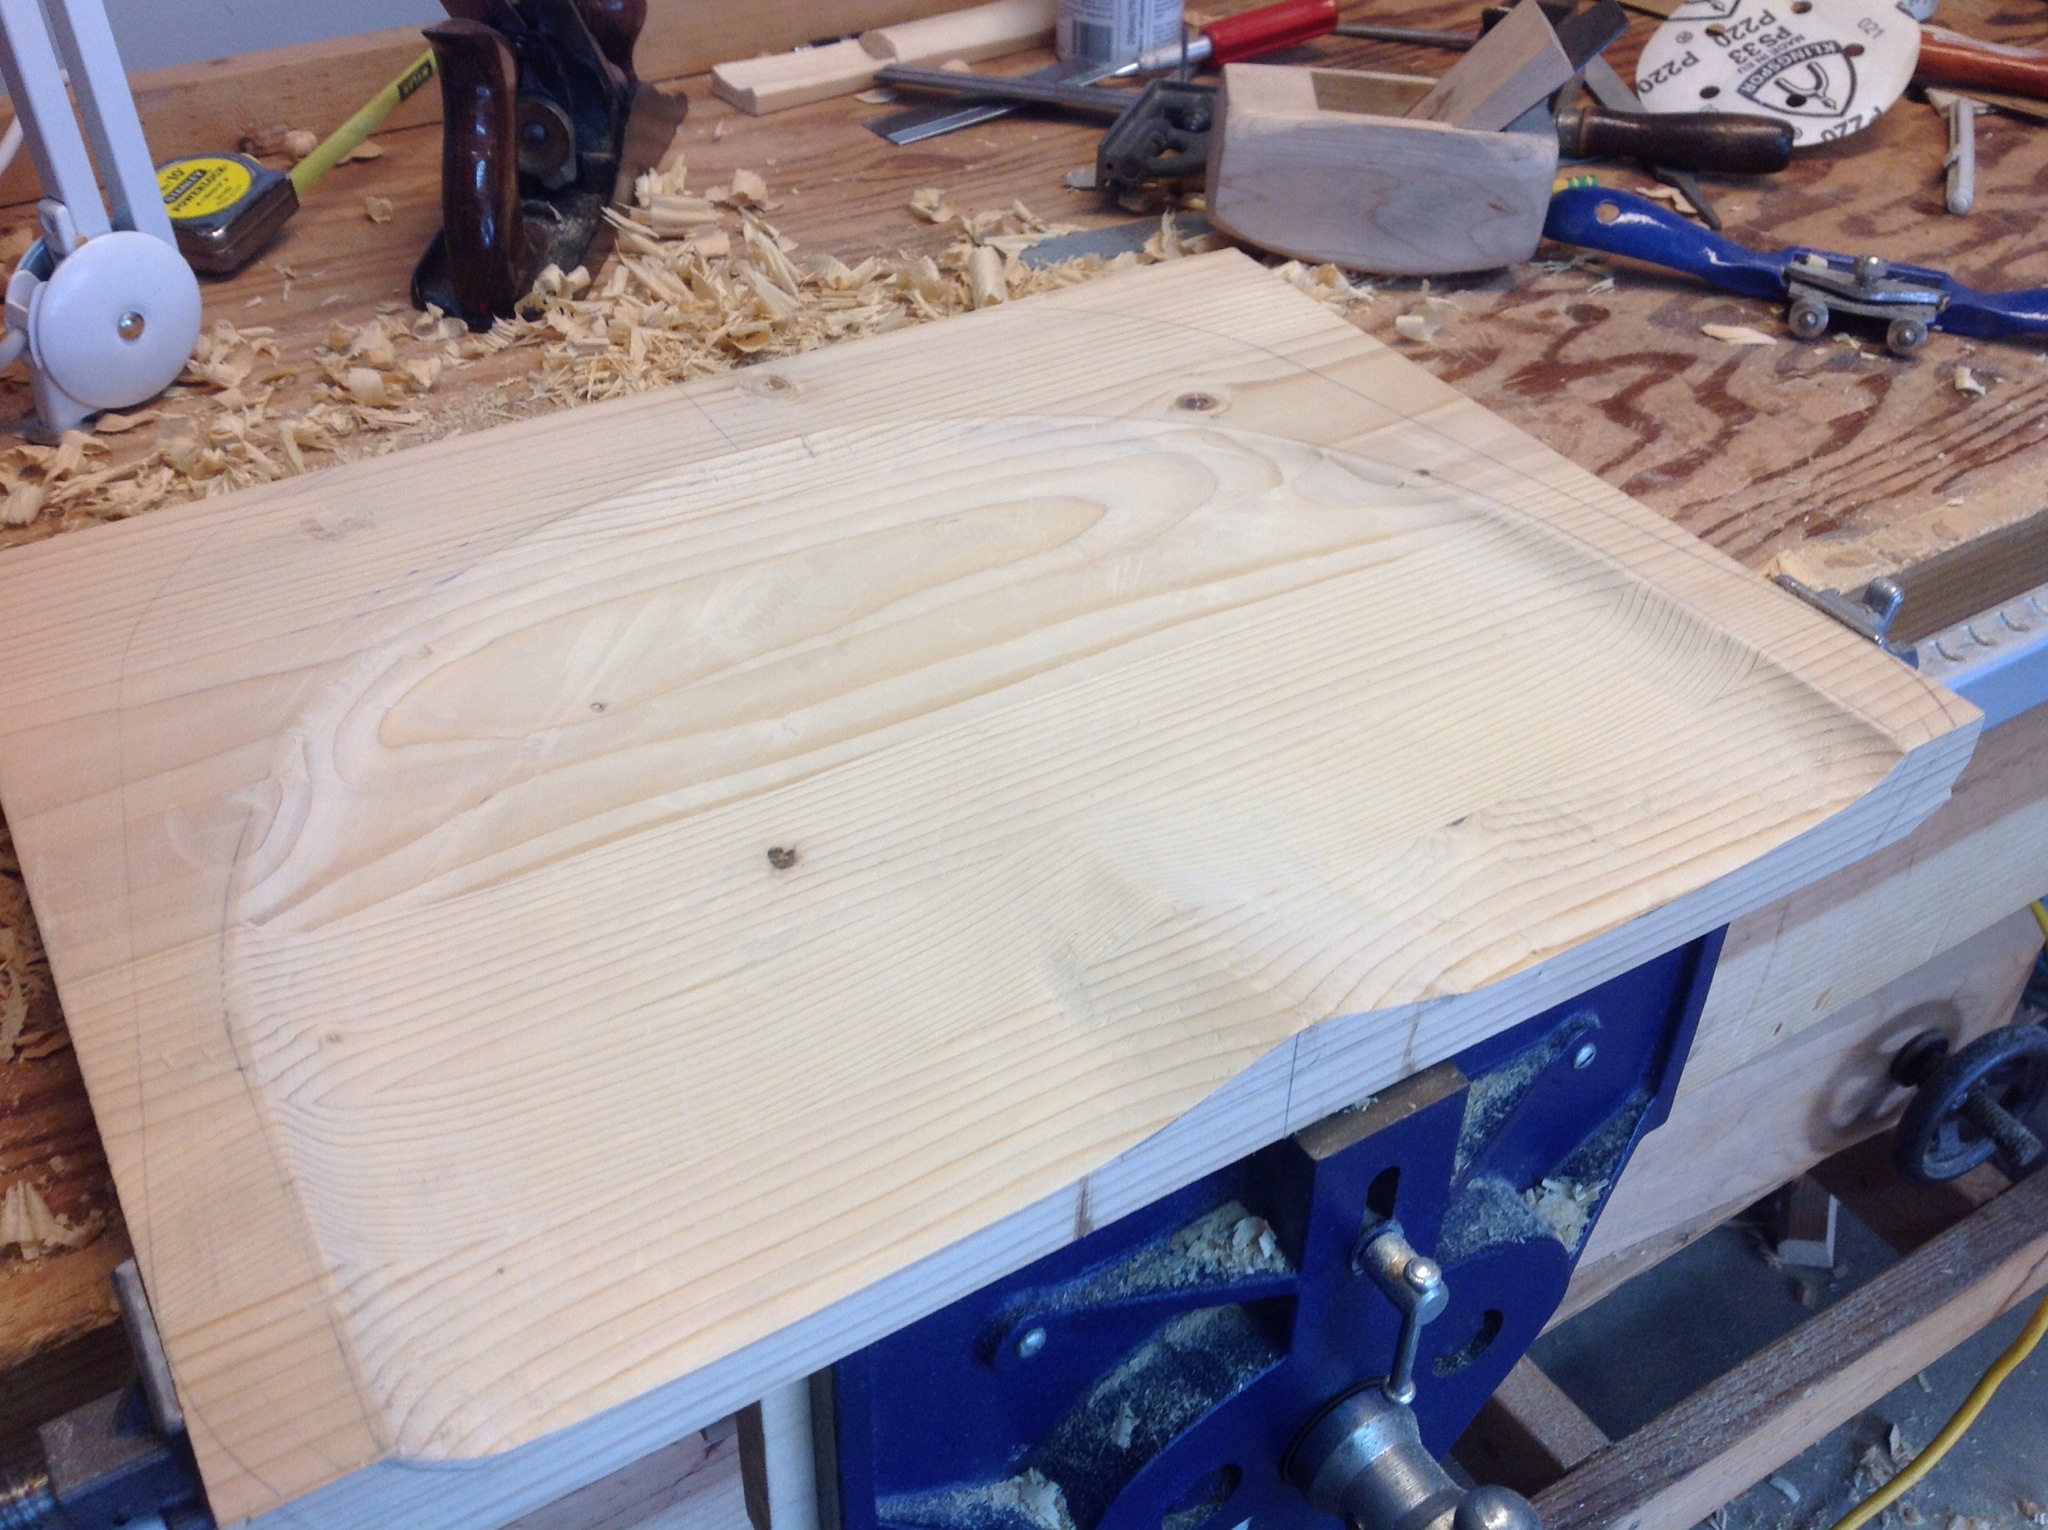
Stool Seat
A stool is not very functional without a seat. As brought up by one of my friends in a comment, I will be carving a tractor style seat for the stool. It is a little intimidating but I have to begin carving.

I began preparing wood for the seat and after several frustrating minutes trying to match edges realized that I was using the wrong tool. Swapping from a Stanley #4 to a #5 it only took a couple of swipes to flatten the ends and make a perfect match. I have been doing so much finish planing lately that I didn’t think about the advantages of a slightly longer plane.

While the glue dried, I went ahead and glued up the stool.
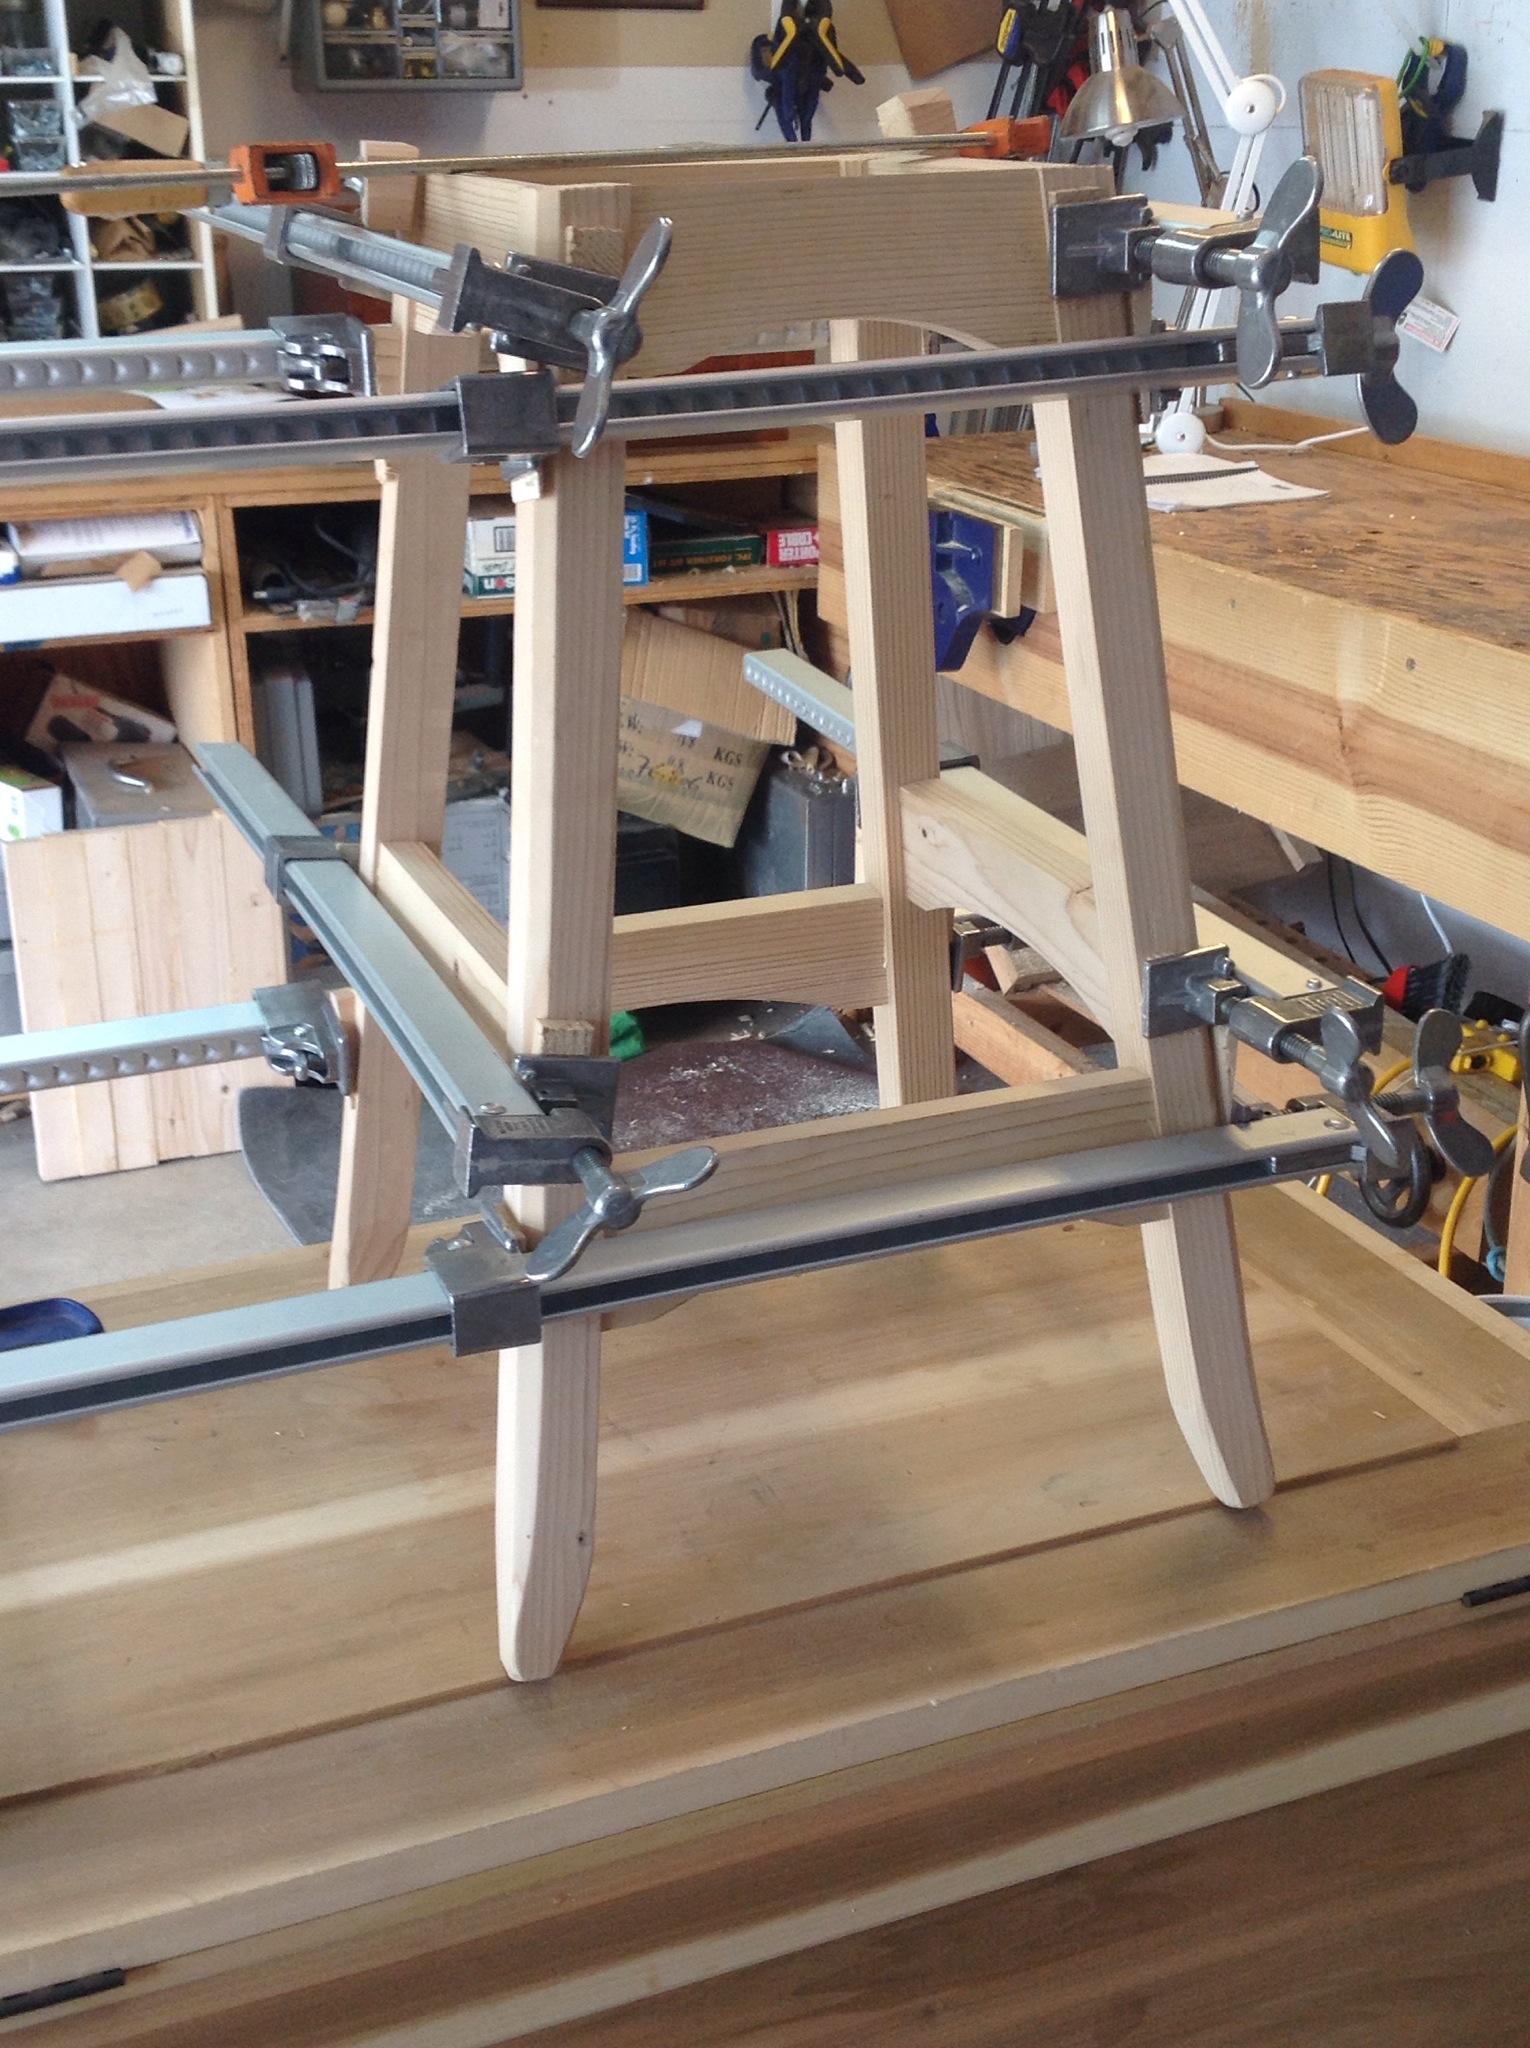
Shaping the Stool Legs
It’s the subtle shaping of wood that adds character to a piece. Although I am only making a stool for my shop it’s fun to add a little lightness to the piece by trimming some wood from the legs.

Shop Stool Arches
After cutting out patterns for the arches in the stool rails. I began to cut the arches themselves. It did not take long (the first arch) to recognize that the shape did not look right. Standing back and staring for several minutes, (which is standard operating procedure when we don’t know what to do) I realized that I needed a shallower arch.
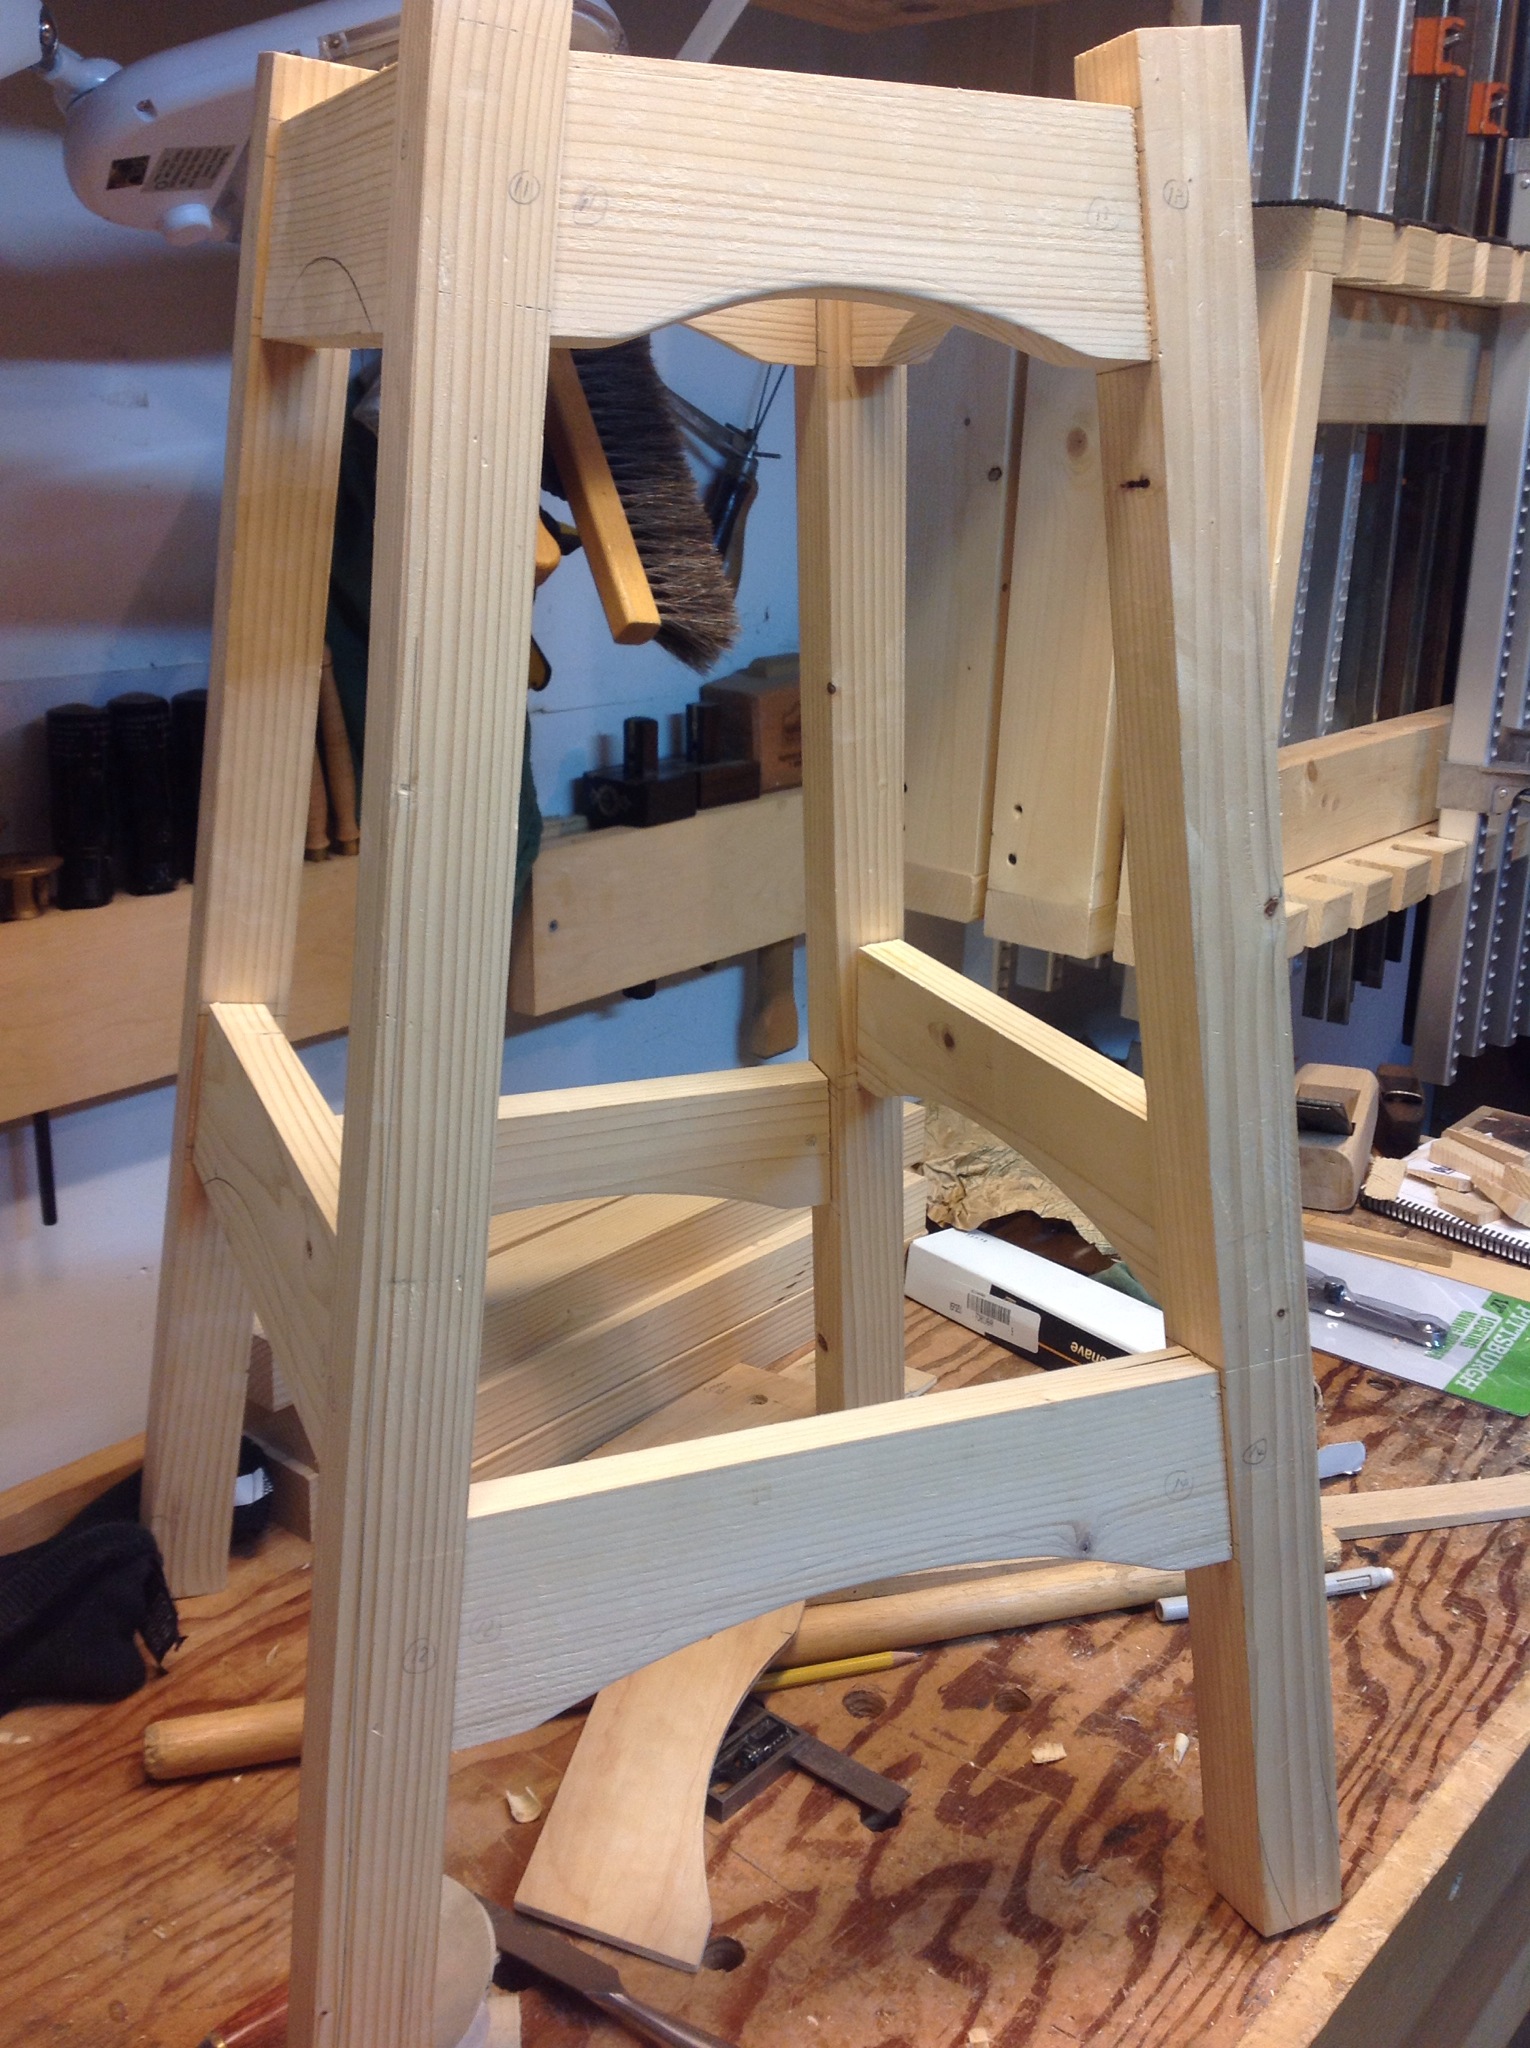
The shallower arch provides a feeling of strength and grace, ok it’s only a stool! I enjoyed cutting the arches using my usual method of saw, chisel and spokeshave.

My chisel skills continue to improve and thus my confidence grows. The upper arches are tighter than the lower and my flat bottom spokeshave struggled with the curve. The curved spokeshave being more difficult to use then the flat prompted me to just ease the curve with my chisel which worked well.
I will shape the legs this weekend and prepare the blank for the seat.
Walking Cane – Rounding the Cane
Reflecting upon Paul Seller’s foundations class which I took a year ago, one of the techniques that still holds my fascination is the use of a hand plane to round over the edges of boards. Until Paul showed the technique I could not fathom that a hand plane turned at a 45 degree angle would not cause tear out.

Rounding the cane is another technique that is quick simple and only requires a hand plane. This cane is tapered, round on one end and oval on the other. I simply marked lines on the sides as guides and converted the four sided piece into an octagon and continued working the sides until they are round. It took about 15 minutes.
There is final shaping left to do on the handle and the final glue up and wedging (not sure if that’s a word?), but before that I’m considering whether to shape the cane or let it remain straight. When I began the project I had every intention of creating a spiral, now I am looking at the wood grain and a couple of areas of tear out and reconsidering.
 Cutting the spiral looks relatively easy but I think with the grain it will be very difficult to smooth. Sometimes less is more and I may just leave the cane straight and let the wood speak for itself. Besides I still have half a stool to complete….
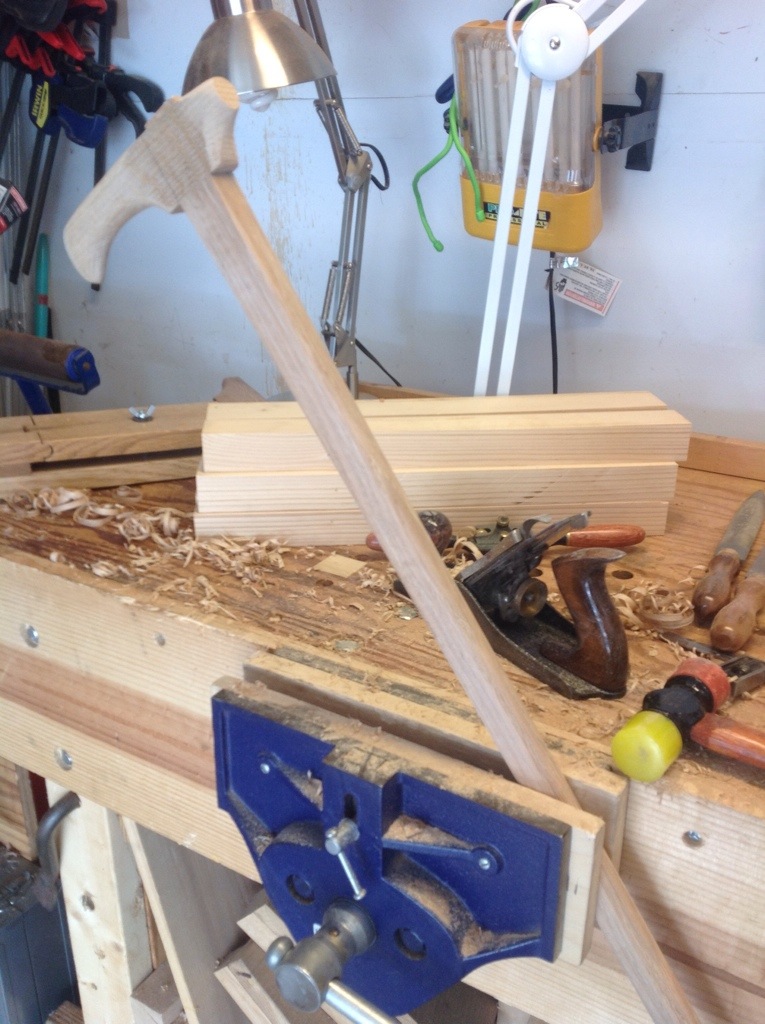
Walking Cane Handle
 Shaping the handle of the walking cane was fun. I penciled a rough outline onto the sides and began removing wood.
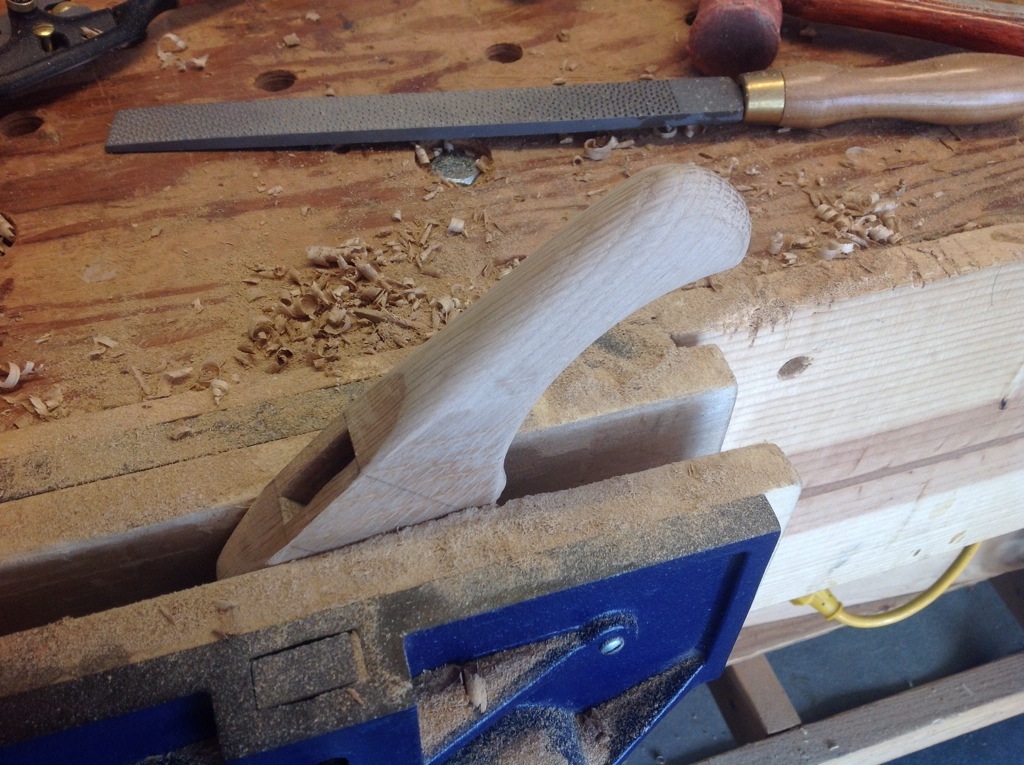
Several tools used in shaping the handle: saw, 3/4″ chisel, spokeshave, rasp and file.
Where the fingers grab the handle I used a saw and chisel to remove the bulk of the wood. No photographs of this process, but here is a link to previous post (saw vise curves). For those of you who like using a coping saw that would work just as well.
The remainder of the shaping was a process of removing wood until the shape began to appear and smoothing until it is comfortable in my hand.
 I had to be cautious around the mortise to ensure a tight fit when the handle is attached. The shape will be refined more when The handle and cane are attached.
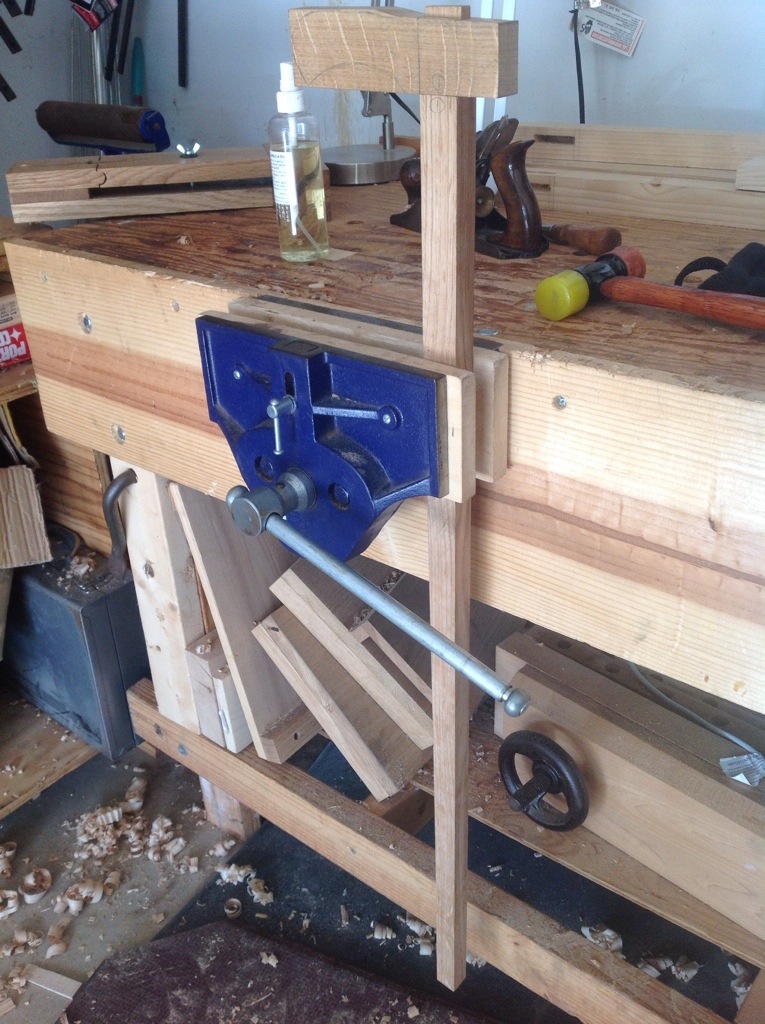
Walking Cane Mortise
The walking cane is the only project I can think of that uses a single mortise and tenon joint. It is however a very visible joint and can add or detract from the cane.


Walking Cane
While I was milling lumber for the shop stool, I also milled a couple of pieces of oak for making a walking cane. One of the projects in Paul Seller’s Masterclasses is a cane and the curves look like a great challenge. I have done very little carving and this should be a great project to discover new skills.
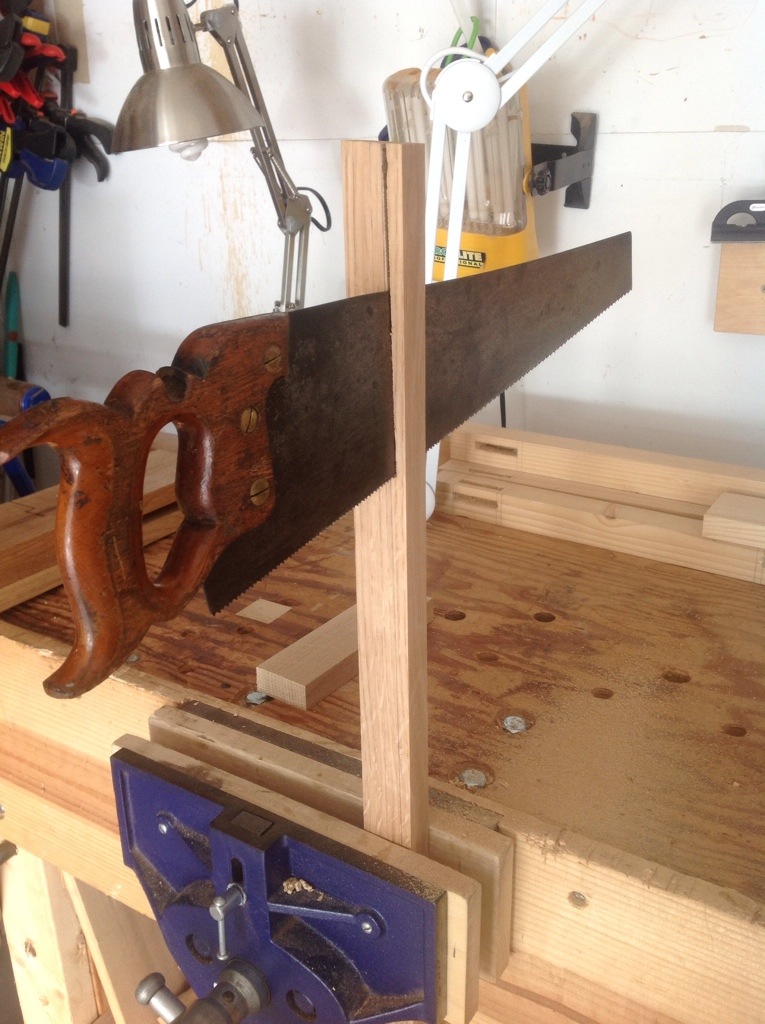
Dimensioning the lumber was quick since there are only two pieces, the handle and the cane itself. The cane is tapered from top to bottom and I used my panel saw to make the taper. This is the same saw that I blogged about a year ago. It is one of the most useful saws I have and is perfect for making cuts such as this tapered cut. Keep an eye out for a used one, you will be very happy with it.

After smoothing all of the pieces I roughed out the shape of the handle and located where the mortise and tenon will lie. After cutting all the mortises in pine for the shop stool I am glad to be working with oak again. The softness of the pine makes it more difficult to work and much easier to dent.

