Archive
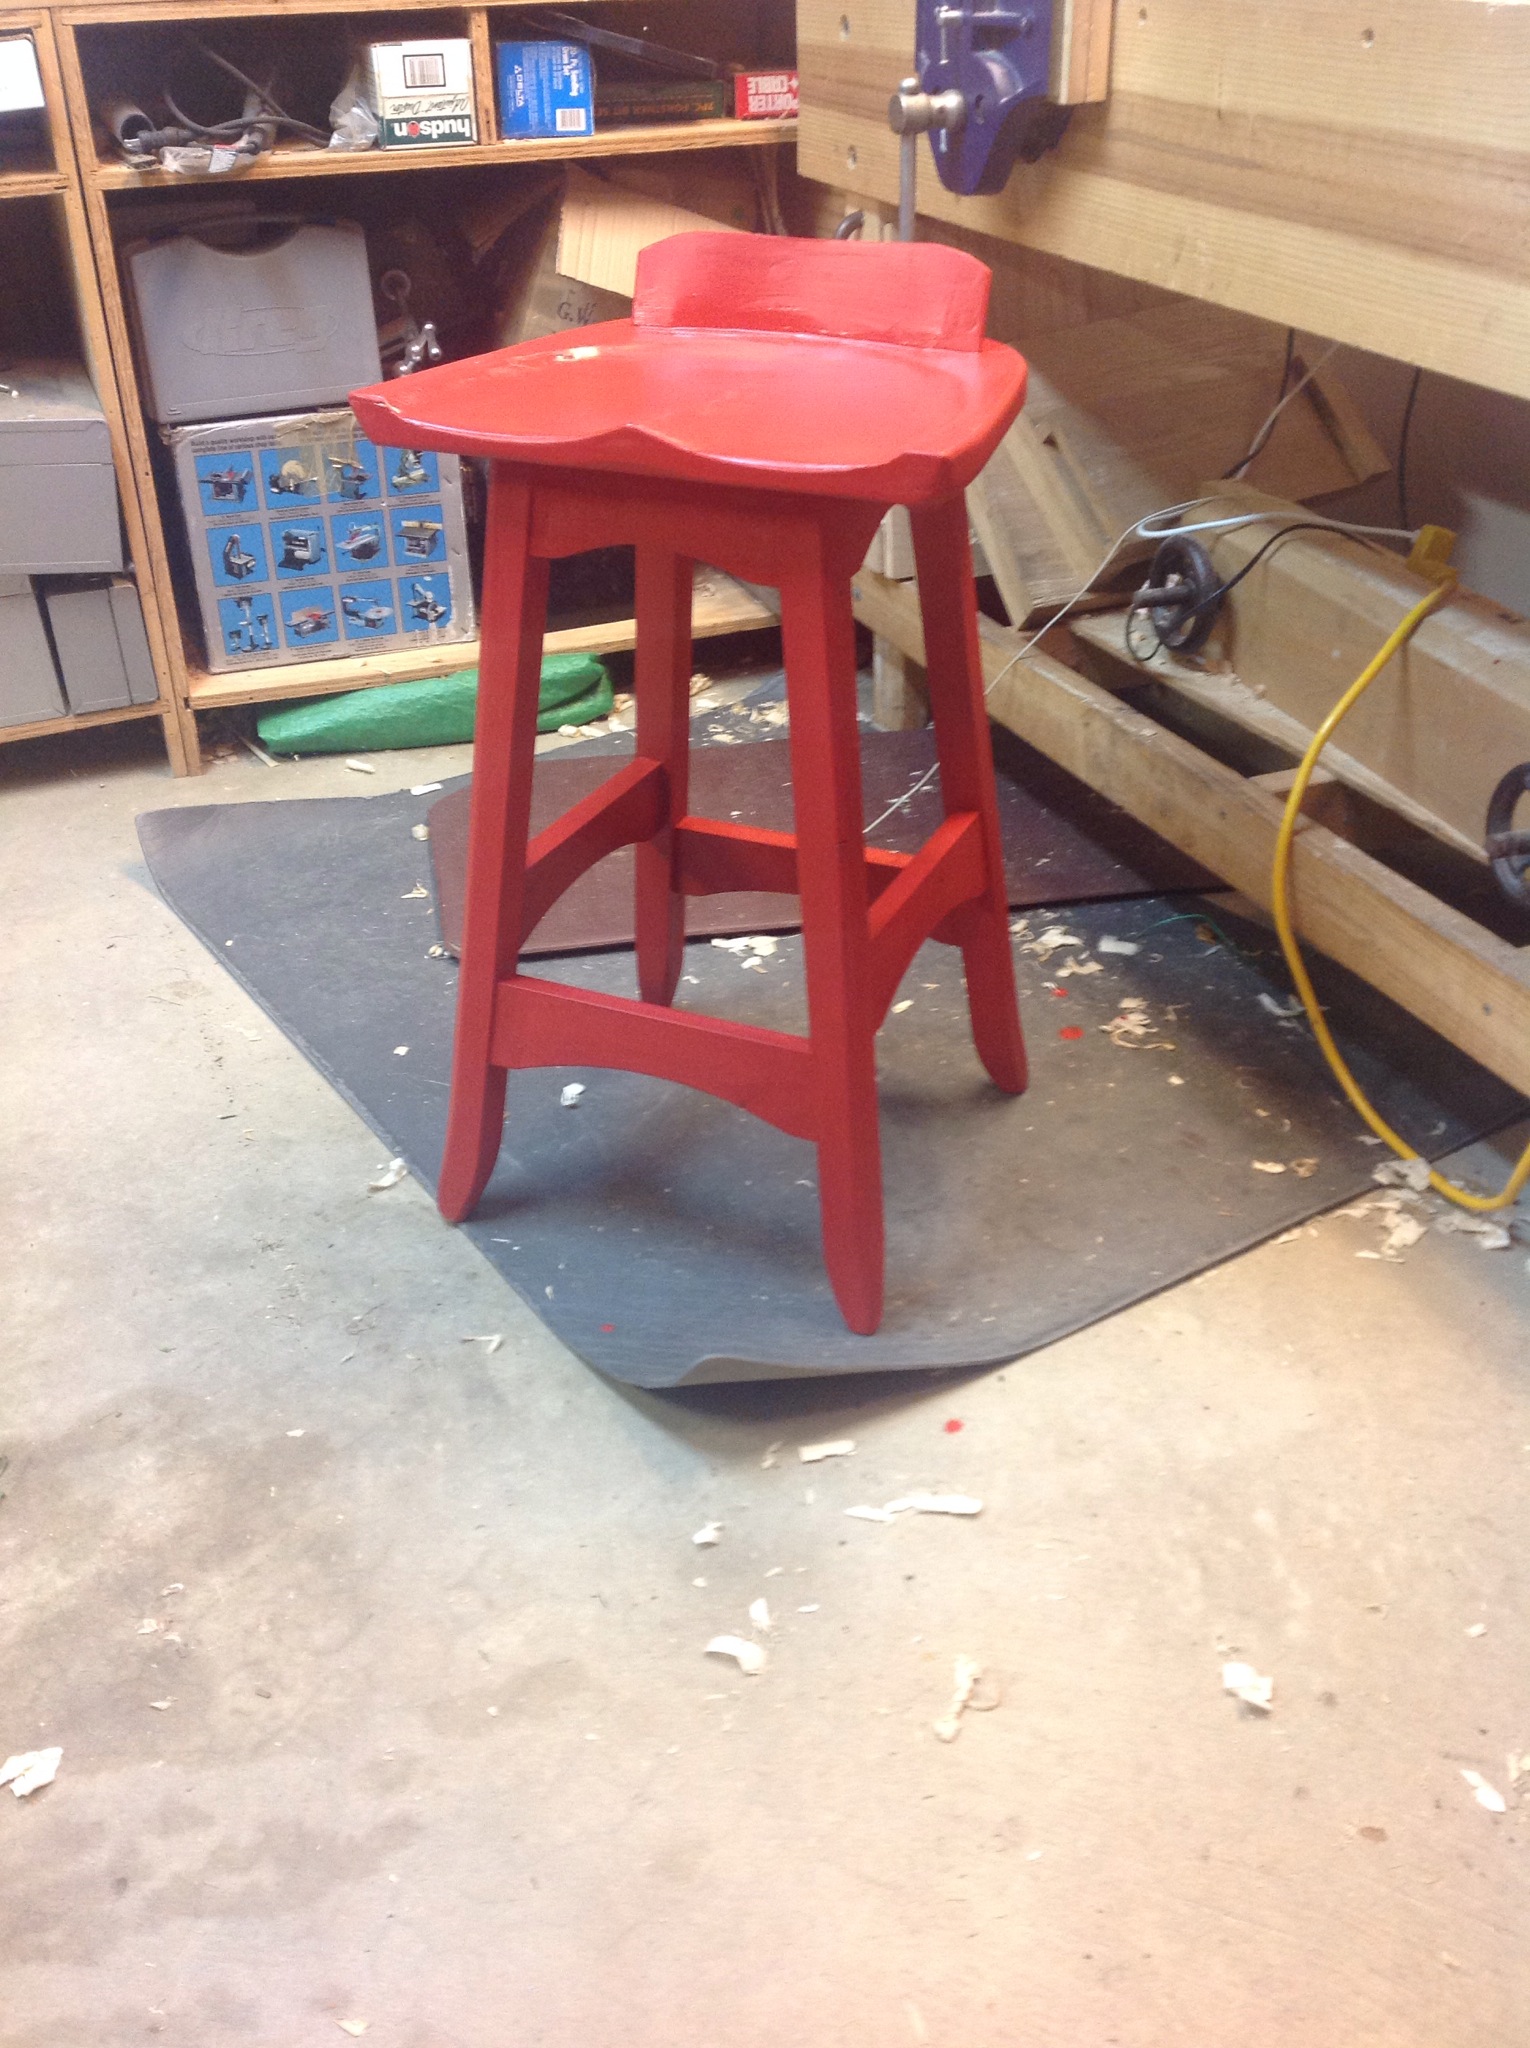
Bench Stool Finished
When I completed my tool chest over a year ago I purchased a can of paint which has stayed on the corner of the kitchen counter. Red chili did not seem to be right for the chest so I submit it here as a possible color for the completed stool. A couple of thoughts as I finish this project.
1. How in the world did it take this long?
2. I don’t really like working in soft woods!
3. It was fun making the tenons and mortises especially with the angles.
4. The stool is really comfortable.
5. One day I will stage a photograph without the clutter.
6. Onwards to the next project!
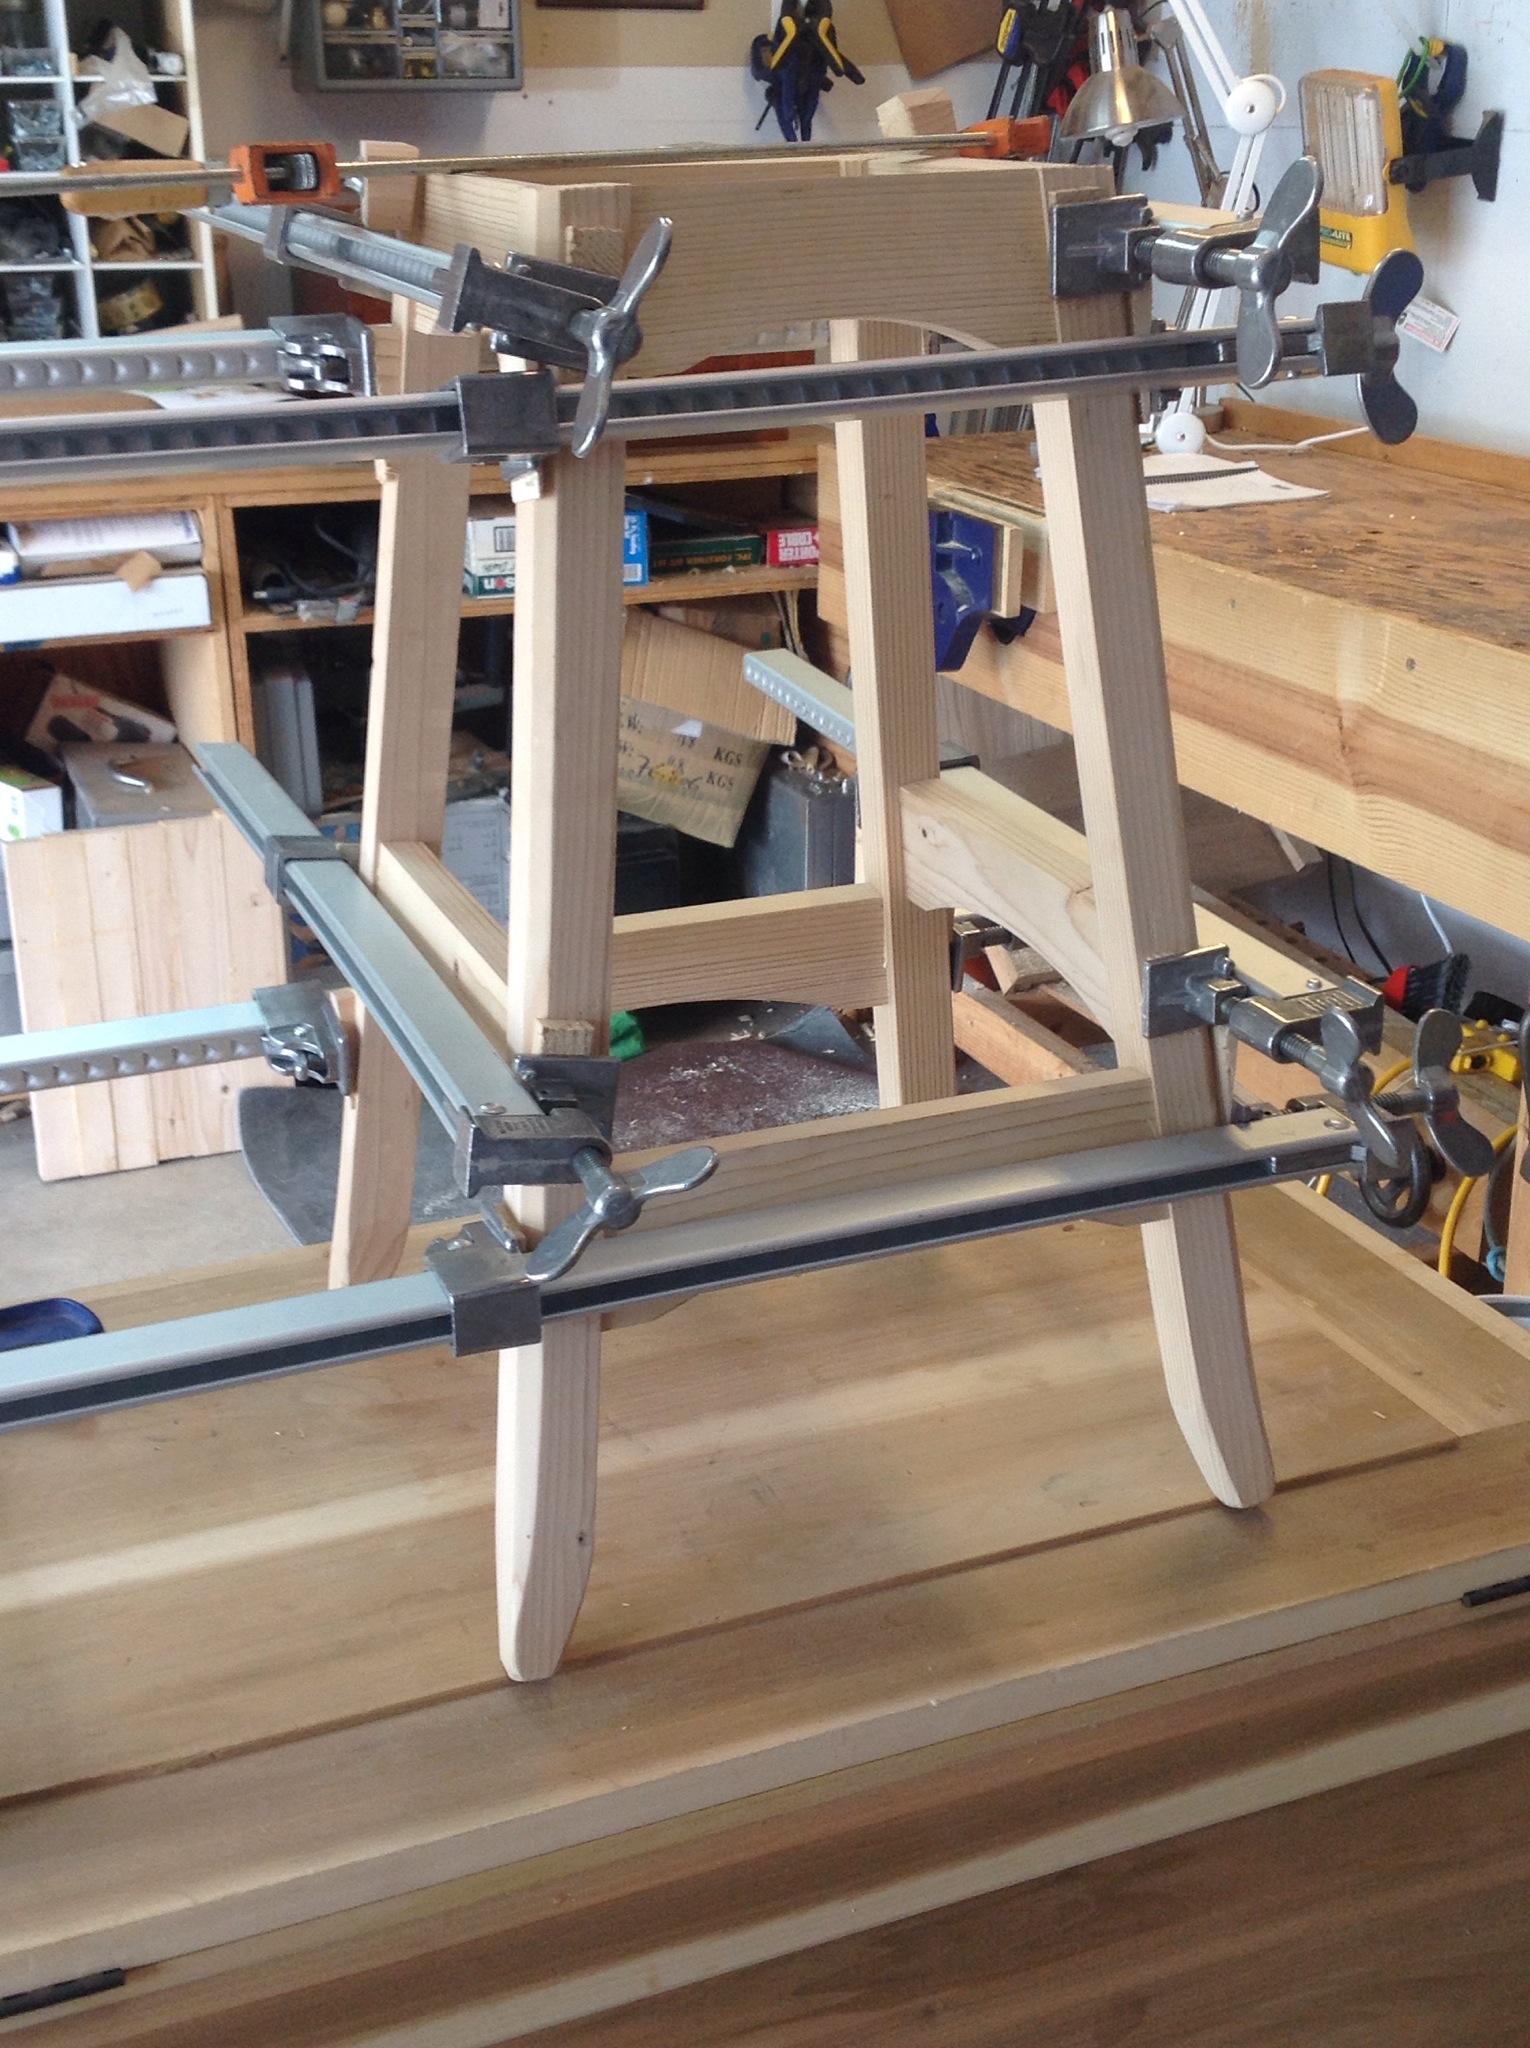
Bench Stool in one piece
With all of the parts complete, I attached a couple of pieces for the screws and attached the seat.

Next the back support was attached with glue. I am still not sure of the size and shape of the back support but it is now attached.
Fin

Finally the seat is attached using screws.

Of course who could forget the little repair needed when I sent the chisel through the leg.

Seat shaping
Throughout the past week time was spent shaping the stool seat. As demonstrated by Paul Sellers I used a #7 gouge. This is my first experience with this tool and it has been fun. Took a little time to work out the sharpening technique, but all is well.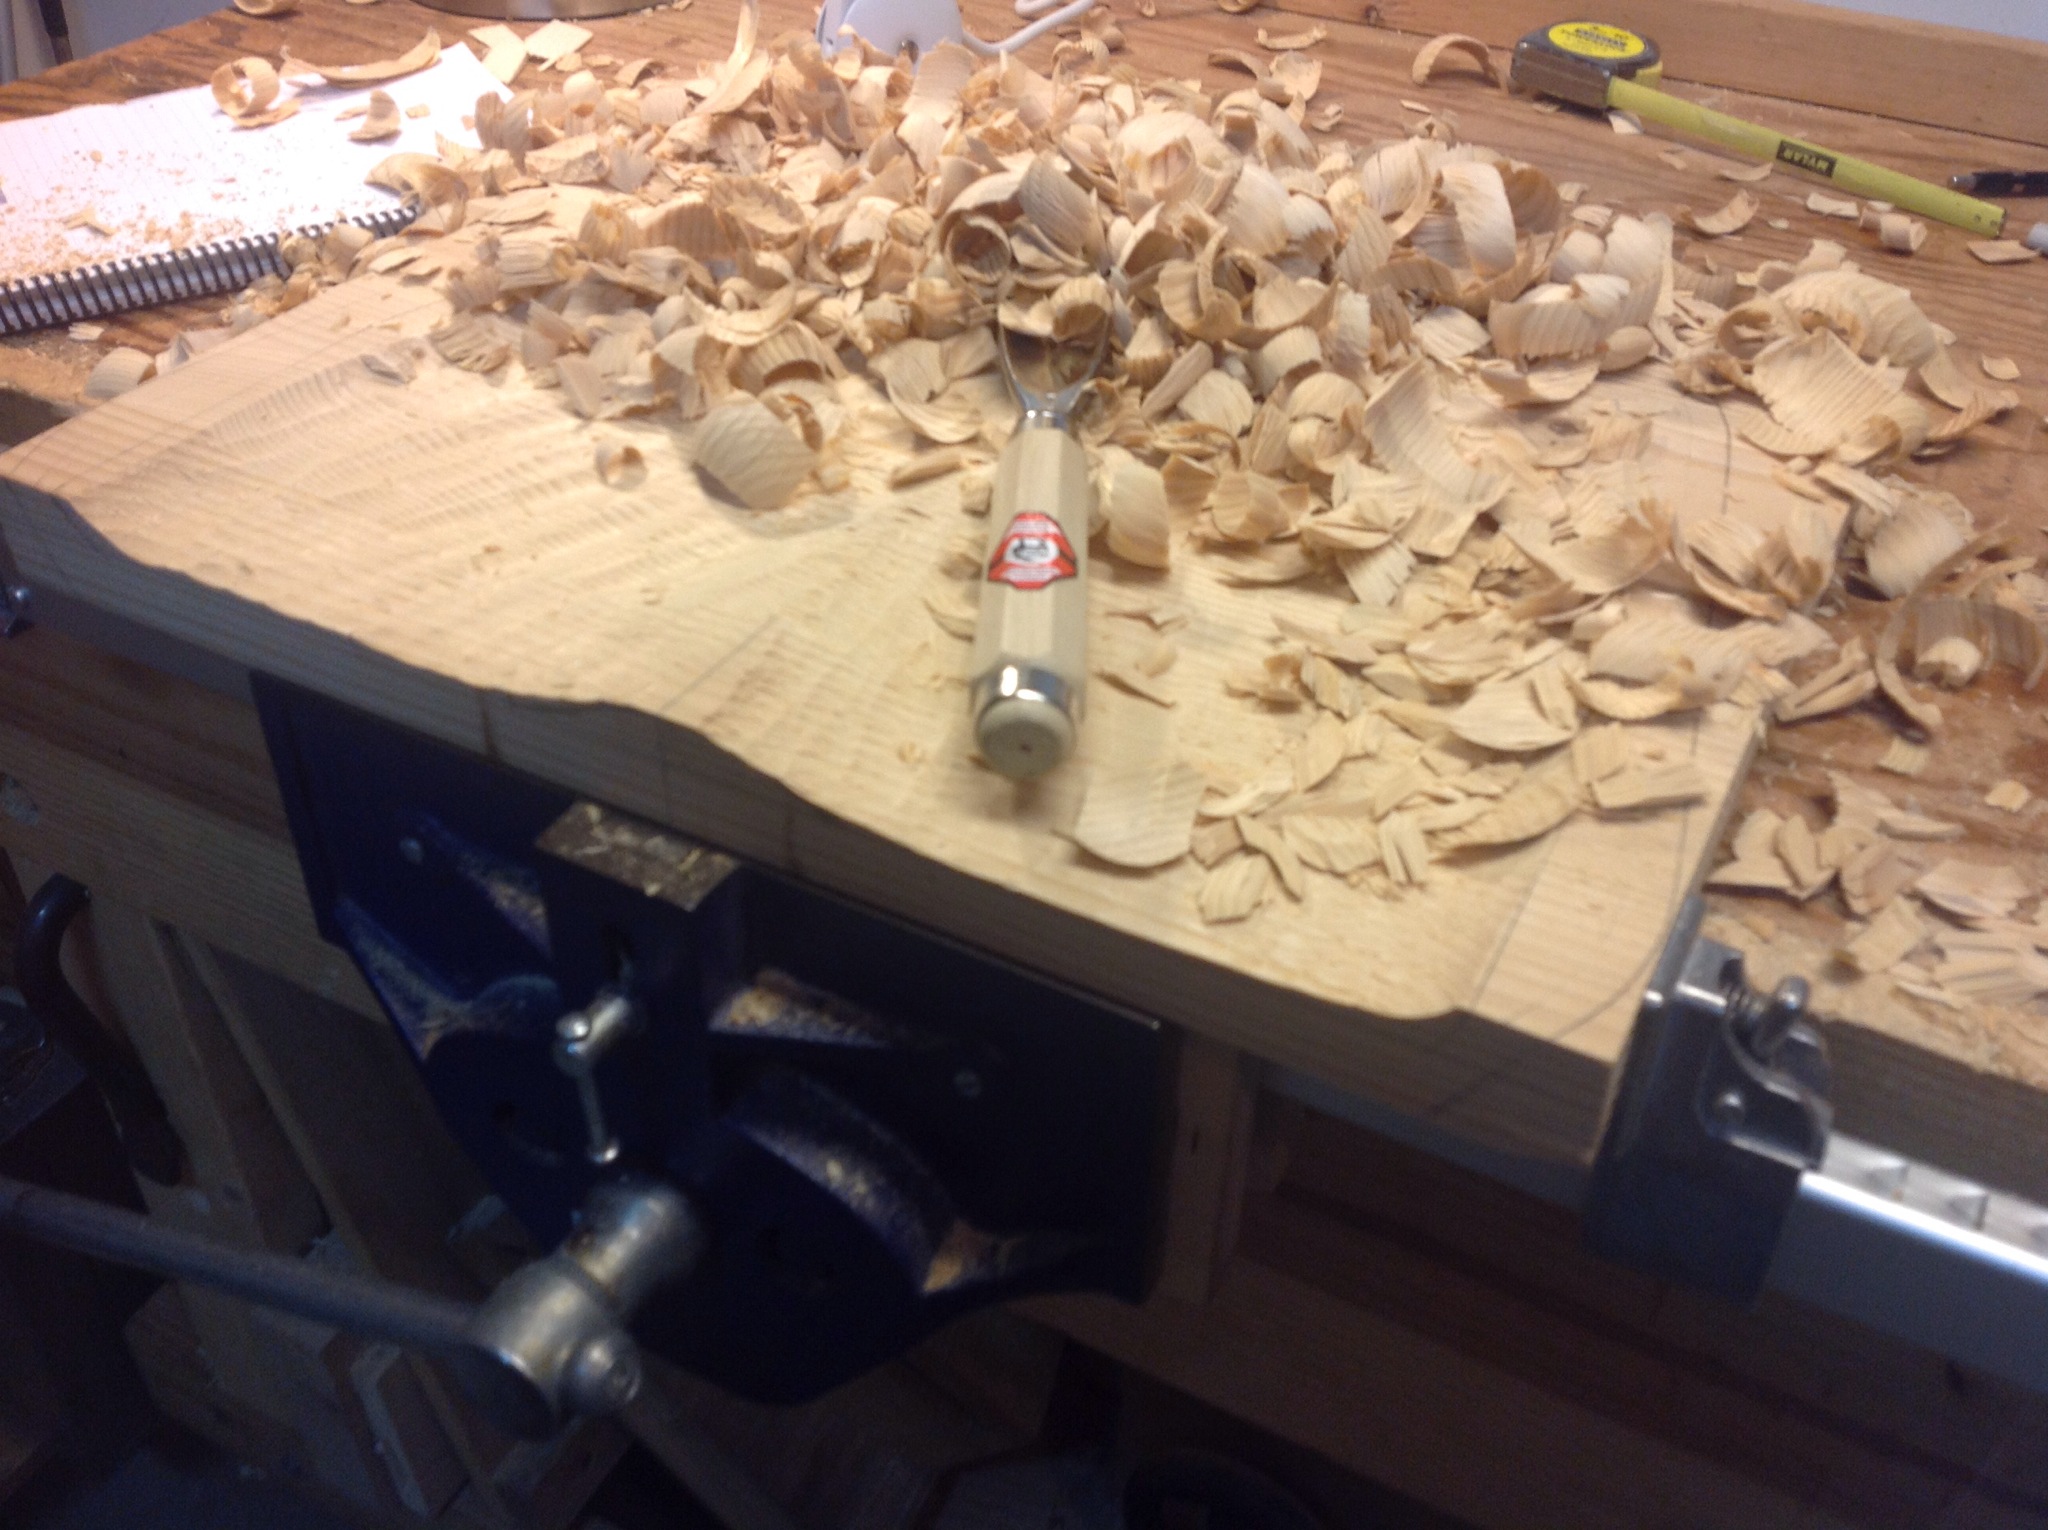
The most surprising aspect is how little time it took to get the shape I wanted. If I am calculating correctly approximately two hours over a couple of evenings. There are a few areas that need to be smoothed and some shaping in the front to ease the edges, but the bulk of the work has been completed. In the background of the photograph is the plane that I began last winter specifically for this project. It worked fairly well and helped with the smoothing after using the gouge. Doing this project again I would make a smaller plane.
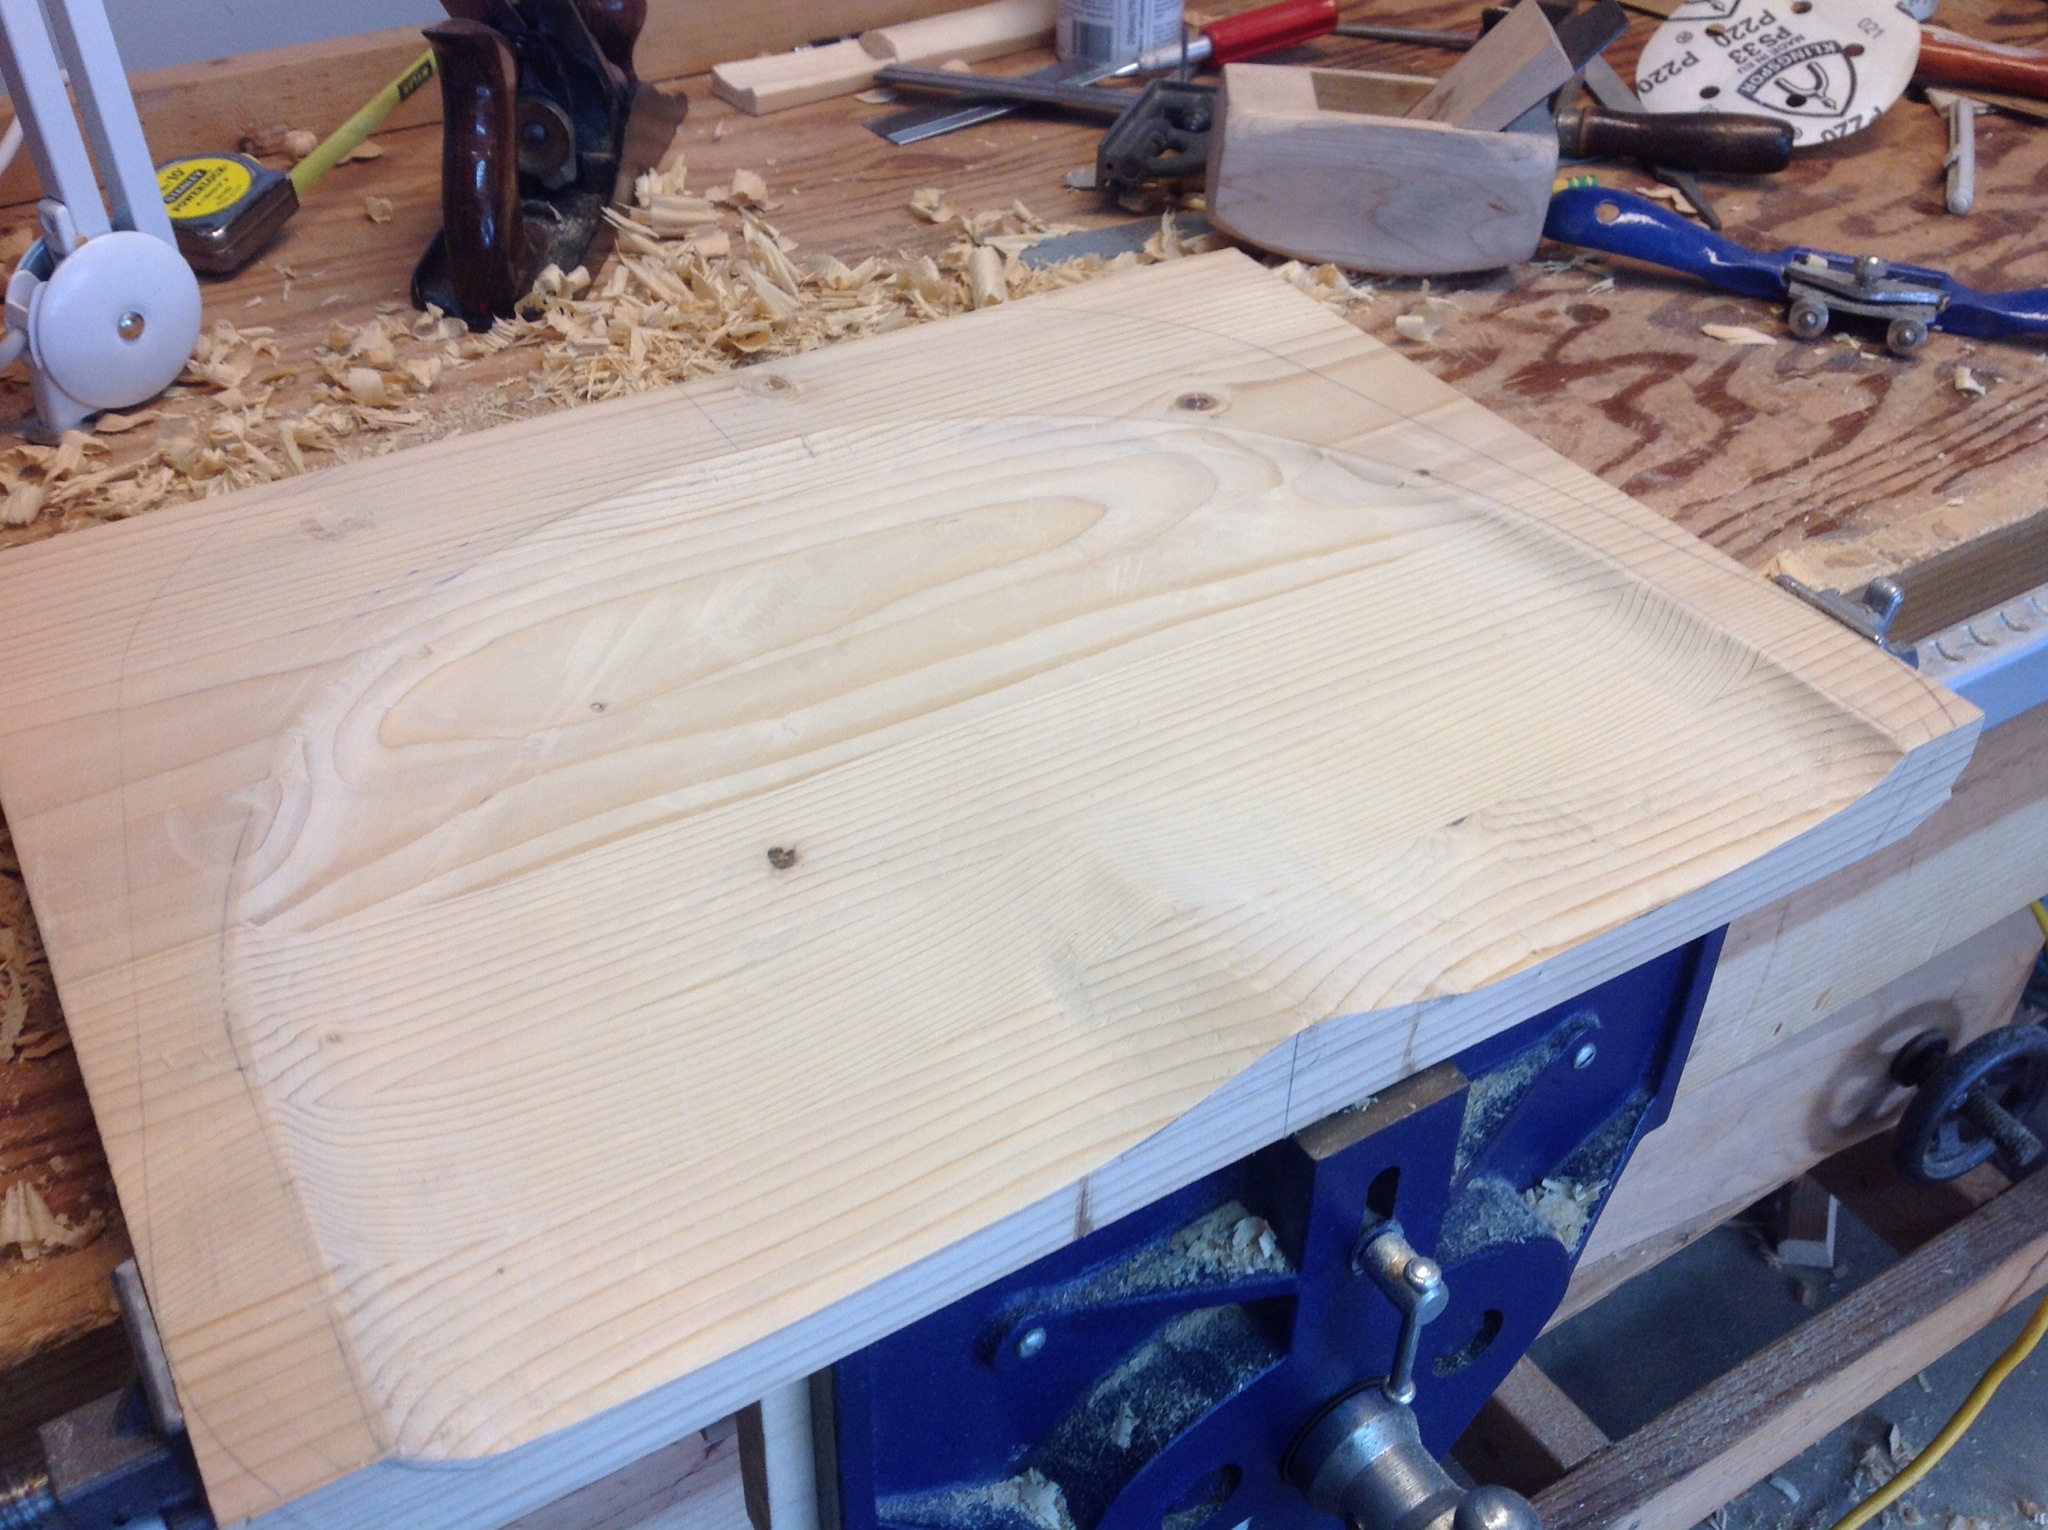
Stool Seat
A stool is not very functional without a seat. As brought up by one of my friends in a comment, I will be carving a tractor style seat for the stool. It is a little intimidating but I have to begin carving.

I began preparing wood for the seat and after several frustrating minutes trying to match edges realized that I was using the wrong tool. Swapping from a Stanley #4 to a #5 it only took a couple of swipes to flatten the ends and make a perfect match. I have been doing so much finish planing lately that I didn’t think about the advantages of a slightly longer plane.

While the glue dried, I went ahead and glued up the stool.
Shaping the Stool Legs
It’s the subtle shaping of wood that adds character to a piece. Although I am only making a stool for my shop it’s fun to add a little lightness to the piece by trimming some wood from the legs.

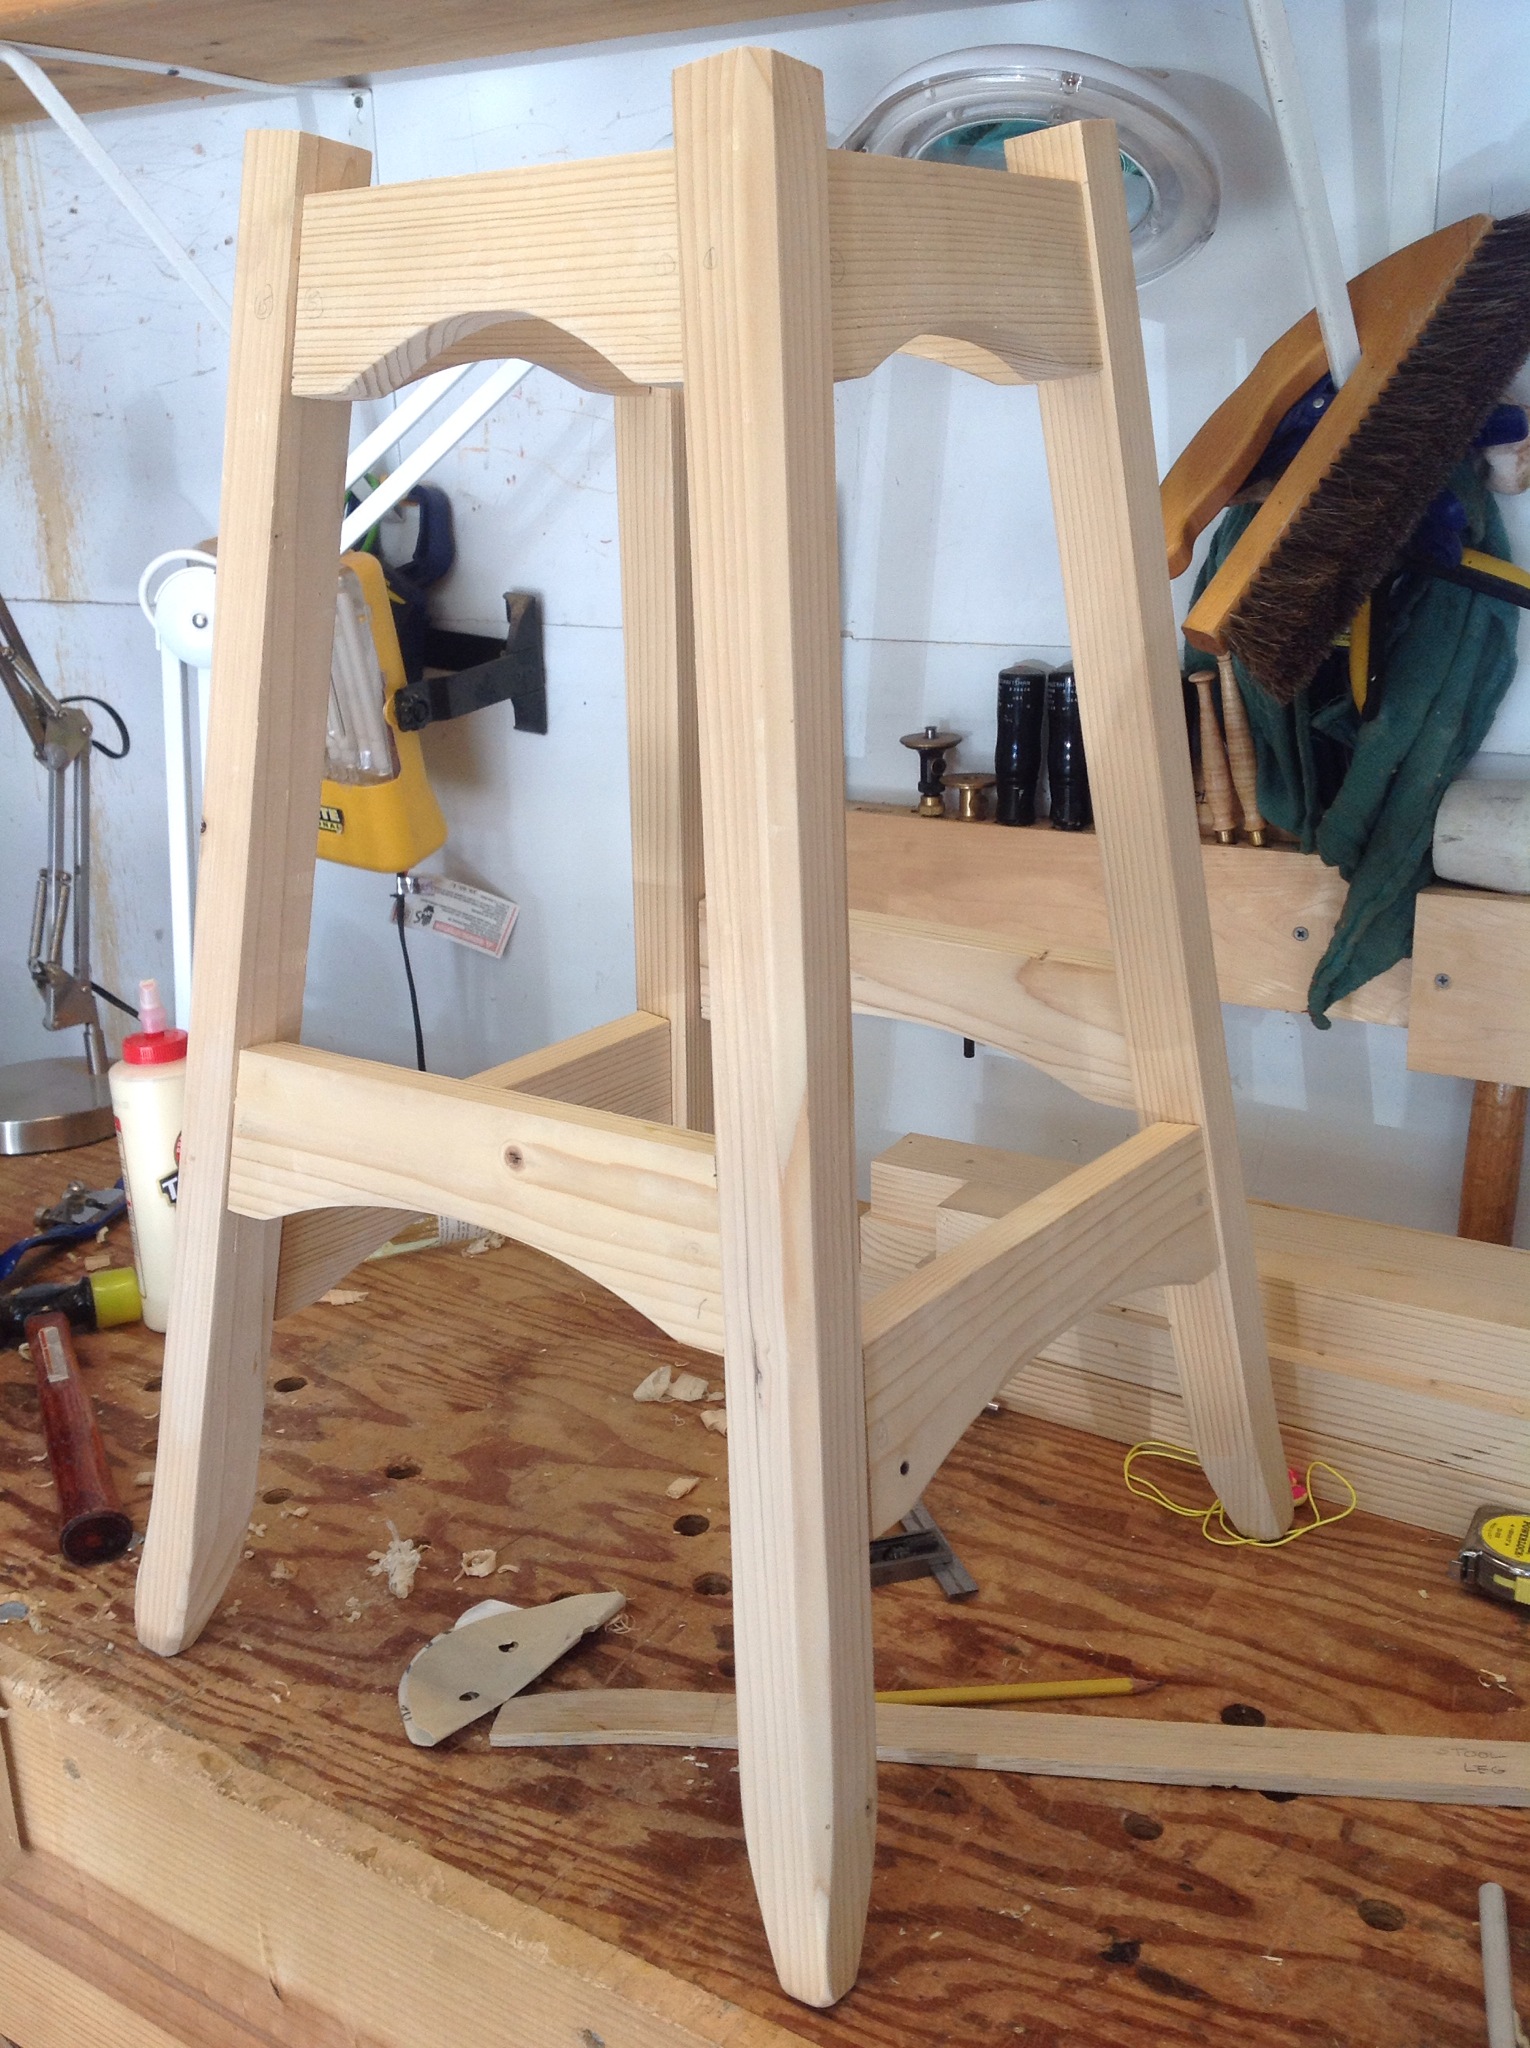
Shop Stool Arches
After cutting out patterns for the arches in the stool rails. I began to cut the arches themselves. It did not take long (the first arch) to recognize that the shape did not look right. Standing back and staring for several minutes, (which is standard operating procedure when we don’t know what to do) I realized that I needed a shallower arch.
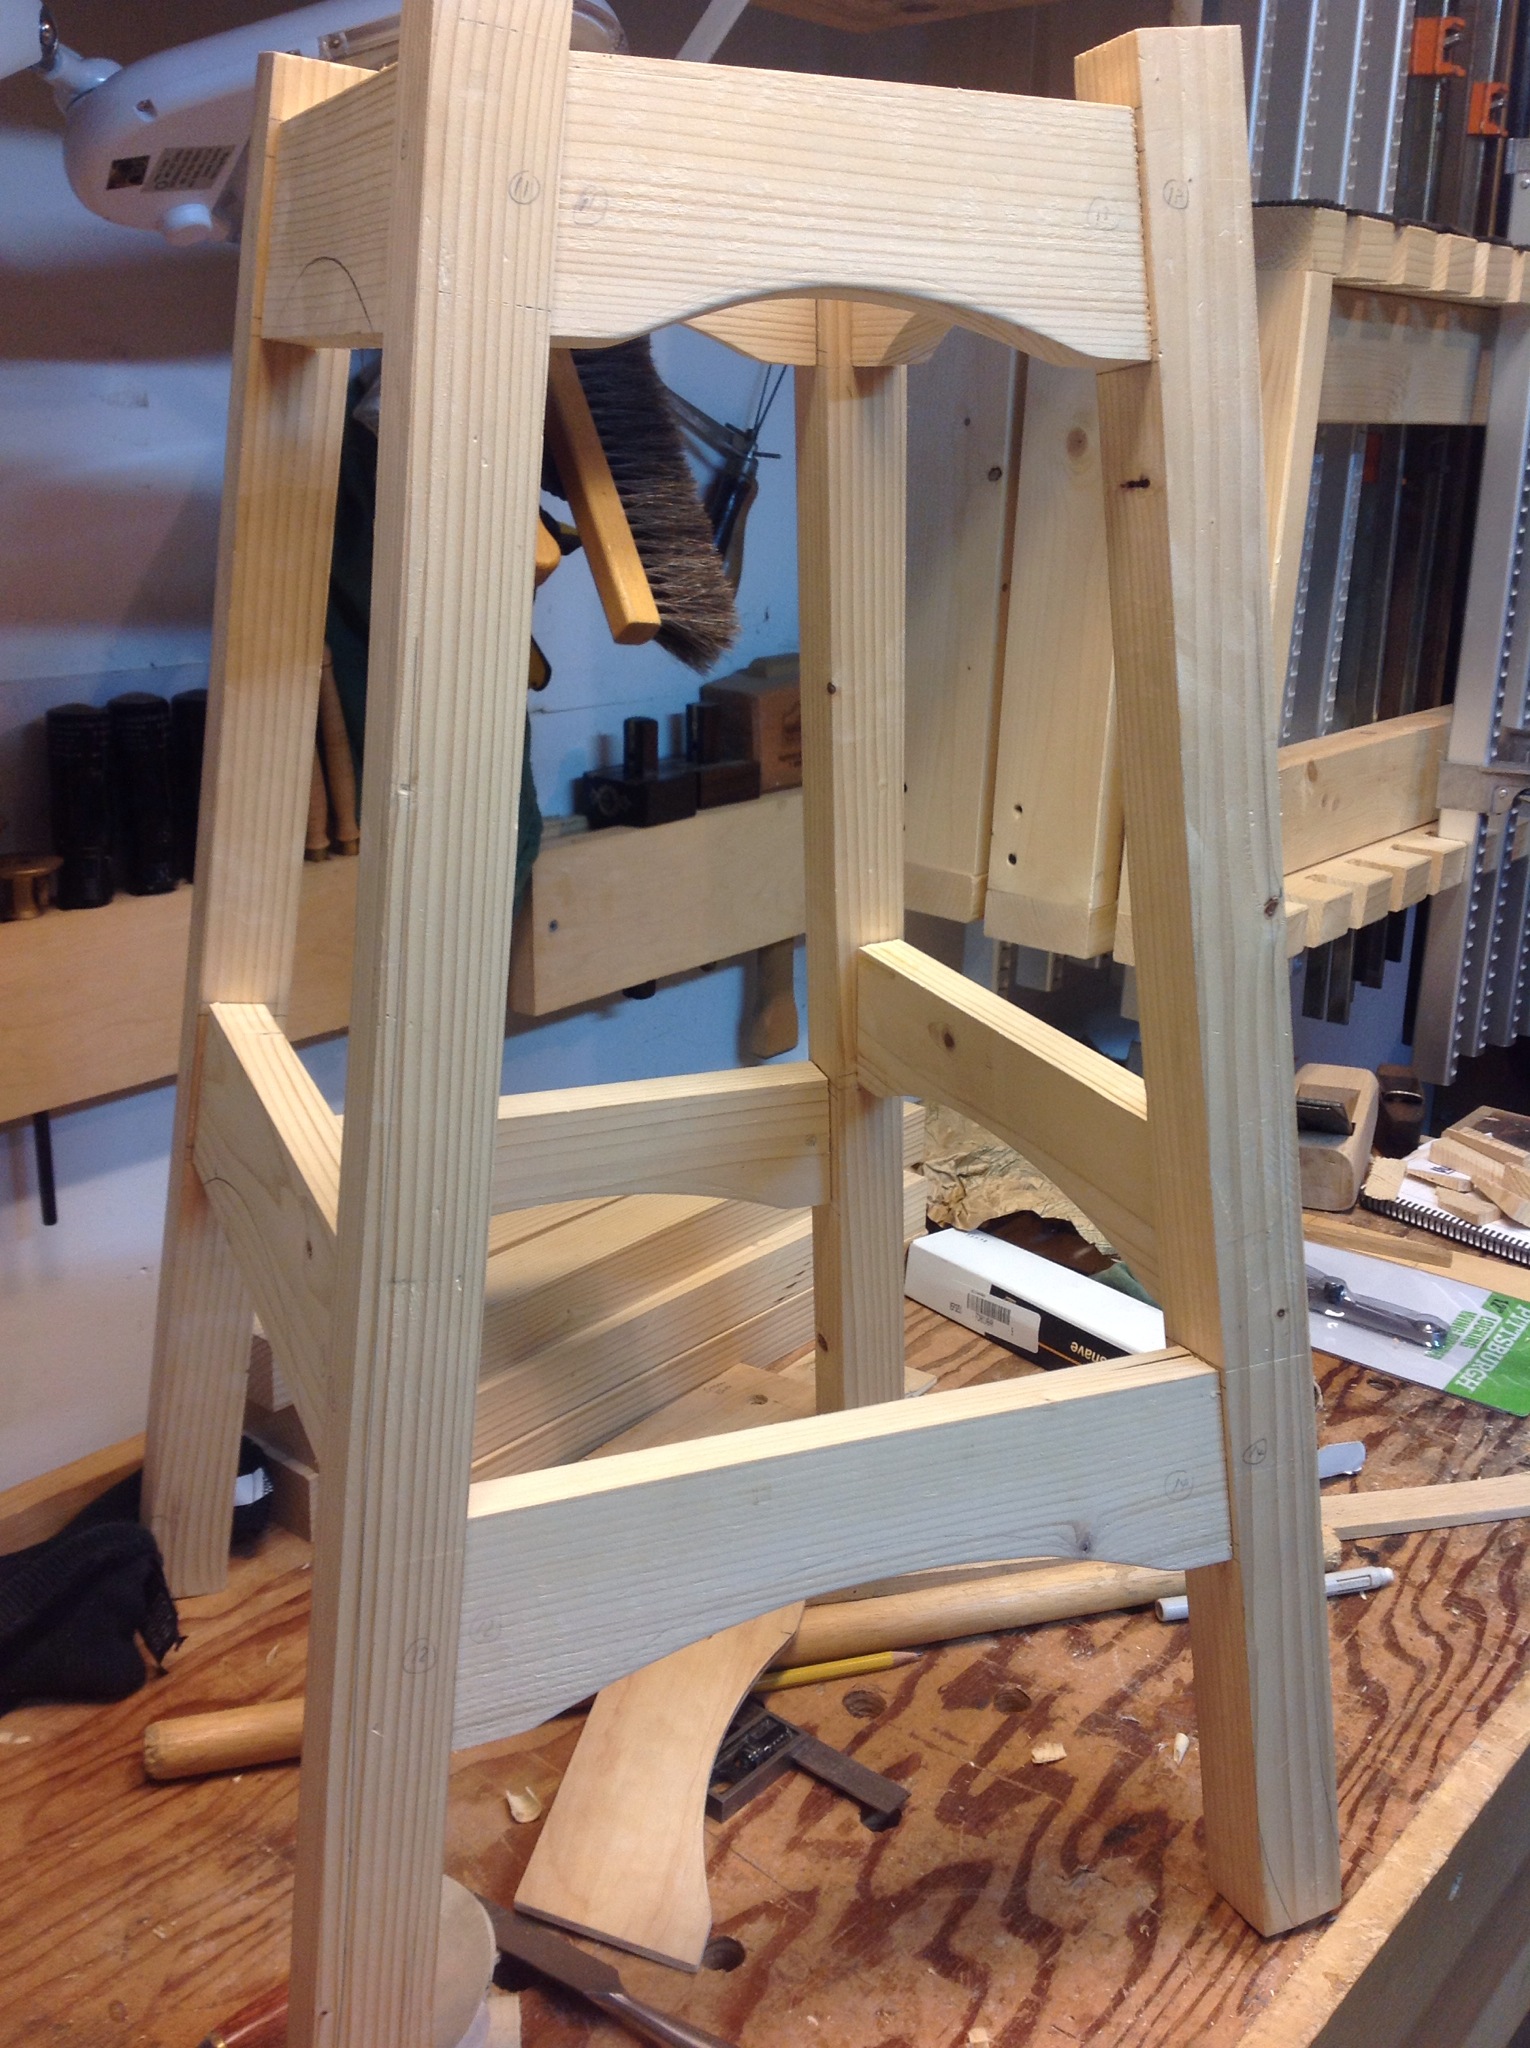
The shallower arch provides a feeling of strength and grace, ok it’s only a stool! I enjoyed cutting the arches using my usual method of saw, chisel and spokeshave.

My chisel skills continue to improve and thus my confidence grows. The upper arches are tighter than the lower and my flat bottom spokeshave struggled with the curve. The curved spokeshave being more difficult to use then the flat prompted me to just ease the curve with my chisel which worked well.
I will shape the legs this weekend and prepare the blank for the seat.
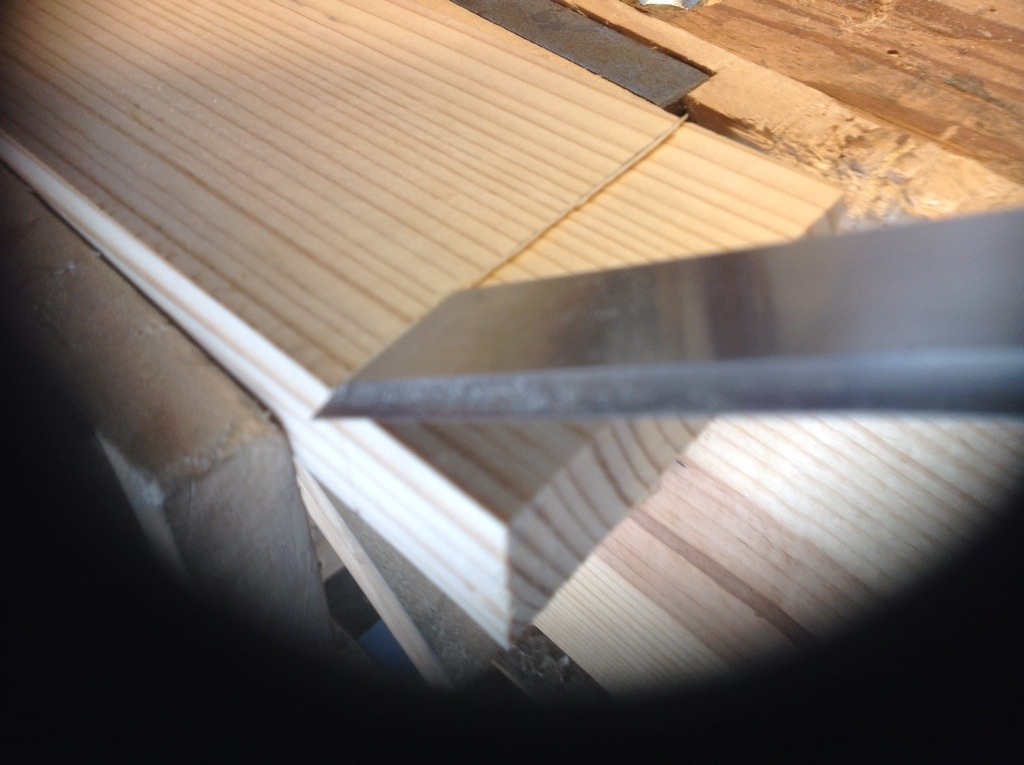
Shop Stool Tenons
Since finishing the mortises last week, I suppose the next step is cutting tenons and since I have taken very few photographs you will just have to trust that it was hot, humid and I did them all myself without any help.

I hope everyone had a great weekend!
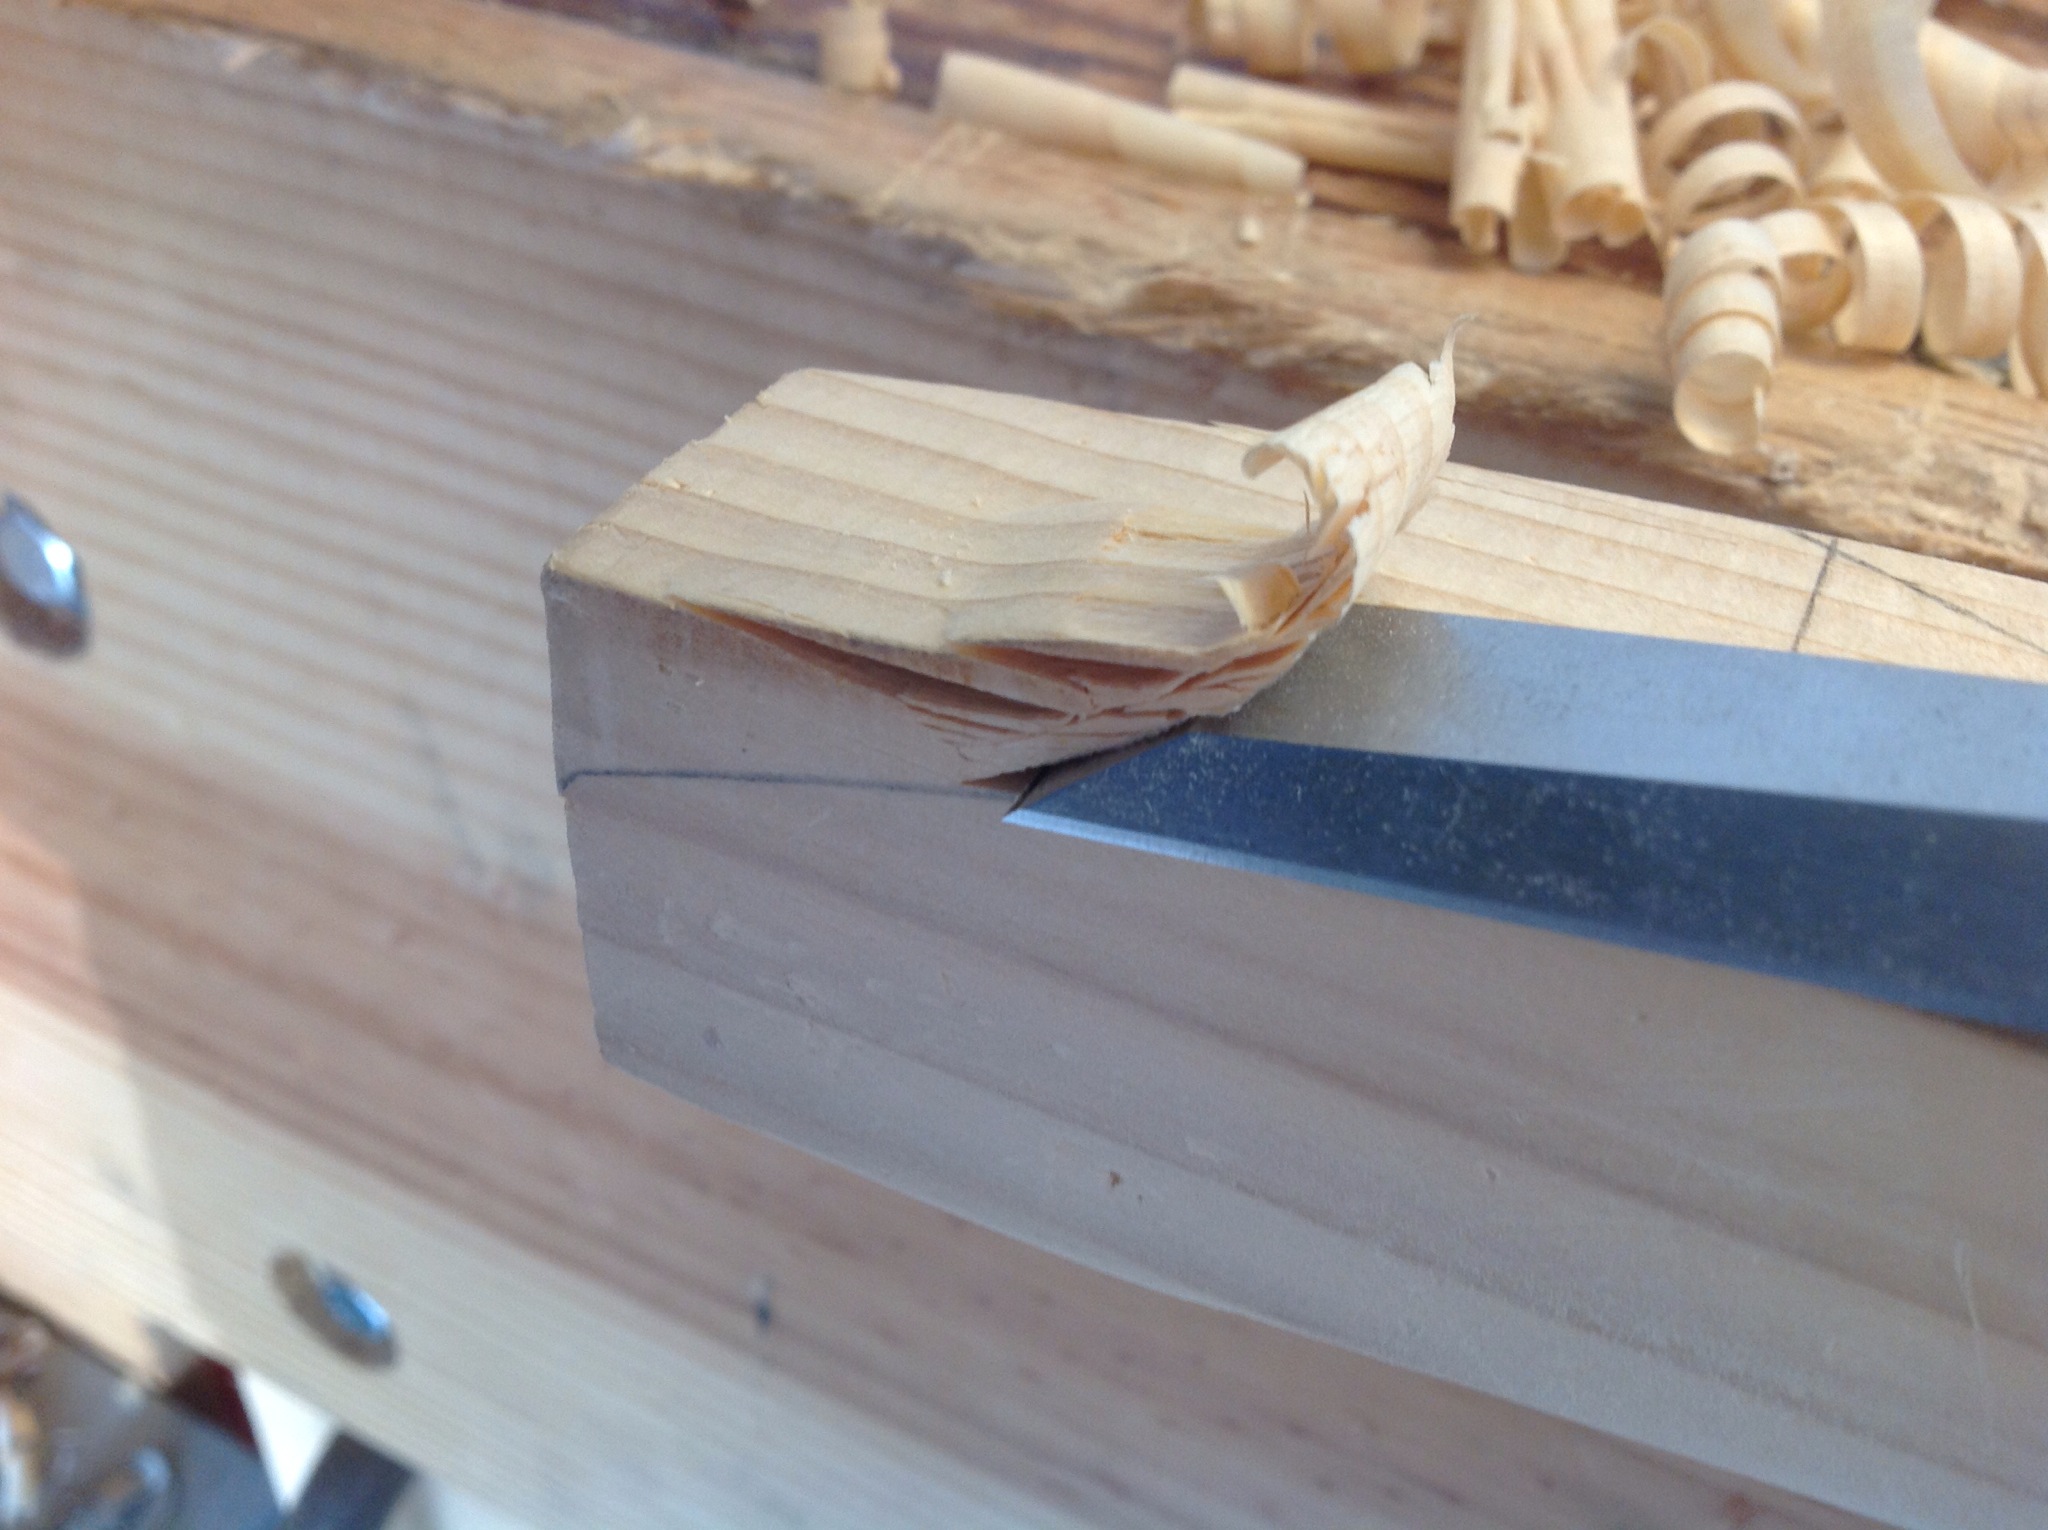
Shop Stool Mortises Repeat
There were many good comments on my blog after the post showing the blow out in the leg while chiseling a mortise. Fortunately this occurred on the first leg, although the last mortise. While studying the problem I came to the realization that I needed to re-think where the mortises were placed.
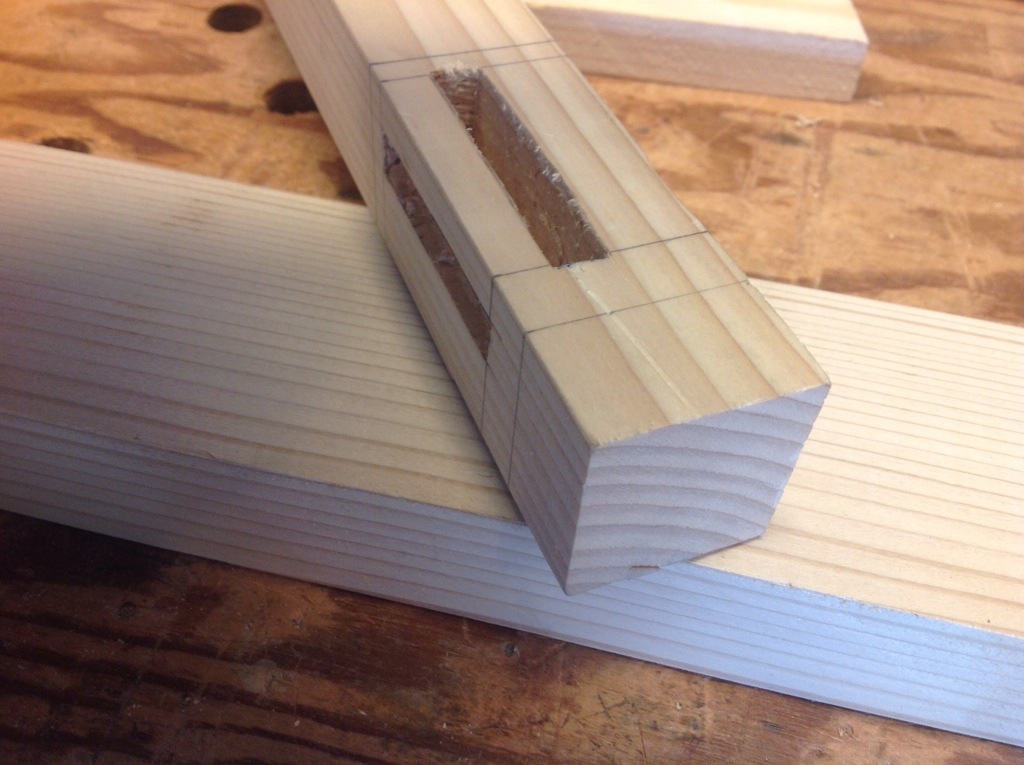
The first picture shows the original mortises. they are placed on the same corner and as such do not allow for a very long tenon. Since this is a shop stool it will be subject to lots of abuse and I don’t think it will last long with such a short tenon. The picture below shows the relocated mortises which has tripled the length of the tenons. Thank goodness for the mistake, I only ended up re-wroking one leg not all four and will have a much stronger stool.

Shop Stool –
Seems that over the last couple of months little has been accomplished, between soccer games, work and a large increase in my running mileage there has been not enough time left for woodworking. Fortunately soccer is over for the season so I can tackle some of the projects that continue to sit on my bench. First up the shop stool….. Today was dedicated to stock preparation.

Picking up a couple of boards from the local home improvement store I spent a couple of hours milling the boards and cutting to size. I enjoy milling wood by hand, however with the humidity in the high 70’s I opted for the power tools and spent as little time as possible on this part of the project.
I finished up the day by hand planing all of the edges. There’s nothing like the sound and feel of a blade slicing through wood. This week I hope to find enough time to lay out all of the joints and determine the leg angles, leaving the chopping of mortises for next weekend.
I want the stool to become an invitation for visitors to stop by and spend a little time learning about hand tools. Oh and I was just reminded that summer league soccer starts mid week…..
