Archive
Coming back
As you already know my posts over the last few months have been non existent. Those of you who follow orepass on instagram already know that I had surgery on my hip at the end of the year. The recovery has gone well. In fact I began running again this week, although one minute at a time. Woodworking has taken longer and the little bit of aggravation created in my hip when sharpening and planing has faded.
 The tools have sat long enough and I have been cleaning, sharpening and thinking. After six months a simple project that encompasses several joints will bring me back. Looking through magazines and blogs and finding my saw bench buried under a pile of boxes, bags and family ‘items’ a new saw bench is in order. From all the items piled on and around my bench it appears that others may have been moving into the shop area!
A bench that has caught my eye several times is the split saw bench, several people have blogged with their own version and I’ve had trouble identifying the original designer, although many people point to Billy’s Little Bench. It’s important to give credit where it’s due, but in this case I can only point you to the web. Look up split top saw bench and tell me which ones you prefer.
My original saw bench was built many years ago as a a project from Shannon Rogers’ Hand Tool School. It has served its time well but certainly is showing its age and a couple of repairs have failed to keep it rigid. The split bench should be more rigid and I like the concept of being able to saw boards down the center. Additionally, the dovetails and mortise and tenon joints will help tune skills that have been resting.
Looking forward to hearing from all of you and thanks for all the support over the last few months.
After Project
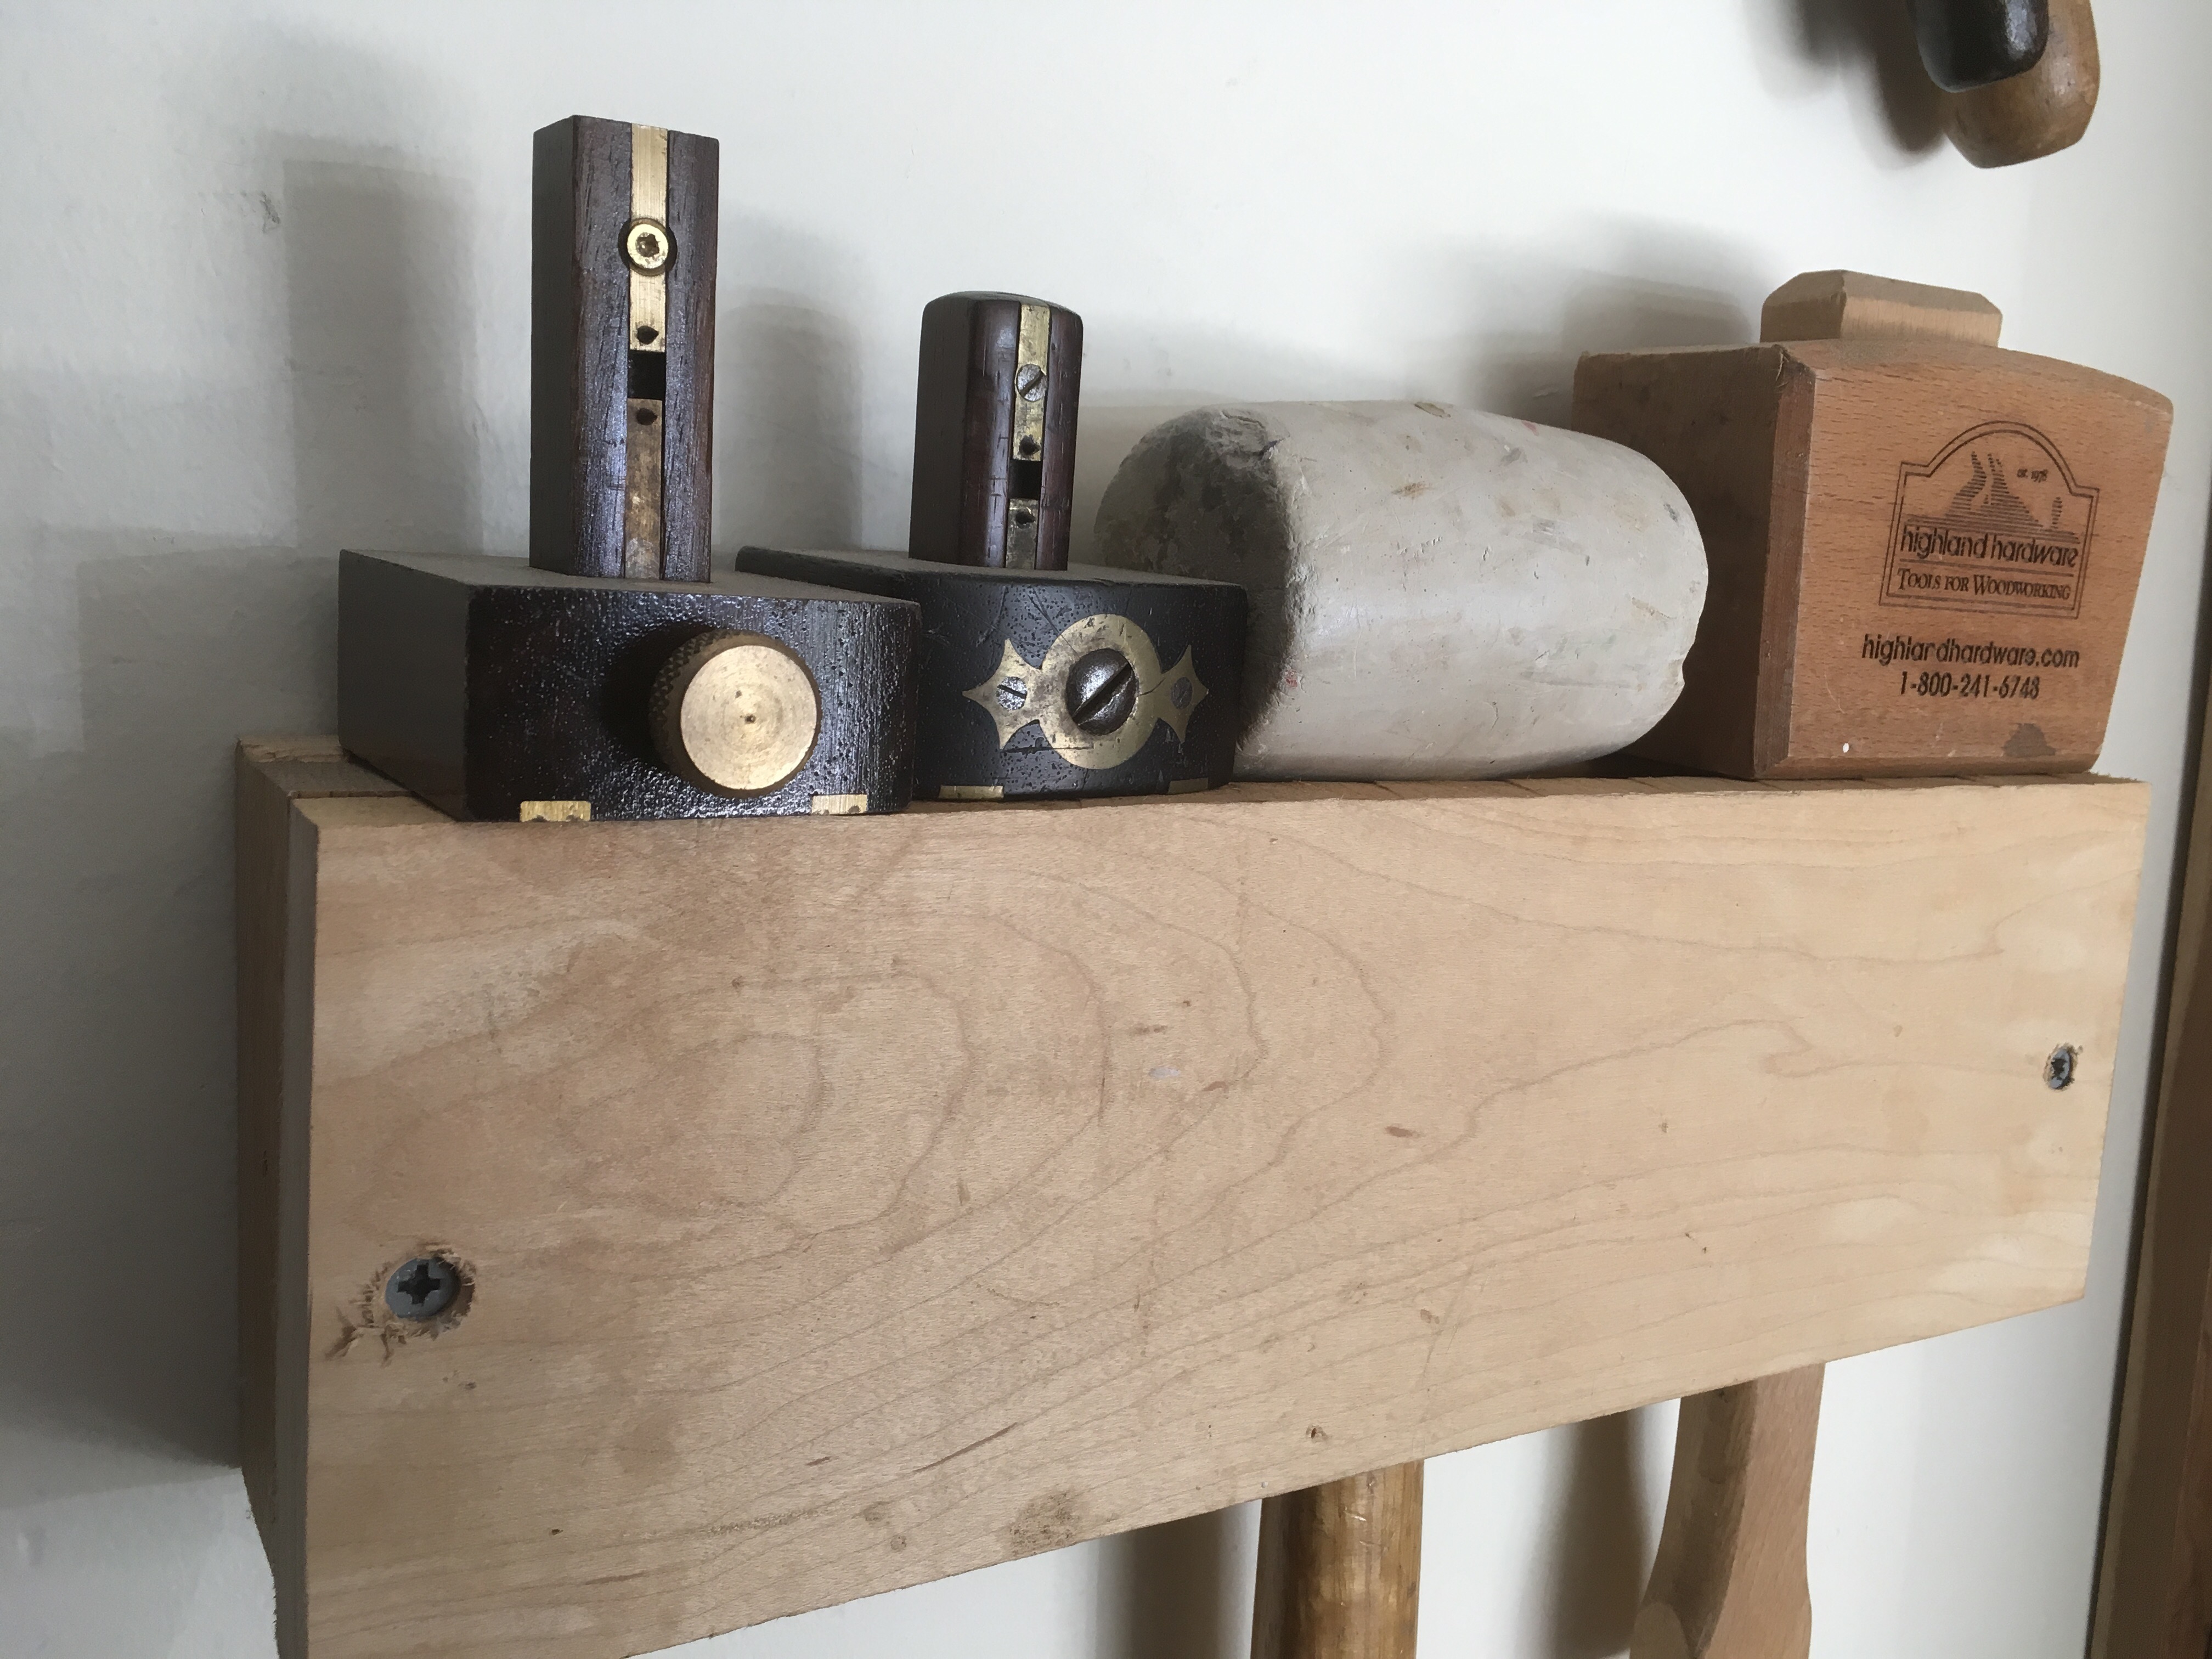
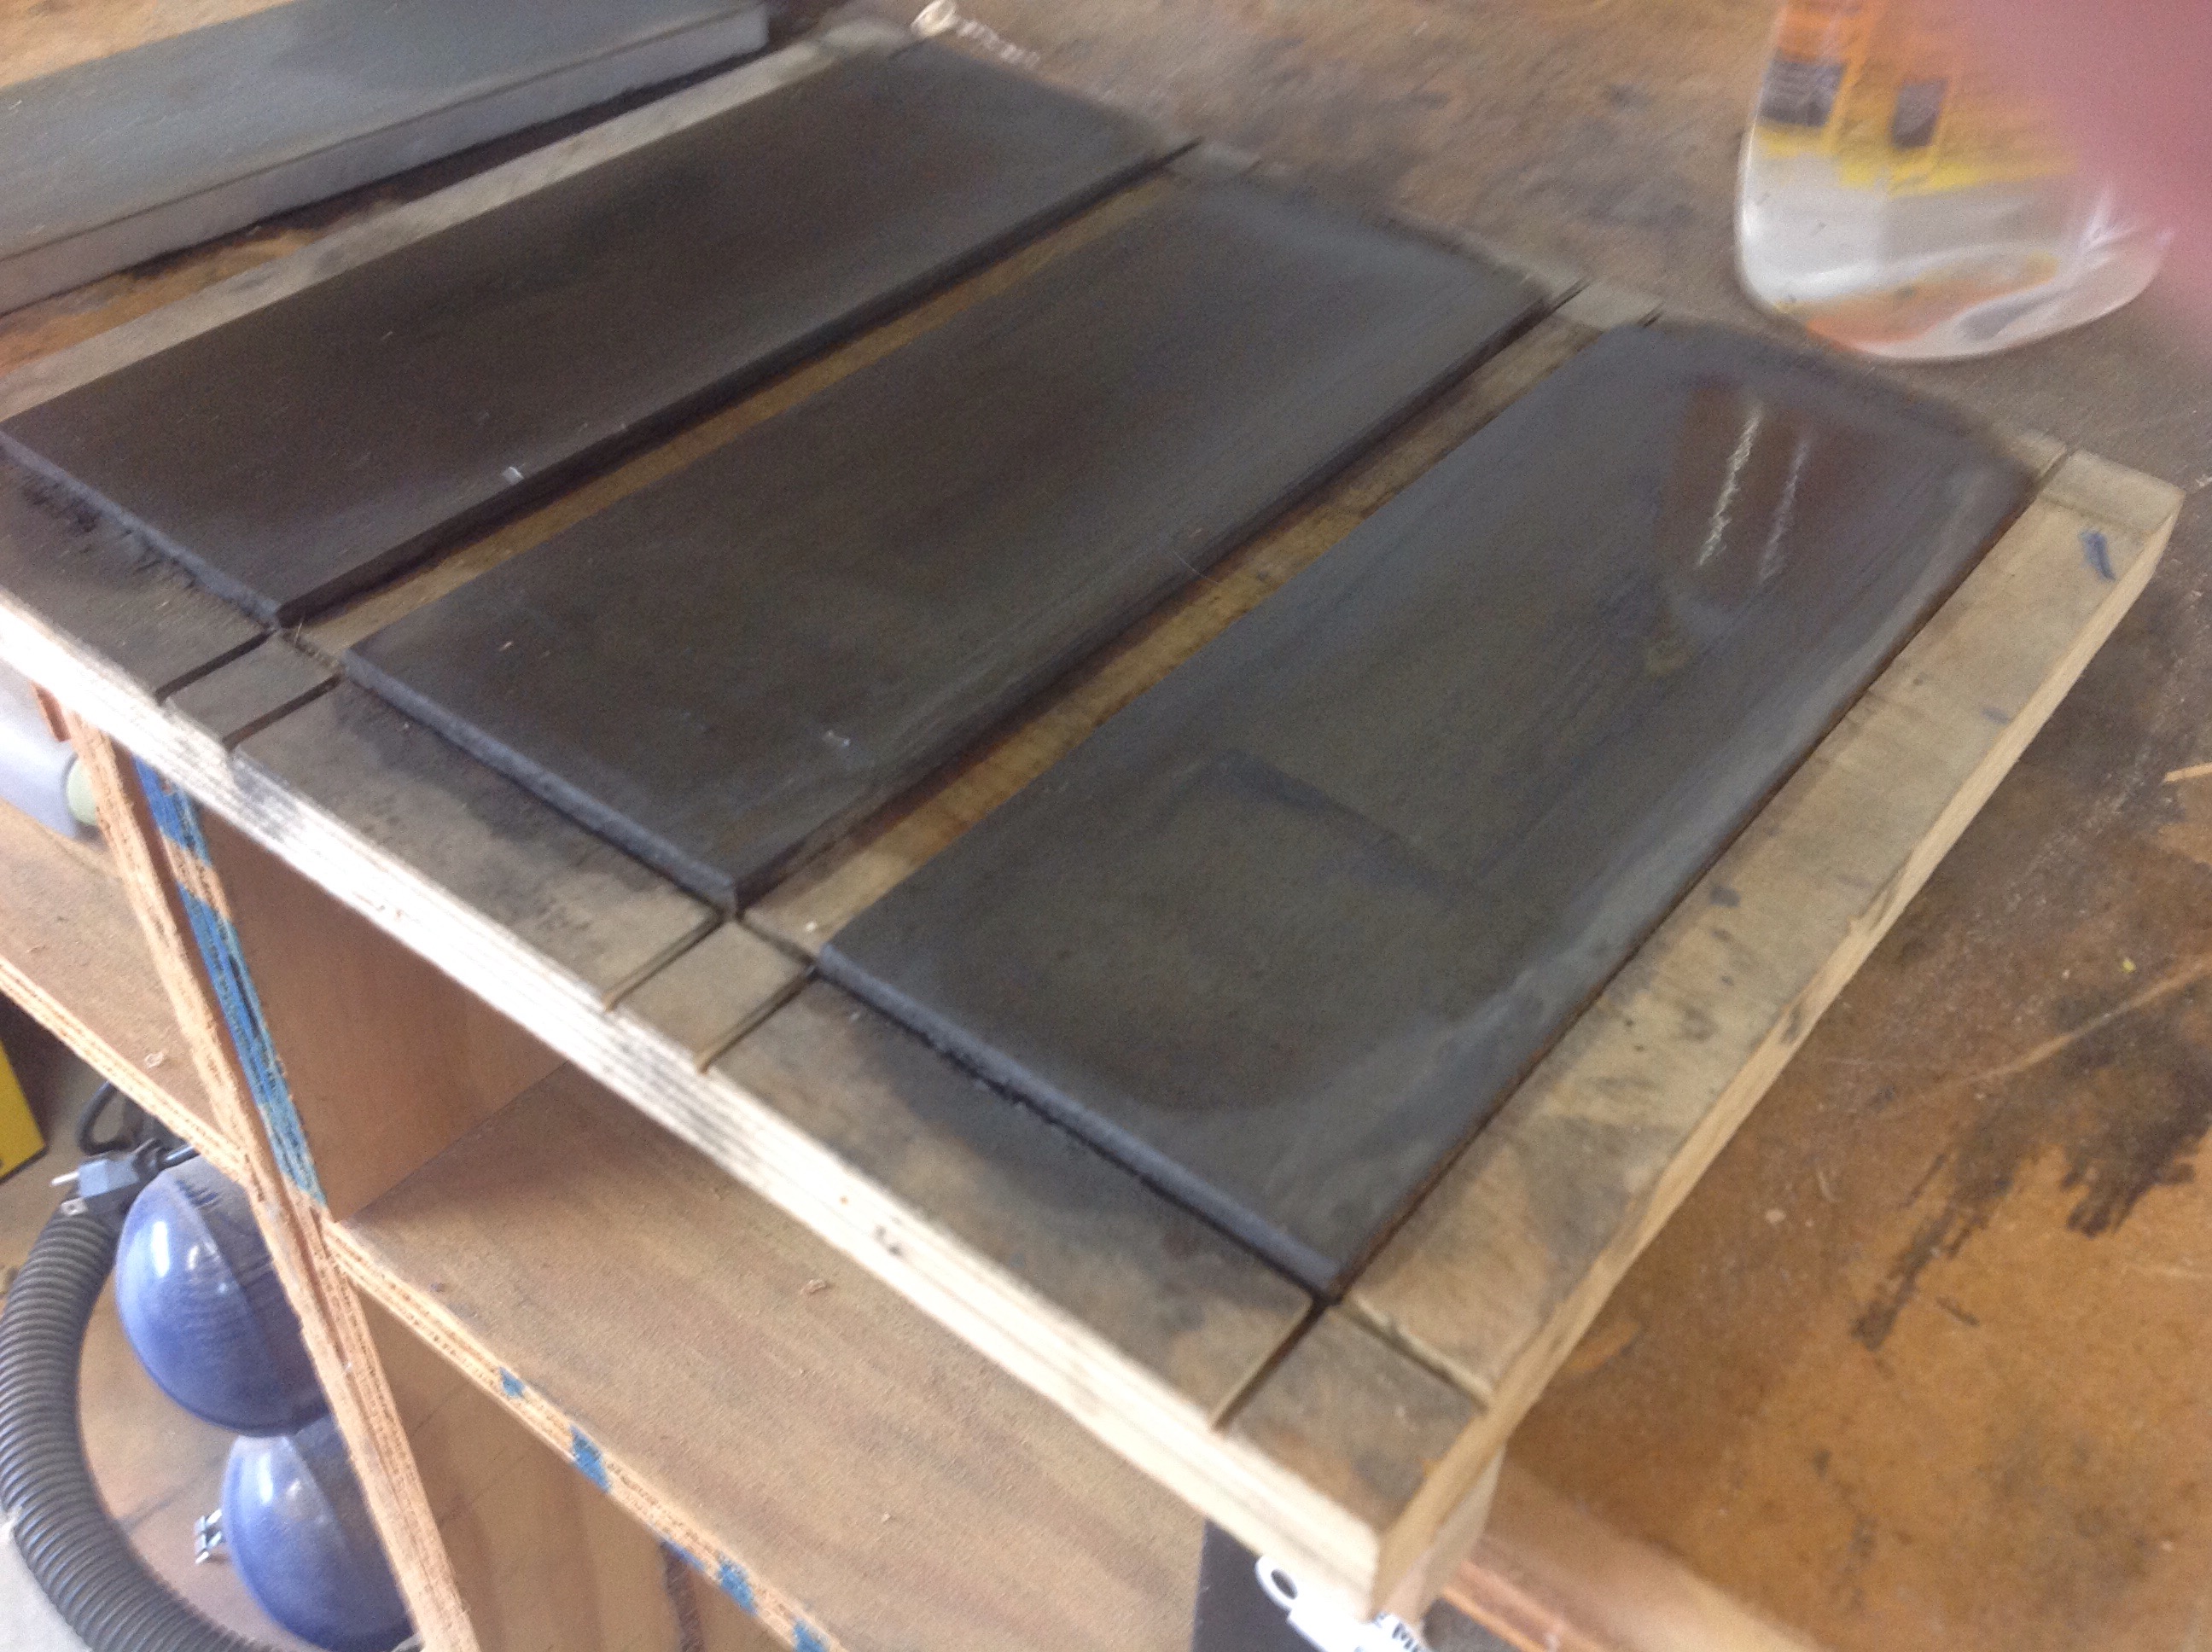
The hospice cart project ended two months ago. Time has passed quickly with a heavy work load, summer vacations, gardens and other projects. I have been sharpening and cleaning tools which has become a post project ritual.
Sharpening tools at the end of each day is a best practice, however there are many tools that are used infrequently during a project that become dull over an extended period of time. I like to make sure these have been cared for as well.
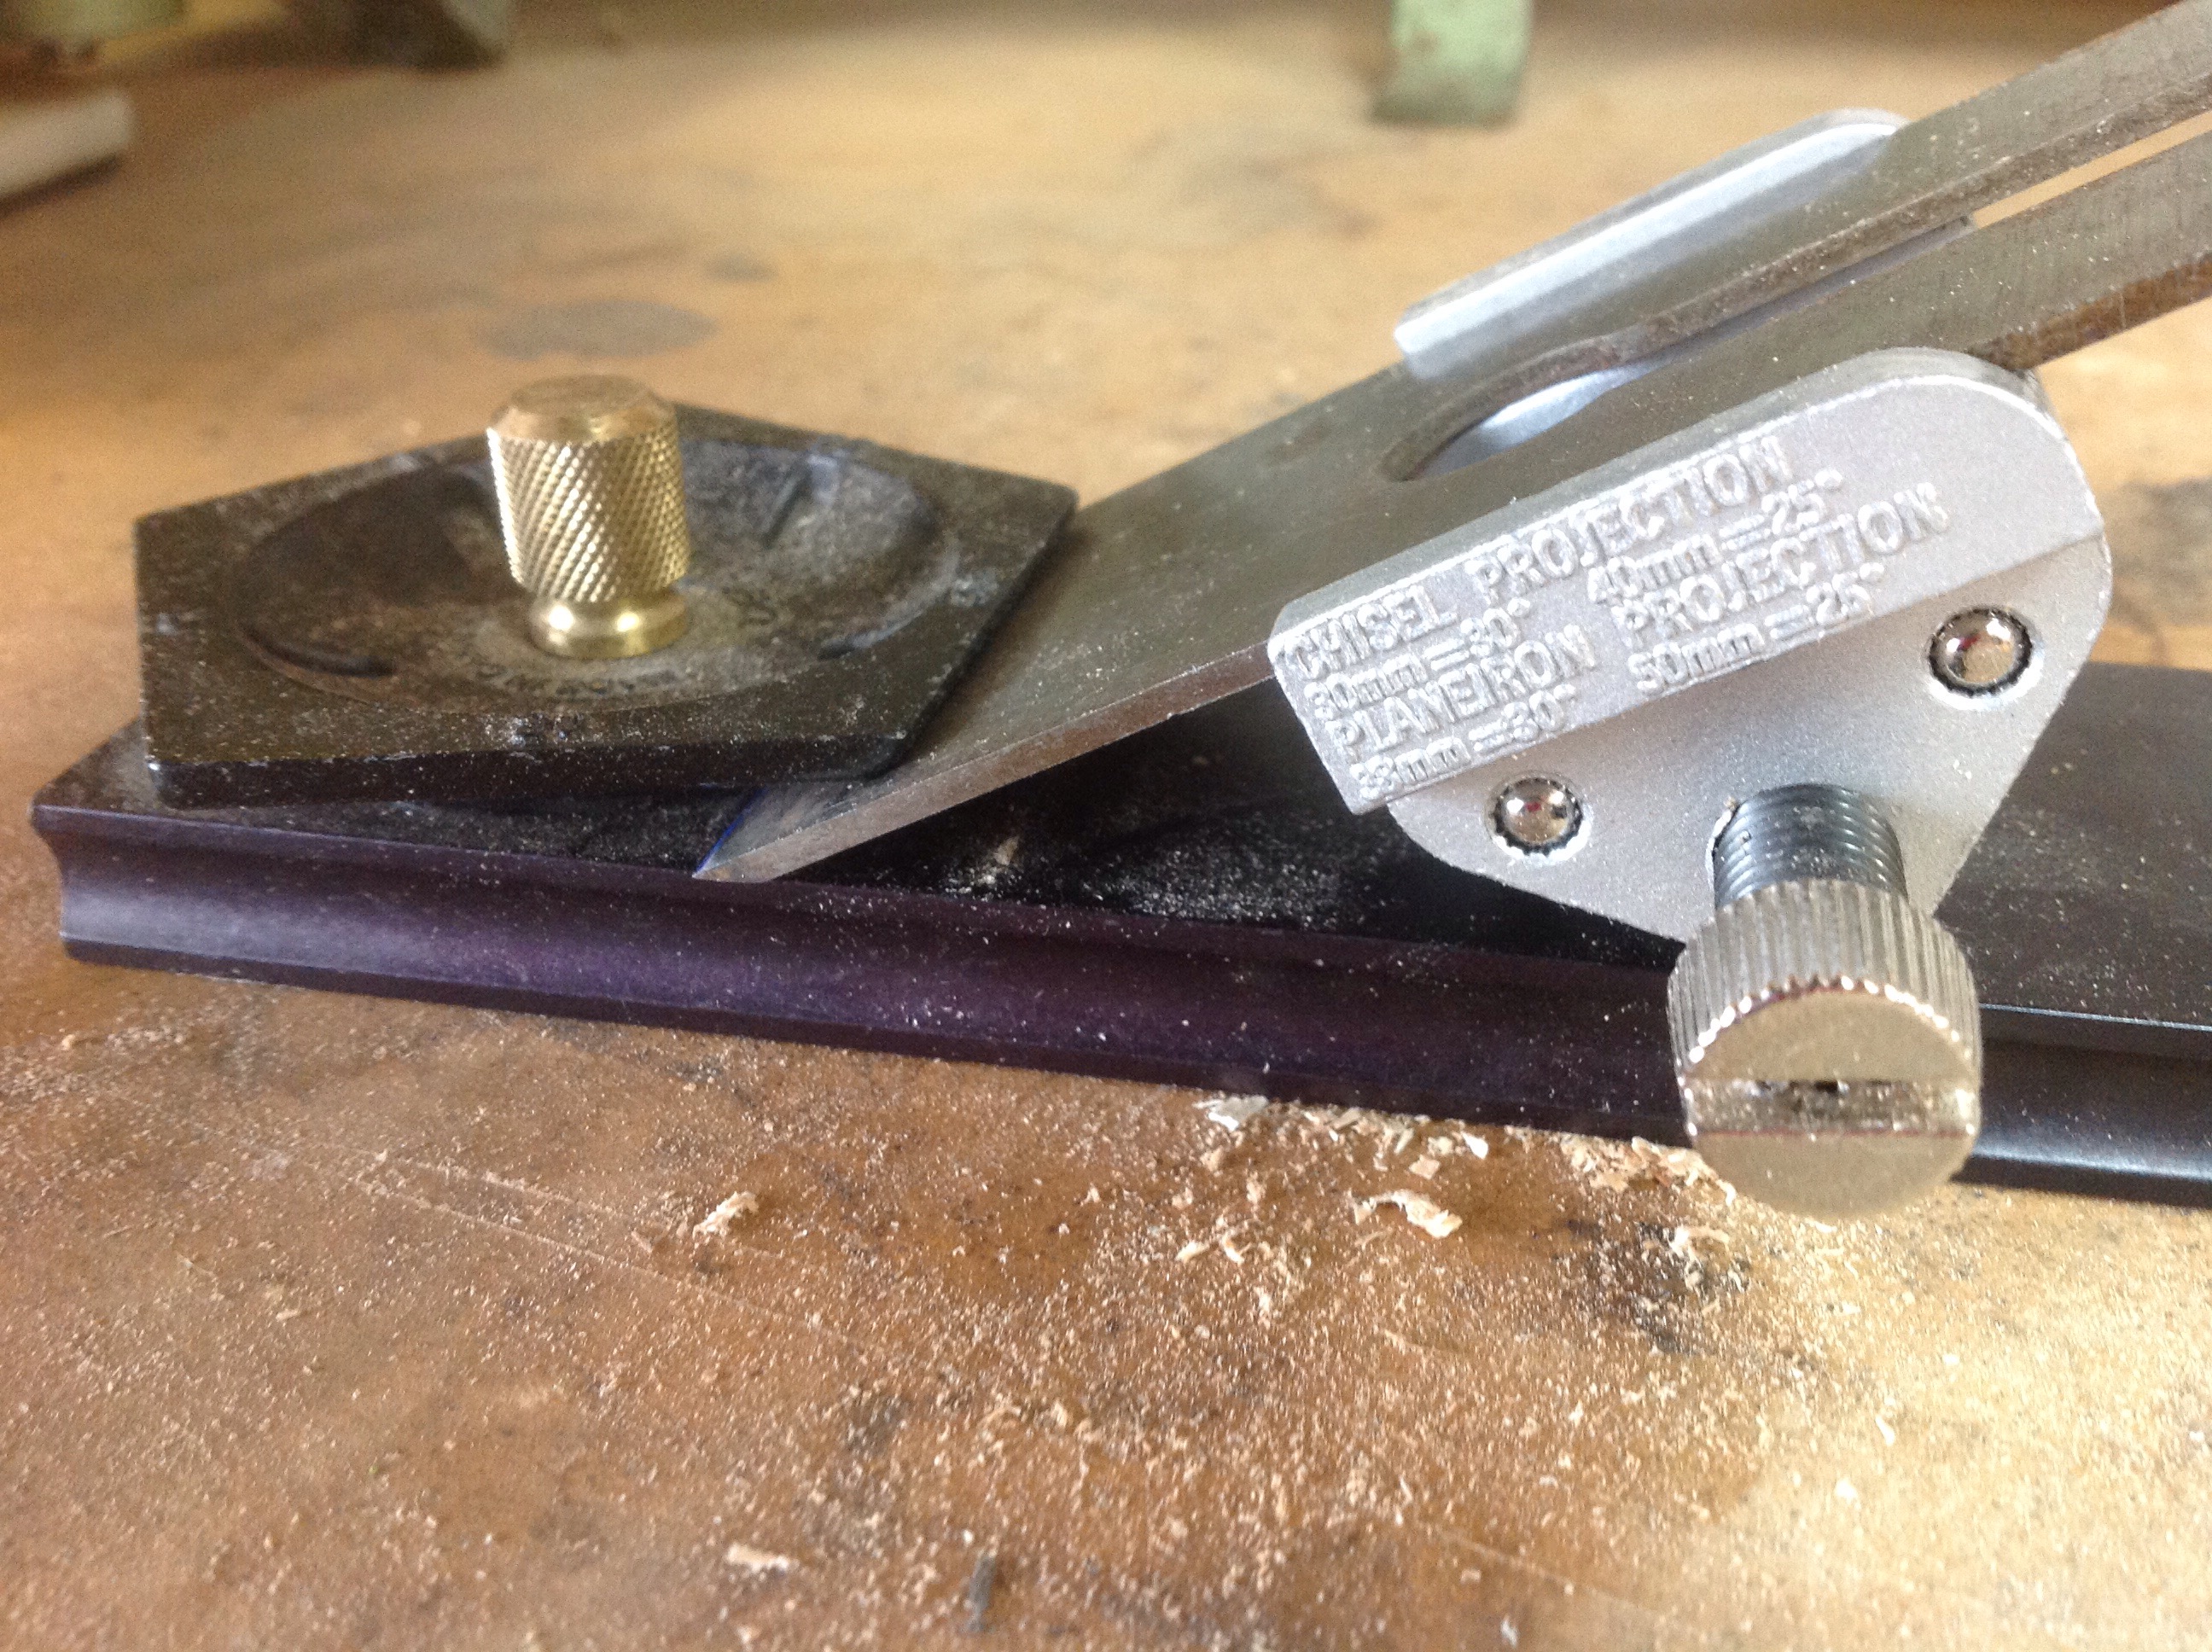
 The majority of my sharpening is done by hand. It is easy and effective. My only struggle is that over the length of a project my chisel edges become angled. This is clearly a problem with my technique. Over time the angled edges begin to effect my work. Straightening the edges is a time consuming process so a couple of months ago I purchased the eclipse style guide from Lie Nielson. I only use it to straighten the edges every few months but it does a wonderful job. It’s also been very helpful for cleaning up some of the edges of purchased tools.
Shadow Box
The cart wheels were dropped off and then picked up from a local sand blaster. Next they went to a friends auto shop for a paint job. While waiting for their return I began to make a shadow box for my wife.
Beginning with visions of using some left over Sapele and imagining the beautiful look of the dovetailed corners I quickly had to reverse direction when the word paint was spoken. Nothing wrong with paint except I’m not a great painter and I have no intention of using a beautiful wood which will be hidden from view. Fortunately I found some pine in the corner and pressed on.


No dovetails have been cut since the small tool chest project so I warmed up with a couple pieces of scrap. After marking the tails I set to work sawing and then chopping out the waste.
You will notice in the pictures that I used a piece of scrap wood on the first cut, then used it as a guide for the other dovetails. This ensured they were all similar and made the layout process much quicker. Paul Sellers showed me this trick when I attended his foundations class.
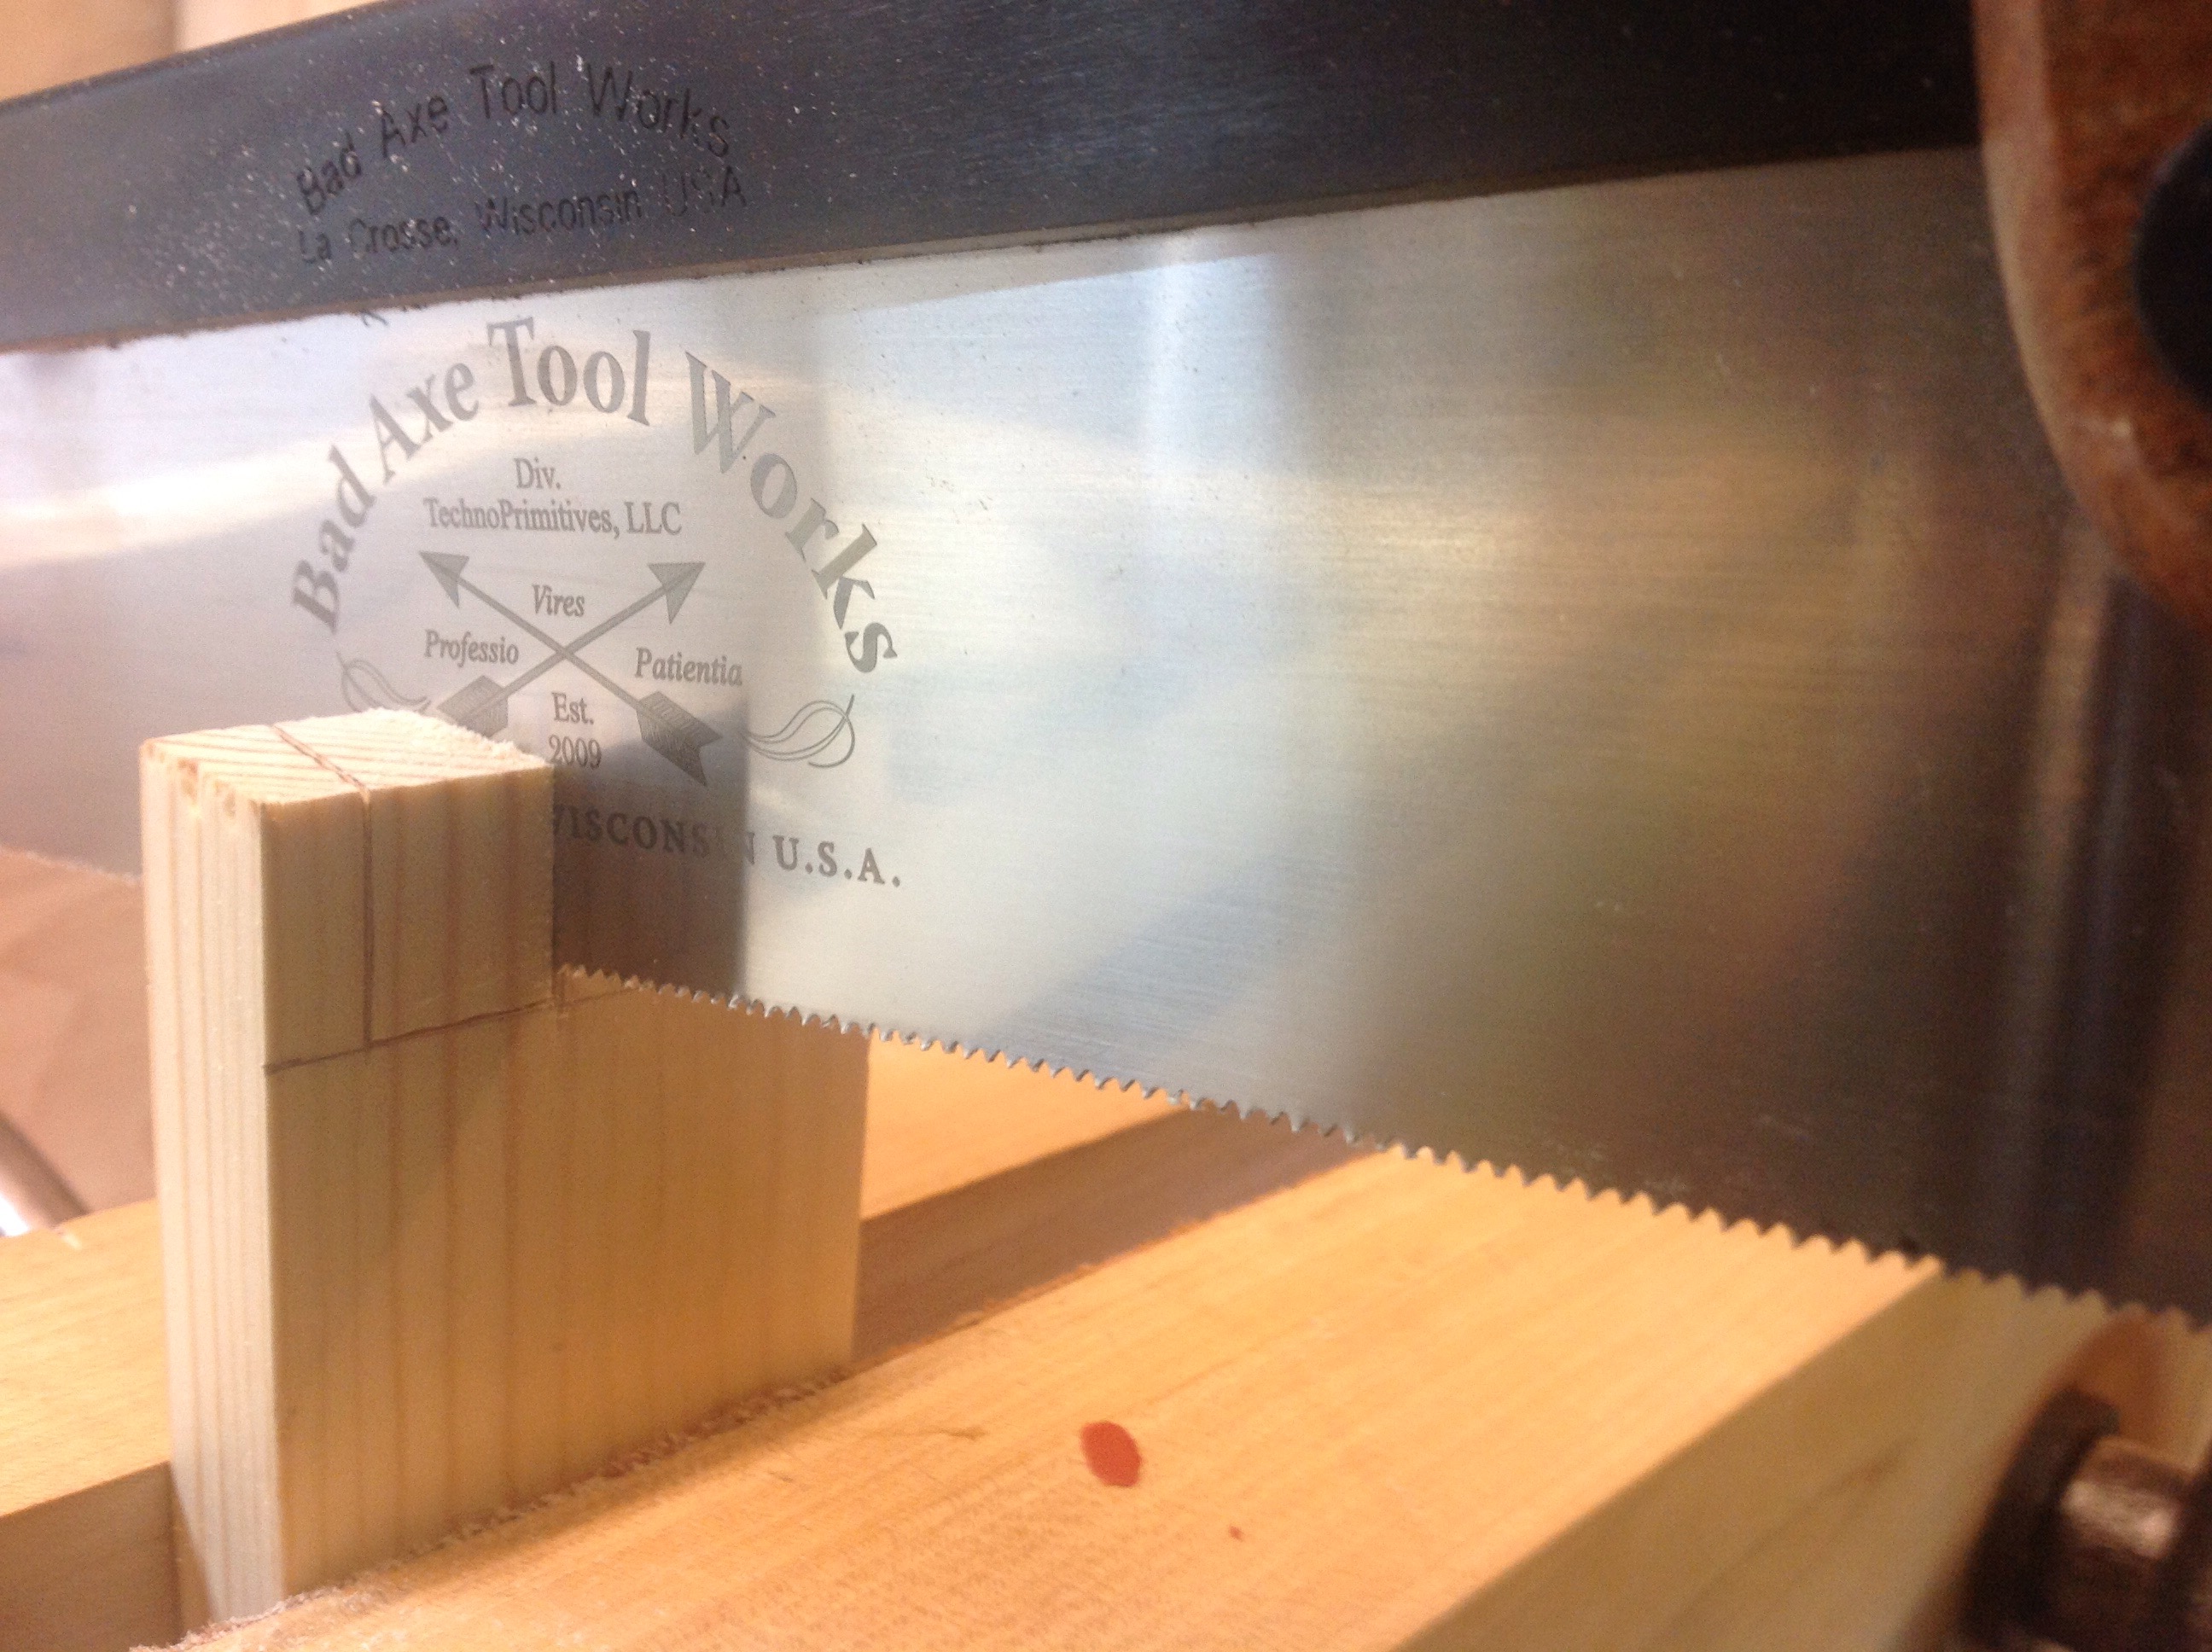
I was also greatly helped by a freshly sharpened Bad Axe Saw. When I was at the saw sharpening seminar, Mark Harrell took the saw and gave it a little personal service. It’s cutting great. Although I sharpen most of my own saws there is nothing like have a pro do it for you.
With the tails cut I chopped out the pins and within the space of three hours I went from some boards to a dovetailed frame.
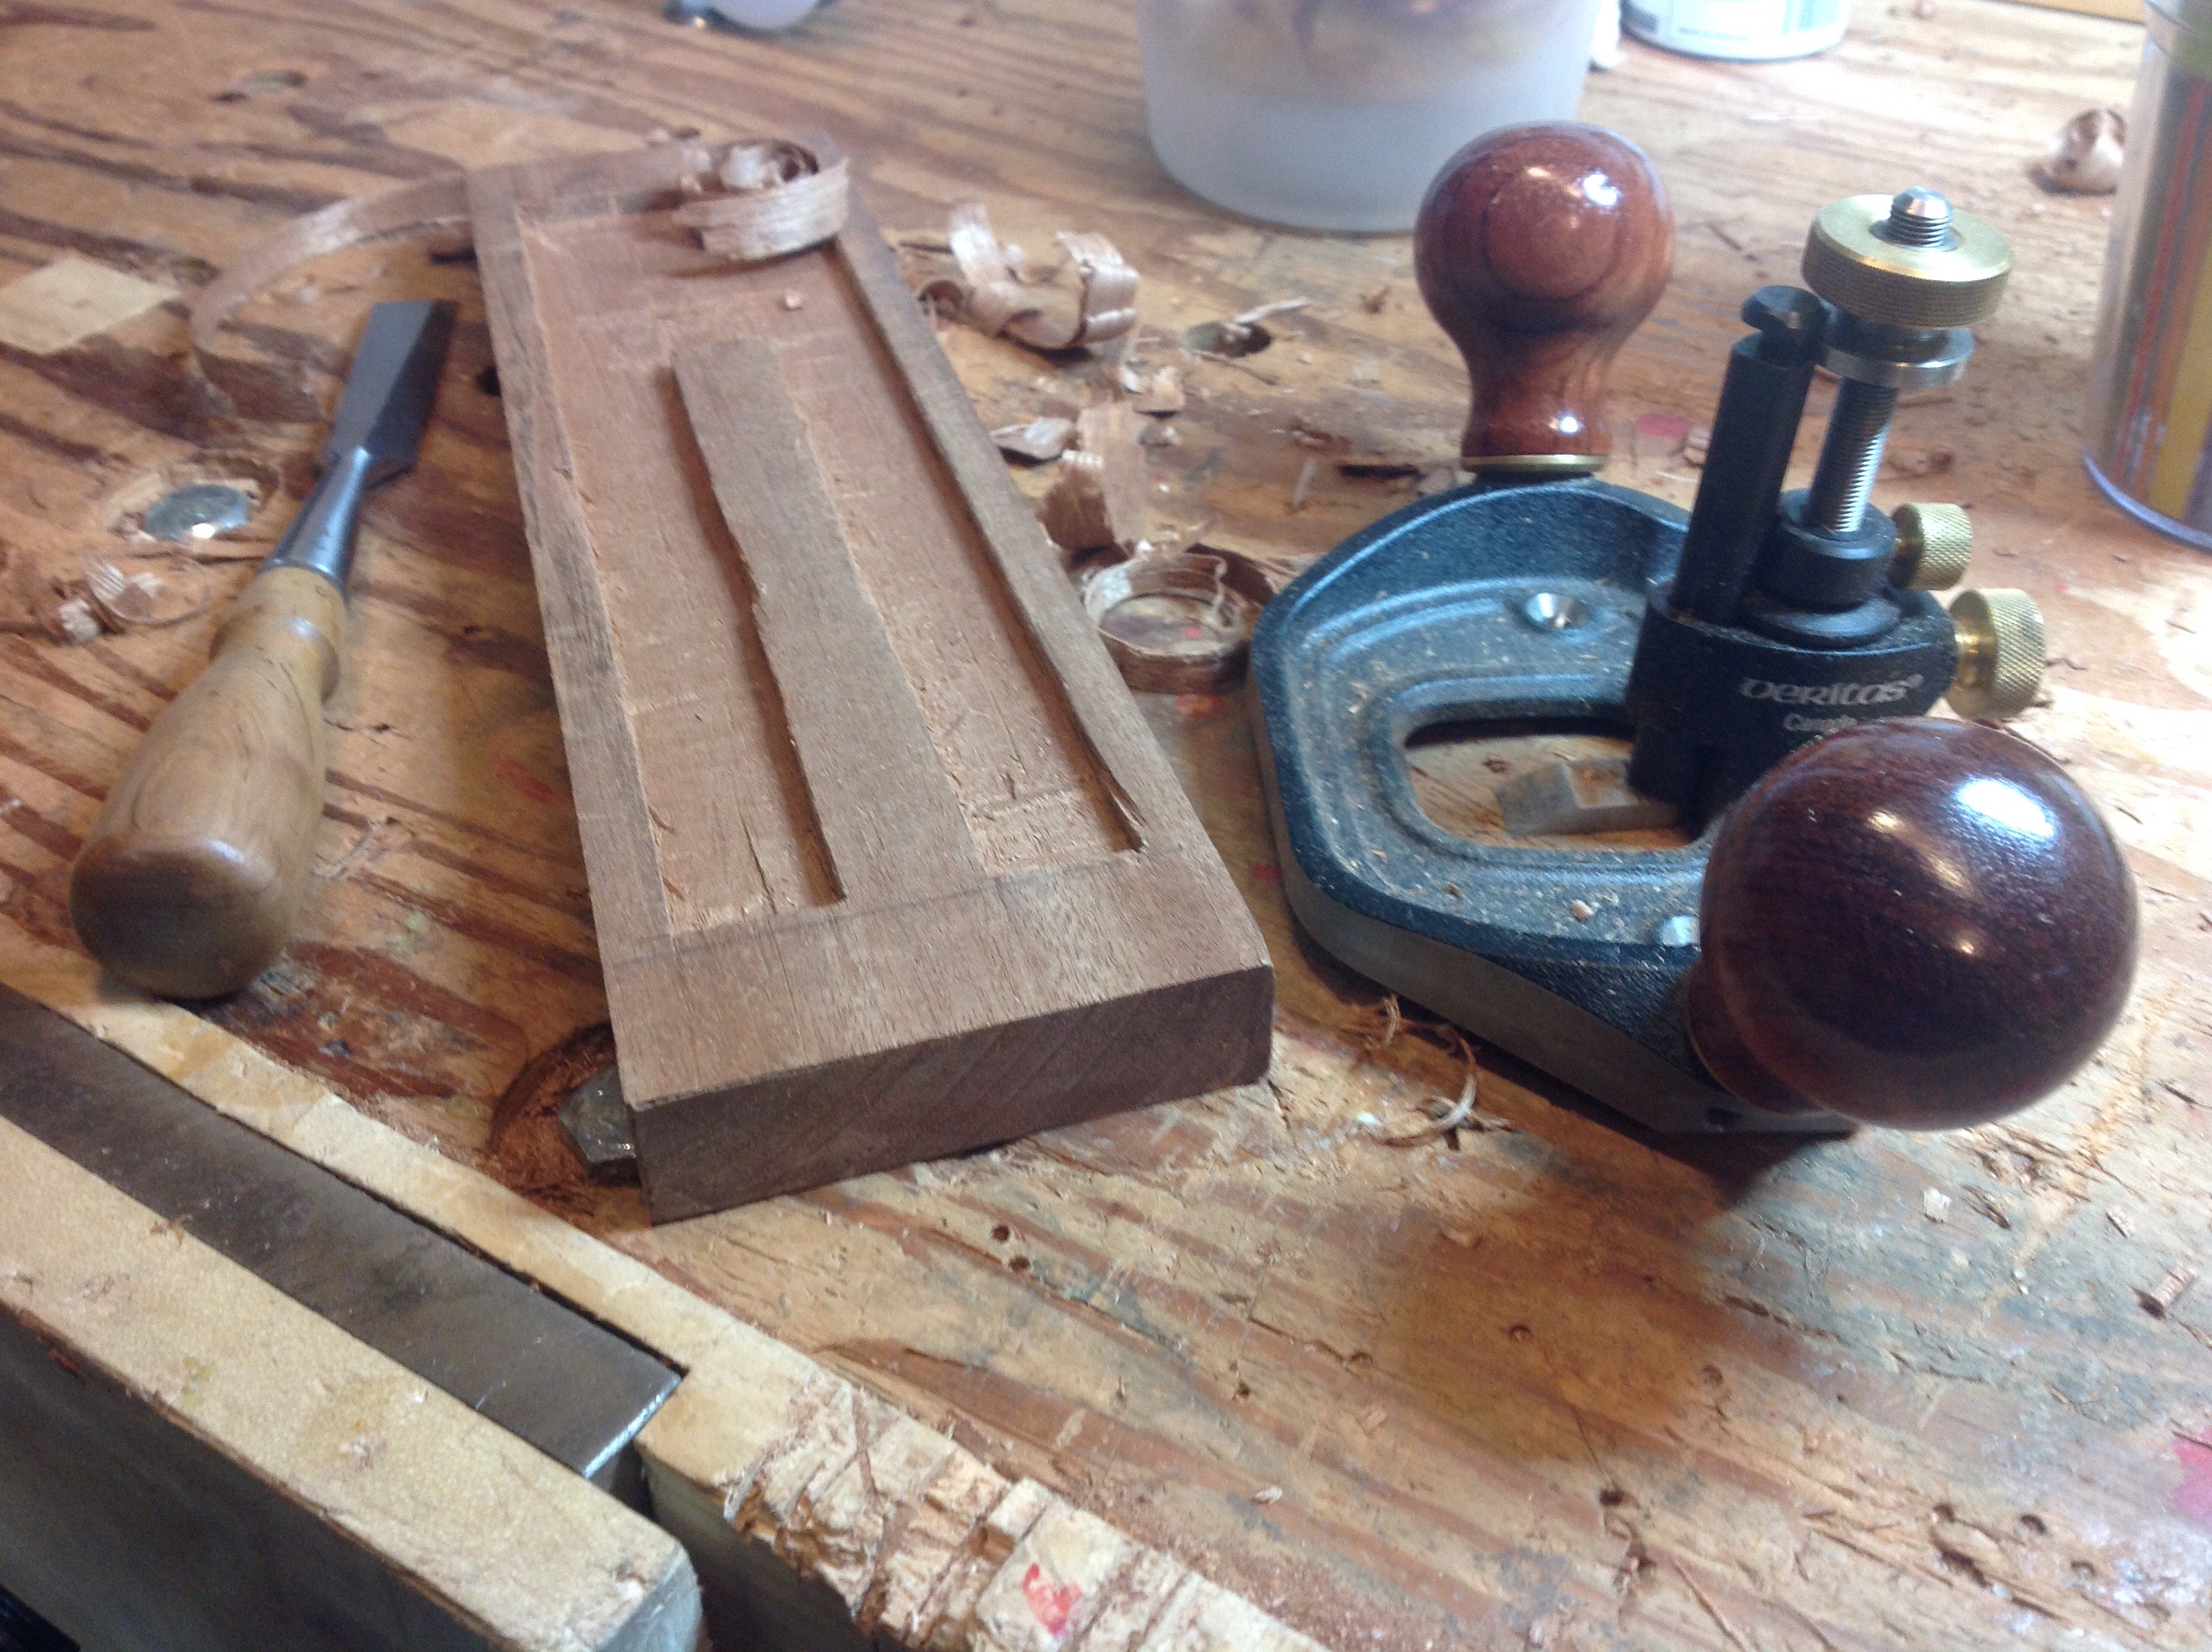
Next step is to cut the grooves for the glass. I used a couple of tricks to get this done. The first is to secure the boards using a clamp into my bench vise. this gives me all of the security I need and access for the plow plane. The plow works great everywhere except those ends where I can’t break through and expose the groove. I could fix this with some blocks inserted at the end of the process or switch tools. In this case I grabbed my router plane and using the guide finished up the grooves with little fuss.The final piece of construction is making the rabbit (rebate) for the back panel.


Catapult
Over the last month little time has been spent woodworking although requests from my family continue to poor in. There’s a tool chest, bar cart, two desks, table, picture frame and others already forgotten. So what do I do? Build a catapult!

Taking scraps from the small tool chest, parts are measured, dimensioned and planed. Working with Sapele is really nice and the swirls of wood and vibrant smell tickle all of the senses. The sides are rough cut with a saw then I chisel in the curves finishing with a spoke shave and #3 plane. Placing them in the vise they get a final smoothing to ensure they match.
The upright is shaped in the same way. The swirls of wood in this piece really catch my eye. Can’t wait to get some finish on it. With these components complete the base can be made and mortises cut to accept the sides and upright.

With everything assembled and holes drilled for the pins. Only the finish and something to hold the ball left. I used a couple of coats of shellac which brought out the color of the wood. I have yet to determine how to hold the ball so I used a dixie cup temporarily. I don’t have a lathe so may seek some help at my next woodworking guild meeting.


This catapult was designed by others to be used when teaching statistics and data collection. It was a great project especially when made with hand tools and My son and I spent a couple of hours testing the various settings and results.
There are no shortcuts
I spent 4 hours last weekend working on a Christmas gift for my daughter before throwing in the towel. The idea was good, the plans were good, the wood was bad. When I listened to my daughters plan, I began envisioning how to build it, the obstacles I would meet and how to overcome them. Upon walking into my shop area, I threw it all out the window in order to use some of the scrap lumber I had on hand. Taking twisted scraps of poor quality pine I planed and chiseled until I was totally dissatisfied with the results.
Tonight I spent two hours dimensioning some red oak, cutting grooves and enjoying my time in the shop. What a difference the right lumber makes.
