Archive
Closet Update
That’s correct, an update on a project never declared to be underway. To be transparent I’ve done many projects this year that seemed too lowly to meet these pages or my desire to write never materialized.
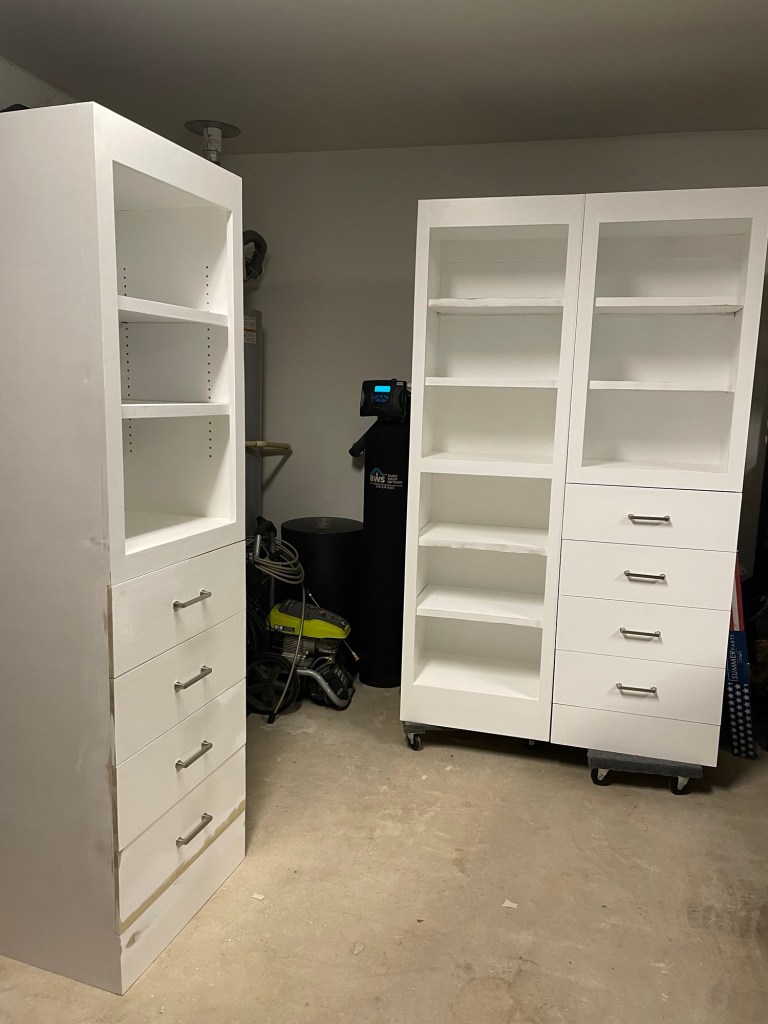
Early this year my largest customer declared that it would be nice to add some drawers and shelves into the walk in closet (for clarity this is not my wife). Noting a sense of urgency I began and after approximately a year have. Completed the build with only final painting and installation remaining. Why a year? It’s all about expectations, why deliver a project in a few weeks if you can spread it out and ensure that requests in the future have lower expectations.
The request was for three cabinets, one shelves only and two shelves and drawers and final color white. My only pause is my poor skills to paint anything white as learned from bookshelves made 20 years ago.
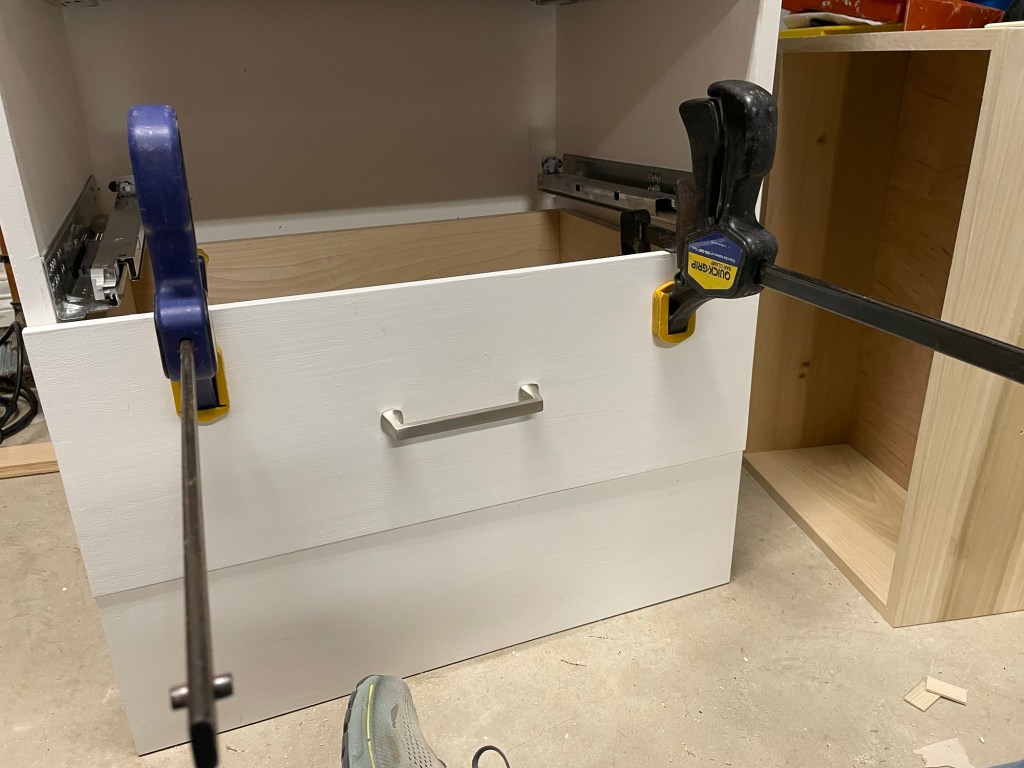
Three quarter plywood back and sides, half inch plywood back, three quarter plywood shelves with one inch trim for finish and strength. Trim around carcass is three quarter hardwood screwed and plugged. Tools – table saw, planer, handsaw, #4 Stanley plane and drill. Obviously mostly power tools. The drawers were put together using a routed joint.

Like most of the last couple of years I enjoyed the power tools challenges and continued to learn skills and techniques.

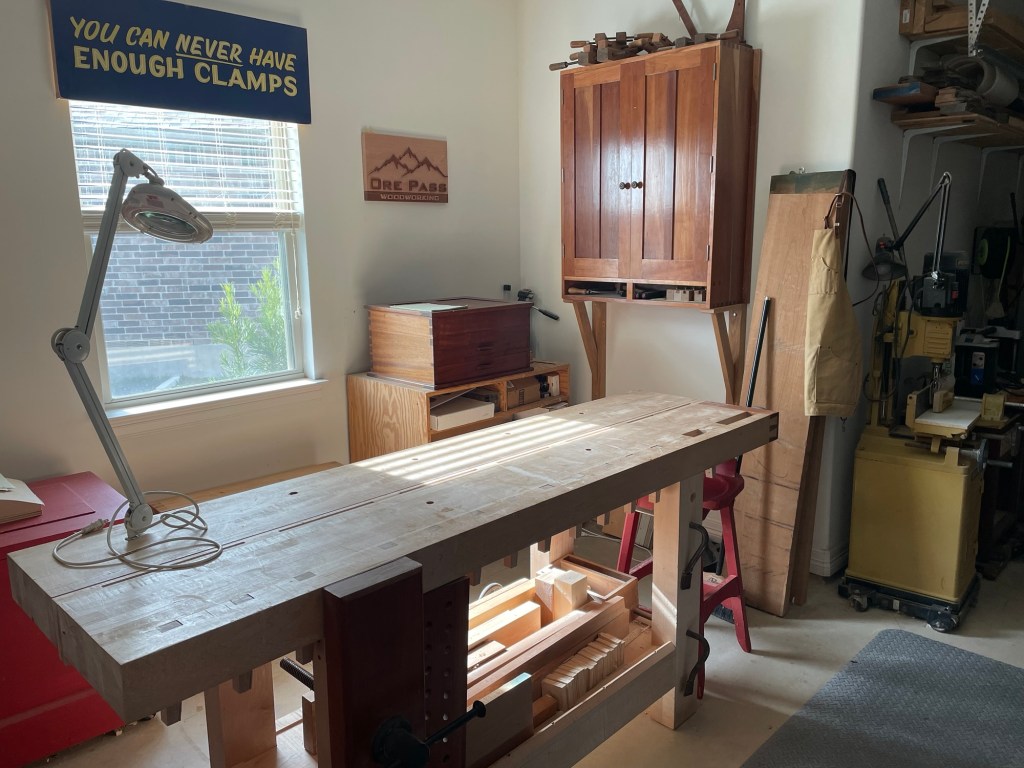
Yesterday I cleaned up my bench and swept the dust off the floor and turned off the lights. I’m thinking the next project will be mostly hand tools and back to cherry or oak.
Project End
The creak of the door is slight and the hint of finish lingers, but in the light it somehow feels empty. The tangy smell of fresh cut cherry is gone and the dust that once floated in the air has settled. There is a strangeness to the shop when a project is complete, it is not a feeling of loss, but one that announces change. Lumber that was cut and dimensioned became legs and rails, curves and joints. The bench still holds chisels and saws, a square, and pencil as if misplaced.
Measuring tools are placed in their drawers and chisels at the sharpening station. A brush whisks shavings off the table top while a broom sweeps them into a pan. Soon there are only unsharpened tools, then only a pencil remains.
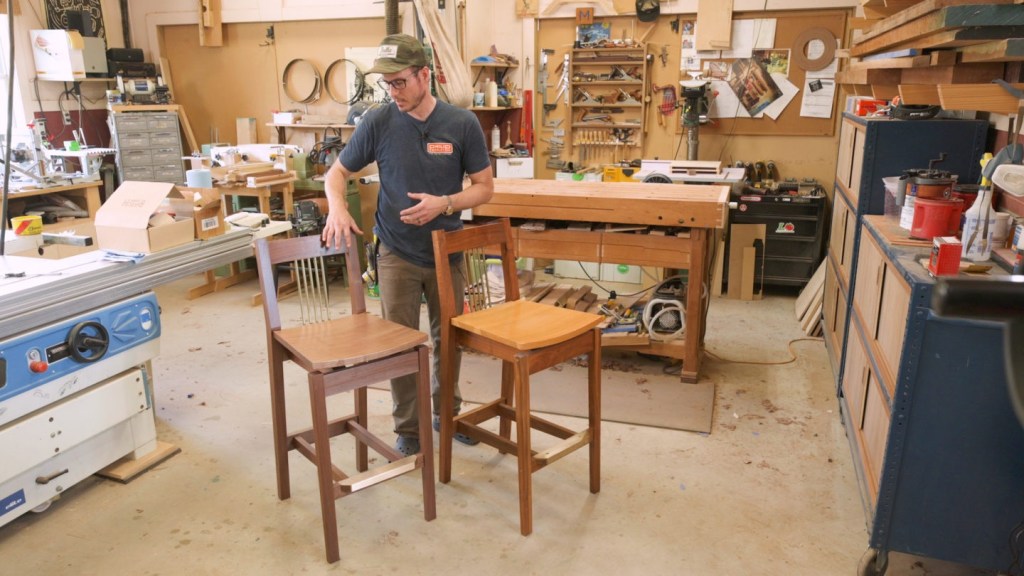
It’s been a year since the bar stools were complete and many things happened over that time, a trip to Olympic national park, the beginnings of several new projects and of course time with family and friends. Like many bloggers I have gaps in what I post, but I offer no apologies or explanations just thanks for following along and your questions and comments are always welcome. In the next few weeks I will tidy up my half finished notes and send them out, many will not have stories but they are over a year old and I have others to post.
I did want to note the passing of Hobbes (its been well over a year) but as you all know dogs hold a special place in our hearts and he certainly spread his energy (only English Setter owners will fully understand) over 14 years. Run my friend, run……

Kitchen-Guitar Stool – A curved seat!
Reflecting on the seat design of the Bar Stool, I am troubled by the waste created by cutting the seat out of a block of wood. It was a simple design in appearance, a curved board, two jigs and a bandsaw to complete. The remnants were significant, wood from both the top and bottom that allowed the flat boards to become curved.
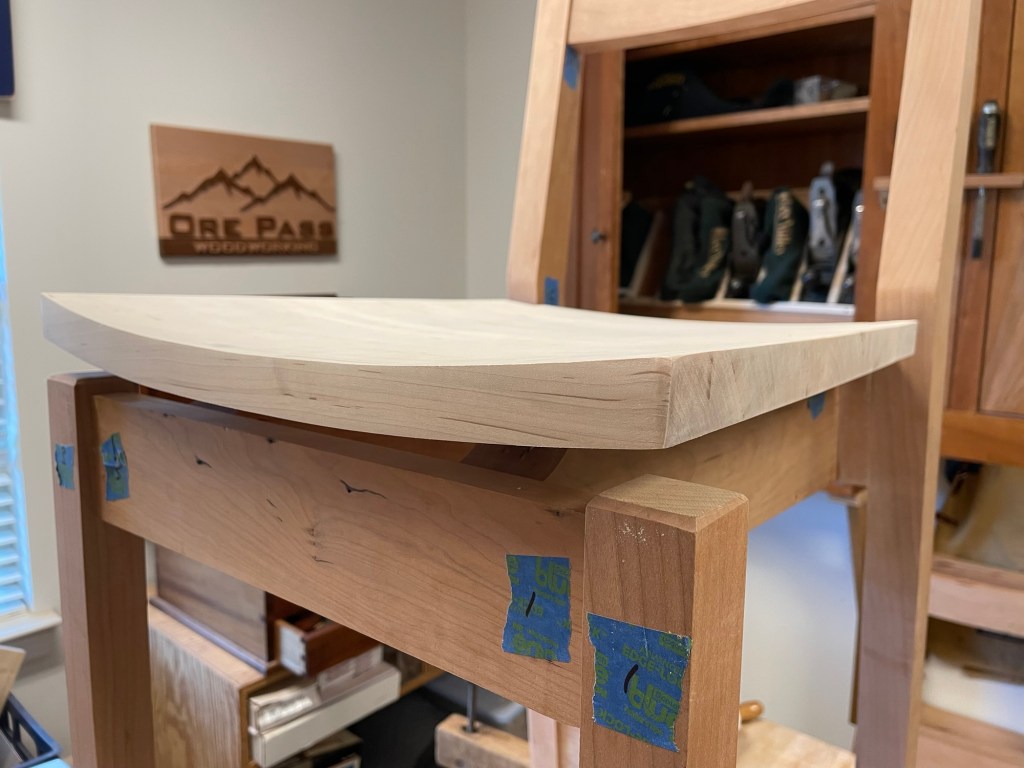
The Kitchen-Guitar stool also has a curved seat, but of a very different design. Thin sheets of plywood glued over a form. Let’s take a look.


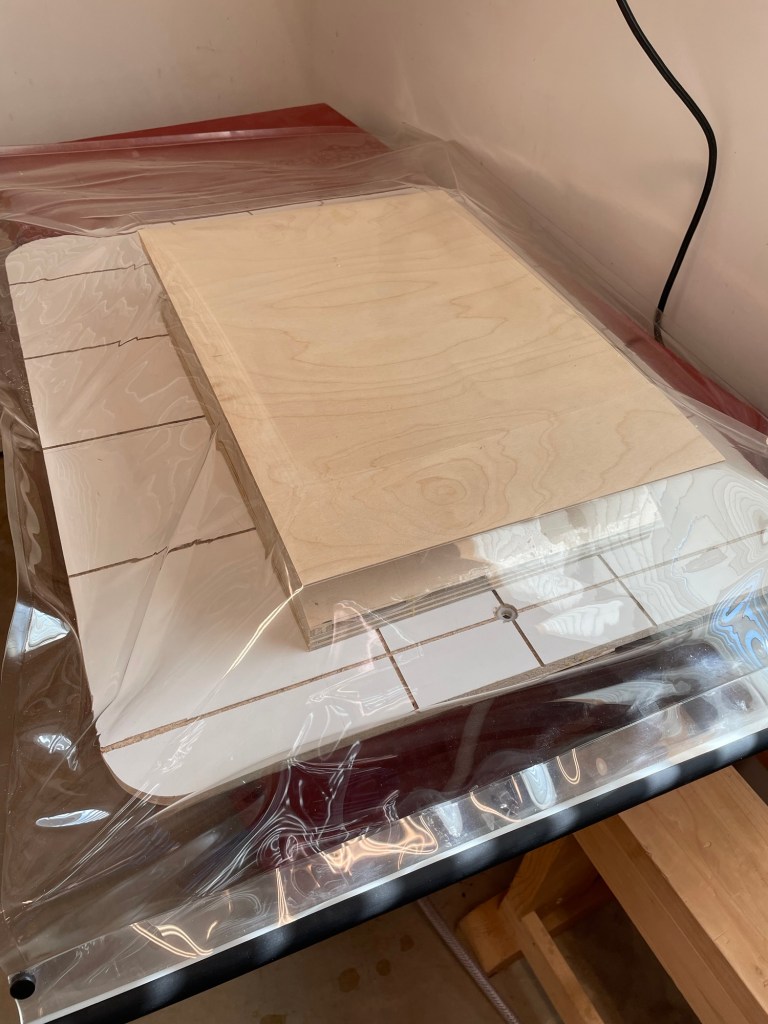
First step was to make a form. It was a simple process of making five identical curves and attaching them to a board. I made a 1/2 plywood pattern and used the router table to duplicate the curve. Once complete I attached the curved boards to a piece of plywood. That was the easy part the difficult part was finding 1/8”plywood that would bend around the form. Eventually I found some at Rockler. It wasn’t cheap but i had no other option,

This is the first time that I have used a vacuum press to curve a board and I’ll put detail of what I used here. Needless to say I enjoyed the process and ended up with a nice form. 5 pieces of 1/8” plywood and 12 hours later and a curved seat appeared.

A little trimming and smoothing and the seat should be ready to go.


Morley Bar Stool – Seat Rails
Chairs have angles and in the case of this stool the angle of the front legs is 6.5 degrees from the back legs. The design of the stool actually means that as long as you are consistent the angle could vary slightly.


I spent the morning dimensioning and cutting to size for the rails two for each chair (8 total). Generally things went smooth with a small problem.


As I finished up some of the lumber dimensioning a couple of fun things happened. The first was the movement in some of the off cuts I had set aside. Walked out of the shop for a few hours and these slits had opened up considerably. The second item is less enjoyable. Saw Stop blade struck what remained of a staple in the end of board, another blade damaged. If I had trimmed the end a few mm further up the board would have saved a lot of money.

It was necessary at this point to take a walk!
Morley Bar Stool Lumber
After downloading plans from the Wood Whisperer Guild I thought hard about the lumber in my shop what wood I would prefer to work with and what my ‘customers’ would like. There is some very nice Walnut that I have for another project that I looked at very seriously but the dimensions did not lend themselves well and the amount of waste a little concerning.
I decided to use maple for the seat and cherry for the structure. Since I didn’t consult my clients they readily agreed. Hopefully the maple and cherry will work well together. The lumber yard I use here in San Antonio has worked out well, they have a unique system, commented on a few months ago. I was very surprised at the cost of the Cherry, pleasantly surprised! Once it was in the shop I didn’t waste time cutting it into smaller pieces. My shop works fine but the 10’ lengths of lumber are quite a tripping hazard.

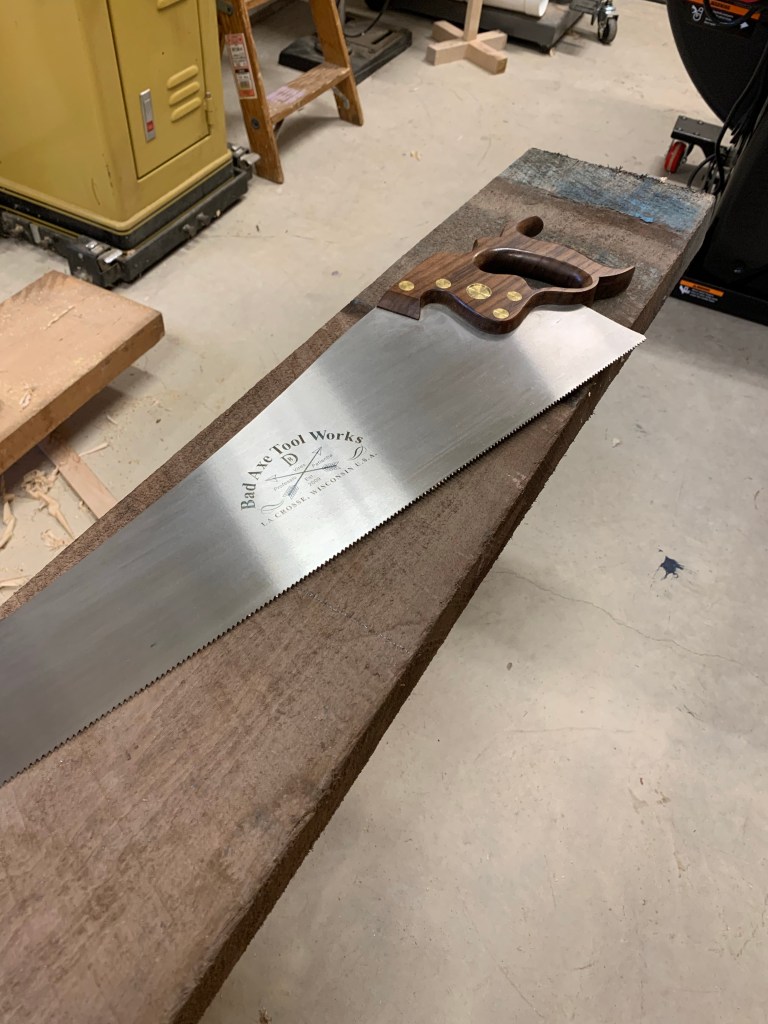
Starting with the Maple I crosscut it to lengths and began milling it into blanks for milling and shaping. I admit that the virus certainly took a little bit of my breath away but it felt very good to cut these by hand and I couldn’t have asked for a better saw. If you haven’t visited Bad Axe Saws lately they appear to be doing well and as they move through a change in ownership Mark Harrell is still next door and providing teaching and saw sharpening through his new company sawsharp. You can find him on instagram at SawSharp6. BTW I recommend his saws because of the excellent quality and service he has provided me over the years and have no financial or other relationship with or Bad Axe Toolworks.

The design of the seats will require a couple of jigs and the bandsaw as I move into the power tools.
Power Tools?
The final weeks of the year were busy, finally slowing when a little virus called Covid visited for the holidays. Still recovering I began slowly working on what will become the first project of 2023. Last fall I began a search for plans for bar stools. With family members living in apartments and moving frequently it seems like a good answer to providing simple seating for meals etc. Most apartments now have a high counter that can be used as a seating area and a couple of stools eliminates the need for a table and chairs.
After a lot of searching I came across the Morley Bar Stools in the Wood Whisperer Guild. Photo from the Wood Whisperer Guild.
This is a very different project from anything I would typically take on and that is where the attraction lies. The design is more modern and the techniques used based upon power tools. Initially I contemplated using hand tools but decided that it would be a unique learning experience to walk on the “Dark Side” of wood working.
On my all power tool project the first step was breaking down the stock, i immediately set about cutting the lumber into reasonable lengths using my Bad Axe D8, did you really think I could go all power tools?
Walnut Coffee Table – Legs
There is a point in the woodworking journey that an epiphany occurs. As you look at the work of others and study pictures on line or in articles you realize that all of you hard work to make tight joints and smooth tops doesn’t make for the perfect piece. Suddenly you realize the importance of wood selection and grain, shadow lines and many small details. I’m not sure when that realization occurred but I’m certainly aware and trying to work on executing on that knowledge.
One of the people that raised my awareness was Mike Pekovich. I’ve seen articles and videos where he uses grain to its greatest potential, producing stunning projects. Paying attention to the grain in the legs of many of his projects really shows what a dramatic difference can be made. Focusing on a cross section of the 8/4 walnut board


Cherry Coffee Table – Prep
Several months ago while picking up lumber for the Walnut Coffee table, I also purchased lumber for a cherry table. I’m glad I made the purchase at that time since prices have increased dramatically. My vision for the table changed at the last minute when I thought about how much I enjoined the joinery on the Paul Sellers table I made a few years ago. I used a similar shelf on the bar cart as well. I’m just a gluten for mortise and tenon joints.

When I purchased the lumber I had smaller legs in mind so was content with 8/4. Now I’m going to need to stretch it so that I can get 2 1/4 finished legs out of it. Several of you have noticed an increased use of power tools in the last year. I have always used power tools where it makes sense and hand tools where they are most effective or I get more joy. Most projects start with the break down of stock and I always reach for my hand saws. Today I grabbed the Bad Axe D8. It’s pure pleasure to use this saw. As I write this post I went back and realized that I have had this saw for five years and It seems that long enough to truly recommend it.
Since I am using rough lumber, I flattened one edge with my hand planes, in this case a Stanley #7. Then used the planer for the remainder of the dimensioning, I talked about the use of sleds in the planer rather than the jointer in a previous post.
In order to make the legs the correct dimensions I needed to glue a 1/2” strip before cutting the board into individual legs.
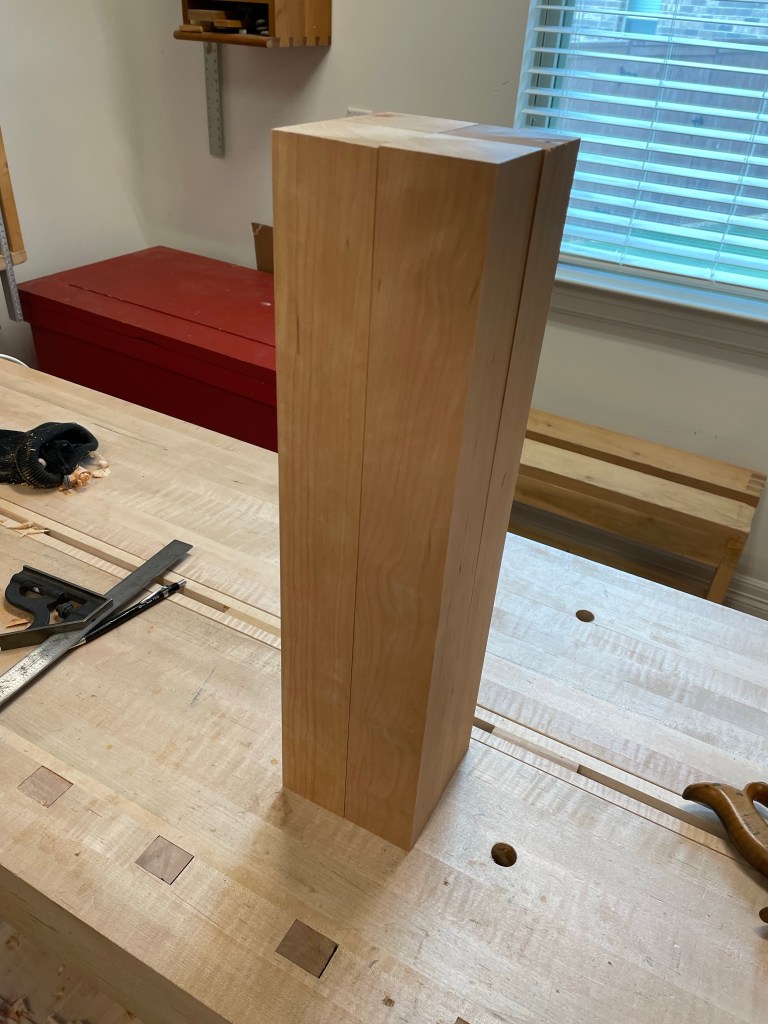

Now the hard part, which side faces out…….
Saw Blade Returns
The saw blade that I damaged with the saw stop a couple of weeks ago has returned with the repairs complete and resharpened. I’m absolutely amazed with the speed of the service. It was shipped on a Monday and back in my hands 12 days later!

Walnut Side Table Top Update
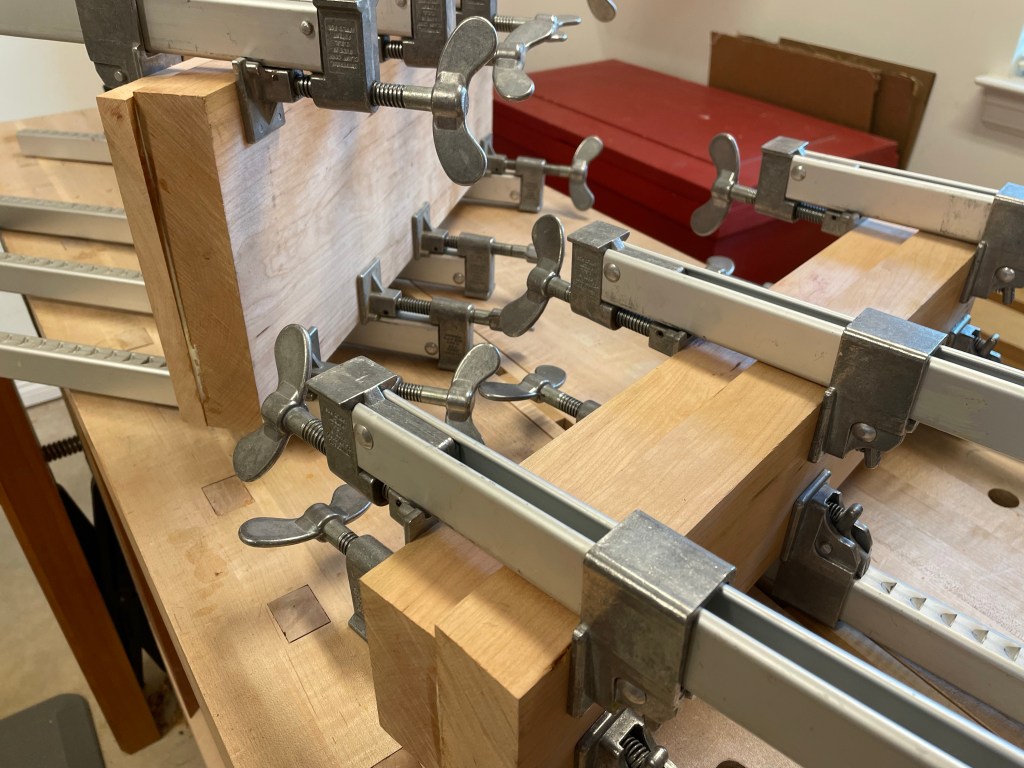
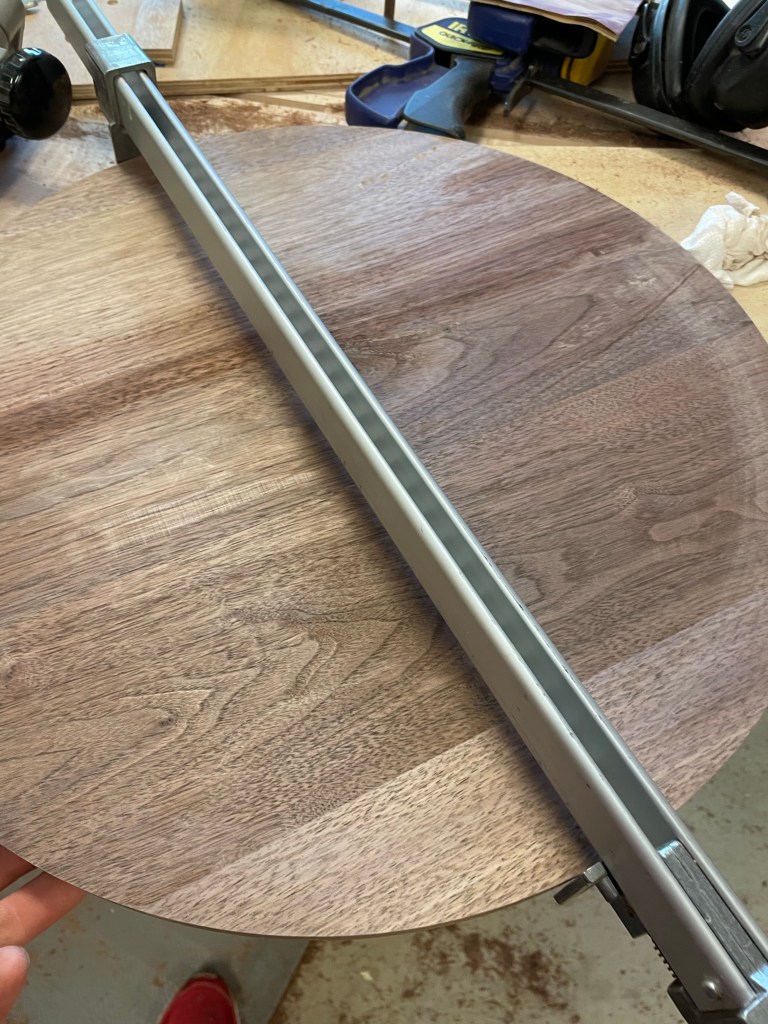
As several of you pointed out the last post concerning the crack in the side table top was unclear and incomplete. I must have accidentally sent it out over the weekend before I finished writing. Here’s the full story….
The underside was chamfered to lighten the appearance of the top. While I was using the router clamps were used to hold it in place. Unfortunately I did not ensure that the top was fully supported and after completing the routing and putting the router away the top cracked. It is a clean break over most of the length with a jagged edge on one end. I do not have pictures of my poor clamping method which consisted of a couple of boards underneath to allow the router to travel around the outside without touching the table top. I certainly should have used a better method.

