Archive
Cherry Side Table – Top 2
On the Walnut table I used a jig and router to cut the circular top. The system worked fairly well and I repeated for this table.
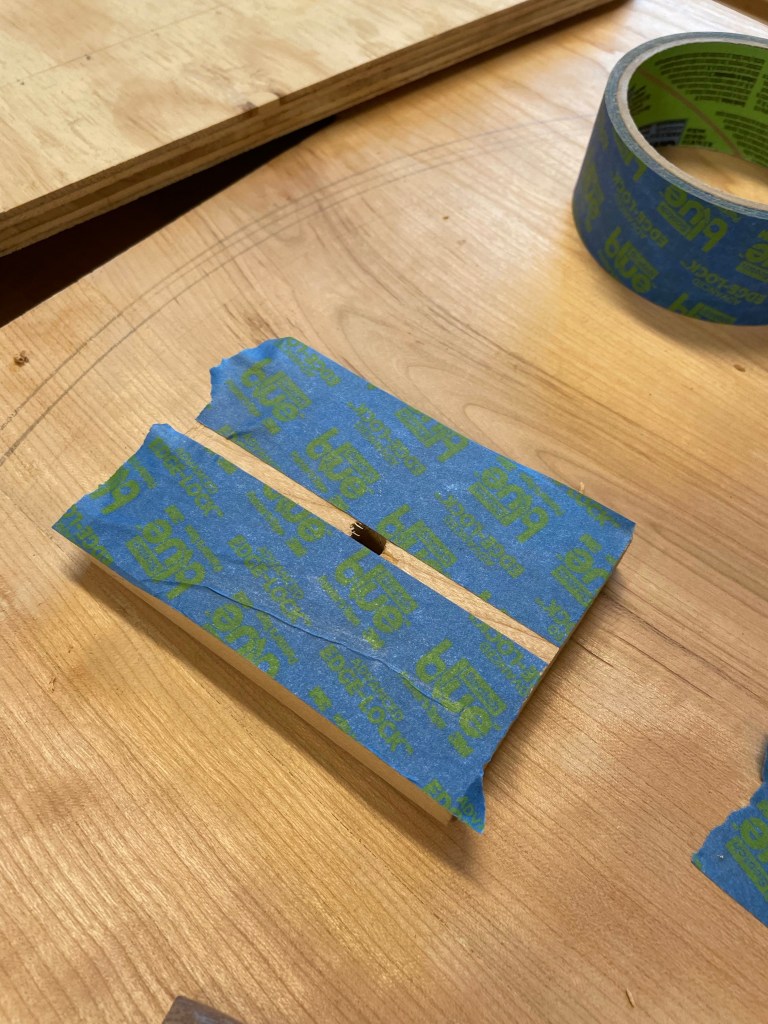

I made my own double sided tape by using masking tape with super glue in between and my circular router jig and cut the table top to size.


Just when you think that you have a great process, the lumber speaks! Routing around the last corner and a large piece came off. This required several minutes of staring at the top and a lot of mumbling. The mumbles were not able to be translated to the blog. There are several options to repair this from start again, glue a new piece on, rout a tighter radius etc. knowing that I had to chamfer the edge, I put the other bit in the router and the actual impact to the edge was small so with a spokeshave and hand plane I rounded the edge by hand and it’s not noticeable.

Cherry Coffee Table – Completed
All of the parts are completed and the final steps are in sight. Clean up and sanding, installation of the top are all that is left.


Like most of my projects I intend to use shellac and finish with a coat or two of wax. It’s a very simple finish and easy to repair. Starting with the top I applied layer after layer of Shellac with intermittent sanding. I did do this table slightly different than prior projects. I have always used a brush to apply the finish and after looking at prior projects thought that a rubbed finish may eliminate some of the drips and problems. Taking an old T-shirt I carefully wiped on the layers and was very happy with the process and the finish. Interestingly, the same week there were some comments on the fine woodworking podcast that spoke exactly to the use of a pad versus a brush. Strange how these coincidences occur.
Once the top and base were finished I had to attach the top. Previously I had cut mortises in the rails so all I had to do was make the wooden brackets and attach them in with brass screws.

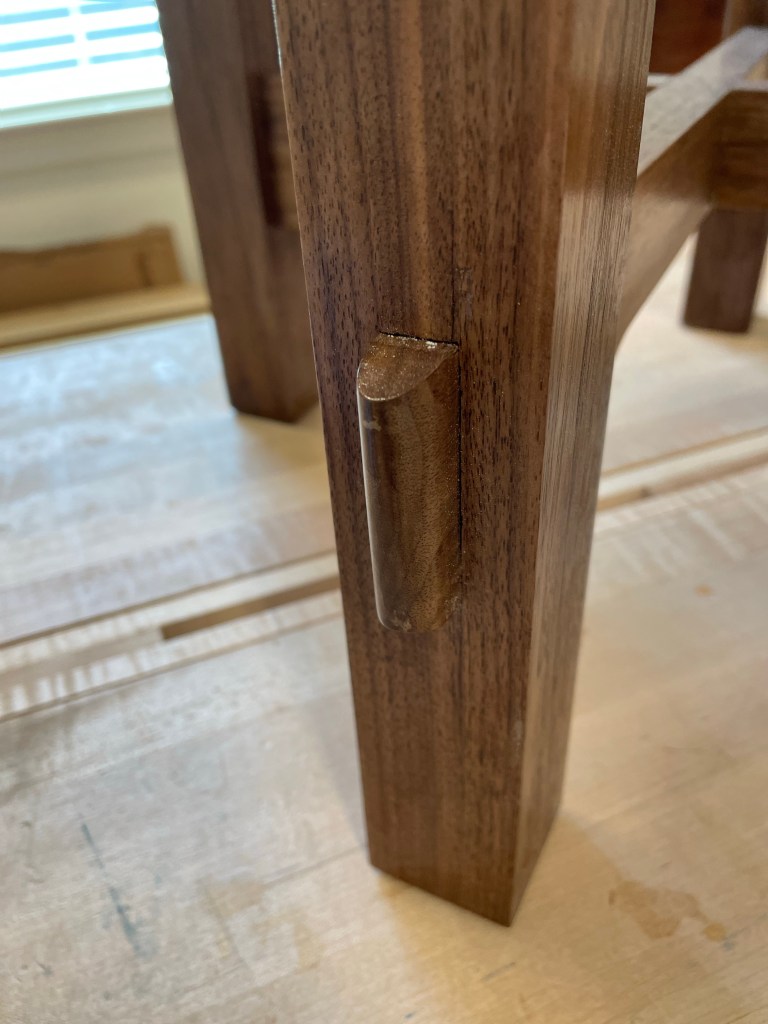
There are several fun lessons in this project and the curves in the legs and rails add an element of lightness to the appearance of the project. I really like the look of the chamfered top. The joinery is a challenge and when it is completed your skills have greatly improved, and who doesn’t like the look of a through tenon!


Cherry Coffee Table Top
The top was glued up a couple of weeks ago. While boards were sorted and selected for the various parts it was easy to dimension them while the tools were out.

The tabletop has always been the most stressful part of any project. It seems a simple task to prepare the rough stock, dimension the boards and ensure the edges are parallel and glue, but there is so much more to be considered.
I have some interesting table tops. There is the one that is a piece of Red Oak glued to a piece of White Oak, the one with grains that clash and the one that has boards of different shades. I continue to try and improve my work by paying attention to lumber choice and grain. It makes the finished product more pleasing to the eye. Once the stock was prepared I twisted and turned the boards until I was satisfied with the appearance and jointed the edges. As mentioned before I never unboxed my jointer after moving and all of the jointing is done with hand planes.
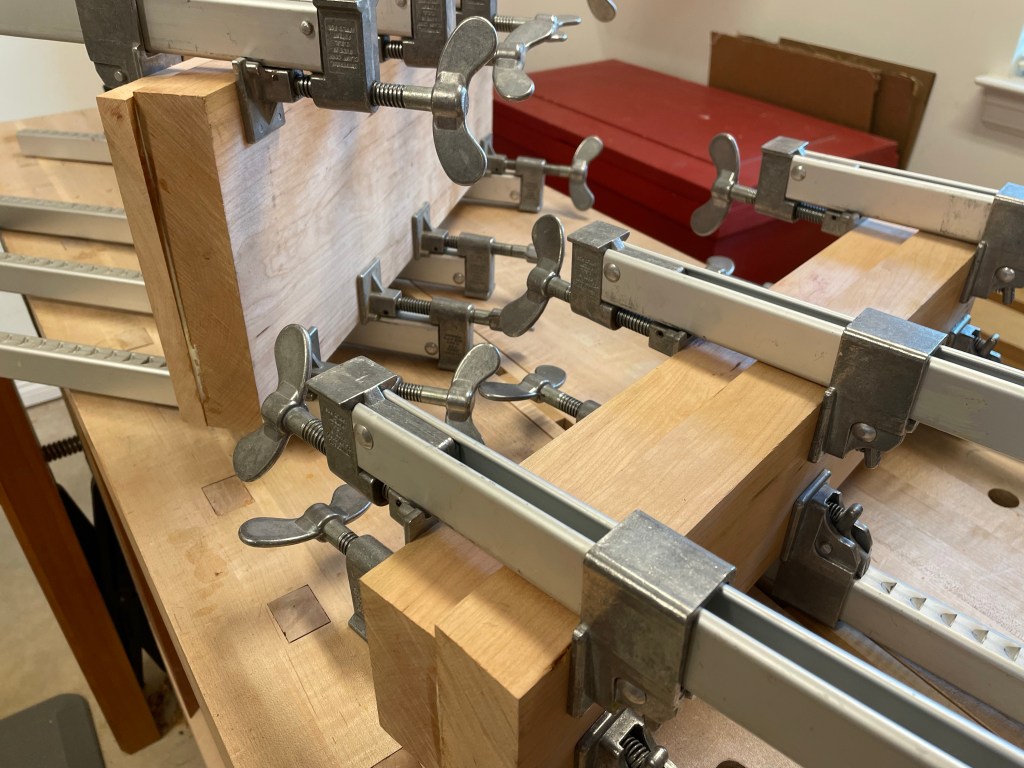
Once everything is ready a little glue, some clamps and we have a larger slab of wood,.


When I made the walnut side table I used a router to chamfer the edge which really changed the table appearance. I decided to make the top slightly bigger than my prior coffee table and to add the chamfered edge element on this table as well. I debated whether to make the chamfer by hand, but in the end chose a router. Almost routing on the wrong side, I flipped the top and made a careful pass around the edge.


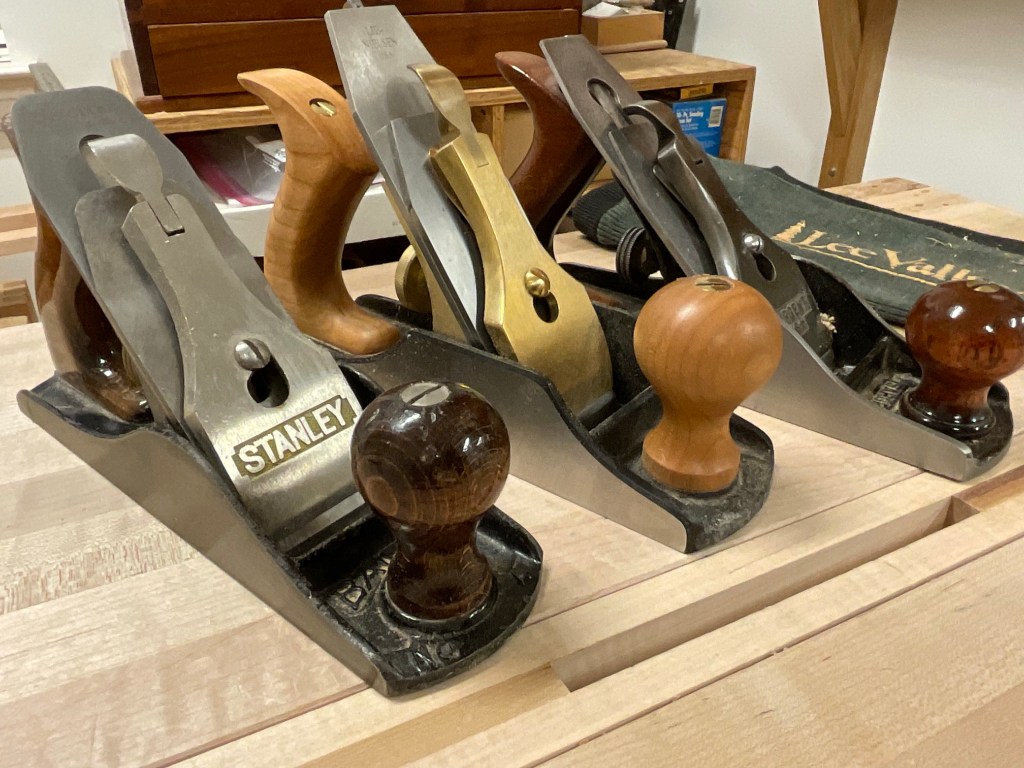
As I was finishing the Walnut Coffee Table I really struggled with tear out. Finally finishing up with scrapers. Since Then I made a quick purchase knowing that I had more figured lumber to work, I’ll write. More about the plane in the future when I have a little more time and feel that my opinion is valid, I used my regular #4 and the high angle frog Lie Nielsen on this table top and was very happy with the result.

Some final sanding and it should be ready for finish.
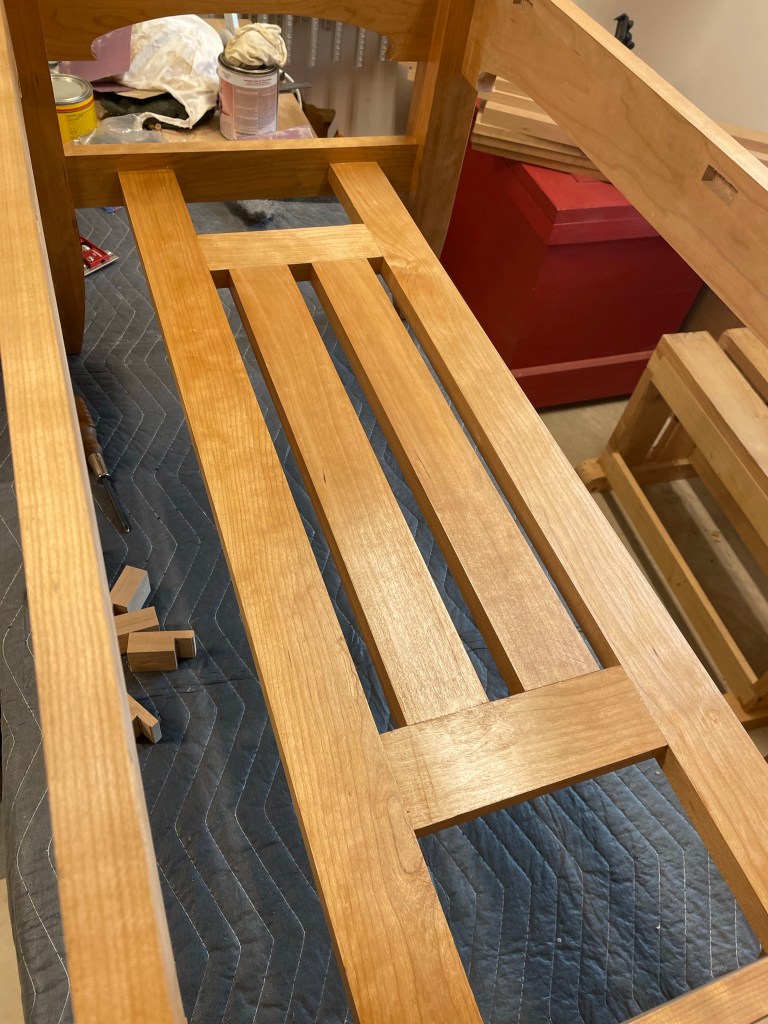
Cherry Coffee Table – The shelf
The reason that I like to build this table is the shelf and through mortises. In the original project by Paul Sellers he talked about the amount of practice that the large number of mortise snd tenons provide. He is absolutely correct snd since doing the first piece I have no fear of this joint whether produced by hand or machine.
The shelf is a great opportunity to think about selection of wood and matching as much as possible. The pieces I select have all come from a single board. It is not as easily viewed as the top but it definitely draws the eye. Once the wood is selected the outer shelf rails must be fitted to the lower end rails. These are done with through mortise and tenons in the same fashion as the through mortises on the legs. This can be a challenging fit and my advice is to assemble the table and place the shelf side rails on top of the side rail for marking. This is most easily done with the table in clamps.

Once the rails were marked the tenons were cut to match the mortises (cut in a similar fashion to the previous blog). A few things to think about as you are doing this. The table needs to be clamped and all of the angles checked to make sure it is in its final position. I actually had to put a clamp diagonally across to make a slight adjustment. Exact marking and measurement will be essential. There are many joints to come and getting these four correct will make things much easier.

Once the tenons are cut, they must be fitted into the side rail. If all goes well you will end up with a tight joint.

Once the two outer rails are in place and the fits have been adjusted, lay out the remainder of the shelf pieces and mark them.
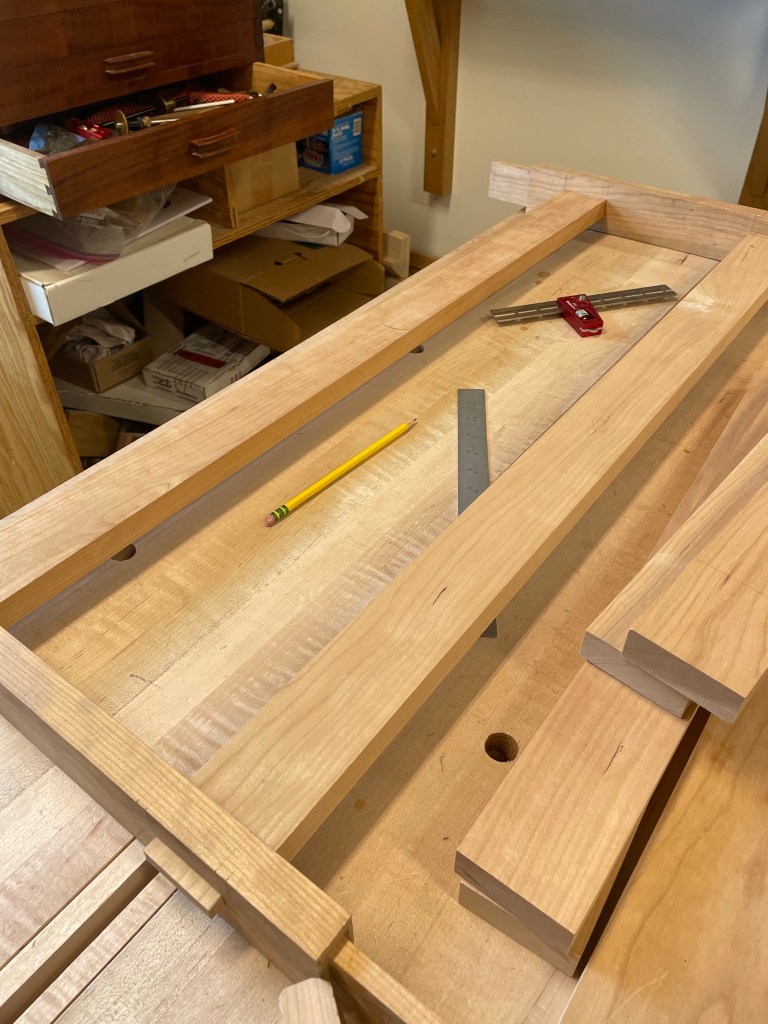


Maybe I’m unusual but I really enjoy matching all these parts and getting the fit perfect. Also its ok to make a mistake here, I actually ended up cutting a board short and had to make another.
Cherry Coffee Table Shaping the Legs
When I began woodworking, the thought of making a curve was very intimidating. Looking at a piece of furniture I found it difficult to envision how shapes were made and what tools are required. Thanks to the internet and classes from Paul Sellers, I realize that with a little practice most things are possible. The shaped legs are really a matter of using hand planes to cut to the desired shape or trim with a saw and shape with a plane.

The leg design has curves on the two inner sides leaving the outside edges flat. The result of this design is that layout has to be done for one side at a time, else you cut off the pencil marks. There are several ways to remove the waste, Chisel, Bandsaw, Saw. Previously as shown in the link I did this with a saw and chisel. It’s quick and efficient. Using Cherry I wasn’t sure if the technique would work as well and didn’t want to have a chisel dive out of the waste into the leg. So I opted to use a bandsaw to remove the majority of the waste and then a plane to smooth the leg.

The photograph shows the curve already on the left side of the leg and progress on the curve on the top of the leg. It’s amazing how much the color of the leg had changed in just a couple of days. Notice the top area where I am planing to the line vs the section on the lower part of the picture.
I also took the opportunity to chamfer the edges on the bottom of the leg to prevent tear out. Again this was done with a sharp hand plane.

Shaping the Rails – Coffee Table
The rails for this table have a couple of design elements that are straightforward to cut but a bit of a fiddle to sand. I took my time to avoid additional finishing work. The curves change the look and feel off the table and I added a couple pictures at the end of the blog showing the before and after pictures of the side rails.
Following all the normal steps for side rails, dimensioning, cutting and fitting tenons, I added value to the boards at each step. Woodworkers understand that the time to make a mistake is early in the process. Each step or change adds value (time and effort) to the piece and a mistake becomes more costly.


Next came marking the curved shape. In my secret stash of old patterns I kept the original coffee table pattern so I used it along with a straight edge to draw a pencil line.


The corner of the curve is simply a 7/8” hole. I made a little jig for my drill press and drilled from both sides to have a clean hole. Next the curve along the length was sawn at the band saw. There’s many other ways to do this and in my prior build I use and a saw and chisel to removed the wast and a spoke shave to clean up the curve. Both methods are quick and relatively easy. I don’t think there was much difference in the time to clean up the curve.
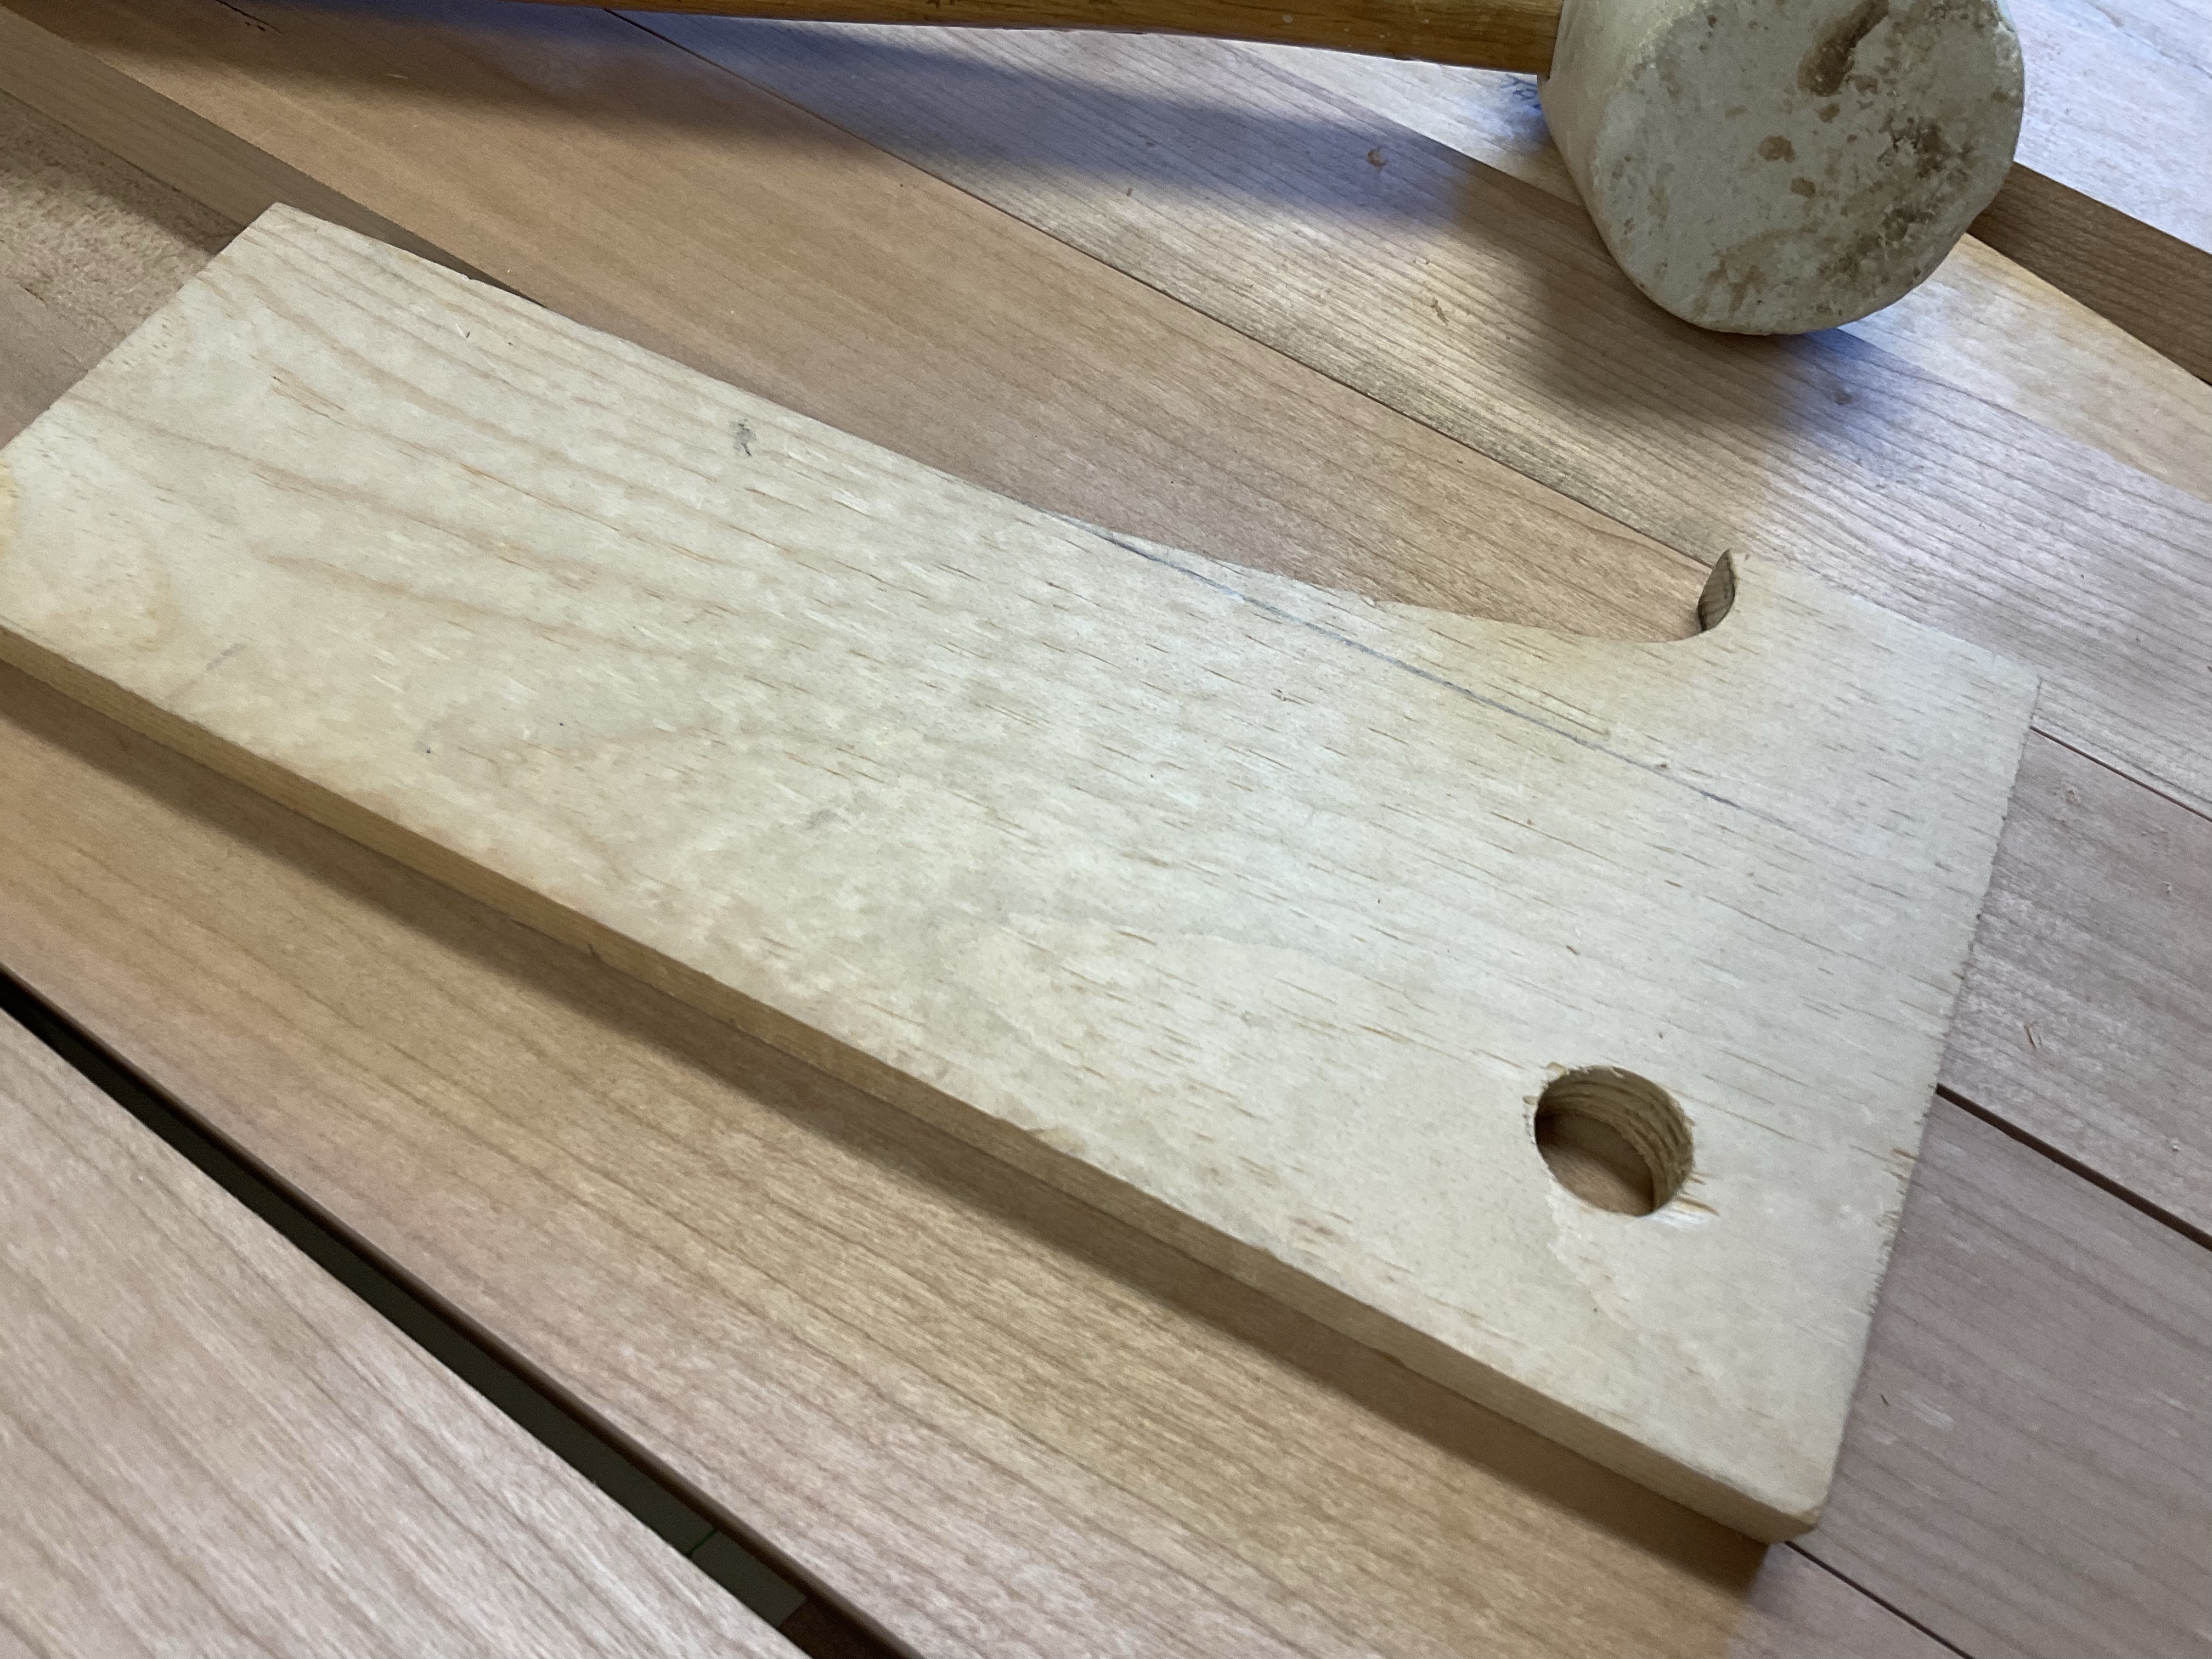

Cleaning up the edges is made easier with care in the drilling and layout, I used a spoke shave, scraper and sand paper wrapped around a dowel. Below is a picture showing the impact of the curves on the rails. I like both versions they just provide a different feeling. Next I’ll show the making of the shelf which is in the photograph above.


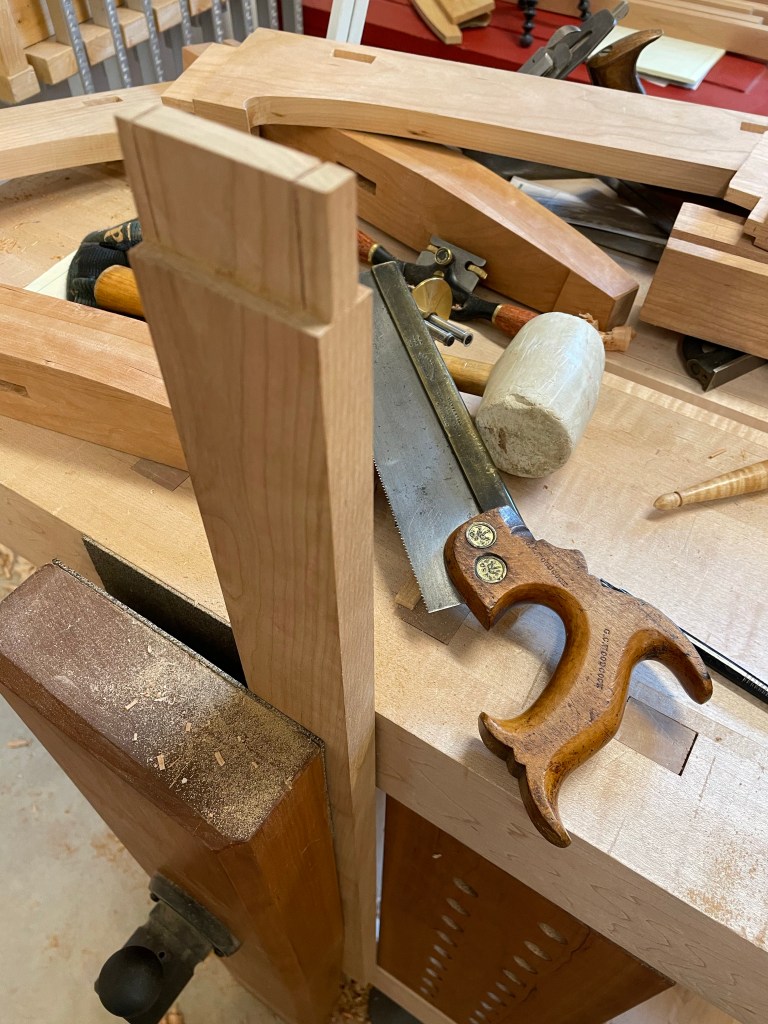
Through Mortises by hand and Machine
The mortiser is now accurate and producing straight mortise walls. That means its time to get out the chisel and mallet. I know of no mor e accurate way to cut a mortise than to do it by hand. The plans for this coffee table are to have through mortises for the shelf and side boards. I love the look of the through tenon and would not miss the chance to add them to a piece of furniture. Here’s an example from a previous project.
My plan for these tenons is to cut a shallow mortise on the face of the legs and then finish it by using the hollow chisel mortiser connecting through from the back. This gives me the advantage of a very accurate mortise where is shows and the speed of the machine where it doesn’t.
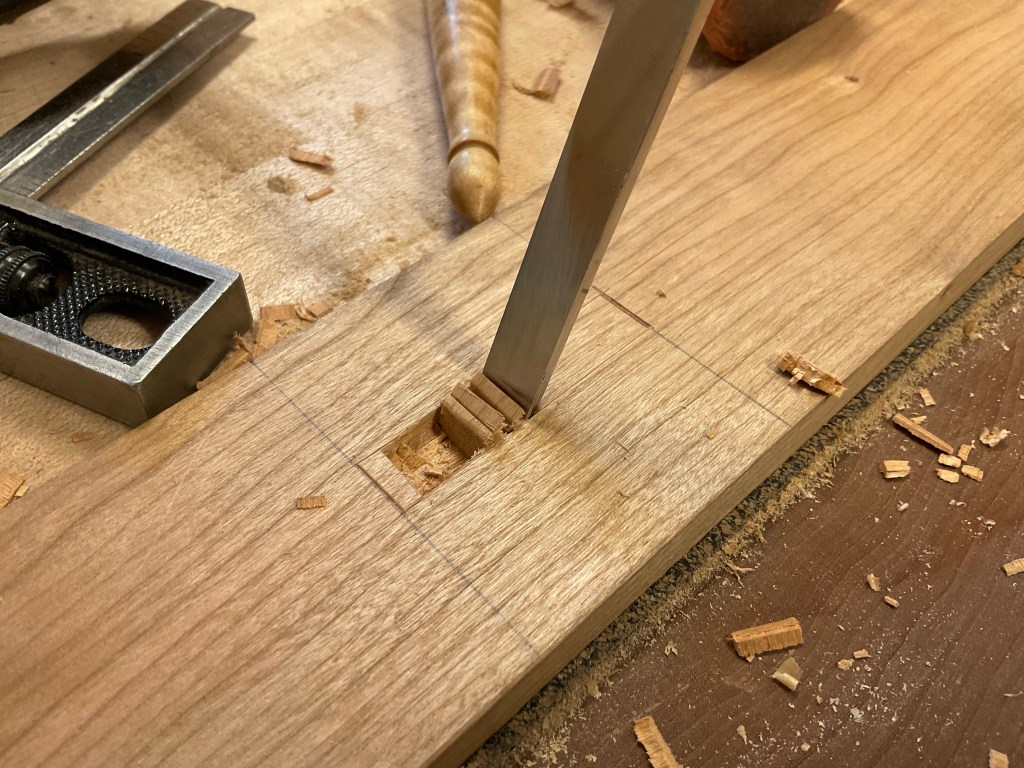


Layout is critical especially since all of the mortises I cut are connected to all of the other table components. If I make a cut incorrectly is will cause the table to finish twisted at best or not fit together and require recutting or remaking the parts.


The marking age that I typically use for this is from Veritas and I have come to trust its simplicity. I have use some of my older mortise gauges with little problem but i like using the Veritas gauge and circular cutters. Also I’m not paid for the tools I’m showing. I just find they work so I share them.
With all of the mortises laid out and the mortises on the show faces cut out by hand I turn the legs over and use the mortiser to remove the rest of the material. Some careful chisel work and the mortises arecut efficiently and accurately.

Cherry Coffee Table – Prep
Several months ago while picking up lumber for the Walnut Coffee table, I also purchased lumber for a cherry table. I’m glad I made the purchase at that time since prices have increased dramatically. My vision for the table changed at the last minute when I thought about how much I enjoined the joinery on the Paul Sellers table I made a few years ago. I used a similar shelf on the bar cart as well. I’m just a gluten for mortise and tenon joints.

When I purchased the lumber I had smaller legs in mind so was content with 8/4. Now I’m going to need to stretch it so that I can get 2 1/4 finished legs out of it. Several of you have noticed an increased use of power tools in the last year. I have always used power tools where it makes sense and hand tools where they are most effective or I get more joy. Most projects start with the break down of stock and I always reach for my hand saws. Today I grabbed the Bad Axe D8. It’s pure pleasure to use this saw. As I write this post I went back and realized that I have had this saw for five years and It seems that long enough to truly recommend it.
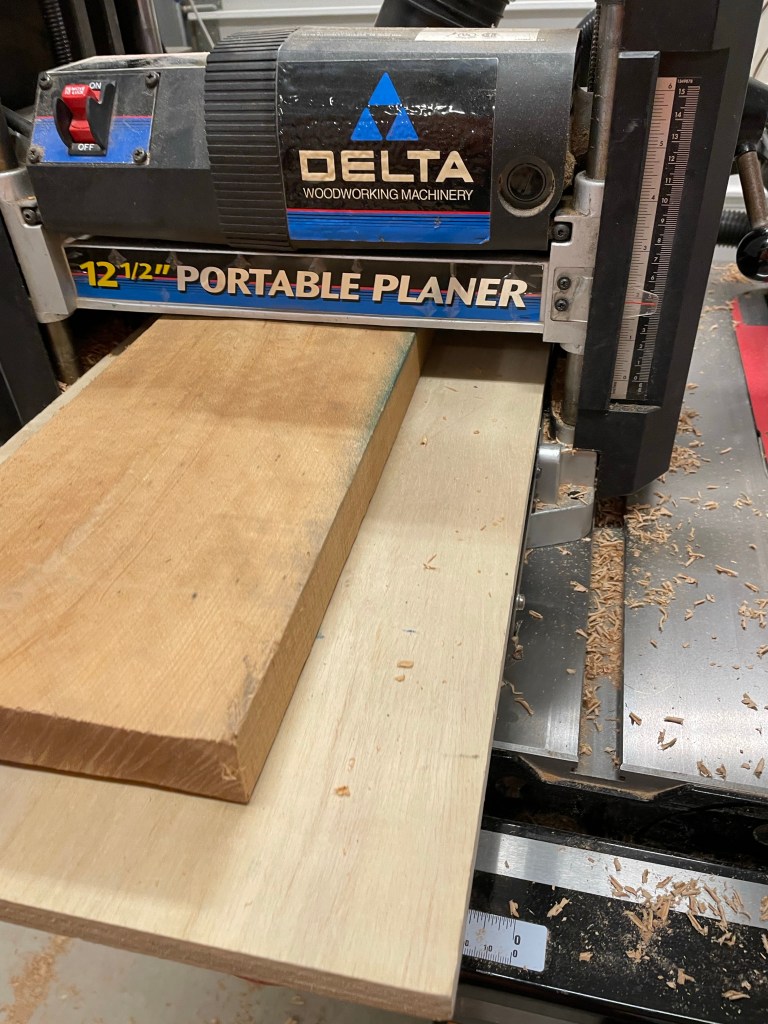
Since I am using rough lumber, I flattened one edge with my hand planes, in this case a Stanley #7. Then used the planer for the remainder of the dimensioning, I talked about the use of sleds in the planer rather than the jointer in a previous post.
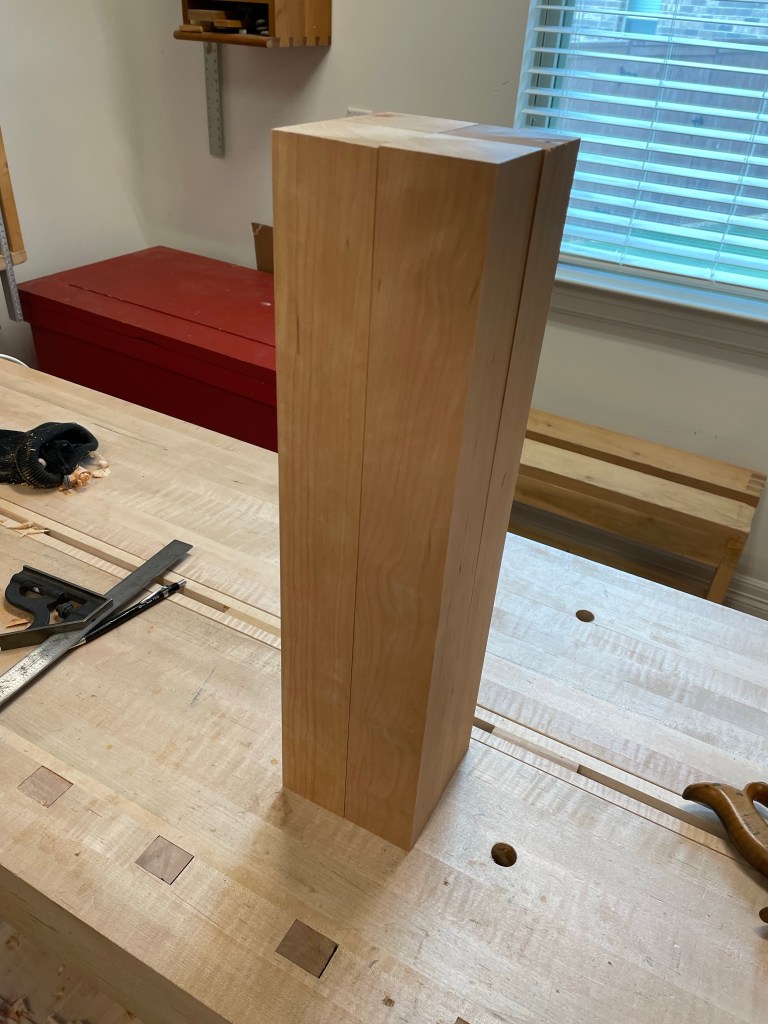
In order to make the legs the correct dimensions I needed to glue a 1/2” strip before cutting the board into individual legs.

Now the hard part, which side faces out…….
