Closet Update
That’s correct, an update on a project never declared to be underway. To be transparent I’ve done many projects this year that seemed too lowly to meet these pages or my desire to write never materialized.
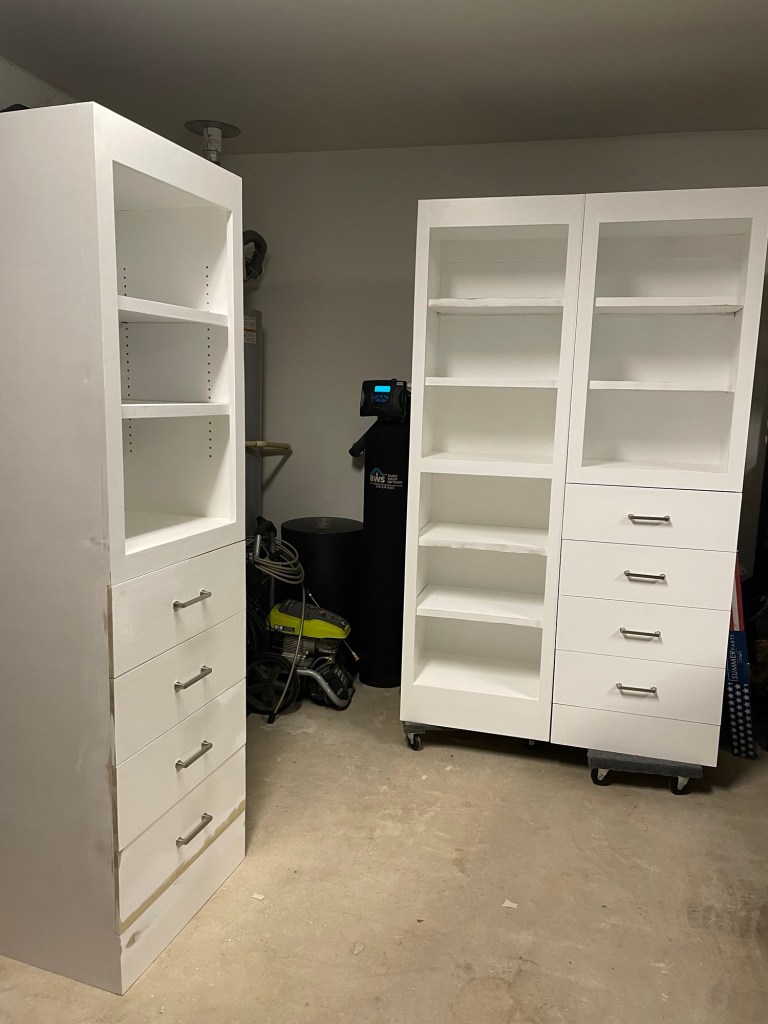
Early this year my largest customer declared that it would be nice to add some drawers and shelves into the walk in closet (for clarity this is not my wife). Noting a sense of urgency I began and after approximately a year have. Completed the build with only final painting and installation remaining. Why a year? It’s all about expectations, why deliver a project in a few weeks if you can spread it out and ensure that requests in the future have lower expectations.
The request was for three cabinets, one shelves only and two shelves and drawers and final color white. My only pause is my poor skills to paint anything white as learned from bookshelves made 20 years ago.
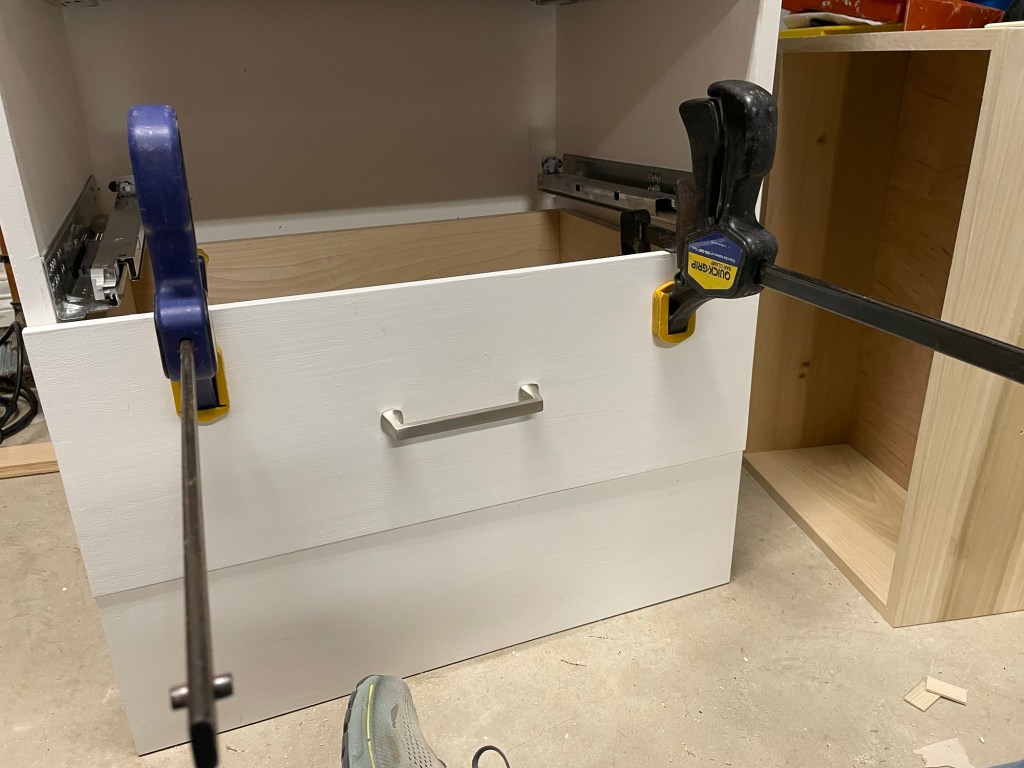
Three quarter plywood back and sides, half inch plywood back, three quarter plywood shelves with one inch trim for finish and strength. Trim around carcass is three quarter hardwood screwed and plugged. Tools – table saw, planer, handsaw, #4 Stanley plane and drill. Obviously mostly power tools. The drawers were put together using a routed joint.

Like most of the last couple of years I enjoyed the power tools challenges and continued to learn skills and techniques.

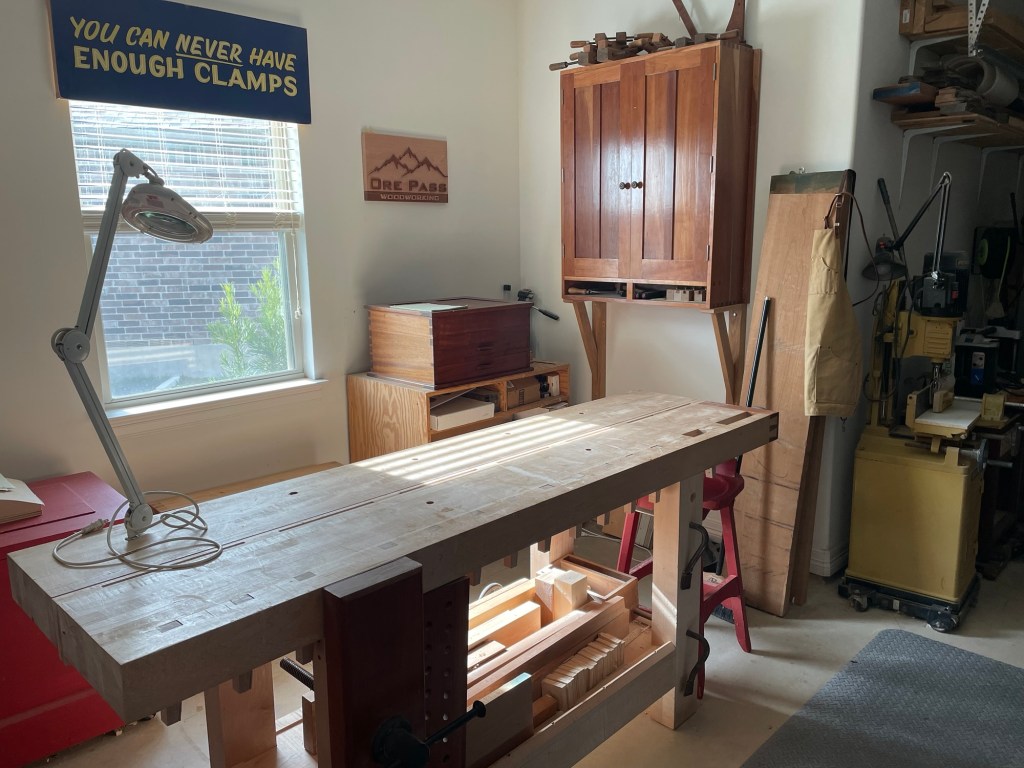
Yesterday I cleaned up my bench and swept the dust off the floor and turned off the lights. I’m thinking the next project will be mostly hand tools and back to cherry or oak.
Project End
The creak of the door is slight and the hint of finish lingers, but in the light it somehow feels empty. The tangy smell of fresh cut cherry is gone and the dust that once floated in the air has settled. There is a strangeness to the shop when a project is complete, it is not a feeling of loss, but one that announces change. Lumber that was cut and dimensioned became legs and rails, curves and joints. The bench still holds chisels and saws, a square, and pencil as if misplaced.
Measuring tools are placed in their drawers and chisels at the sharpening station. A brush whisks shavings off the table top while a broom sweeps them into a pan. Soon there are only unsharpened tools, then only a pencil remains.
It’s been a year since the bar stools were complete and many things happened over that time, a trip to Olympic national park, the beginnings of several new projects and of course time with family and friends. Like many bloggers I have gaps in what I post, but I offer no apologies or explanations just thanks for following along and your questions and comments are always welcome. In the next few weeks I will tidy up my half finished notes and send them out, many will not have stories but they are over a year old and I have others to post.
I did want to note the passing of Hobbes (its been well over a year) but as you all know dogs hold a special place in our hearts and he certainly spread his energy (only English Setter owners will fully understand) over 14 years. Run my friend, run……

Kitchen-Guitar Stool – A curved seat!
Reflecting on the seat design of the Bar Stool, I am troubled by the waste created by cutting the seat out of a block of wood. It was a simple design in appearance, a curved board, two jigs and a bandsaw to complete. The remnants were significant, wood from both the top and bottom that allowed the flat boards to become curved.
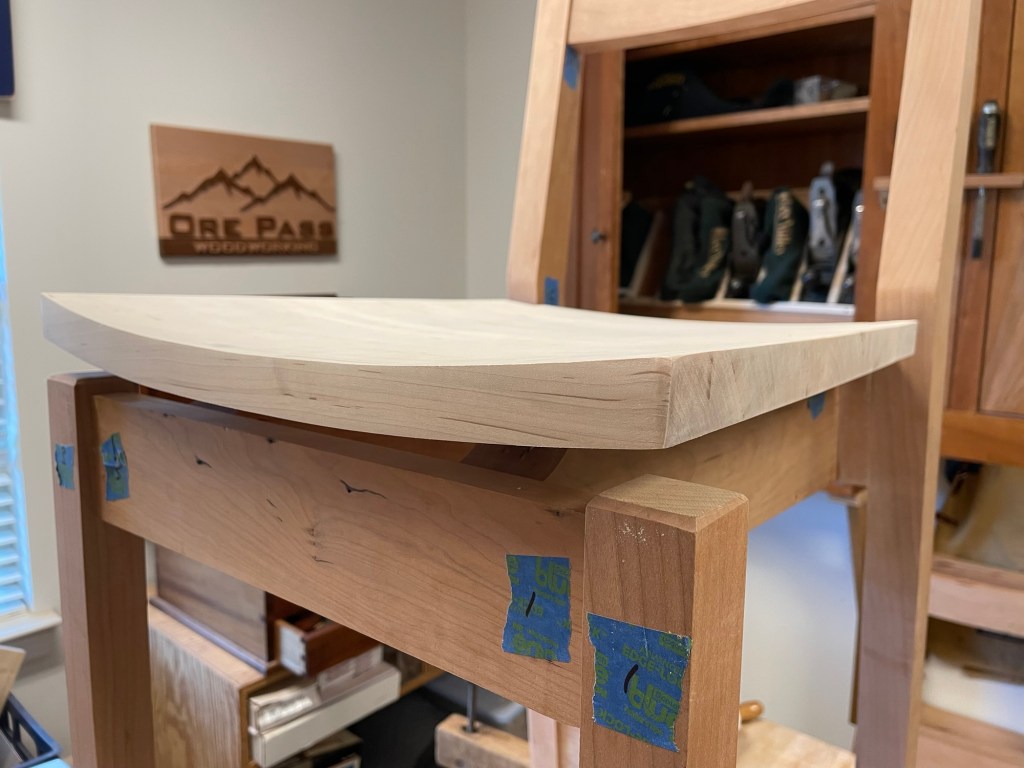
The Kitchen-Guitar stool also has a curved seat, but of a very different design. Thin sheets of plywood glued over a form. Let’s take a look.


First step was to make a form. It was a simple process of making five identical curves and attaching them to a board. I made a 1/2 plywood pattern and used the router table to duplicate the curve. Once complete I attached the curved boards to a piece of plywood. That was the easy part the difficult part was finding 1/8”plywood that would bend around the form. Eventually I found some at Rockler. It wasn’t cheap but i had no other option,

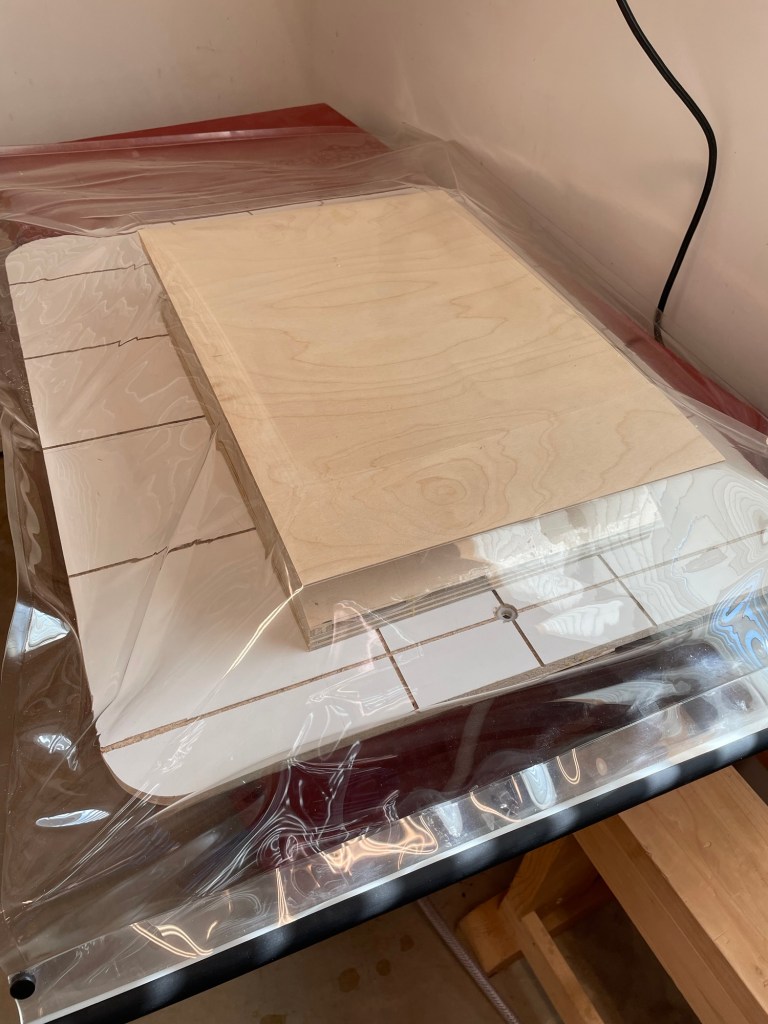
This is the first time that I have used a vacuum press to curve a board and I’ll put detail of what I used here. Needless to say I enjoyed the process and ended up with a nice form. 5 pieces of 1/8” plywood and 12 hours later and a curved seat appeared.

A little trimming and smoothing and the seat should be ready to go.


Kitchen Guitar Stool -Legs
Stools are fairly simple structures. Legs, aprons, cross braces, and seats. The challenge comes when making them strong and stable, adding angles to joints. The design that Becksvoort developed uses mortise and tenon joints for the aprons and tapered rungs fitted into tenons to provide cross braces. His choice of tapered rungs makes great sense. They are simple to make and using an angled hole is quicker and simpler than using a square mortise. Additionally, the rungs will not show the wear of square braces. Since I don’t have a lathe, I will be making angled mortises and tenons.
After dimensioning the legs the apron mortises were cut using my powered mortiser (love this machine) The great thing about Becksvoort’s Apron design is that the apron tenons are angled allowing the mortises to be straight.


Now for the aprons and tenons to fit into these mortises. Angled legs create great challenges and the use of straight mortises means that the Aprons must have angled tenons.
Length was made on the Tablesaw using my mitre sled followed by cutting the tenon by hand. There’s many ways to cut the tenon and as an afterthought probably some more accurate methods, but getting out the hand saw was quick and I need the saw to adjust the width anyway.


Lastly I cut them at a 45 degree angle. It’s a simple pleasure to make the cut.


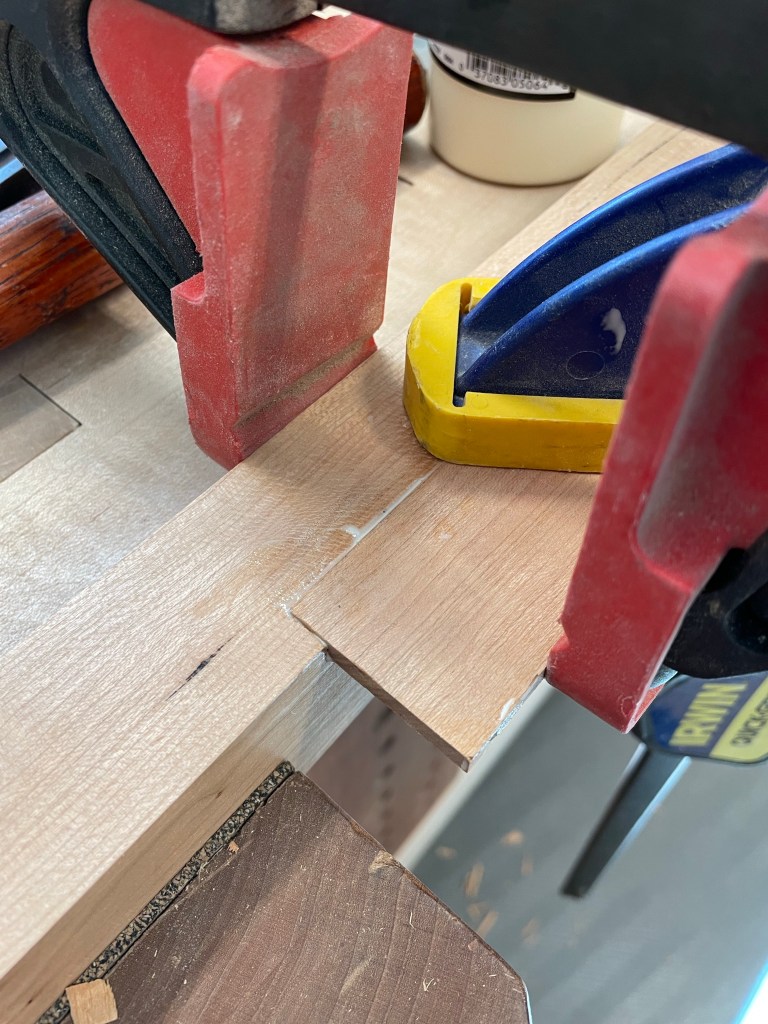
As a larger challenge the plans called for the angles to be different for each side. Don’t tell anyone but I ignored the two degree difference. I’ll see at the end if this was a mistake.
Self proposed challenges. The little things that didn’t go quite as planned. The precise cutting of the tenons was enhanced by miscutting the length not once but twice. this left the mortises slightly long. Not a big problem just required a small piece to infill the mortise. There was also the problem with the runaway drill. We all do multiple projects and I accidentally used the leg as a backstop for drilling a hole. Since this is a piece for my own use I just plugged the hole and moved on.
Kitchen – Guitar Stool – Dimensioning Lumber
Slow start today. Running this morning in almost 80 percent humidity took the ‘get up and go’ out of me so it was mid afternoon before I wandered into the shop. Continuing to contemplate wood choice I finally just dove in with the cherry left over from prior projects. It’s a bit of a mixture of sizes and it took a bit of sorting before I had the major components identified.


Then it was table saw, bandsaw and planer until the legs were the same dimensions and square and the upper rails all the correct width and size.


I did take the time to ensure that all surfaces were flat before cutting the larger board to make the upper rails, used my planer as a jointer per the usual process.
Sometimes you’ve just got to make a decision and move forward. One little bit of risk I had to consider was that the width of one of the legs was just under size. I could make them all slightly smaller …or I could make sure that the edge is tapered and hope that I don’t taper the wrong side. You can clearly see the leg that needs to be watched in the picture below.

Thinking ahead, the seat of the stool in the article is made of leather and since She who works Leather and Wood is not nearby (Please visit Marilyn’s blog). I’ll have to find an alternate place to get some help. There’s a little shop that I pass occasionally maybe I’ll stop in and see if they can do the seat.
Morley Mortiser Build
Being comfortable with hand tools and using machines for basic dimensioning of materials has not translated to a quick and easy bar stool project. Mistakes have been made, lessons learned and in some cases re-learned and the project is far from complete. One area of woodworking that I have avoided is the use of routers for mortise and tenons and pattern routing. That’s partly what this project is about pushing new skills.
Reviewing the project videos it became clear that I would need some jigs for the mortises. Fine Woodworking had an article in Feb 2023 edition showing the Morley Jig and it was clear that this had probably been used when Morley made the original stools. The videos used alternate methods but the jig worked well and I can see its use in the future.


No need for me to show any more build details since fine woodworking did an excellent job in their article.
Morley Bar Stool – Seat Rails
Chairs have angles and in the case of this stool the angle of the front legs is 6.5 degrees from the back legs. The design of the stool actually means that as long as you are consistent the angle could vary slightly.


I spent the morning dimensioning and cutting to size for the rails two for each chair (8 total). Generally things went smooth with a small problem.


As I finished up some of the lumber dimensioning a couple of fun things happened. The first was the movement in some of the off cuts I had set aside. Walked out of the shop for a few hours and these slits had opened up considerably. The second item is less enjoyable. Saw Stop blade struck what remained of a staple in the end of board, another blade damaged. If I had trimmed the end a few mm further up the board would have saved a lot of money.

It was necessary at this point to take a walk!
Morley Bar Stool – Make another seat
When last we visited the seat construction was going well and i was going to finish the blog with a quick view into cutting the seat to final dimensions. That did not go as planned so I got to make one more seat blank and repeat!
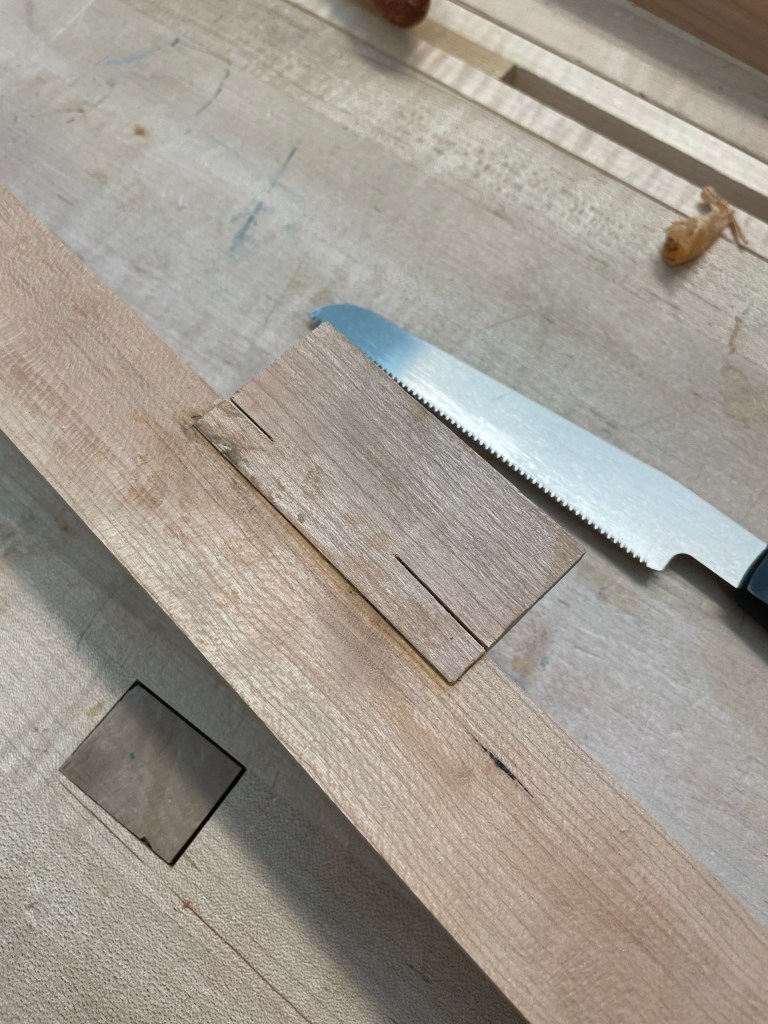
Here’s what happened and several lessons that followed. The blanks needed to be smoothed and I did this using a belt sander for their concave curves and I hand plane and sander for the convex curves. Yeah I know the hand tools keep sneaking into the process. No pictures of the smoothing but I think you can imagine it. Once the curve was smooth the seat blank (curved needed to be trimmed to size and shaped. You can see the template in the picture below.


I mounted the template onto the first three blanks and trimmed it on the bandsaw and used the router table to bring out to final shape. Blank number three…Don’t tell anyone but I screwed the template on in the wrong direction! The bandsaw was very efficient as it cut off the wrong end and I had a seat without enough depth…firewood! I took the other blanks and all went well until the last one where the router ate part of the blank. Puzzled I learned that the router bit was too low since the mounting bolt had loosened. Two mistakes and I leave the shop. No sense i risking injuries when I am frustrated with myself.
Later I returned to the lumber yard picked up a new board and made two more seat blanks. This also brought about a new lesson, I could not cut the curve smoothly on the blank. After several minutes I remembered changing to the wider bandsaw blade and realized that it was preventing the blade to match the desired curve. As I mention I am relatively new to the bandsaw and curved jigs. A narrower blade and everything worked well.


Jig Building – Morley Bar Stools
There are four stools to be made as part of this project and repetitive tasks lend themselves to power tools and jigs. Not being a frequent jig builder, I found this a challenge and in particular the instructions were not as clear as I hoped. I’ll share a few photos and a brief description of the method I came up with after watching the videos of the jigs in action.
The seat consists of three boards with a curved front and back. Each curve requires a separate jig. Let’s take a look at the concave cut first

The Jig consists of two curves made of plywood. One piece fixed to the band saw with a clamp and a second that rides alongt the edge of the first piece of plywood like a turn table. On these pieces I glued up a couple of pieces of 2×4 to ma end support structure for the seat blanks and a third that will allow a clamp to be placed to hold the blank secure. The two support strucures required a couple of cuts on the table saw to securely first the blank at the correct angle


In the pictures below you can see how the two pieces of plywood interact.


I think you can scroll through the pictures and see that the second jig is similar to the first but I placed the saw on the inside of the clamped pieces at the interaction of the two curves.
Morley Bar Stool Leg Repair
After the incident with the router leg template, things went fairly well with the exception of tear out on another leg. Managed to catch the grain and took a corner off one of the legs. Since it was close to the edge I made a repair before rerouting to salvage the lumber.
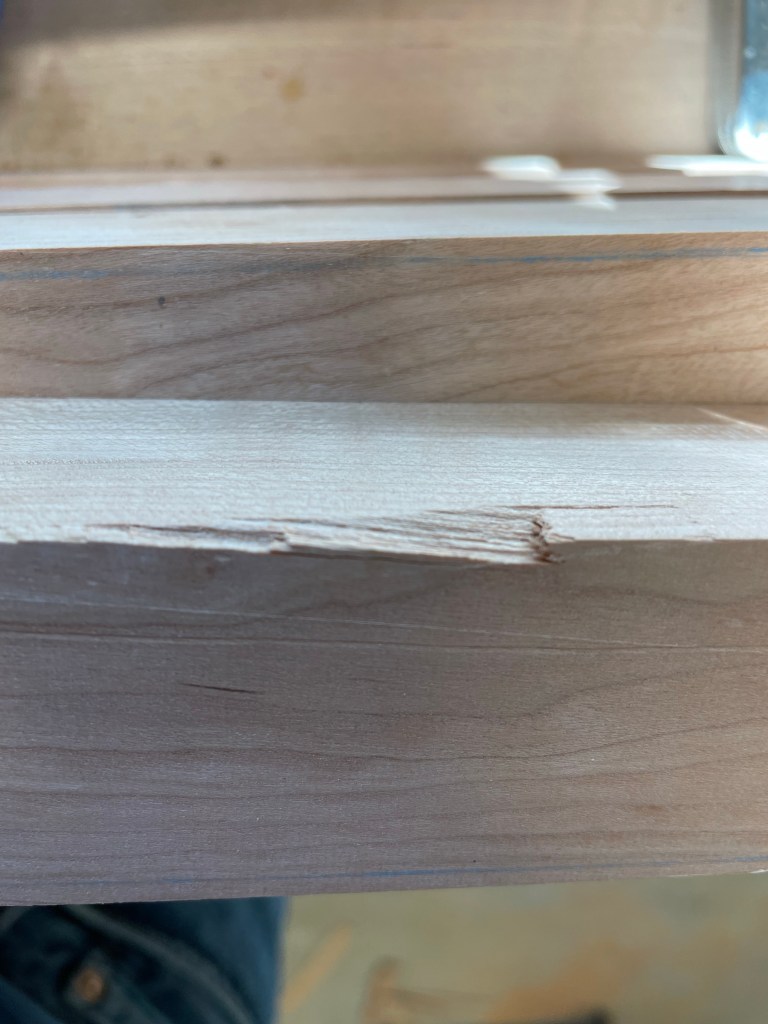
Digging through the scraps, I found a suitable piece of lumber that has similar grain and prepared a replacement piece to fit into the damaged area. Glued it in place and planed it flat and you can hardly tell there was a problem. Now I need to be careful to place the repair on the inside of the leg and no one will know.

Hopefully I can confine the lessons and mistakes to the one stool and in the end probably reproduce another.
