Archive
Morley Mortiser Build
Being comfortable with hand tools and using machines for basic dimensioning of materials has not translated to a quick and easy bar stool project. Mistakes have been made, lessons learned and in some cases re-learned and the project is far from complete. One area of woodworking that I have avoided is the use of routers for mortise and tenons and pattern routing. That’s partly what this project is about pushing new skills.
Reviewing the project videos it became clear that I would need some jigs for the mortises. Fine Woodworking had an article in Feb 2023 edition showing the Morley Jig and it was clear that this had probably been used when Morley made the original stools. The videos used alternate methods but the jig worked well and I can see its use in the future.


No need for me to show any more build details since fine woodworking did an excellent job in their article.
Jig Building – Morley Bar Stools
There are four stools to be made as part of this project and repetitive tasks lend themselves to power tools and jigs. Not being a frequent jig builder, I found this a challenge and in particular the instructions were not as clear as I hoped. I’ll share a few photos and a brief description of the method I came up with after watching the videos of the jigs in action.
The seat consists of three boards with a curved front and back. Each curve requires a separate jig. Let’s take a look at the concave cut first

The Jig consists of two curves made of plywood. One piece fixed to the band saw with a clamp and a second that rides alongt the edge of the first piece of plywood like a turn table. On these pieces I glued up a couple of pieces of 2×4 to ma end support structure for the seat blanks and a third that will allow a clamp to be placed to hold the blank secure. The two support strucures required a couple of cuts on the table saw to securely first the blank at the correct angle


In the pictures below you can see how the two pieces of plywood interact.


I think you can scroll through the pictures and see that the second jig is similar to the first but I placed the saw on the inside of the clamped pieces at the interaction of the two curves.
Removing woodworking dents.
Dents, big or small, shallow or deep often befall a careless woodworker and I’ve been careless. As each leg was prepped, I noticed a dent on one side.

This wasn’t a small issue that a little sand paper would handle, but a large dent on the front face.

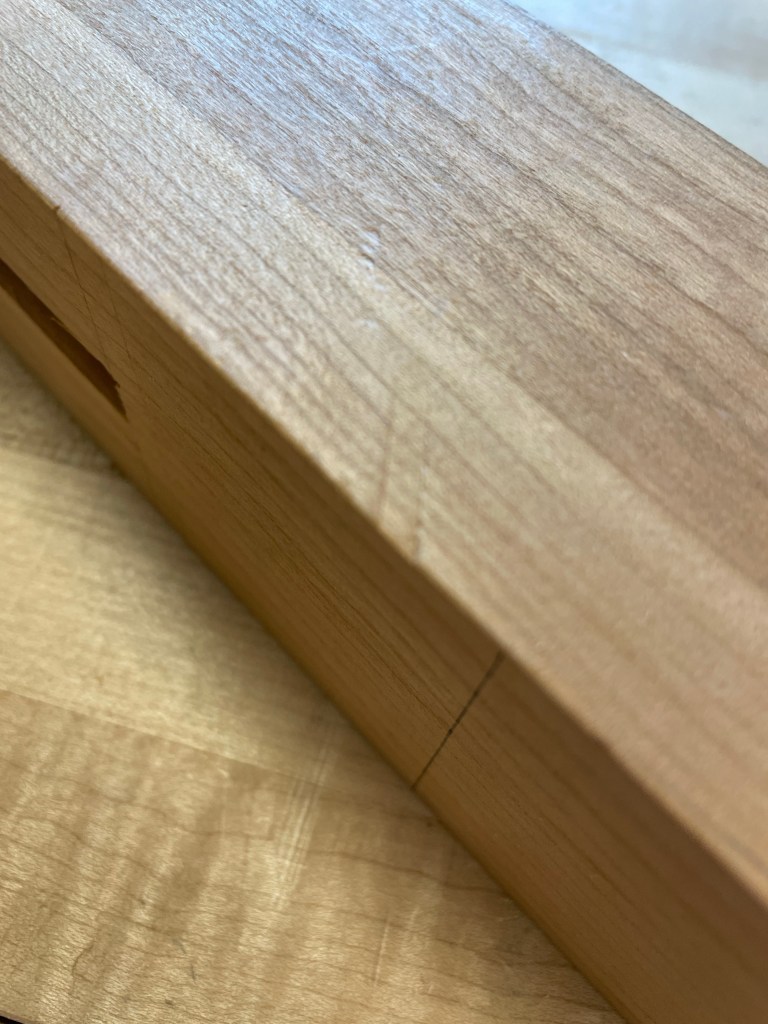
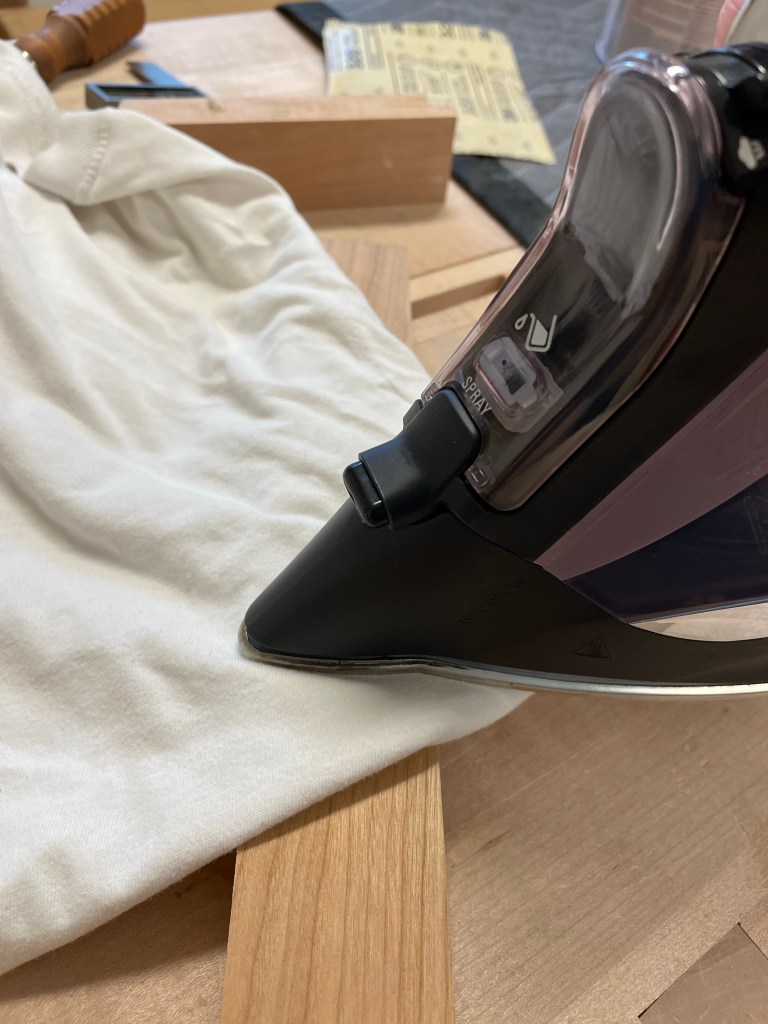

Grabbing an iron and a piece of an old t-shirt I proceeded to steam out as much of the dent as possible. In this case I was unable to remove it all but enough that a few plane strokes could take care of the rest.
Just informed that if I’m posting my wife’s iron on the web, I must give her credit for the tool.
Walnut Side Table – Rounded Tenons
Several years ago I had the opportunity to take the 9 day foundations class from Paul Sellers. It was an incredible experience and one that I doubt will be available in the future. Paul has moved onto Woodworking Masterclasses and Common Woodwork as a platform to reach a larger audience. One of the projects in this class involved through tenons and a lesson in the versatility of the hand plane. If you have never tried rounding over end grain, pull out a board, sharpen up your plane and give it a go.
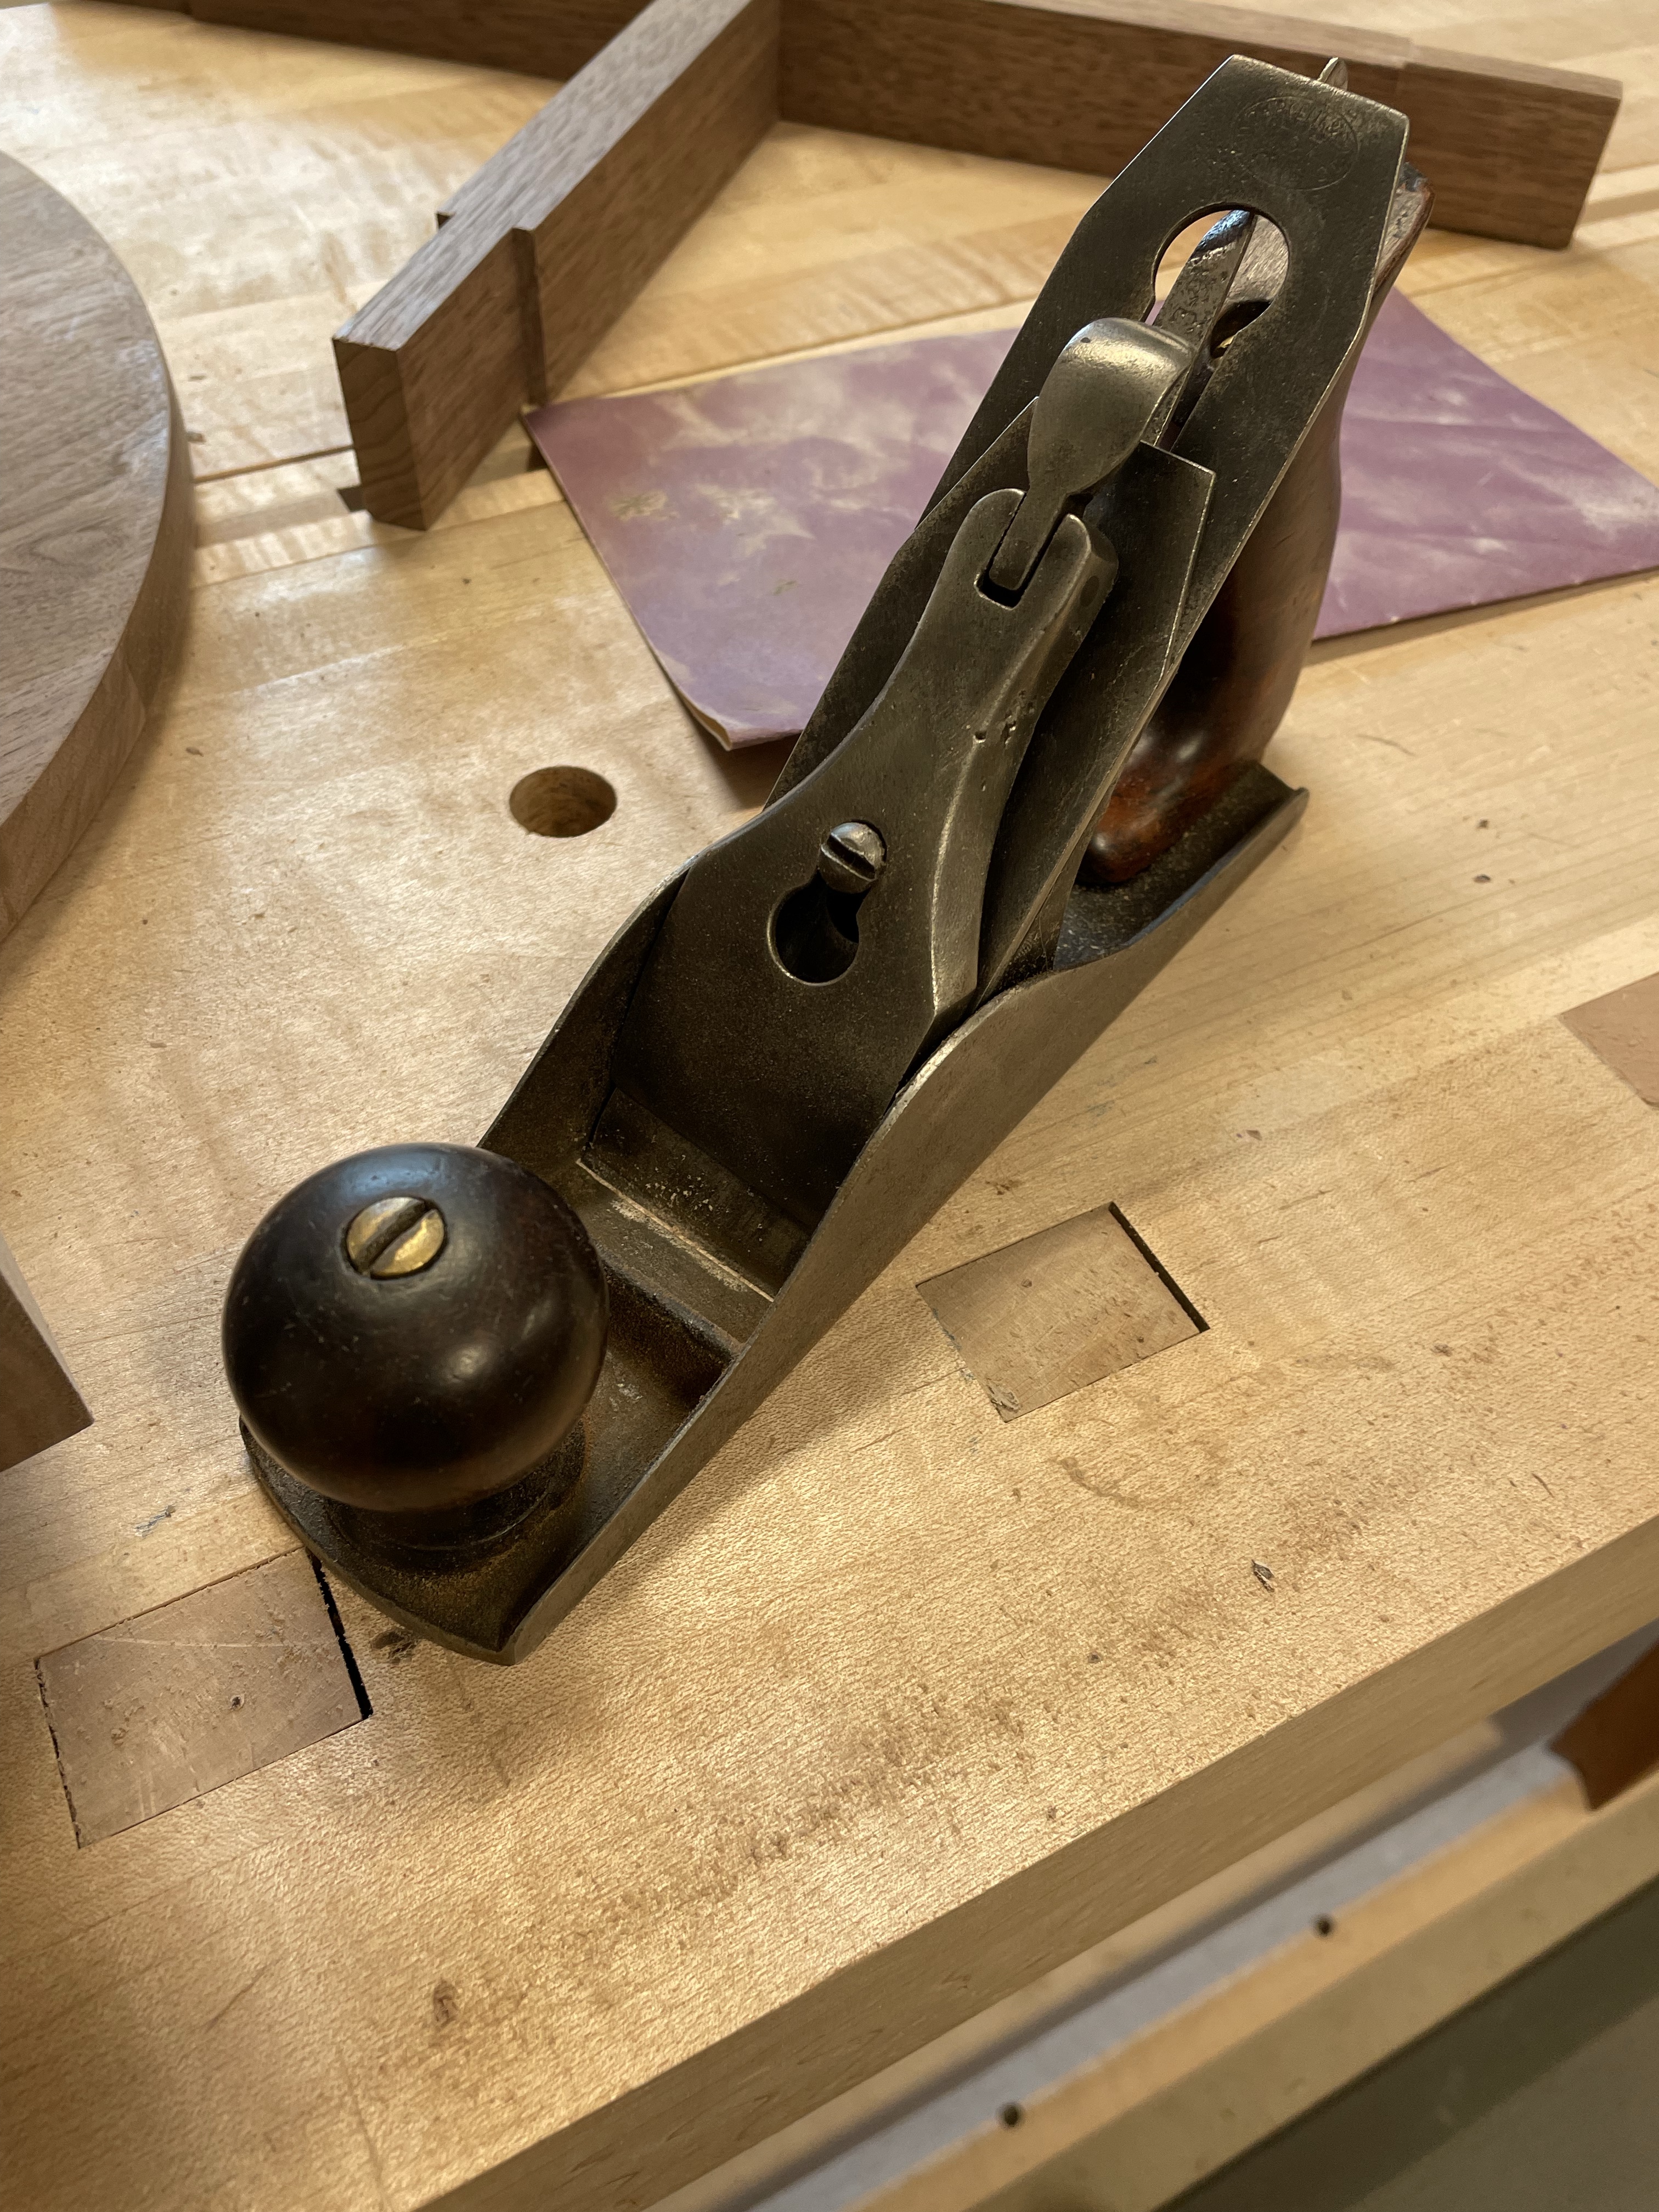
Working end grain requires a sharp blade. A few minutes on the diamond plates and the plane was ready to go. Working across the tenon I take small slices of wood working up and down the tenon until its rounded over. Watch for tear out on the ends although they will later be chamfered with a chisel. When the tenon looks balance a file or sandpaper can be used to smooth out the finished product.
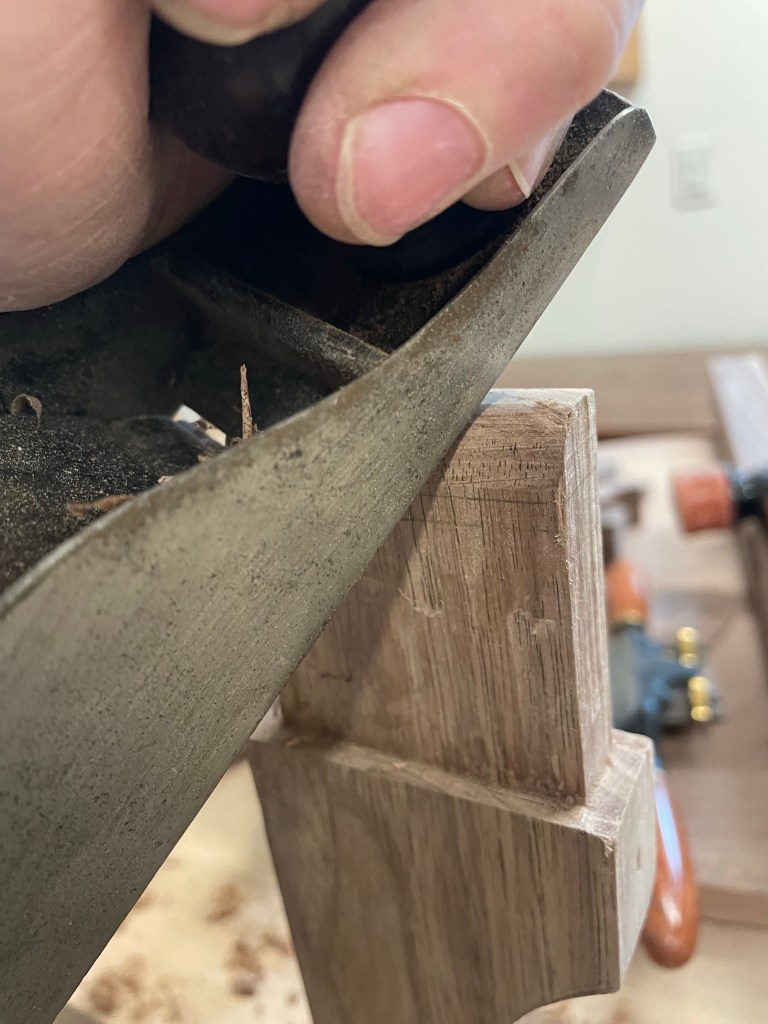

The final act of the rounded tenon is chamfering the ends. This removes any tear out and gives a nice finished look. Using a chisel it only took a couple of hits with a mallet and they are complete. And if you chip out by the tenon a little superglue may just handle the problem.


Filling Knots with Epoxy
Trying a new process is always a great challenge and continues to grow the types of projects I can tackle. The Walnut that I used for the Walnut Coffee Table and Walnut Side table had typical knots, it seems like a great opportunity to try an epoxy fill

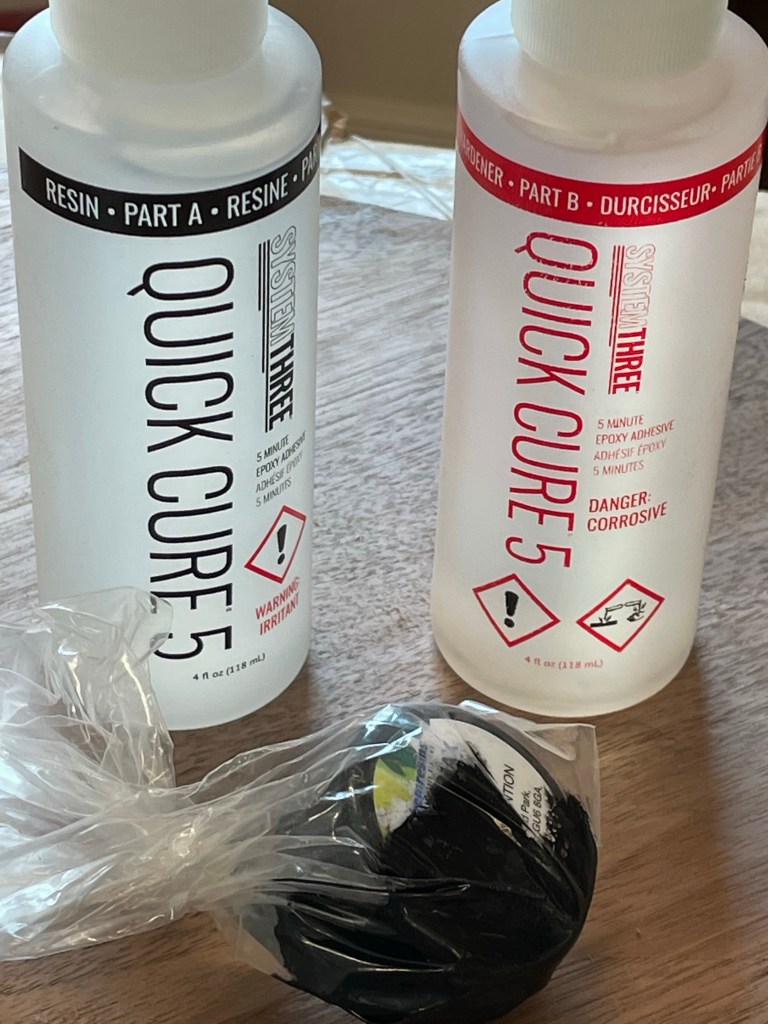
Wandering around the local home store I searched for epoxy and the only thing I could find was Gorilla Brand. It may be fine but I also knew that I needed to tint it black.
Perhaps a more professional approach and some research would be helpful. I’ve read many articles and seen you tube videos of the river tables and other uses so I went to my usual source of information and found an article and video clip, #194–Nov/Dec 2007 Issue of Fine Woodworking. I then decided that since I could not find any local epoxy, to go to Lee Valley and order the Epoxy and Tint.
The epoxy came as a kit and the tint was also available at Lee Valley, no, I’m not cleaning it up so you can see the brand just go to the web site and look up tint.
I grabbed all the prep material I needed, cardboard to protect my bench, mixing sticks, paper towel and a board to mix on. Next I cleaned up the knots and removed Andy loose material with mineral spirits.
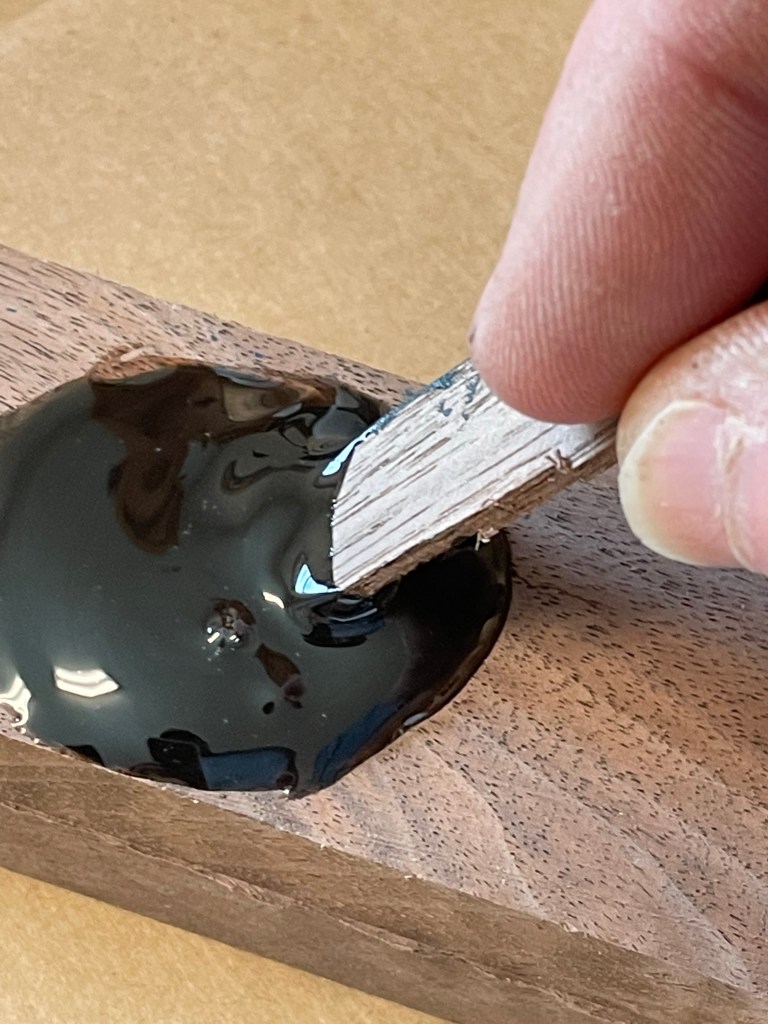

The epoxy mixed easily and it only took a small amount of tint, then I left it over night to harden.

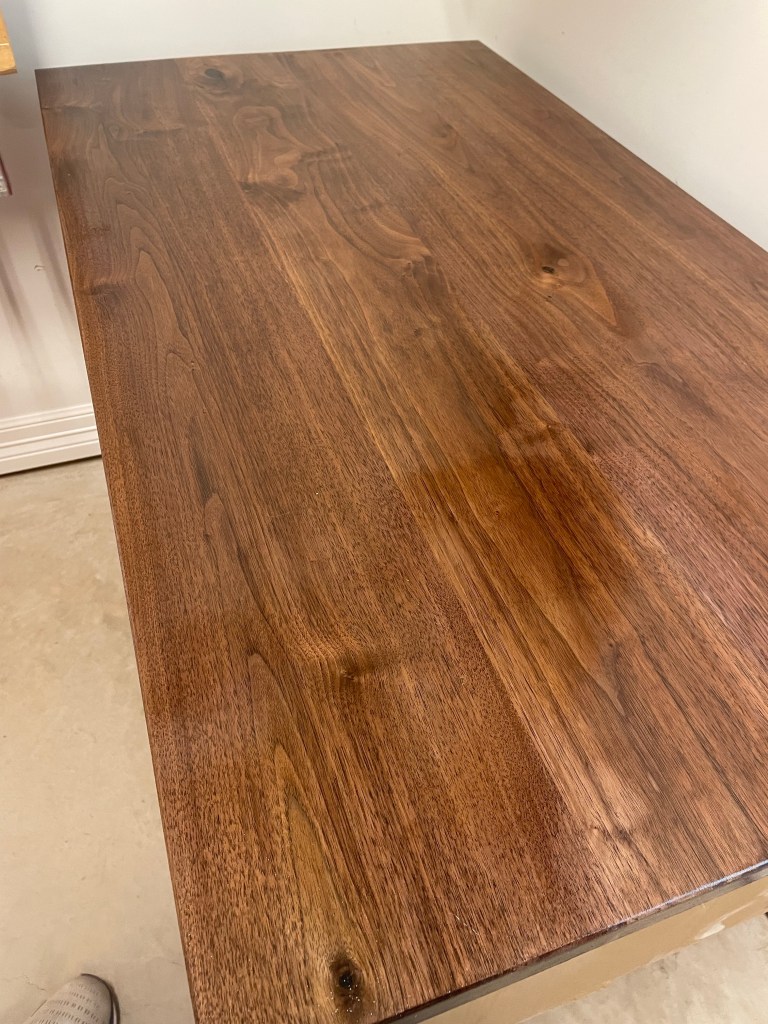
I used both a plane and scrapers to flatten the hardened epoxy. With a little work the knots were filled and I was able to move on with finishing. As the first time using epoxy I have no experience to compare with other products and would love hearing others experience.
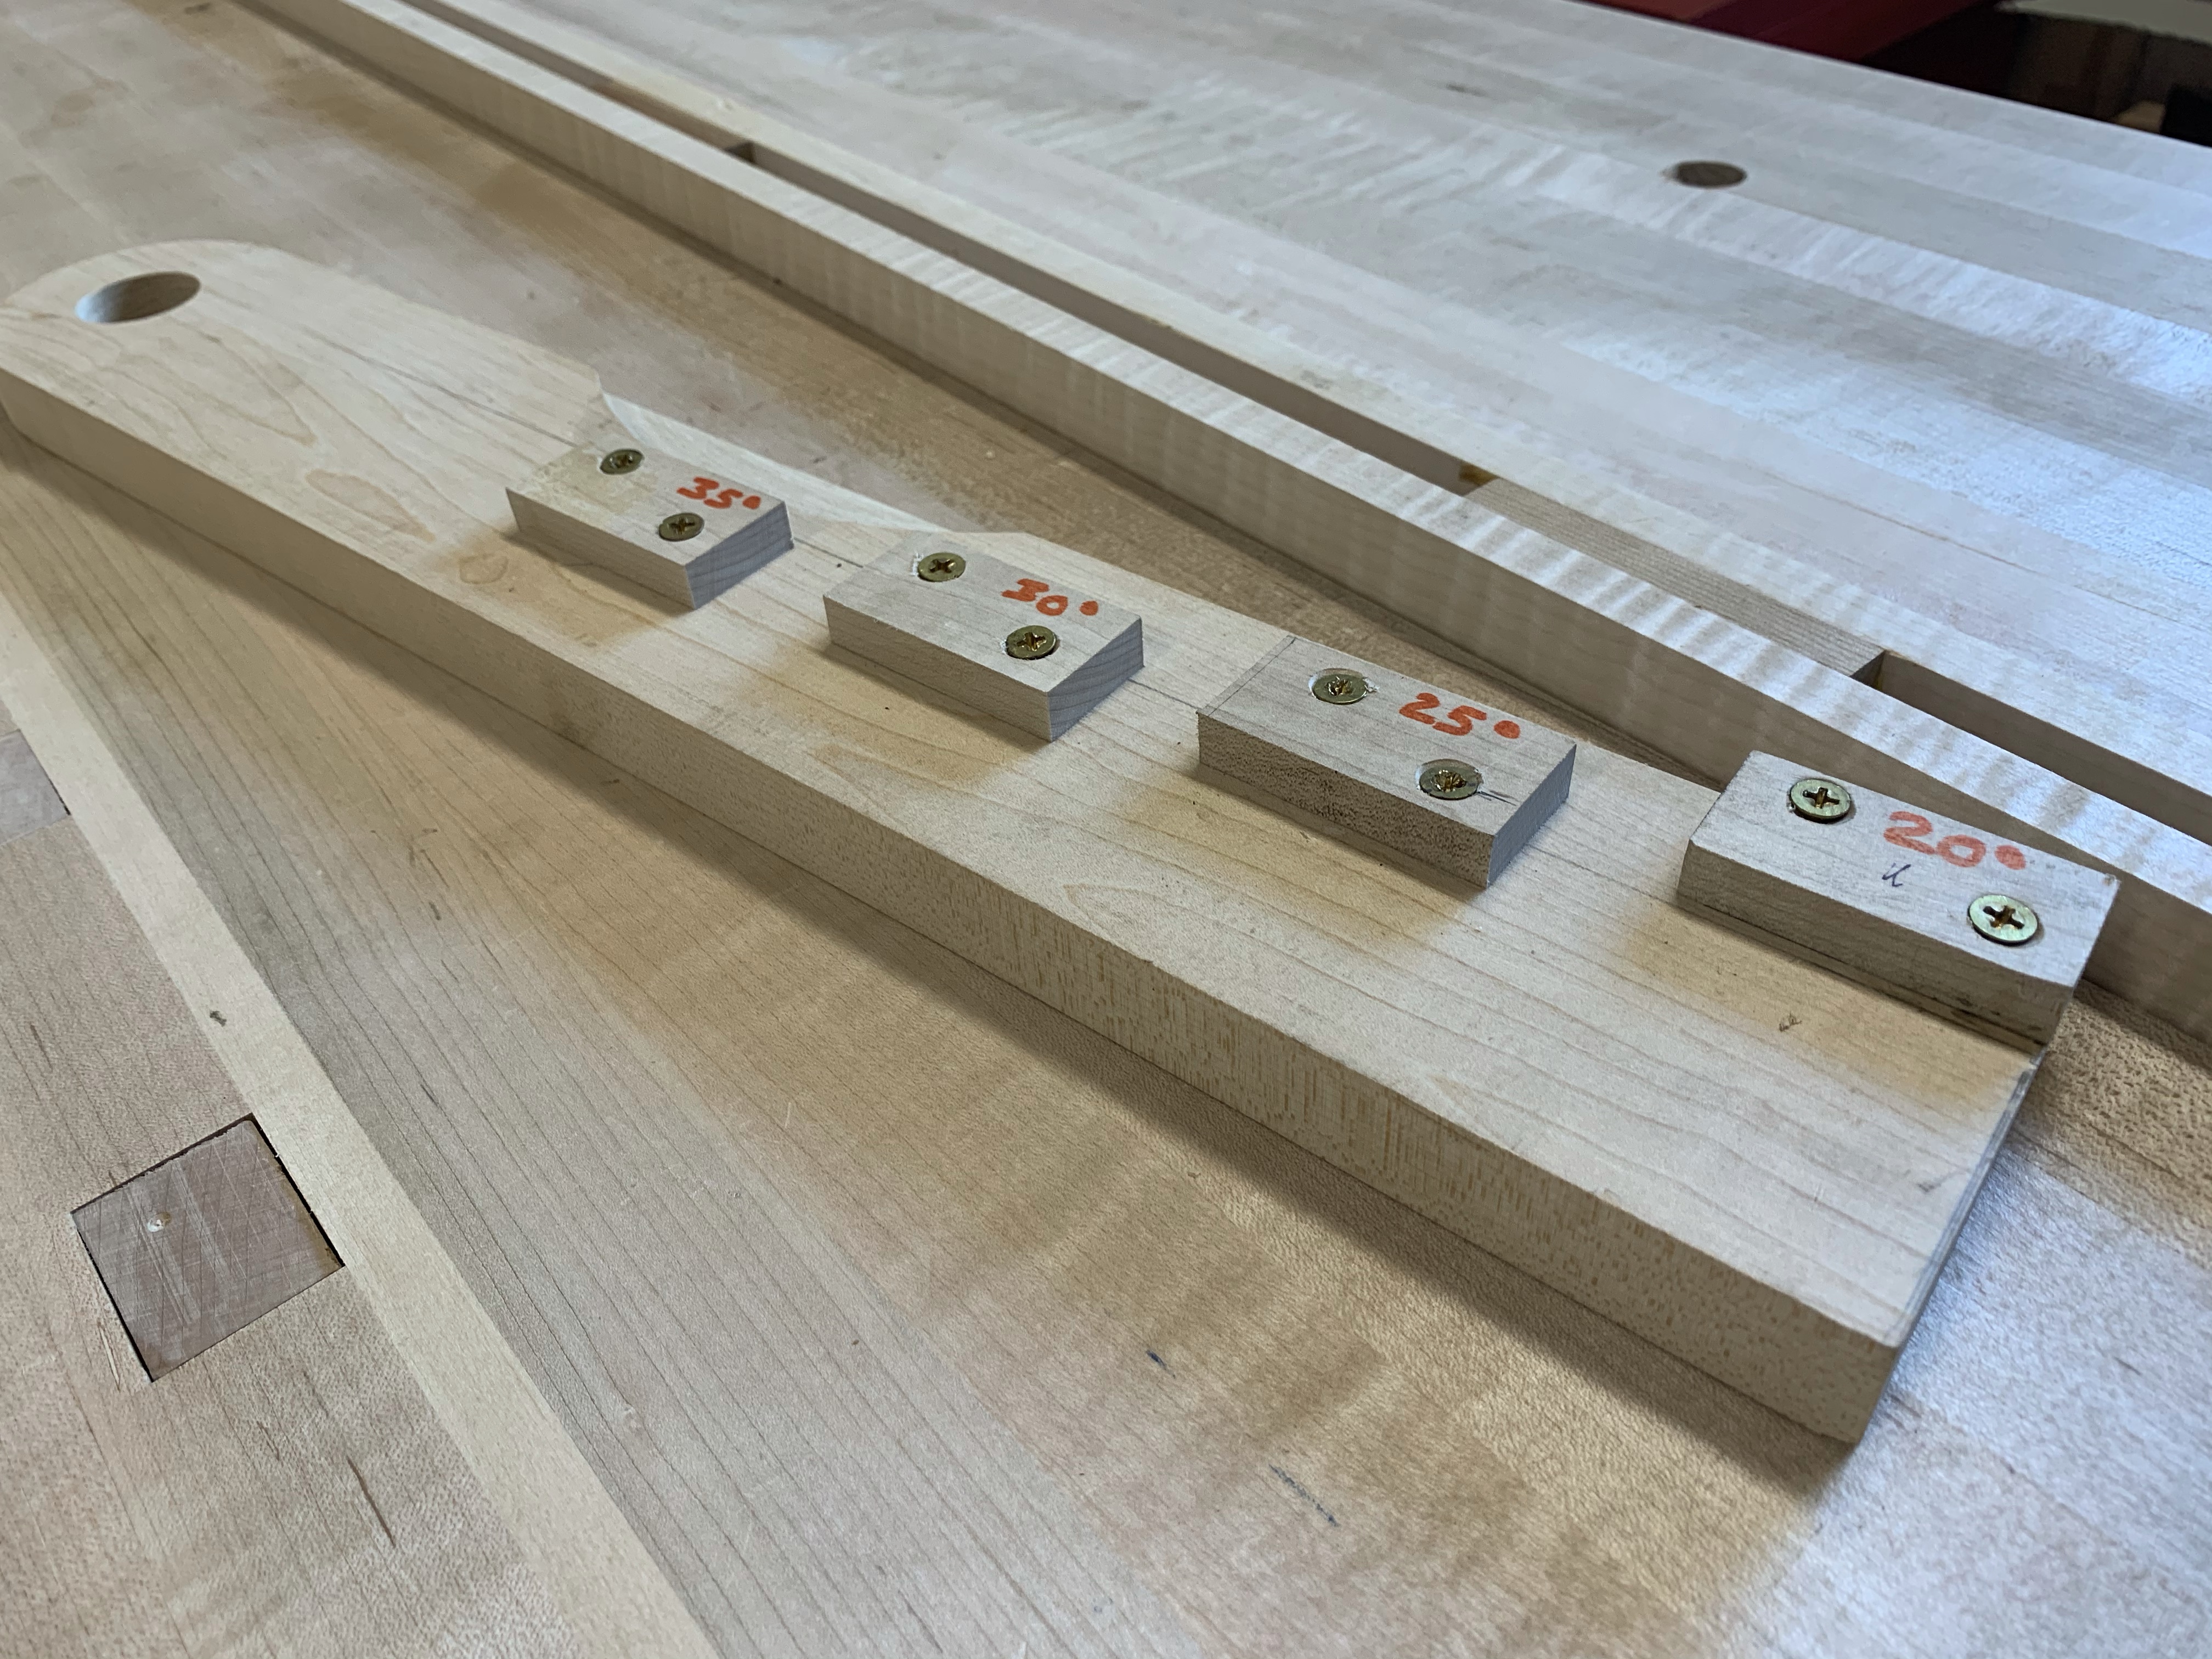
Sharpening Angle Settting Jig
It always amazes me how long I can put off making a simple jig that can make things so much easier. The Angle setting jig that I made this week is the perfect example. If you use any of the Eclipse, Veritas, or Lie Nielsen jigs for sharpening you know that the repeatability of the sharpening angle is critical to the speed of sharpening let alone the performance of the plane or chisel. Many companies provide an angle setting jig with the sharpening jig. There are other systems that people use and it appears the simplest is to set the distance from the end of the blade to the edge of the jig

These distances don’t change as long as you are sharpening similar blades in the same jig and in this case the perfect angle is not as important as the consistency of the angle. Again THE SAME SHARPENING JIG. Notice the difference In length between the Veritas and the Lie Nielsen.
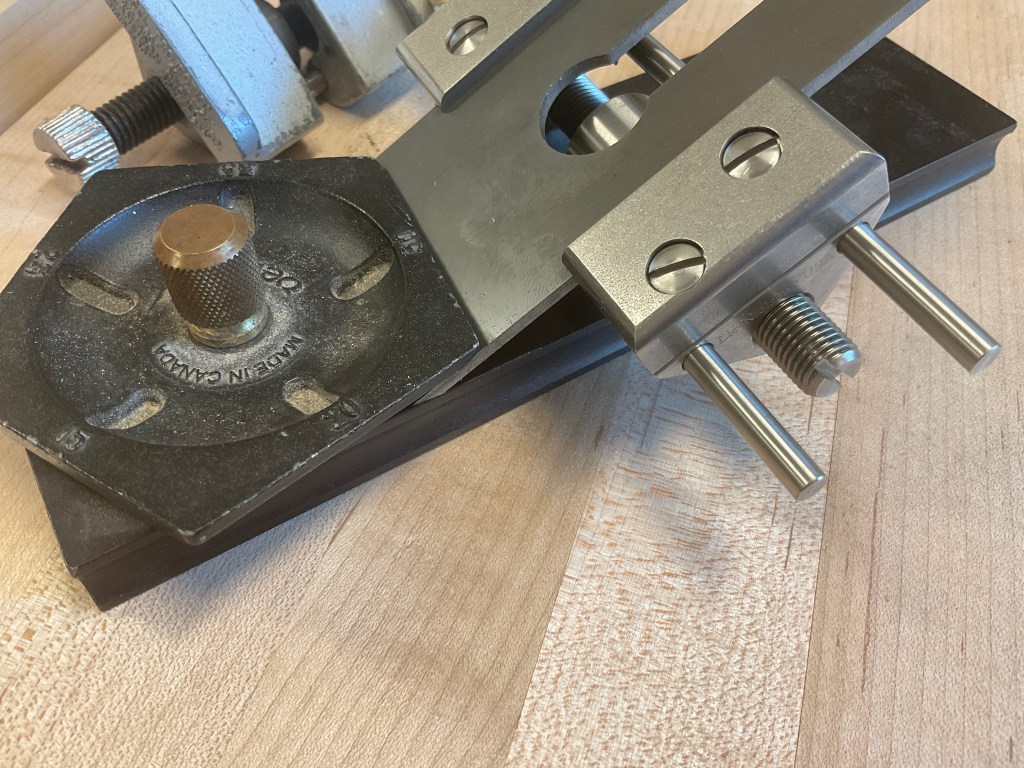
The jig I made this week is a basic copy of one built by Denab Puchalski of Lie Nielsen. I found scraps in the bins cut them to size and after a few measurements glued and screwed each to the board. Most went well, one I had to plane to make it exactly parallel to the board edge. Once finished I drilled a hole so I could hang the jig on a wall. This has made sharpening easier and more consistent and that’s always a good thing.


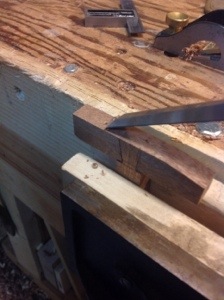
Ideas – mortise jig
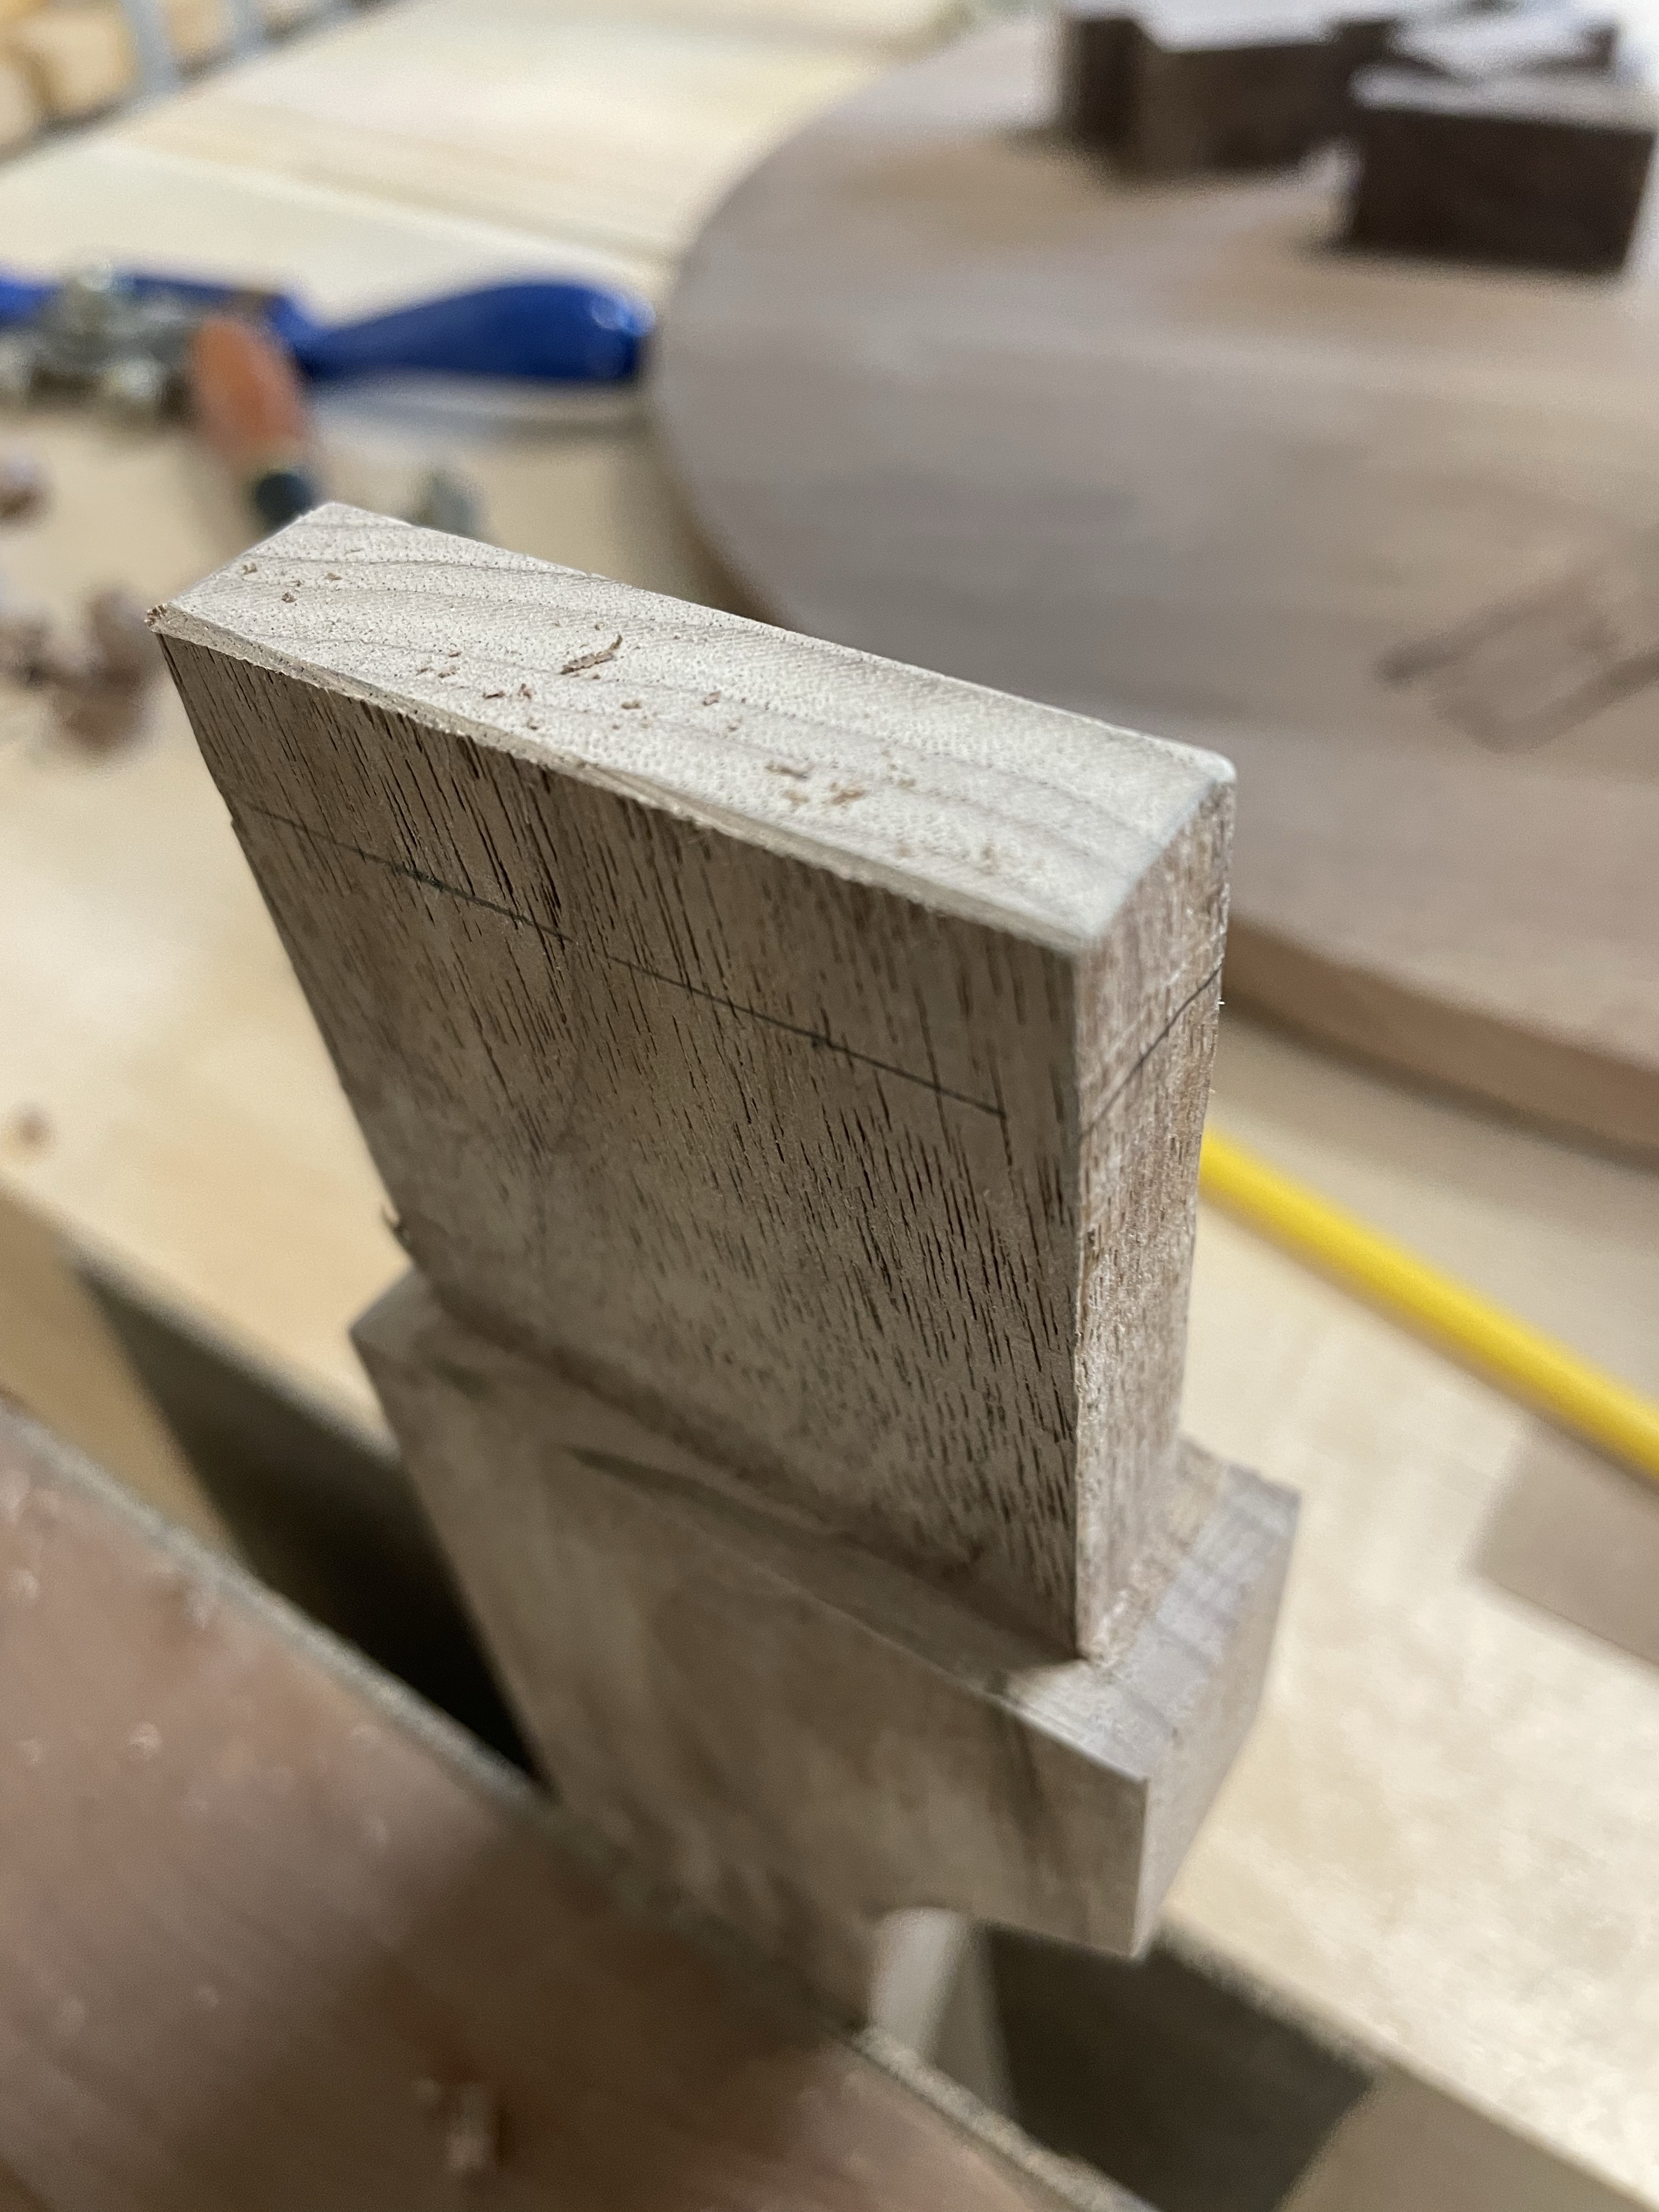
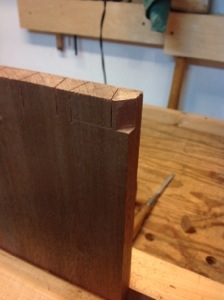
After posting about the mortise jig there were a couple of great comments. In particular the caution about ensuring that the jig is square to the board being mortised. This can be a frequent problem if your vise does not close evenly.

Posting the picture you can quickly see what can happen and imagine the effect.
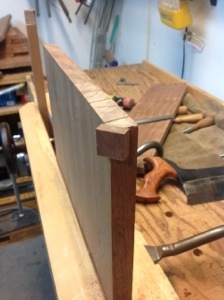
In the comments Matt quickly pointed out the potential problem. Here’s a solution I tried over the weekend that worked extremely well. The picture shows the clamps used in my moxon vise, but I also put it to work in my regular vise.
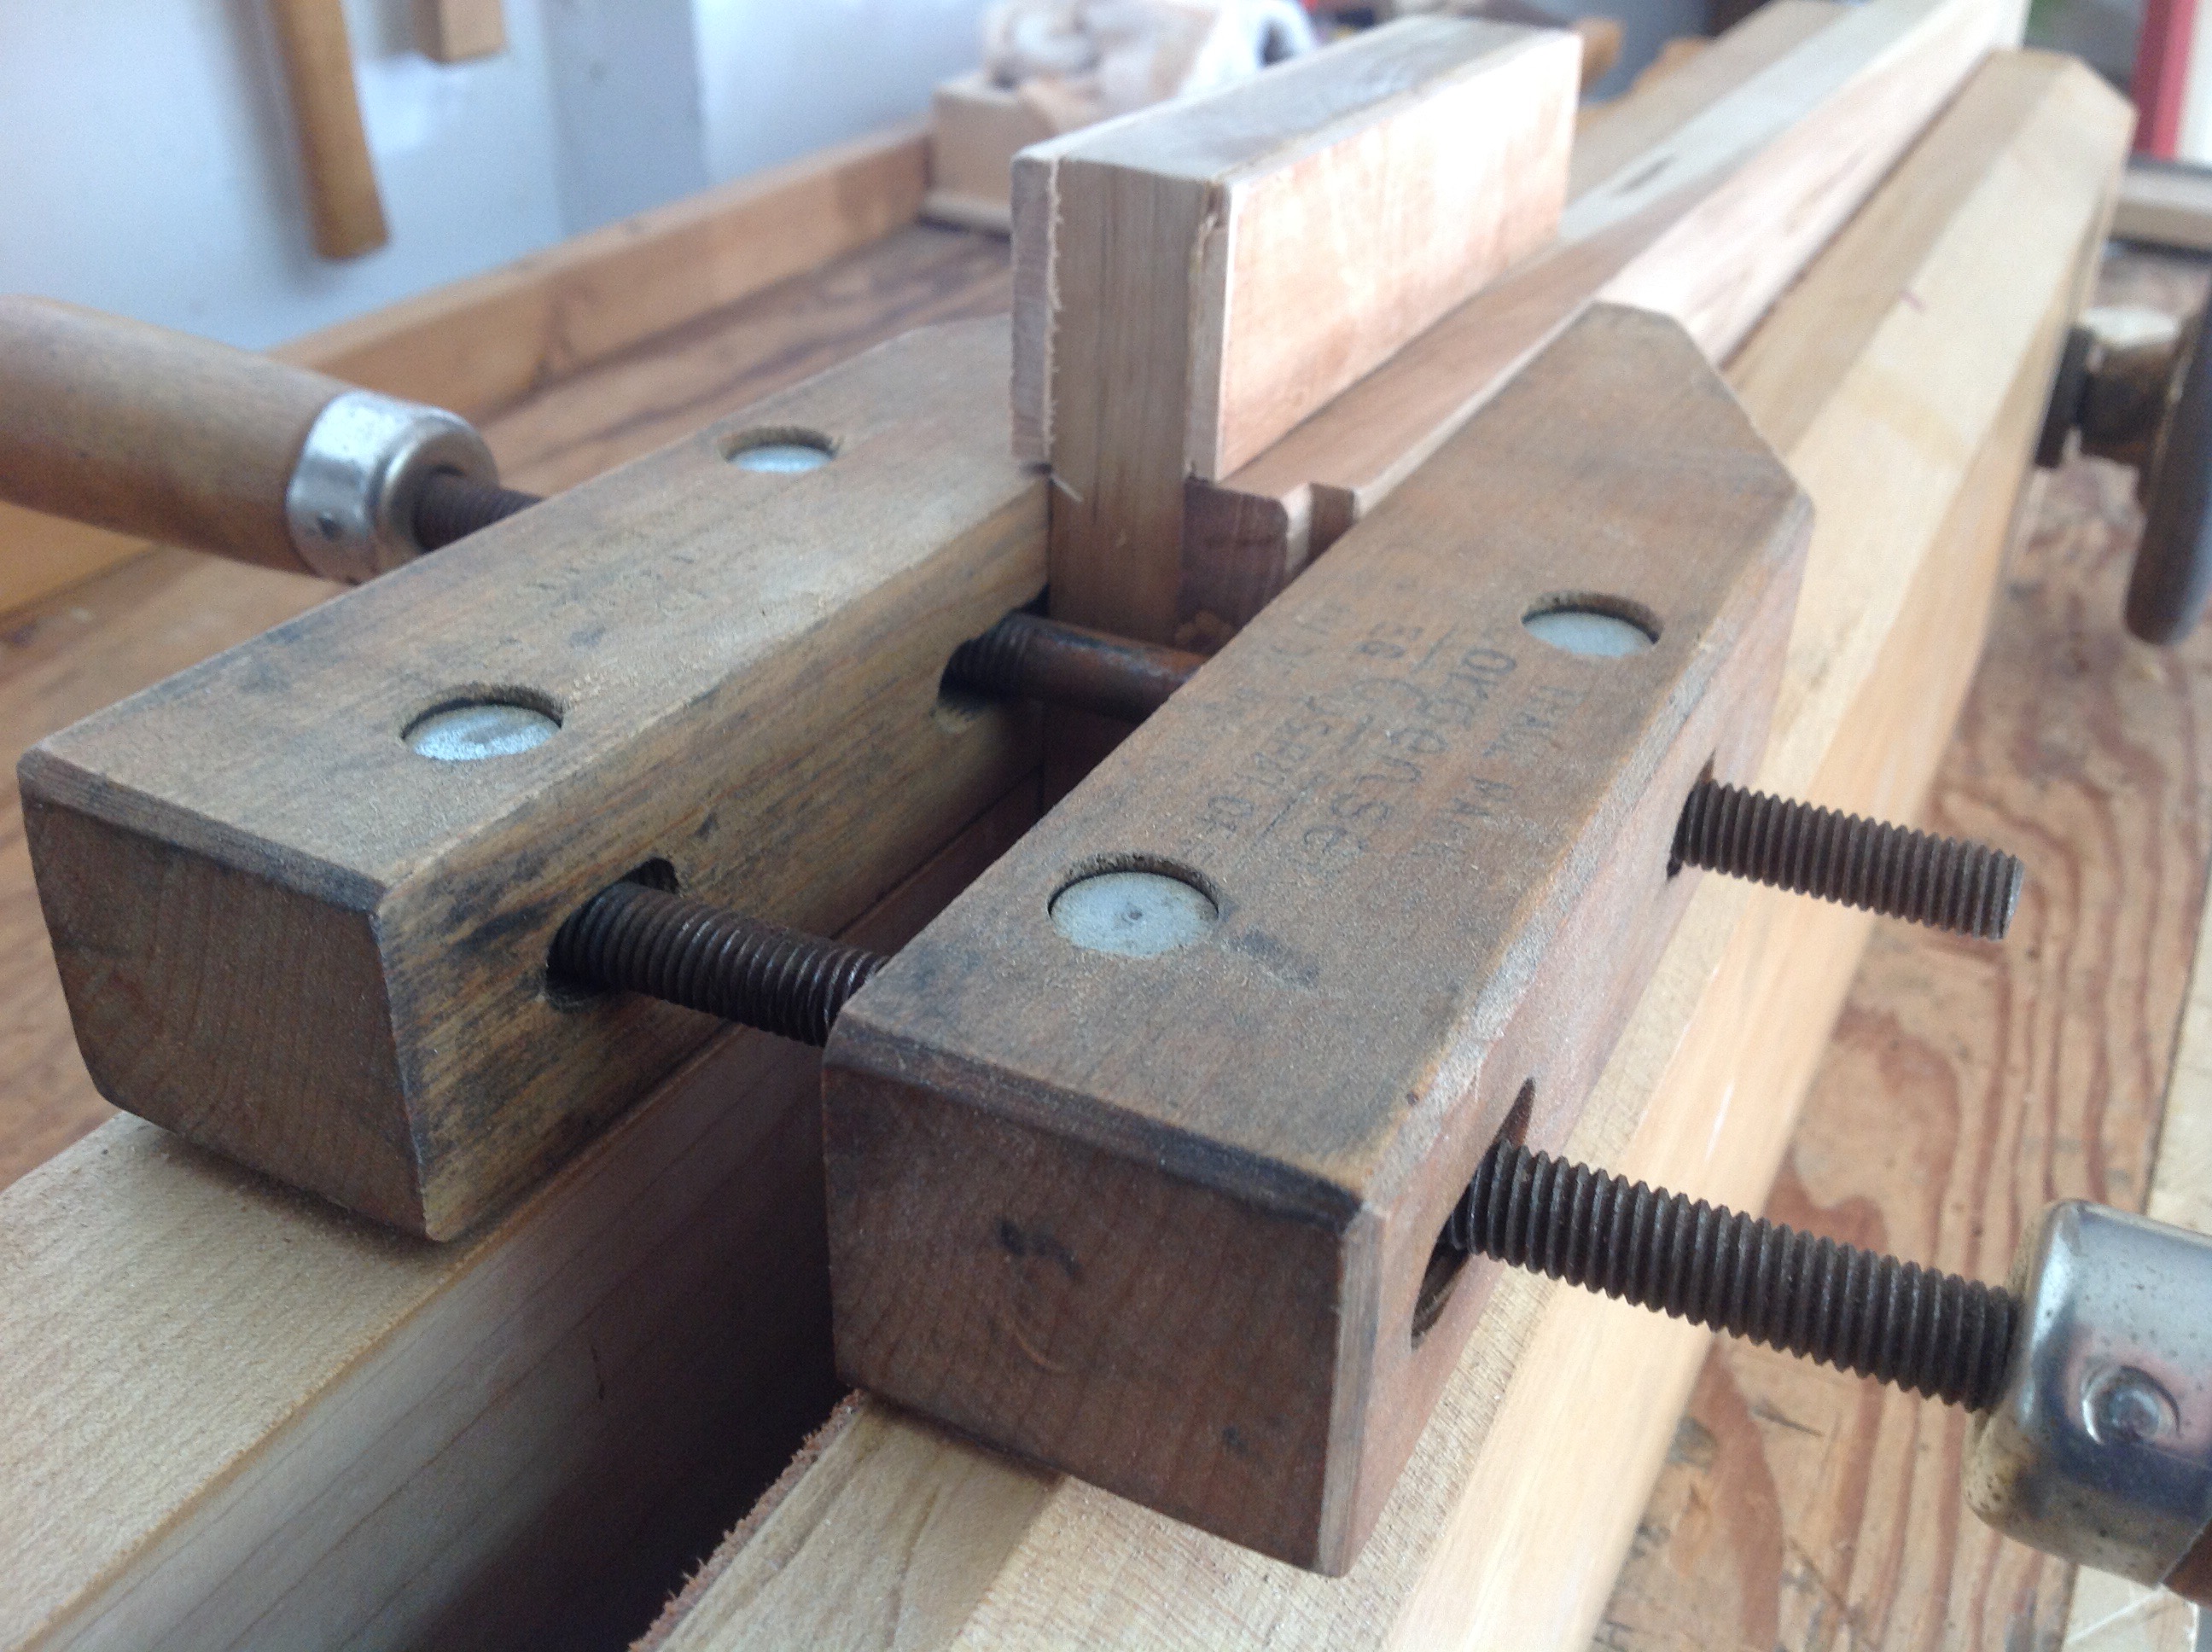

Along with this solution I also will take a close look at my bench vise and see if I can make some adjustments.
Thanks for all the comments!
Mortise Jig
One of the techniques that I learned a Paul Sellers 9day foundation class was the construction and use of a mortise jig. I don’t always use them these days, but occasionally I find them helpful. After my latest experience with making mortise and tenon joints it seemed prudent to take my time and make a new jig.
ITs really a sinple process and involves selecting a small piece of scrap to act as the back and then planing a seconpiece the correct thickness to act as a guide for the chisel. Once glued together and clamped (I sued my bench clamp) it acts as a great guide. I must have 6 or seven guides now of varying thickness.


Making a Drawer Pull
 Purchasing drawer knobs and pulls in a store always leaves me with a sense of impending doom. A regular maintenance item around the house seems to be the pull from a cabinet, knob from a drawer or door knob falling off. It isn’t the knob or pull that is at fault but the method that is used to fasten it to the door or drawer.
I laugh when my mind pictures the look on my children’s faces as a knob comes off in their hand. It is a look of puzzlement and amazement. Puzzlement because the drawer did not open, and amazement that they have a super human strength that can separate a knob from a drawer.

Fresh from reattaching a kitchen drawer pull, a smile appeared on my face when Paul Sellers’s posted a video on woodworking masterclasses that demonstrated how to make and install a drawer pull for the small tool chest. Covering my bench with tools, shavings and glue I managed to take a two hour process and turn it into an all day project……
The drawer pull begins with four pieces of wood, carefully milled flat and square. The top and bottom of the pull are made from 3/16″ material . The pieces are curved along the length and the edges rounded over. I made the curve using a chisel and #4 plane, smoothing the curve with a rasp. The edges are rounded over with a mill file and the piece is sanded smooth.
Next I take on of the two pieces of 1q/2″ x 5/8″ and cut the tail of a dovetail, then I cut the tail in half so that I can create a half lap joint in the center of the other piece.


Once the pieces are glued together I used a chisel and rasp to cure the piece to match the curve on the other two pieces. Then I glue all of the pieces together and use my clamp to hold them in place until the glue dries.

When the glue is dry a little sanding and the pull is complete. Repeating the process produces a second pull for the other drawer.
These pulls are made from scraps of Sapele from the chest, but I can see possibilities of using different colors of wood to produce different effects. imagine the look a this pull with the center piece made of walnut or blood wood. It’s been a great day and I am very satisfied with the results. Now I have to wait for the hinges, install the pulls and do a little final fit and finish.


A Quick Repair

While taking one of the small tool chest sides out of the vise it slipped from my hands and hit the floor. Of course it landed on a corner, and as always it was the corner that would be most exposed. Looking at the damage to the corner I considered if it could be left or needed to be repaired. Replacement of the board is not an option because it is a tool chest for myself, the wood is expensive and repairing the damage would be a fun challenge.
I’ve made a few repairs over several years some successful and some looking worse than the original damage. I am a repair amateur but willing to learn. This corner looked like the perfect opportunity to trim the damage off and insert another piece planing to fit. Searching through my scraps I found a piece of wood that appeared to have similar grain. Next I cut and chiseled off the piece that I wish to replace and cut a replacement piece.Trimming carefully with a chisel I attempted to match up the replacement piece to the wood. I the glued it in place and used tape to hold it while the glue dried.


A little work with my smoothing plane and the repair is in place. Not a perfect match but when the lid is glued on top I don’t think it will be noticeable. Now if I can avoid dropping anything else………
