Filling Knots with Epoxy
Trying a new process is always a great challenge and continues to grow the types of projects I can tackle. The Walnut that I used for the Walnut Coffee Table and Walnut Side table had typical knots, it seems like a great opportunity to try an epoxy fill

Wandering around the local home store I searched for epoxy and the only thing I could find was Gorilla Brand. It may be fine but I also knew that I needed to tint it black.
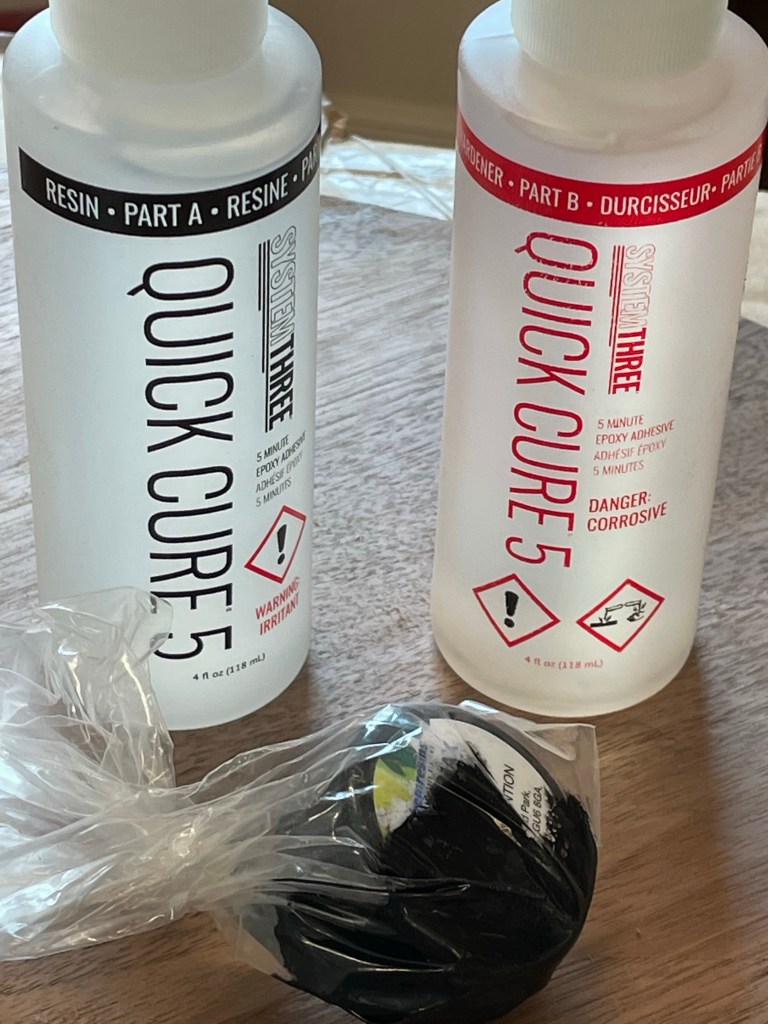
Perhaps a more professional approach and some research would be helpful. I’ve read many articles and seen you tube videos of the river tables and other uses so I went to my usual source of information and found an article and video clip, #194–Nov/Dec 2007 Issue of Fine Woodworking. I then decided that since I could not find any local epoxy, to go to Lee Valley and order the Epoxy and Tint.
The epoxy came as a kit and the tint was also available at Lee Valley, no, I’m not cleaning it up so you can see the brand just go to the web site and look up tint.
I grabbed all the prep material I needed, cardboard to protect my bench, mixing sticks, paper towel and a board to mix on. Next I cleaned up the knots and removed Andy loose material with mineral spirits.
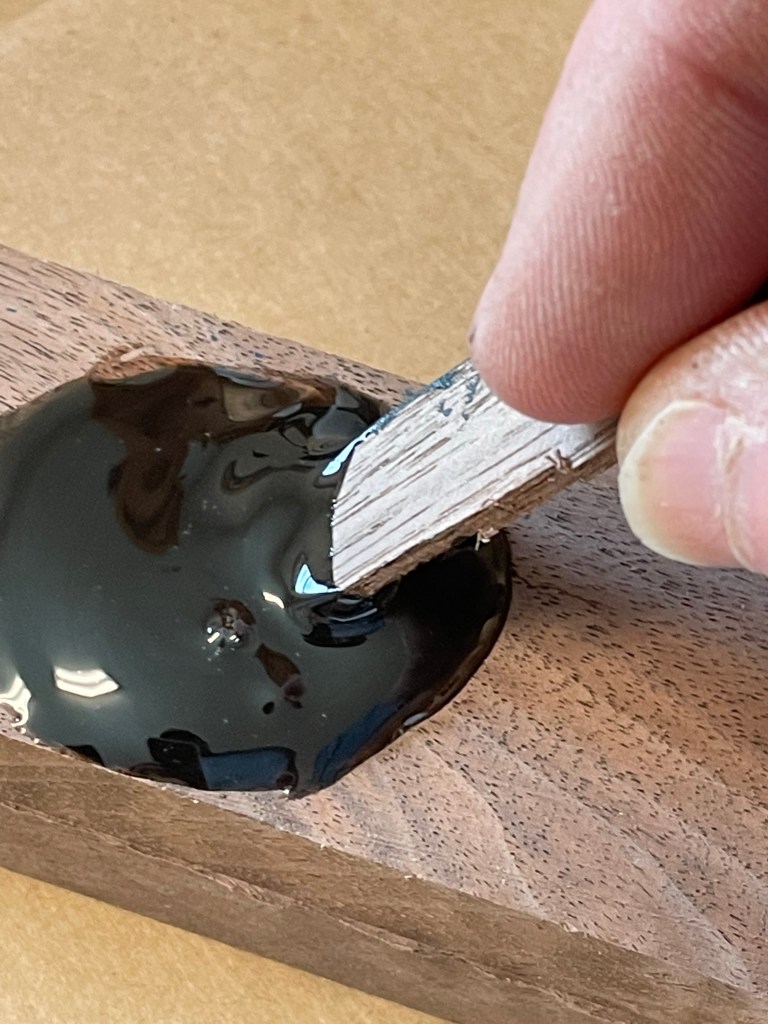

The epoxy mixed easily and it only took a small amount of tint, then I left it over night to harden.

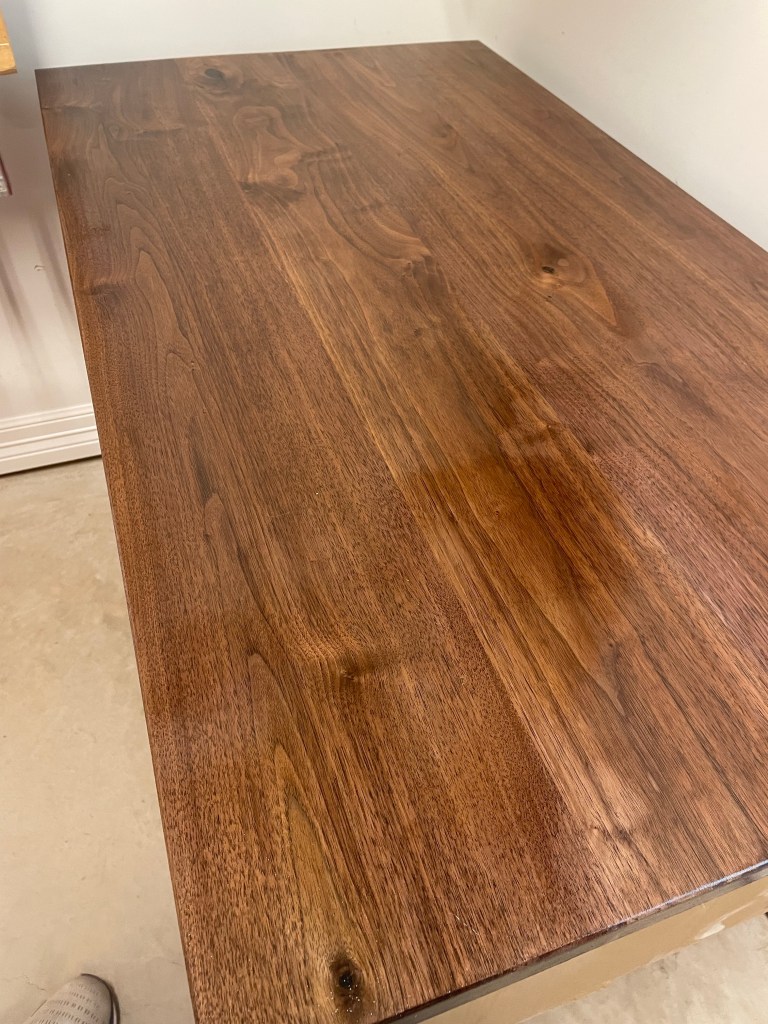
I used both a plane and scrapers to flatten the hardened epoxy. With a little work the knots were filled and I was able to move on with finishing. As the first time using epoxy I have no experience to compare with other products and would love hearing others experience.

FWIW I’ve had great luck filling cracks in turnings with tinted epoxy, but I just use regular acrylic paint, which is easily available in tons of colors and mixes well. I’ve also had success thinning the epoxy slightly (15% or so) with acetone, to let it run into crevices more easily, and to help bubbles more easily pop. Heat also helps, but be very careful with it – if you overheat the epoxy, you’ll make a foamy mess. And the curing process is already exothermic. Probably the best way to achieve mild heating is to fill the sink with warm water and put the bottles in it to warm before mixing. It’s easier to mix when thinned by heat in any event.
As always with epoxy, very thorough mixing is key. Scrape the sides of the container and mix past the point where you think it’s mixed. “Mix until thoroughly combined…then mix some more!”
It may be an old, out-dated technique but in the past I’ve used epoxy and added sanding dust from the same wood that needed a filling. Just checked my Canarywood dining table and the area blended in okay. Guess that’s the Dutch in me trying to make do with what I have!!
I’ve never tried the wood dust with he Epoxy, just ordinary glue. Sounds like another great idea. Thanks great to hear from you!
I’m a fan of the “glue wall” technique. You make a little dam all the way around the knot with hot glue so that you can slightly overfill the hole. I’ve found it’s less prone to chipping out when cleaning it up this way.