Cherry Coffee Table – Completed
All of the parts are completed and the final steps are in sight. Clean up and sanding, installation of the top are all that is left.


Like most of my projects I intend to use shellac and finish with a coat or two of wax. It’s a very simple finish and easy to repair. Starting with the top I applied layer after layer of Shellac with intermittent sanding. I did do this table slightly different than prior projects. I have always used a brush to apply the finish and after looking at prior projects thought that a rubbed finish may eliminate some of the drips and problems. Taking an old T-shirt I carefully wiped on the layers and was very happy with the process and the finish. Interestingly, the same week there were some comments on the fine woodworking podcast that spoke exactly to the use of a pad versus a brush. Strange how these coincidences occur.
Once the top and base were finished I had to attach the top. Previously I had cut mortises in the rails so all I had to do was make the wooden brackets and attach them in with brass screws.

There are several fun lessons in this project and the curves in the legs and rails add an element of lightness to the appearance of the project. I really like the look of the chamfered top. The joinery is a challenge and when it is completed your skills have greatly improved, and who doesn’t like the look of a through tenon!


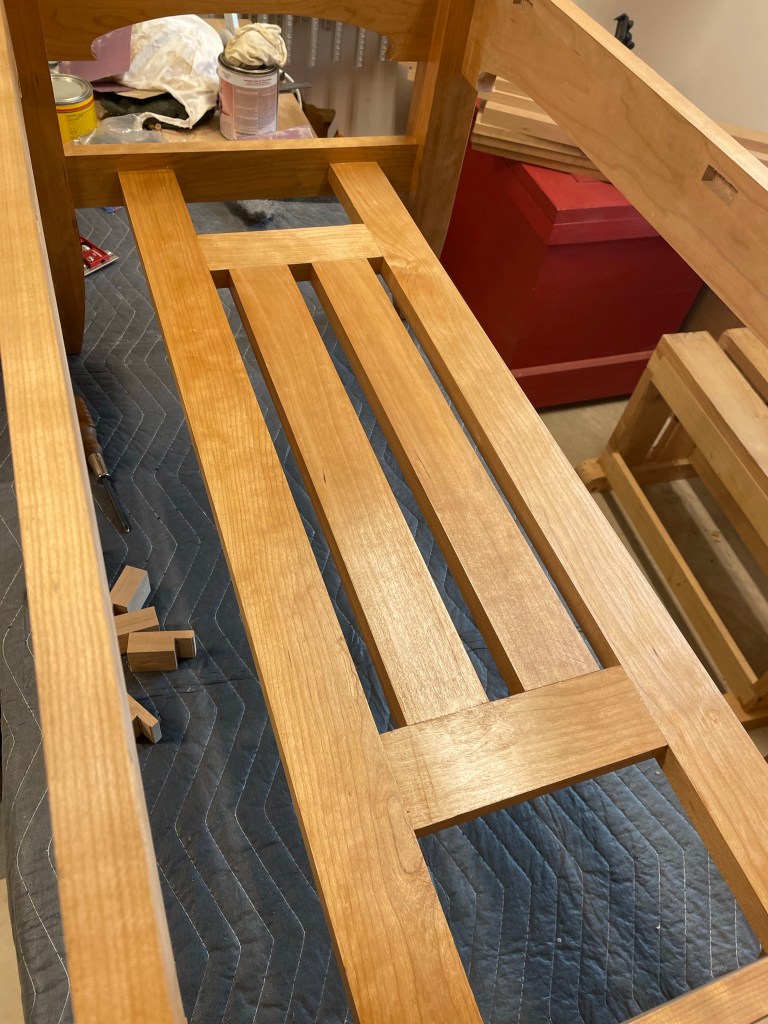


Very handsome. There are 3-4 really nice little details there. I like the shape of the through tenons, the sharp crescent at the end of the arches, the taper of the legs at the bottom and the slat shelf. All very nicely put together.