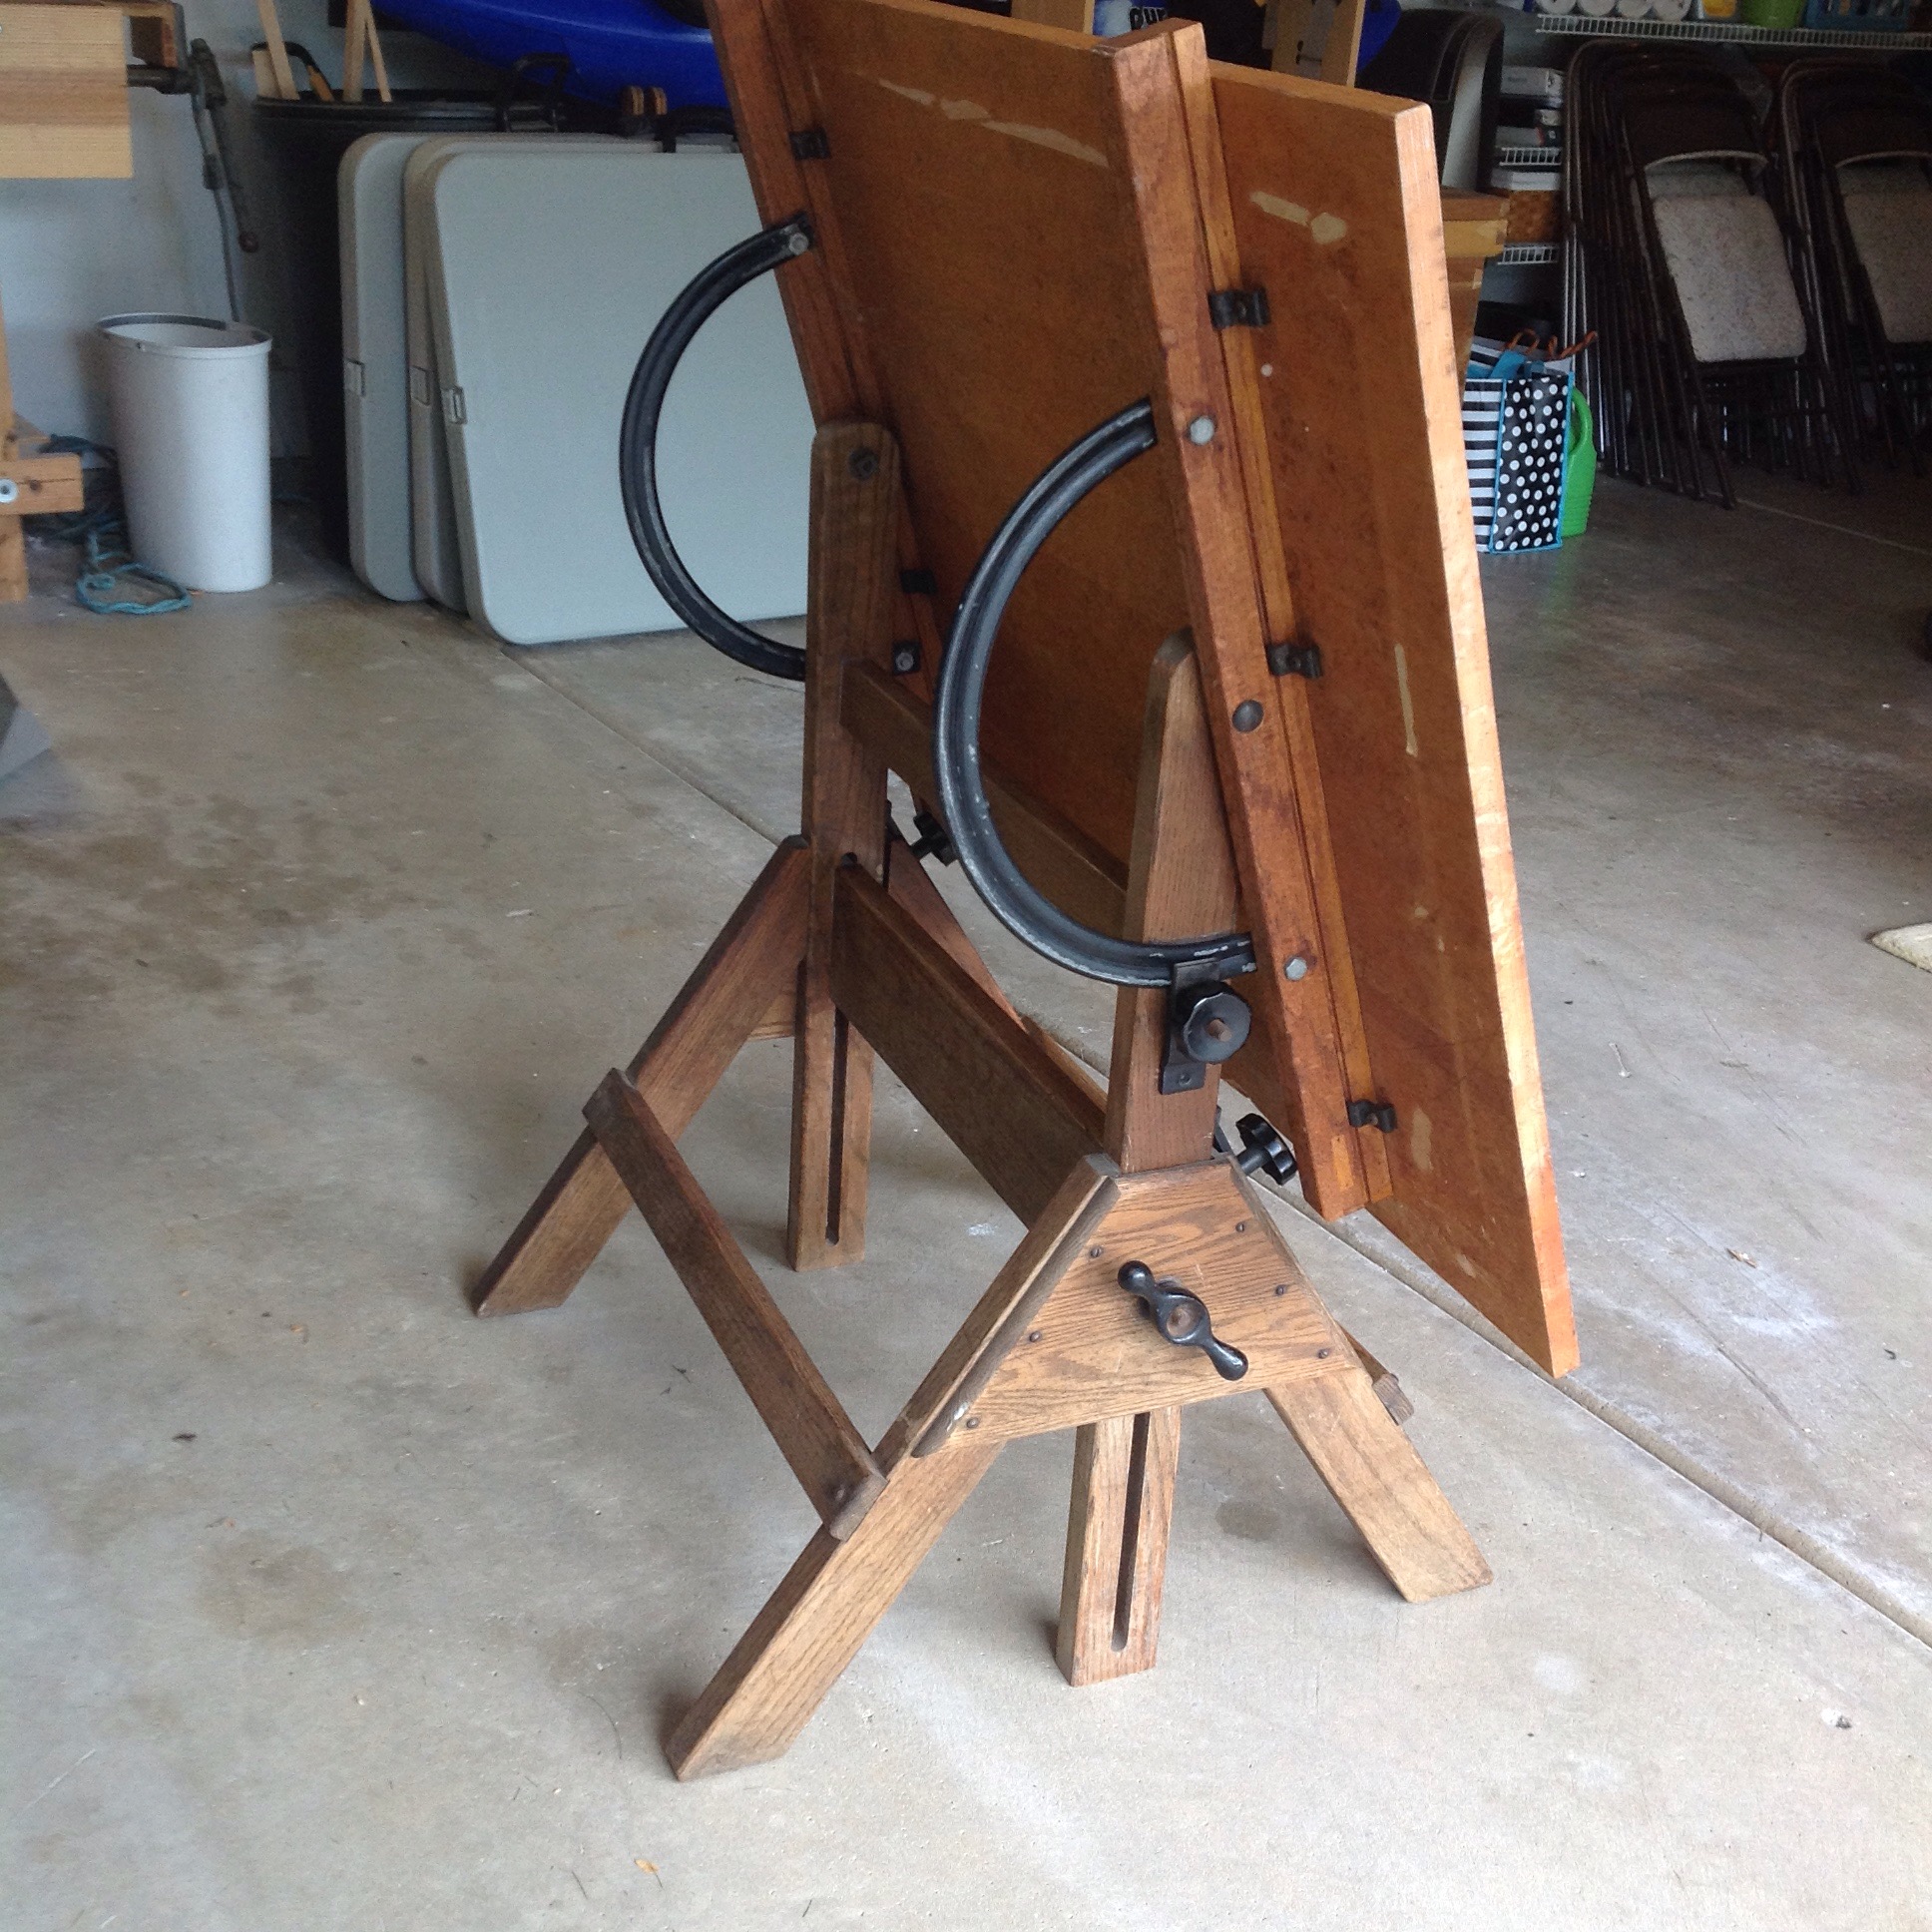
Drafting Table – The Top
Separating the top from the base is simple, it’s held in place with metal attached to the top with screws and a slot in the support arms.


With the top separated it is clear that only a few minor repairs will be needed.


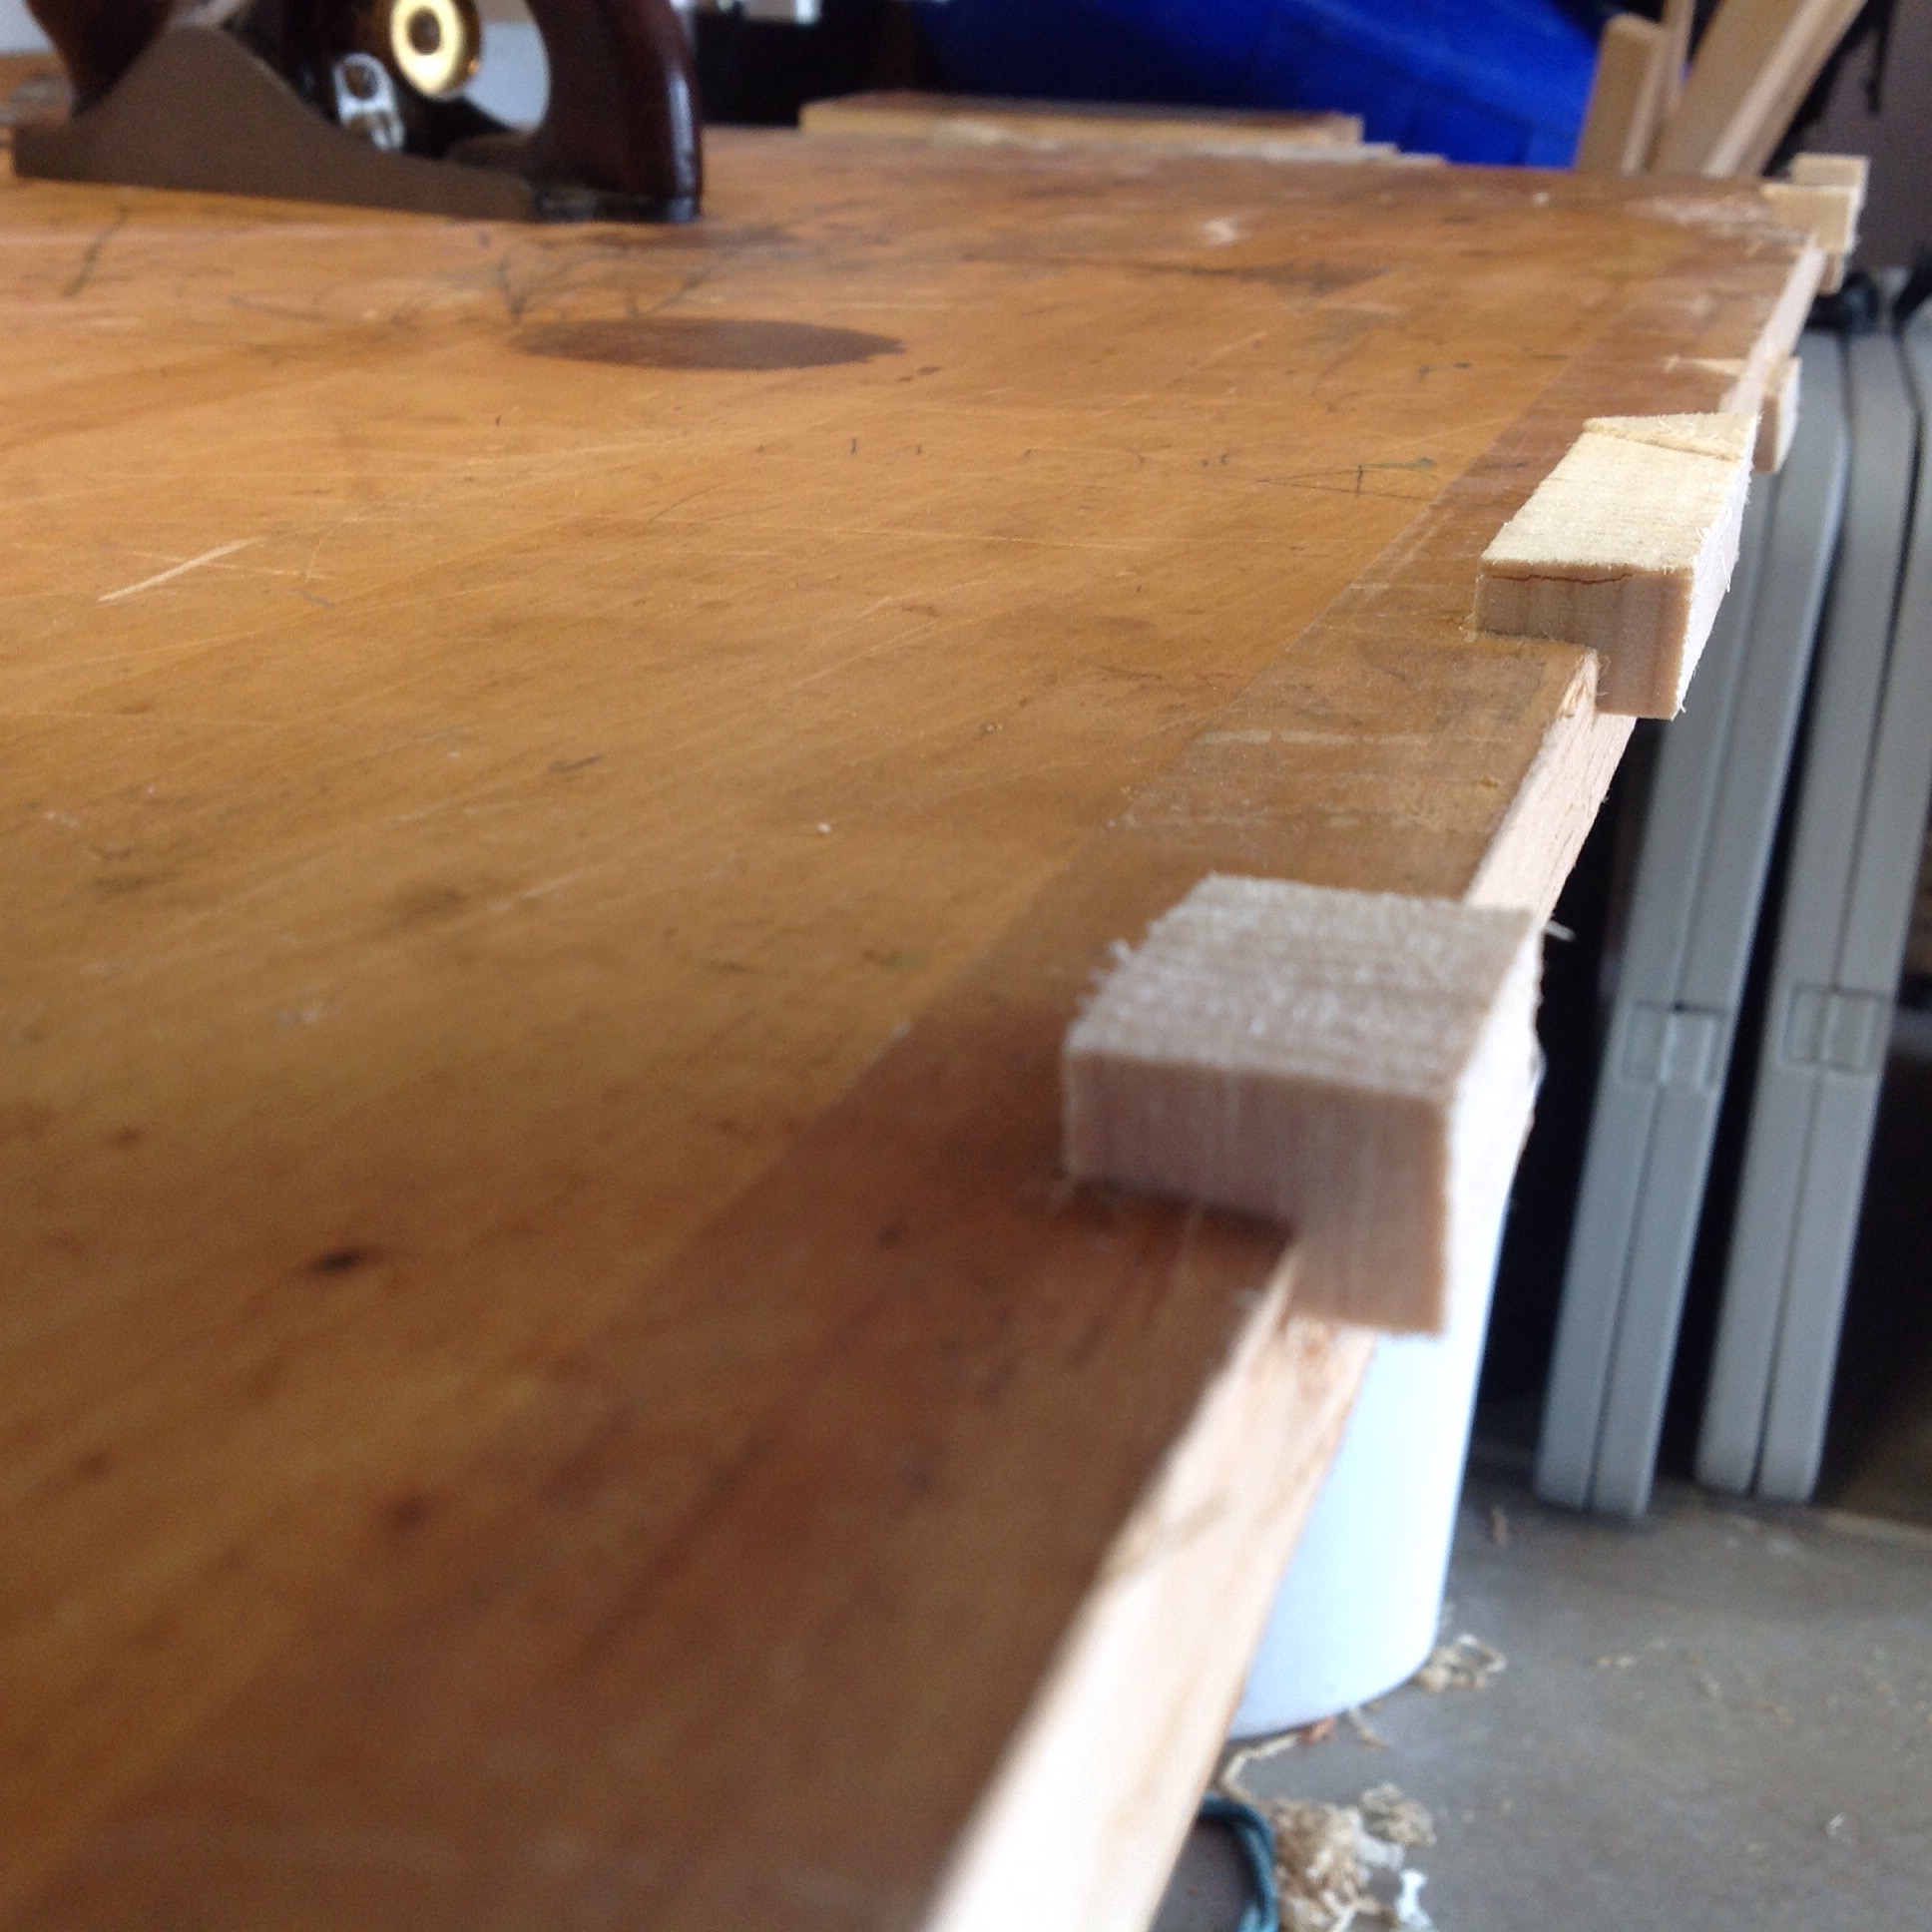 Using a chisel to square and remove waste in the most damaged areas I glued matching replacement blocks planed smooth once the glue was dried. After looking at all the edges it is clear that adding a band of red oak will enhance the look of the table and cover up the repairs.
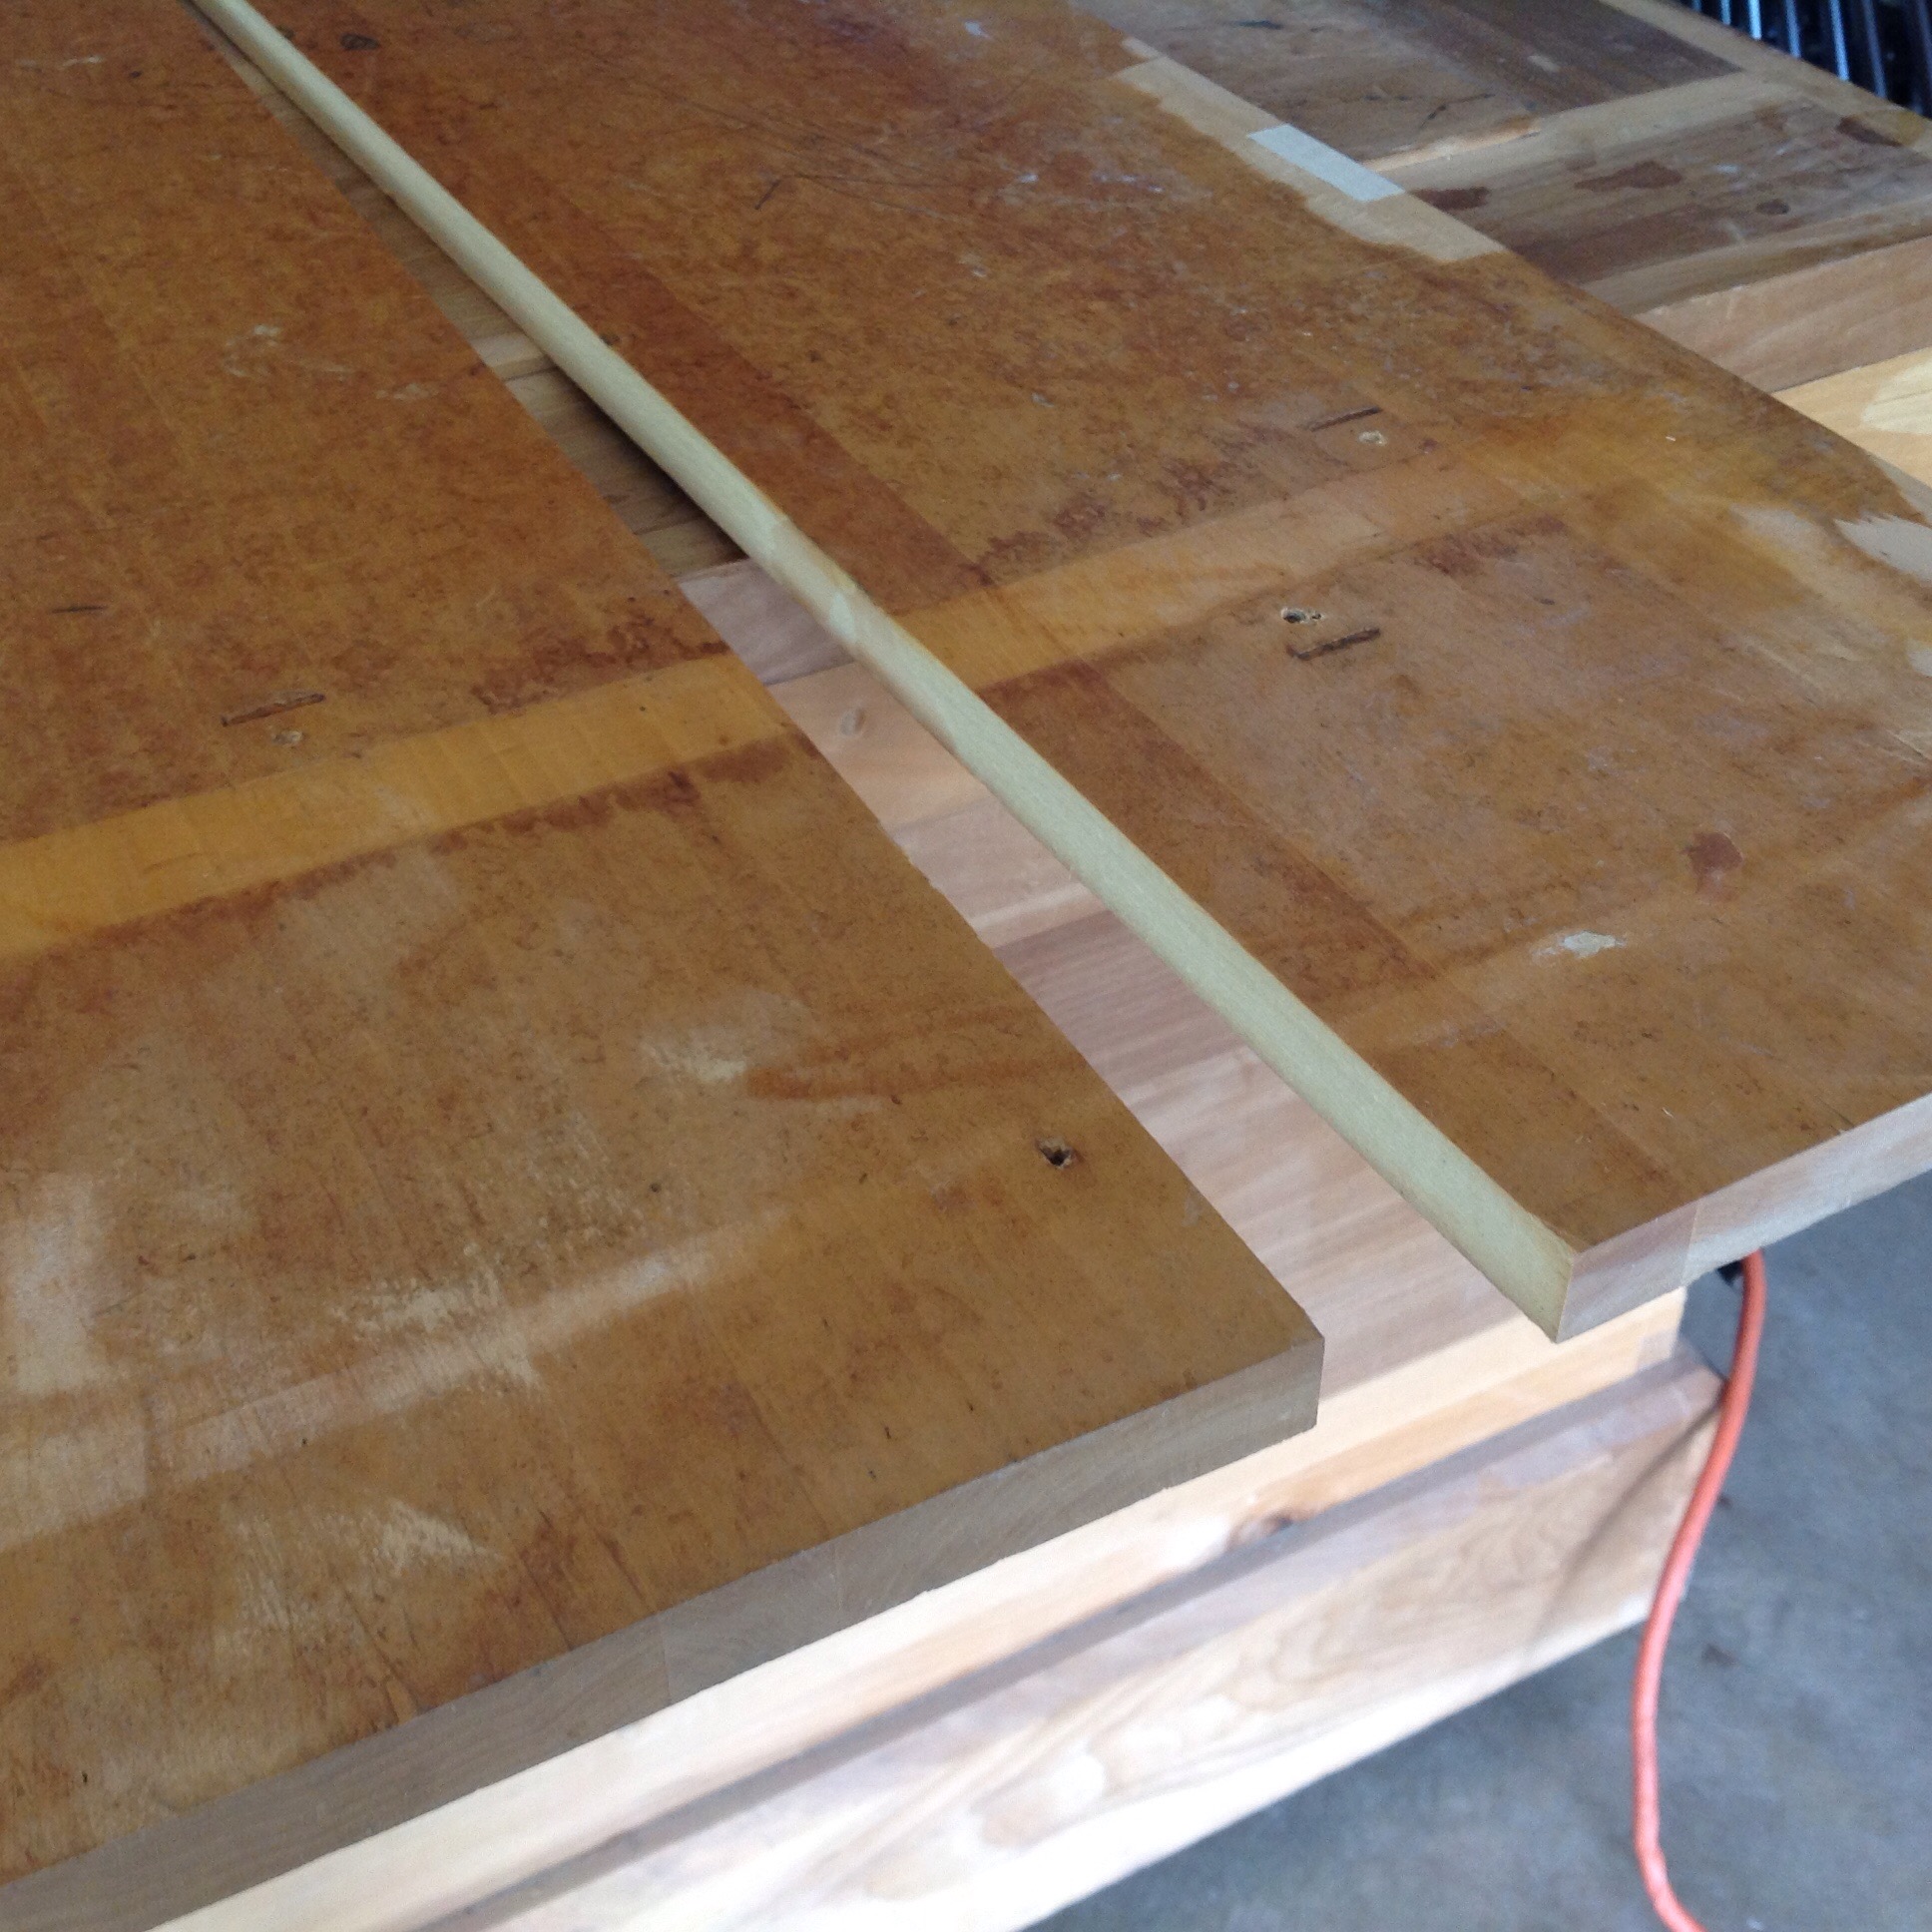
Once cut to the correct thickness and planed smooth I set up clamps and prepared to glue the banding in place. Following rule 3.0 of woodworking that states “No glue up shall be allowed to go smoothly” the pressure from the clamps on the top caused it to split.
What followed was a scramble of glue and clamps that returned it all to one piece.
Planing to be done to smooth the edges and top and I’ll be able to move on to the base.


Great restore project! I have the same model drafting table in my home office. Great piece.
Thanks for dropping in. I like it as well very simple, works great.