Roubo Gap Stop Revisit
Last week I posted about my Roubo gap stop. This was actually written last November and I failed to post it. This week I revisited the gap stop and made a few changes. Below is a picture of the puppy you saw in the post 40lbs heavier.

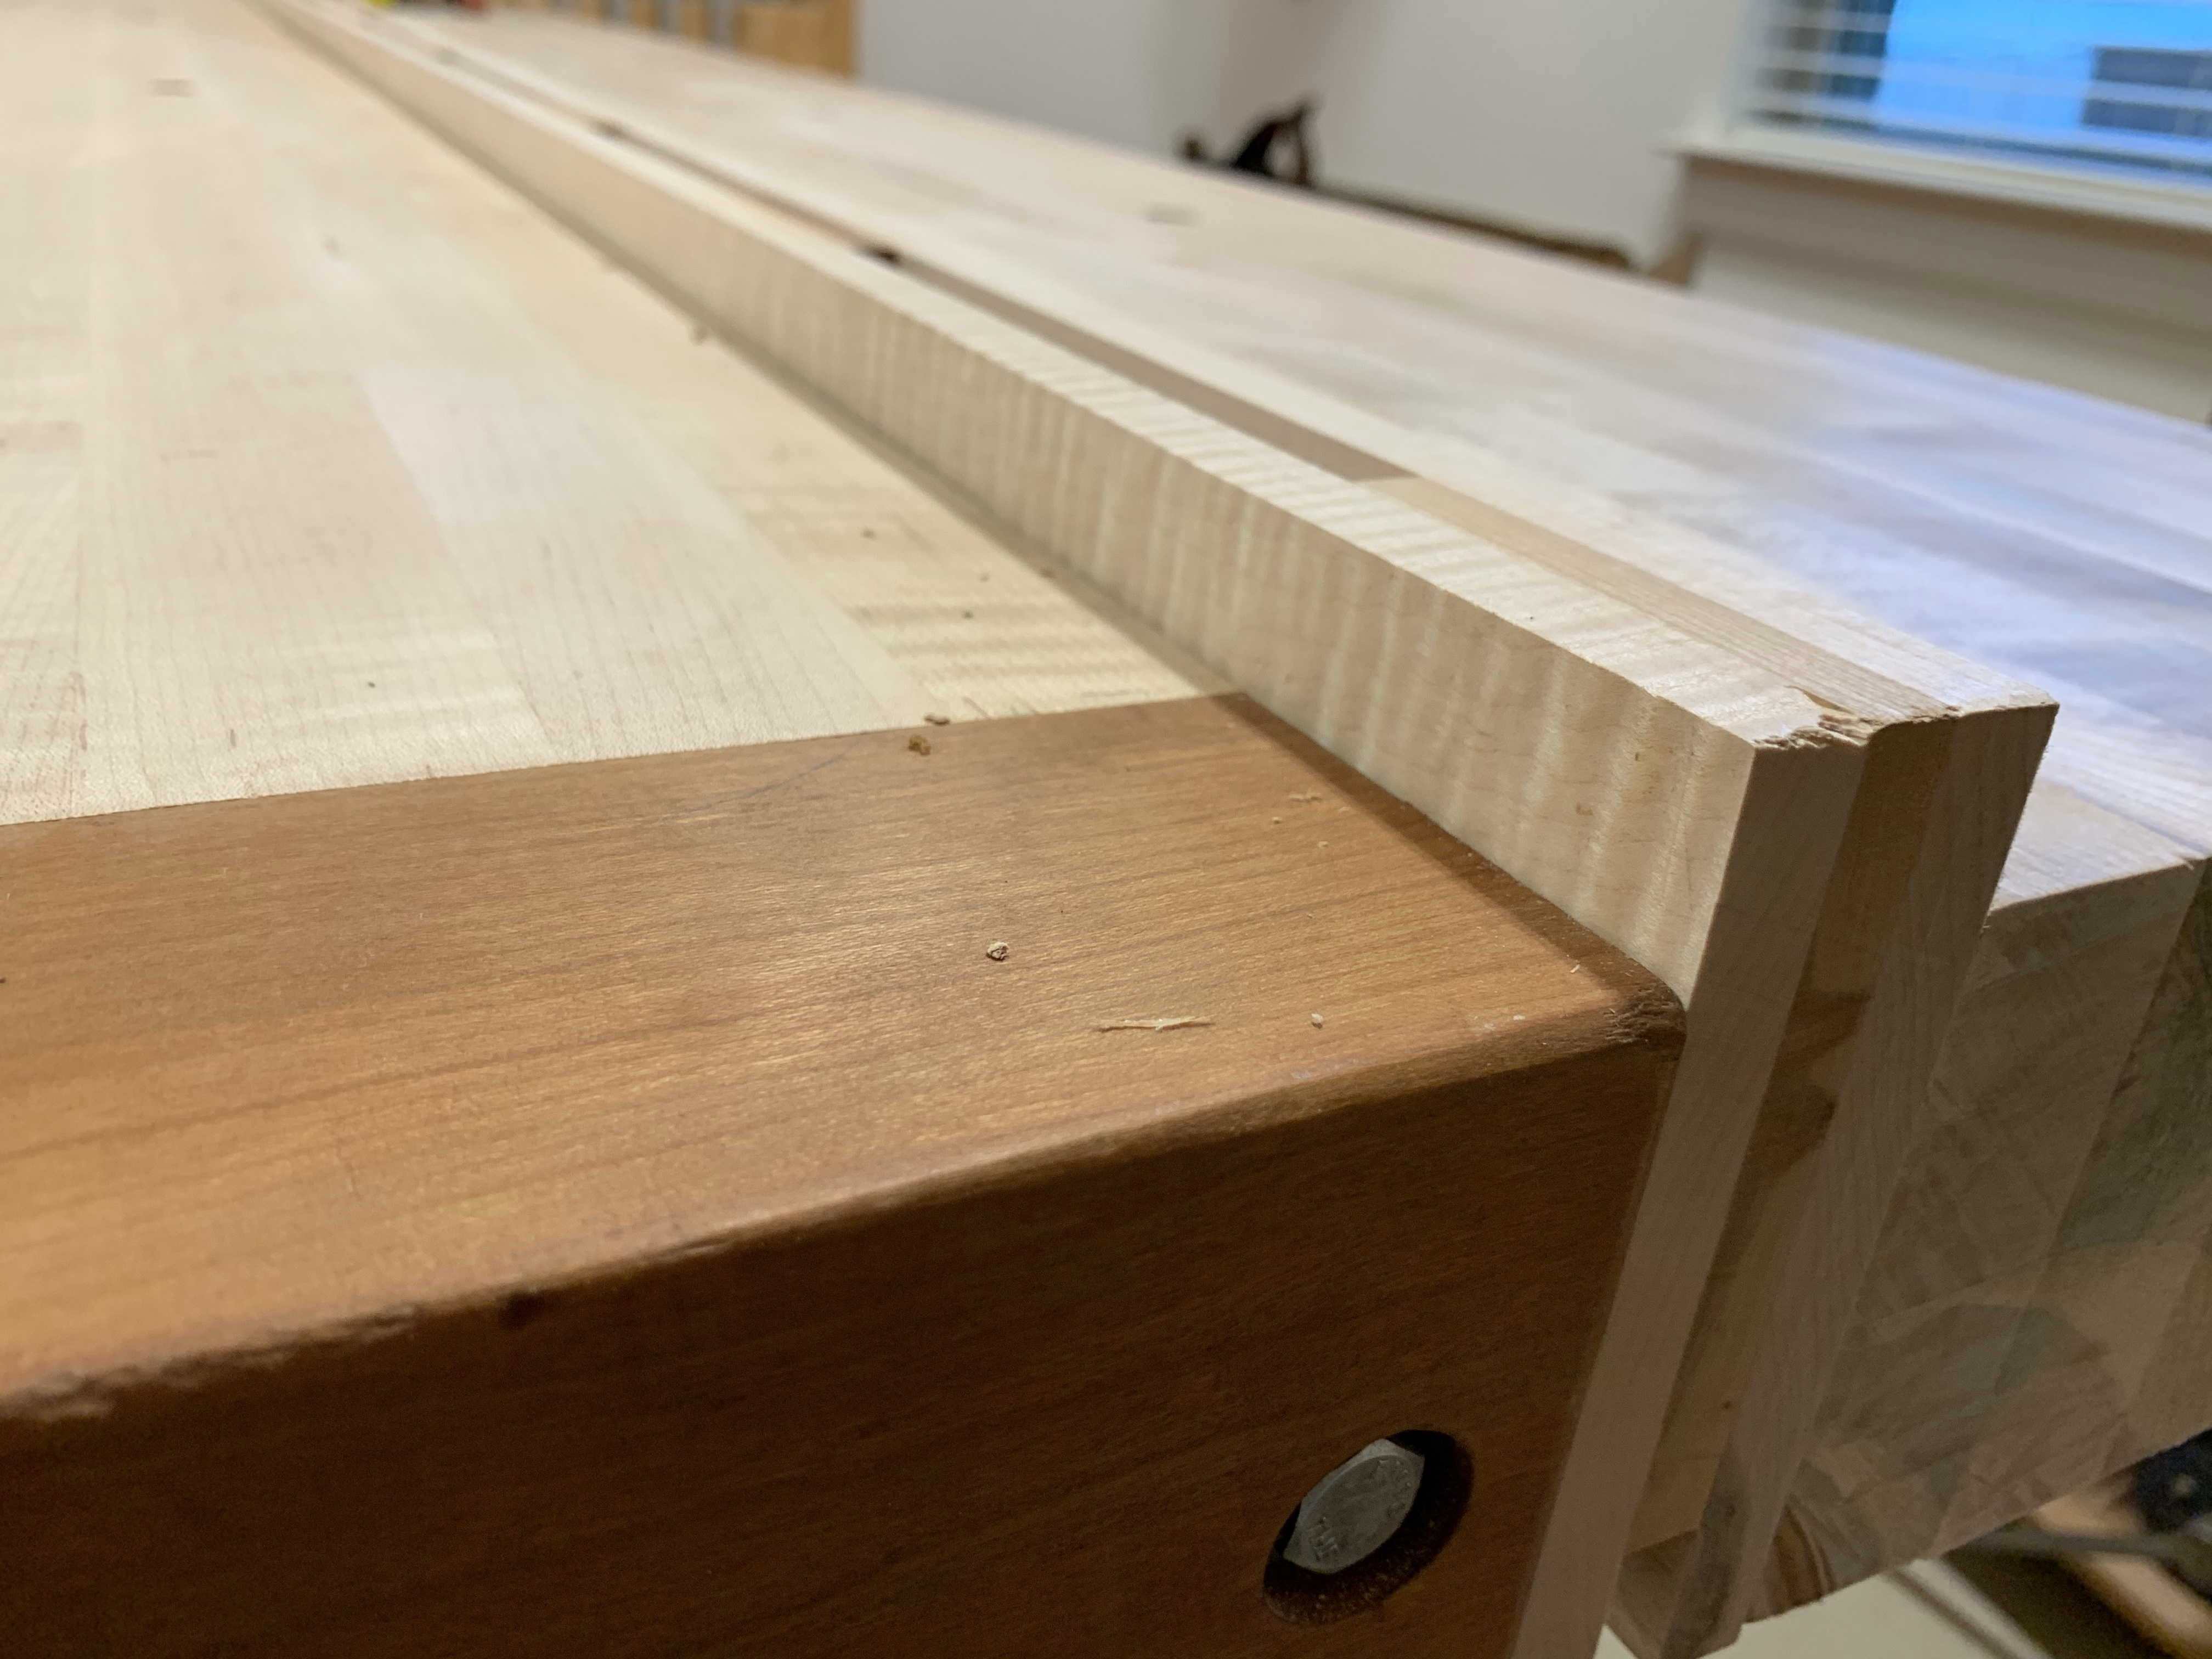
The gap stop was functional but with a very humid spring it needed some adjustment. After looking at it carefully I decided that it really needed to be reworked. First step was to correct the gap between the two bench tops.

I unbolted the sections and using a #7 Plane worked them down to the correct width. Next I found a couple of new boards and dimensioned them carefully, removing all of the twist and getting them to the correct width. The new boards along with a couple of extra blocks were glued together and when dry they only needed minor modification to fit into the slot. The rebuild of the gap stop took approximately half the time that I spent trying to fit and adjust the improperly made first stop.

I had a very similar situation. I built a split top bench and I’m really glad I did because it gives a lot of flexibility for clamping, but after 7 years with it I find I don’t actually use the gap for clamps very often. But I am still glad I have it. I did consider filling the gap the same way you did but ultimately I just decoded to rip a strip of hardwood that just rests on the rails at the bottom of the gap. I leave it 1/16 inch loose in width so I can remove it easily if I need to clear the gap for clamps or to clean out any shavings that accumulate. In the interim I use it like a tool tray but in the center of the bench.
Never thought of a single piece. I’m glad I built the split Roubo as much for the ability to handle the bench top weight . I would have been a two person job in one piece.