Archive
Box Making – Every Dovetail deserves an adjustment
There are people that make perfectly fitting dovetails every time and I don’t envy their lack of opportunity to adjust the dovetails they make. Typically I will have at least one dovetail that needs some work along with a saw cut that went a little too far and perhaps somewhere the wood chipped. Frequently I can also pick out the dovetail that was cut first. Which suggests that I should make a practice dovetail to increase my focus before beginning on the real thing.
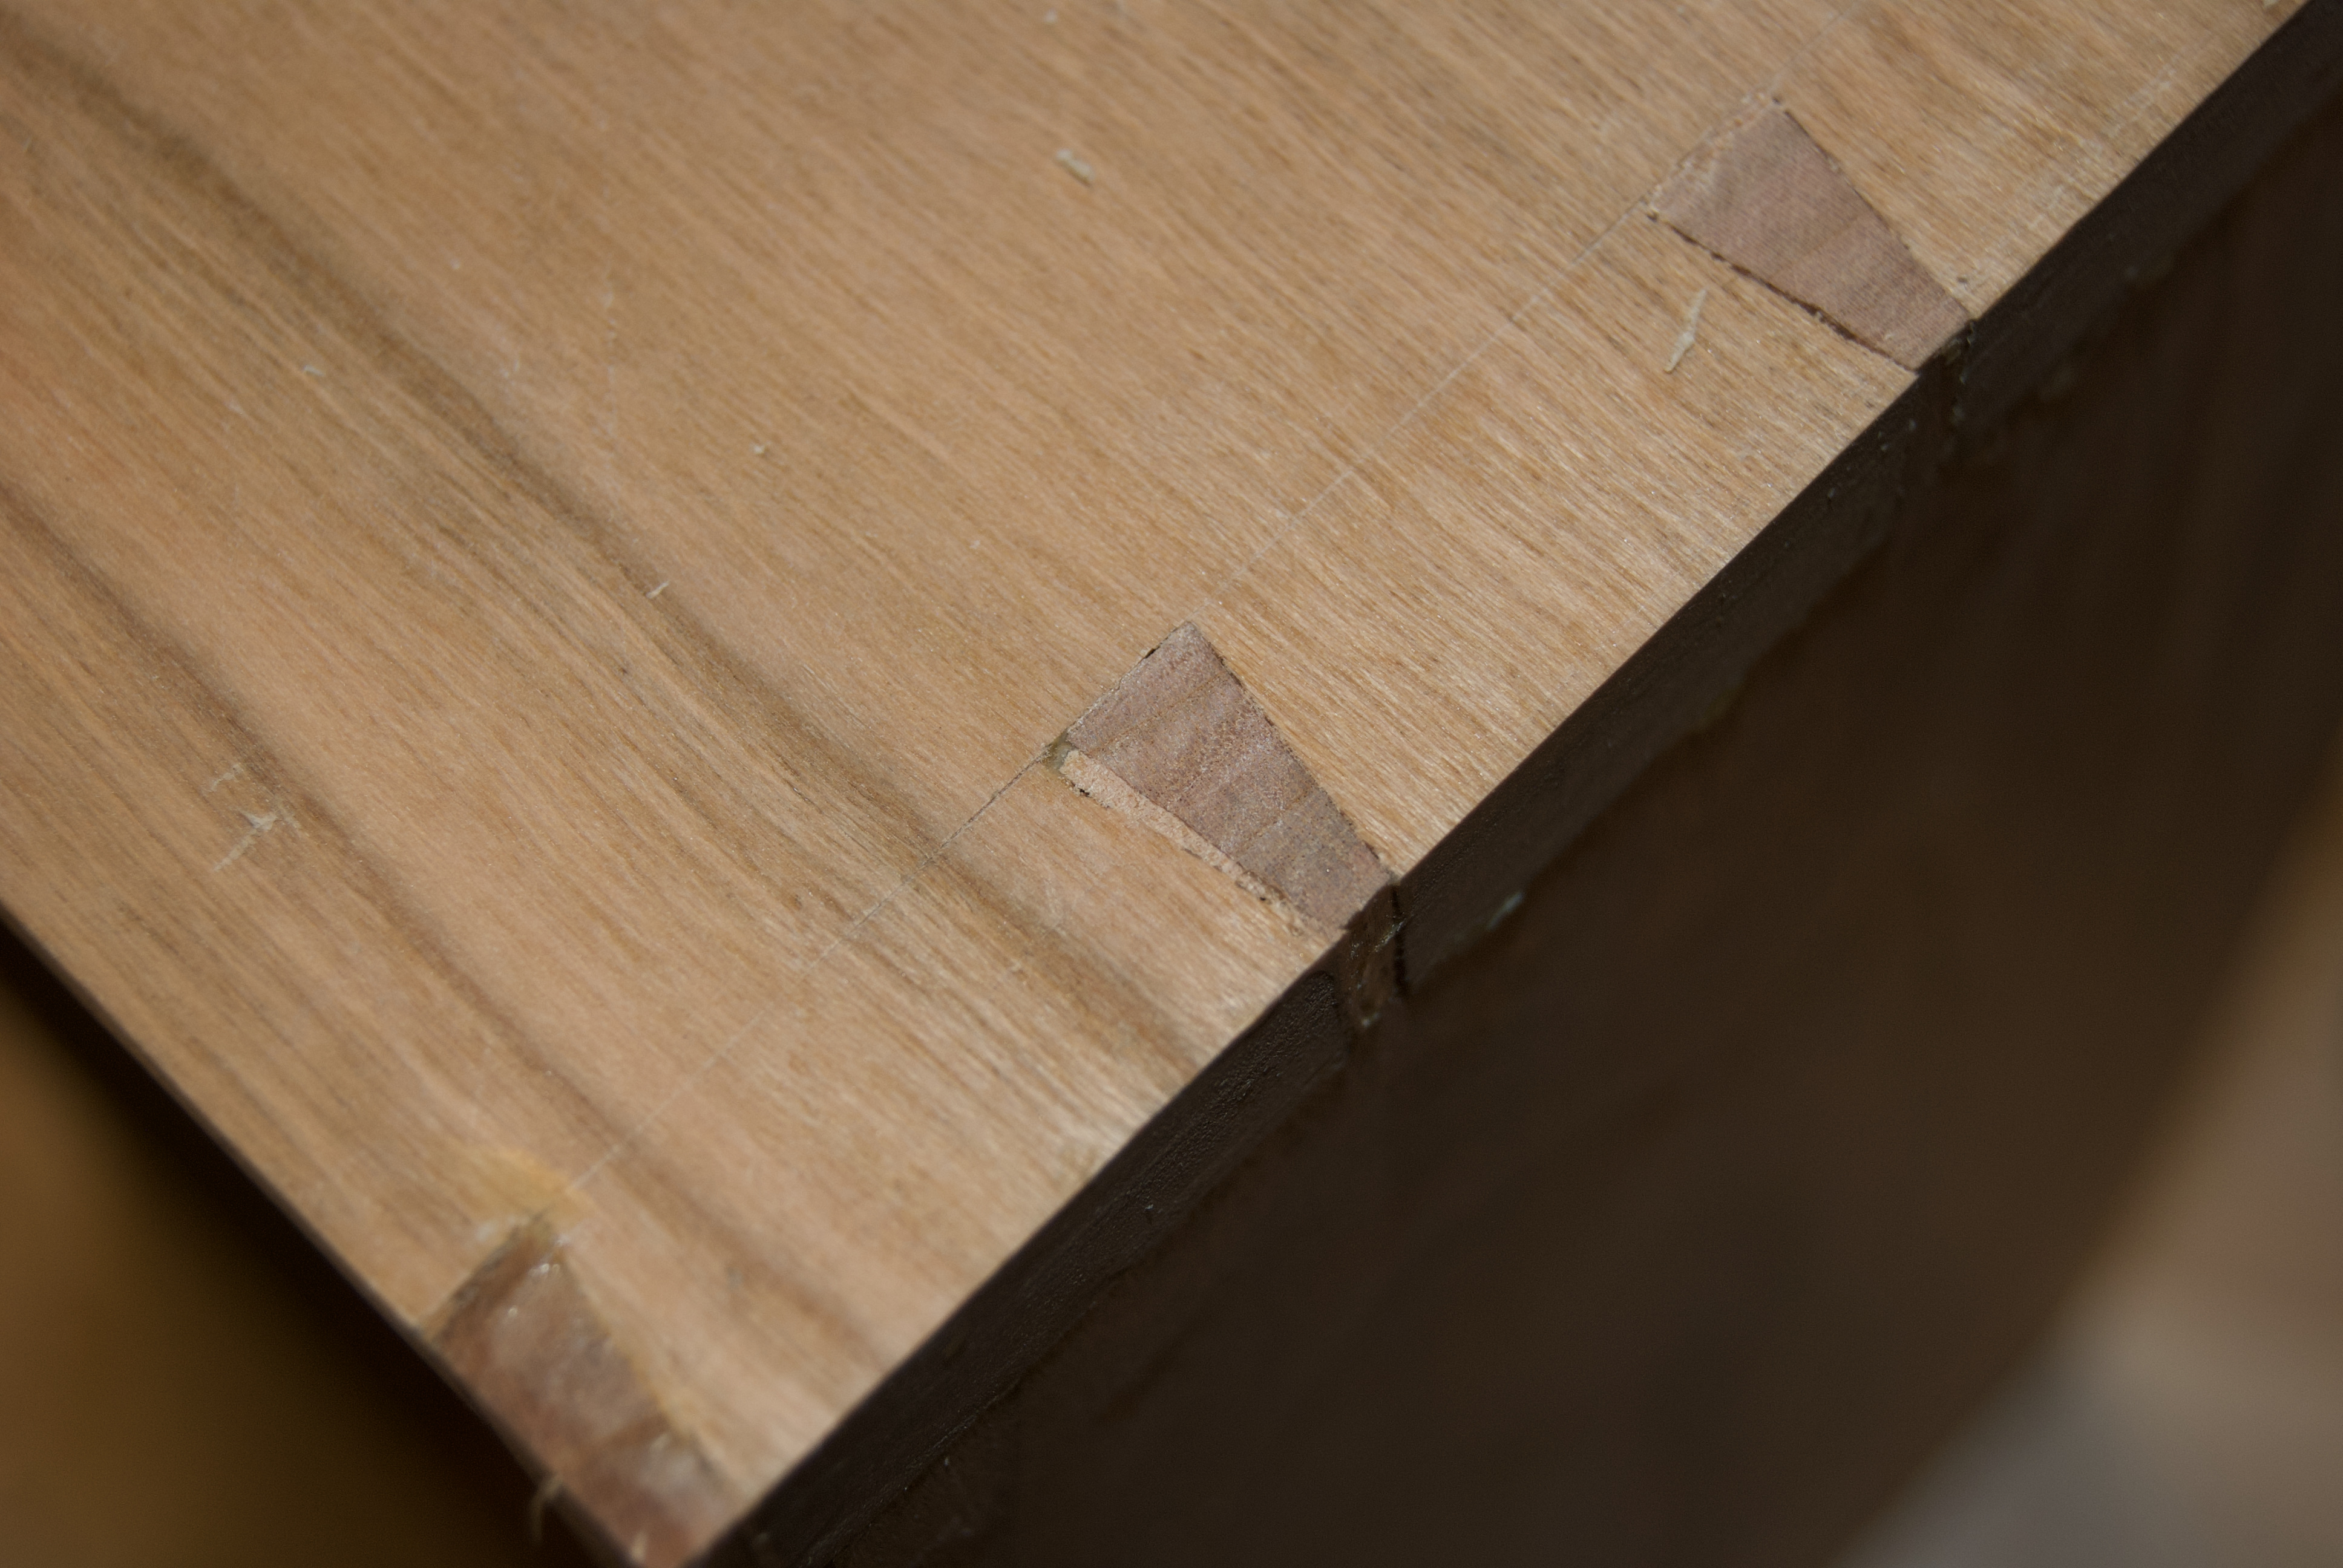
With this box I have three corners that look good with only a couple of minor changes required but the fourth corner needs a little work. Nothing major the joints are strong and fit well just a few cosmetic touches.

Filling in the minor gaps is simple, find wood that is similar in color ensure you match end grain to end grain and long grain to long grain and trim the wood to fit the gap and glue in place. Once the glue is dry trim with a chisel and plane it smooth. In most cases the gap disappears and will never be noticed. If needed you can fill in some fairly large gaps!
Box Making – Glue Up
Before glueing up the box I needed to install the grooves for the future sliding door. I thought this could be done quickly on the table saw, but after a minute realized that it would not leave a flat groove since the saw teeth are offset. I grabbed the plow plane and in a few minutes had a 3/8 inch upper groove and 1/4 in lower groove completed. In most of the woodworking I do, it is often quicker to do the work by hand and much more pleasant.
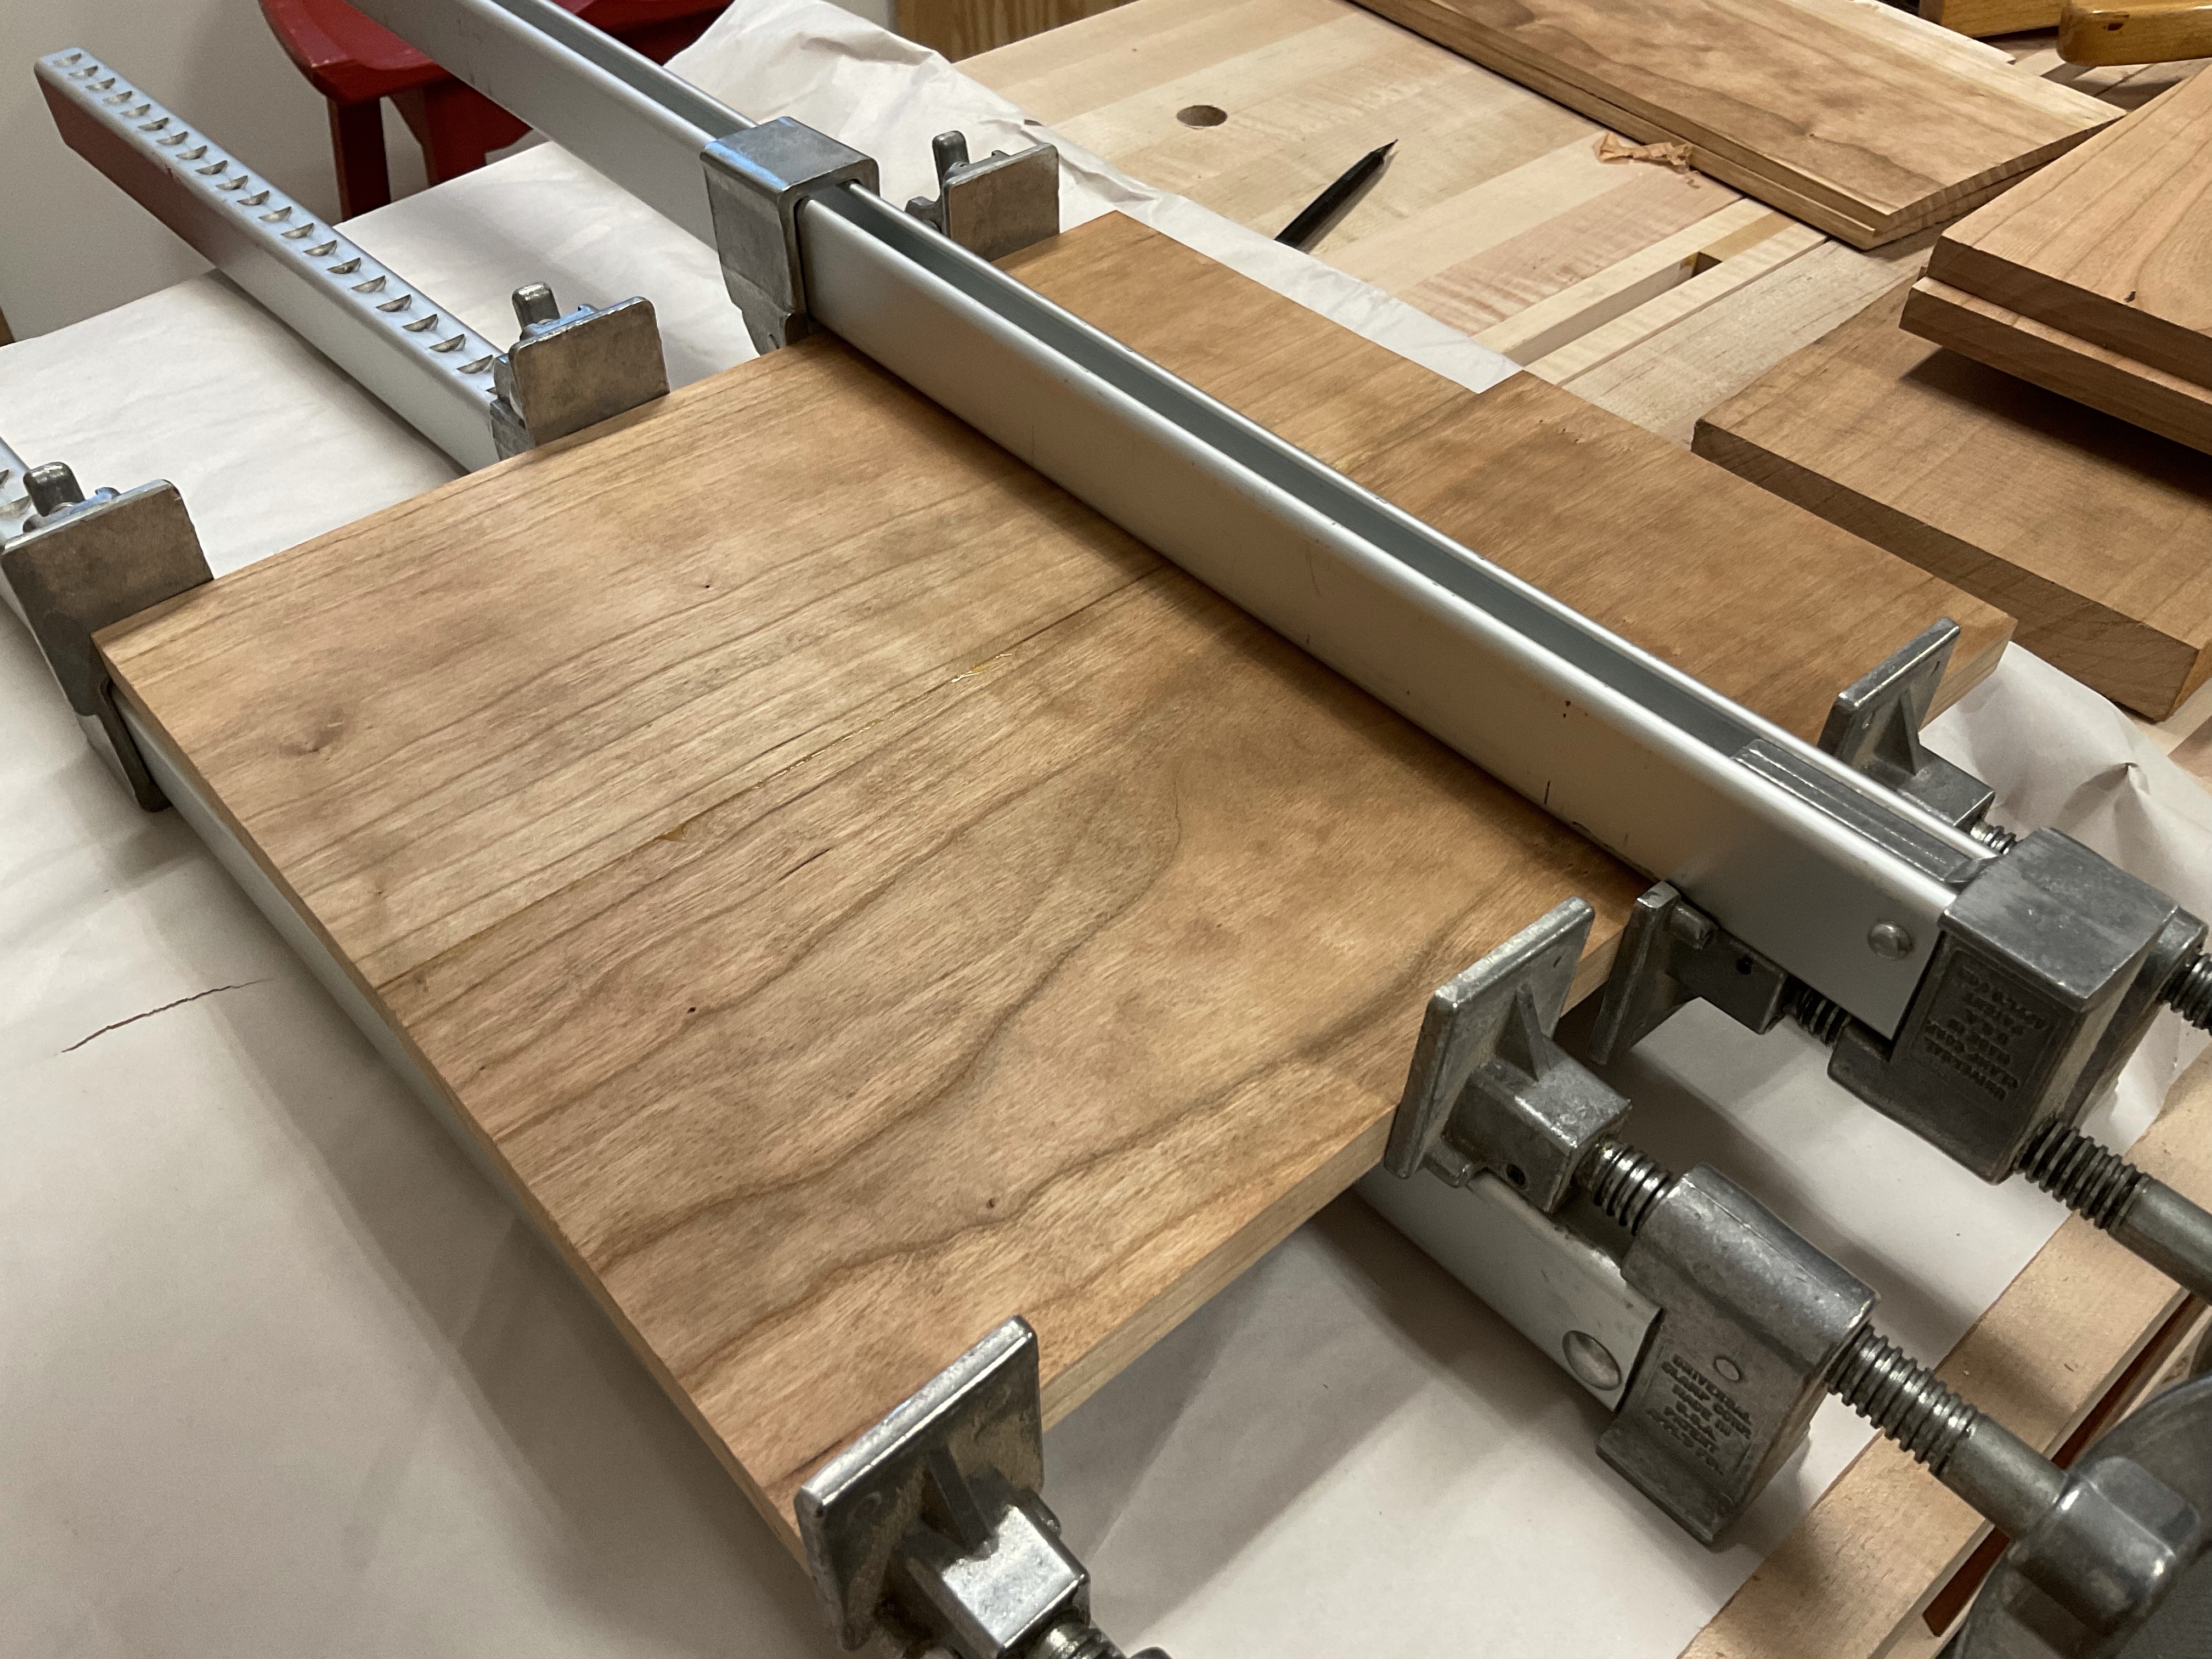
There are more clamps then usual since I continued to have some minor warping from the humidity. I did not glue the back or shelf in place just let them ride free in the grooves.

This is a typical dovetailed box with only the integrated divider to consider so I didn’t plan on extensive practice prior to putting it together. But I did lay out all the clamps and place some brown paper on my bench. I did make some cauls to help glue the ends and then forgot to take a picture of the final glue up.

There are people that make perfectly fitting dovetails every time and I don’t envy their lack of opportunity to adjust the dovetails they make. Typically I will have at least one dovetail that needs some work along with a saw cut that went a little too far and perhaps somewhere the wood chipped. Frequently I can also pick out the dovetail that was cut first. After the glue up we’ll se how I did.
Box Making – Installing a shelf
The box design has a shelf approximately 1/3 of the way up from the bottom. The shelf is installed with blind rabbets so all of the work must be done prior to glue up. There are many ways to make rabbits and after some thought I decided to use my router plane and a chisel to provide a stop for the blind end of the rabbet.
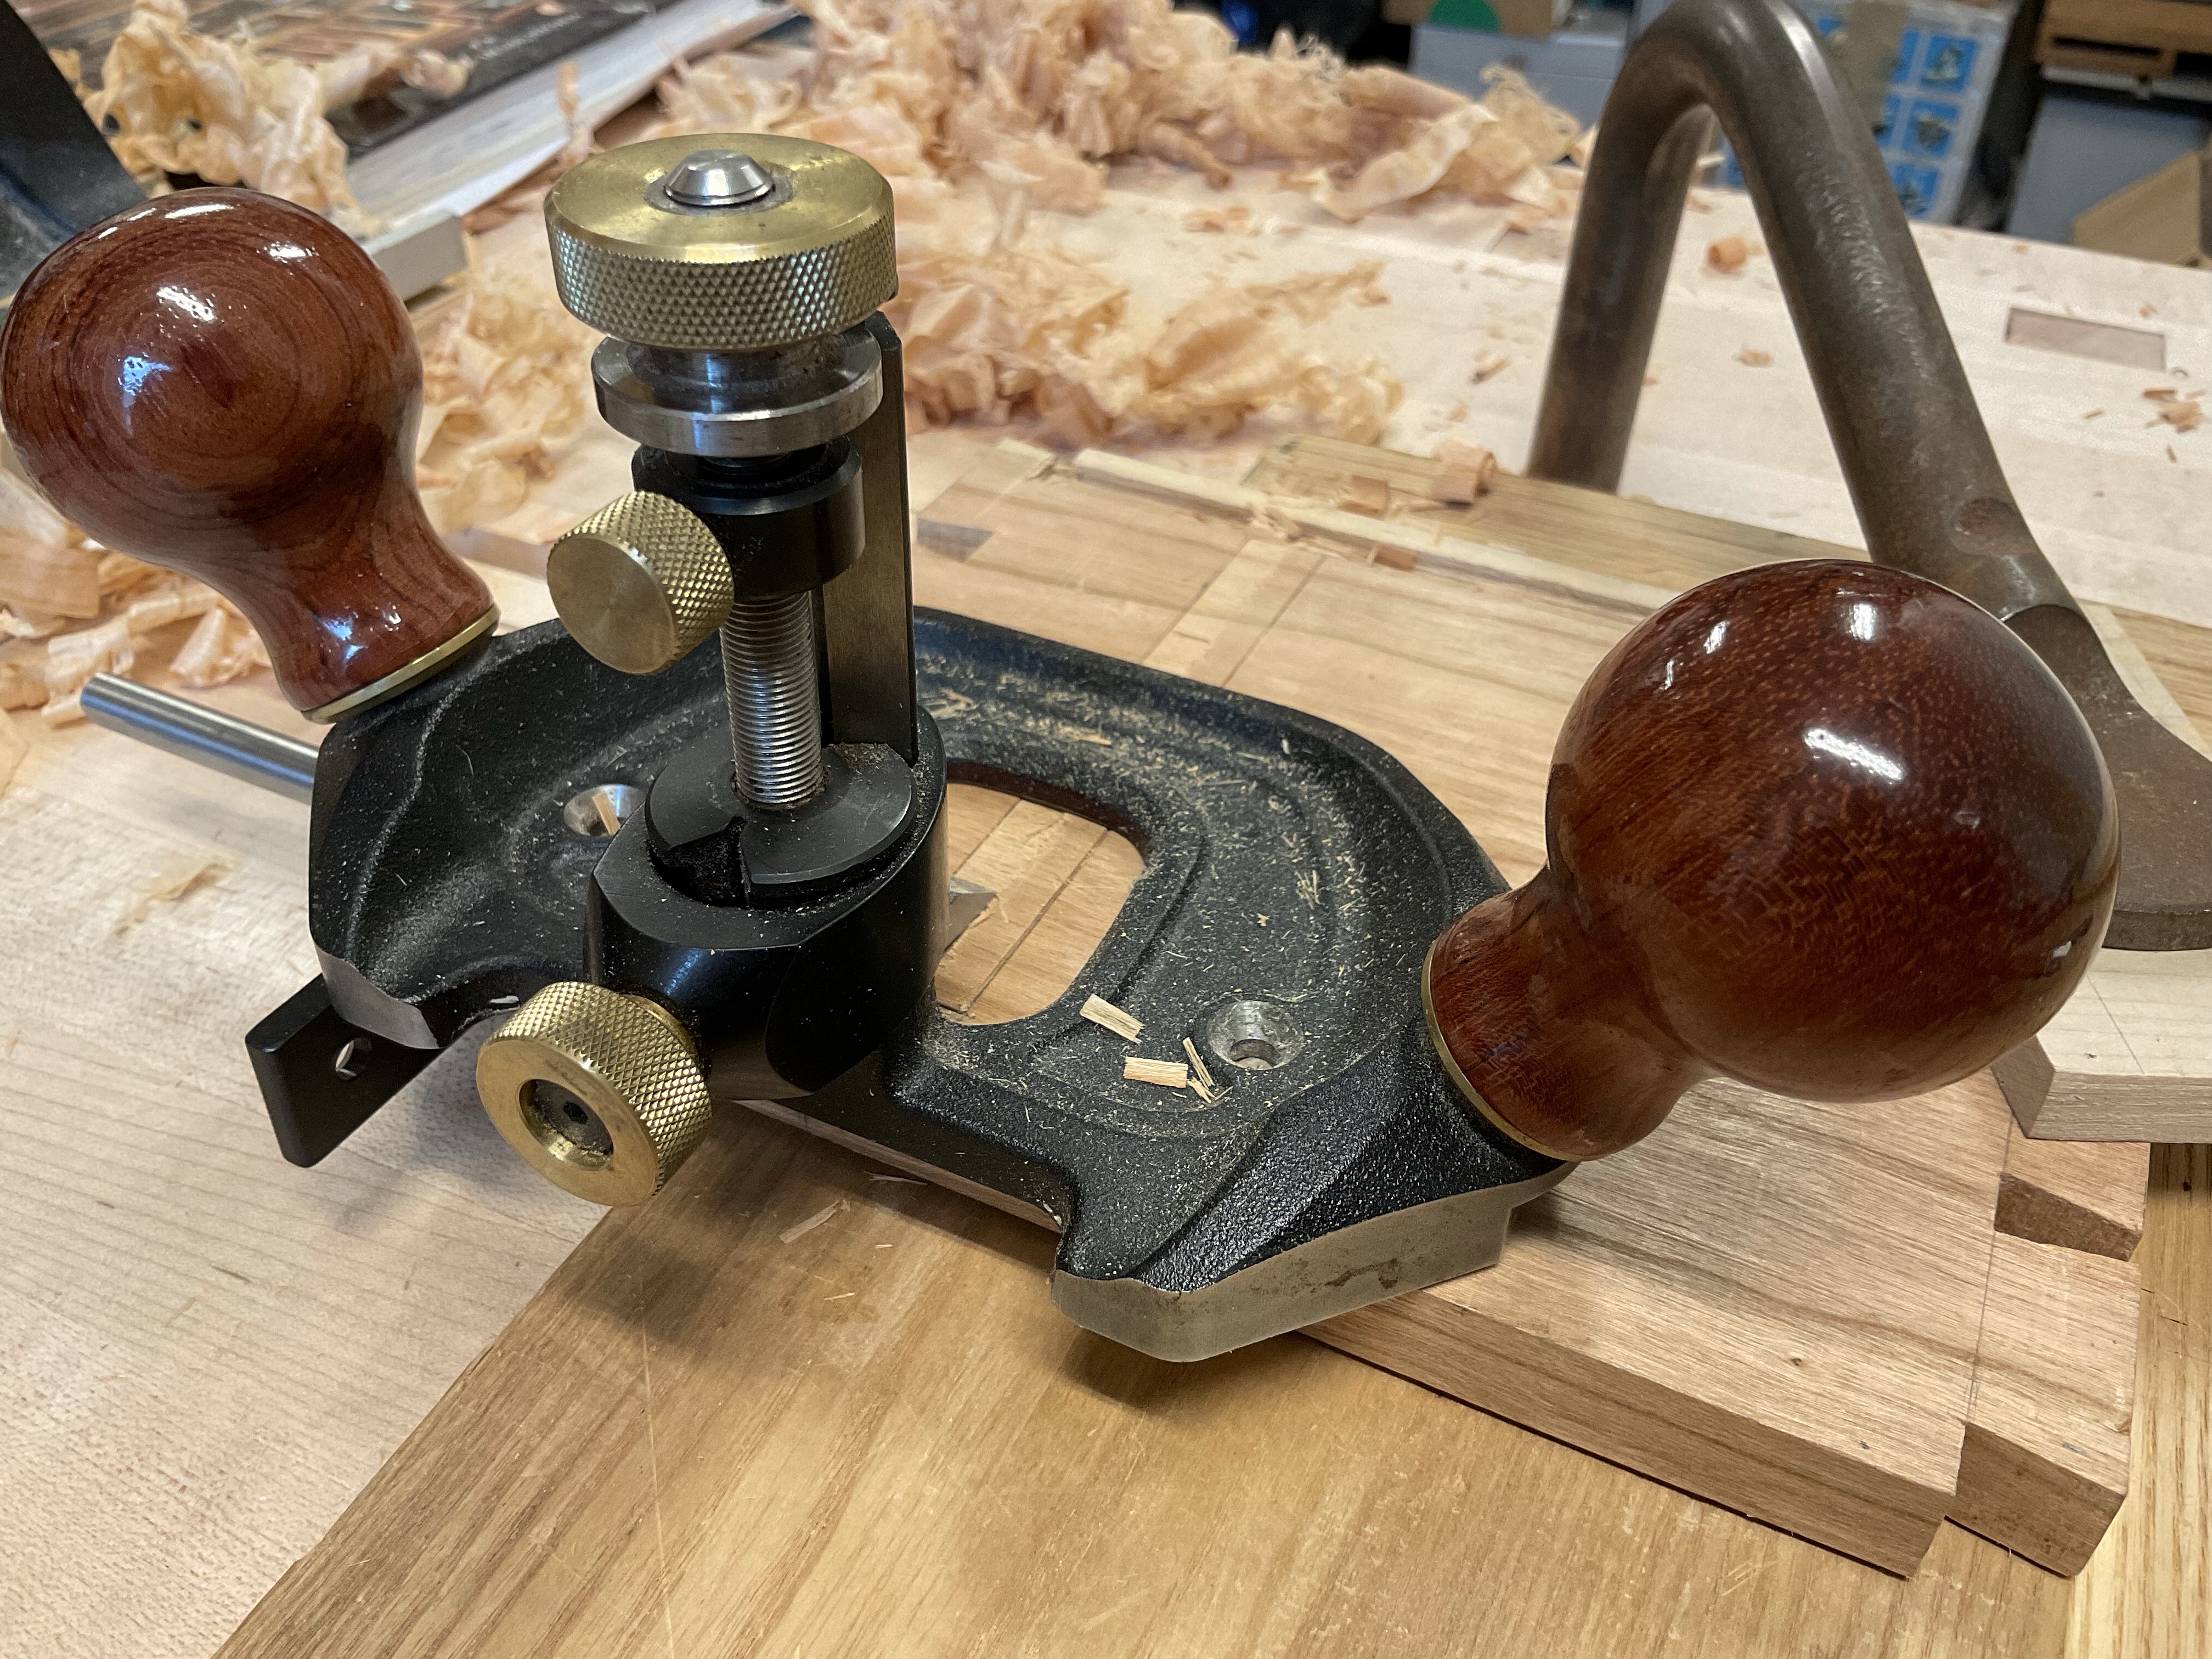
The shelf is wider than the boards that I have on hand so I did a quick glue up and planed it down to 1/2 inch. It’s been some time since I used the router plane and it is definitely one of the most useful specialty planes that I own. This one happens to be a Veritas since I had a very difficult time finding a used plane when I first began using hand tools. Needless to say I have been very happy with it. Since the rabbit was in a couple of inches from the edge I cut across the board with my marking knife and then used an edge guide. You can see a corner of the guide at the bottom of the plane in the photograph above.
It only took a few minutes to cut each rabbit and square up the blind end with a chisel.


