Walnut Side Table – Top
Looking through various books and images I’ve been considering the impact of changing the edges of the table top. When I made the Arts and Craft Side table a few years ago the top was approximately 7/8” thick and I wonder about the impact of a different edge. Many authors discuss “lightening” the look of the top with chamfers.
Before we work on the edges let’s get the top built. Using the smaller jointing sled mentioned in one of my previous posts I Milled up stock for the top and glued them together.
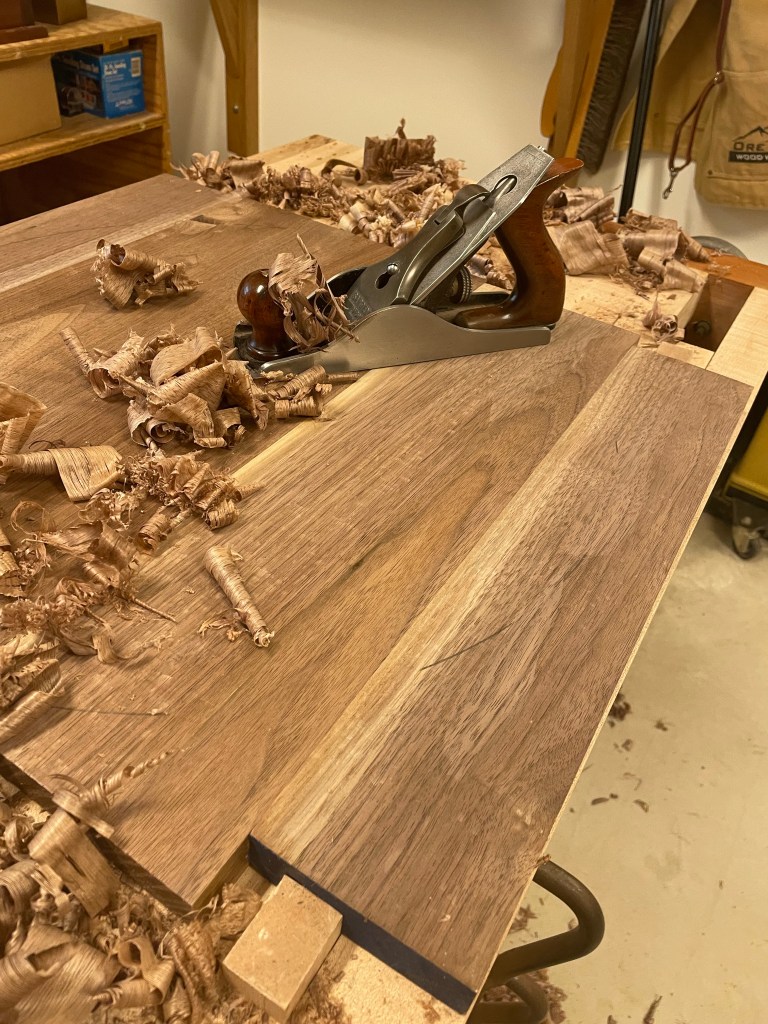
Next I planed the top flat (one day I’ll do a better job in the glue up and have less work to do). Reviewing my notes from the Arts and Craft Side table it was obvious that I had a heck of a time with the circular top. There’s several ways that I could tackle it, Bandsaw, router, hand saw so I spent a little time researching alternatives and came to the conclusion that I will trim with my bandsaw and using my router to fine tune the circle. Using a Fine woodworking article a jig was made and the top trimmed into a circle. If you are a Fine Woodworking Member or have access to a library here’s the article: 4 Jigs for a Fixed Base, September-October 2014.
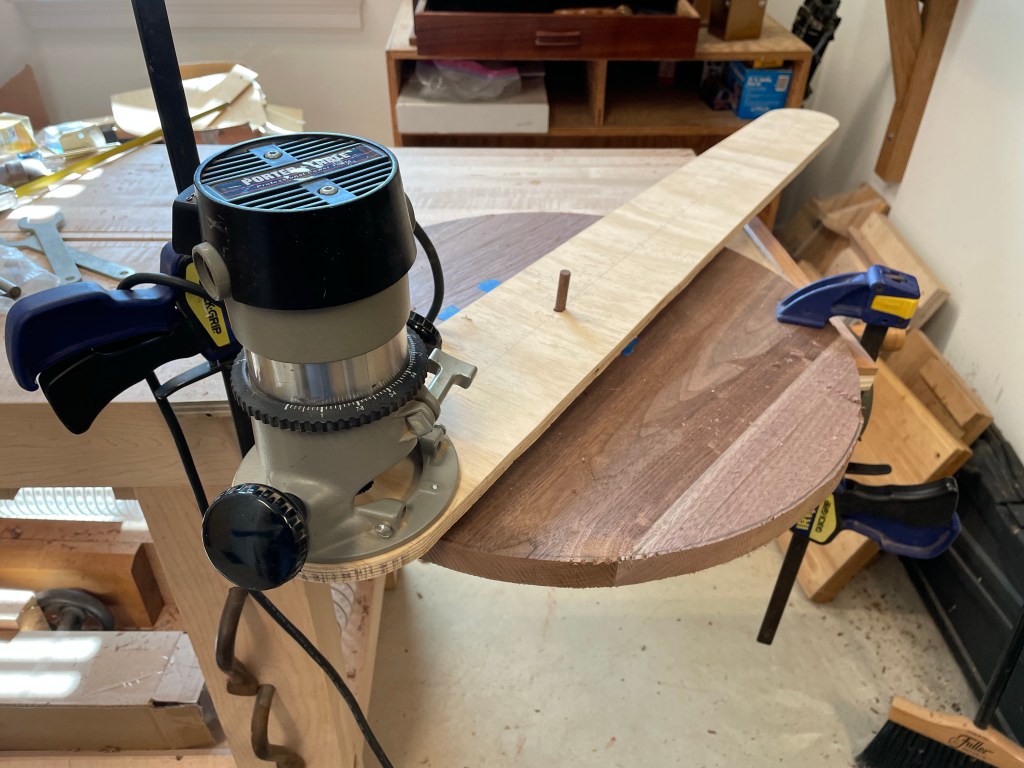
I trimmed the circle first with a flush cutting bit and then I followed along with a chamfer pit. The Chamfer posed a minor problem since the hole was smaller than the router bit. I had to make a quick base to take care of the problem.


I’ll write more details on the jig and how I attached it in another article.
