Archive
Weather Station Finishing Touches
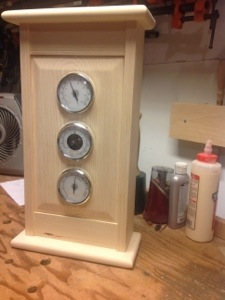
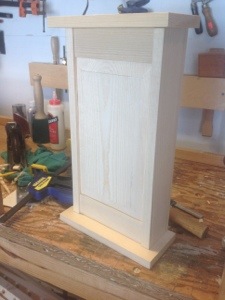
 A few finishing touches and the weather station should be complete. First is to cut the holes for the instruments. Using a compass I drew three circles on the panels and then using my hand drill put a hole in each one to allow me to pass the blade from my saw. I then cut each circle out. I left the holes rough since they will be covered by the instruments.
The top and bottom have curved edges, These are done with a smoothing plane and are very quick. A little sandpaper to smooth the edges and they are complete. A few hours after glue up and clamping and the project is all but done. A nice little project with many lessons. This like my last two projects will have to wait for warmer weather so that i can put a finish on them. Now what’s next on the list????
Weather Station Decisions
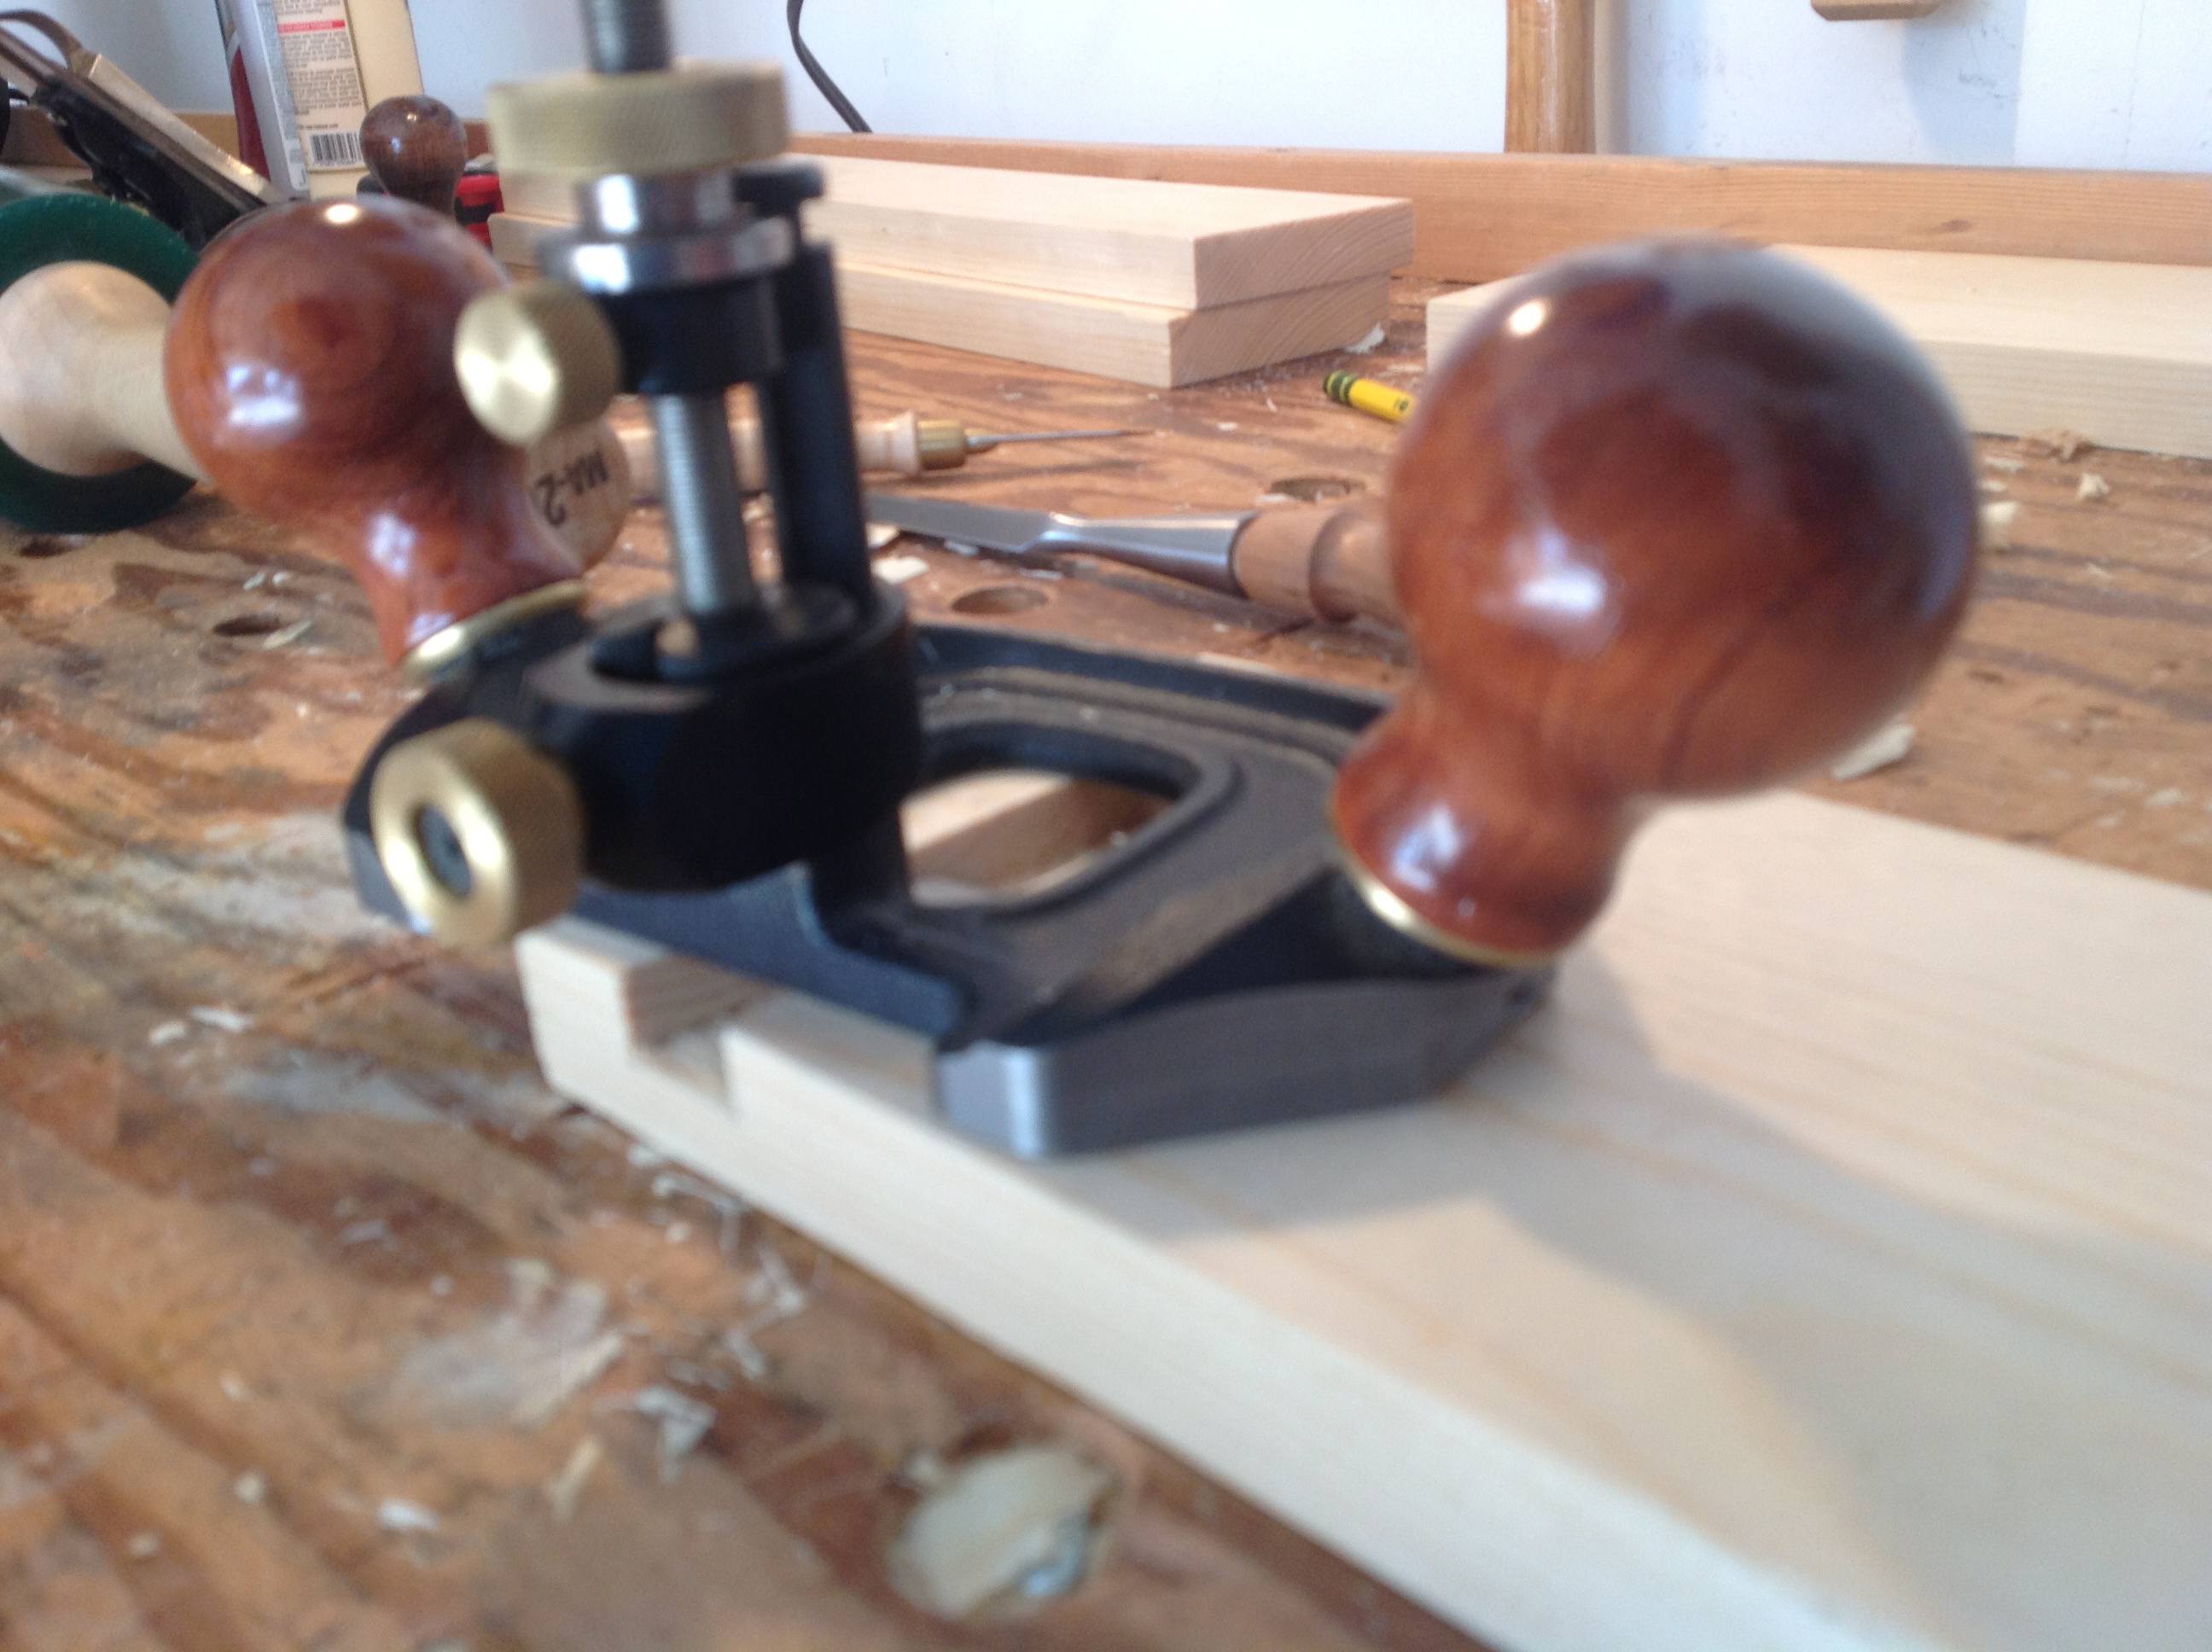
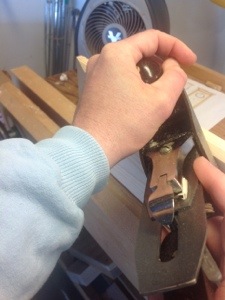
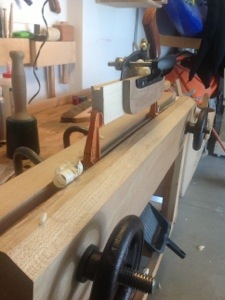 Cutting the grooves for the front panel in each side and in the top and bottom rails required a little engineering. Several months ago I added a guide to my Veritas plow plane. It really helped me guide the plane and improved performance. The only downside is that it is rather large. When I have a narrow board to groove, I am unable to use my bench dogs for support or my Moxon vise since the guide will not clear the vise. My solution which I have shown once before is to insert a bar clamp in a vise and use it to clamp the work. This provides the clearance I need.
Once the grooves are cut I begin making tenons on the rails that will slide into the grooves. I use a mortise gage to mark the end pieces and then use my dovetail saw to cut them out. The nice thing about having a two pin gage is that it is very easy to lay out mortises on several pieces once you have it set up. I cleaned up with a chisel and rails are complete.

The front panel for the piece is designed as a raised panel. This is all done with a hand plane, in this instance I used a Stanley number 3. Marking off the edges of the panel 3/8″ and the panel at 1″. I placed the panel in my vise and working the ends first began shaving off the material. The picture is very poor so let me describe the process. I angle the plane and begin shaving material from the edge of the board working back and forth until I have cut the reached the lines, I then repeat on the other edge and the sides. This order is important since It allows you to plane off any spelching when you plane the end grain.
Weather Station
A few months ago I began watching videos from Paul Seller’s Masterclass. The first project is a wall clock. Now that I have completed the tool chest and saw till I wanted to to work through some of these basic classes and continue to improve my hand skills. Looking at the project I decided that turning it into a weather station was of more use to me and the face looked more balanced. Going to Lee Valley hardware I was able to pick up three instruments, barometer, thermometer, and humidity.
Considering all of the possible woods for the project I decided to stick with pine because it was easy to access and it followed along with the lessons. If I decide at a later time to use different wood I can pop out the gages and change. I picked up a couple of 1″ x”8″ an cut them to size. Practicing my chisel skills I cut stopped dados in the top and bottom pieces of the weather station. This involved creating a knife wall and then chiseling out the waster from the inside wall. i then used the side that will fit into the slot to mark the other edge and repeated.


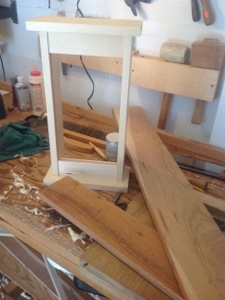
Once I had chiseled out the waste from both sides I grabbed my router plane and cleaned up the bottoms. This allowed me to ensure that the bottom was clean and at the same depth on each side, top and bottom. The dados are slightly shorter than the sides which will allow me to make a step and hopefully leave a clean joint.
Notice in the photo of the assembled top, bottom and sides that the sides hang off the back by 3/8″ this is the amount that I will notch from the front to get a nice fit. In order to get this step correct I install the sides and using clamps force them into place. A marking knife its then used to mark the sides. I cut the notch with a saw and chisel and reinserted the sides. With enough time I will hopefully get this completed next week.