Archive
Bench Top
The hardest part about this bench is maneuvering the lumber. As more and more parts are pieced together it becomes heavier. I think the photos below tell the story.
Joint, plane glue, repeat.


Dog Holes and Mistakes
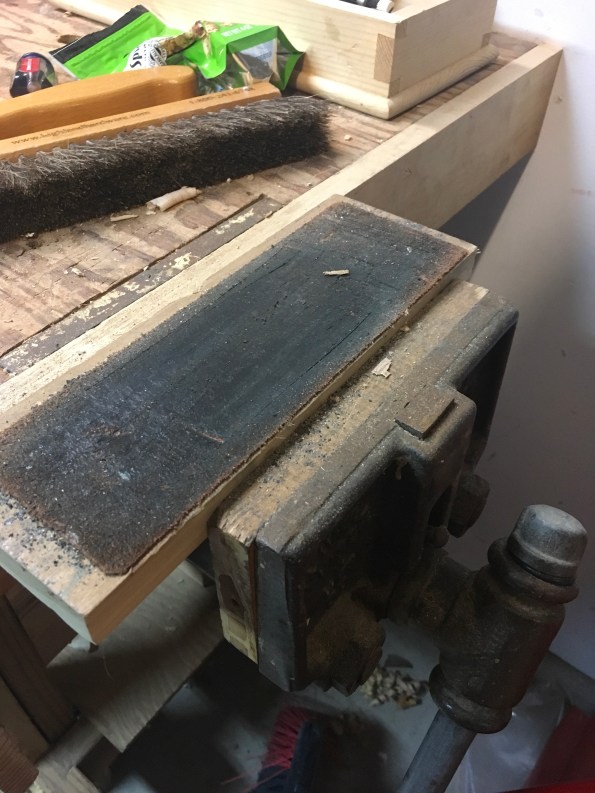
When choosing a new bench design the dog holes and integral dogs drew me to the Roubo. Planing boards is a pleasure except when you don’t have a great method to hold them on your bench. Paul Sellers’ is adept at using his front vice, and I admit it has worked well for narrow boards. I’ve also used boards positioned across the end of the vice as a planing stop. However the ability to use a tail vice and adjust to any board length has great appeal.
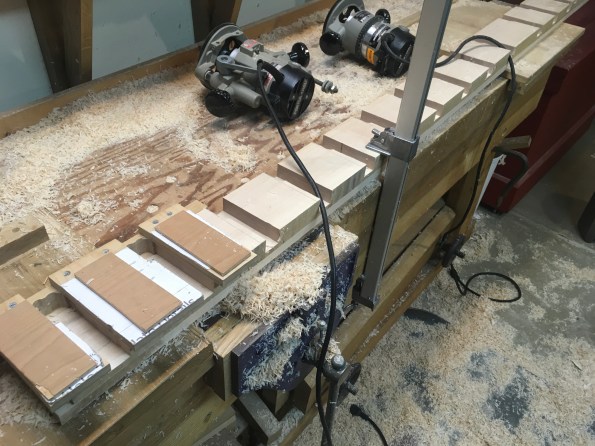
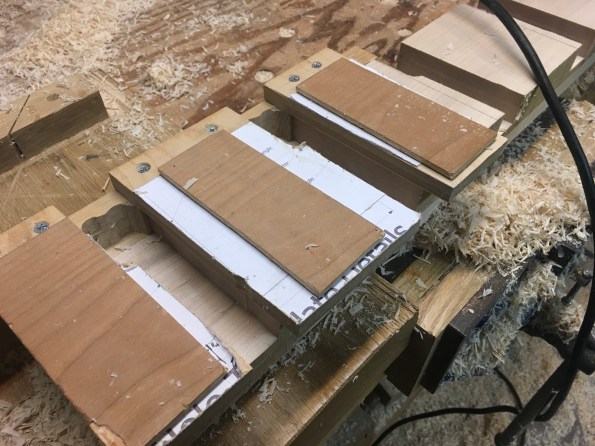
Most of you will notice that a router and template was used in this process. Before hand tool woodworking I did most of my work by machine and I still have most of them. You can’t beat machines for repetitive processes. Except when you stop paying attention and oops.
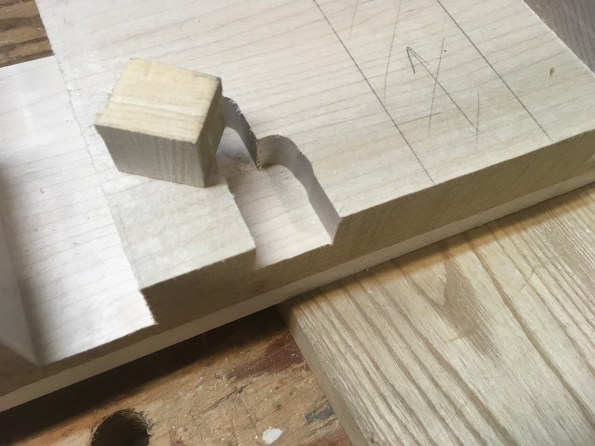
A little plug will take care of that. I routed one dog hole too far.
Workbench History
Let’s be clear in the first sentence, if you want a complete guide to workbenches, find Chris Schwarz. If you want plans and a video on how to build a simple effective bench see Paul Sellers’ series (I’ve used his bench, it is excellent). This blog is about my brief workbench history and what has worked for many years as an essential tool in my shop. It confirms that a workbench can be cheap, simple and very effective. There are no plans, but it’s simple enough that none are needed and it’s a little embarrassing how sloppy I’ve been with upgrades. It’s also a story of why I want to move on to a new bench.

The bench is built from a single sheet of 3/4 plywood and 2×4 pine. Lag bolts hold it together and screws keep the top and cross members in place. My father helped me build it when I was in my early teens. The top is a single sheet of plywood, doubled over and glued. It is screwed to a 2×4 frame with cross members. The legs are single 2×4 and attach inside the top and bottom frames.
When Shannon Rogers began his Hand Tool School I quickly moved most of my Joinery to Hand Tools and recognized that the bench needed to be stiffened, grabbing some scrap I cut it to size a hammered it into place to stiffen the ends. I added a 2×4 to the legs at front which fit in between the upper and lower rails.
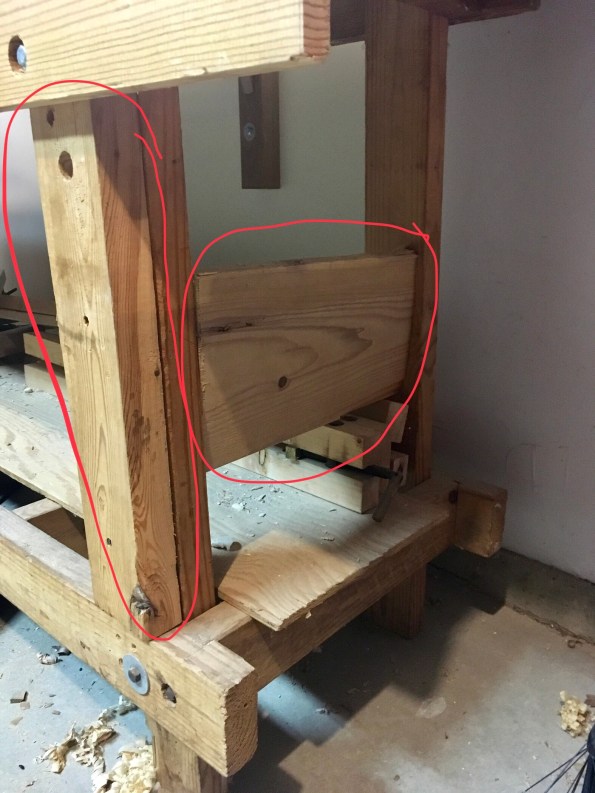
The small vise on the side was originally on front of the bench but now sits on the side and is perfect to hold my leather strop close by my work area. It also works as a planing clamp. Next I added a 2×4 under the bench to provide added depth for hold fasts. It’s a simple solution for a bench without the necessary thickness for them to work.

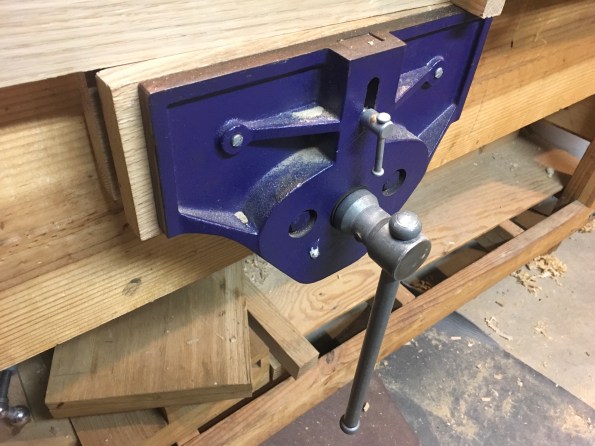
After attending Paul Sellers’ fundamentals of woodworking class I recognized the value of a larger vice so set about making modifications to the bench. This consisted of a board at the front, a couple of cross members and the vise became part of my tool set.

Many years later I admit that there is little that my current bench does not provide. The desire for a new work bench is purely for the challenge of the bench. So I began a journey to build a new bench and you will see it in the next several blogs.
Small Gift Box
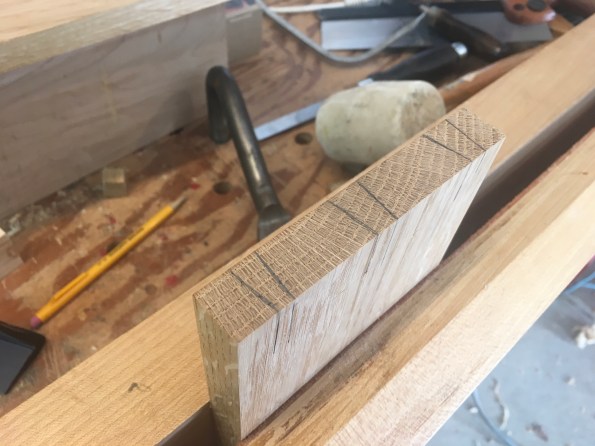
It’s been a while since dovetails were part of a project. However a small gift was needed so a small box was required. A piece of cherry left over from the cabinet would become the sides and Sapele left over from the small tool chest became the top and bottom.
Cutting the cherry board such that the grain continues around the box may not be apparent to everyone, but knowing where this box is going it was important to add in the small details. Several practice cuts and muscle memory took over as the dovetails were cut.


Work with a #4 plane smoothed the edges and cleaned up the dovetails. The top and bottom cut from the Sapele have edges rounded using the same #4 plane. The bottom is simply glued onto the sides and after a night in the clamps a quick sanding allowed the finish process to begin. The top has a couple of stops glued to the bottom the keep the top in place.
Next a quick sanding and I began applying Shellac. Several coats later and the box was complete.
Small Cabinet – Comedy of Errors
You’ve got to laugh at yourself when things begin to go awry. It began this weekend with a miss cut pin. Not paying attention I cut on the inside of the line rather than the outside on the first pin. This would work great for tails but alas it was not a tail I sought. Instead of beginning again I realized it would be an easy fix after glue up and moved on. It’s always a fun challenge to hide your mistakes.
Not long after, I managed to cut pins in the wrong direction. This was an interesting mistake since at the time I was thinking about ensuring I avoided this error on the final board which is where it usually happens.

The final mistake of the day occurred when disassembling the boards. A couple of taps with the dead blow hammer and I split the board in half. I was actually chuckling to myself at this point as I put the boards into the scrap bin. Good time to clean the shop I think…..

Small Cabinet
It’s been a while since I’ve done serious woodworking. I’ve sharpened tools, planed boards but generally accomplished little for several months. There’s a couple of big projects that I’d like to tackle but a little practice first will help get my head thinking in the right direction. I’ve always admired the work of Mike Pekovich (Fine Woodworking June 2016) so decided to make a Cabinet similar to one in an article in the magazine. Cabinets are great for teaching skills and I think this will be a good refresher.

Digging around in my scraps and off cuts there’s enough oak to make the Cabinet and maybe some cherry for a second if I modify the dimensions from those shown in the magazine.

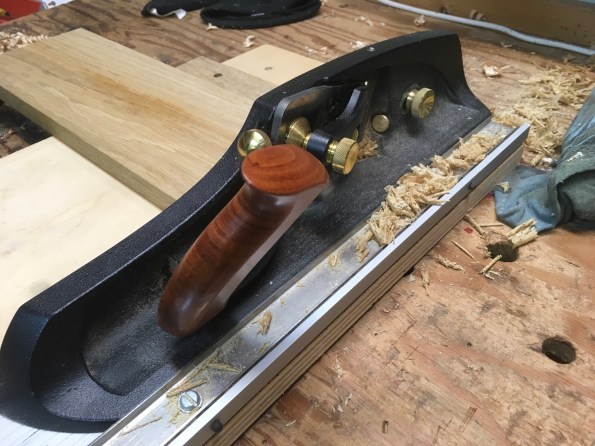
Since purchasing my shooting plane it’s changed the way I work dramatically. I used a number 5 plane for many years but tended to skip shooting on most occasions. This usually led to less then ideal joints. The shooting plane has made it quicker and easier to be accurate. With the lumber dimensioned I sawed out the tails and carefully laid out the pins. o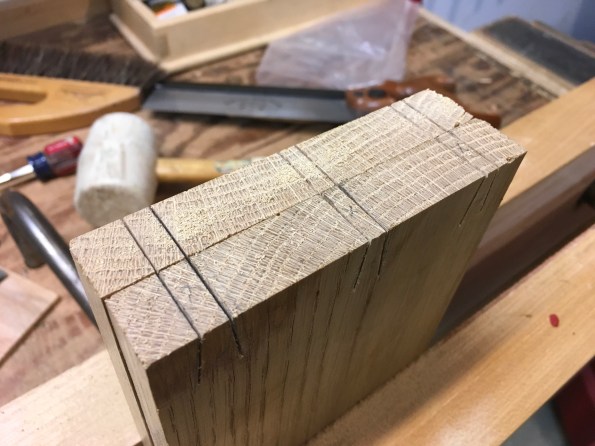
which I’ll tackle next weekend. That’ll give me time to consider the shelf and back designs.
Bell Forest Hardwoods
Thinking about building a new workbench is a pastime for many woodworkers. It’s been on my mind for a few years and I have posted my thoughts a couple of times. In an attempt to spread the cost, last year I purchased hardware from Benchcrafted. This year the search for the perfect building materials began. Soft Maple, Hard Maple, Ash all come to mind; reading blogs and watching you tube there are many beautiful benches and thoughts on what’s best. There’s definitely no lack of opinion amongst woodworkers. The decision really came down to two factors, I prefer the look of maple, and soft maple is slightly easier to work. Since my tool cabinet and saw till are cherry the bench accents will also be cherry.
Two hardwood stores are within 45 minutes of my house and I’ve been to both over the last few years, they generally have what I need, but the pricing is very high. Shannon Rogers has frequently discussed lumber pricing and I am a huge believer in capitalism, if the prices I see are what the market will bare, so be it. Fortunately I travel a fair amount in my job and have been stopping at local lumber yards throughout the Midwest looking at alternatives while waiting for the weather to improve. A few weeks ago out of curiosity I had Bell Forest Products quote their Roubo Kit. My expectation was low that they would be competitive. Surprise, with shipping, straight line rip and Planing they were a few dollars cheaper!
The best part was yet to come…. Woodworker Guild Savings, and I happened to need to go to Northern Michigan University for a College Visit. Under the guise of touring colleges I ended up in Ishpeming Michigan. Exchanging a few emails with Eric at Bell Forest Products the deal was struck and date set for pick up.
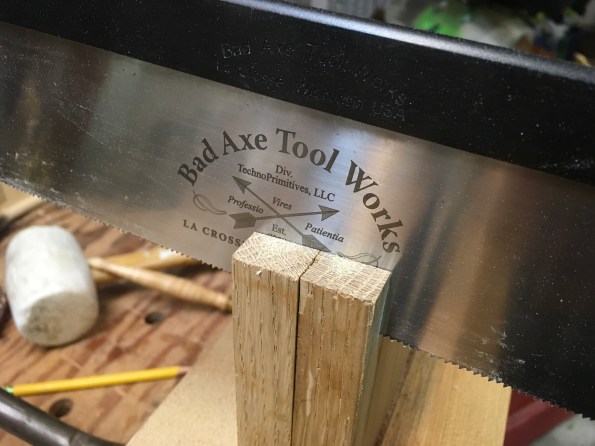
I’ve read blogs and Instagram about the service and quality of the Lumber from Bell Forest Products and my skepticism faded long ago with the many comments. If any of you remain skeptics one visit and you will be sold. Over the last week Eric has sent a couple of emails updating me on my lumber status. The day before pickup he let me know it was there and waiting, pulling up and walking in the door I immediately felt welcome and comfortable. Given a choice I like to buy from people that I have met and build trust with. Mark Harrell at Bad Axe, Jason Thigpen at Texas Heritage Toolworks, all have built a reputation for quality service and I consider part of my woodworking family. I am certainly adding Eric Poirier and Bell Forest to this list.
Eric toured me around their shop and talked about their business, customer service and employees (there are eight). I was amazed that 90-95% of their business is through the internet and phone and is shipped across the country. We talked a lot about quality and expectations of customers. I think my daughter summed up the visit best “it’s really fun being around people who are passionate about what they do.” This is a direct quote.
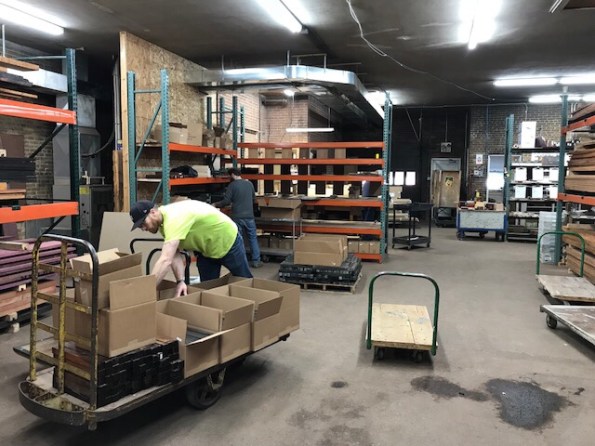


A few photos of the lumber in their shop and the team packaging and getting shipments ready. It was a great visit and hopefully the first of many. If you are considering Bell Forest Products, don’t hesitate and if you can find an excuse to visit Northern Michigan it’s beautiful country with wonderful people. Eric, thanks for a great visit and I look forward to staying in touch.

Saw Bench
Several years ago I built a small saw bench. It’s worked well with a few minor issues along the way. Looking at the added screws and structural repairs I began building a new bench several months ago. It’s been a busy summer and it’s progresses very slowly.

The new design was selected back in May and in the next couple of weeks it will be complete. The two goals for the new bench was integrity and refreshing skills.

The design has allowed me to practice dovetail and mortise/tenon joints. The one complaint I have is my choice of lumber. Using several old boards of SPF was cheap but it certainly isn’t as enjoyable as hardwoods of white pine. However it’s a tool for the shop and all good practice.
Tool Cabinet Supports
Moving the cabinet around to install hinges, shelf supports and doors has become quite a challenge. There isn’t a scale nearby, but even before tools are placed inside it’s quite hefty. Fortunately there are supports to be built that will fit underneath.


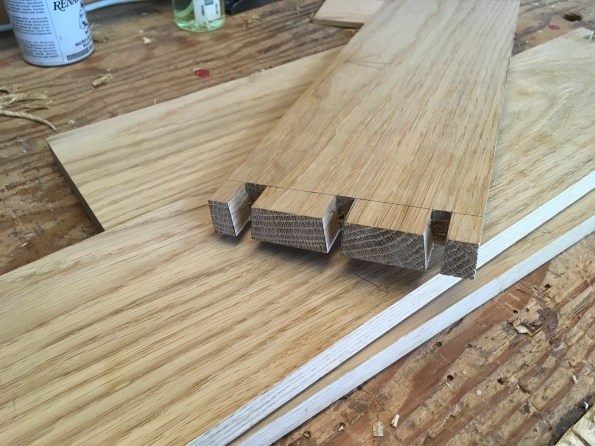
The supports consits of a pair of dovetailed boards with a brace. The dovetail is unique and was fun to make. I admit that I did have some trouble getting the angles correct on the brace and the fit is not as snug as I would like, but there are plenty of lessons in mistakes.Unfortuantely I only have the three photographs that I took while making the parts.
Tool Cabinet Shelves
One would think that with the cabinet almost complete a plan would exist for the shelves. I’m not quite there yet and it seems that until the cabinet has been used for a period of time there may be several iterations. Certainly there needs to be a couple of shelves and at least one for hand planes. Then there is the issue with the saws? Where will they go?


