Archive
Walnut Side Table – Finishing the Top
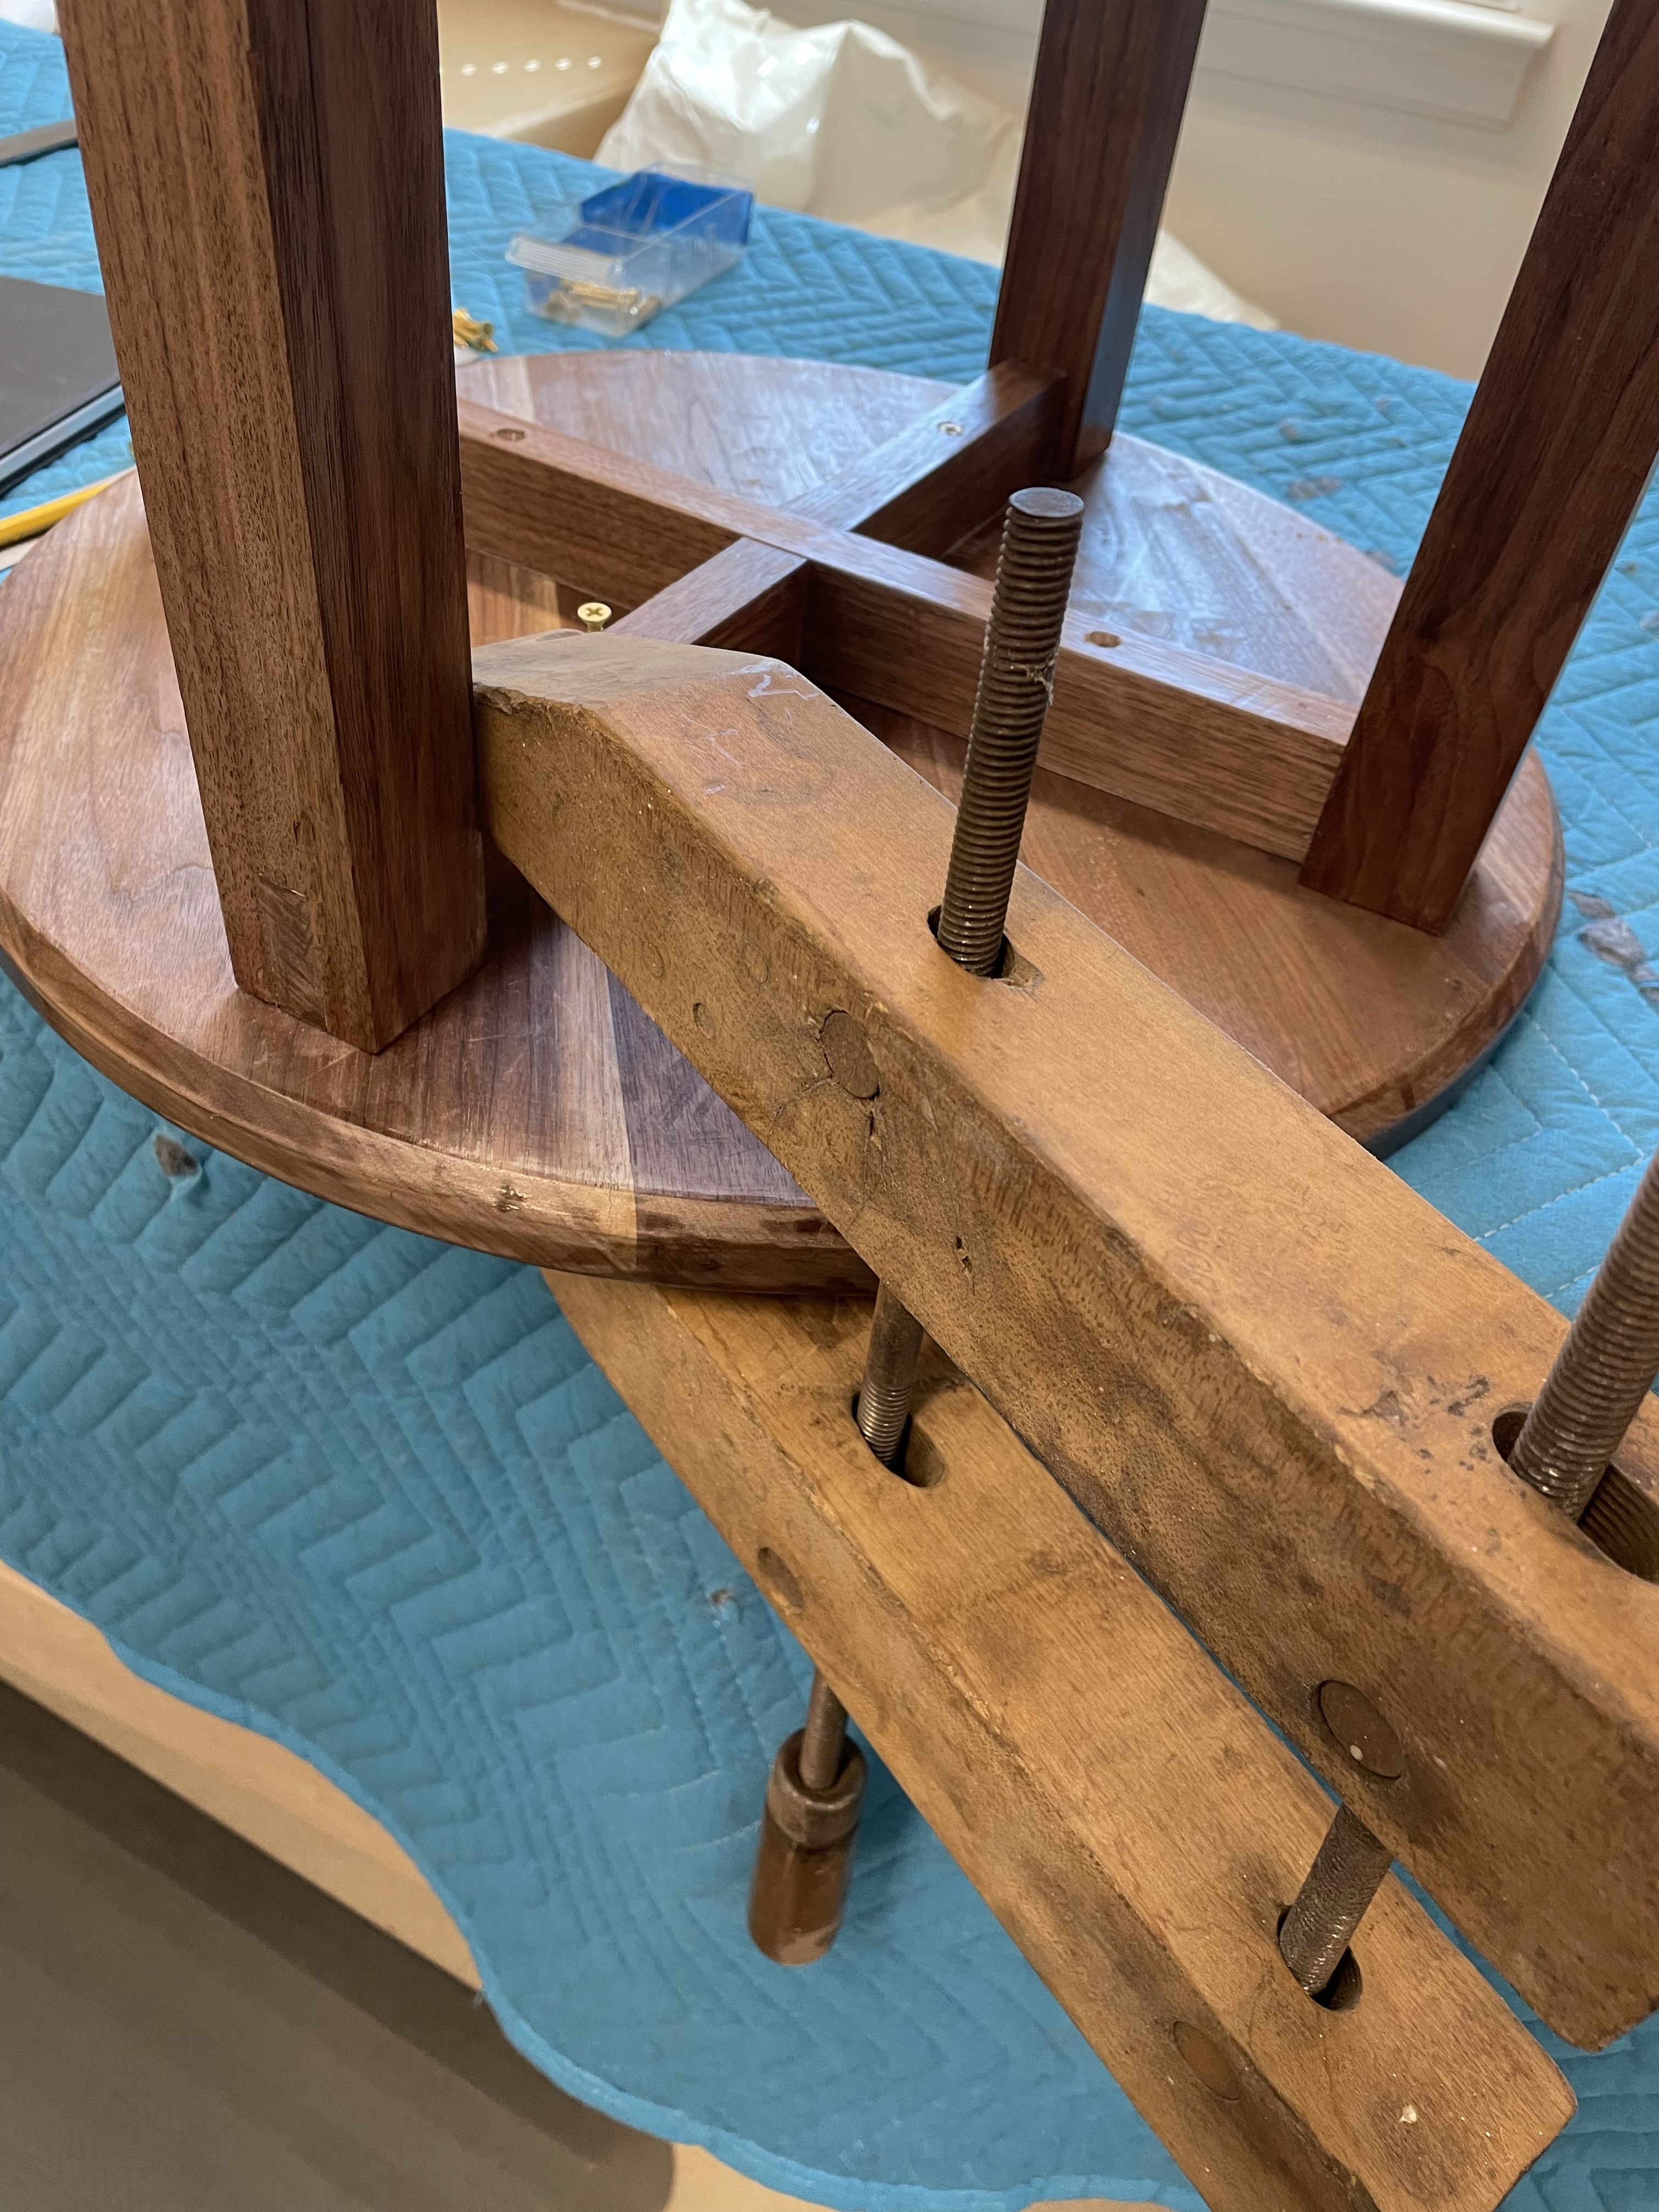
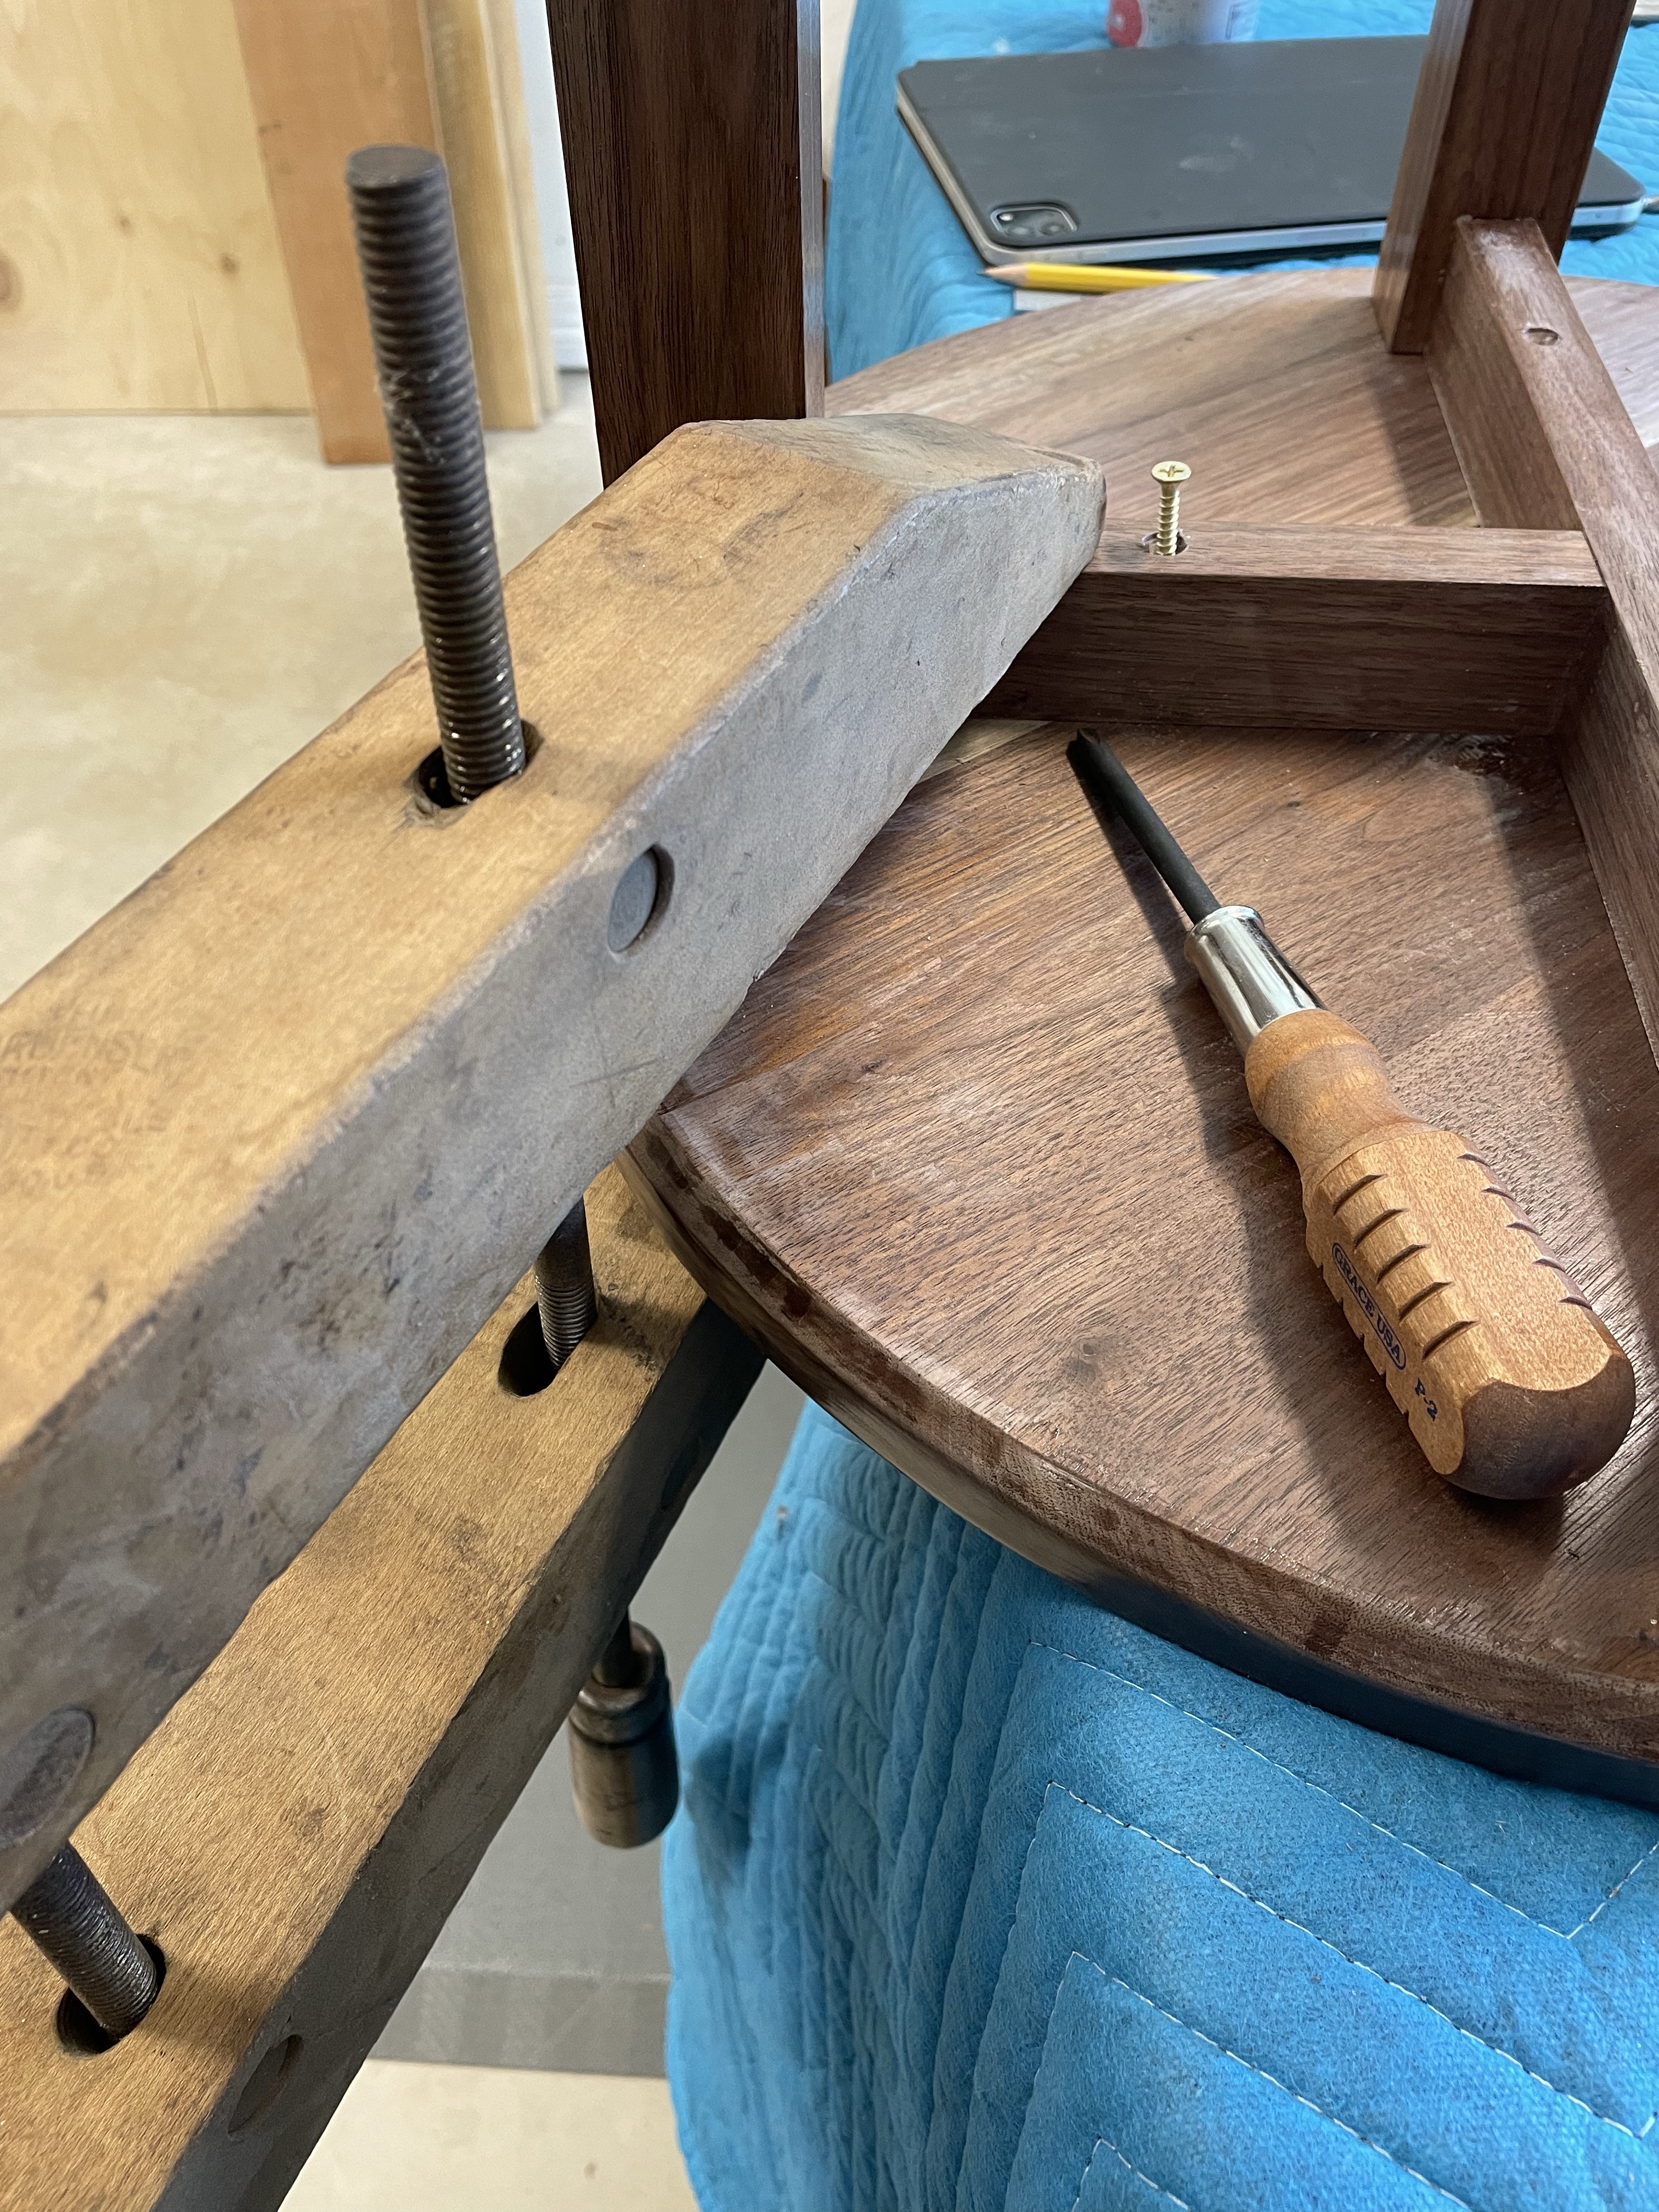
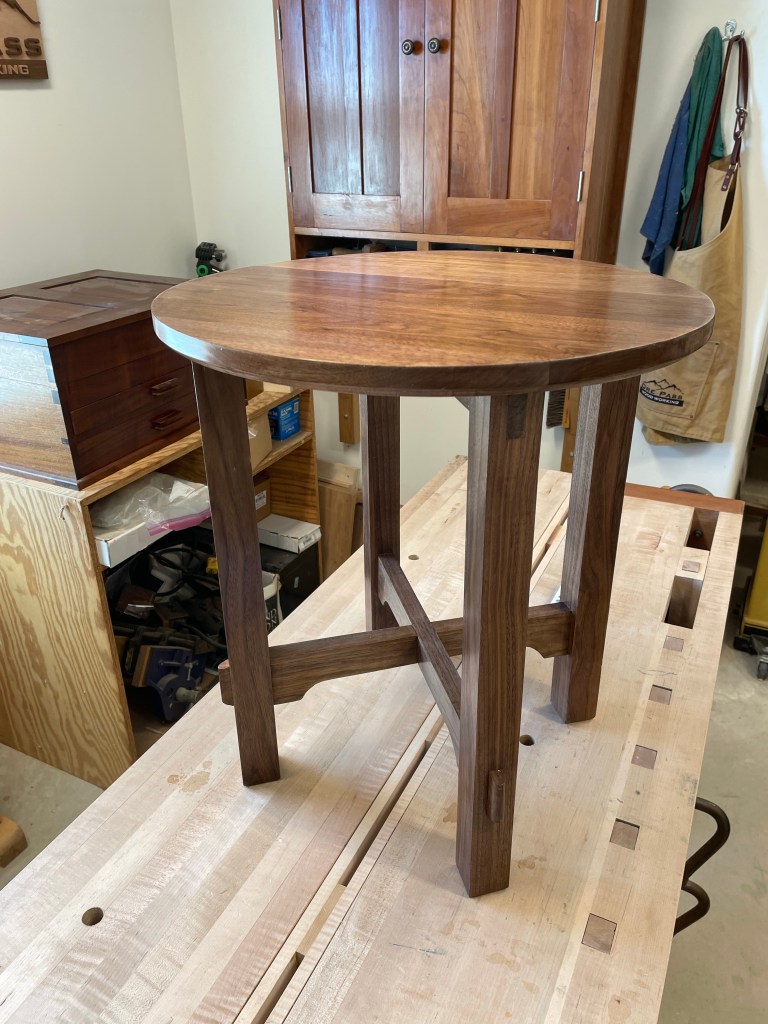
The Walnut side table has been a very enjoyable project. It was small had fun joints and is very useful. The top was screeed to the legs using oversized holes and brass screws, and once complete a final coat of finish was added.

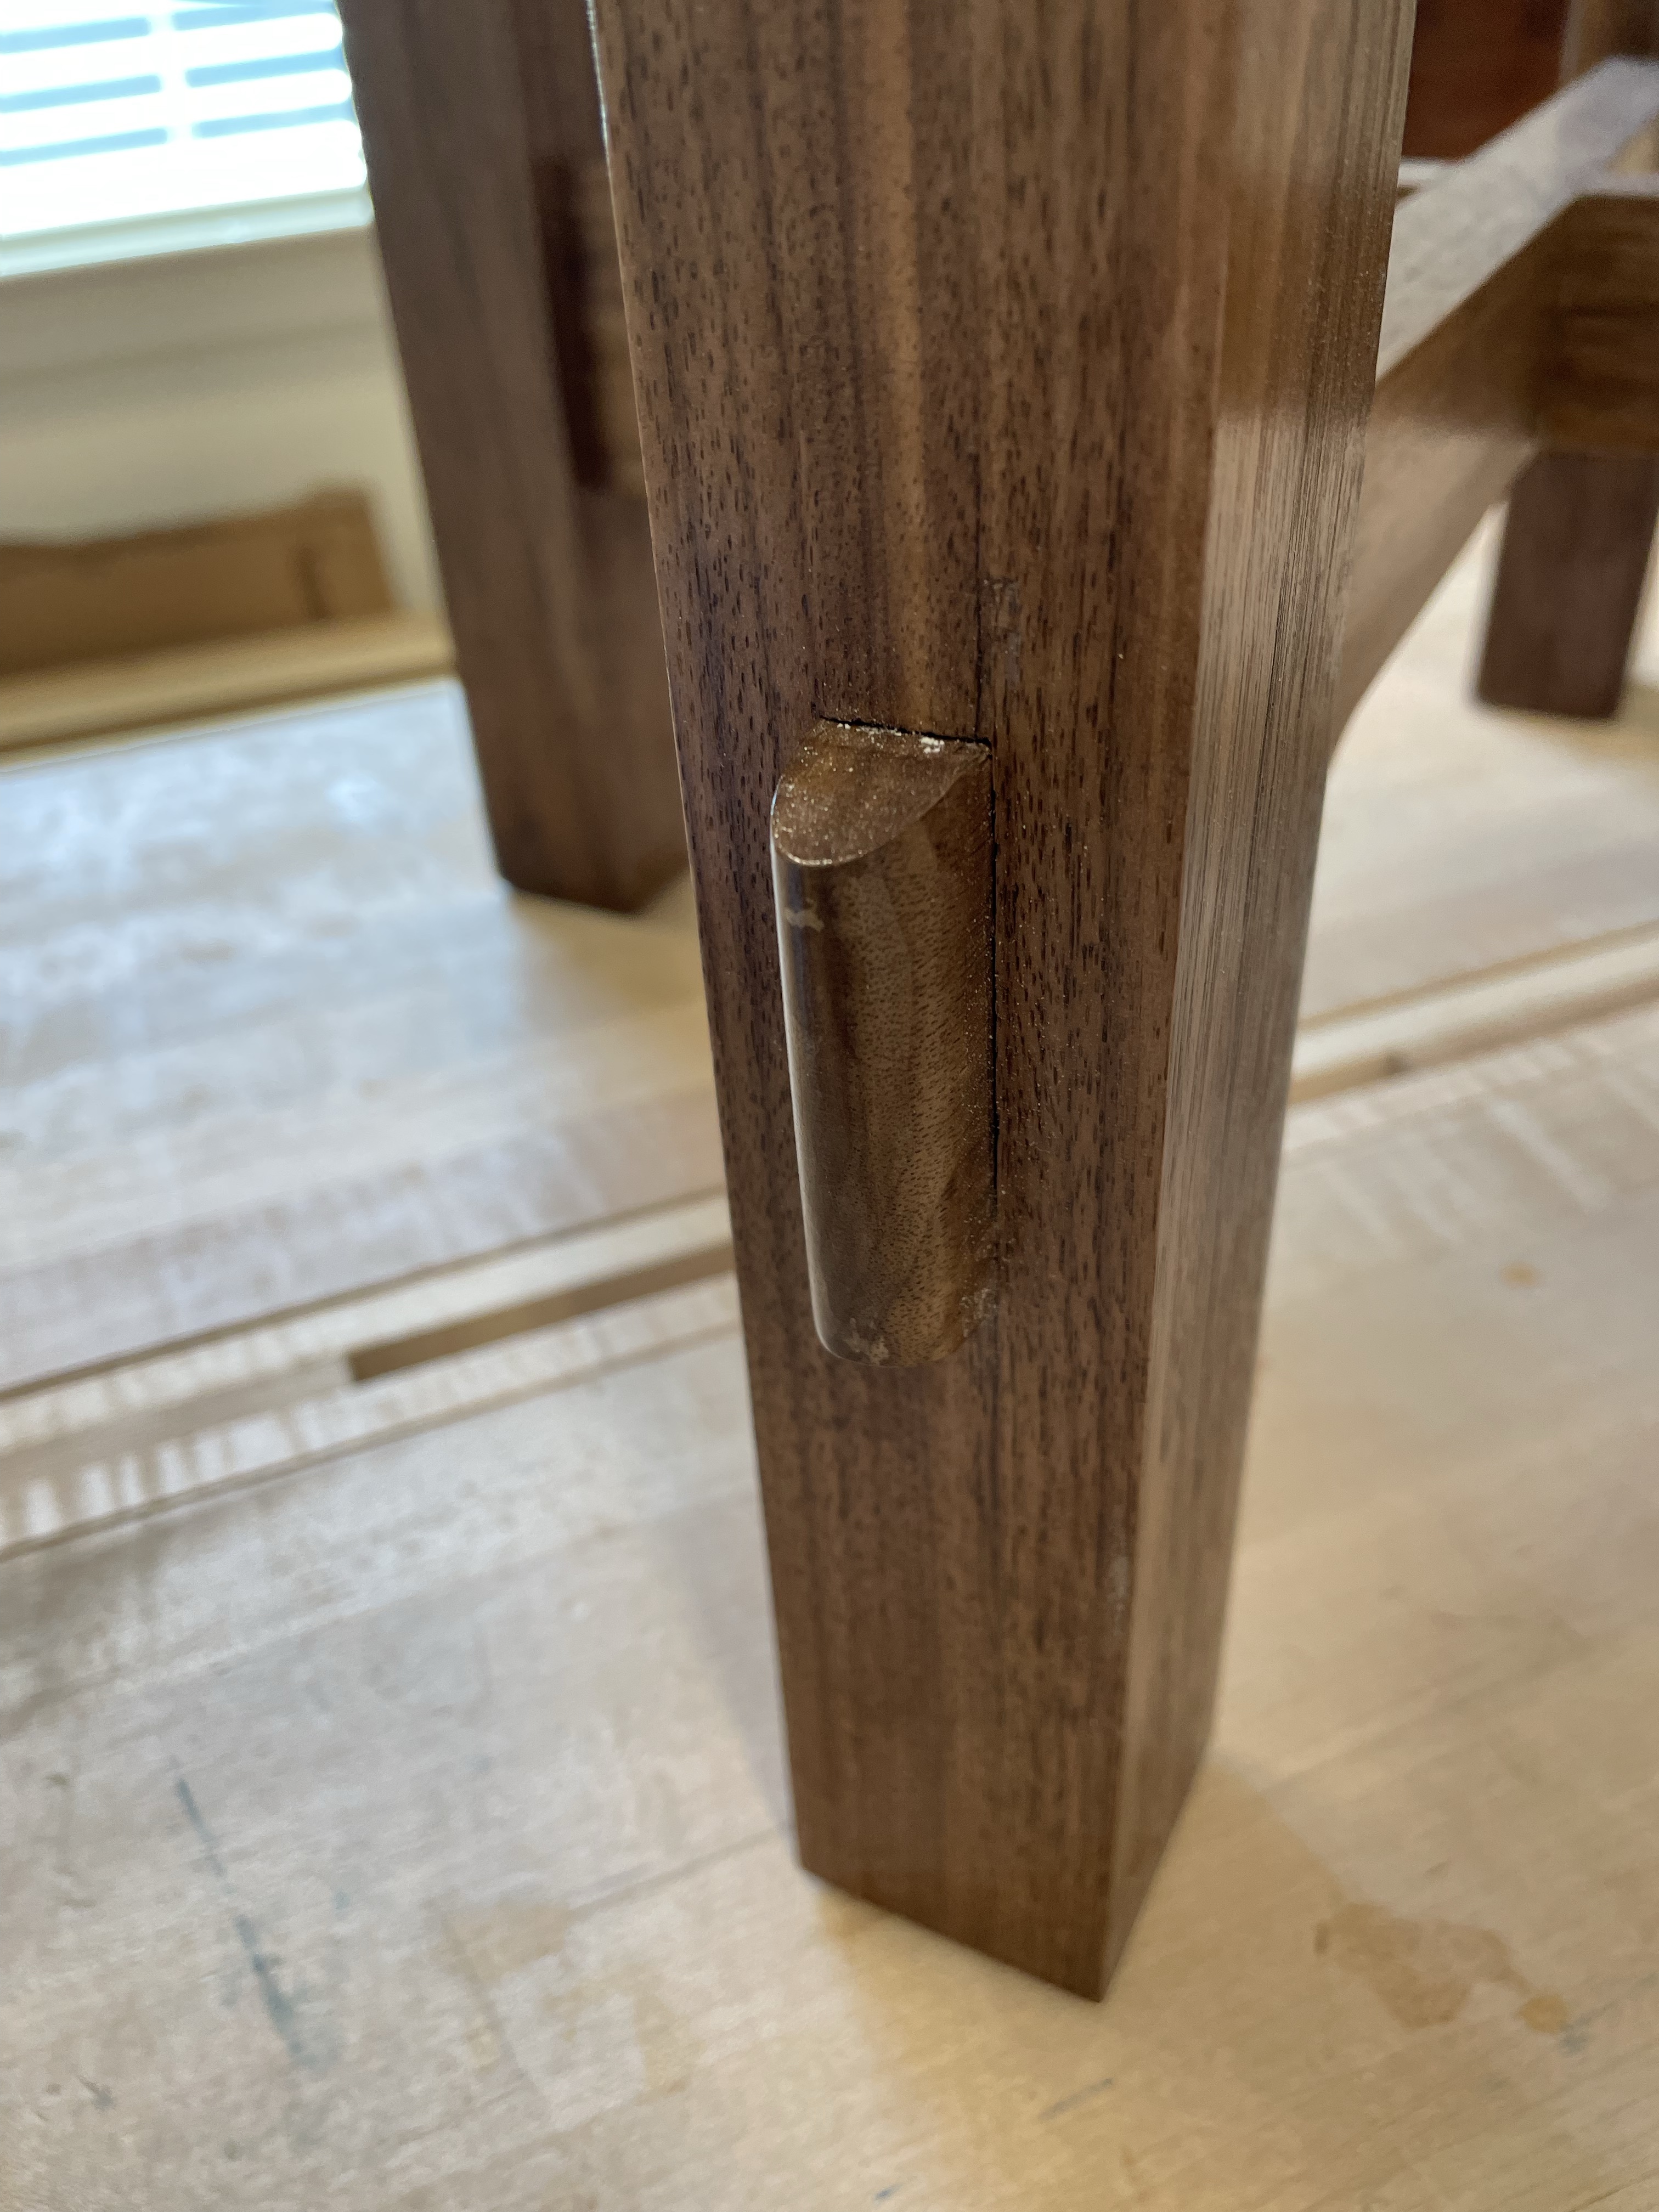
A couple of features that add character were the use of the bridal joints and through tennons along with chamfering the top. I am particularly happy with the chamfer and how it lightened the top by giving it a thinner profile.
Thanks for following along, time for a new project!


Walnut Side Table – Top Cracks
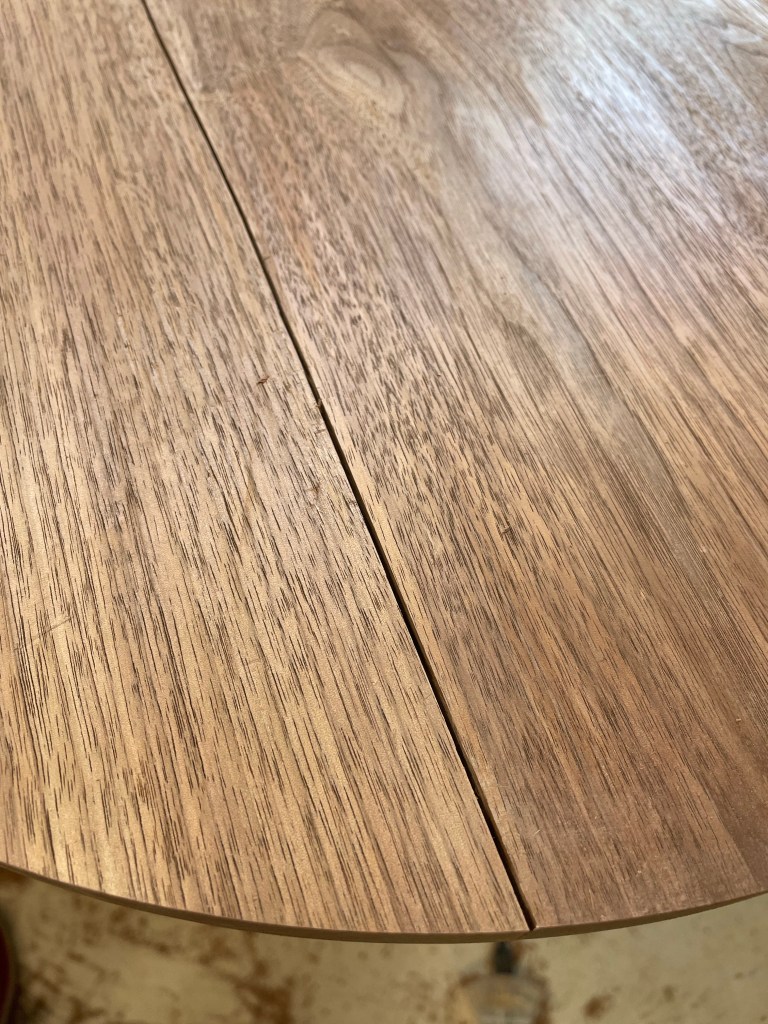
After gluing up the Table Top, rough sawing the circular outline, routing and then chamfering I guess the glue joint on the table decided it had enough.It’s a clean break most of the way down the glue line so I just added a little more glue worked it into the joint and clamped it up. Not a bad problem to solve!
Walnut Side Table – Lumber
There are always a few additional boards left over when completing a project, these boards could sit on a rack for years collecting dust. Perhaps a small table could put them to use?

Several years ago I gathered up various pieces of White Oak from a coffee table build and built a round table that has been exactly what was needed in our living room. With a few modifications I’ll do the same with the Walnut. Legs first then moving on to the other parts of the table.

Walnut coffee Table – Top
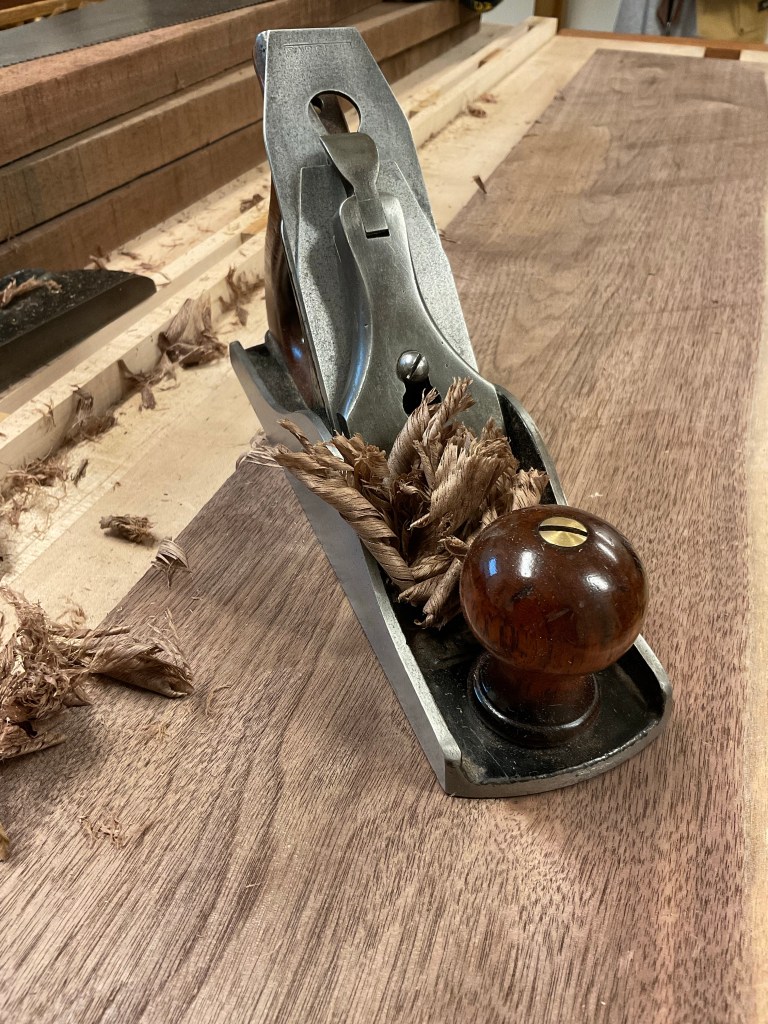
I have heard many people discuss whether to make the top first or last. I don’t see any reason to do one over the other. For this project the top was done last. Milling was typical slog of passing boards through the jointer followed by hand planing the edges and running the opposite edge through the table saw.
I used two planes to work the edges. Stanley #4 to rough the edges followed by a #7. I needed the longer plane due to the 48” length of the boards.
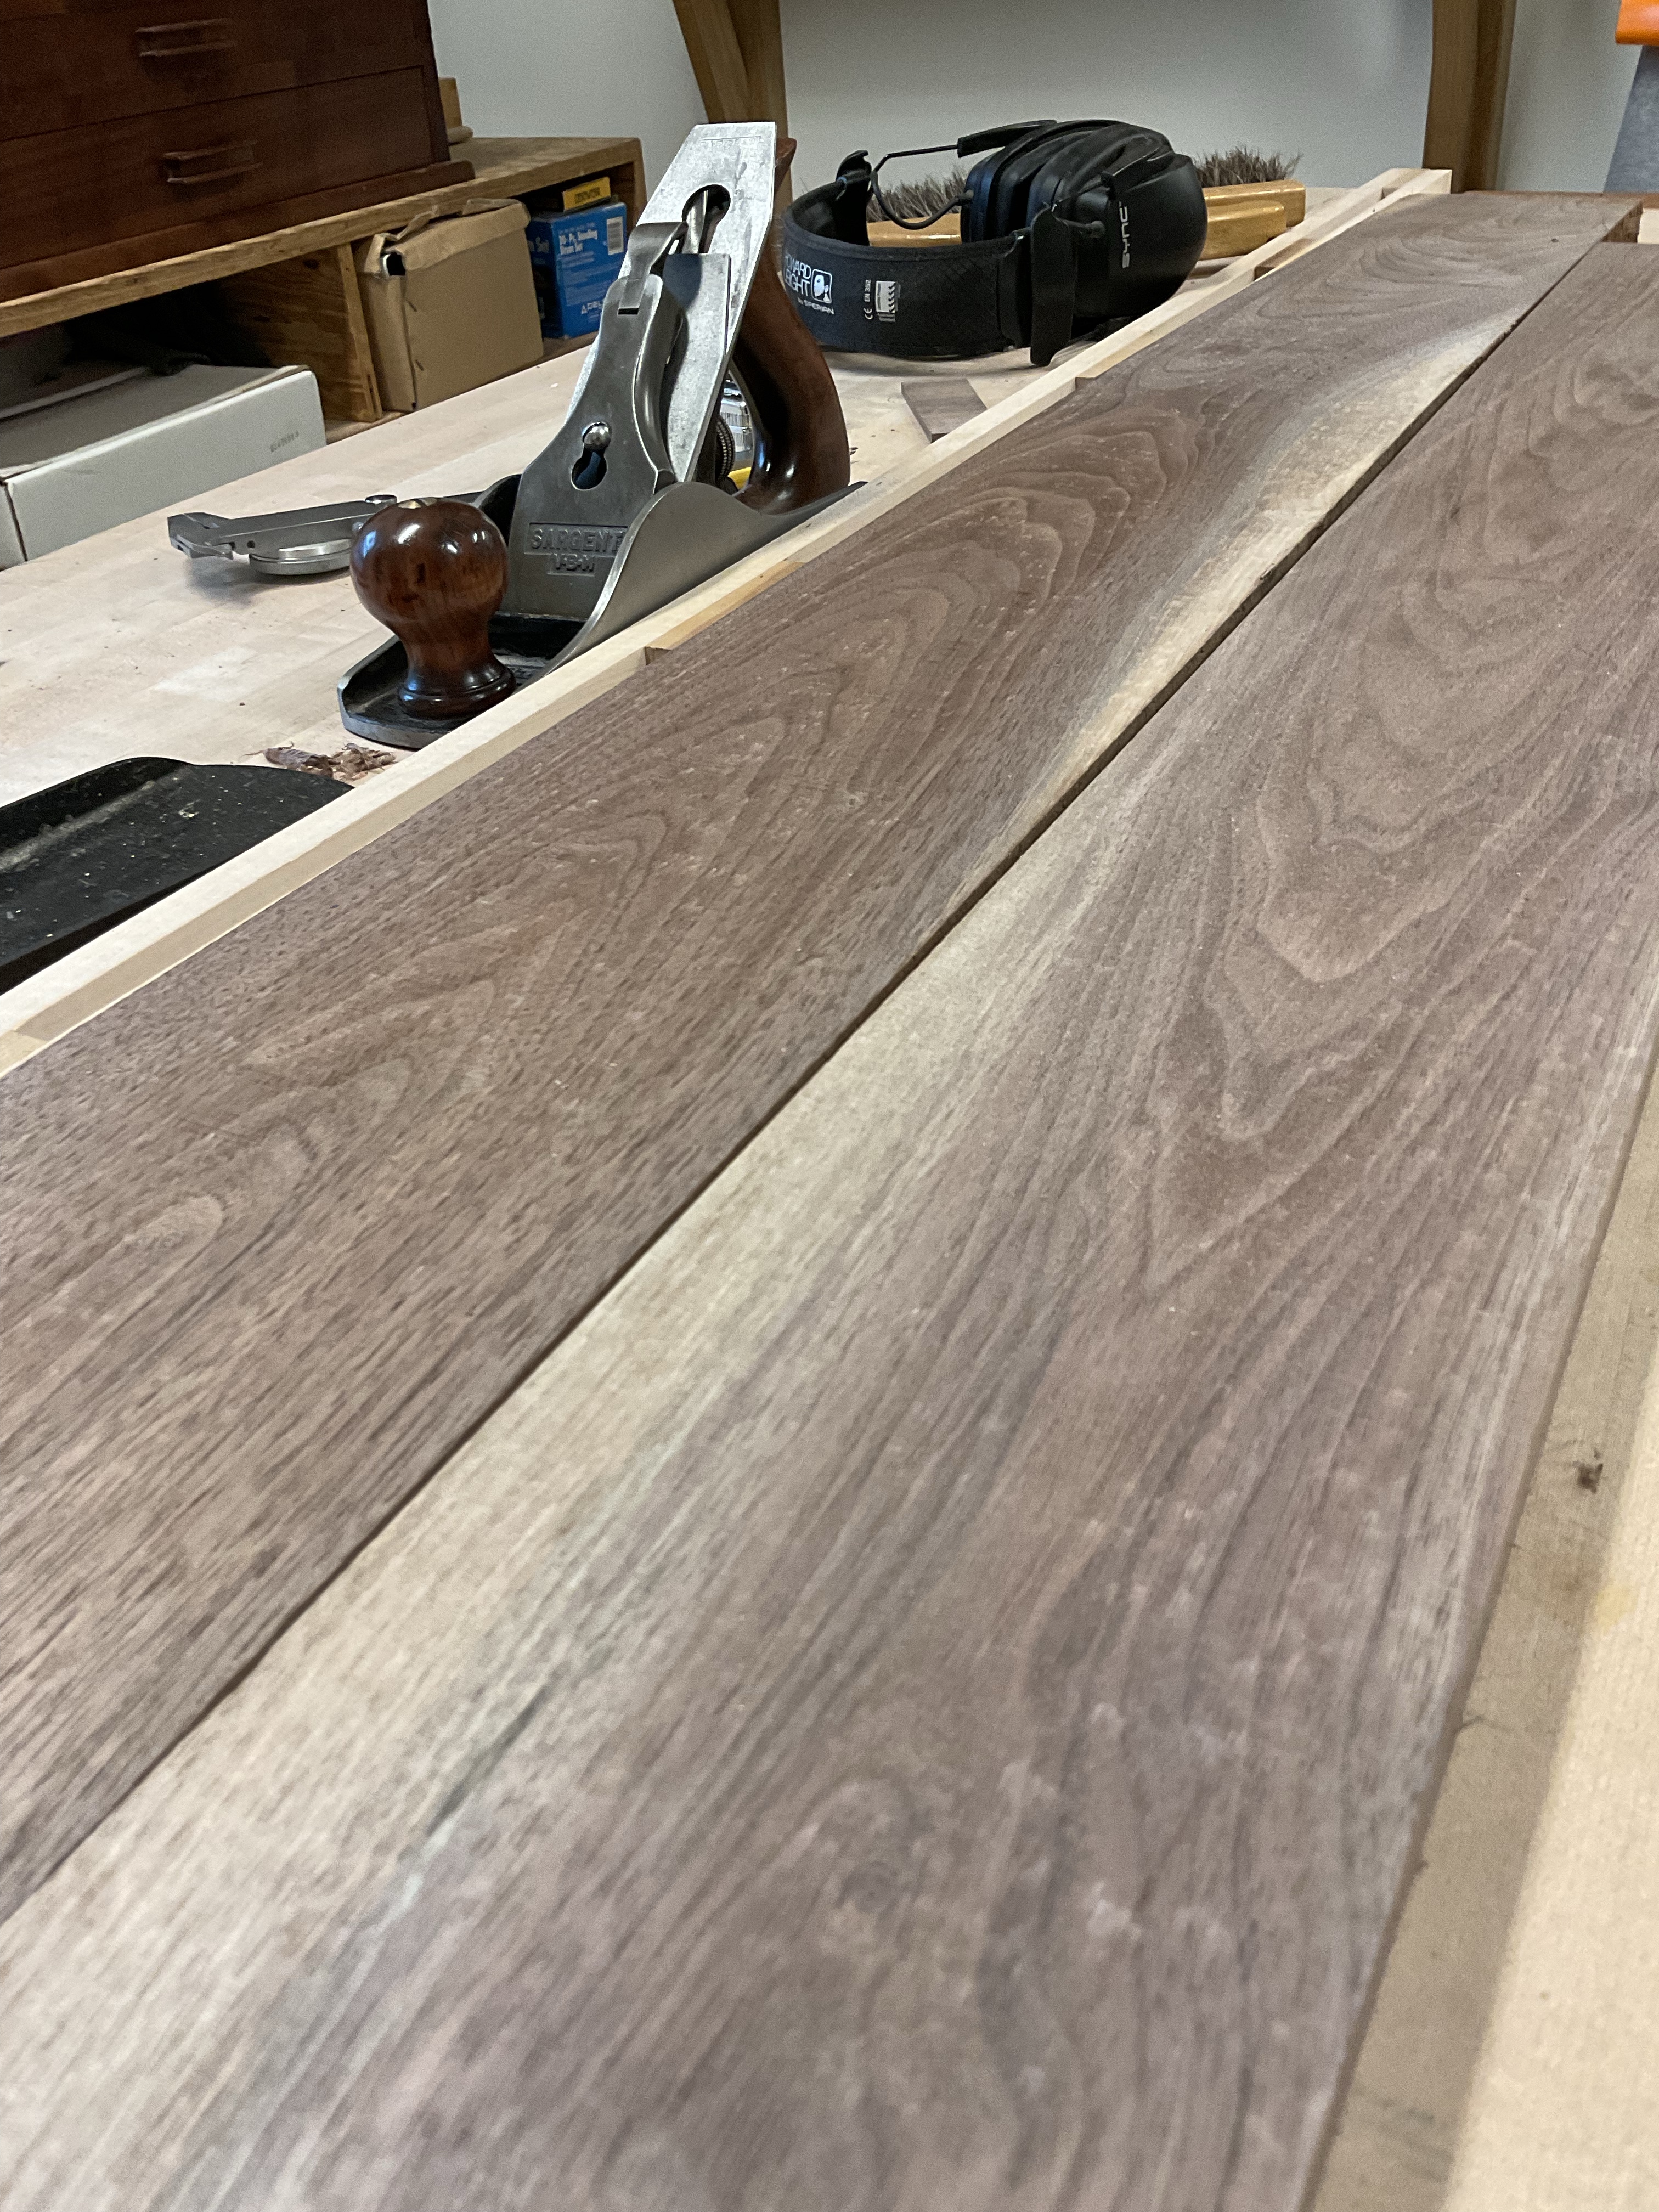
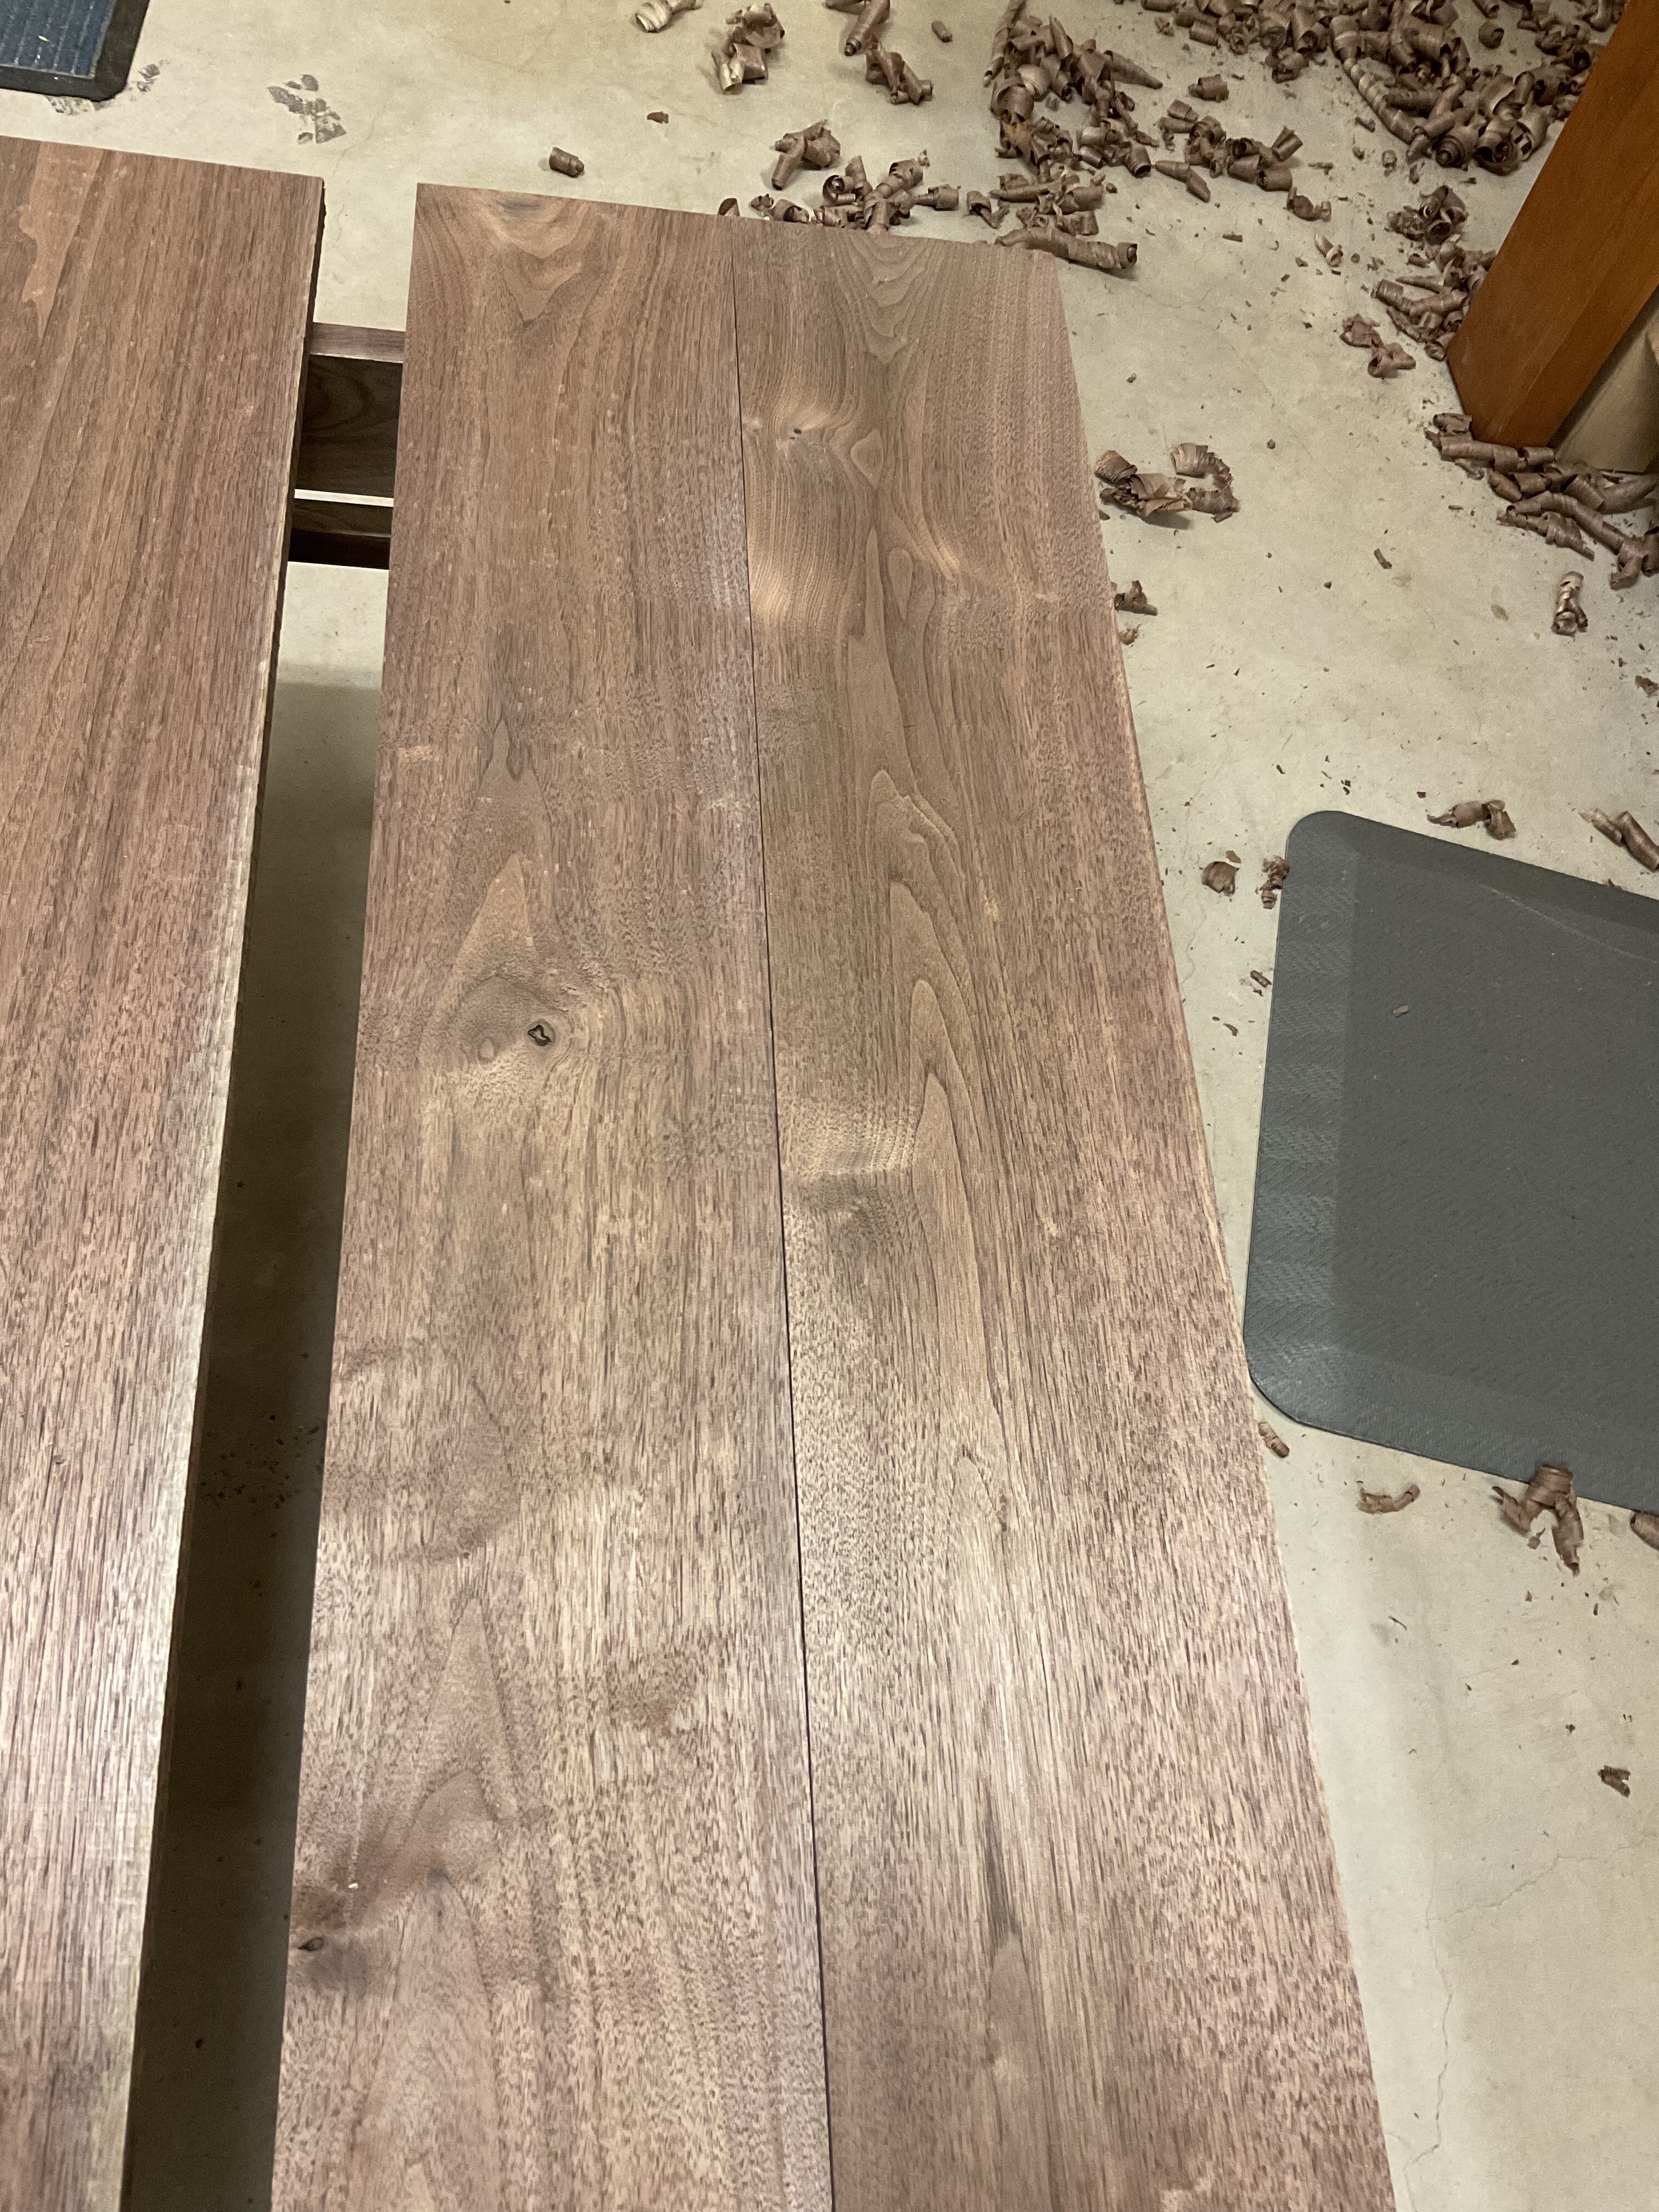

With the edges jointed and parallel I glued up the top and let it sit overnight. The next day was spent planing and smoothing. I did notice a couple of knots which will need to be filled.

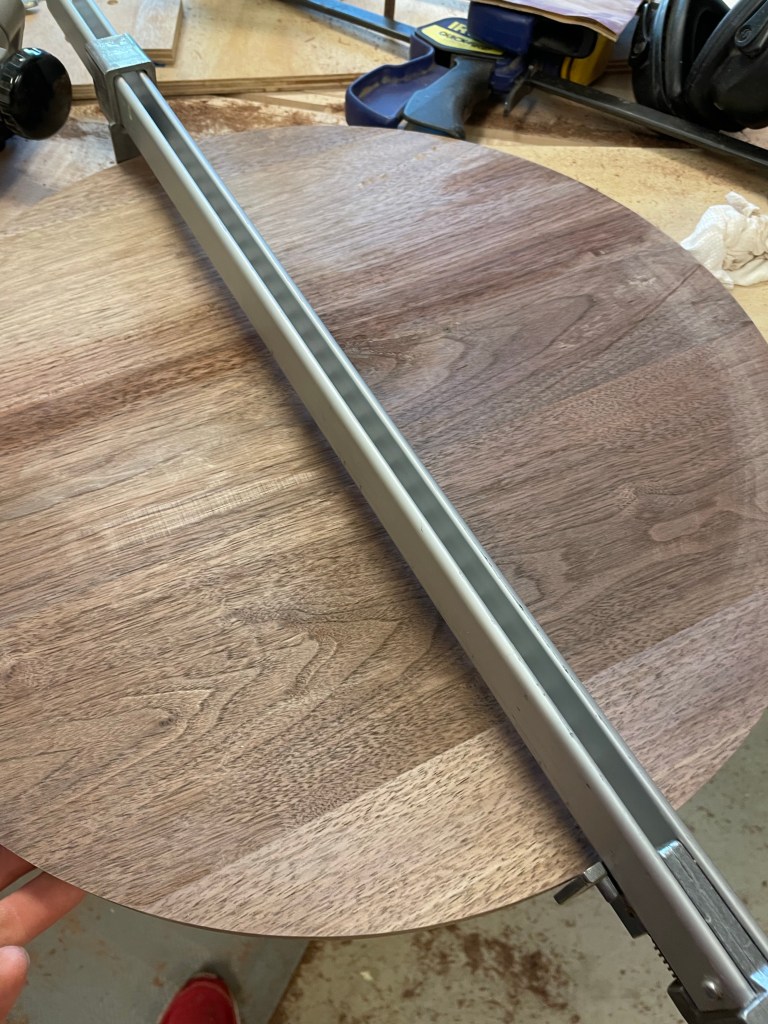
Trimming the edges was done on the Tablesaw and hand planed with a very sharp plane. I also noticed a couple of Knots that needed to be filled, so as you read I am also reading about how to use Epoxy.
Walnut Coffee Table – Lumber
Procrastination is an art that I suppose could continue for ever. Today however was the time to begin preparing the material for a walnut coffee table. Walnut is a new species in my shop and I’m looking forward to learning about its desire to be turned into furniture.

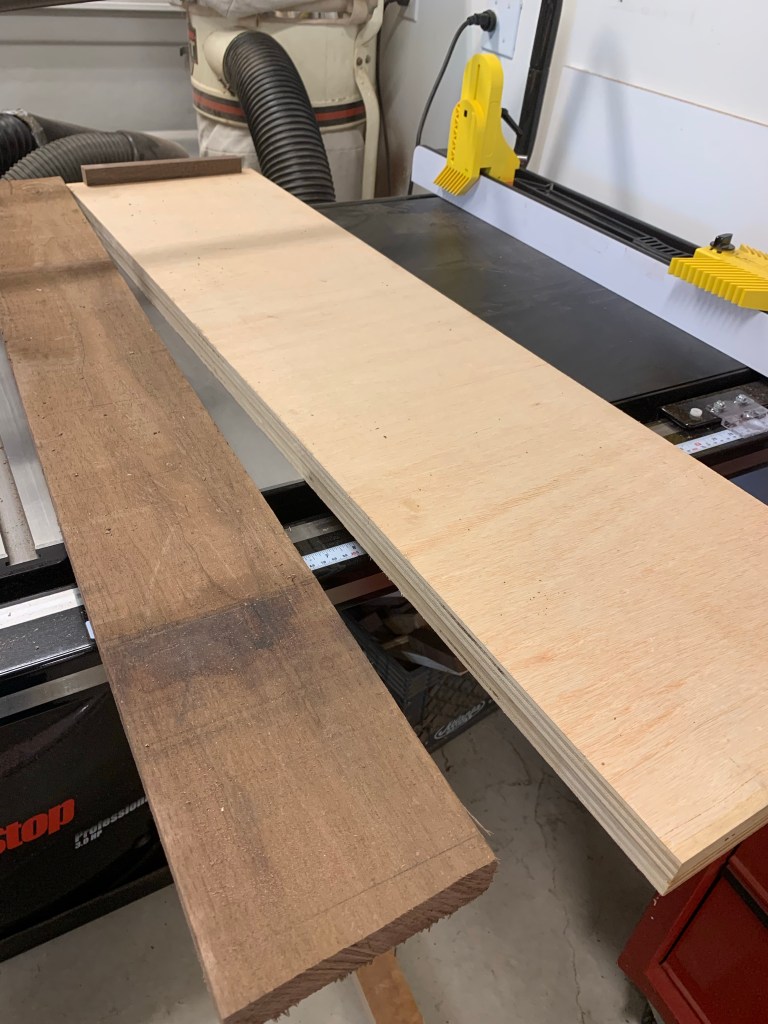
All projects begin with a plan followed by choosing and preparing lumber. The dimensions for this table are roughly based on a previous table I made designed by Paul Sellers. It’s a simpler table but should satisfy its future owner. I used the same method for preparing the wood as I outlined in the Jointing without a jointer blog and it worked great. This is where I made the longer sled to fit the lumber needed for the side rails and top. Not long after the picture was taken I realized that I forgot to hook up the dust collector. The magical on off switch doesn’t work if the hose is disconnected.

Walnut milled nicely on the planer and I even milled several pieces by hand.

