Archive
Cherry Side Table Joinery
The title mentions joinery, on this page I have now mentioned joinery three times. The pictures lead you to think that perhaps there will be many joinery photographs, however someone was more focused on cutting the joints than photographing them.

There is little new woodworking on this project. It is similar to the prior Walnut side table and the through tenons require precise measurement and chisel work. These joints were mostly cut by hand, after all cherry is a pleasure to work and the rhythmic chopping is the calm after a storm.
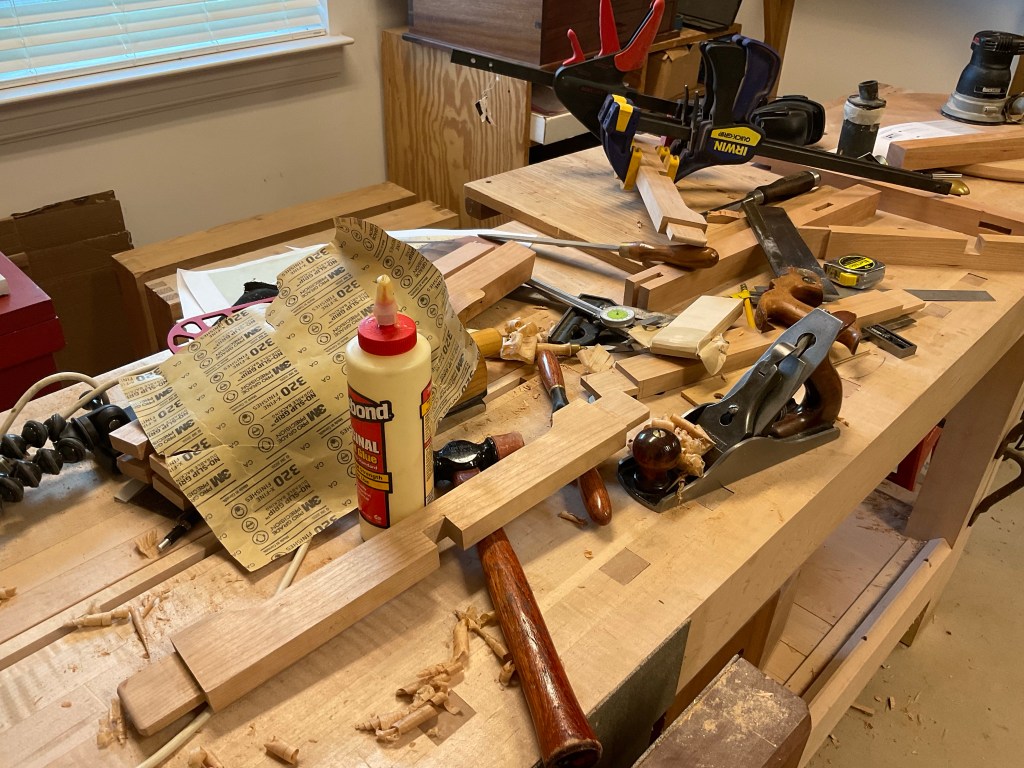
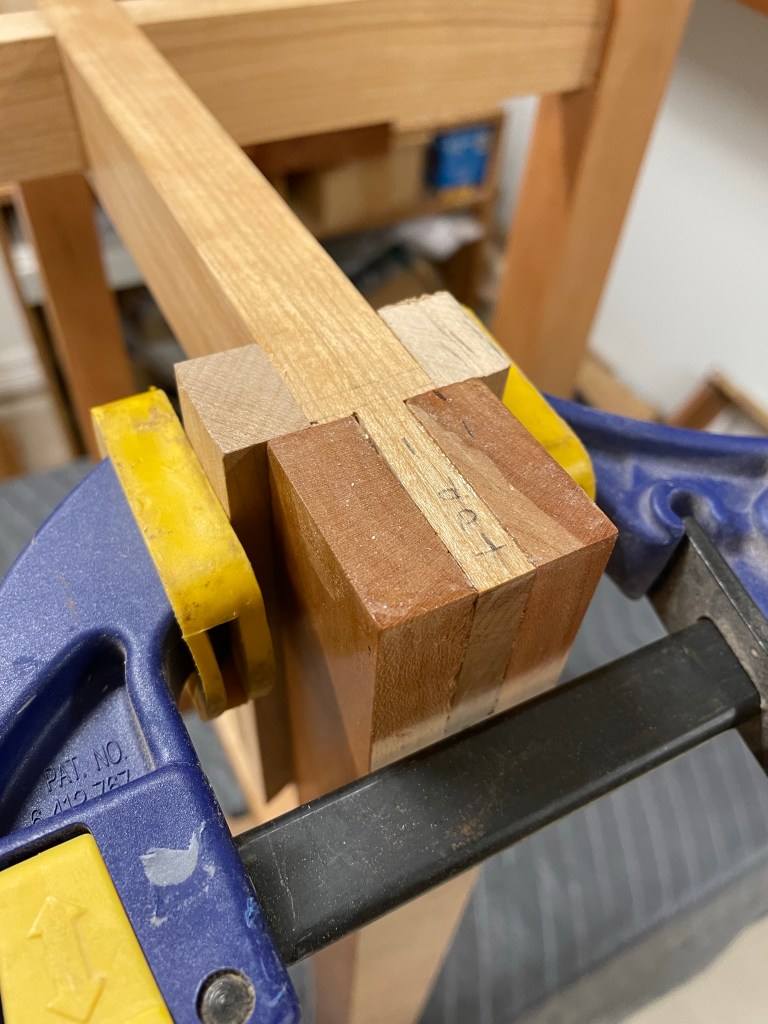
A couple of problems occurred while make the joints and I think this picture shows them all. The first occurred while dry fitting the saddle joint in the upper cross pieces. Although the joint fit fine the small amount of pressure when asssembling resulted in a crack along the grain. The upper right of the photograph shows this piece clamped. The second thing to notice is the organized chaos. While glueing the broken joint, I worked on several pieces to save time. What did not reveal itself until glue up was that I had planed all the pieces removing many of the marking and numbers. This suddenly revealed itself in the glue up when the LAST PIECE did not fit well!

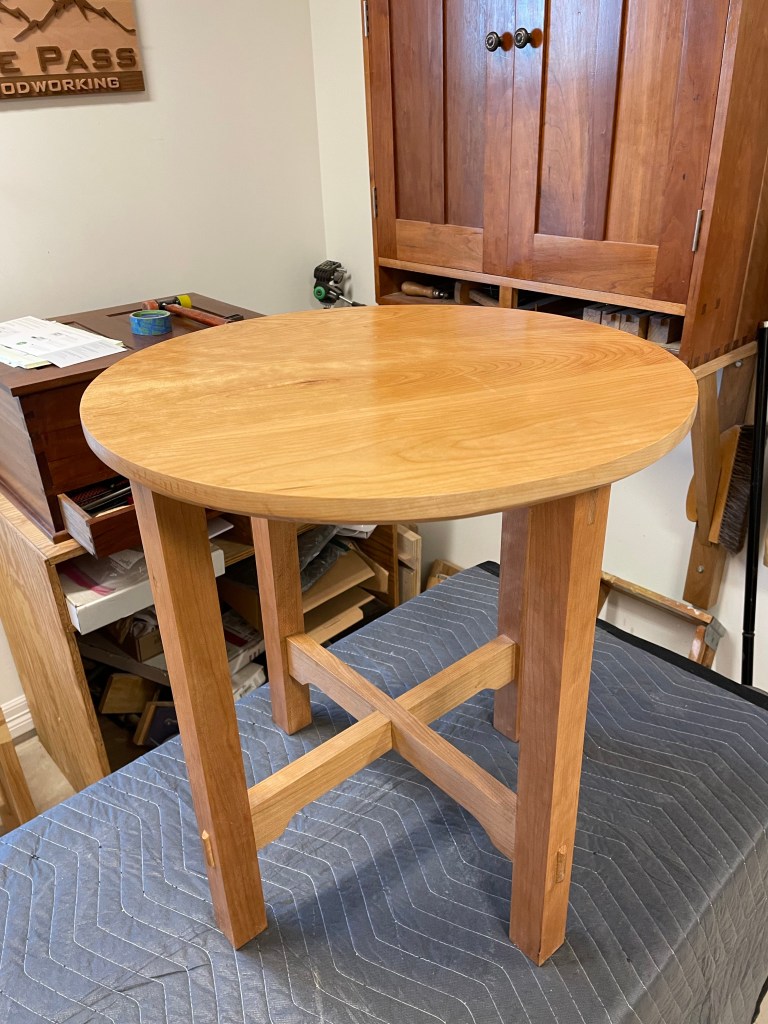
The result of this misfit was a minor wobble when the table was glued together. This was easy to fix by planing the bottom of one leg. I sharpened up the #4 and right before the first swipe realized that a little care may save me from breaking a corner. I carefully clamped a couple of pieces of scrap to the back end and took about three strokes and the wobble was gone.
The only thing left was to screw the top and bottom together and add a couple of coats of Shellac.
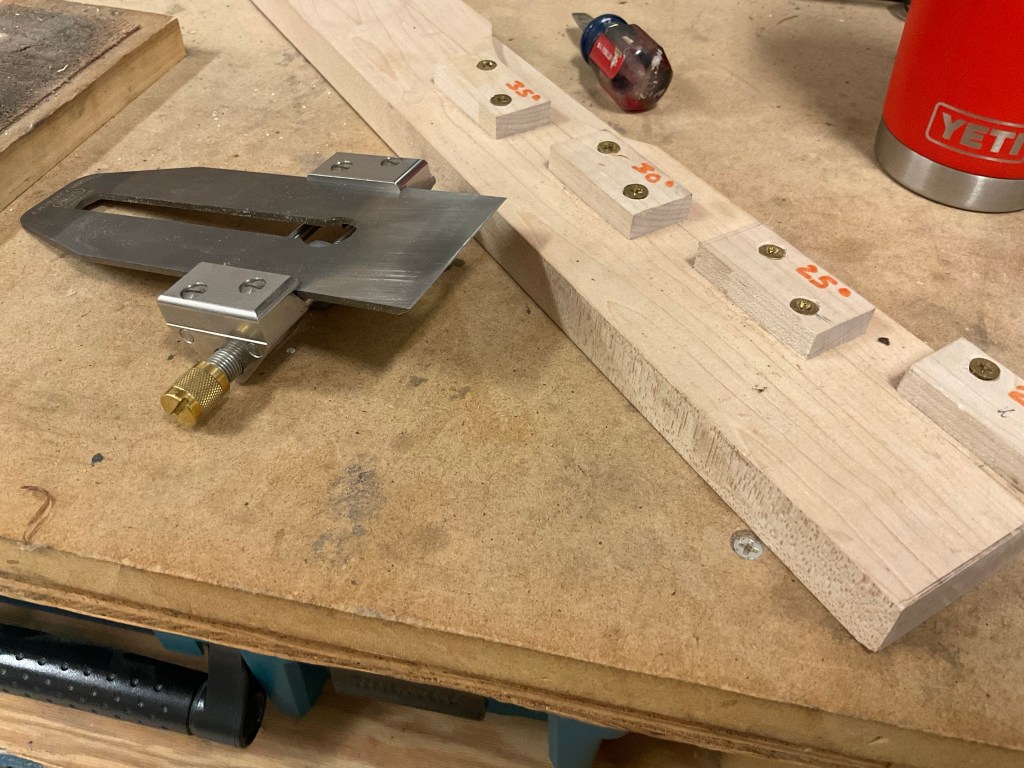
Several lessons from this piece: Repeating a project provides the chance to modify and change certain aspects. In this case the edge of the top was chamfered and the joints varied. More attention to wood grain adds to the appeal. Finishing is still a problem, but by using a rag rather then a brush it was much improved. Number your parts where you won’t remove the marks. High Angle frogs make a difference.
Cherry Side Table Top
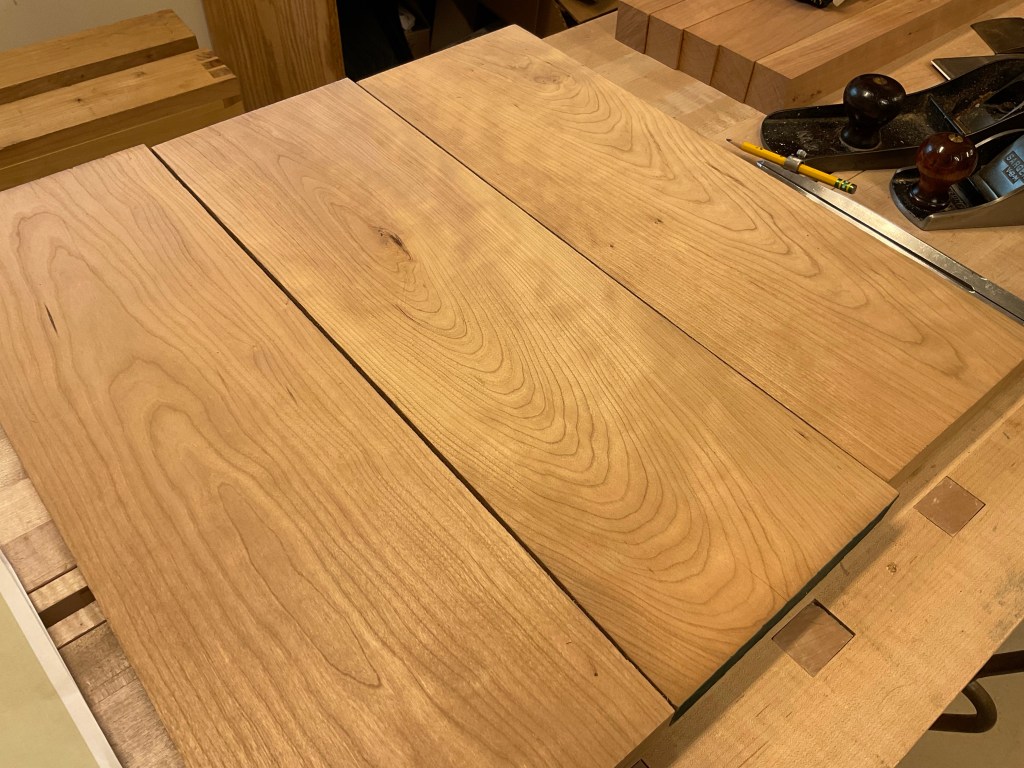
Wanting to get the glue up of the top out of the way and move onto the joinery, I spent quite a bit of time flipping boards and matching grain. When the finish goes on we will see how it looks.
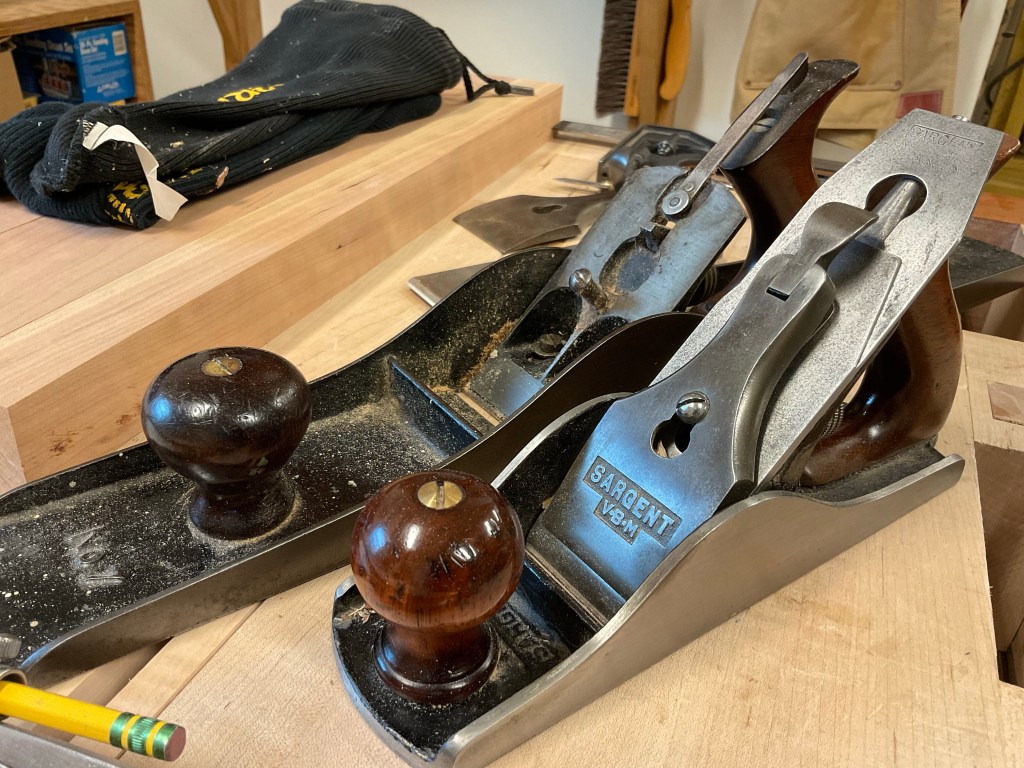
Here’s a link to my method for dimensioning stock, dimensioning without a jointer. Jointing the edges, I used my #7 plane which was really overkill. the bed length really helps to create flat edges but I could have accomplished the task with a #5 or #4. I just happen to like the #7.

In the last few projects I could have done a better job gluing the top. Aligning all of the boards has been a challenge which creates more work to prepare the top after glue up. I took a little more time and care to ensure alignment when clamping and there was definitely improvement. I suppose that I could use biscuits or dowels to help but I’ve not done that in over 10 years. I think it is something that with increased awareness will improve.

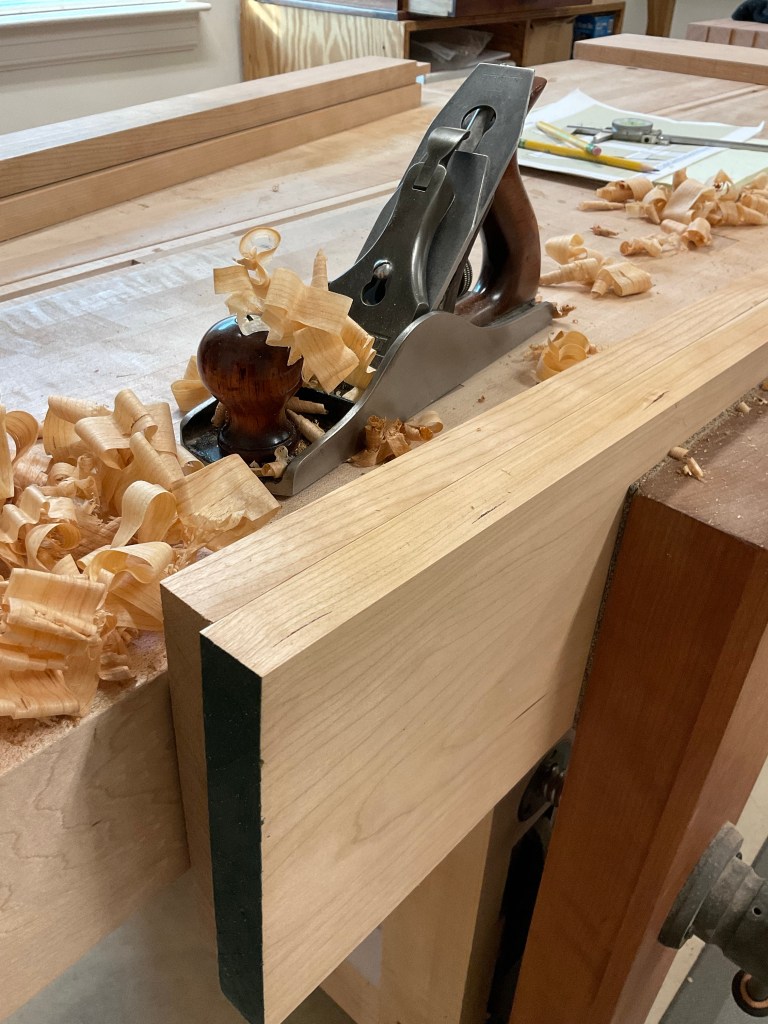
When the clamps were removed, there was a small amount of misalignment but much improved. I used two planes to smooth the top and with the tight reversing grain I was glad to have the Lie Nielsen #4 with a high angled frog. I’ll write a separate blog about why I have this plane in the near future.

Another Side Table
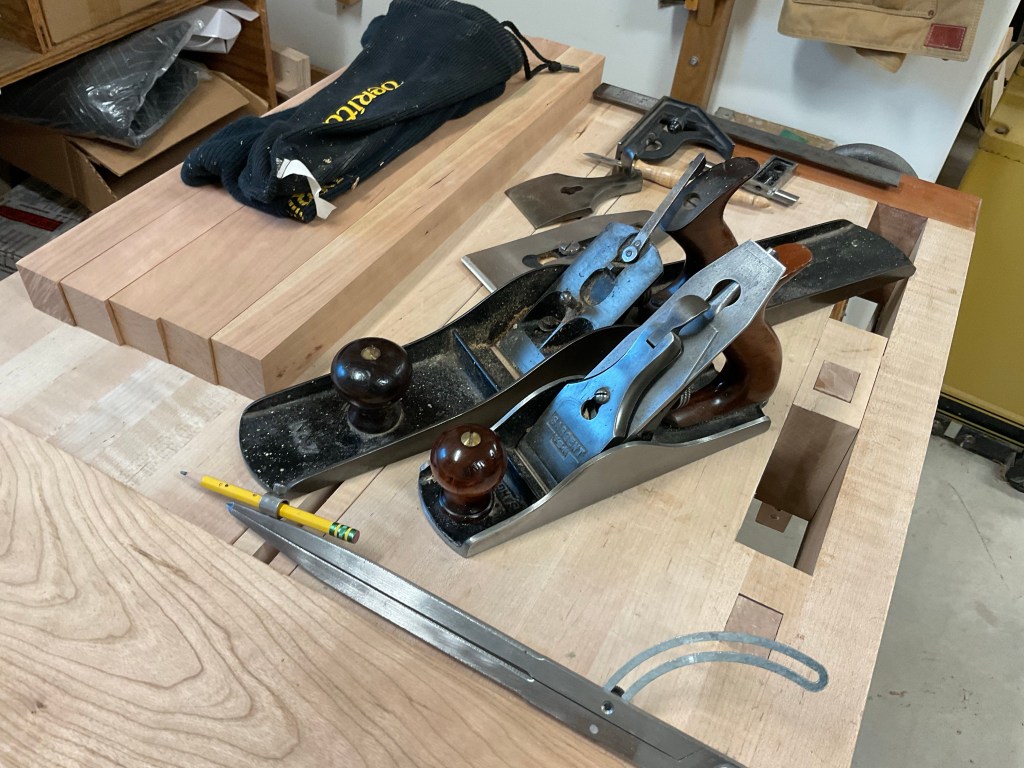
There’s a little cherry left over and I think it will be enough to make another round side table. So I grabbed the plans which I didn’t follow last time and won’t follow this time and gathered up the lumber.

Then I stopped everything because I had not sharpened my planes after the prior project and went out to play ball with my daughter’s dog, my friend Tim wonders why he never sees any finished projects?

Flattening and dimensioning the lumber did not take long and I spent some time looking at the previous tables to see if there were elements to change or add. The Walnut table I made a few months ago had several nice elements and the only thing I may consider is do I want to place a lower shelf on the table. I can do this at the end of the project so will probably consider it for a while.

Checking a couple of measurements from the prior table and its off to work or the grass needs to be cut.
