Cherry Side Table Top
Wanting to get the glue up of the top out of the way and move onto the joinery, I spent quite a bit of time flipping boards and matching grain. When the finish goes on we will see how it looks.
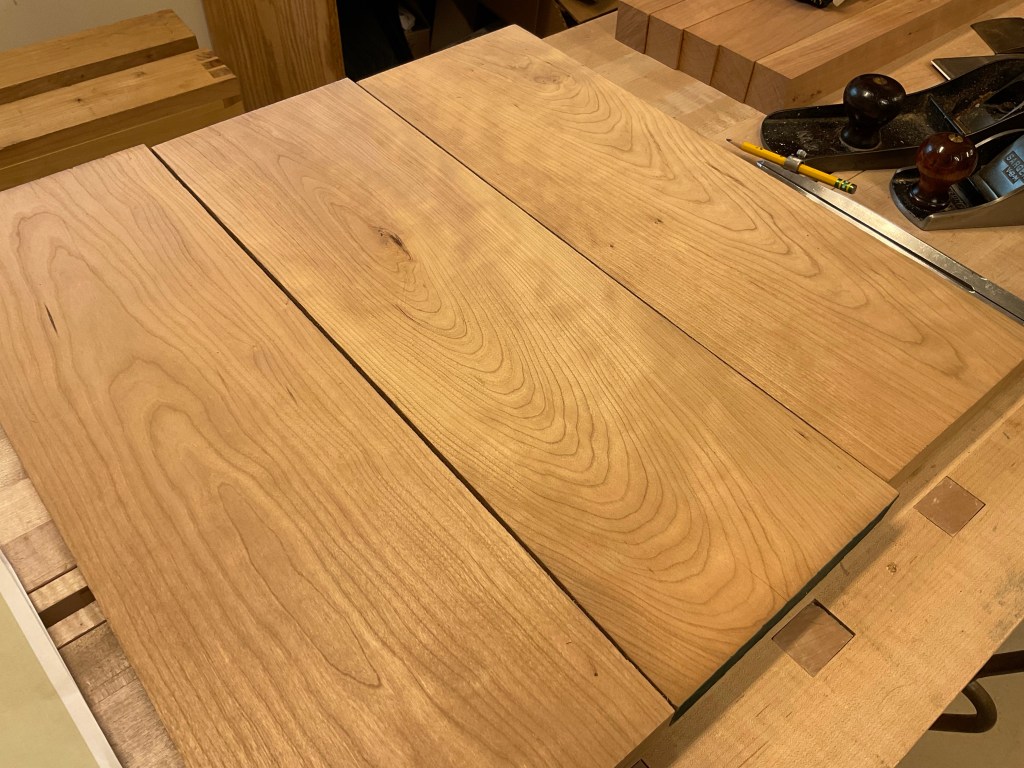
Here’s a link to my method for dimensioning stock, dimensioning without a jointer. Jointing the edges, I used my #7 plane which was really overkill. the bed length really helps to create flat edges but I could have accomplished the task with a #5 or #4. I just happen to like the #7.

In the last few projects I could have done a better job gluing the top. Aligning all of the boards has been a challenge which creates more work to prepare the top after glue up. I took a little more time and care to ensure alignment when clamping and there was definitely improvement. I suppose that I could use biscuits or dowels to help but I’ve not done that in over 10 years. I think it is something that with increased awareness will improve.

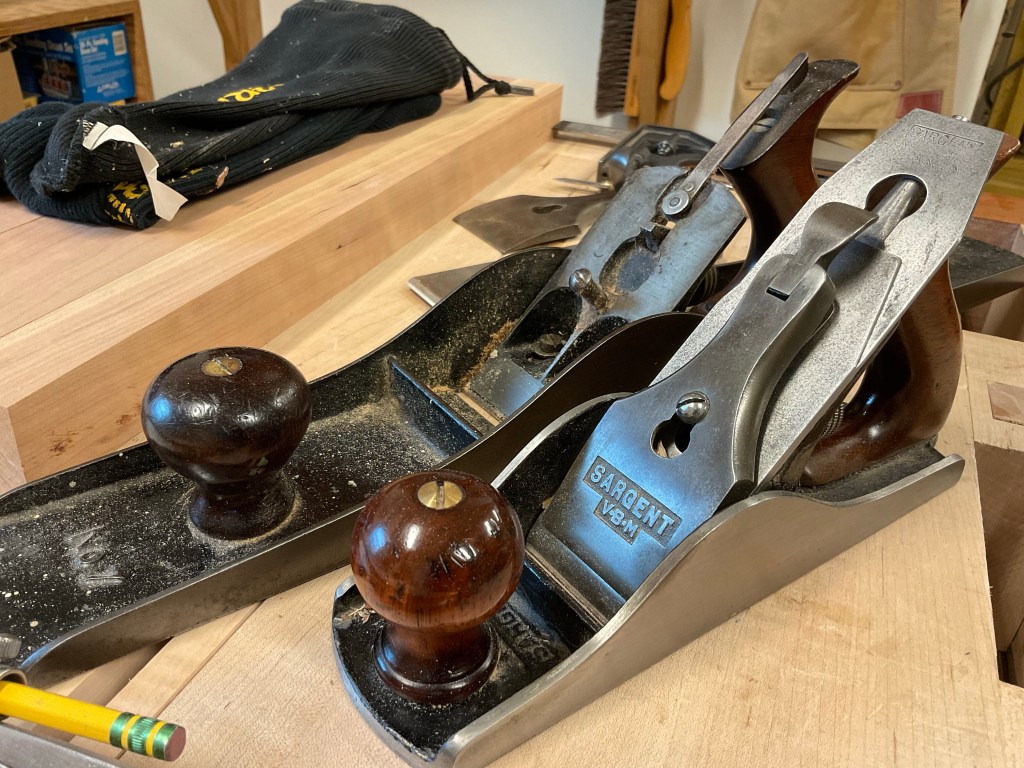
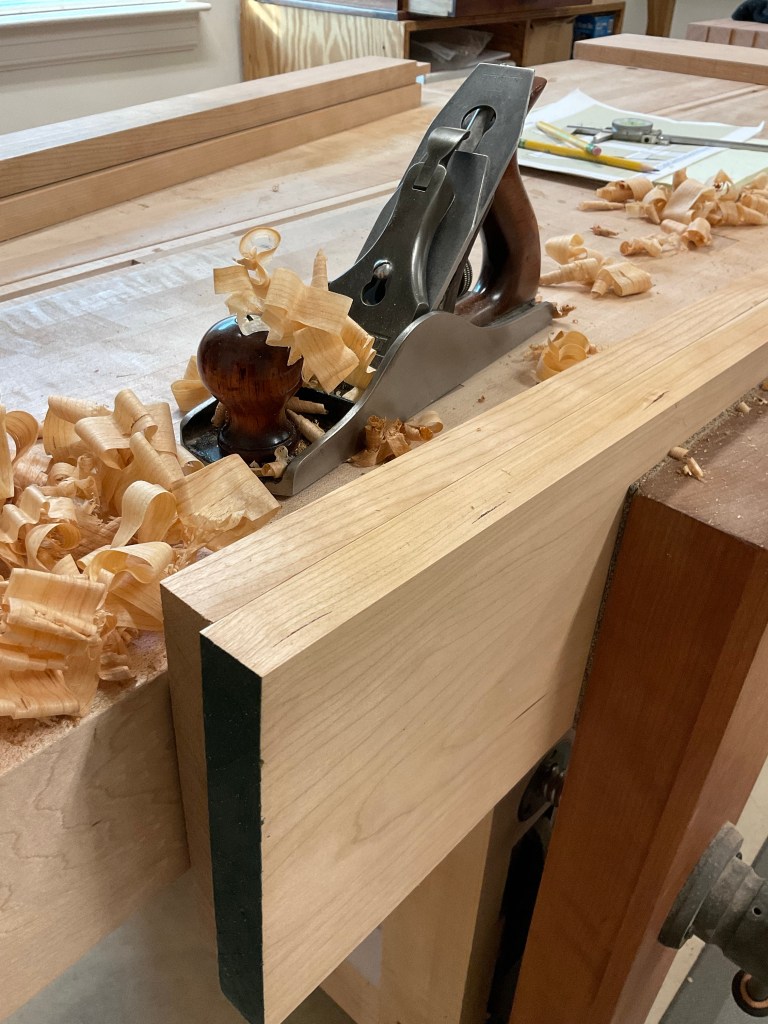
When the clamps were removed, there was a small amount of misalignment but much improved. I used two planes to smooth the top and with the tight reversing grain I was glad to have the Lie Nielsen #4 with a high angled frog. I’ll write a separate blog about why I have this plane in the near future.


Thanks for your post. My first multi-board glue up was a disaster. So much so that I paid someone who had machines to flatten it for me. Learned a lot though in the process.
Looking forward to your thoughts on the high angle frog in your LN. I have one in my No 4-1/2. It’s very handy for cherry for the same reasons I suspect you will blog about.