Archive
Frame Rework
The fit of the frame sides is not good and the color worse.spending time analyzing my mistakes it is clear that I ahve not cut the Tenons straight again. The mortises are fine but there needs to be more foocus when I remove the wood for the tenons. Try again.


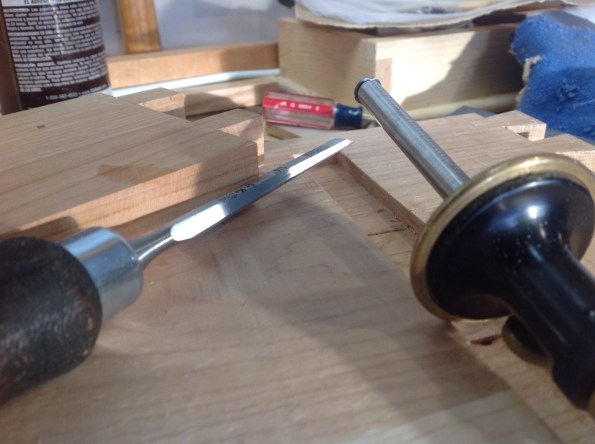
Taking more care I measured and chiseled out knife wall for the saw cuts. The lumber already looks a better match. The preparation gives me time to consider how to make the Tenons. More care with the router plane and perhaps a longer bed on theplane would help. Roughing the tenon out with a saw, I then take the router plane to size and hopefully maintain a square tenon.


While I’m sharpening my router I also notice the angled blade which I have never used. Giving it a whirl I find it cuts well and I like the fact that I am putting less pressure into the cut. Perhaps this has been causing me to lean the router slightly and ending with an angled tenon.
Hanging Tool Cabinet Shelf 3
Paul Sellers gives you quite the work out in his projects. There are several extra steps built into this cabinet that prepare you for making the cabinet doors. One of these is a shelf that is more complex than necessary. Where a single board or glued panel would work well, the project calls for a frame and panel; the same joints that would be required on the door. Not one to shy away from excess joinery I milled the pieces to size and set out to make a frame and panel shelf.


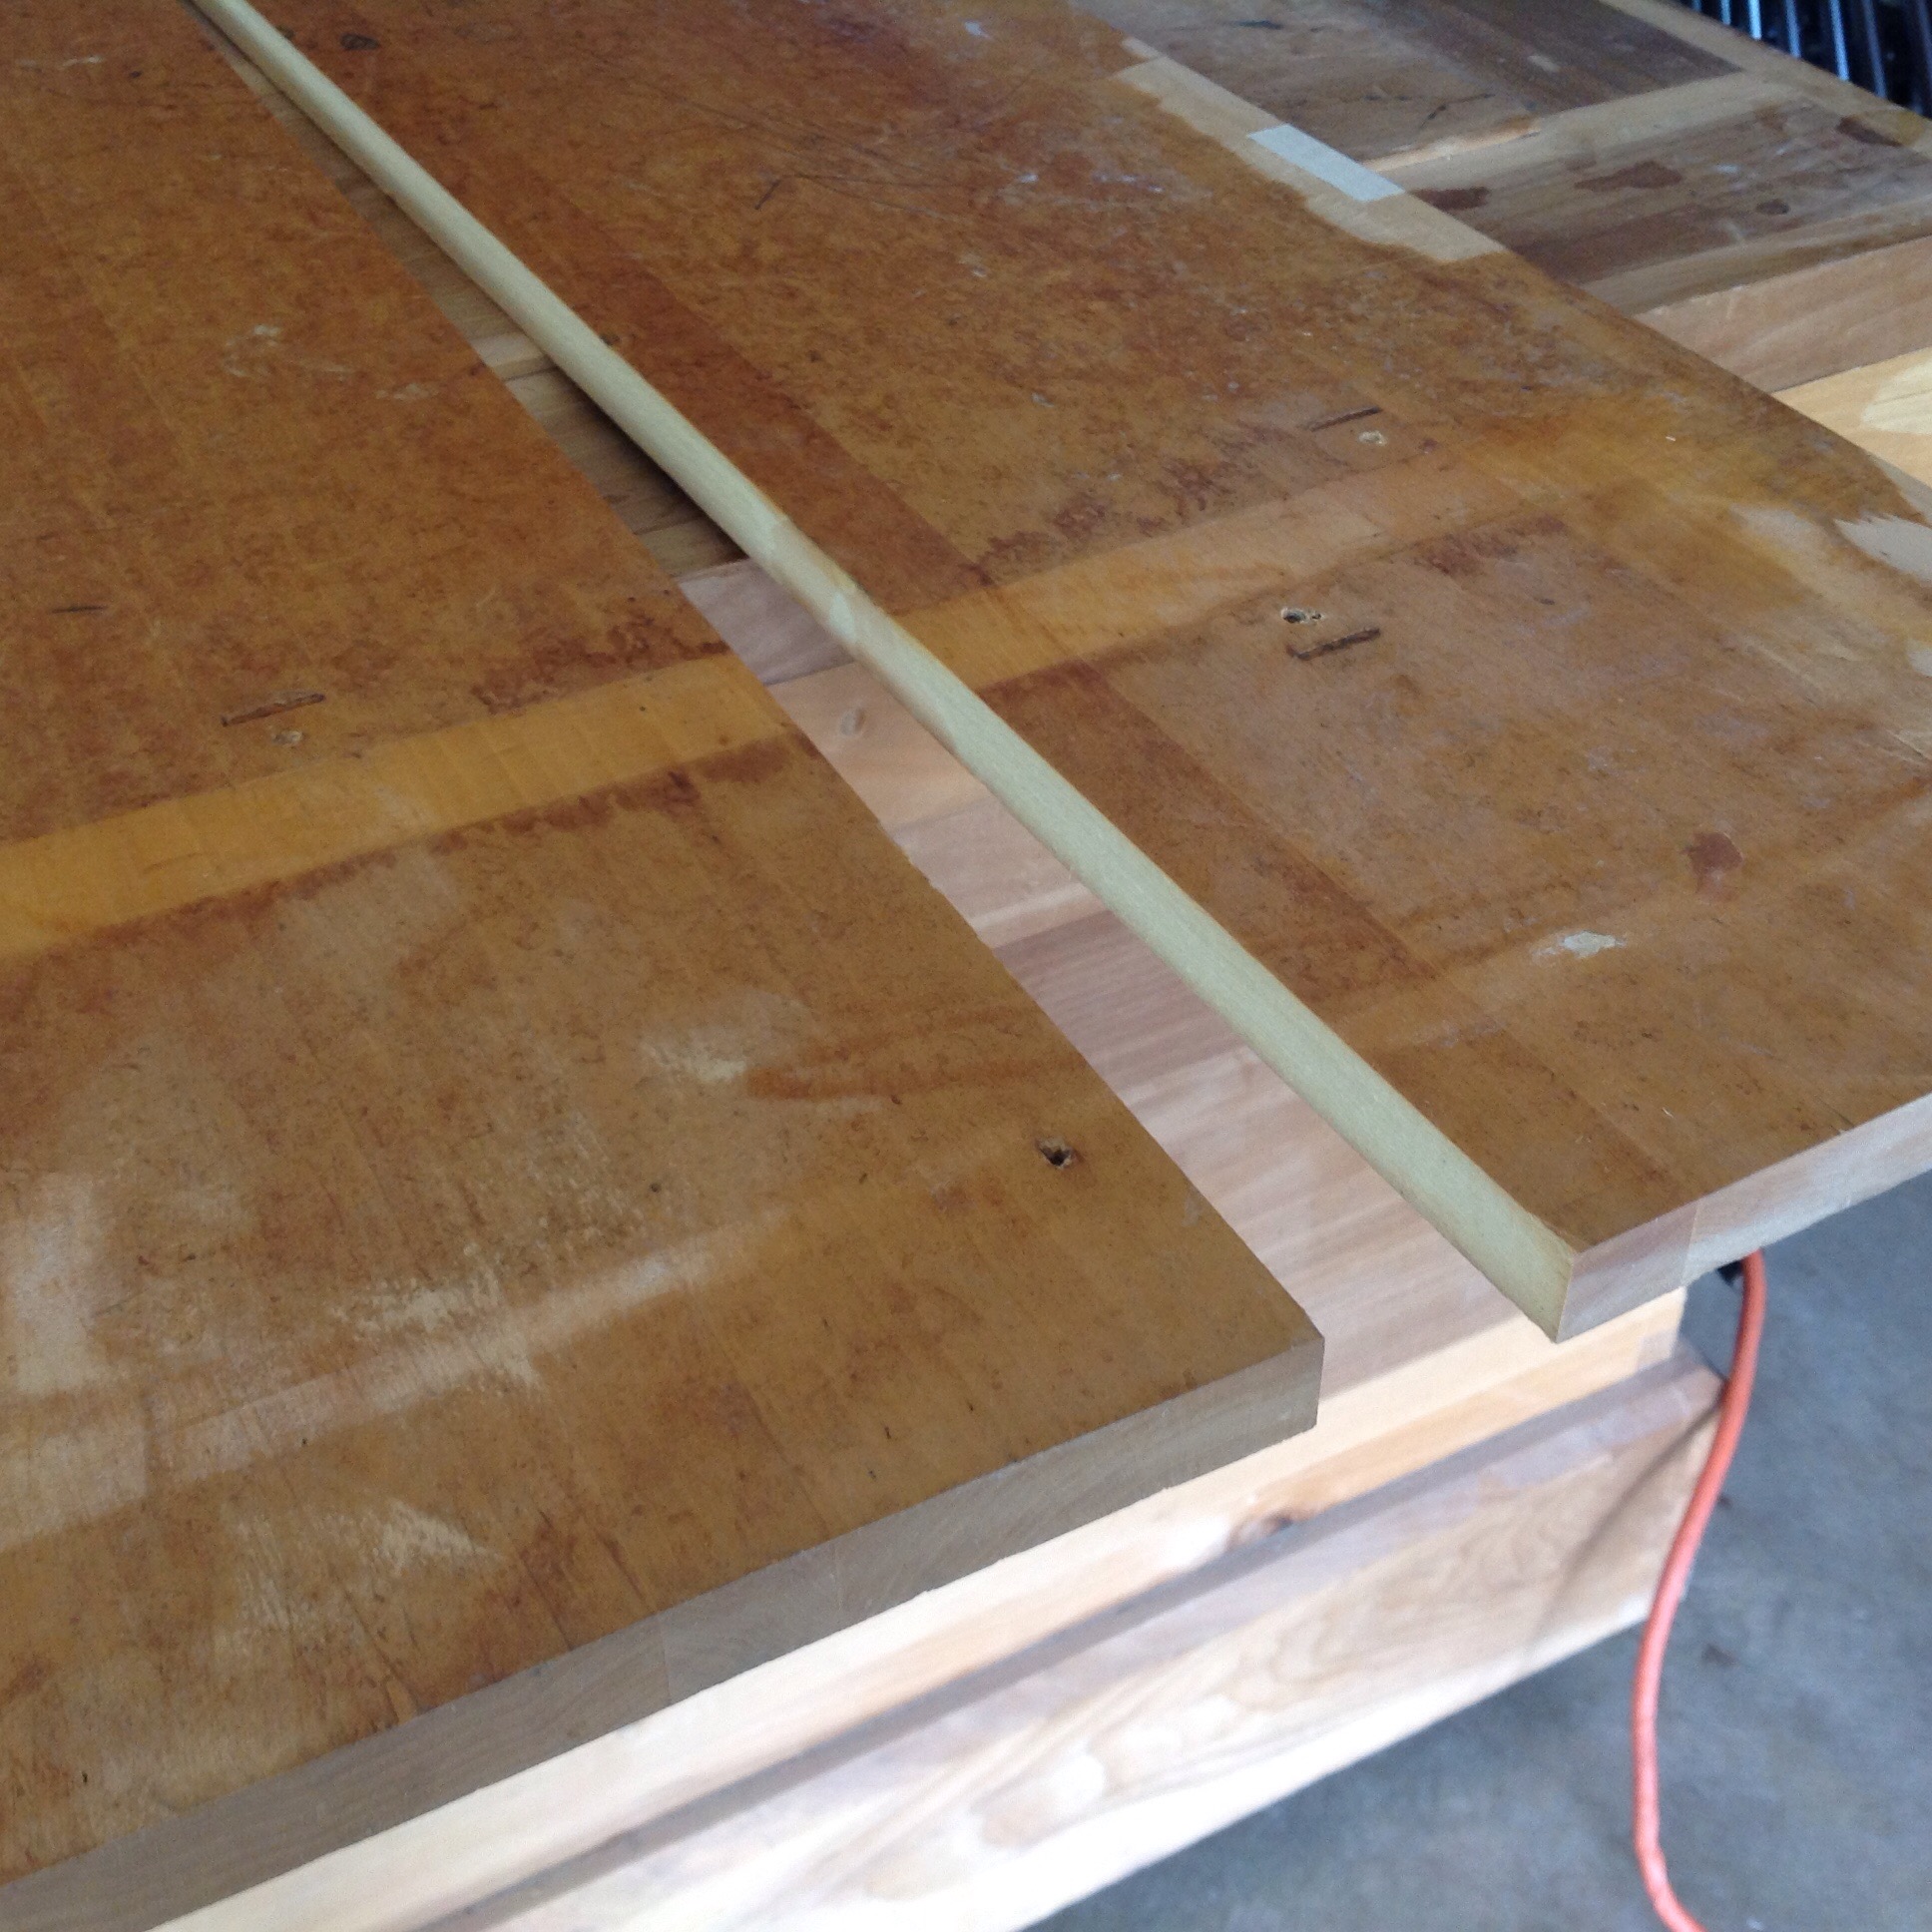
A couple of rough measurements and I glue together a panel for the shelf. Using the parts from my prior mistake I was able to come up with grain that matches well, hopefully the final door panels will come out as well.

Taking the shelf part previsoulsy made that was prepared to recieve the divider I set up my plow plane to groove the edges to accept the panel. It is allways a surprise how quickly this process goes and withing minutes it is completed. The groove then becomes the guide for the mortises that hold the shelf frame together. In the last couple of projects I have been successful with the mortises but struggled to keep the tenons stright. More in the next post.
Hanging Tool Cabinet – Shelf divider
I’ve never counted the number of times I assemble and disassemble a project as I build. It’s part of the process and and essential for measuring and fitting each piece.The cherry in this project is fighting me. The change in humidity and temperature is causing the parts to swell and I have had to adjust the dovetails. Unfortunately there are a couple of cracks which hopefully will disappear with some adjustment.


With the through tenons done and the case reassembled I can measure carefully for the center divider. This is another through tenon so I took care in all of the measurements. The photographs below show the shape of the divider and the final product.


Slowly the cabinet is beginning to take shape.
Hanging Tool Cabinet – Shelf 2 oops
The shelf not only fits into the dado but also consists of a pair of through mortises. Through mortises are a great challenge and enhance the appearance of a piece along with making a great joint. After milling the shelf pieces I carefully measured and cut out the two pins.

Upon completion of both ends it was immediately apparent that my great looking pins were not correct so I milled another piece and started again.
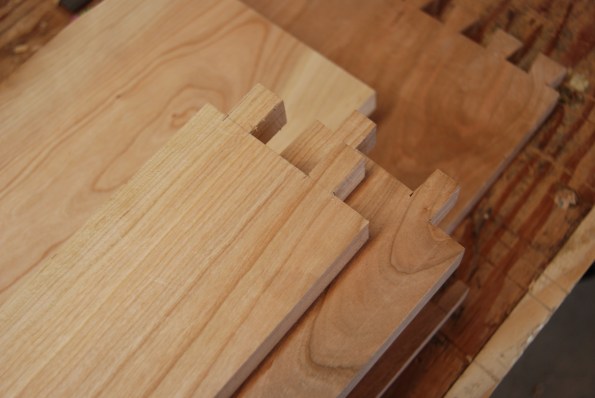
I missed the subtle step so decided that more practice was in order. The photo above shows both pieces, the bottom one being correct.
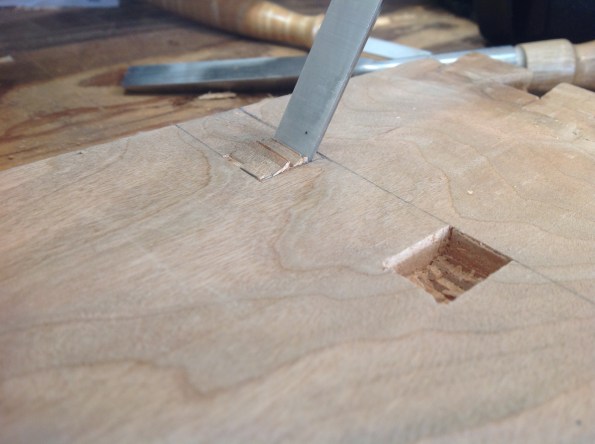
Next is the creation of the mortises for the tenons. Making a through mortise is all about careful measurement followed by patient chiseling.
Hanging Tool Cabinet – Shelf
The bottom of the cabinet consists of two drawers topped with a shelf. The shelf is carefully fitted using dados and through mortises.

The dados come first, one on each side. Laying them out carefully, I placed both pieces together marked with a knife and then began work with a chisel followed by the router plane. The router plane is the most used plane I own beside my number 4. If you are new to hand tool woodworking it is a must have tool. I use a Veritas model, but there are many others out there.

In a short period of time the dados were complete.
Dovetails and more..
The heaters were turned on early in anticipation of completing the dovetails for the hanging tool cabinet. Outside the snow fell in large flakes, blanketing the ground and creating that muffled silence that only comes with snow. Within an hour I completed the first set of dovetails.

Laying out the last set, I looked up to see my 17 year old son watching, in his hand a piece of paper and a smile. Taking off my headphones I watched him wander over to the scrap bin and begin choosing pieces for a project. The scrap bin is open season for any projects that may come up.


Setting aside the dovetails, I collected the tools he asked for, helped him with the stuck clamp and enjoyed the afternoon. He now has a stand for his computer monitor designed and built by himself and my dovetails can wait happily for another day.


Tool Cabinet Dovetails
Haven’t chopped dovetails for a while, certainly is nice to empty my mind grab a chisel in one hand and a hammer in the other and work away.
A couple of thoughts recent dovetails have been in Sapele and Oak, Cherry takes a slightly different touch. It’s a fun challenge and as I move from joint to joint the accuracy improves.


Hanging Tool Cabinet
With space in the shop for the new tool cabinet, I can get on with the build. This is a Paul Sellers’ project from Woodworking Masterclasses. It came along at the right time, because I have another project in mind that has doors. A little help from Paul is always valuable and he includes so many small lessons in his projects that they are a great learning experience.
Most projects begin with a quick trip to the lumber yard and fortunately this one was made better when my daughter agreed to come with me (full disclosure, I did offer breakfast as an incentive). Almost as good, it was the annual cherry sale! 40% off. I selected and loaded up with the boards I need and a few spares then spent a few minutes looking at various species and tools with my daughter. I think she enjoyed the trip?

Selecting boards for the sides I dimensioned and planed to my hearts content. Three techniques,three planes. Love the difference in the shavings.


Drafting Table – Adjustments
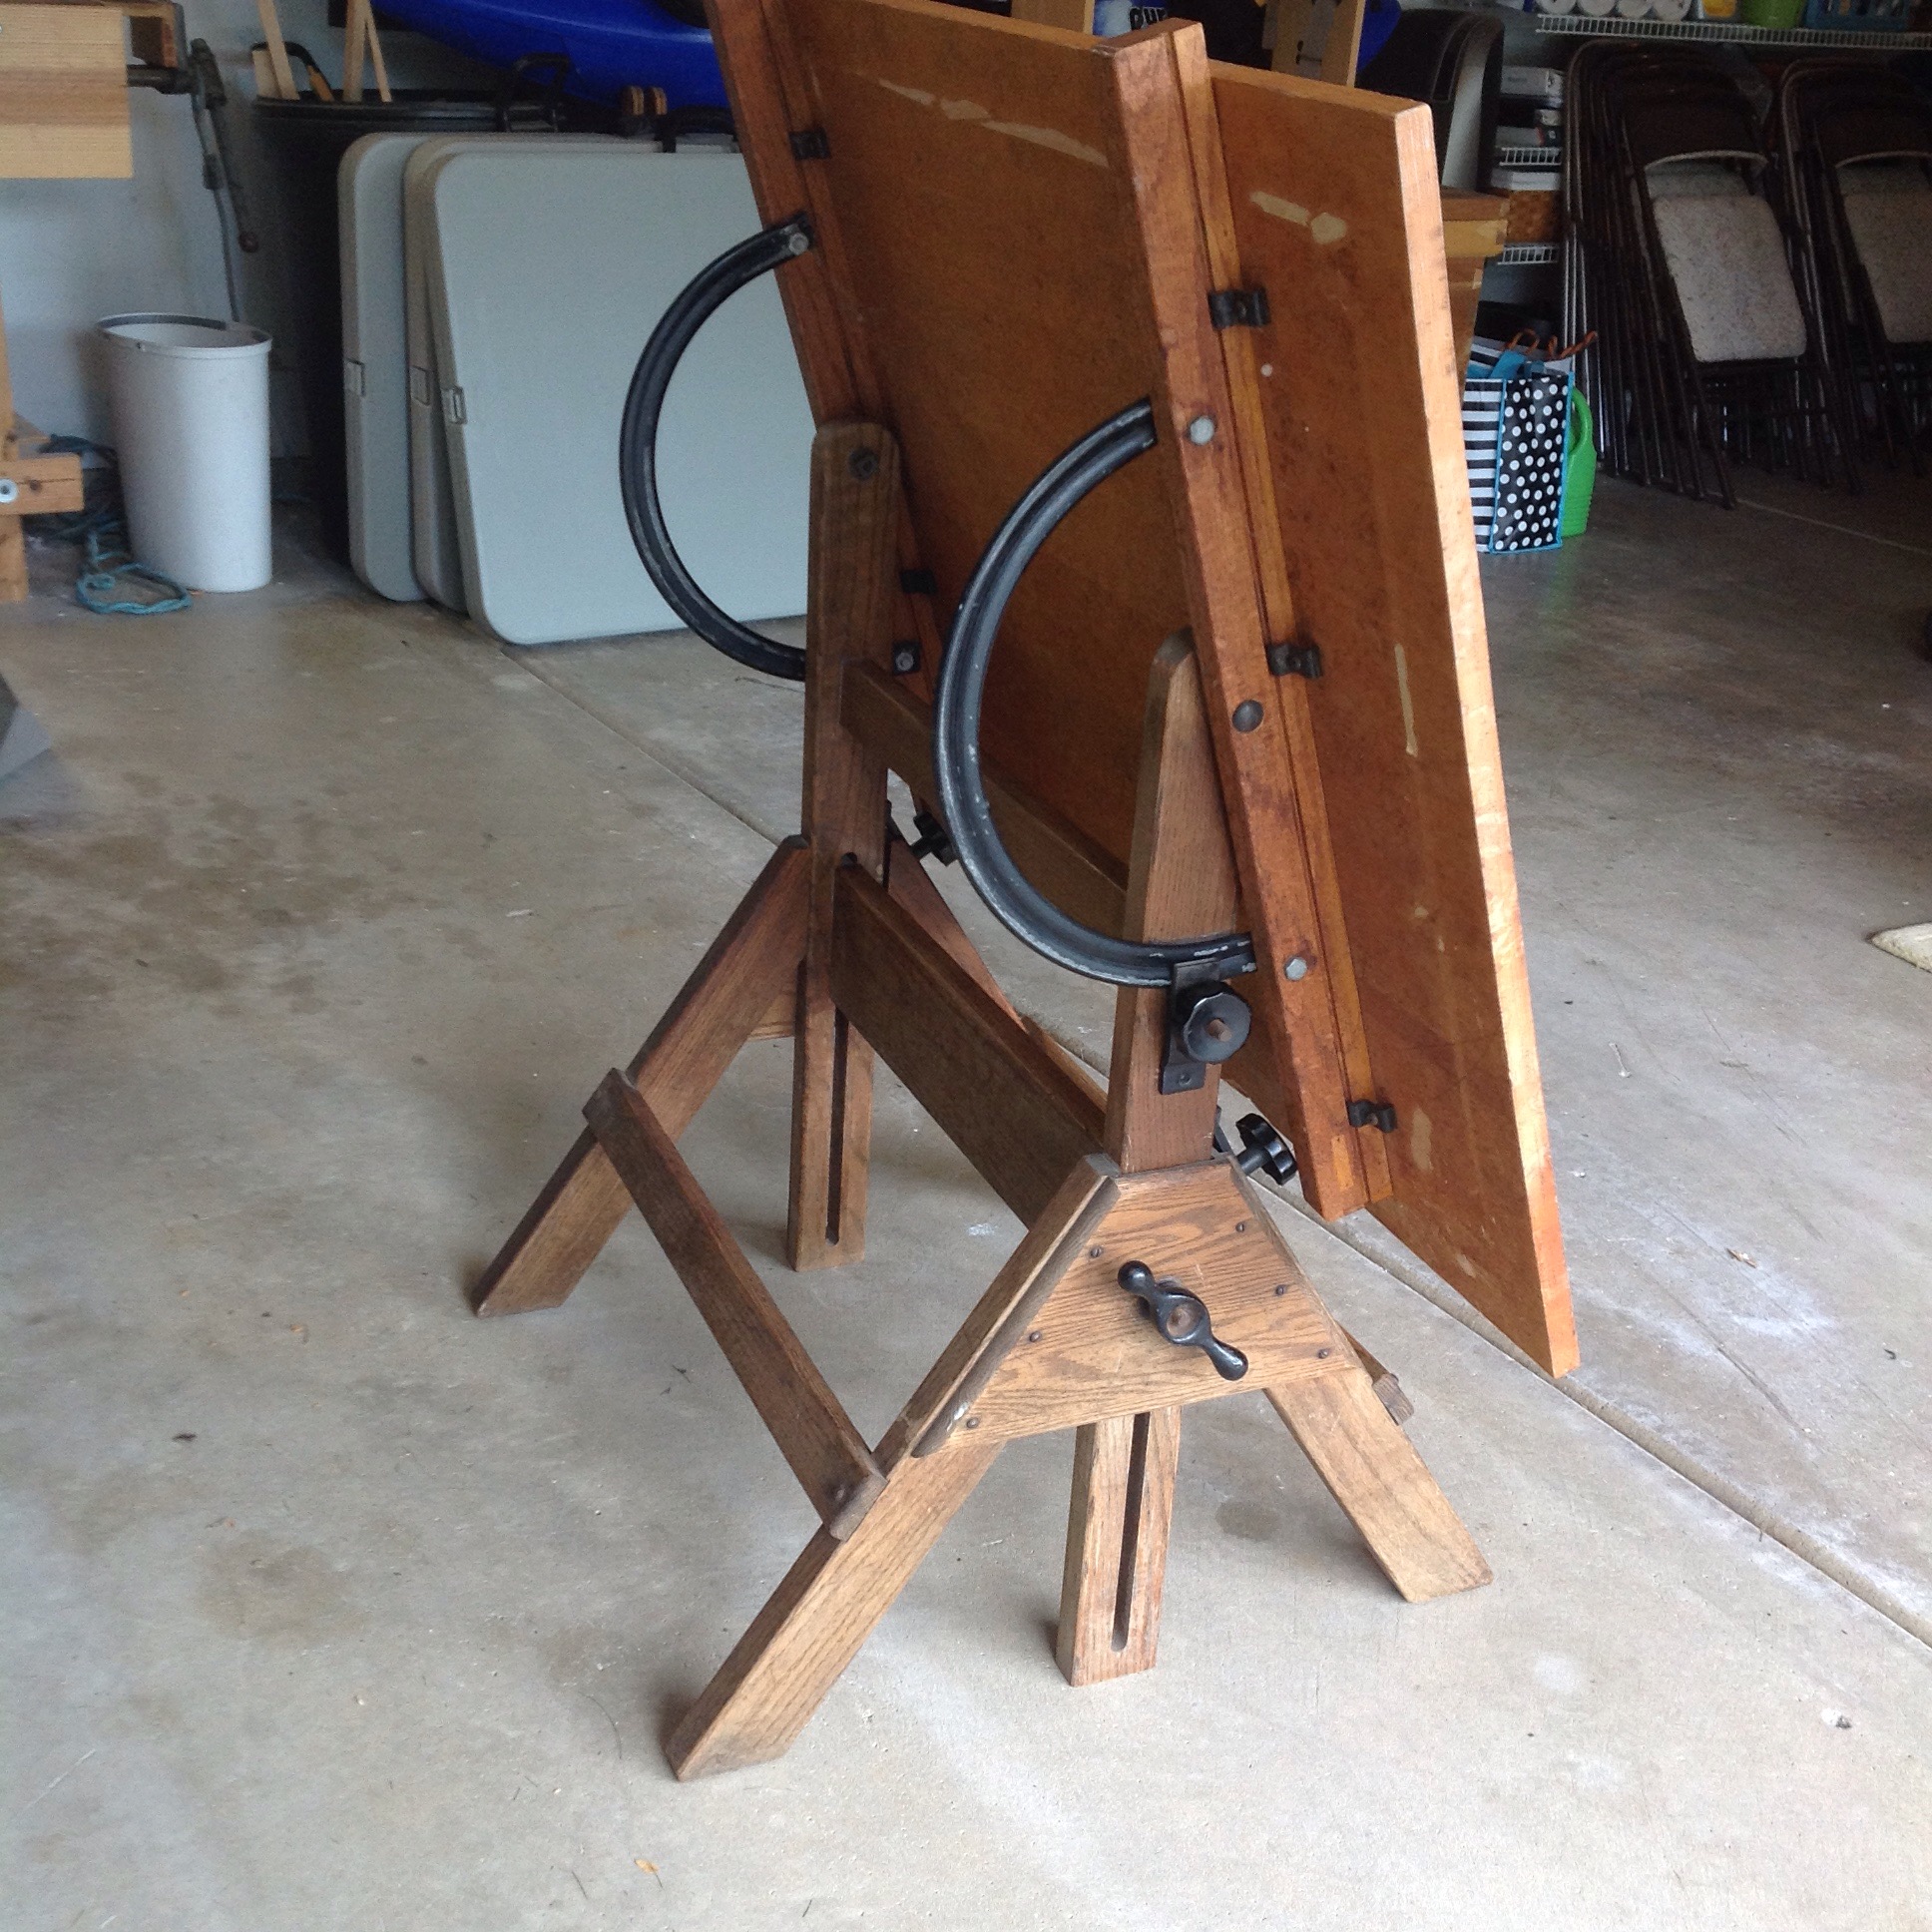
Before cleaning and refinishing the drafting table base it is worth a post to share the adjustment mechanism for the table. Each of you will have an appreciation for the simplicity of the design.
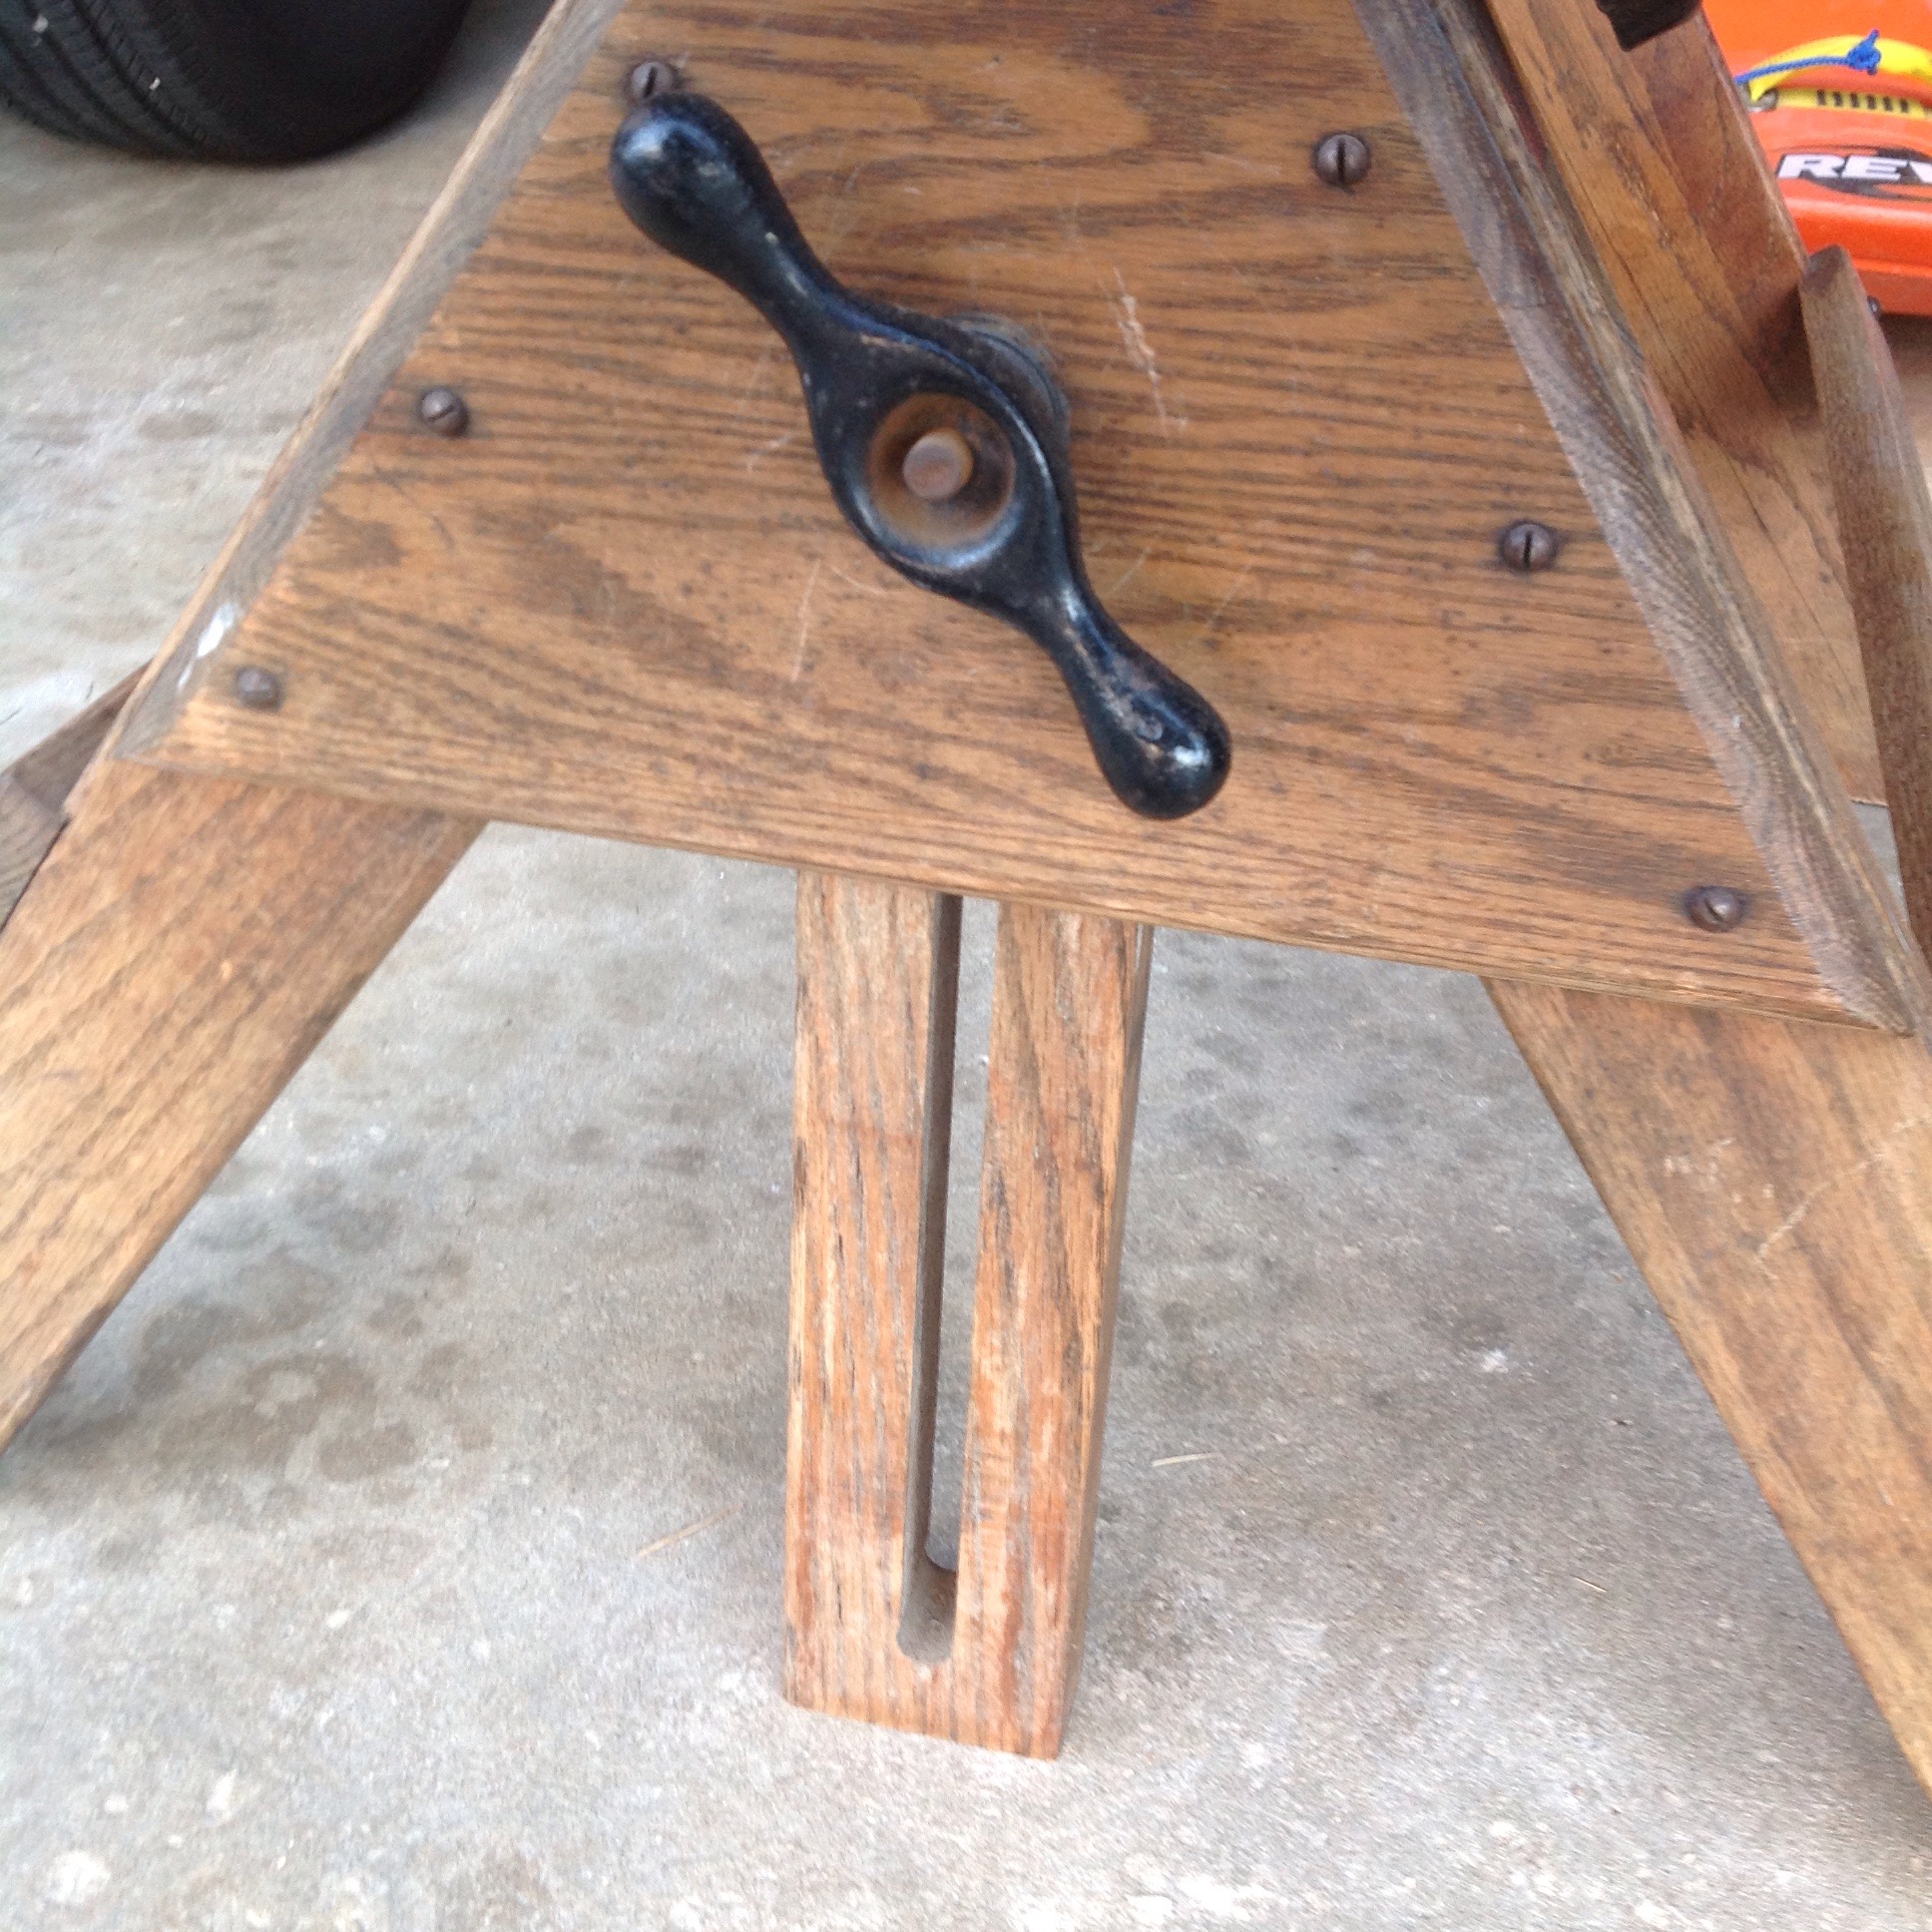
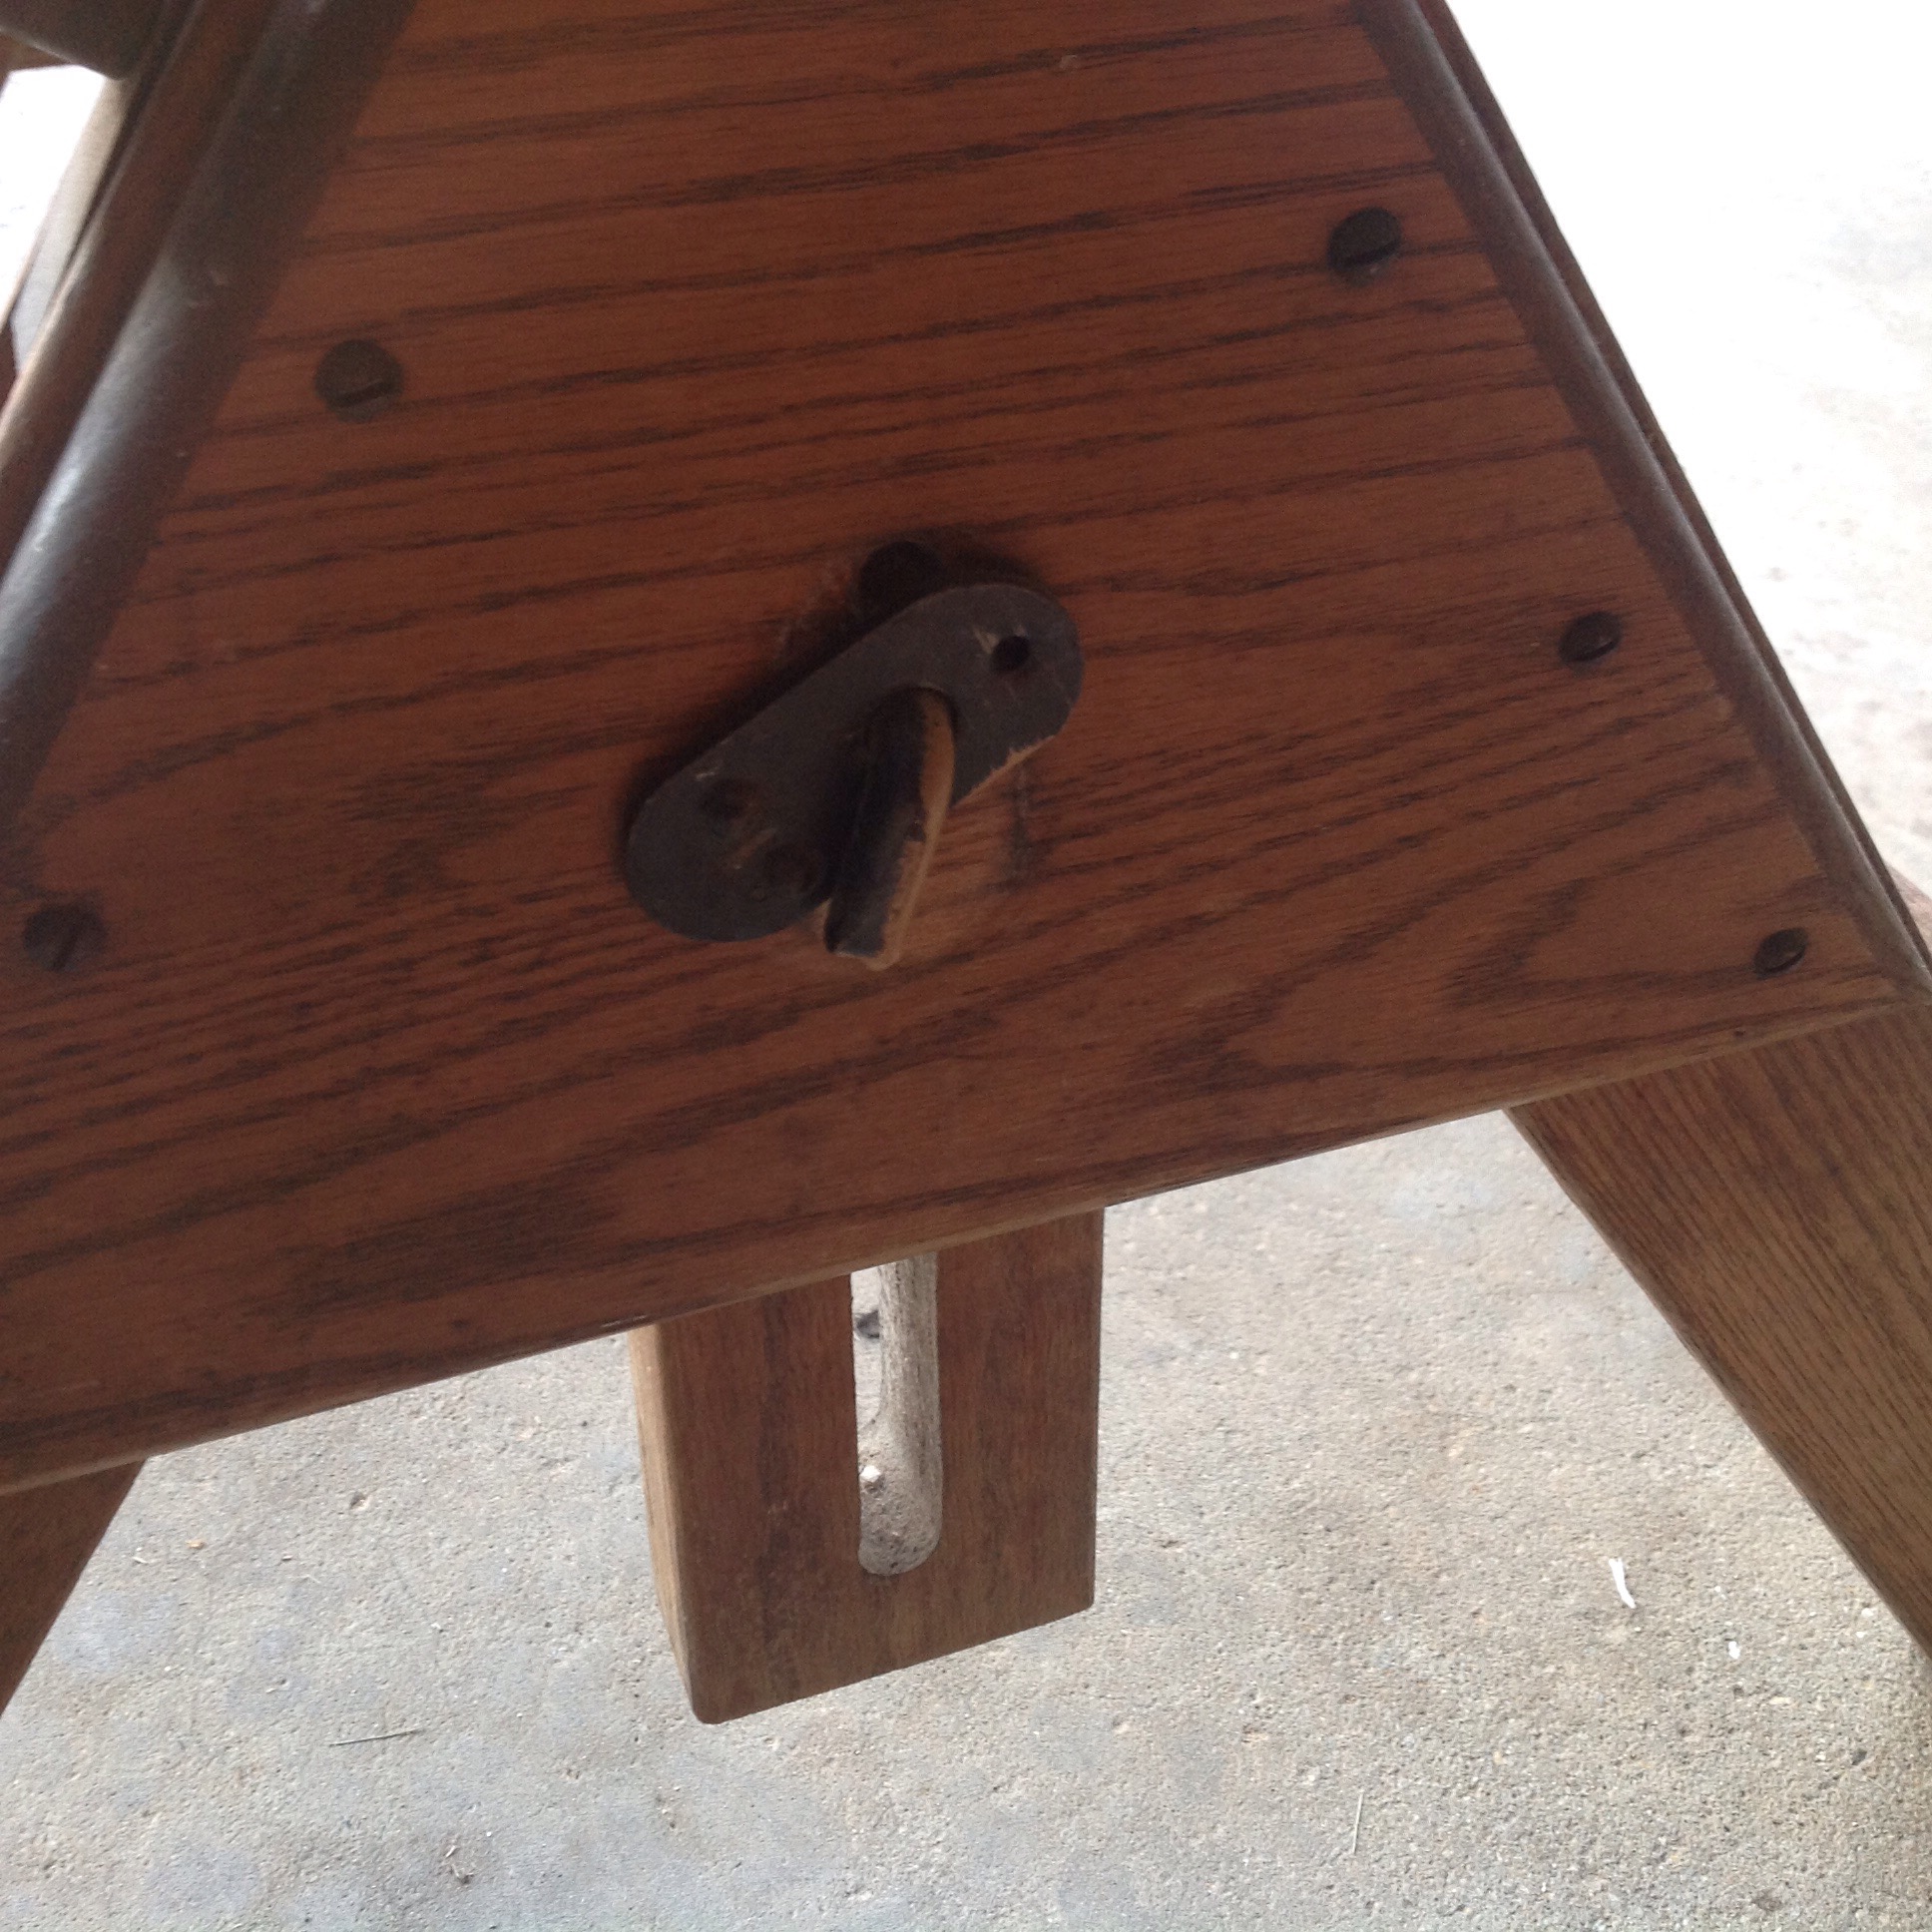
The table top can be adjusted to almost any angle using a pair of curved rails. The design is self explanatory except for the threaded rod that is hidden in a slot in the crossmember. This rod forms an L shape at one end which exerts pressure on the curved rail holding the top at the desired angle.The other end is threaded so that a knob can be loosened to make adjustments.


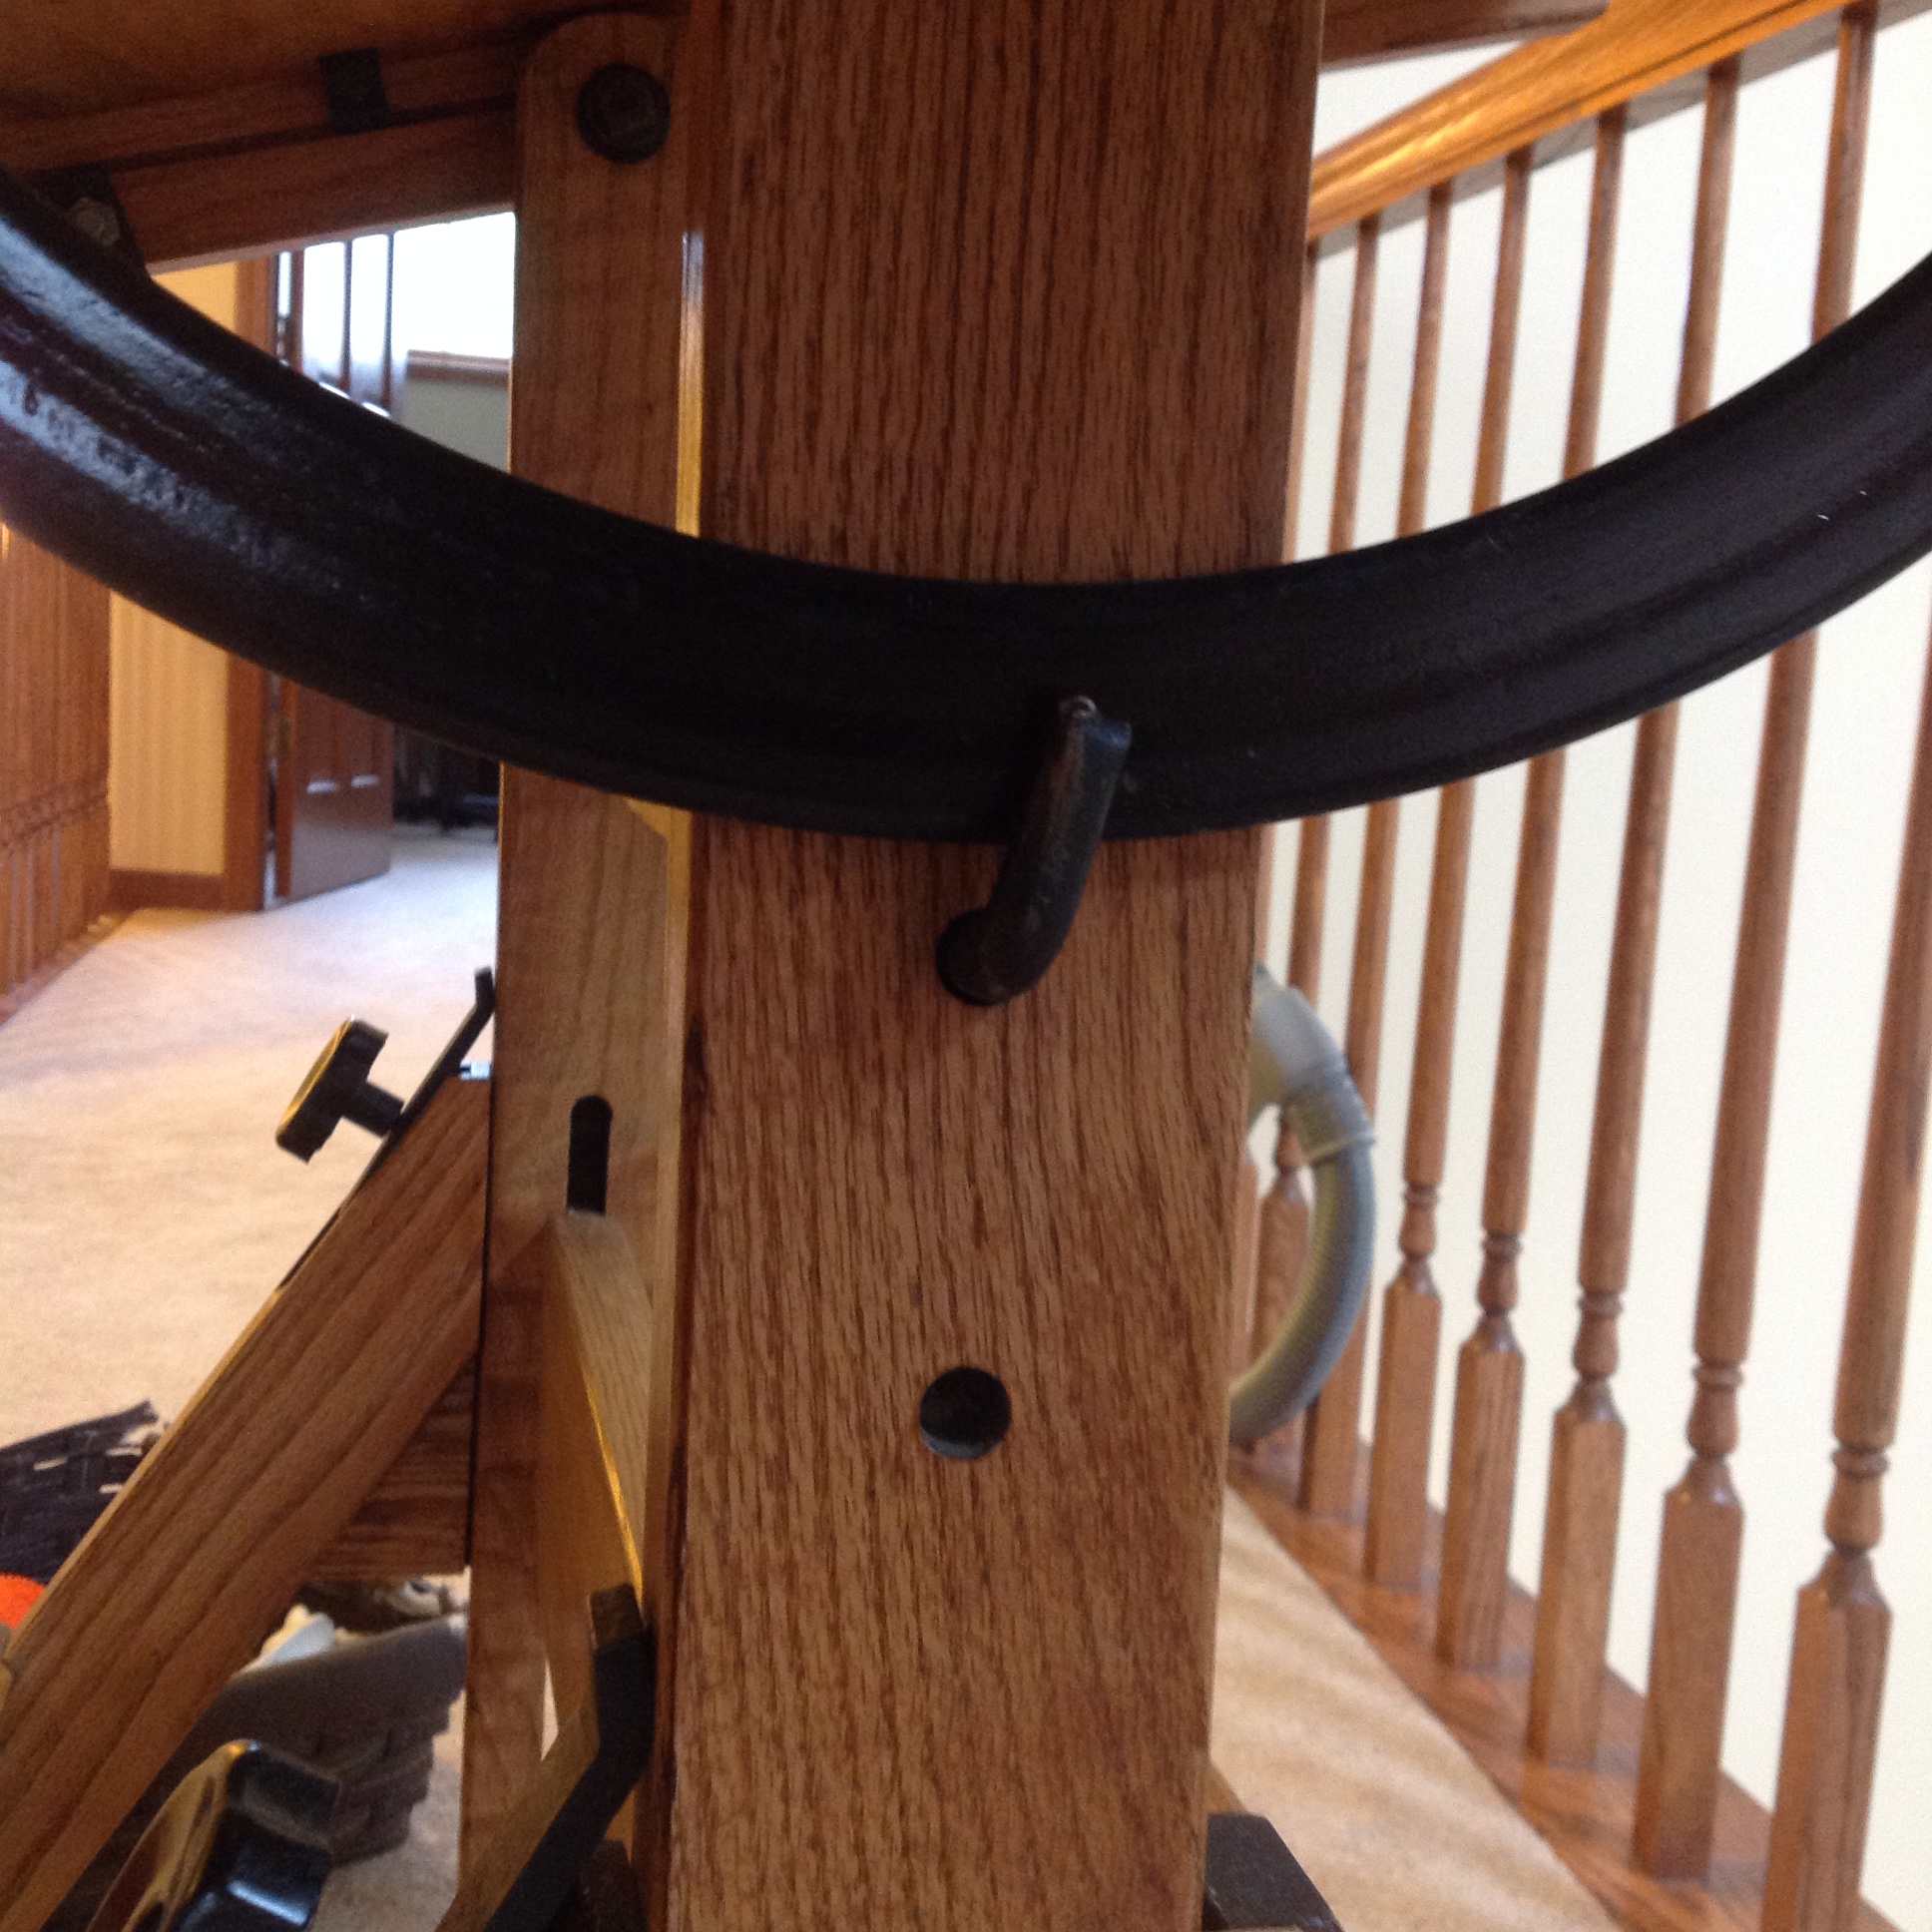

The height of the table is fully adjustable.You raise the top by loosening the handle on the side which is attached to another rod with a j hook. once loose you loosen the knob on the front of each leg which keep pressure on the legs from the front. lift the top to the desired height and tighten everything up.

Drafting Table – The Top
Separating the top from the base is simple, it’s held in place with metal attached to the top with screws and a slot in the support arms.


With the top separated it is clear that only a few minor repairs will be needed.


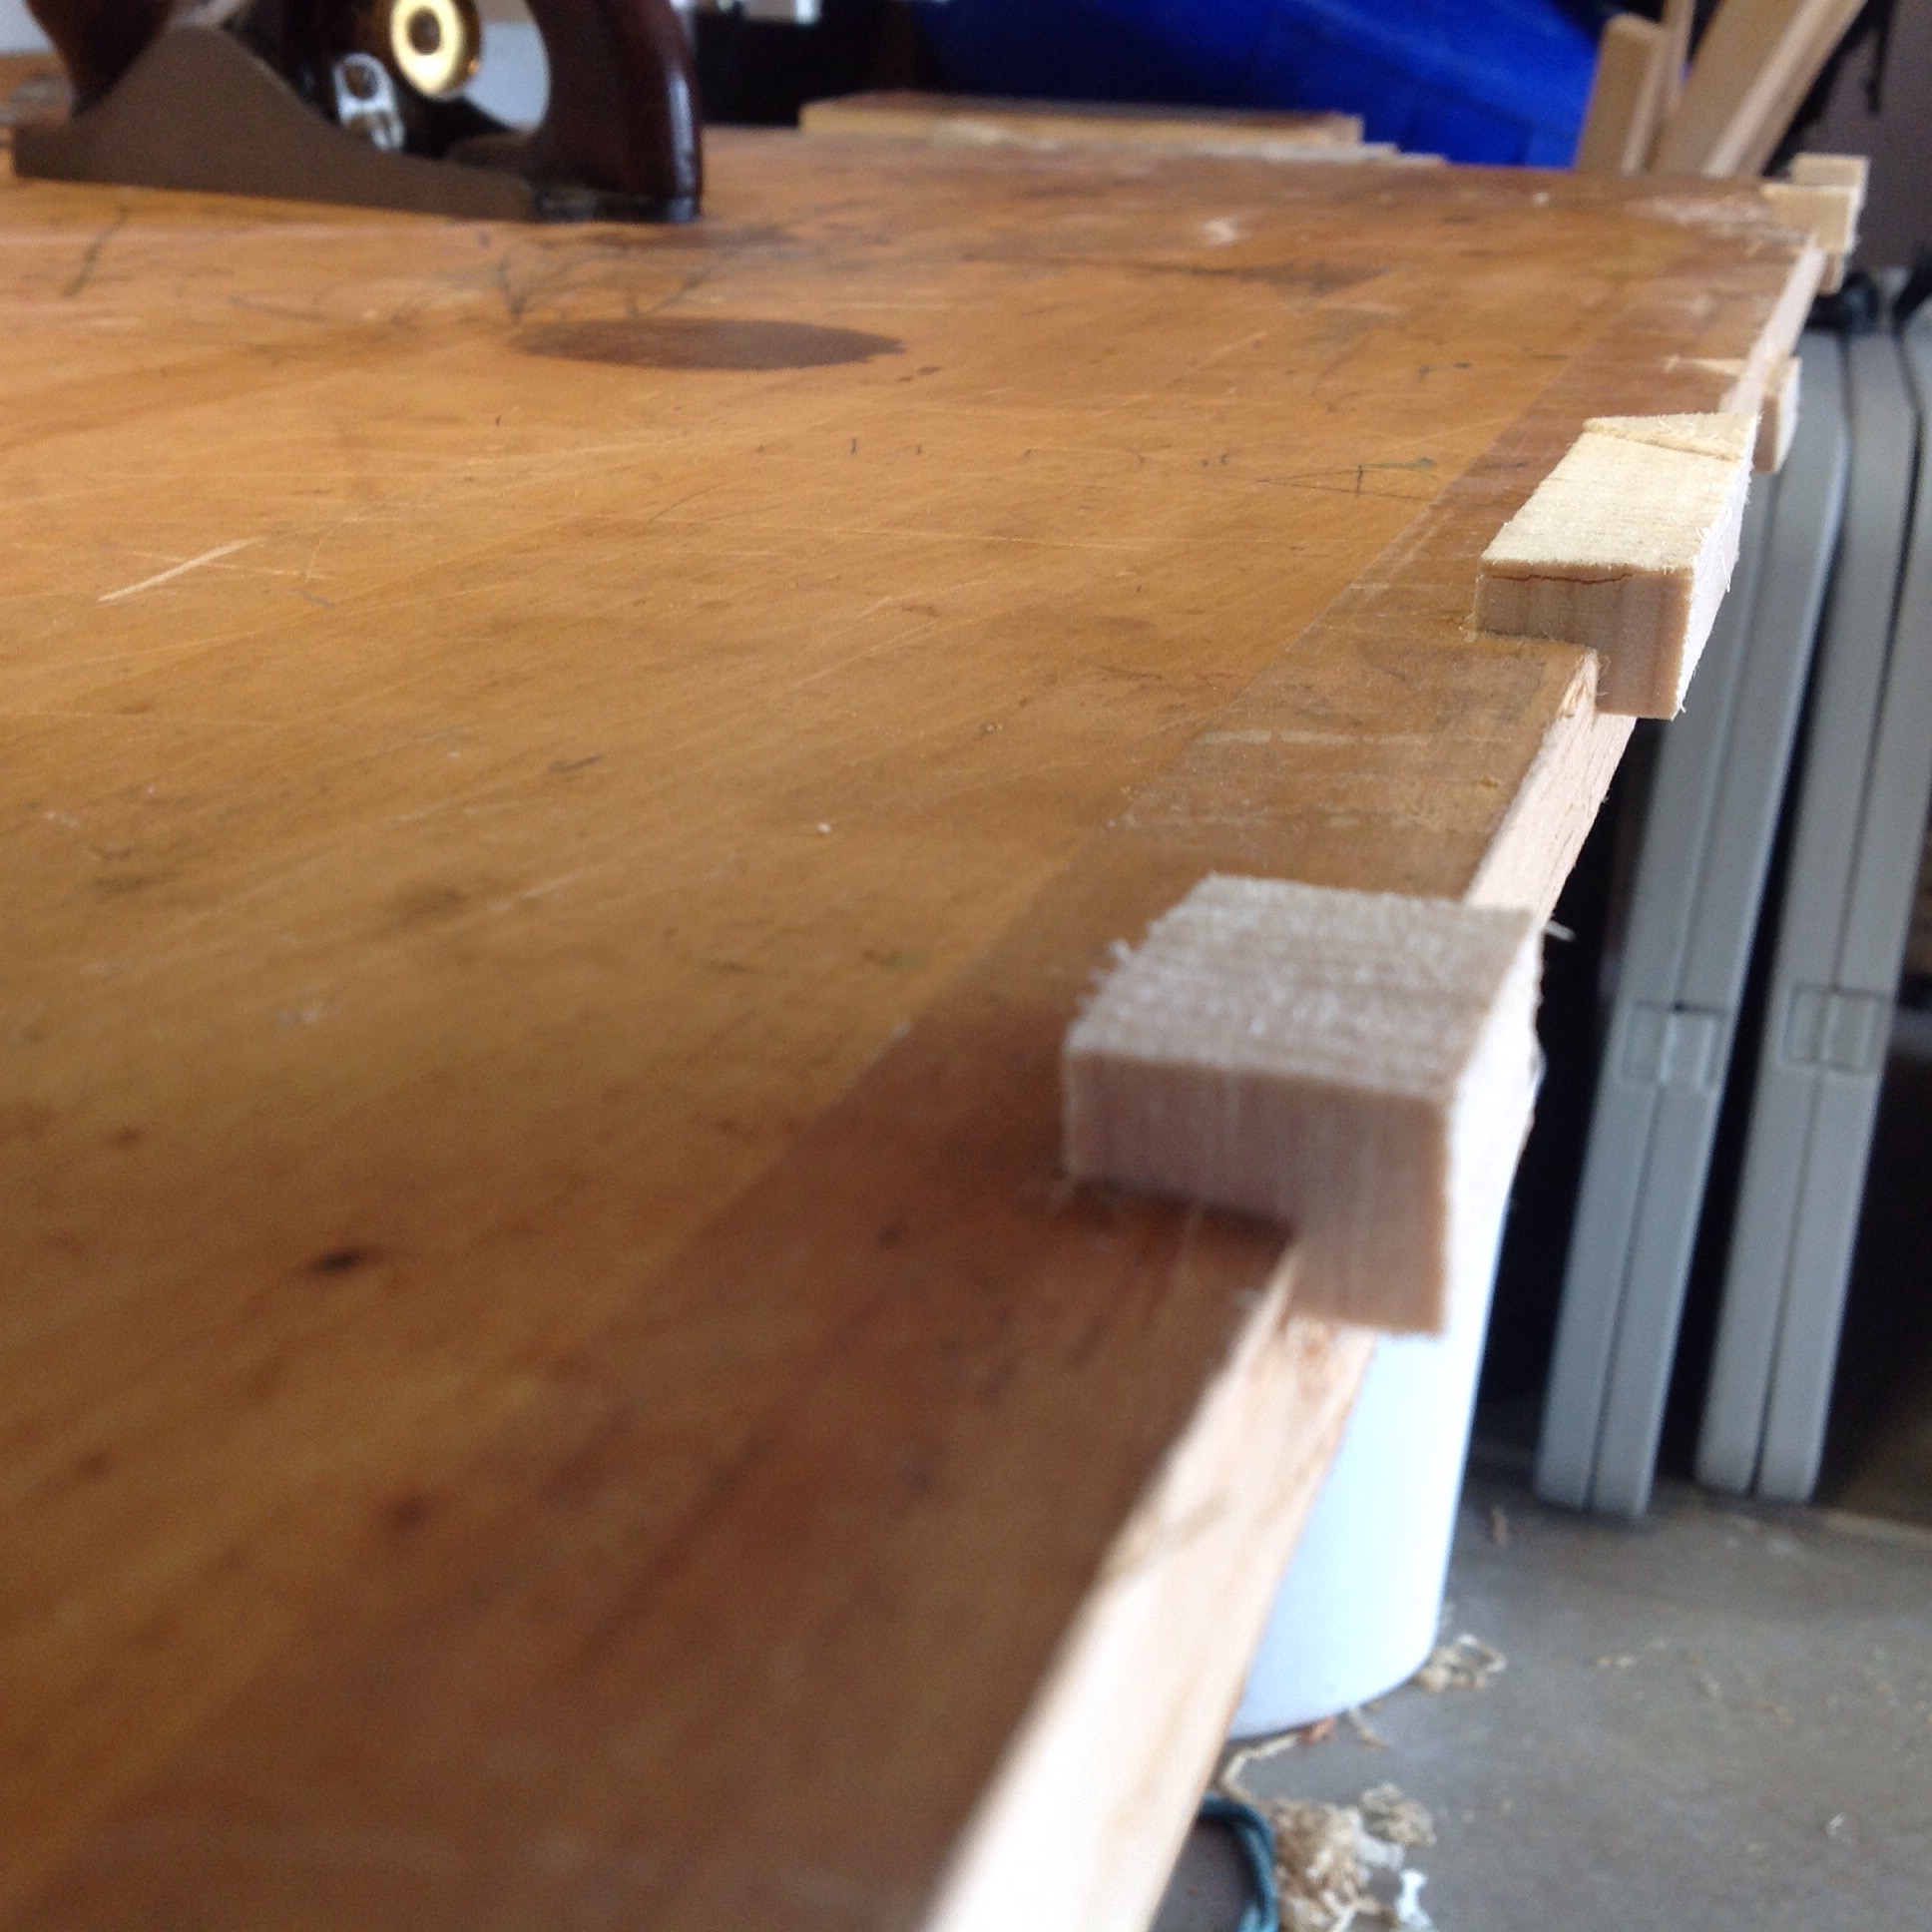 Using a chisel to square and remove waste in the most damaged areas I glued matching replacement blocks planed smooth once the glue was dried. After looking at all the edges it is clear that adding a band of red oak will enhance the look of the table and cover up the repairs.
Once cut to the correct thickness and planed smooth I set up clamps and prepared to glue the banding in place. Following rule 3.0 of woodworking that states “No glue up shall be allowed to go smoothly” the pressure from the clamps on the top caused it to split.
What followed was a scramble of glue and clamps that returned it all to one piece.
Planing to be done to smooth the edges and top and I’ll be able to move on to the base.