Archive
Box Making – Every Dovetail deserves an adjustment
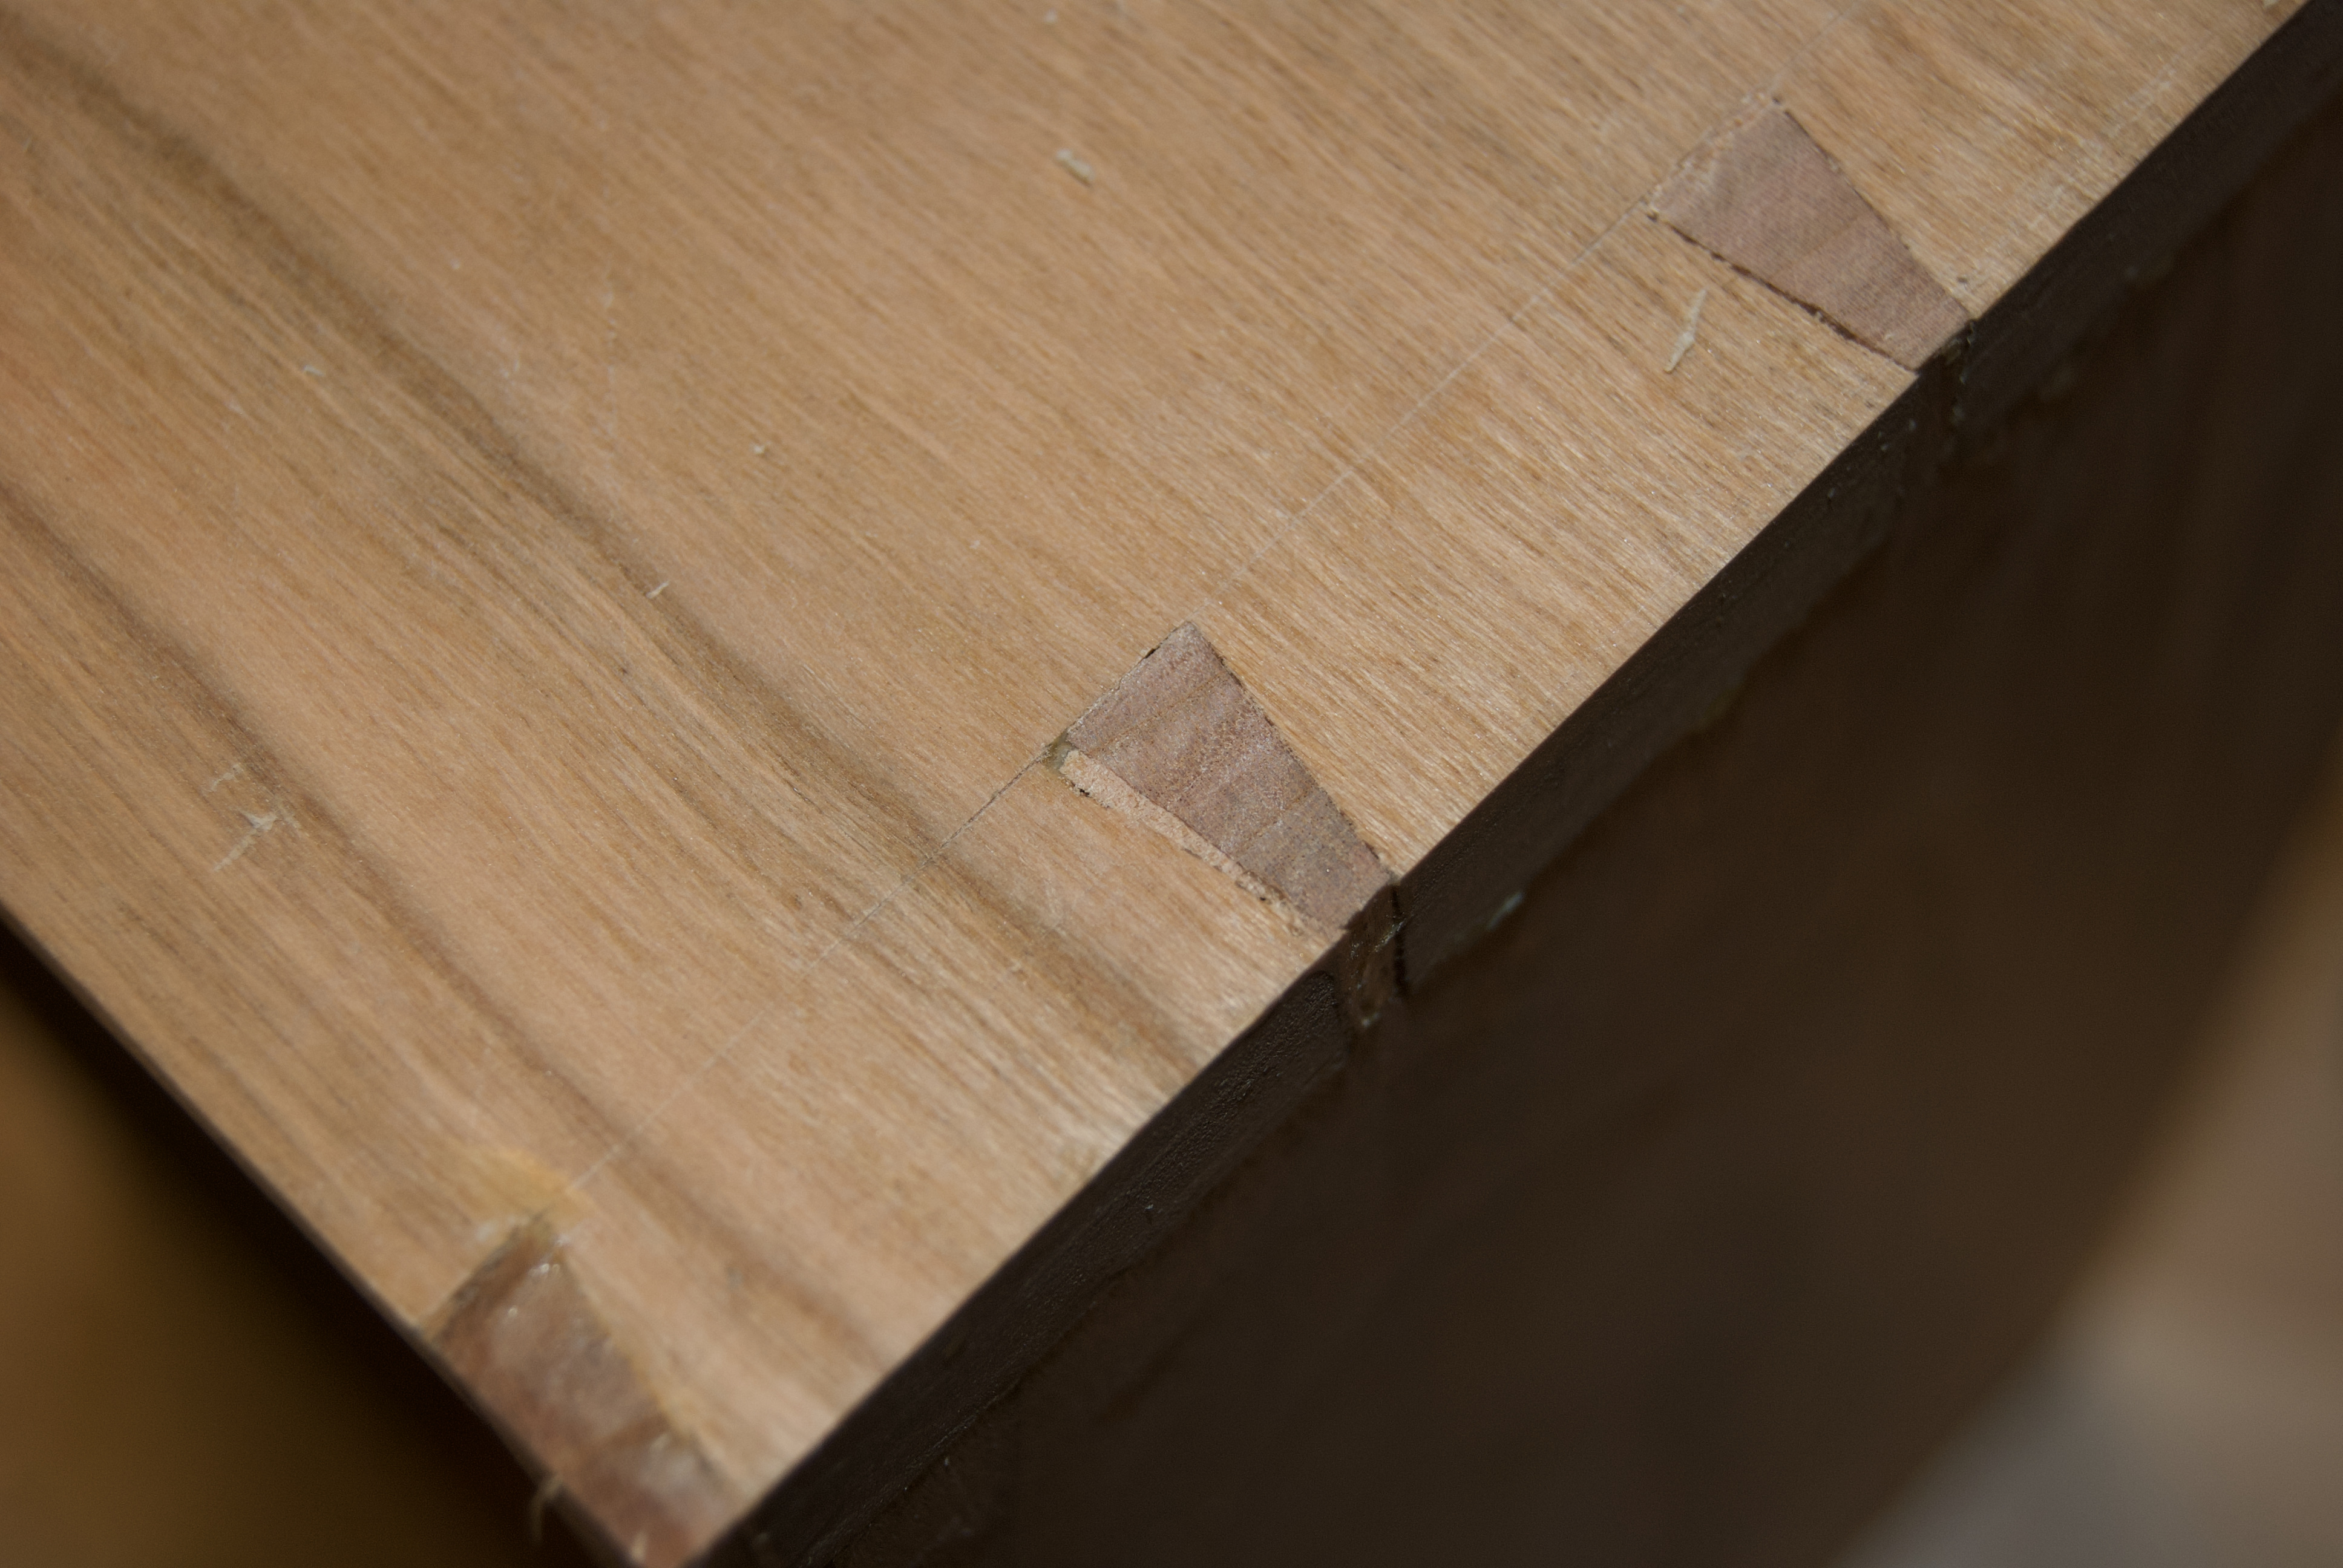
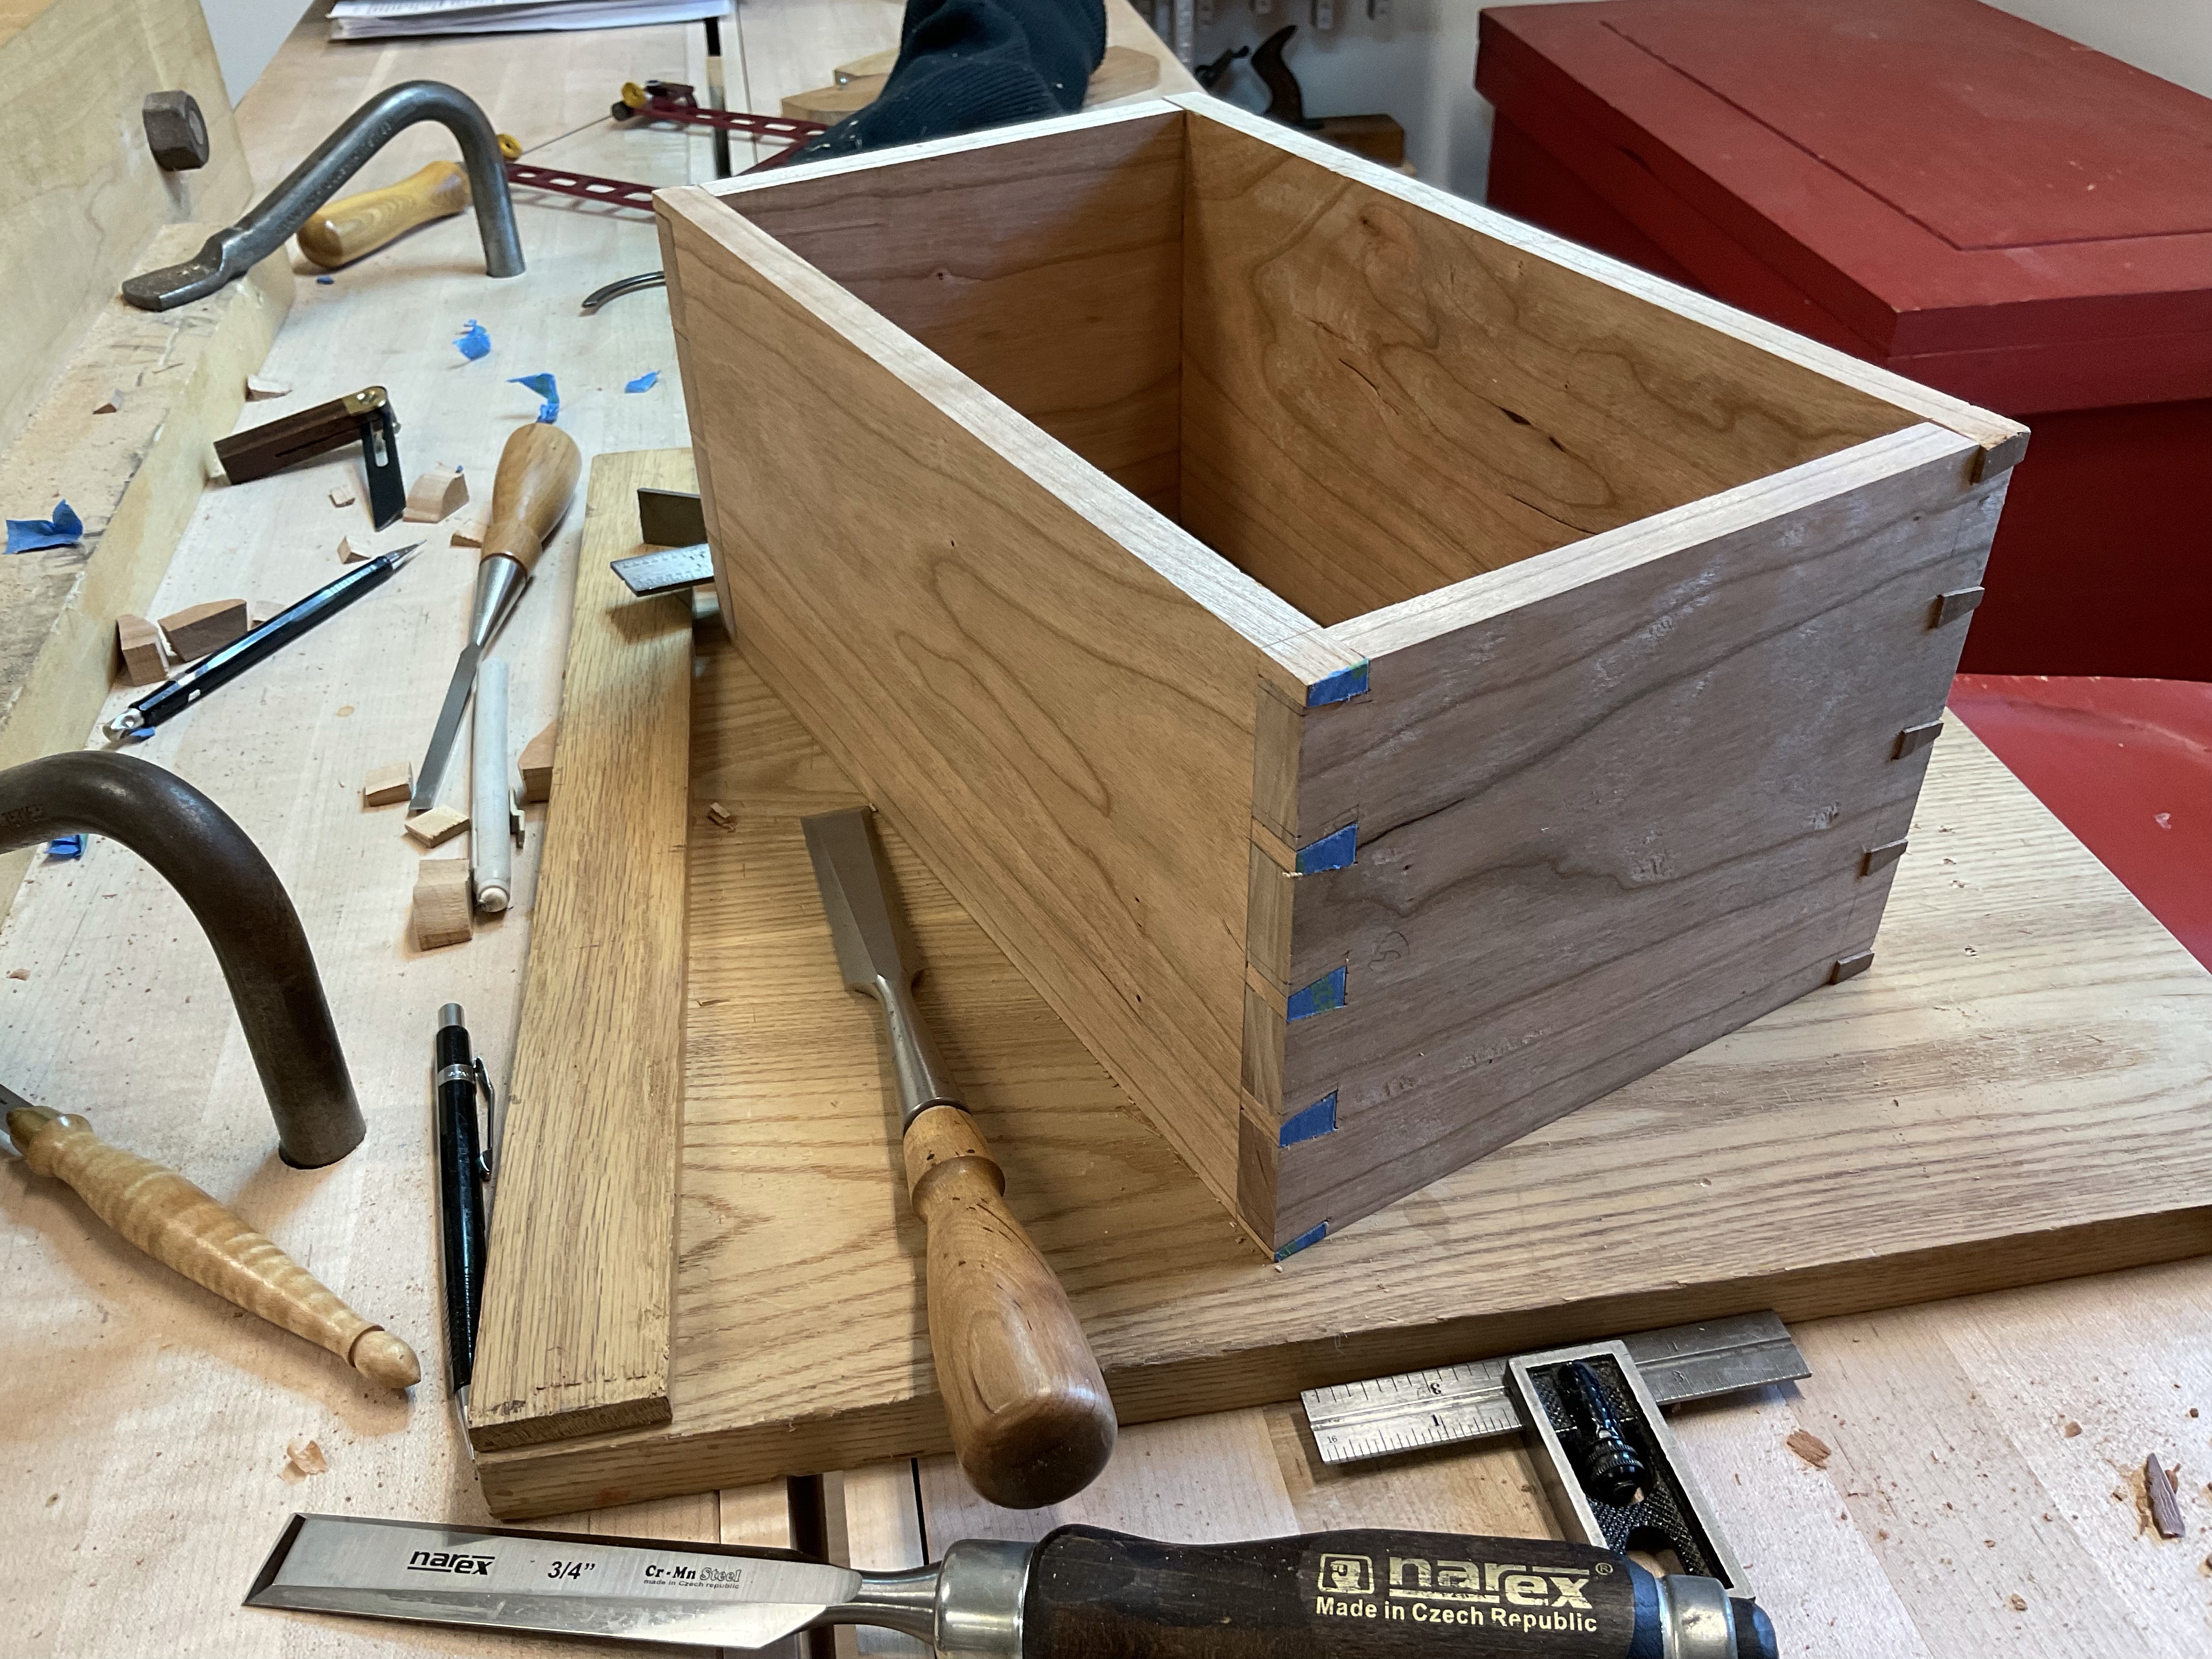
There are people that make perfectly fitting dovetails every time and I don’t envy their lack of opportunity to adjust the dovetails they make. Typically I will have at least one dovetail that needs some work along with a saw cut that went a little too far and perhaps somewhere the wood chipped. Frequently I can also pick out the dovetail that was cut first. Which suggests that I should make a practice dovetail to increase my focus before beginning on the real thing.
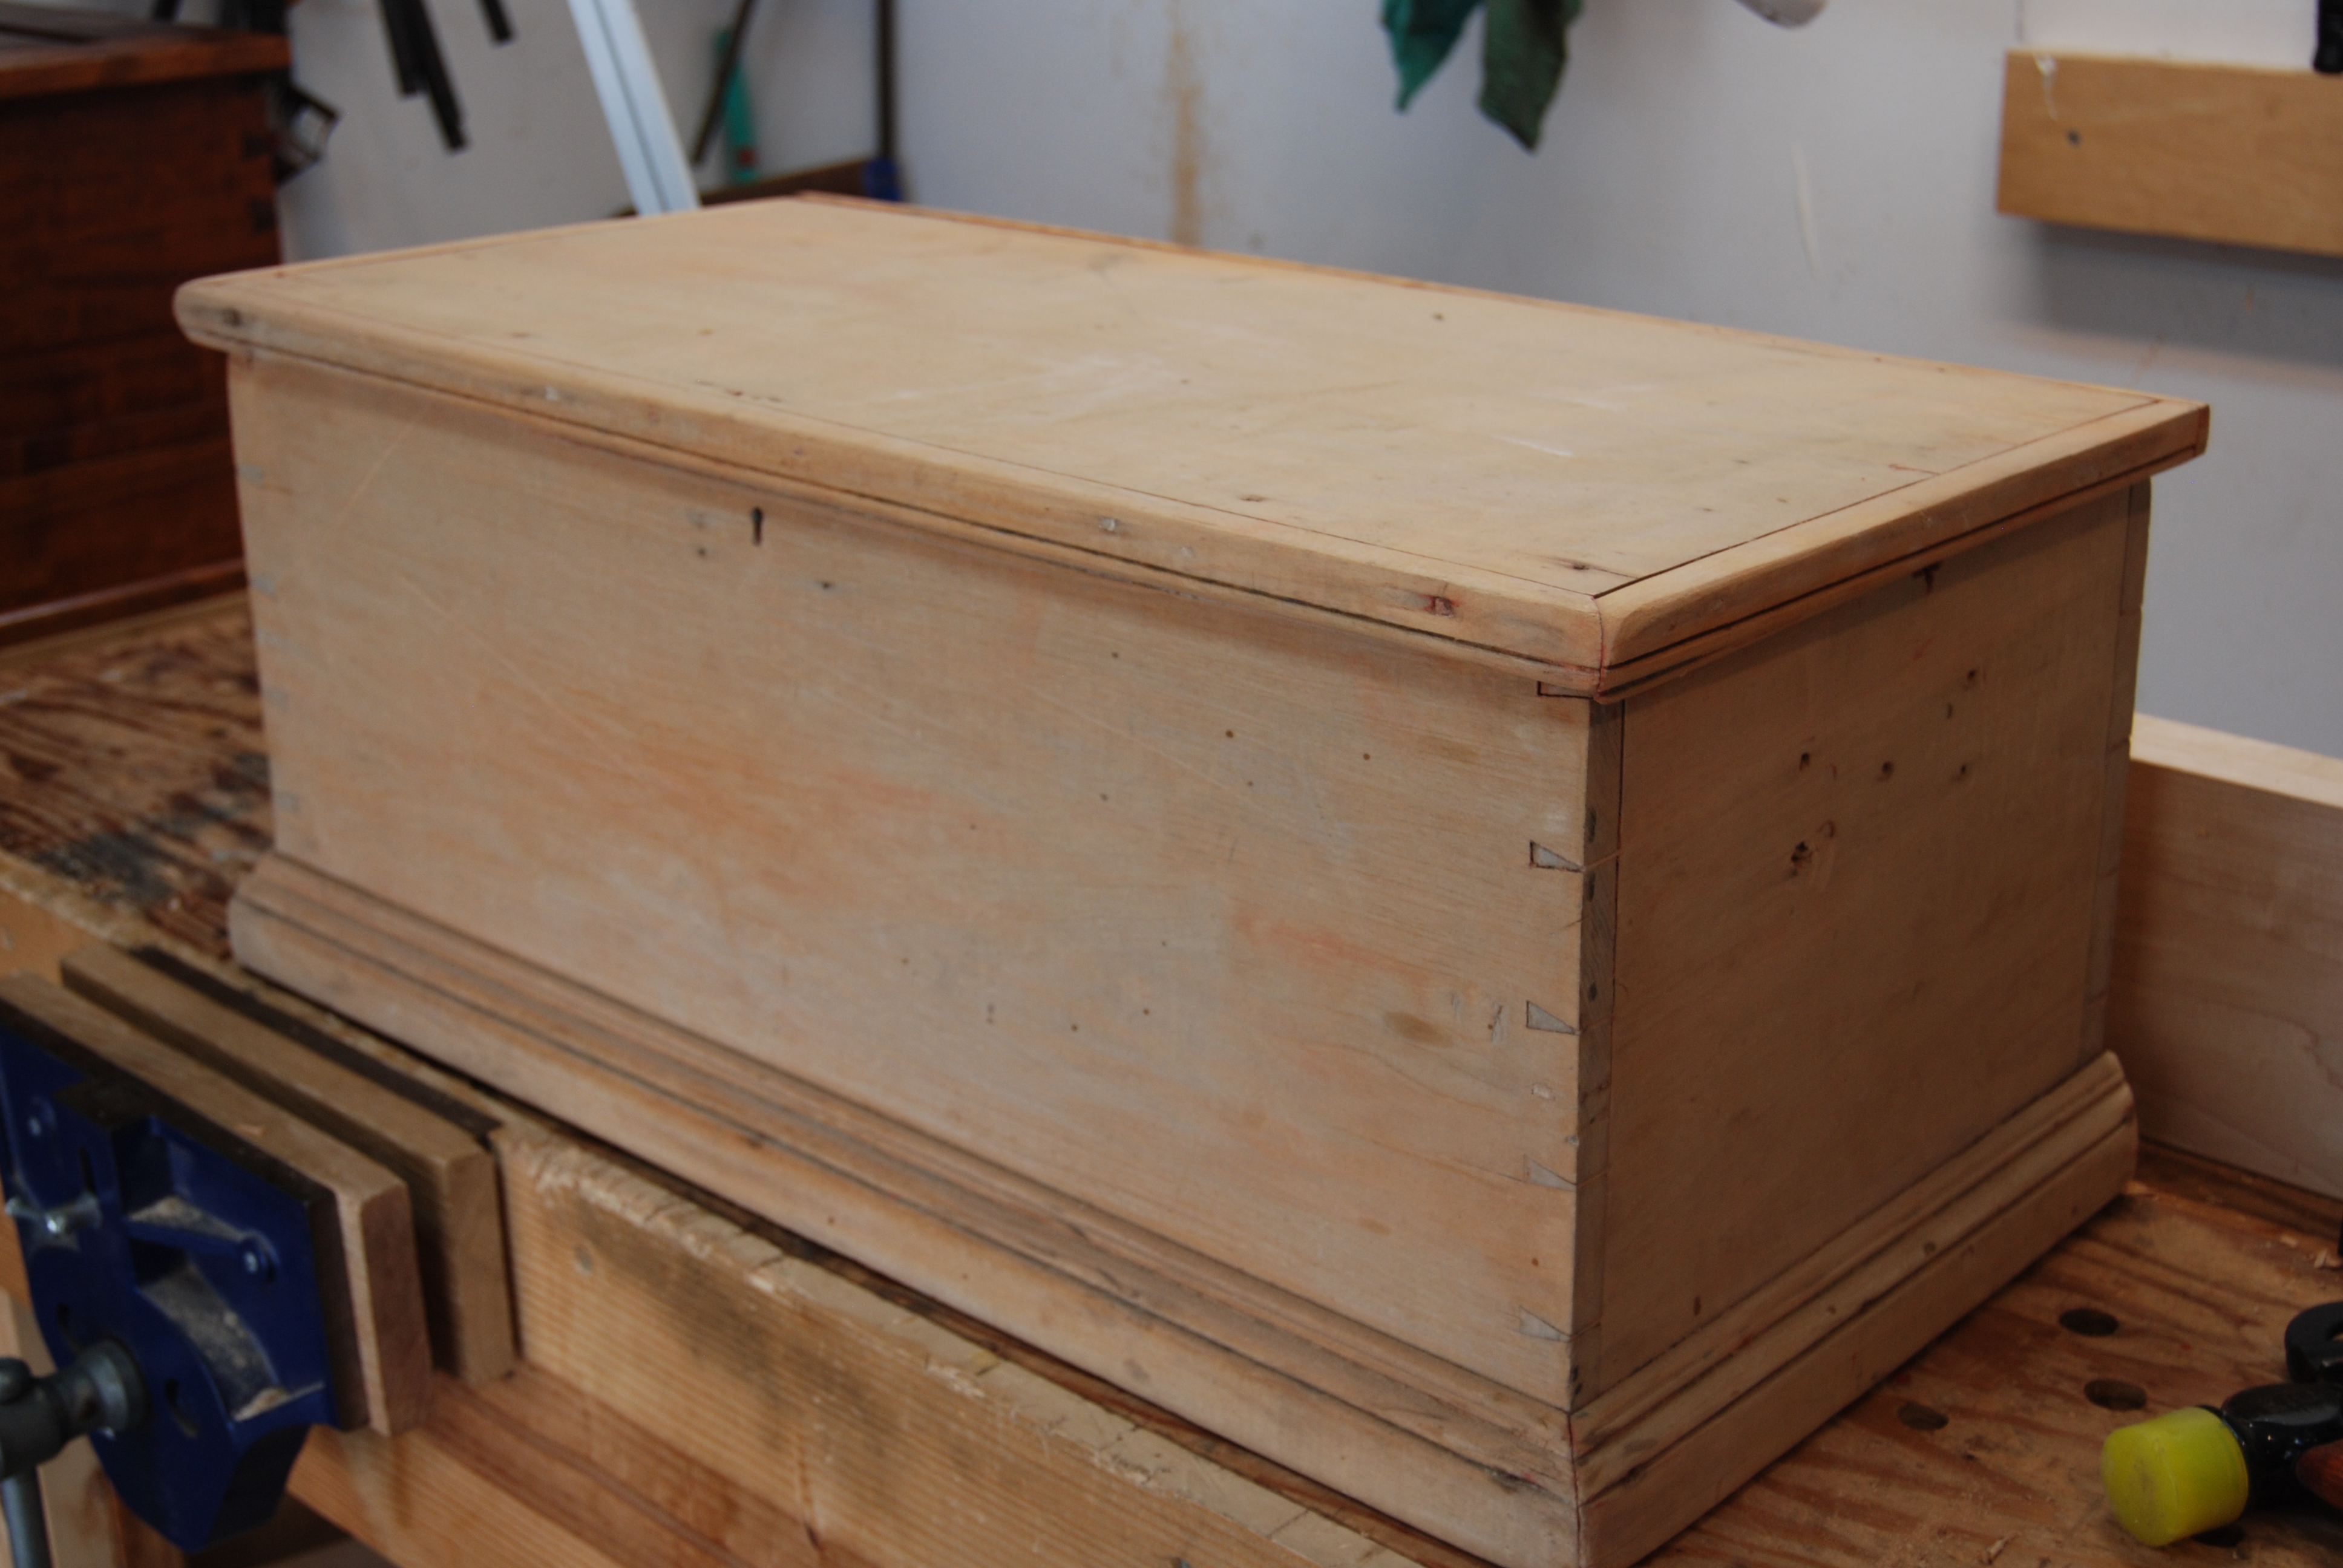
With this box I have three corners that look good with only a couple of minor changes required but the fourth corner needs a little work. Nothing major the joints are strong and fit well just a few cosmetic touches.

Filling in the minor gaps is simple, find wood that is similar in color ensure you match end grain to end grain and long grain to long grain and trim the wood to fit the gap and glue in place. Once the glue is dry trim with a chisel and plane it smooth. In most cases the gap disappears and will never be noticed. If needed you can fill in some fairly large gaps!
Box Making – Glue Up
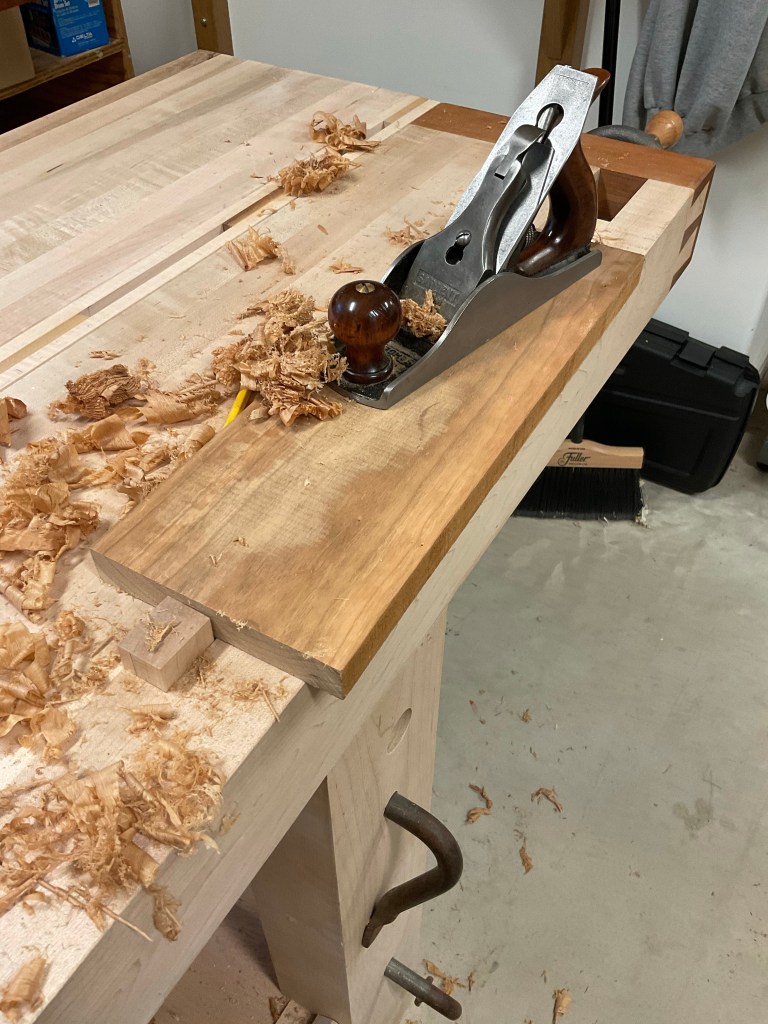
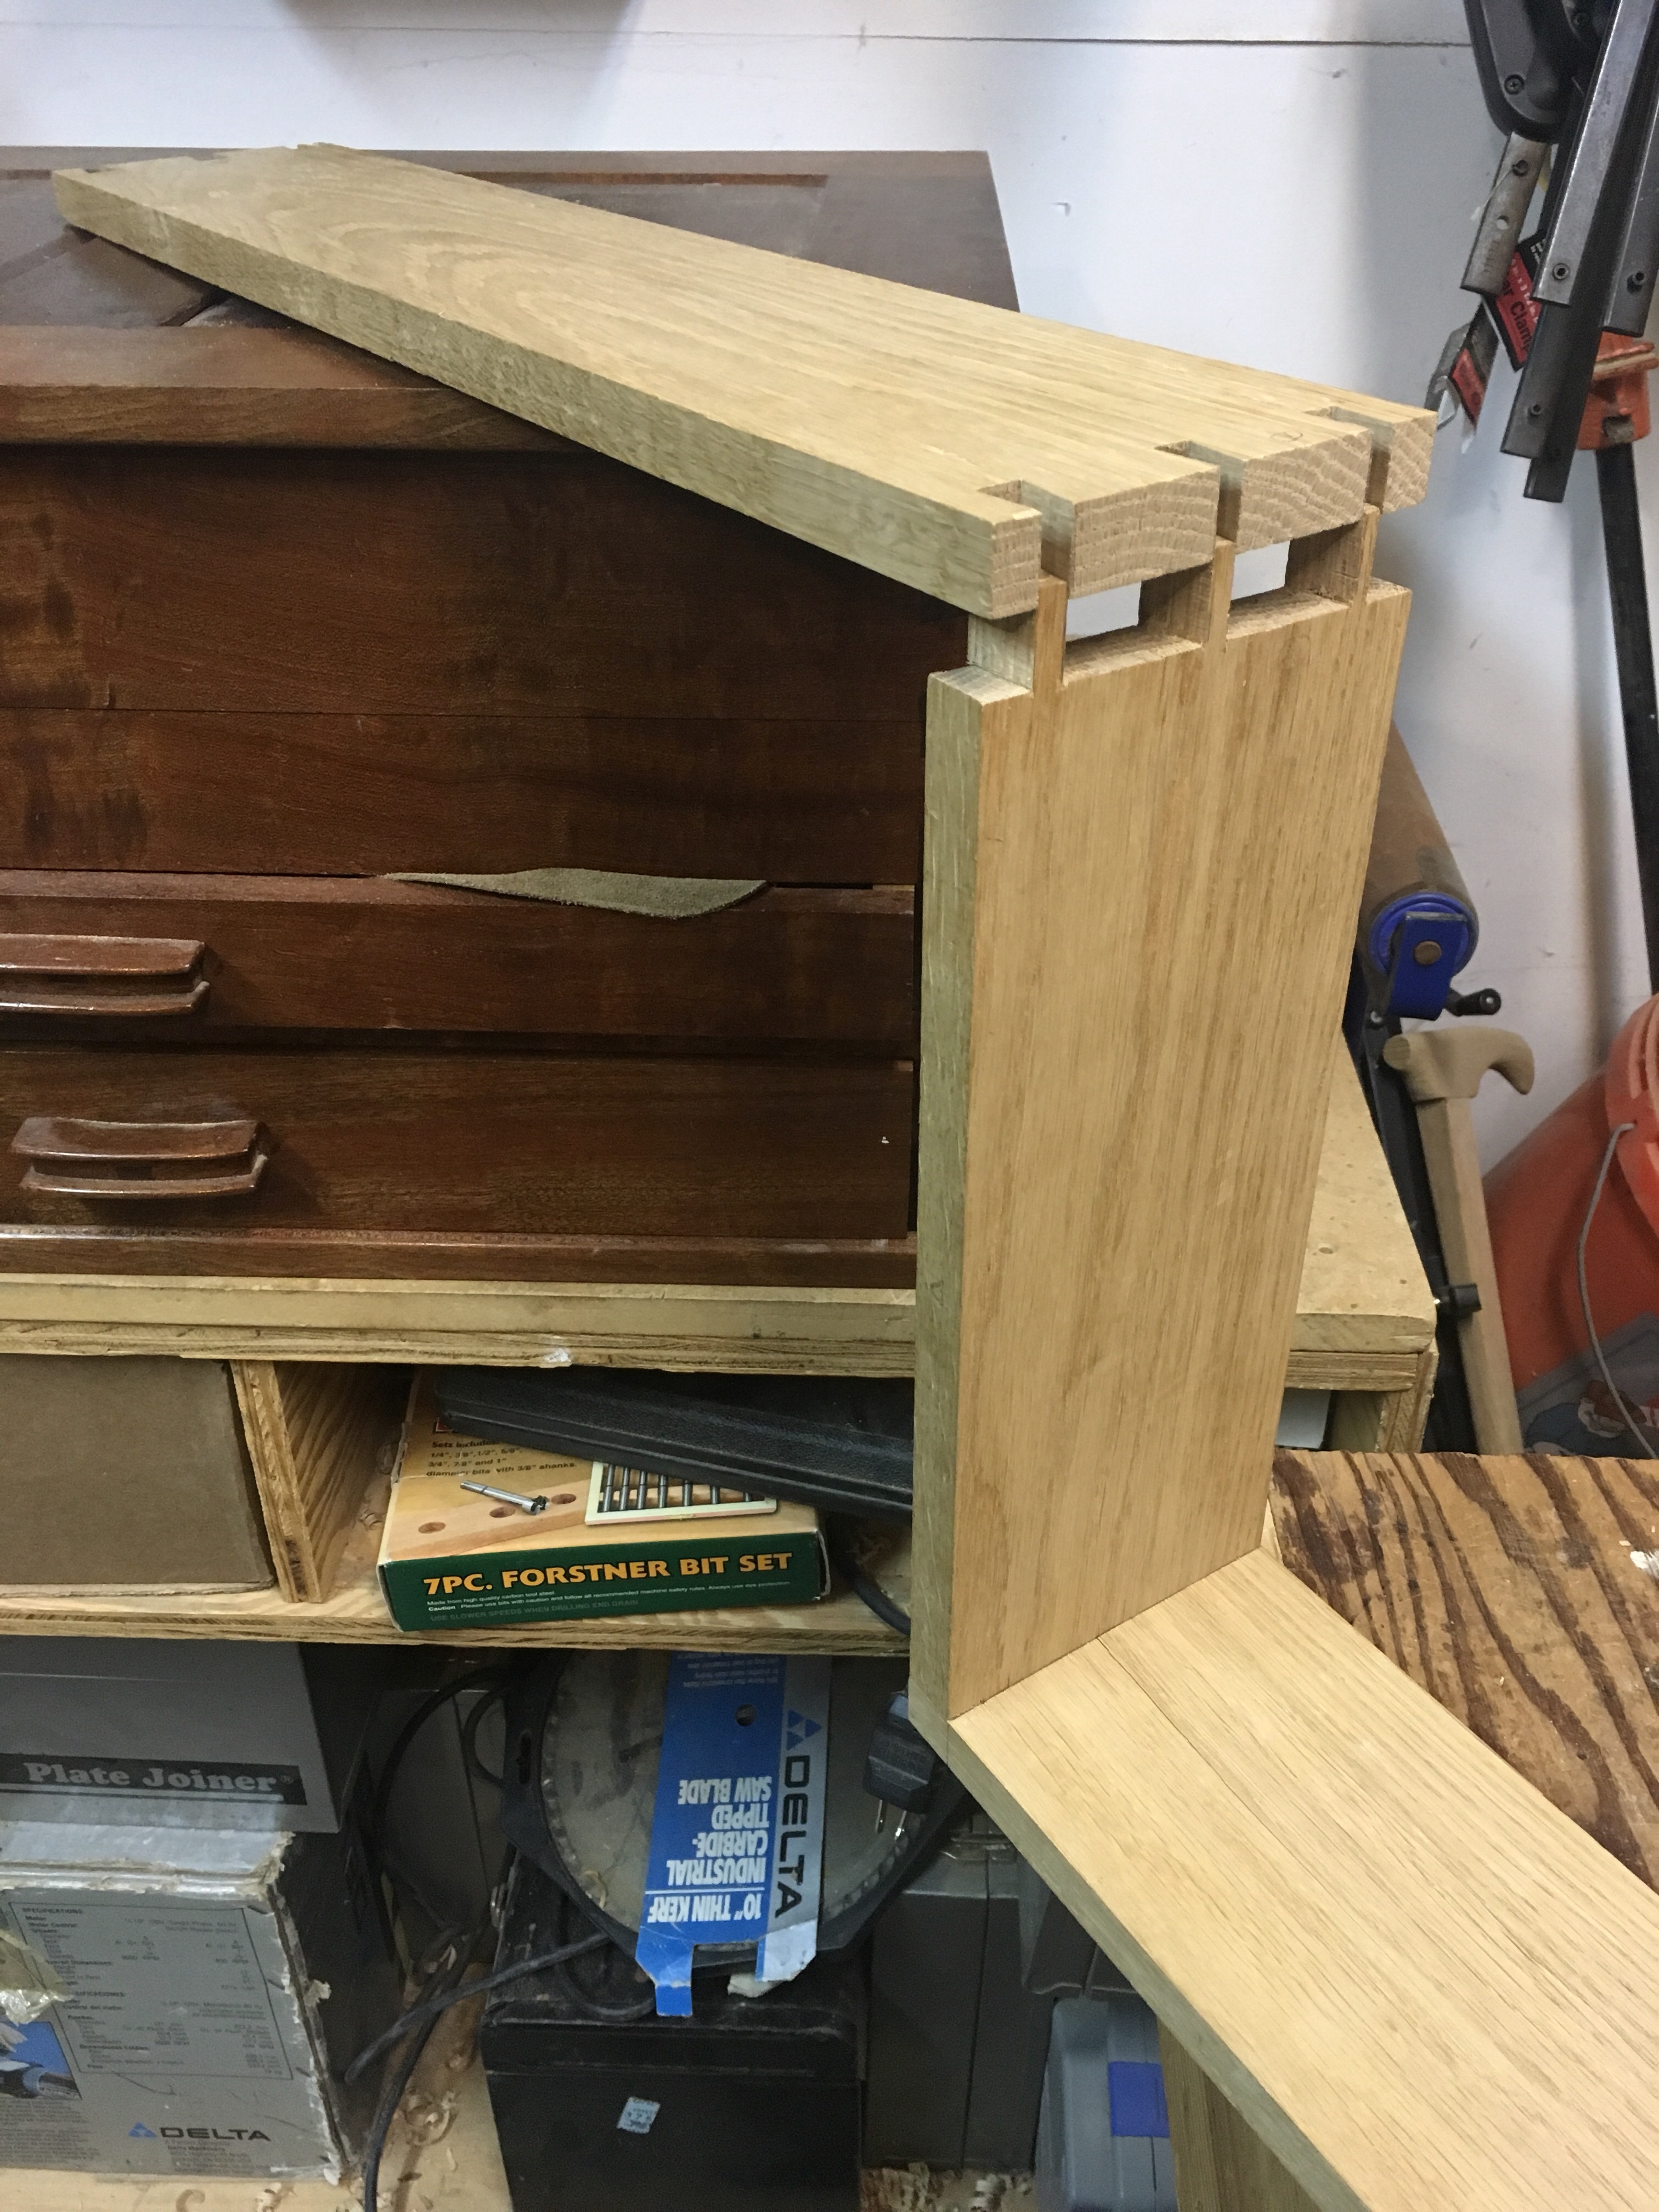
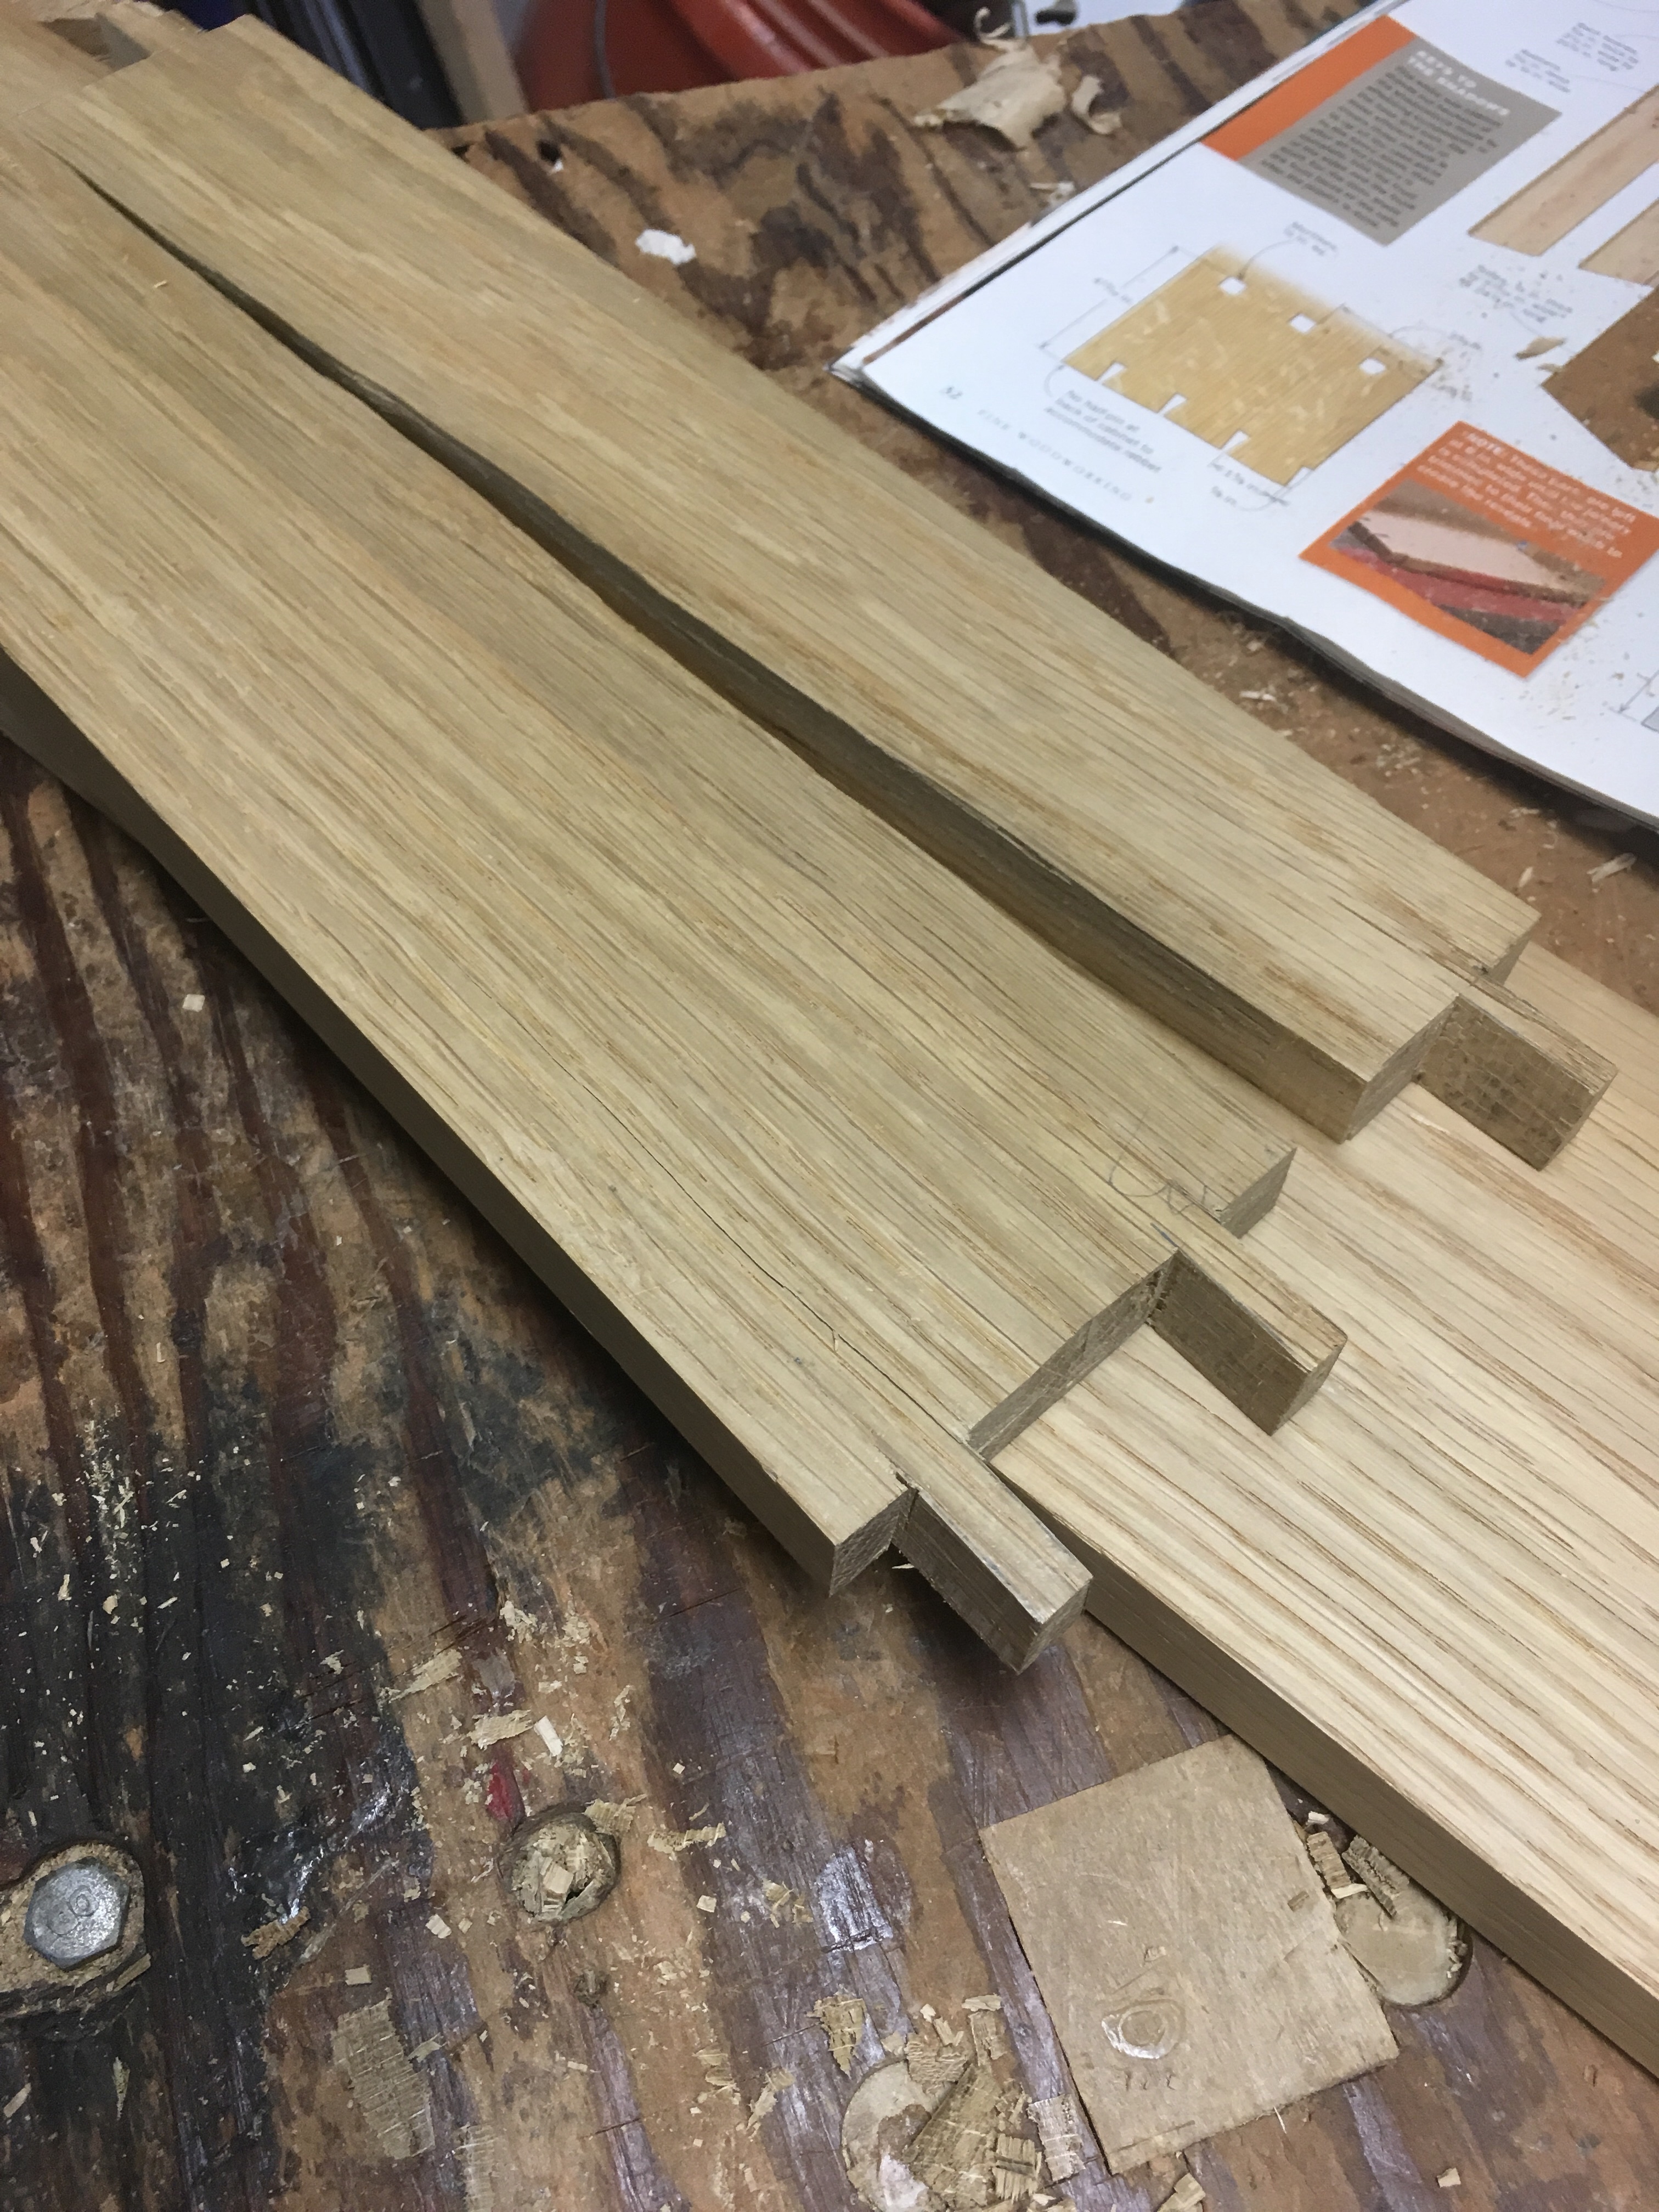
Before glueing up the box I needed to install the grooves for the future sliding door. I thought this could be done quickly on the table saw, but after a minute realized that it would not leave a flat groove since the saw teeth are offset. I grabbed the plow plane and in a few minutes had a 3/8 inch upper groove and 1/4 in lower groove completed. In most of the woodworking I do, it is often quicker to do the work by hand and much more pleasant.
There are more clamps then usual since I continued to have some minor warping from the humidity. I did not glue the back or shelf in place just let them ride free in the grooves.

This is a typical dovetailed box with only the integrated divider to consider so I didn’t plan on extensive practice prior to putting it together. But I did lay out all the clamps and place some brown paper on my bench. I did make some cauls to help glue the ends and then forgot to take a picture of the final glue up.

There are people that make perfectly fitting dovetails every time and I don’t envy their lack of opportunity to adjust the dovetails they make. Typically I will have at least one dovetail that needs some work along with a saw cut that went a little too far and perhaps somewhere the wood chipped. Frequently I can also pick out the dovetail that was cut first. After the glue up we’ll se how I did.
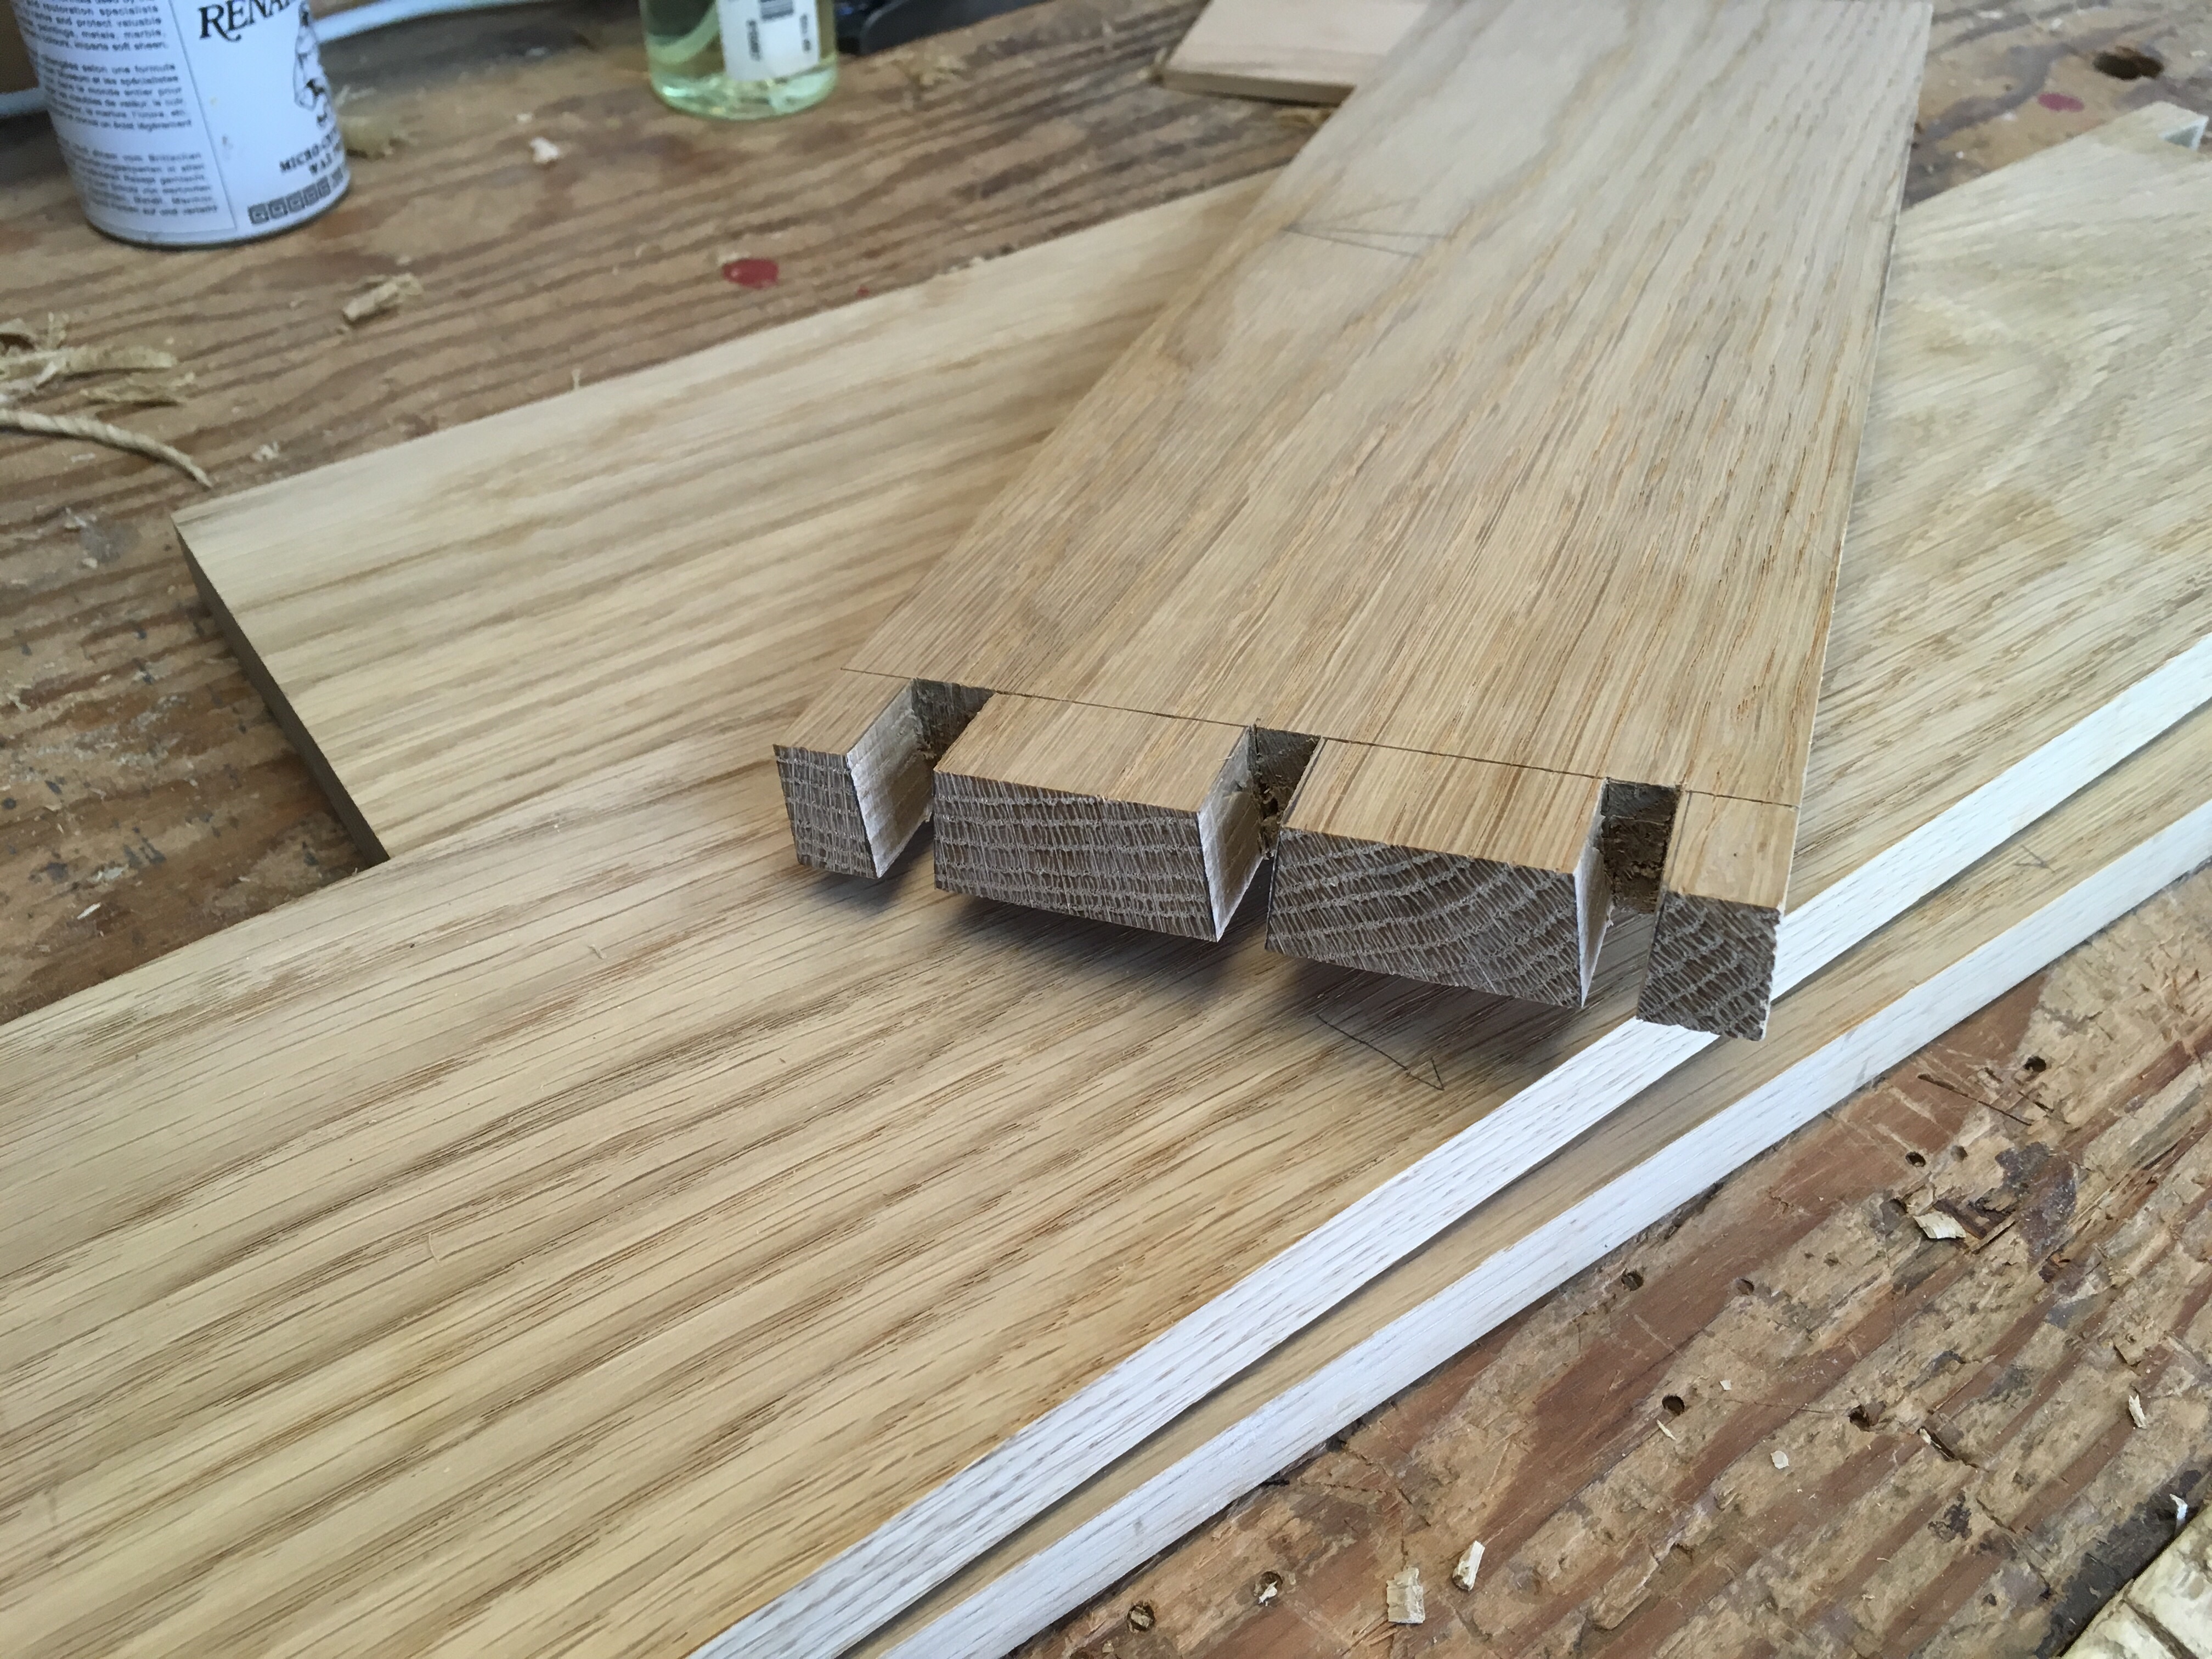
Box Making – Marking up Dovetails
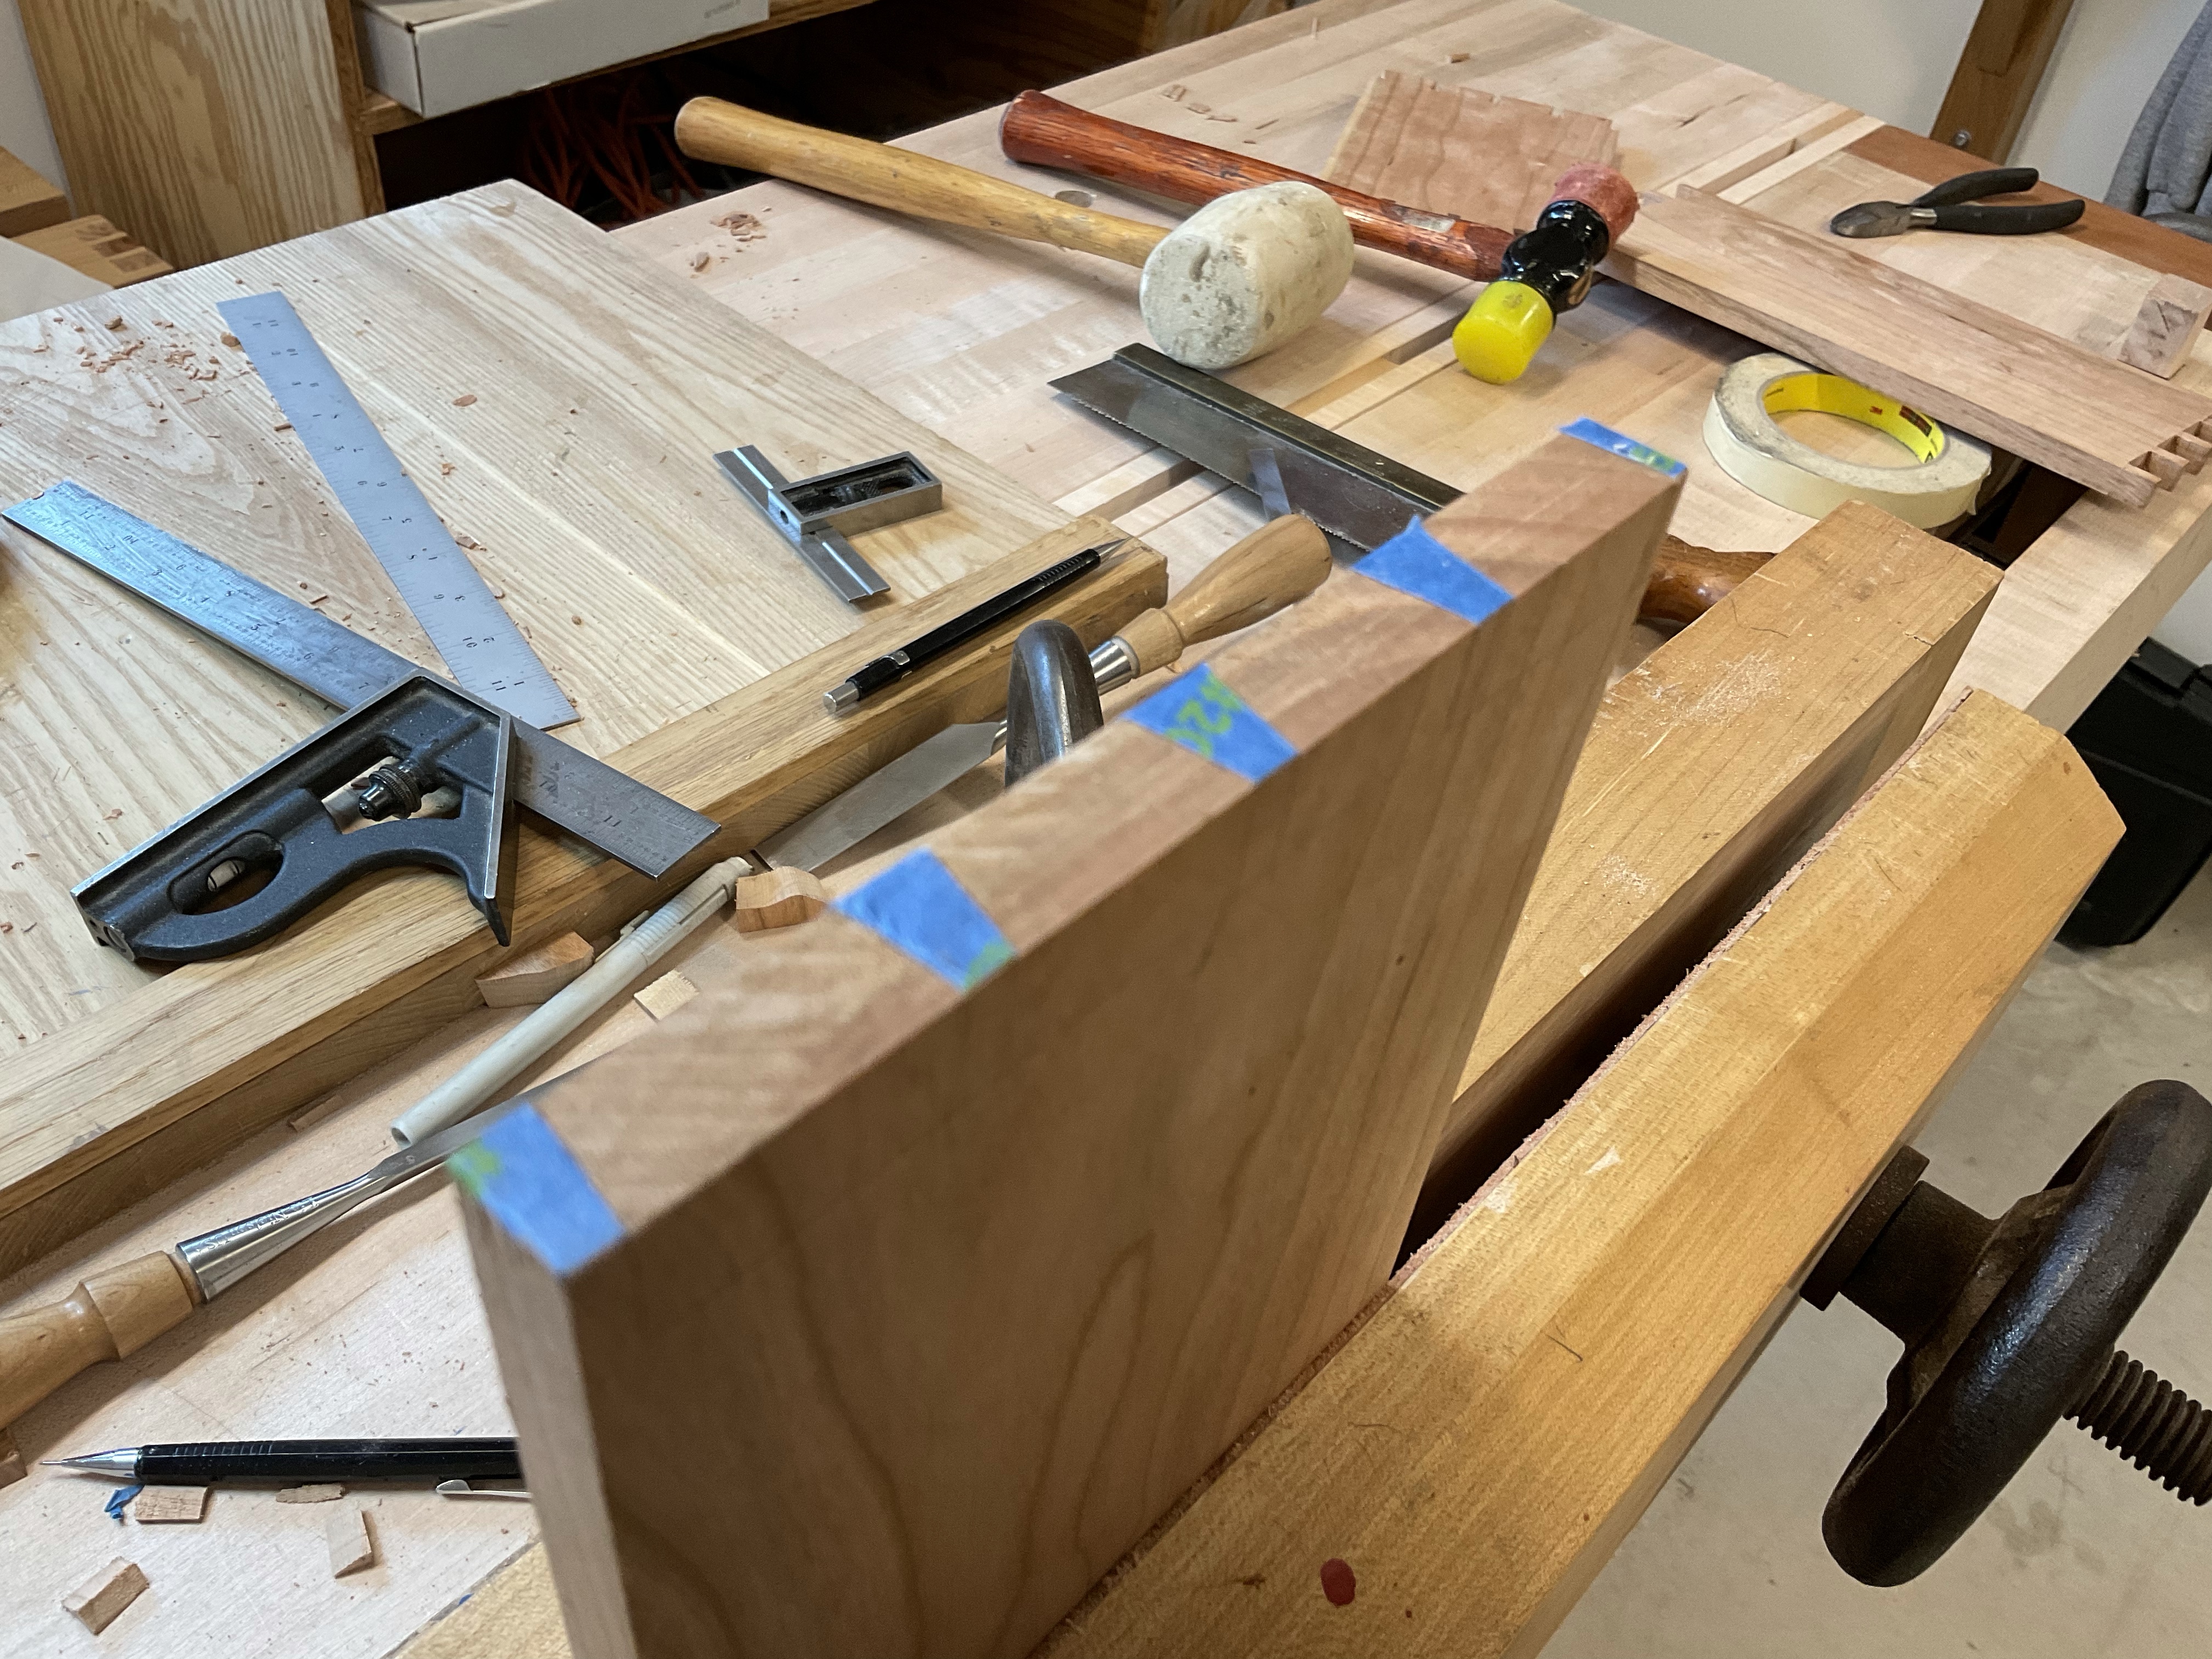
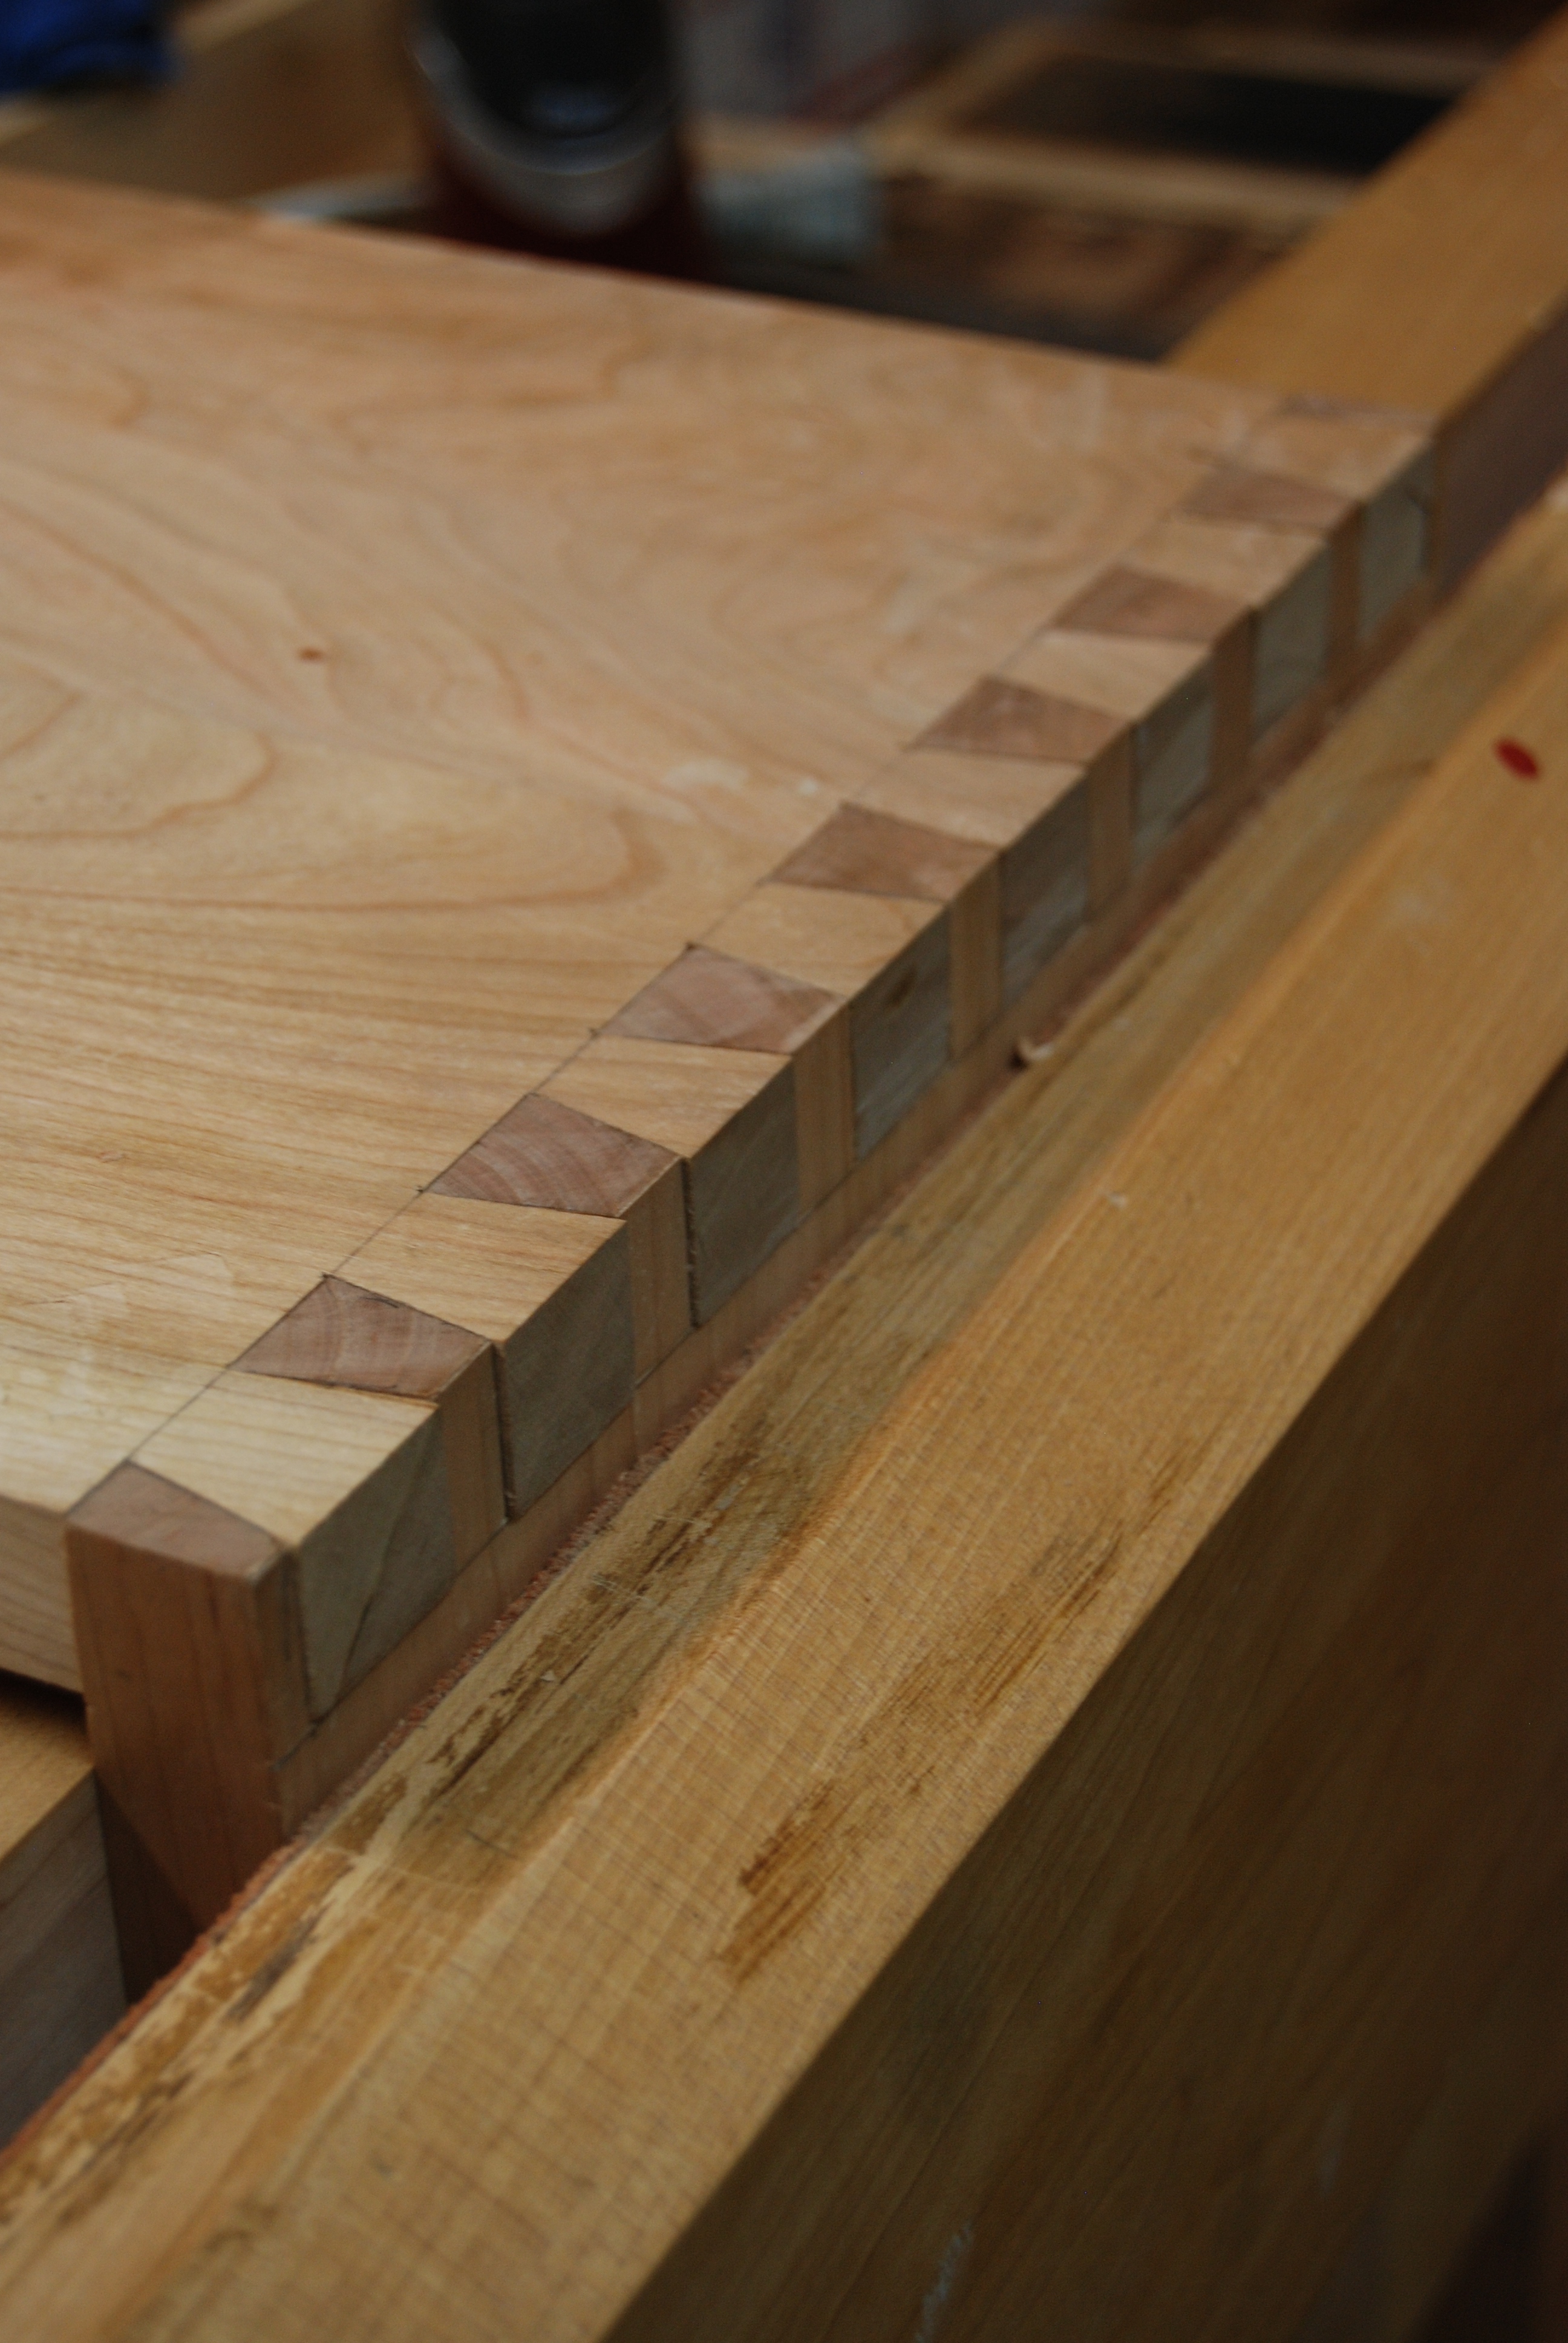
Looking through the posts on my site it’s been a while since I made a dovetail joint. The last appears to be the Roubo End Cap that I completed in 2019 and even longer ago since I made a box. Needless to say, I am rusty in my layout skills. Taking a few minutes to brush up on the use of dividers and dig out various tools I remembered the article that Mike Pekovich wrote about using blue tape and decided that this would be great time to give it a try.
Planing everthing smooth and square, I dug through the Fine WoodWorking articles until I found one that described the use of Blue tape. There are many articles, dig around and find the one that works for you.

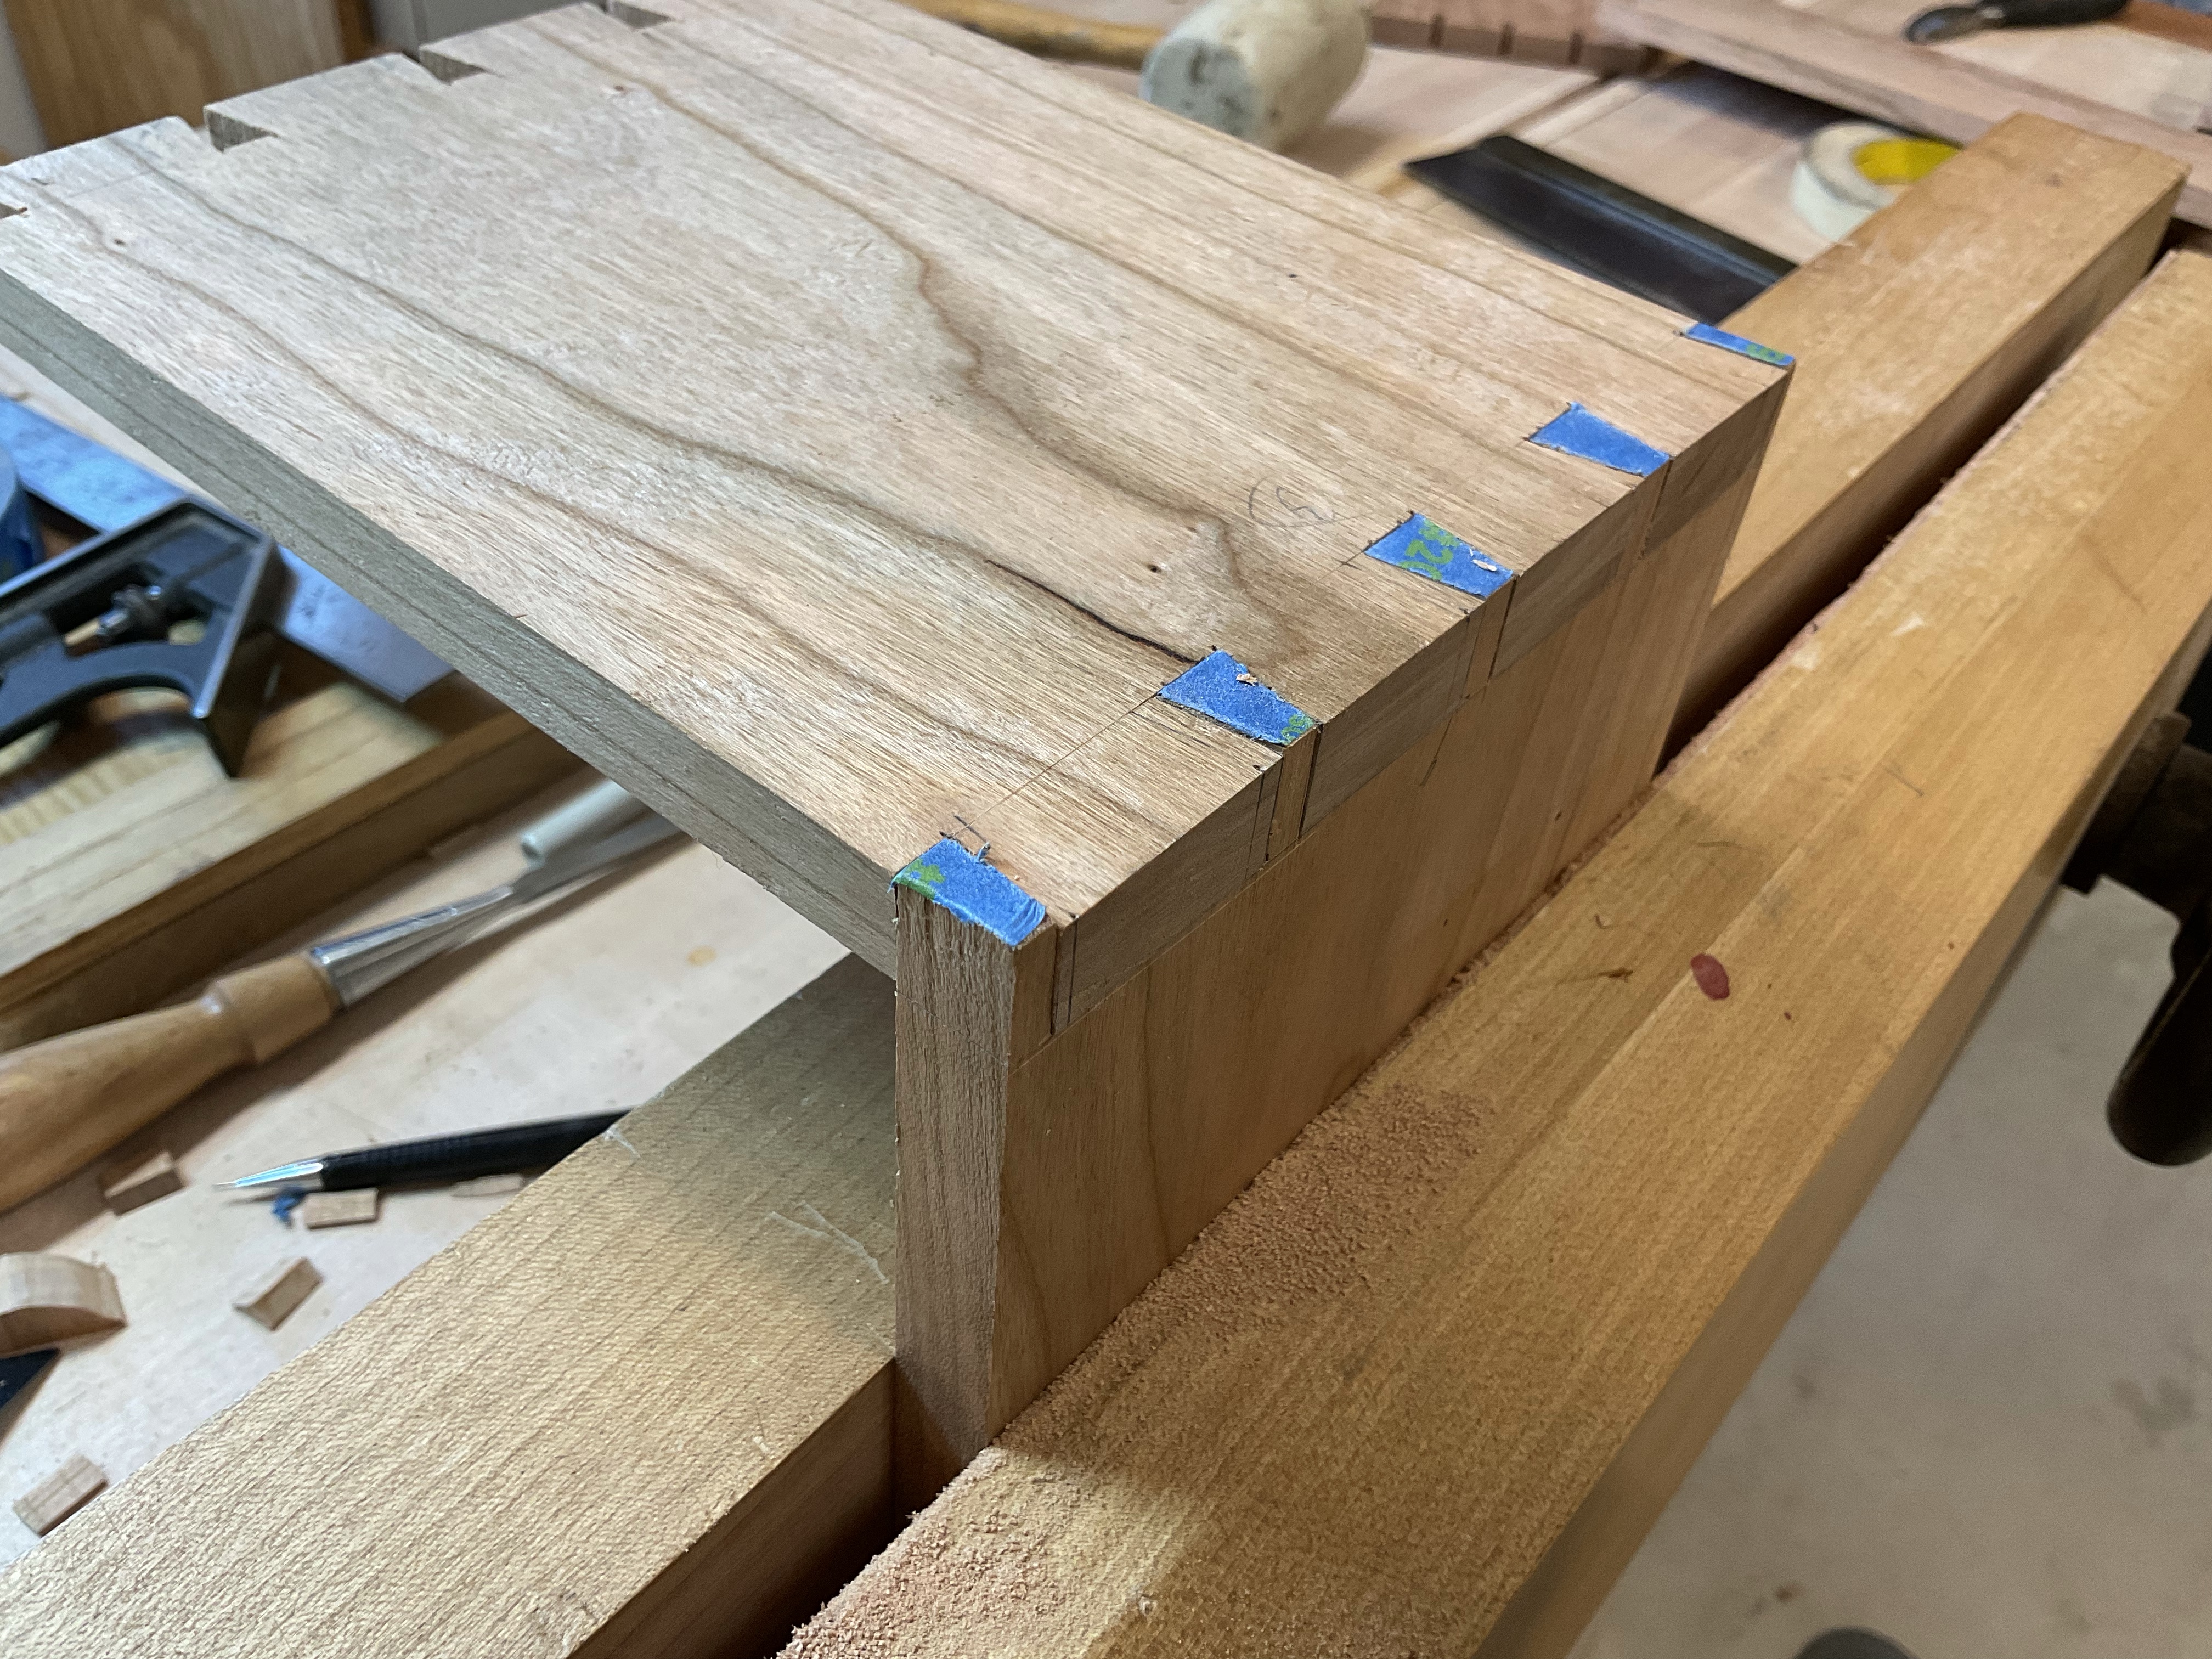
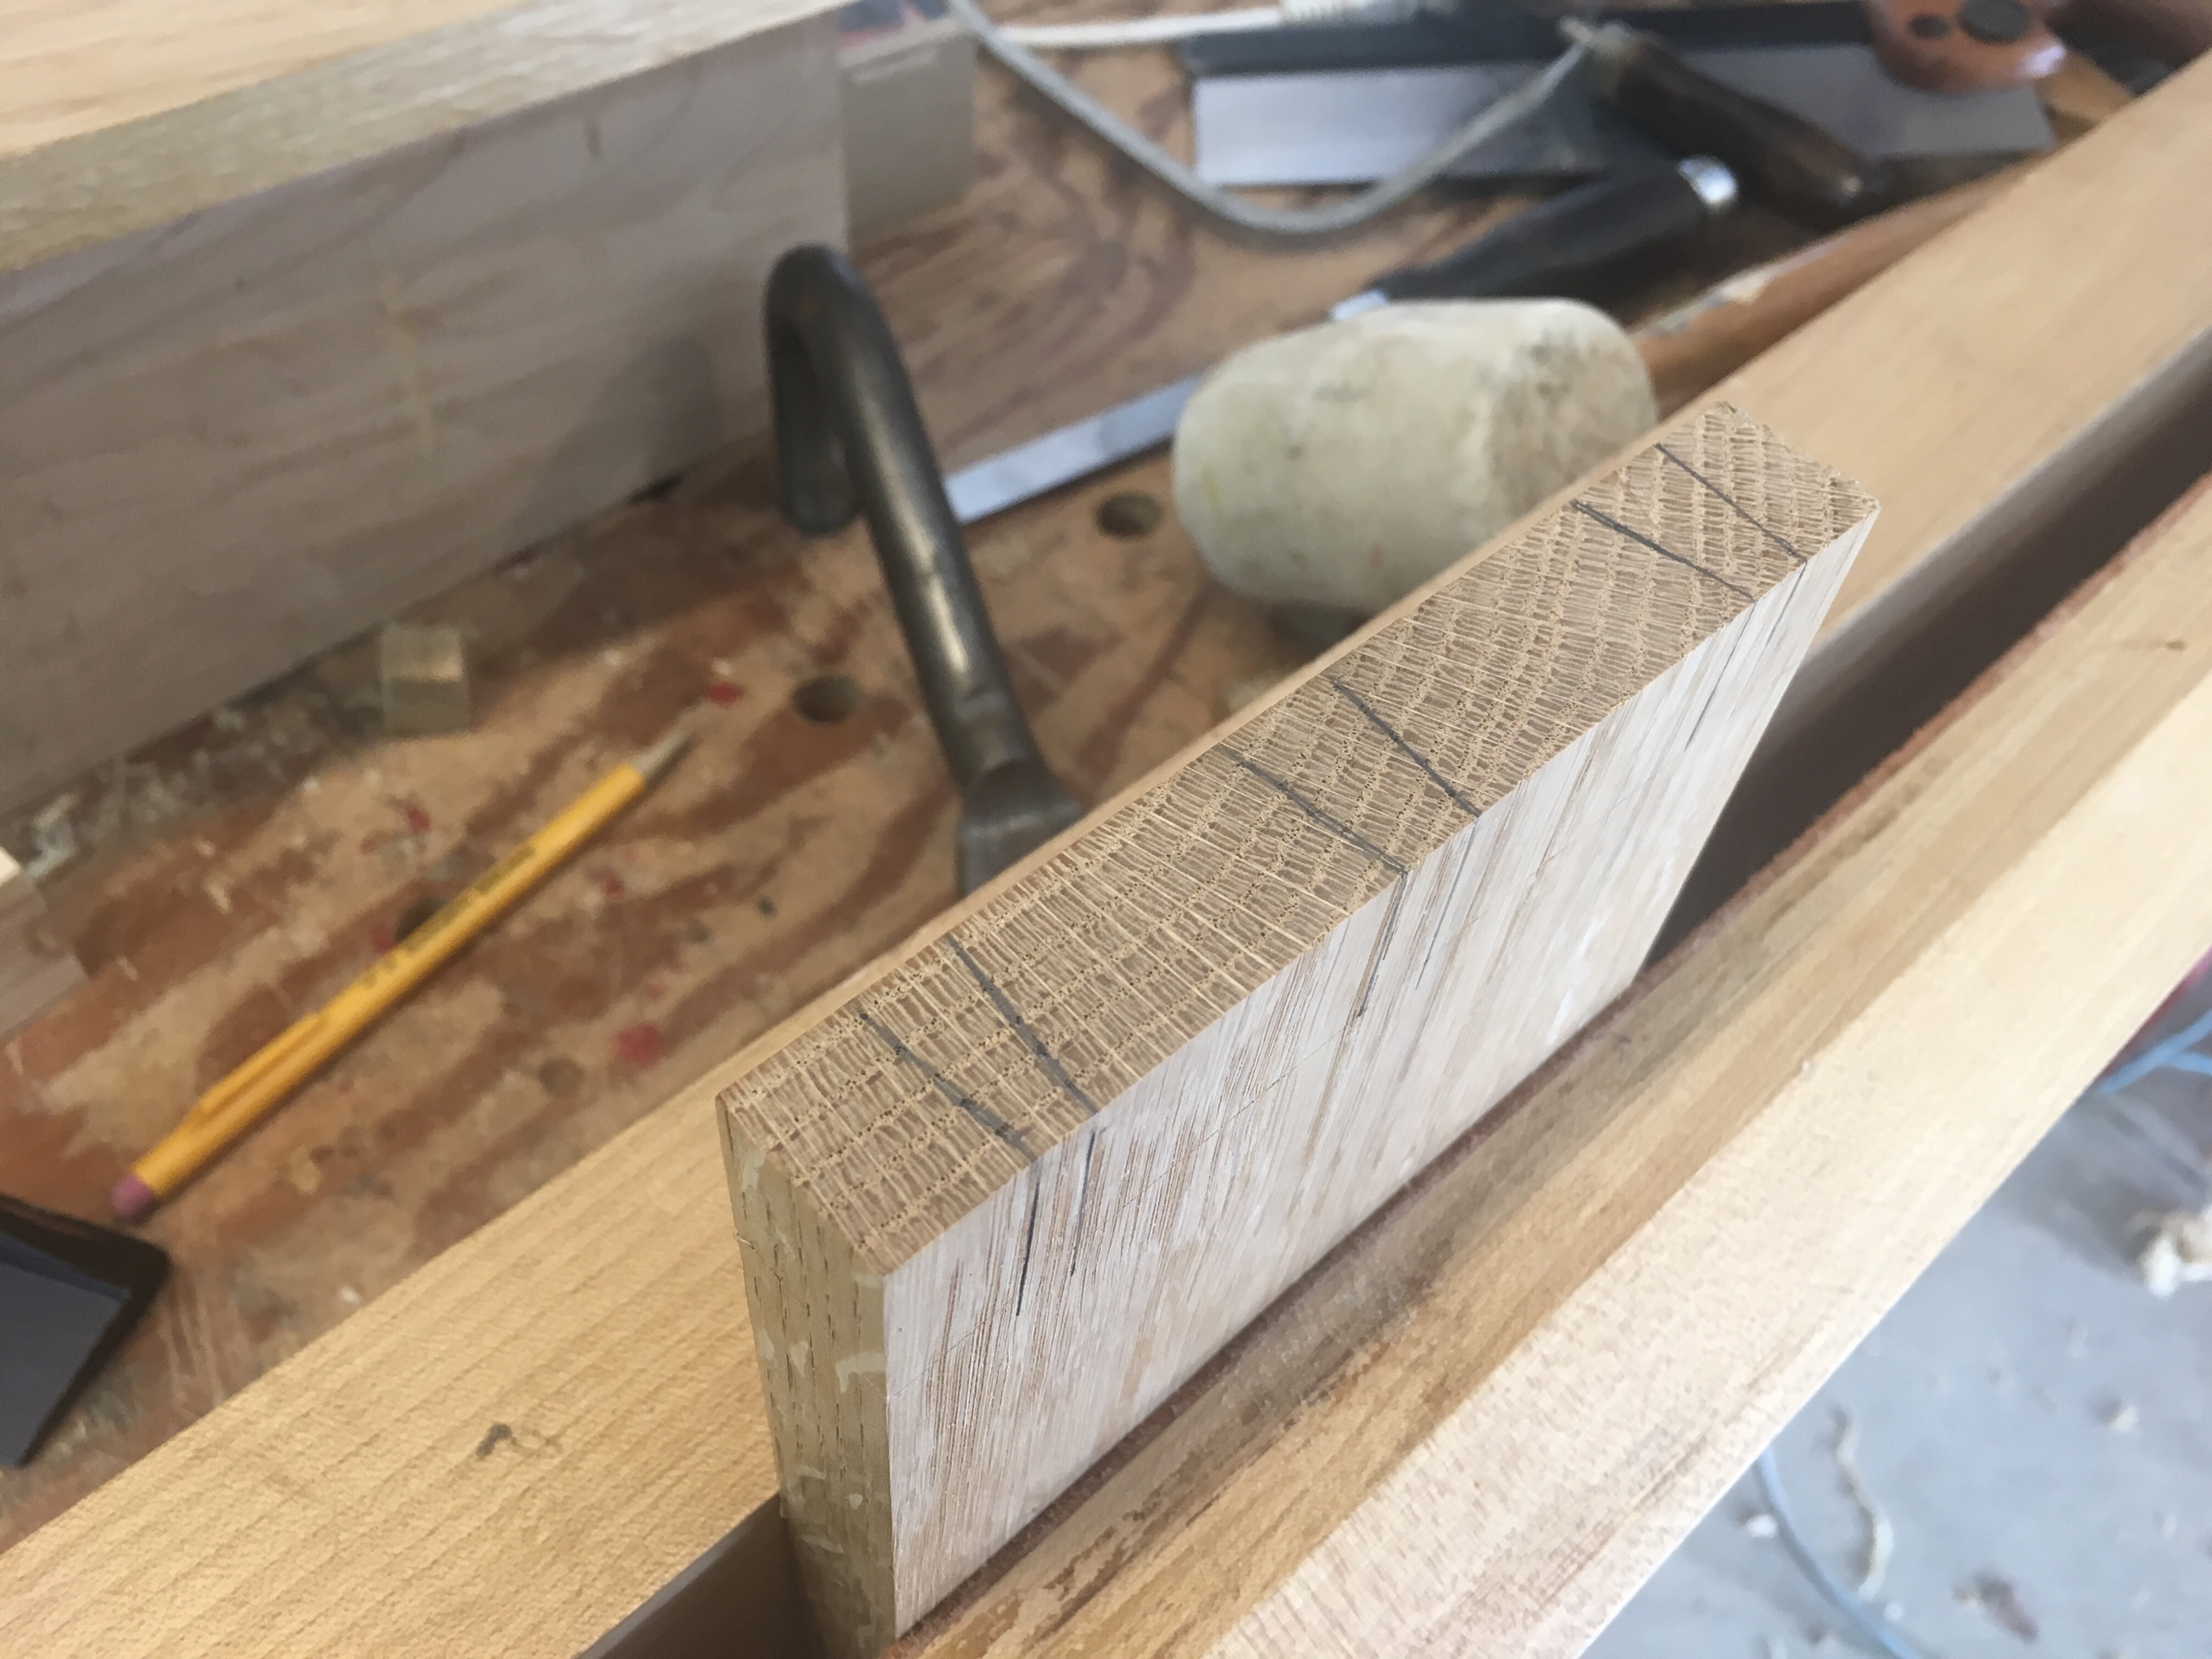
After grabbing the essential layout tools, I marked out the tails on one board and then placed blue tape on the board that will have the matching pins. After cutting out the tails I laid the tails board on top of the board to be marked out for the pins and using a sharp marking knife cut the tape. Then peelsd out the areas that need to be removed. Please read the article. I don’t intend this to be a blog on how to use the blue tape but the effectiveness of the method.

I then followed my method for sawing the doovetails and removing the waste. We have all seen the articles and comments about the blue tape method and indeed it work and extremely well. In fact I only had to adjust one pin which I actually over trimmed. Everything else fit right off the saw! The tape is easy to see and provides just enough edge to provide a guide for the saw. Definately an excellent technique.
Small Cabinet – Comedy of Errors
You’ve got to laugh at yourself when things begin to go awry. It began this weekend with a miss cut pin. Not paying attention I cut on the inside of the line rather than the outside on the first pin. This would work great for tails but alas it was not a tail I sought. Instead of beginning again I realized it would be an easy fix after glue up and moved on. It’s always a fun challenge to hide your mistakes.
Not long after, I managed to cut pins in the wrong direction. This was an interesting mistake since at the time I was thinking about ensuring I avoided this error on the final board which is where it usually happens.
The final mistake of the day occurred when disassembling the boards. A couple of taps with the dead blow hammer and I split the board in half. I was actually chuckling to myself at this point as I put the boards into the scrap bin. Good time to clean the shop I think…..
Small Cabinet
It’s been a while since I’ve done serious woodworking. I’ve sharpened tools, planed boards but generally accomplished little for several months. There’s a couple of big projects that I’d like to tackle but a little practice first will help get my head thinking in the right direction. I’ve always admired the work of Mike Pekovich (Fine Woodworking June 2016) so decided to make a Cabinet similar to one in an article in the magazine. Cabinets are great for teaching skills and I think this will be a good refresher.
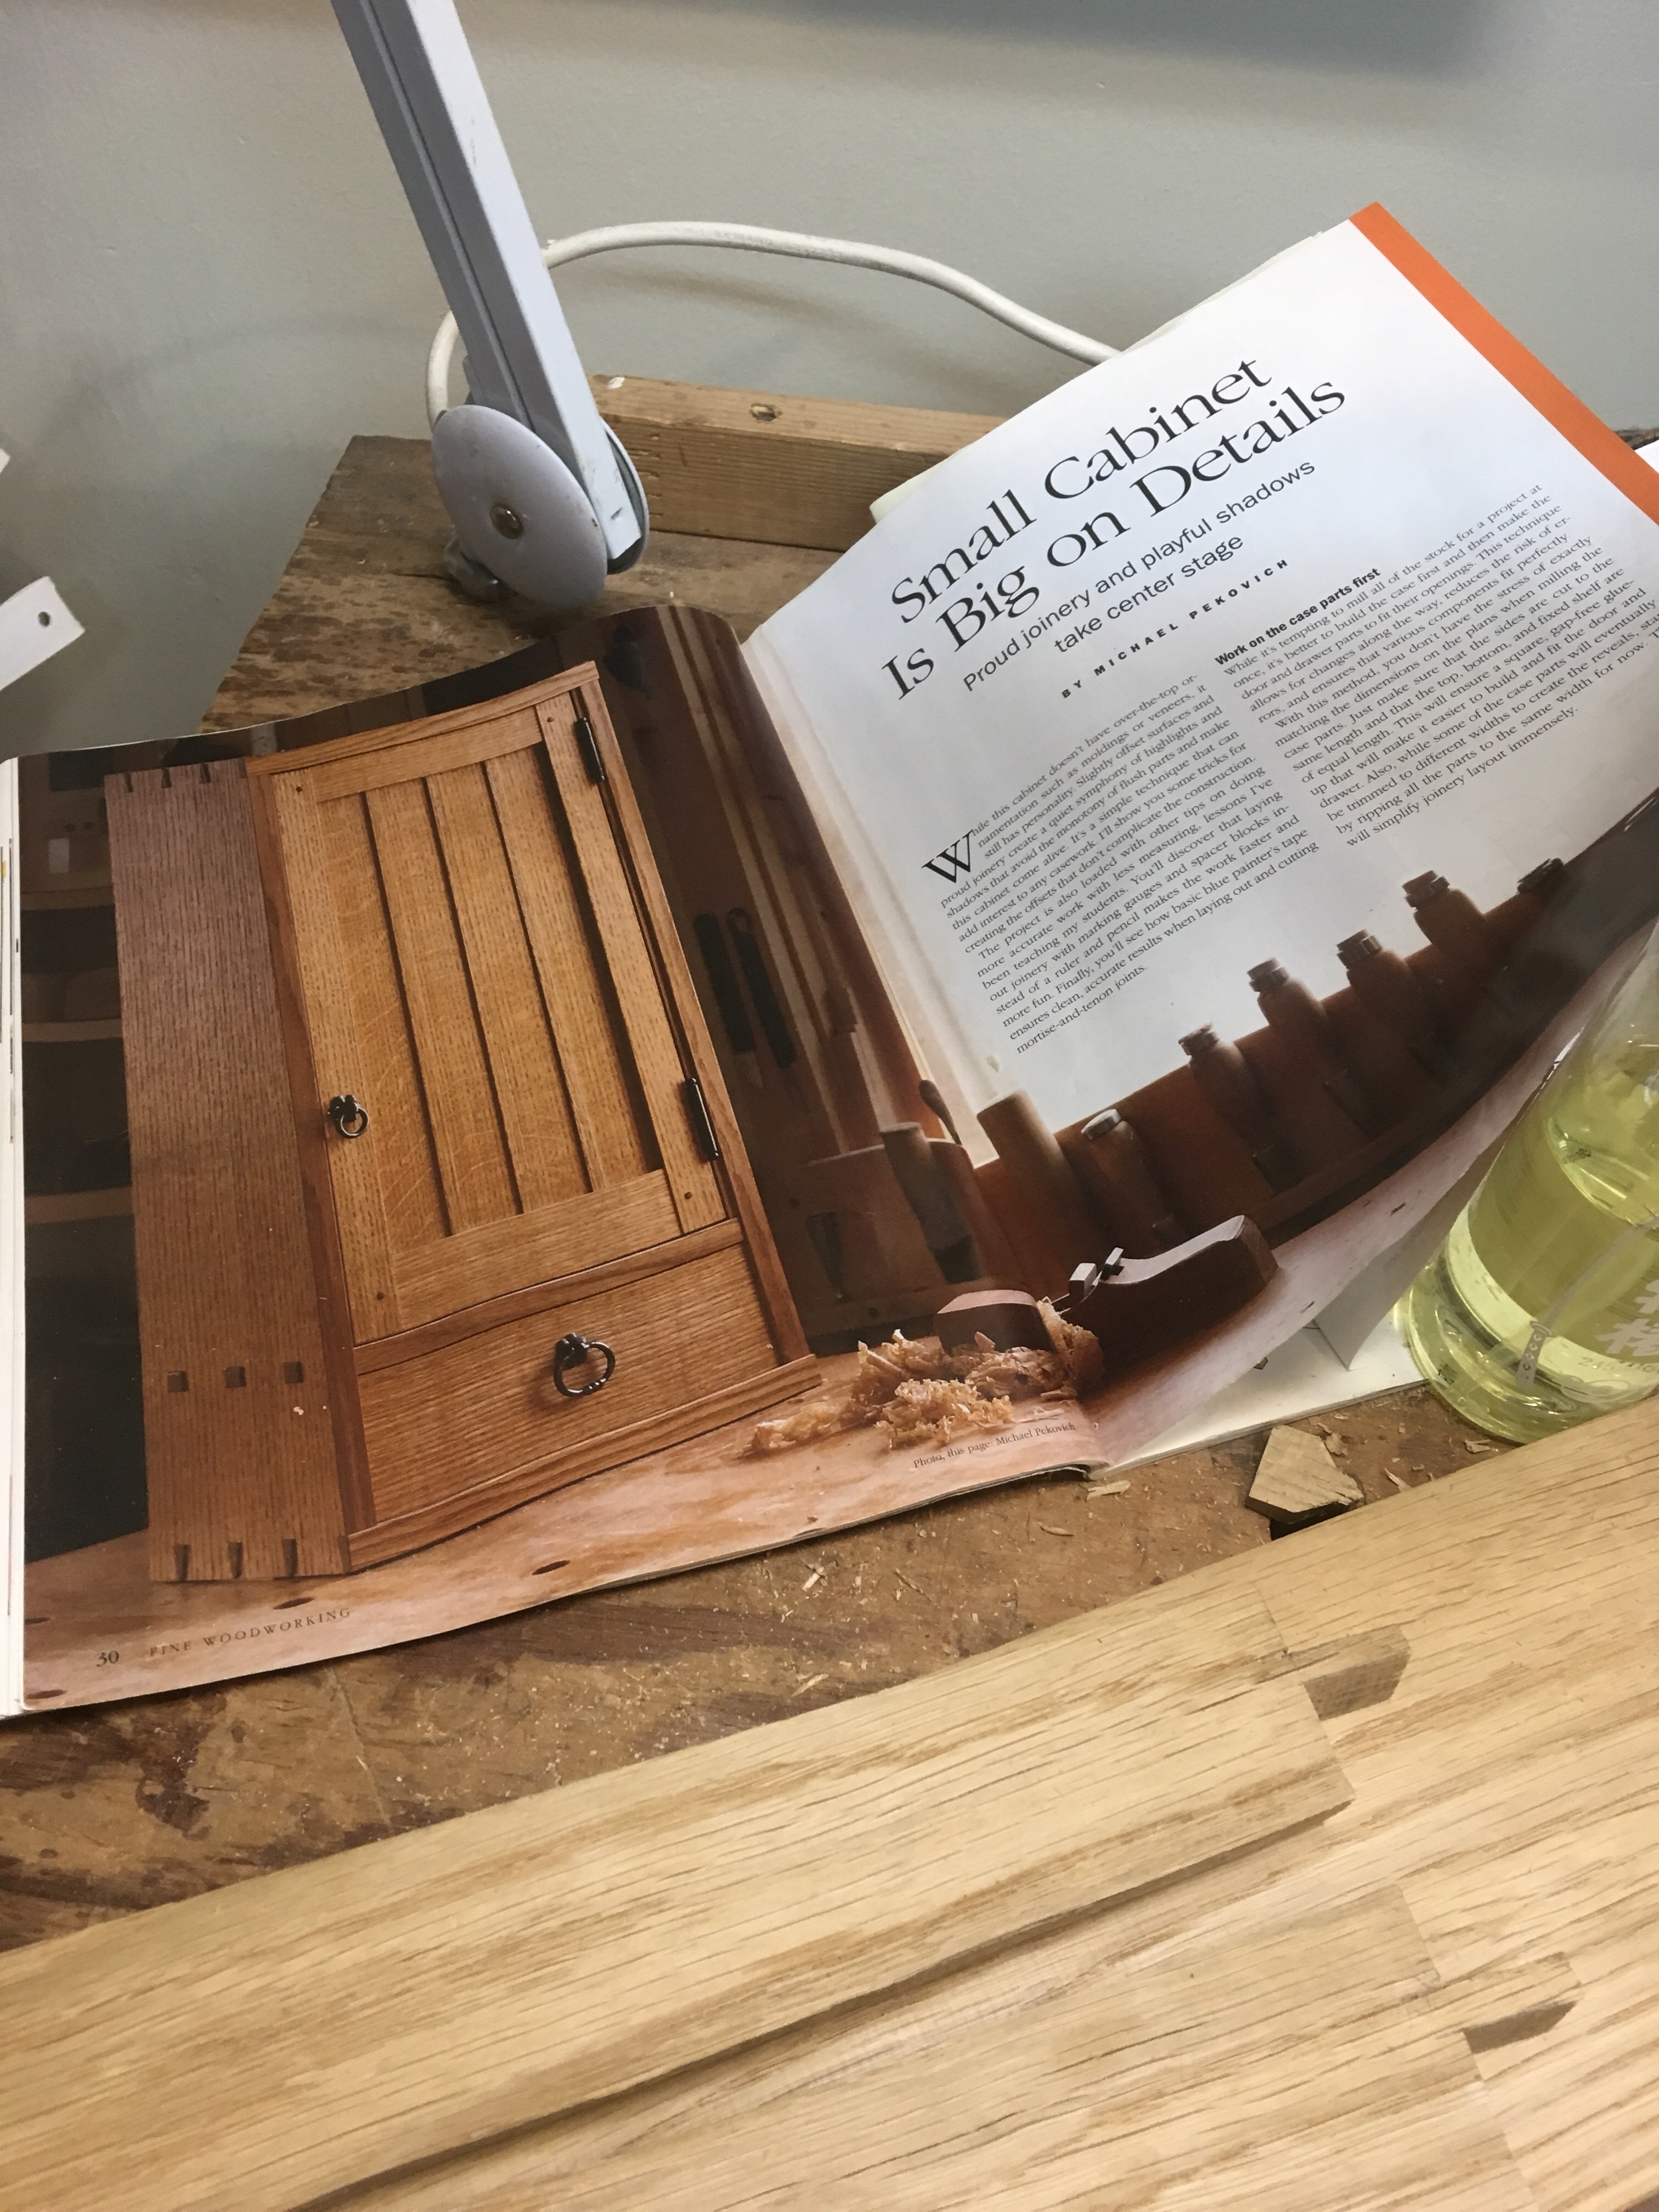
Digging around in my scraps and off cuts there’s enough oak to make the Cabinet and maybe some cherry for a second if I modify the dimensions from those shown in the magazine.
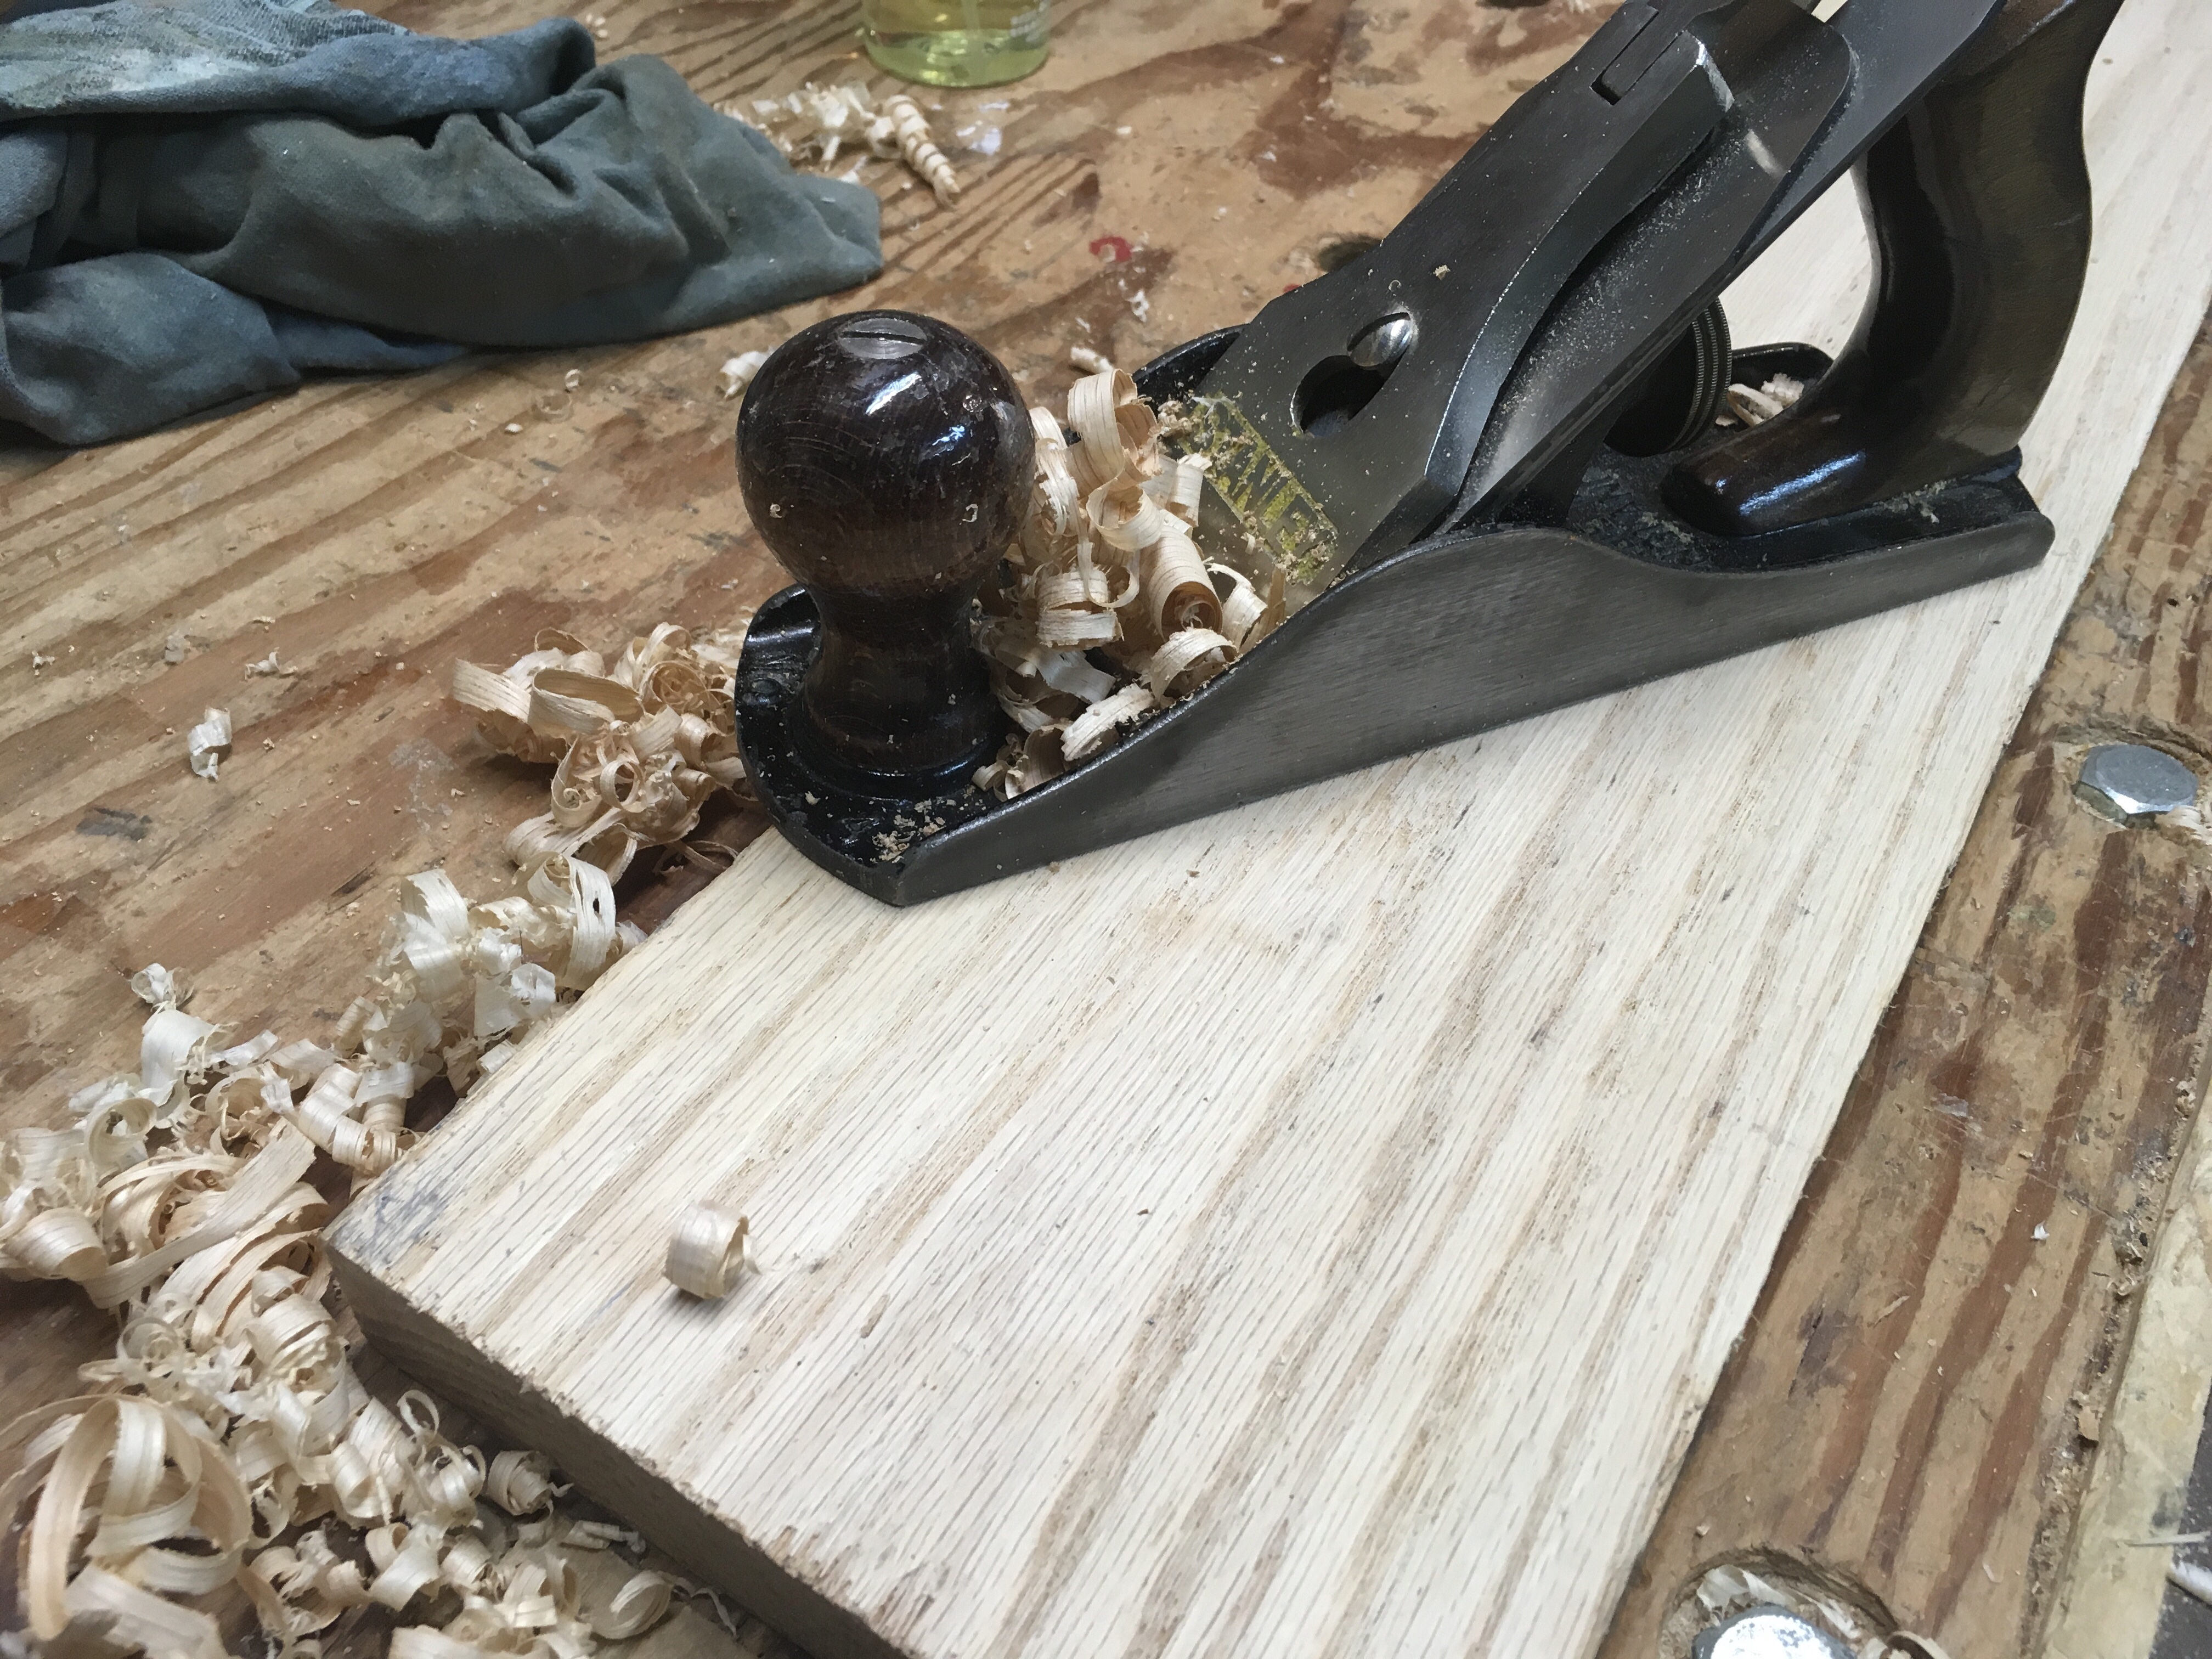

Since purchasing my shooting plane it’s changed the way I work dramatically. I used a number 5 plane for many years but tended to skip shooting on most occasions. This usually led to less then ideal joints. The shooting plane has made it quicker and easier to be accurate. With the lumber dimensioned I sawed out the tails and carefully laid out the pins. o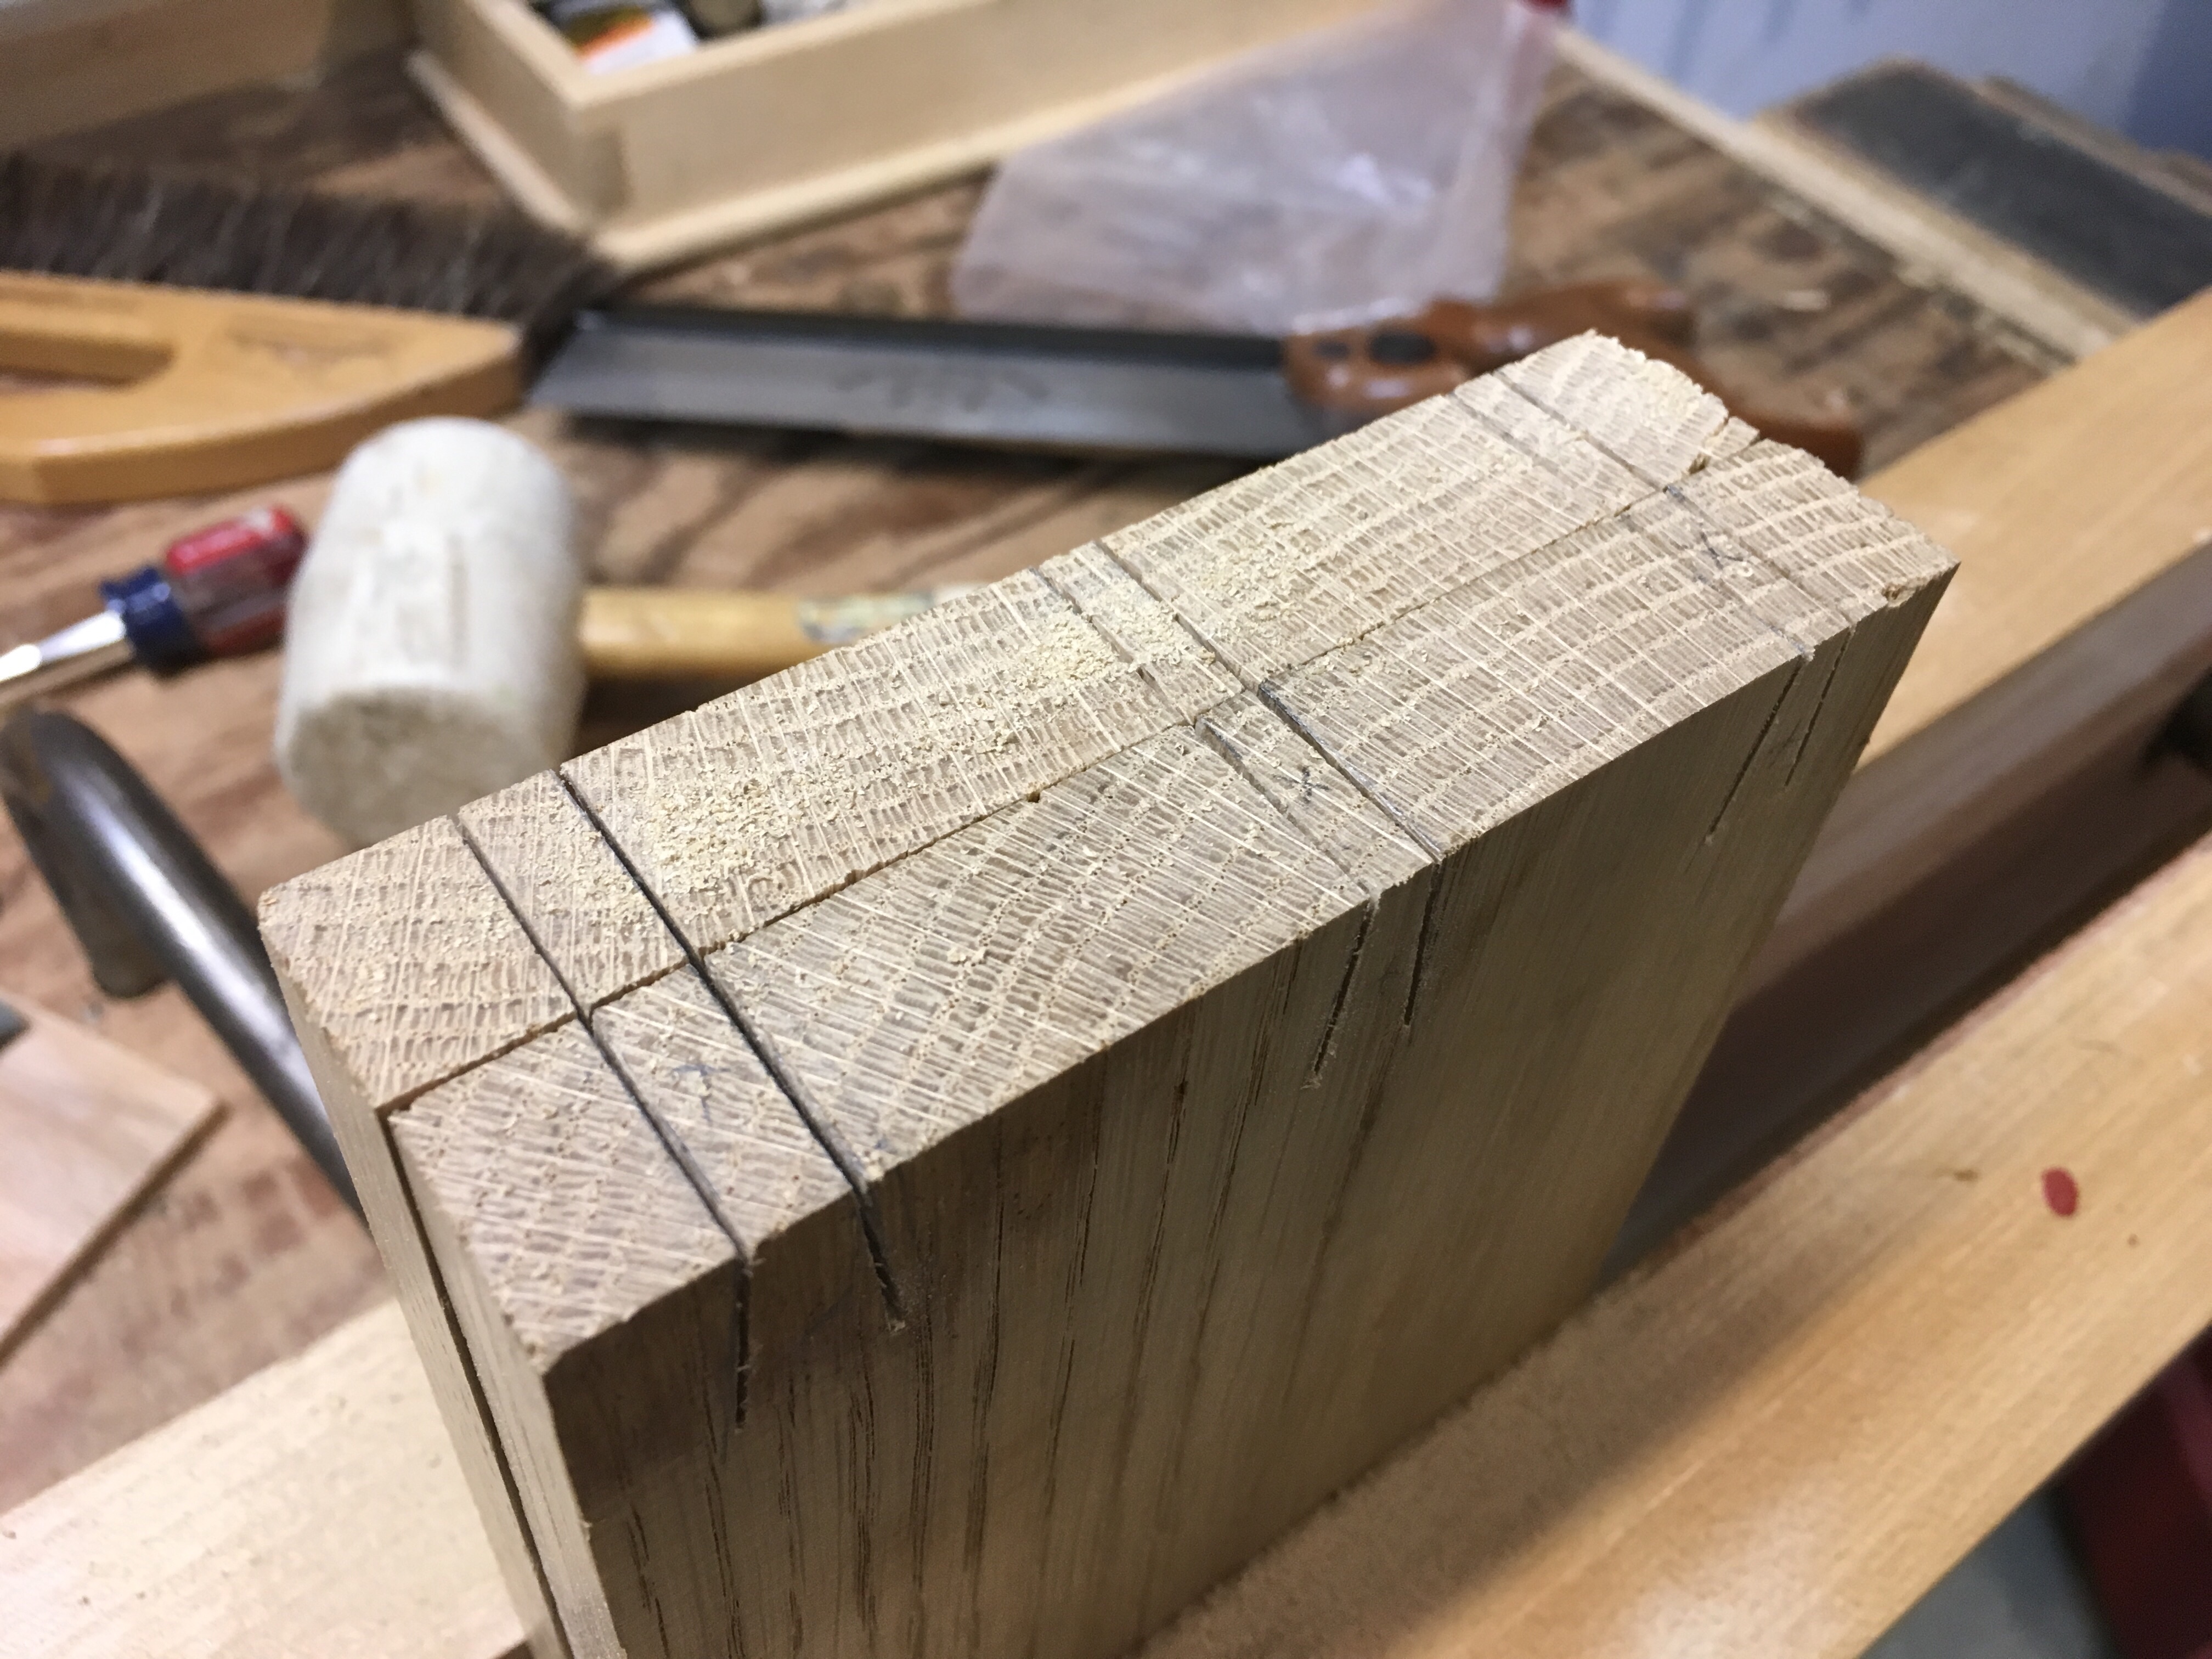
which I’ll tackle next weekend. That’ll give me time to consider the shelf and back designs.
Saw Bench
Several years ago I built a small saw bench. It’s worked well with a few minor issues along the way. Looking at the added screws and structural repairs I began building a new bench several months ago. It’s been a busy summer and it’s progresses very slowly.
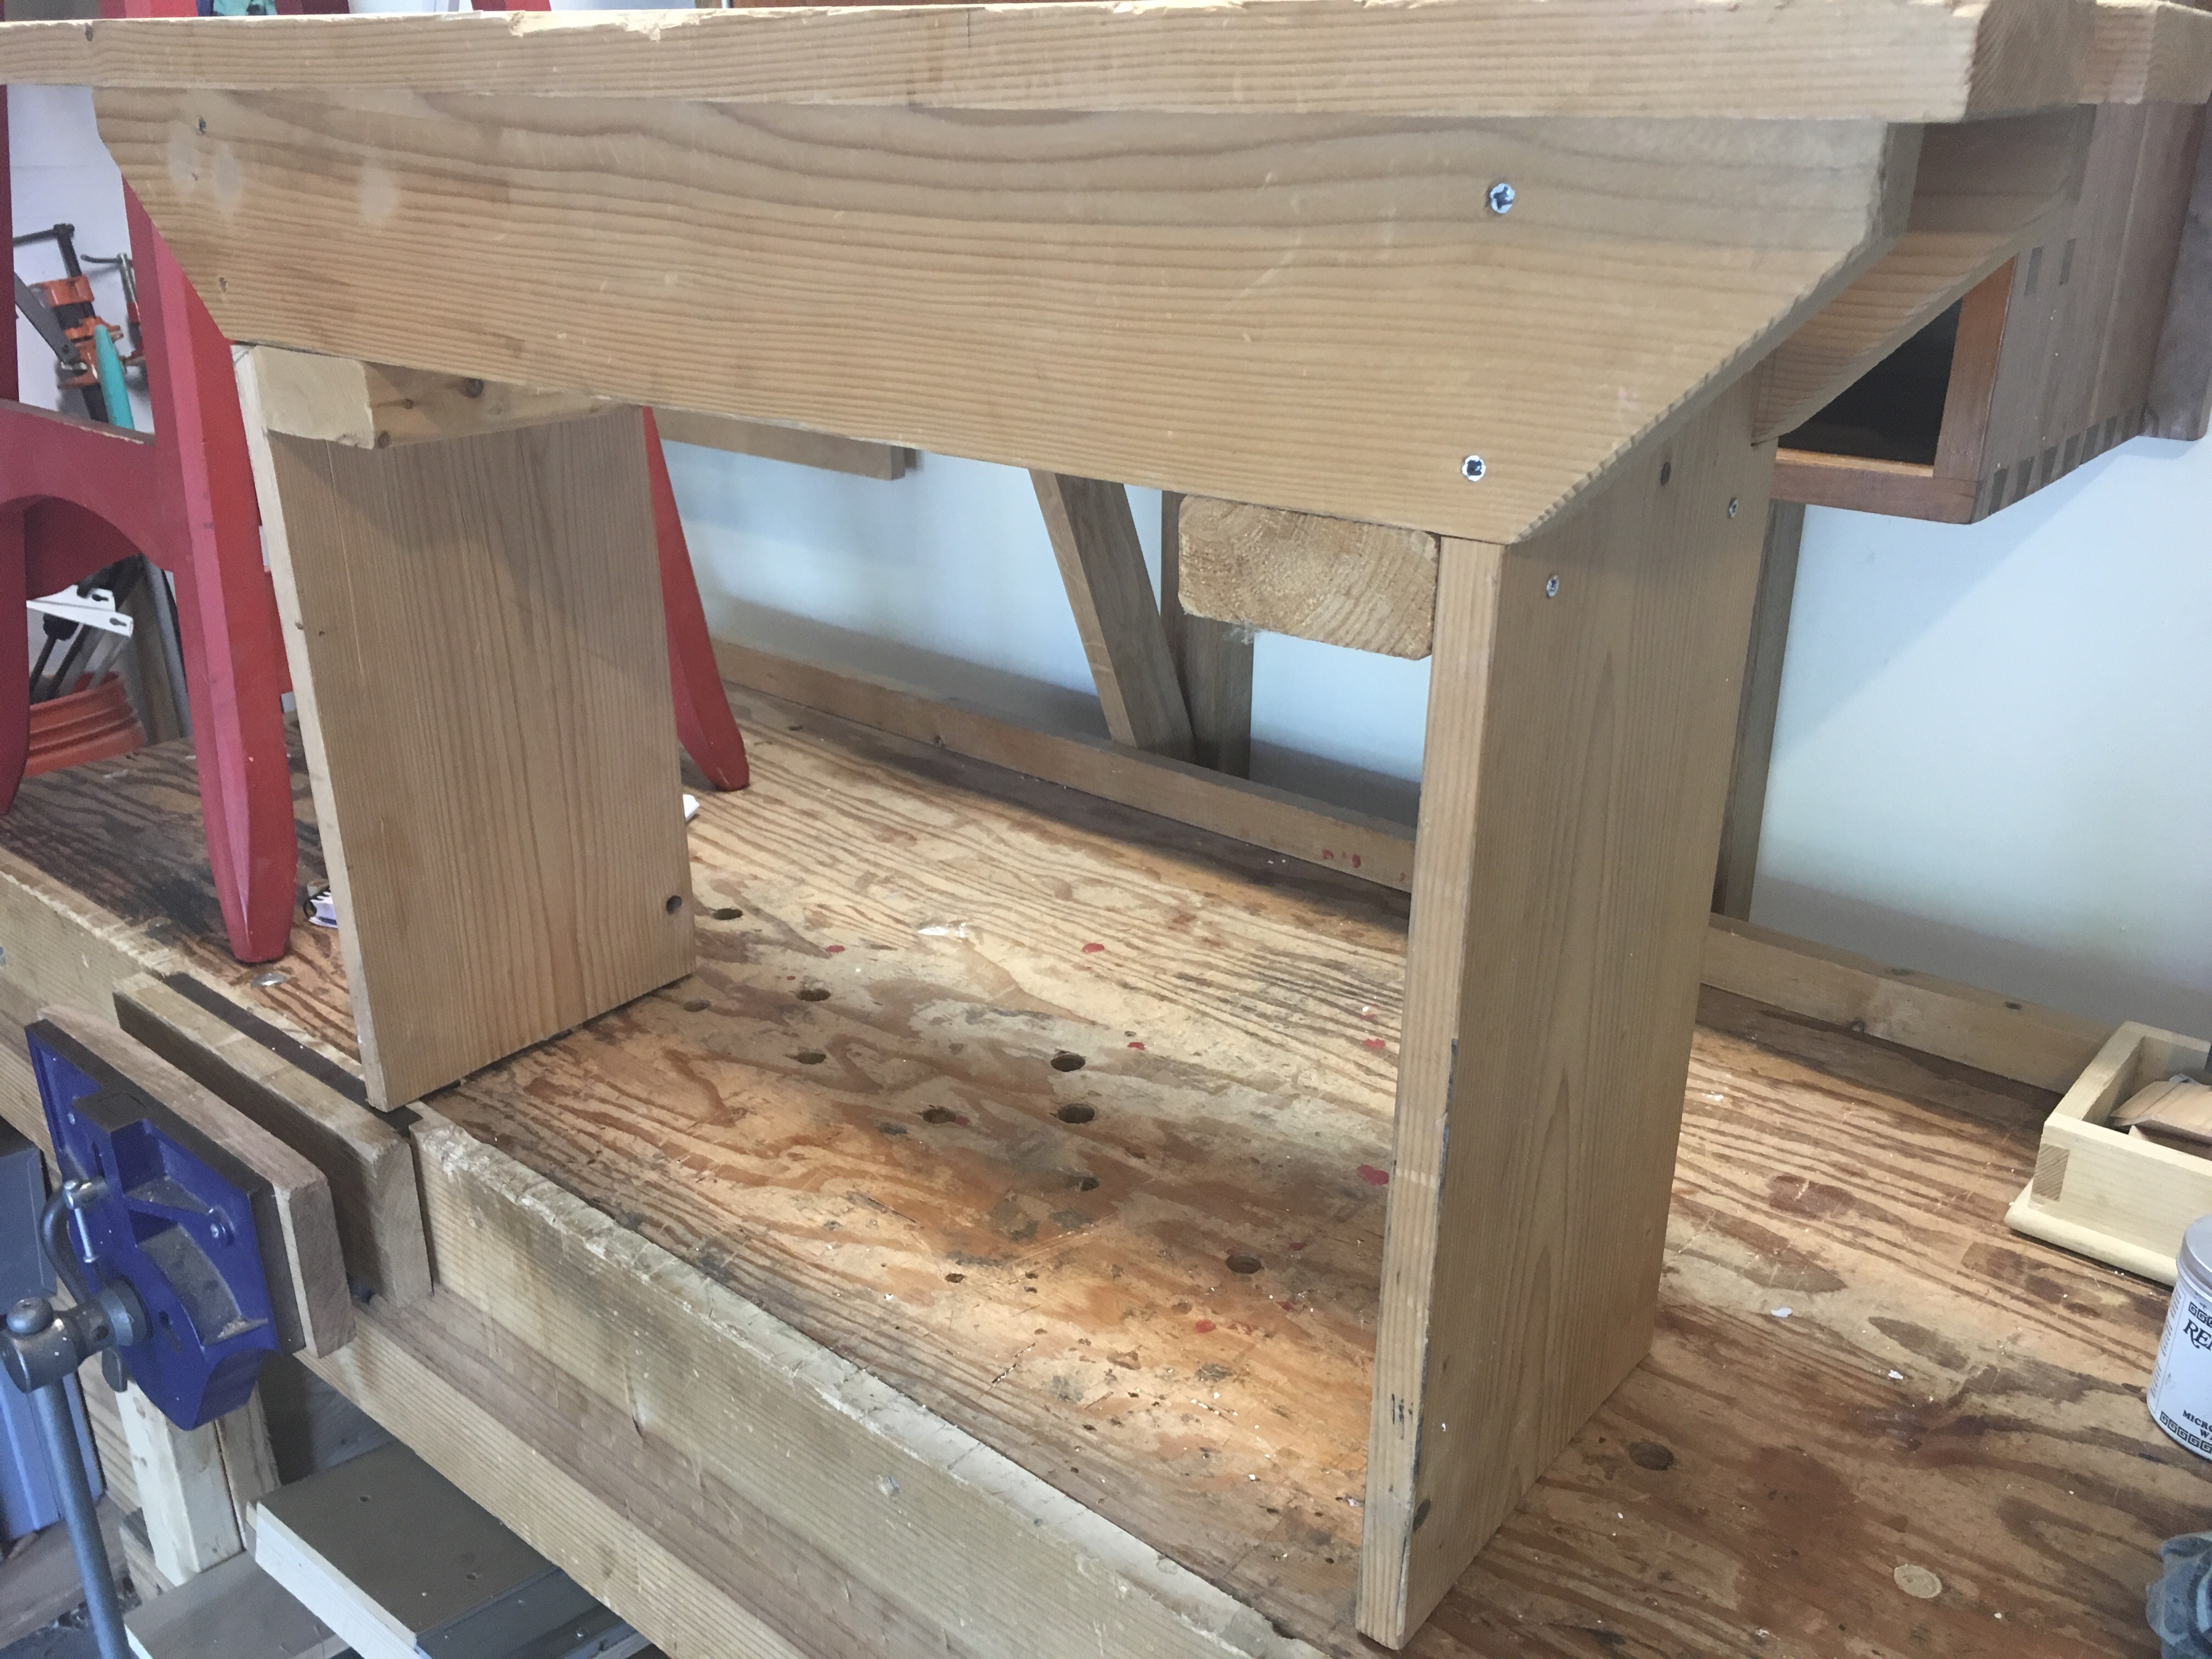
The new design was selected back in May and in the next couple of weeks it will be complete. The two goals for the new bench was integrity and refreshing skills.
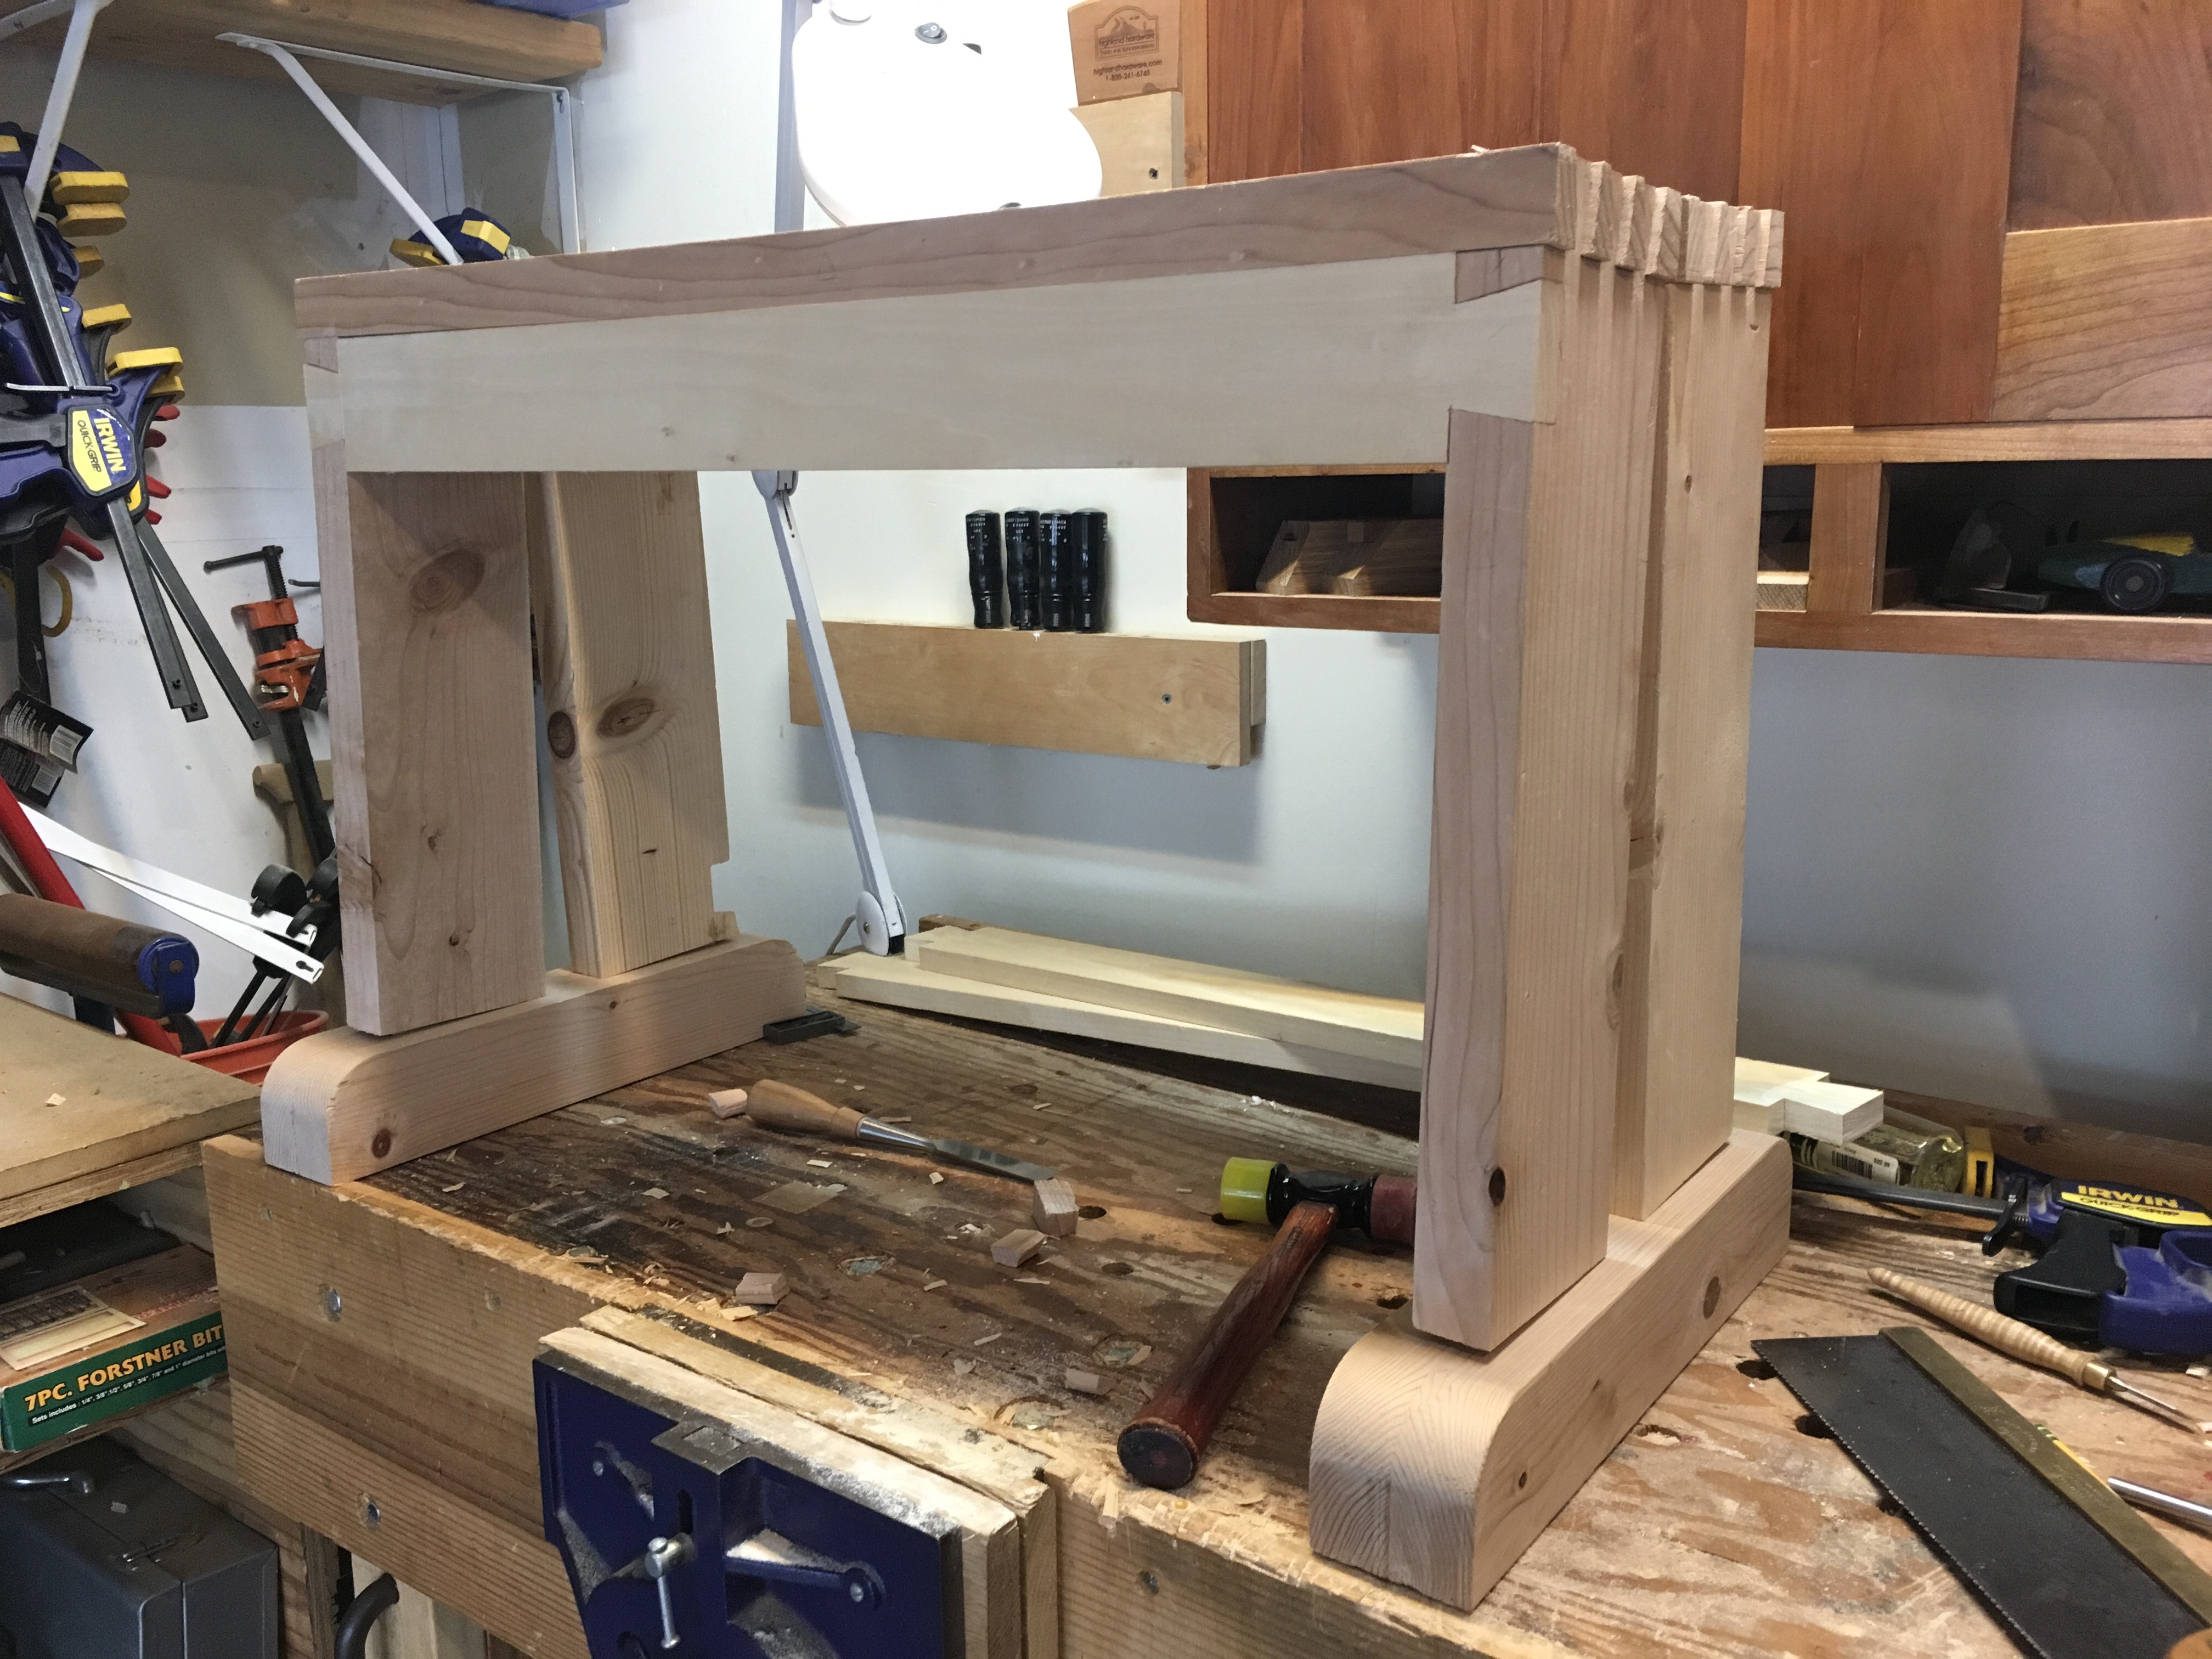
The design has allowed me to practice dovetail and mortise/tenon joints. The one complaint I have is my choice of lumber. Using several old boards of SPF was cheap but it certainly isn’t as enjoyable as hardwoods of white pine. However it’s a tool for the shop and all good practice.
Dovetails and more..
The heaters were turned on early in anticipation of completing the dovetails for the hanging tool cabinet. Outside the snow fell in large flakes, blanketing the ground and creating that muffled silence that only comes with snow. Within an hour I completed the first set of dovetails.
Laying out the last set, I looked up to see my 17 year old son watching, in his hand a piece of paper and a smile. Taking off my headphones I watched him wander over to the scrap bin and begin choosing pieces for a project. The scrap bin is open season for any projects that may come up.


Setting aside the dovetails, I collected the tools he asked for, helped him with the stuck clamp and enjoyed the afternoon. He now has a stand for his computer monitor designed and built by himself and my dovetails can wait happily for another day.


Sea Chest
A year or more ago I was given a dovetailed chest. If I recall it came from an officer on a Great Lakes freighter and was used to keep his personal items while on board. The chest measures 28″ long, 13″ deep and 11″ tall. When it was given to me the paint had been removed so the joints were easy to view.
The trim is nailed around the top and bottom as are the bottom boards. The dovetails have quite an angle, more than I would typically use, but may be fun to try on a project.


All of the hardware was in jars inside the chest including the lock.


Inside the chest there is a definite tinge of red so i assume that it may have been the original color, at least inside. Also the hinge locations have been moved and new mortises installed at one time. I’m debating what to do with the chest. It seems that I should repaint it to keep it in fair condition, possibly with milk paint.


Lastly I wonder at the story of this chest, the travels across the lakes and the owner.
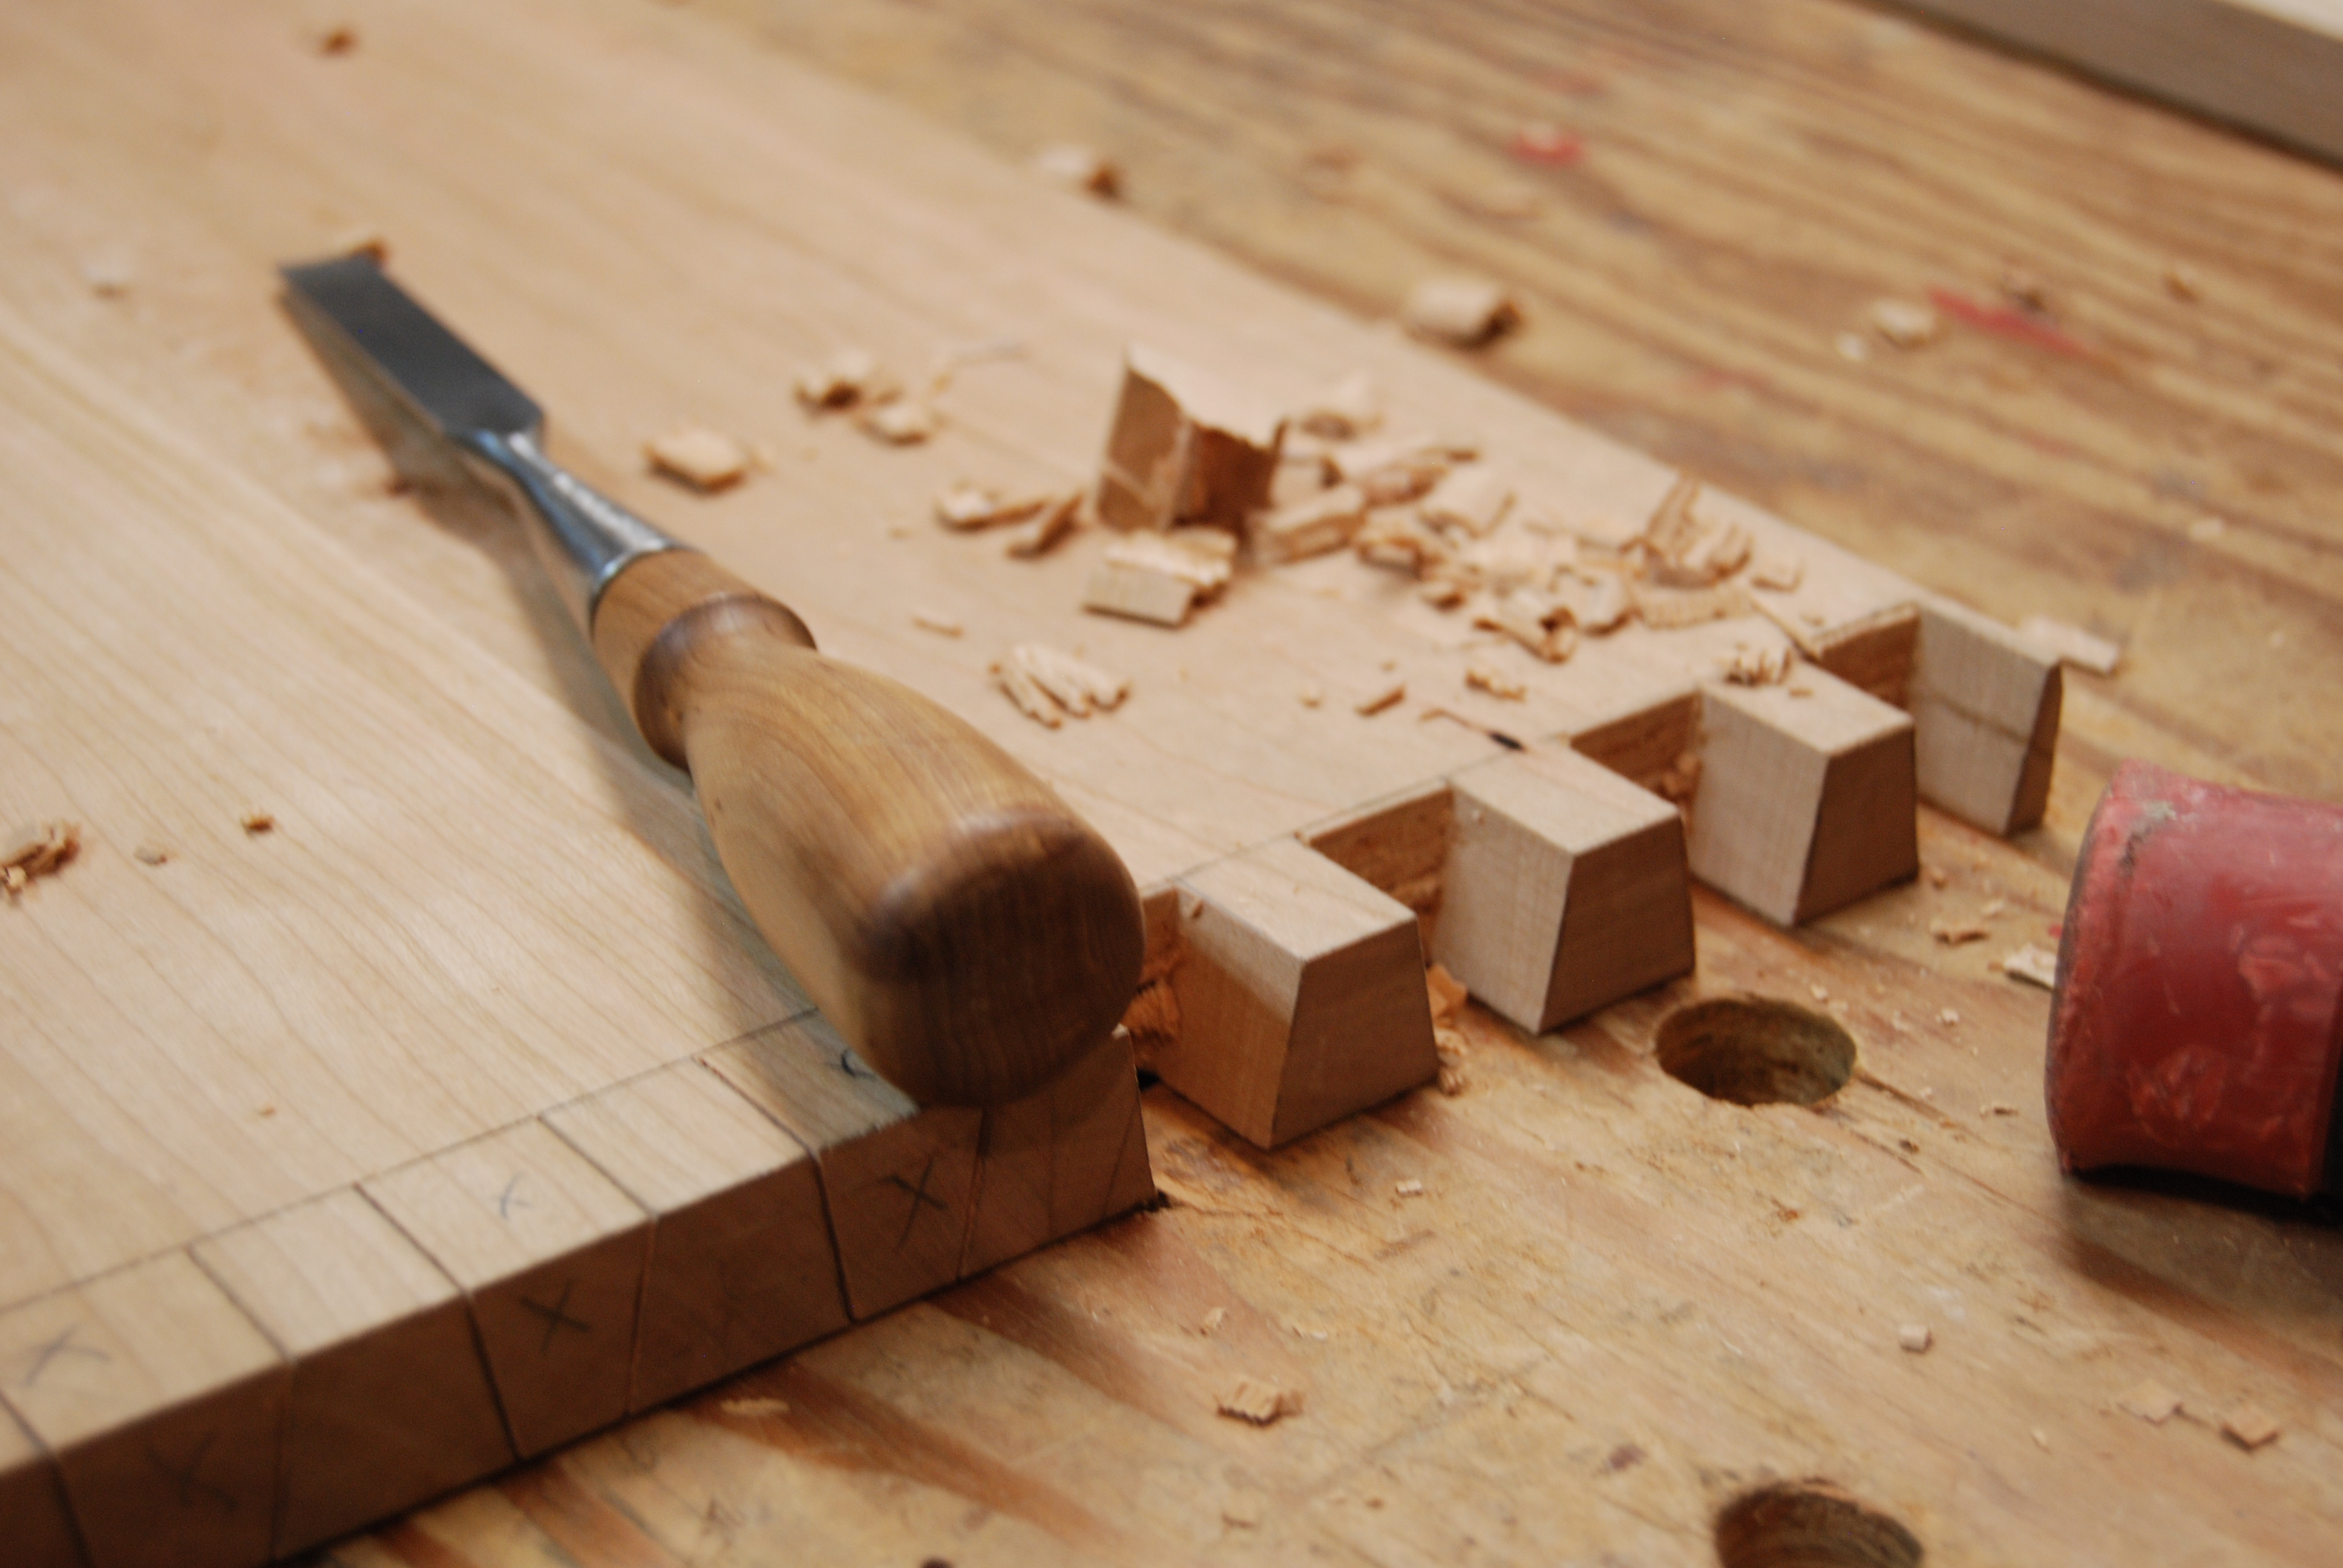
Tool Cabinet Dovetails
Haven’t chopped dovetails for a while, certainly is nice to empty my mind grab a chisel in one hand and a hammer in the other and work away.
A couple of thoughts recent dovetails have been in Sapele and Oak, Cherry takes a slightly different touch. It’s a fun challenge and as I move from joint to joint the accuracy improves.


Shadow Box
The cart wheels were dropped off and then picked up from a local sand blaster. Next they went to a friends auto shop for a paint job. While waiting for their return I began to make a shadow box for my wife.
Beginning with visions of using some left over Sapele and imagining the beautiful look of the dovetailed corners I quickly had to reverse direction when the word paint was spoken. Nothing wrong with paint except I’m not a great painter and I have no intention of using a beautiful wood which will be hidden from view. Fortunately I found some pine in the corner and pressed on.


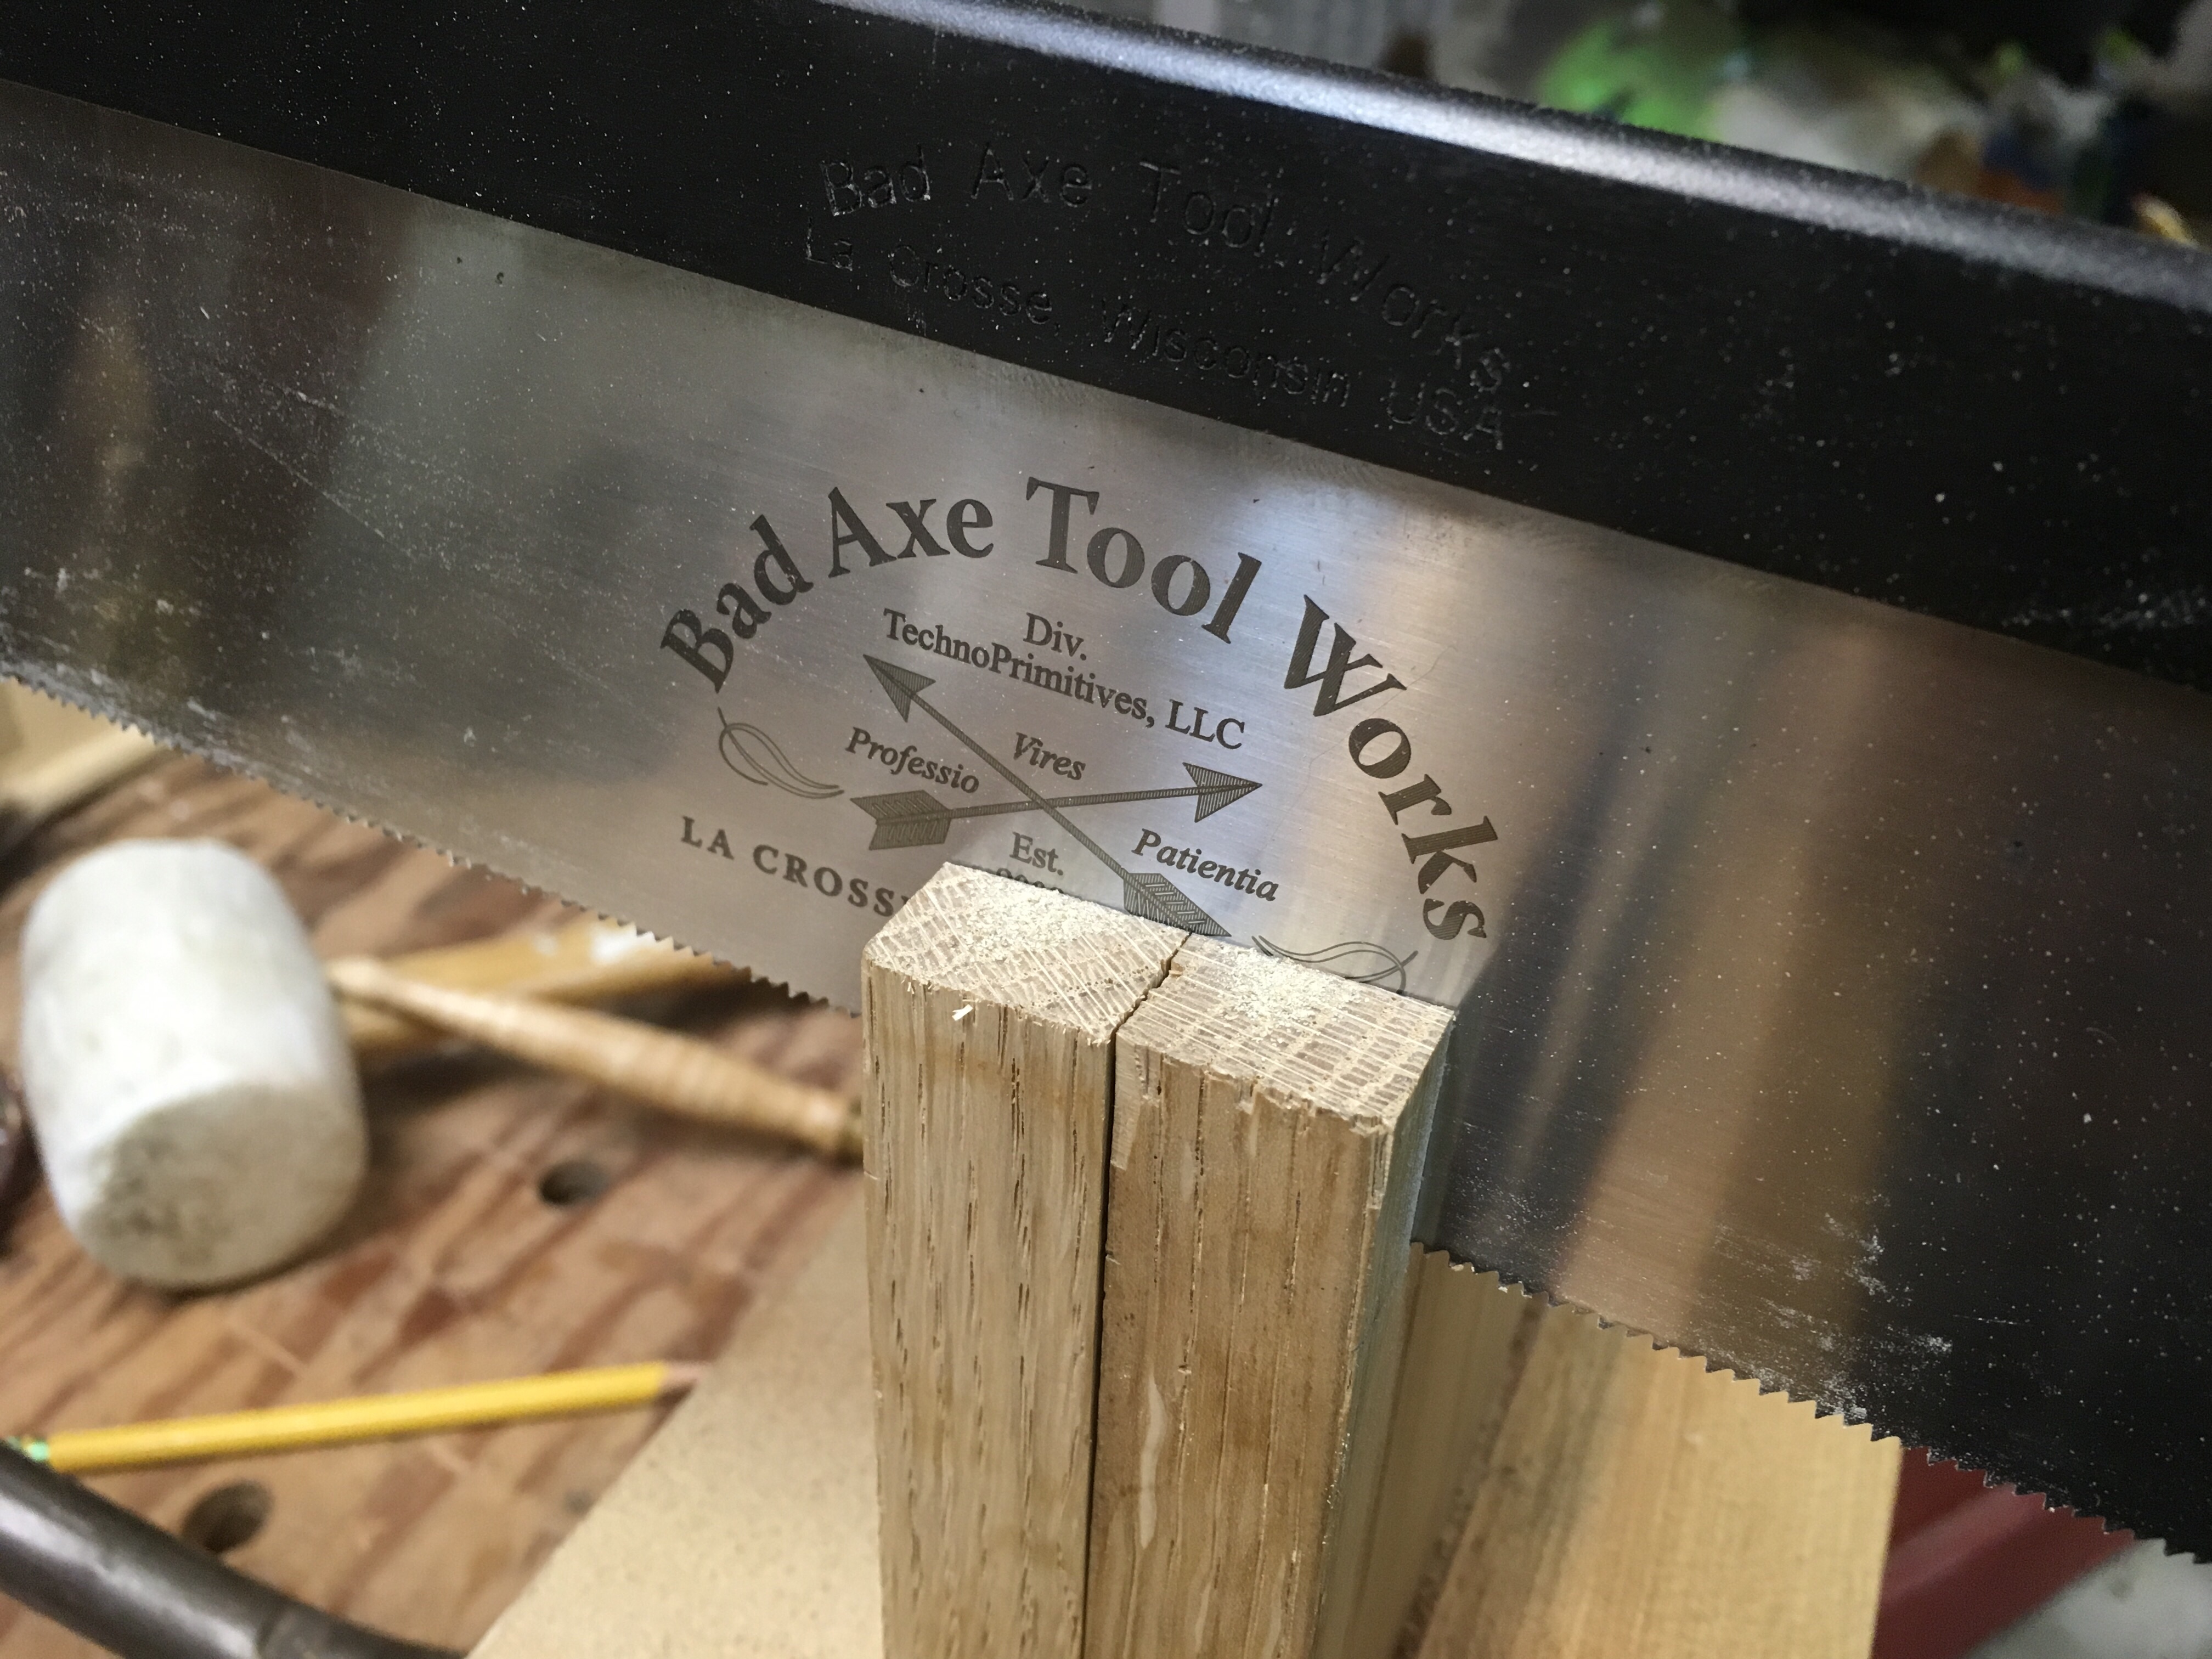
No dovetails have been cut since the small tool chest project so I warmed up with a couple pieces of scrap. After marking the tails I set to work sawing and then chopping out the waste.
You will notice in the pictures that I used a piece of scrap wood on the first cut, then used it as a guide for the other dovetails. This ensured they were all similar and made the layout process much quicker. Paul Sellers showed me this trick when I attended his foundations class.
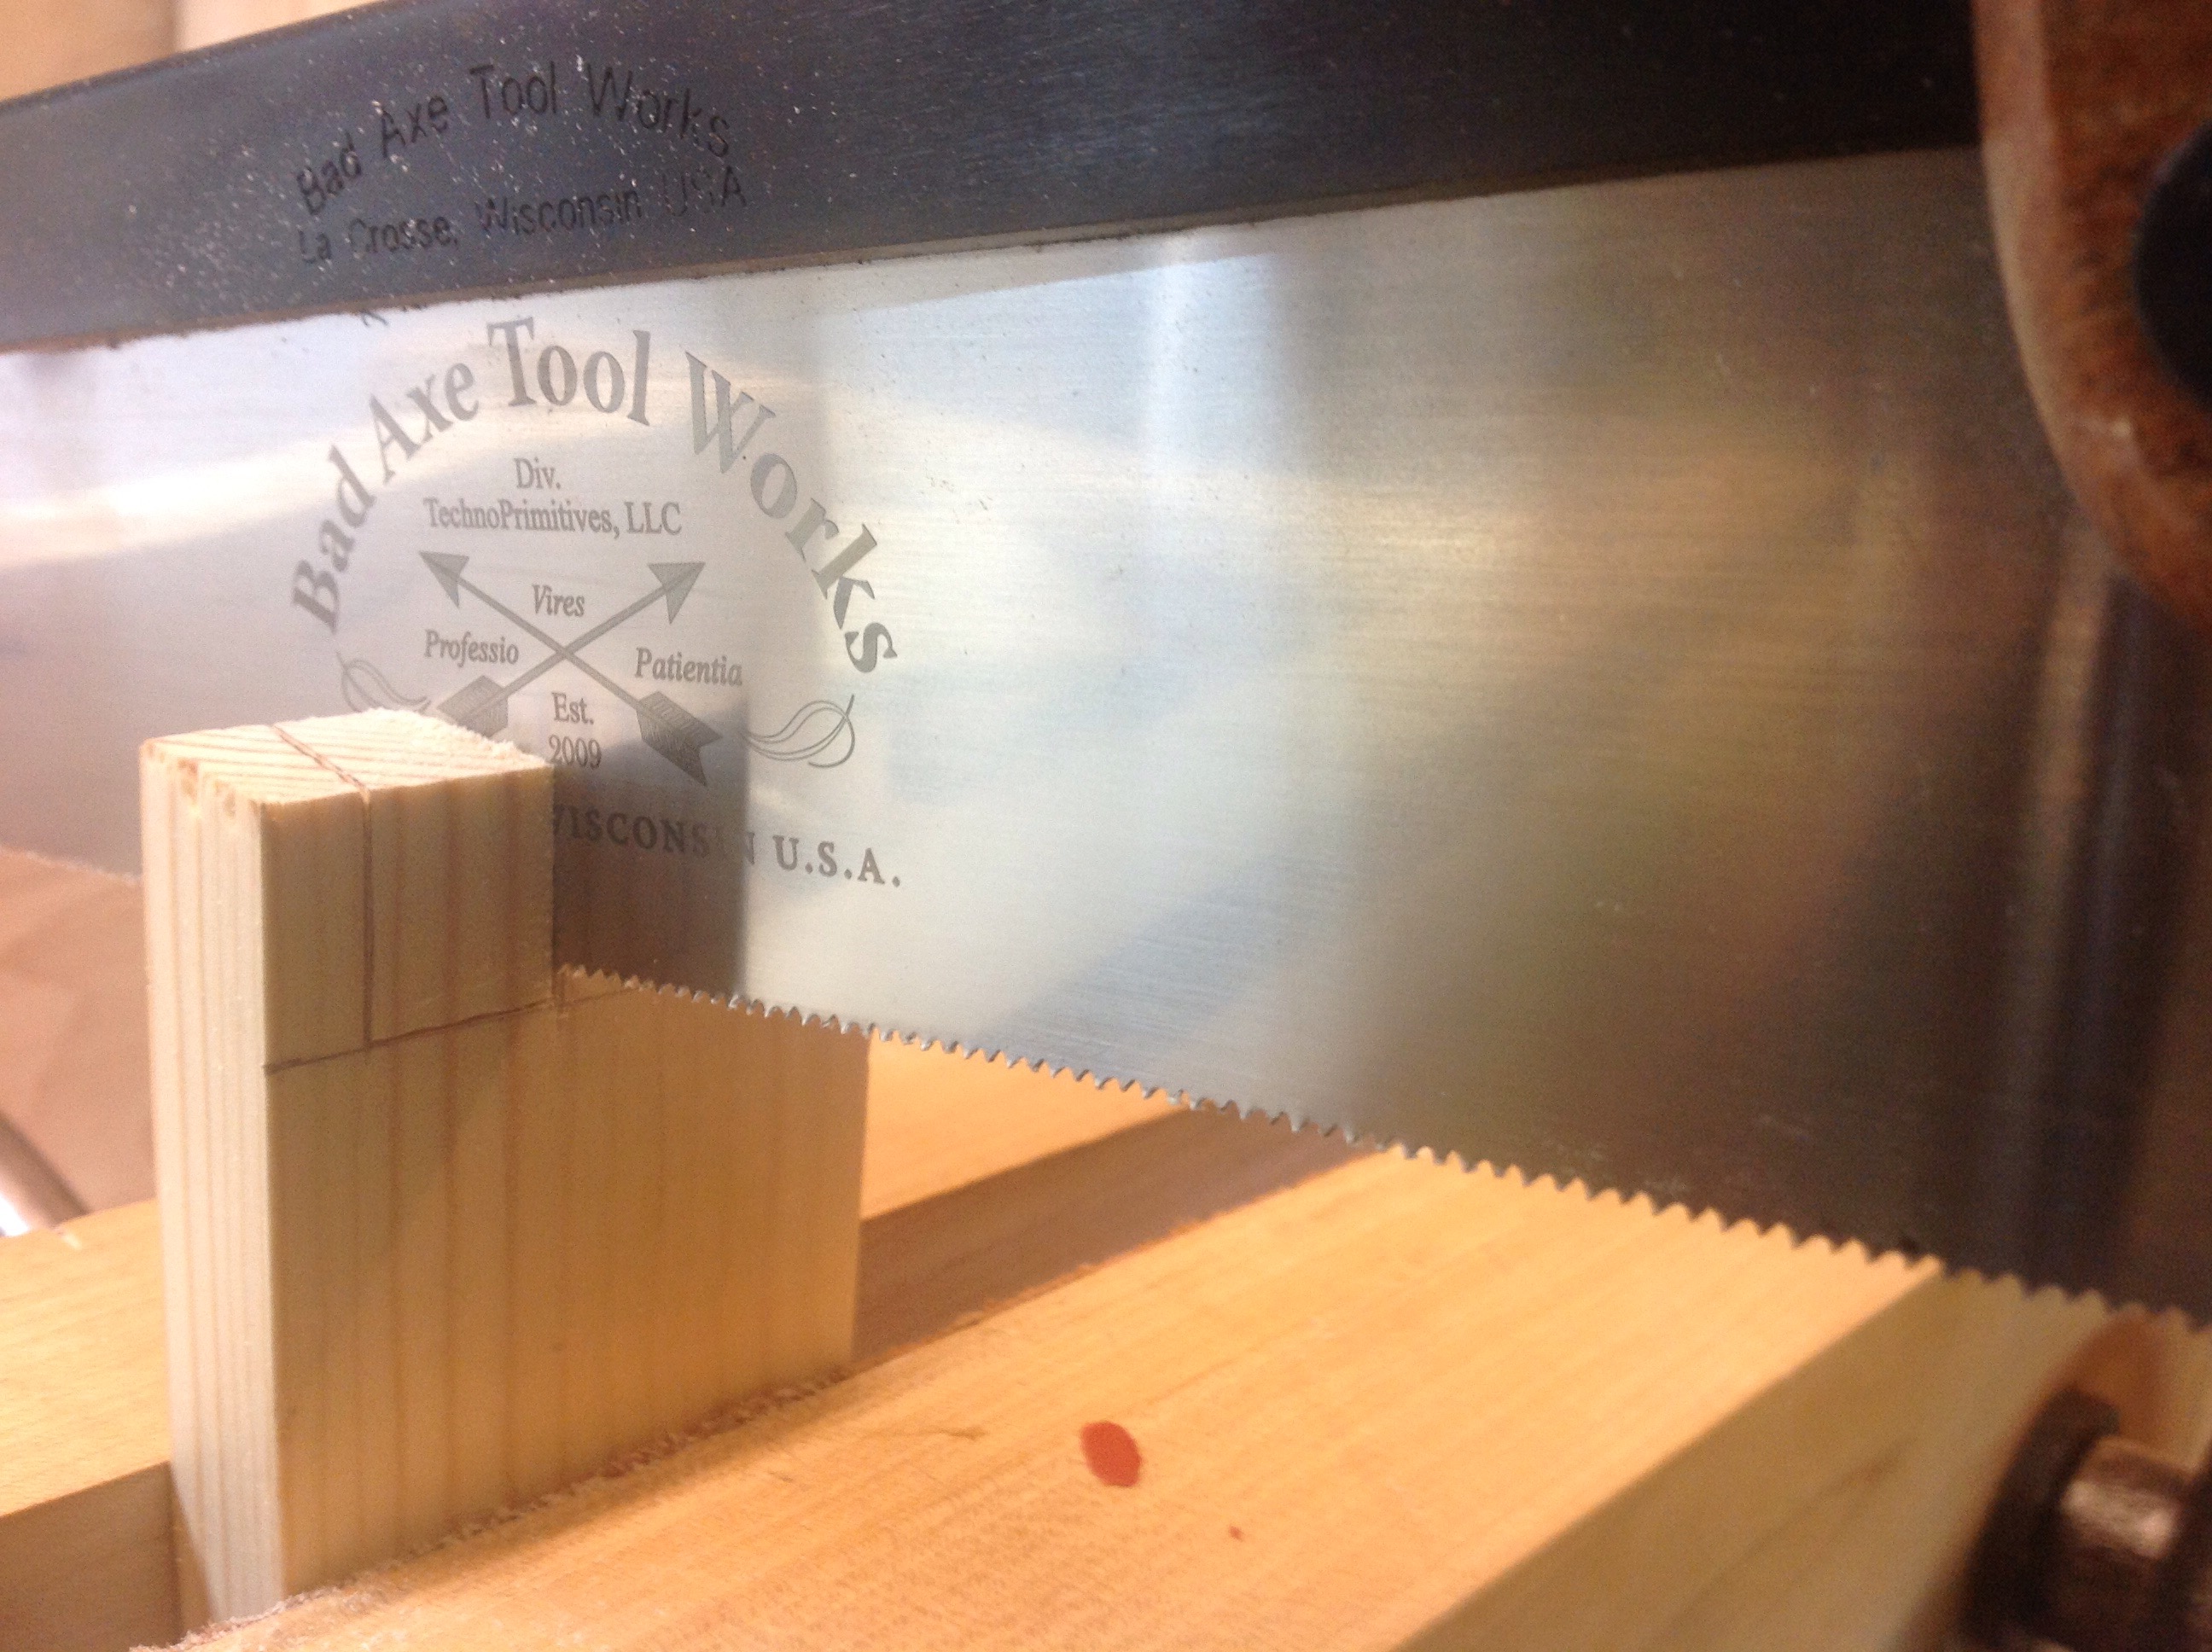
I was also greatly helped by a freshly sharpened Bad Axe Saw. When I was at the saw sharpening seminar, Mark Harrell took the saw and gave it a little personal service. It’s cutting great. Although I sharpen most of my own saws there is nothing like have a pro do it for you.
With the tails cut I chopped out the pins and within the space of three hours I went from some boards to a dovetailed frame.
Next step is to cut the grooves for the glass. I used a couple of tricks to get this done. The first is to secure the boards using a clamp into my bench vise. this gives me all of the security I need and access for the plow plane. The plow works great everywhere except those ends where I can’t break through and expose the groove. I could fix this with some blocks inserted at the end of the process or switch tools. In this case I grabbed my router plane and using the guide finished up the grooves with little fuss.The final piece of construction is making the rabbit (rebate) for the back panel.


