Archive
Tool Chest – Saws
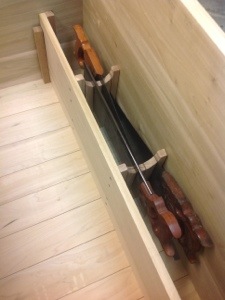
I am moving along with the inside of the chest and planning where to place my various tools. The saw till needs to hold two handsaws, a tenon saw and a dovetail saw. I have a couple of other saws, but I will keep them in the other saw till I have been building along with this project. (Think reading two books at the same time is difficult? I actually have three projects underway in the garage!) The two handsaws are fairly simple since they are approximately the same size, the tenon saw is much shorter, but has a deep saw plate so as long as I can support the saw in two places it should work well. The dovetail saw is a problem unto itself. It’s short length and shallow saw plate may require a totally different solution.
 Using the dimensions in the Anarchist Tool Chest I cut two boards to the same width and height. Since the ash I was using is prone to chip along the saw cut I used a technique from Paul Sellers and used my marking knife to make two parallel lines roughly the width of the saw kerf. Cutting between the lines I was able to get very clean, chip free edges.
I then marked the semi circle on the pieces using a compass, clamped them together and cut the curve with a coping saw. Next time I will make sure I have spare blades handy. I placed sandpaper around a piece of pipe and used it to sand the curves smooth. I used the table saw to cut the grooves for the saws. Carefully cutting a groove on one side, turning the piece over to get a matching groove on the opposite edge, then repeating on the second piece. Once all four grooves were cut I cleaned them up with a hand saw.

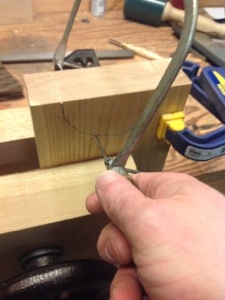
Next I cut a piece of poplar to fit the length of the chest and four pieces of oak to attach the till to the sides. Using my # 4 Stanley Plane I quickly smoothed all of the boards cleaned up the corners and stared blankly into the chest.
I needed to step back and carefully plan the position of the till pieces to optimize the use of space, support the saws and hopefully identify a spot for my dovetail saw. Supporting the hand saws and the Large Tennon saw demands that the till pieces be spaced no further apart than 11″.


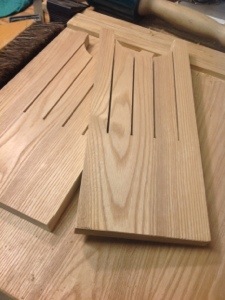 I drilled holes for four 1 1/2″ screws in each of the till supports. I have not used a power drill since I picked up my Millers Falls Drill. The ability to carefully control the drill speed and position makes it very accurate and less likely to chip the wood at the exit of the hole. It also looks cool and only cost $7 with bits included! I screwed the supports to the board and placed it into the chest. I plan on using some polyurethane on the till pieces and on the guides used on the board. It should make a nice contrast.
I can see a place for my dovetail saw on one side of the saws and will make a support to hold it. Next step… finishing the drawers and drawer slides. Hopefully it’ll be warmer next weekend.
Writing Desk – Part 2
Continuing from the Writing Desk-Part 1 there are more hints to its past:

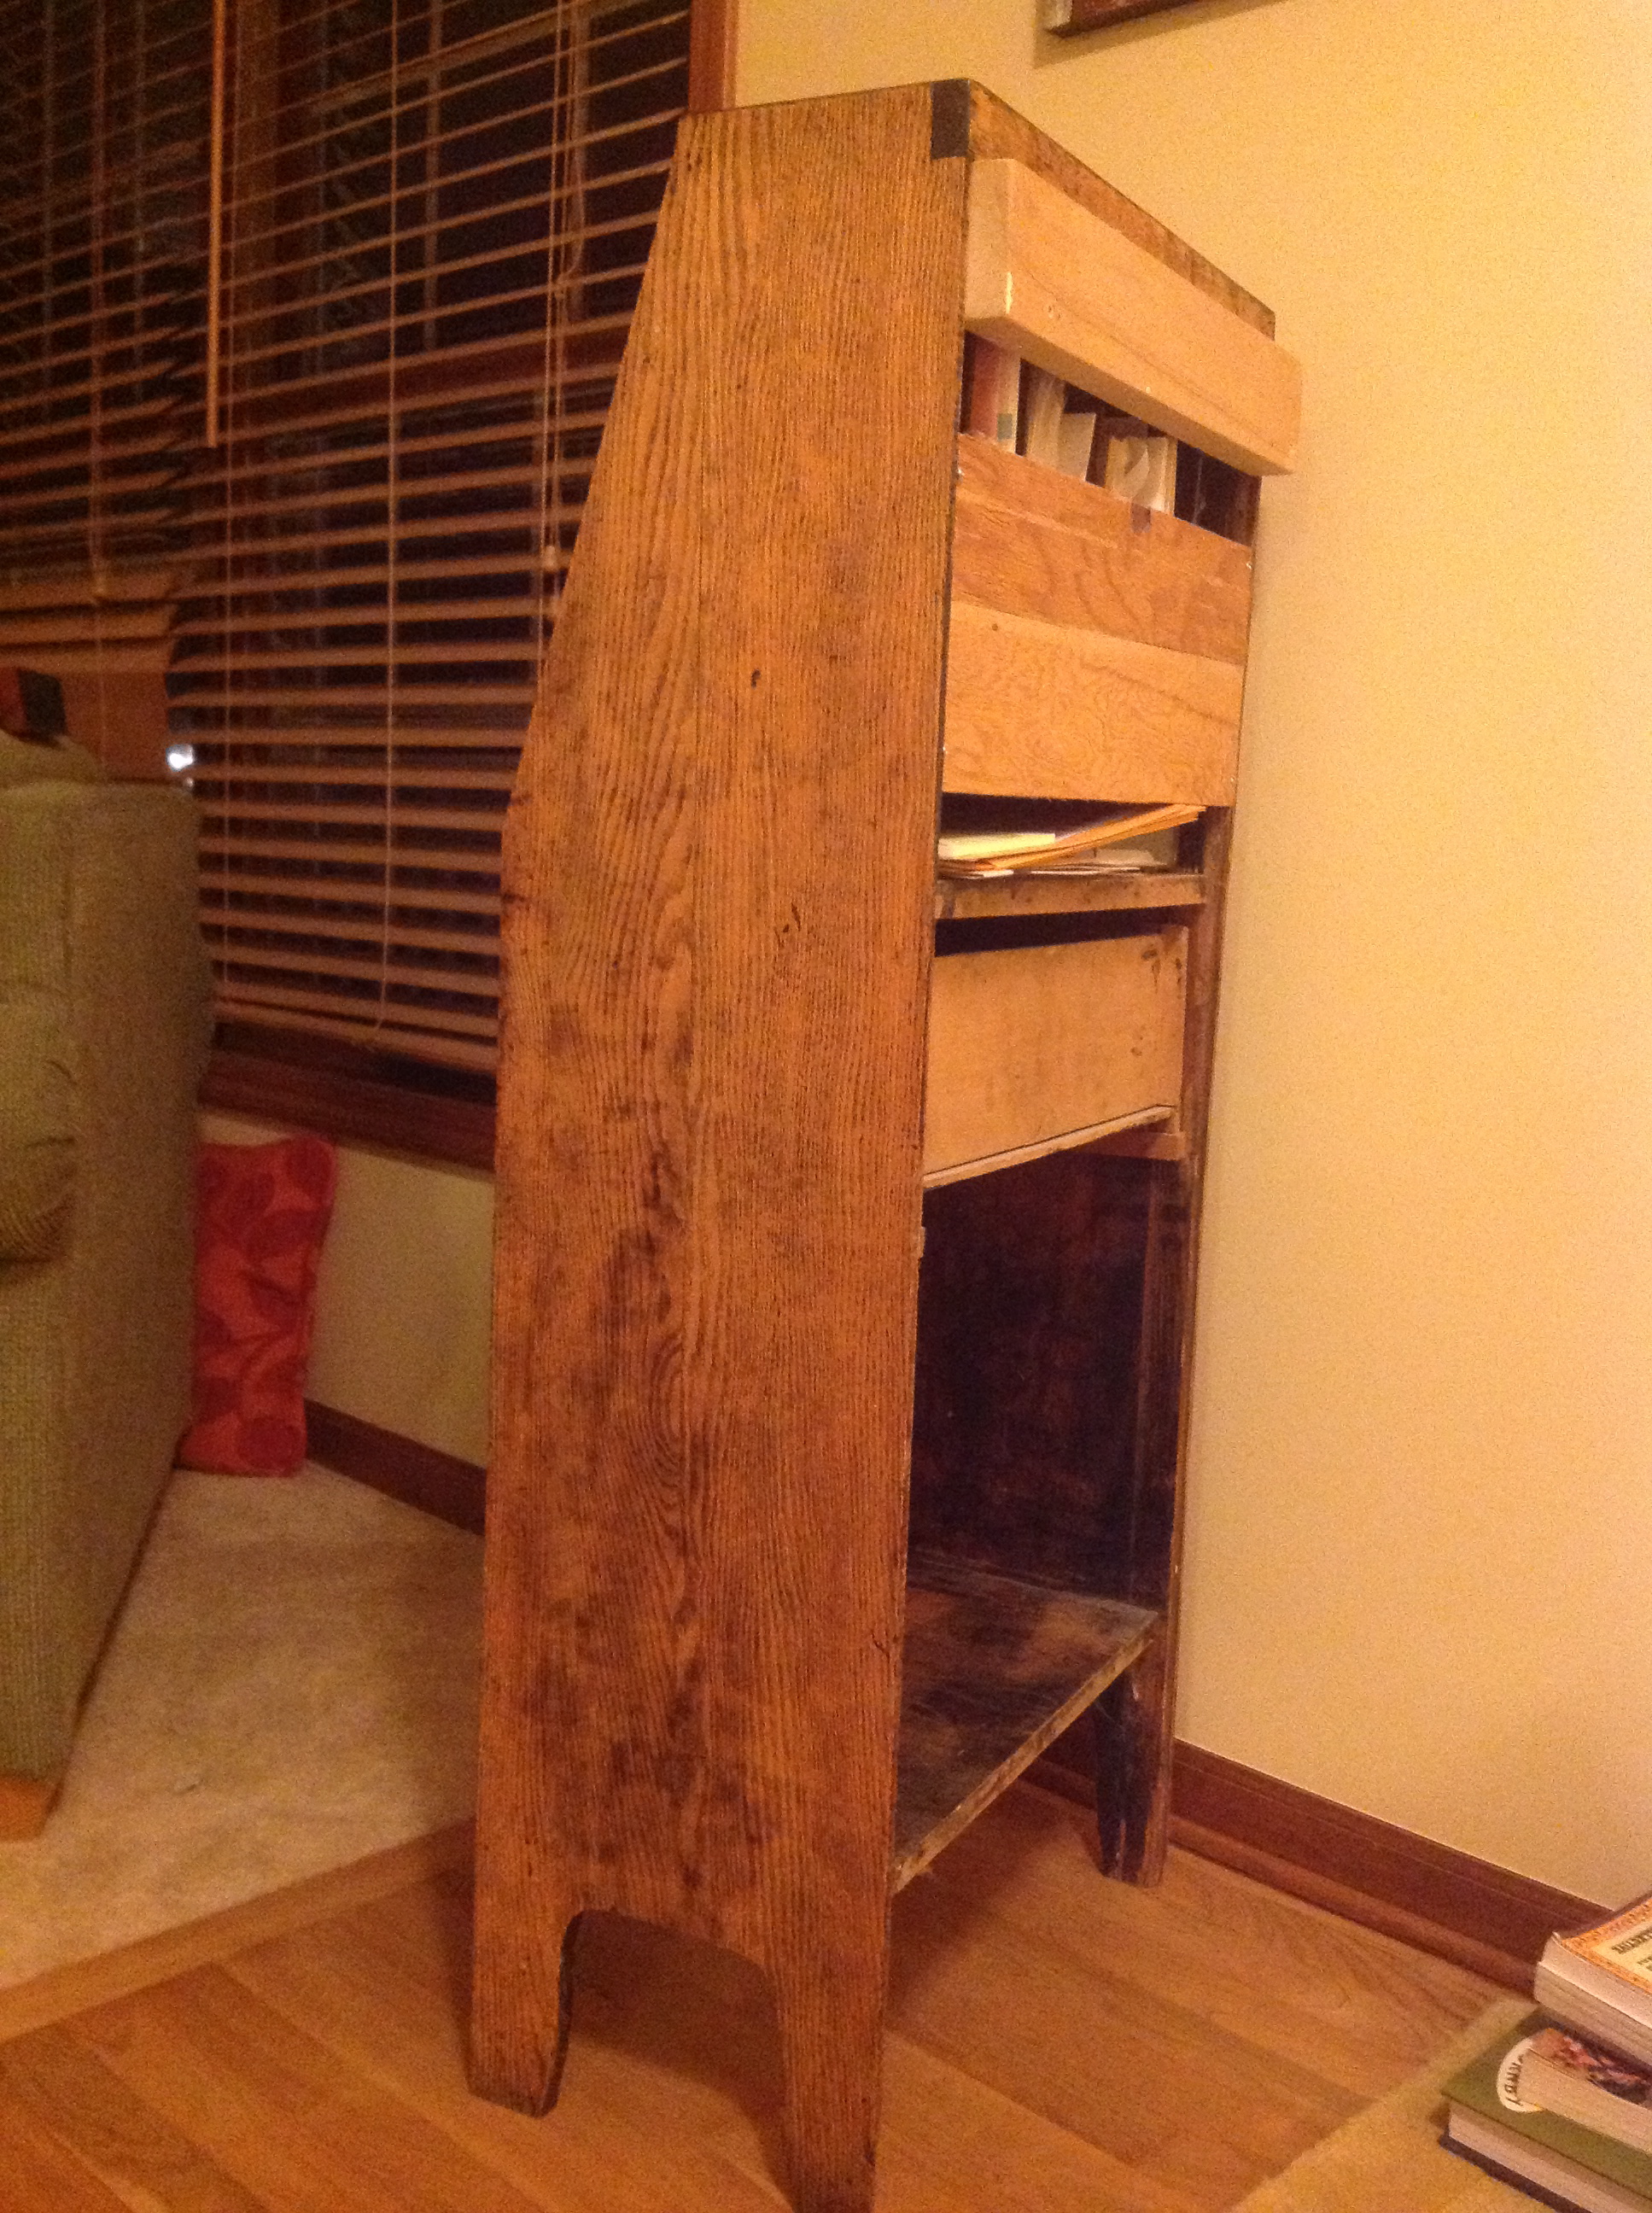
Turning to the right side of the desk a single quarter sawn oak board rounded on the outside edge supports the desk. The left side, however is of an entirely different species consisting of two boards stained in an attempt to match. Comparing the two pictures it is very difficult to see the difference. If you click on the picture on the right it will enlarge and you can see that the wood is clearly not quarter sawn oak and does not match the left side.
Turning the desk around immediately reveals that the back is missing. A piece of plywood is crudely screwed to the back of the cubby holes to prevent papers from falling out. There is clear evidence that there was a back attached at one time. A rabbit runs down the right side and there are nail holes in the shelves. The left side is again different: A rabbit has been cut along the left side of the desk, however the drawer slides and shelf are not dovetailed into the side, instead they are attached with nails. Images can be enlarged if you click on them.

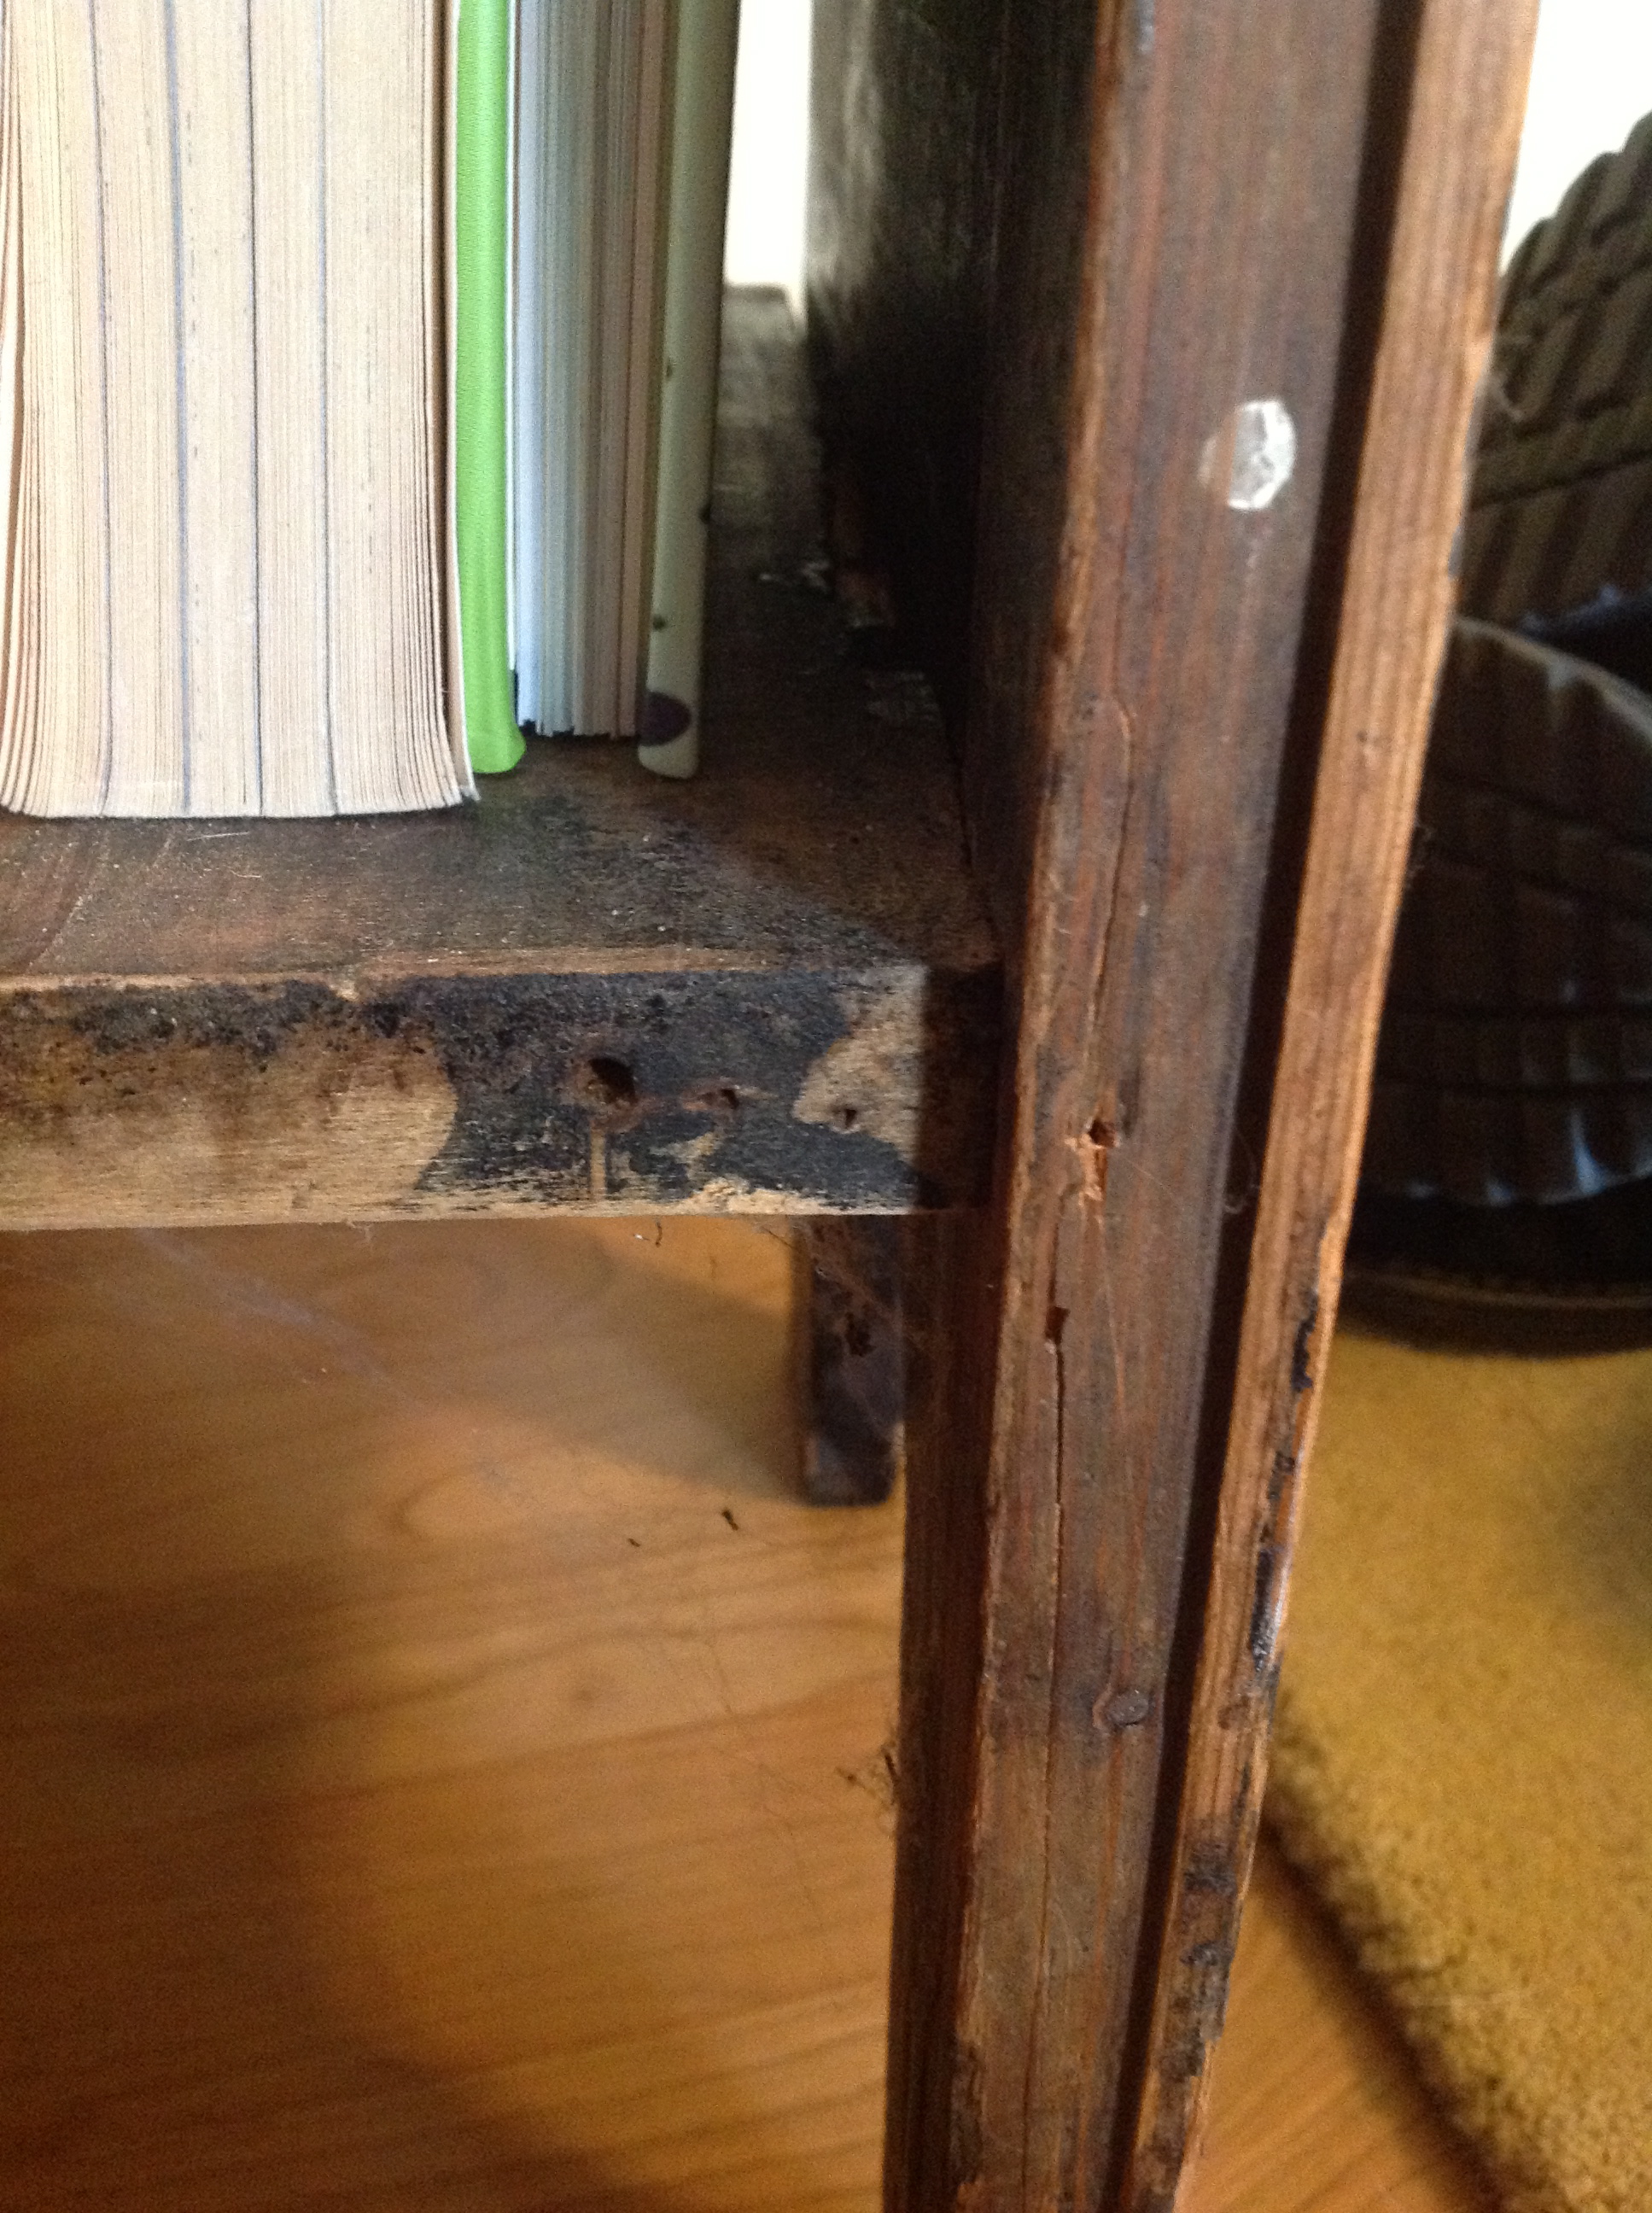

In summary we have a simple quarter sawn oak writing desk that is rather appealing. It has simple clean lines, works great but has a few adaptations.
A lock that is covered with a handle, an entire side that is replaced with a different species of wood, changes to the attachment of the shelves that is clearly done by a different woodworker. A missing back and evidence that this piece was painted black at one time and then restored. A few phone calls and there are a couple of different possibilities.
1. My wife’s great grandfather earned his living moving from farm to farm threshing grain. In payment for threshing, items were often taken in trade: furniture, food, tools were all exchanged. Could this desk have been made and bartered.
2. My wife’s grandfather would trade food from his garden to workers at the local steel mill in exchange for items he could not make himself. A 50# bag of potatoes brought home many useful items.
3. Like many people growing up in the 30’s and 40’s, other peoples discarded items could be rebuilt and repurposed. Discovered in scrap yards and dumps entire homes could be furnished with quality items. Many of us continue to rebuild wonderful items from the past.
Scanning the internet my wife found a picture of a similar desk attached to shelves. Could this desk have been part of a larger unit?

Spend some time looking around your family’s home, maybe there is a little history to discover and share.
Writing Desk – Part 1
There is a small writing desk by the front door that arrived with my wife. It has traveled around the country from apartment to home. It has seen dogs come and go. It suffered the indignity of being attached to a wall so children could not topple it. The drawer handles were removed because there are no drawer stops and little hands kept pulling them open. This week I was walking out the door took a second glance. That small writing desk has a story to tell:
The desk is very simple in design. Constructed of quarter sawn oak it stands 3′ 10″ tall, 20″ across the front and 11″ wide. It is contains a shelf at the bottom, a single drawer with a lock and a writing desk carefully carved. The desk’s simplicity (not its photograph) catches the eye.
Opening the writing desk leads to the first piece of curiosity. At first it looks like a very simple drawer pull used to open and close the writing surface, but as you move closer you can see that the pull is nailed onto the desk and once opened a lock is revealed.
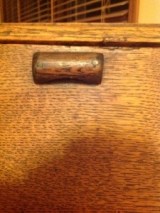

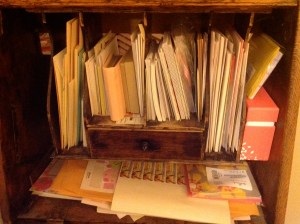
Perhaps the key was misplaced and the pull installed to allow easy access to the desk? The interior of the desk contains typical cubby holes for letters and envelopes and a drawer for other small items. The entire structure containing the cubby holes and drawer is supported by a board nailed to the top of the chest. It hangs down as if by magic, leaving room underneath and to each side for bigger items.
My wife wants to note that all items in the desk were staged for the photograph. I want to note that I didn’t know there was anything in the desk – I’m going back outside now…..
Tool Chest Hardware

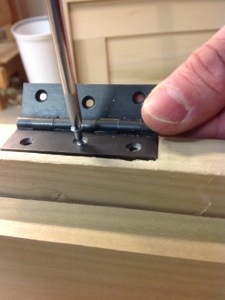
I spent a couple of days looking around local stores for hinges that would work for the tool chest. It is very difficult to find narrow hinges that will work on the 7/8″ carcass. Finally I ordered hinges and a lock set from Horton Brasses. They seemed expensive, but are very well made and operate smoothly. I’m thinking money well spent and will add to my tool roll for future reference.
Traditionally when installing hinges, I have used a powered router and a chisel in the corners with varying success. On the chest I did it all by hand in less time, with much better results. The hinges were laid out using a marking knife and round mortising gage, then I deepened the marks using a chisel. I adjusted my hand router to a portion of the total depth and after a few passes reached final depth and cleaned up with a chisel. Drilling the screw holes with my eggbeater drill gave me good control and I attached the hinges with the steel screws included in the package from Horton Brass. They also sent brass screws which I will install when the tool chest is complete. Best of all, I didn’t all in the living room while the shop was too cold to work.

Toolchest – Oops and other bad words
This post was supposed to contain the final glue up of the toolchest lid and skirts but………it will now be written as:
Oops how to adjust your skirt after the clamp slipped.

The weather finally peaked above freezing and with a weekend that looked unseasonably warm it was the perfect time to make the final glue up and prepare to paint. The bottom skirt and lid were in place and with help from my son it all went reasonably well. The upper skirt was fitted and trimmed, clamped in place and left overnight to glue. Feeling rather spry this morning and preparing for my son’s soccer game, I took the clamps off and moved the chest into the garage ready for the final scraping and adjustments. Placing the lid on top it quickly became apparent that something was not right. There was a 1/4″ gap between the lid and the skirt on one side. Visions of quick fixes, plane work, repairs, danced in front of my eyes until one solitary thought lingered, the hammer. No not the rubber mallet or the framing hammer, but the “double jack” some people may call it a sledge hammer but to an underground miner it will have that unique name. A few taps here a quick wack there followed by an endless pounding would certainly relieve my frustration, but alas I needed to get to that Soccer game so fortunately the chest, however disfigured was spared.
A couple of hours later with a clear head I began removing the front of the upper skirt. I did this carefully by cutting across the width with a saw then carefully separating the skirt from the carcass using a chisel. It came away with little protest leaving some wood to be pared away with a chisel. I carefully cleaned up the tails from the prior joints and began looking for a replacement piece of lumber.
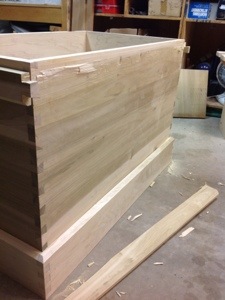
After loosening the side rail I was able to position the replacement skirt and mark out the pins for the dovetail joint. Another hour or two of drying and the glue would have made this much more difficult. The second round of gluing and clamping went much easier with the two sides already glued in place.
Making mistakes is part of the learning process and without them our education would be incomplete. After the initial frustration passes the challenge of finding and implementing a fix can be quite enjoyable and when the results leave the carcass unblemished no one will know. Much of the furniture I have made has stories to tell and as you know many of the pieces we see in museums have unique characteristics and stories waiting to be discovered.
Now onto that scraping….

Pink Planes
If you haven’t looked around the blogs lately you may have missed some pictures and articles about children in wood working. The Literary Woodworker posted a wonderful picture of his crew helping him on a project, Paul Sellers is offering to take some of his time at The WoodWorking Shows to teach children and now A Pink Plane!
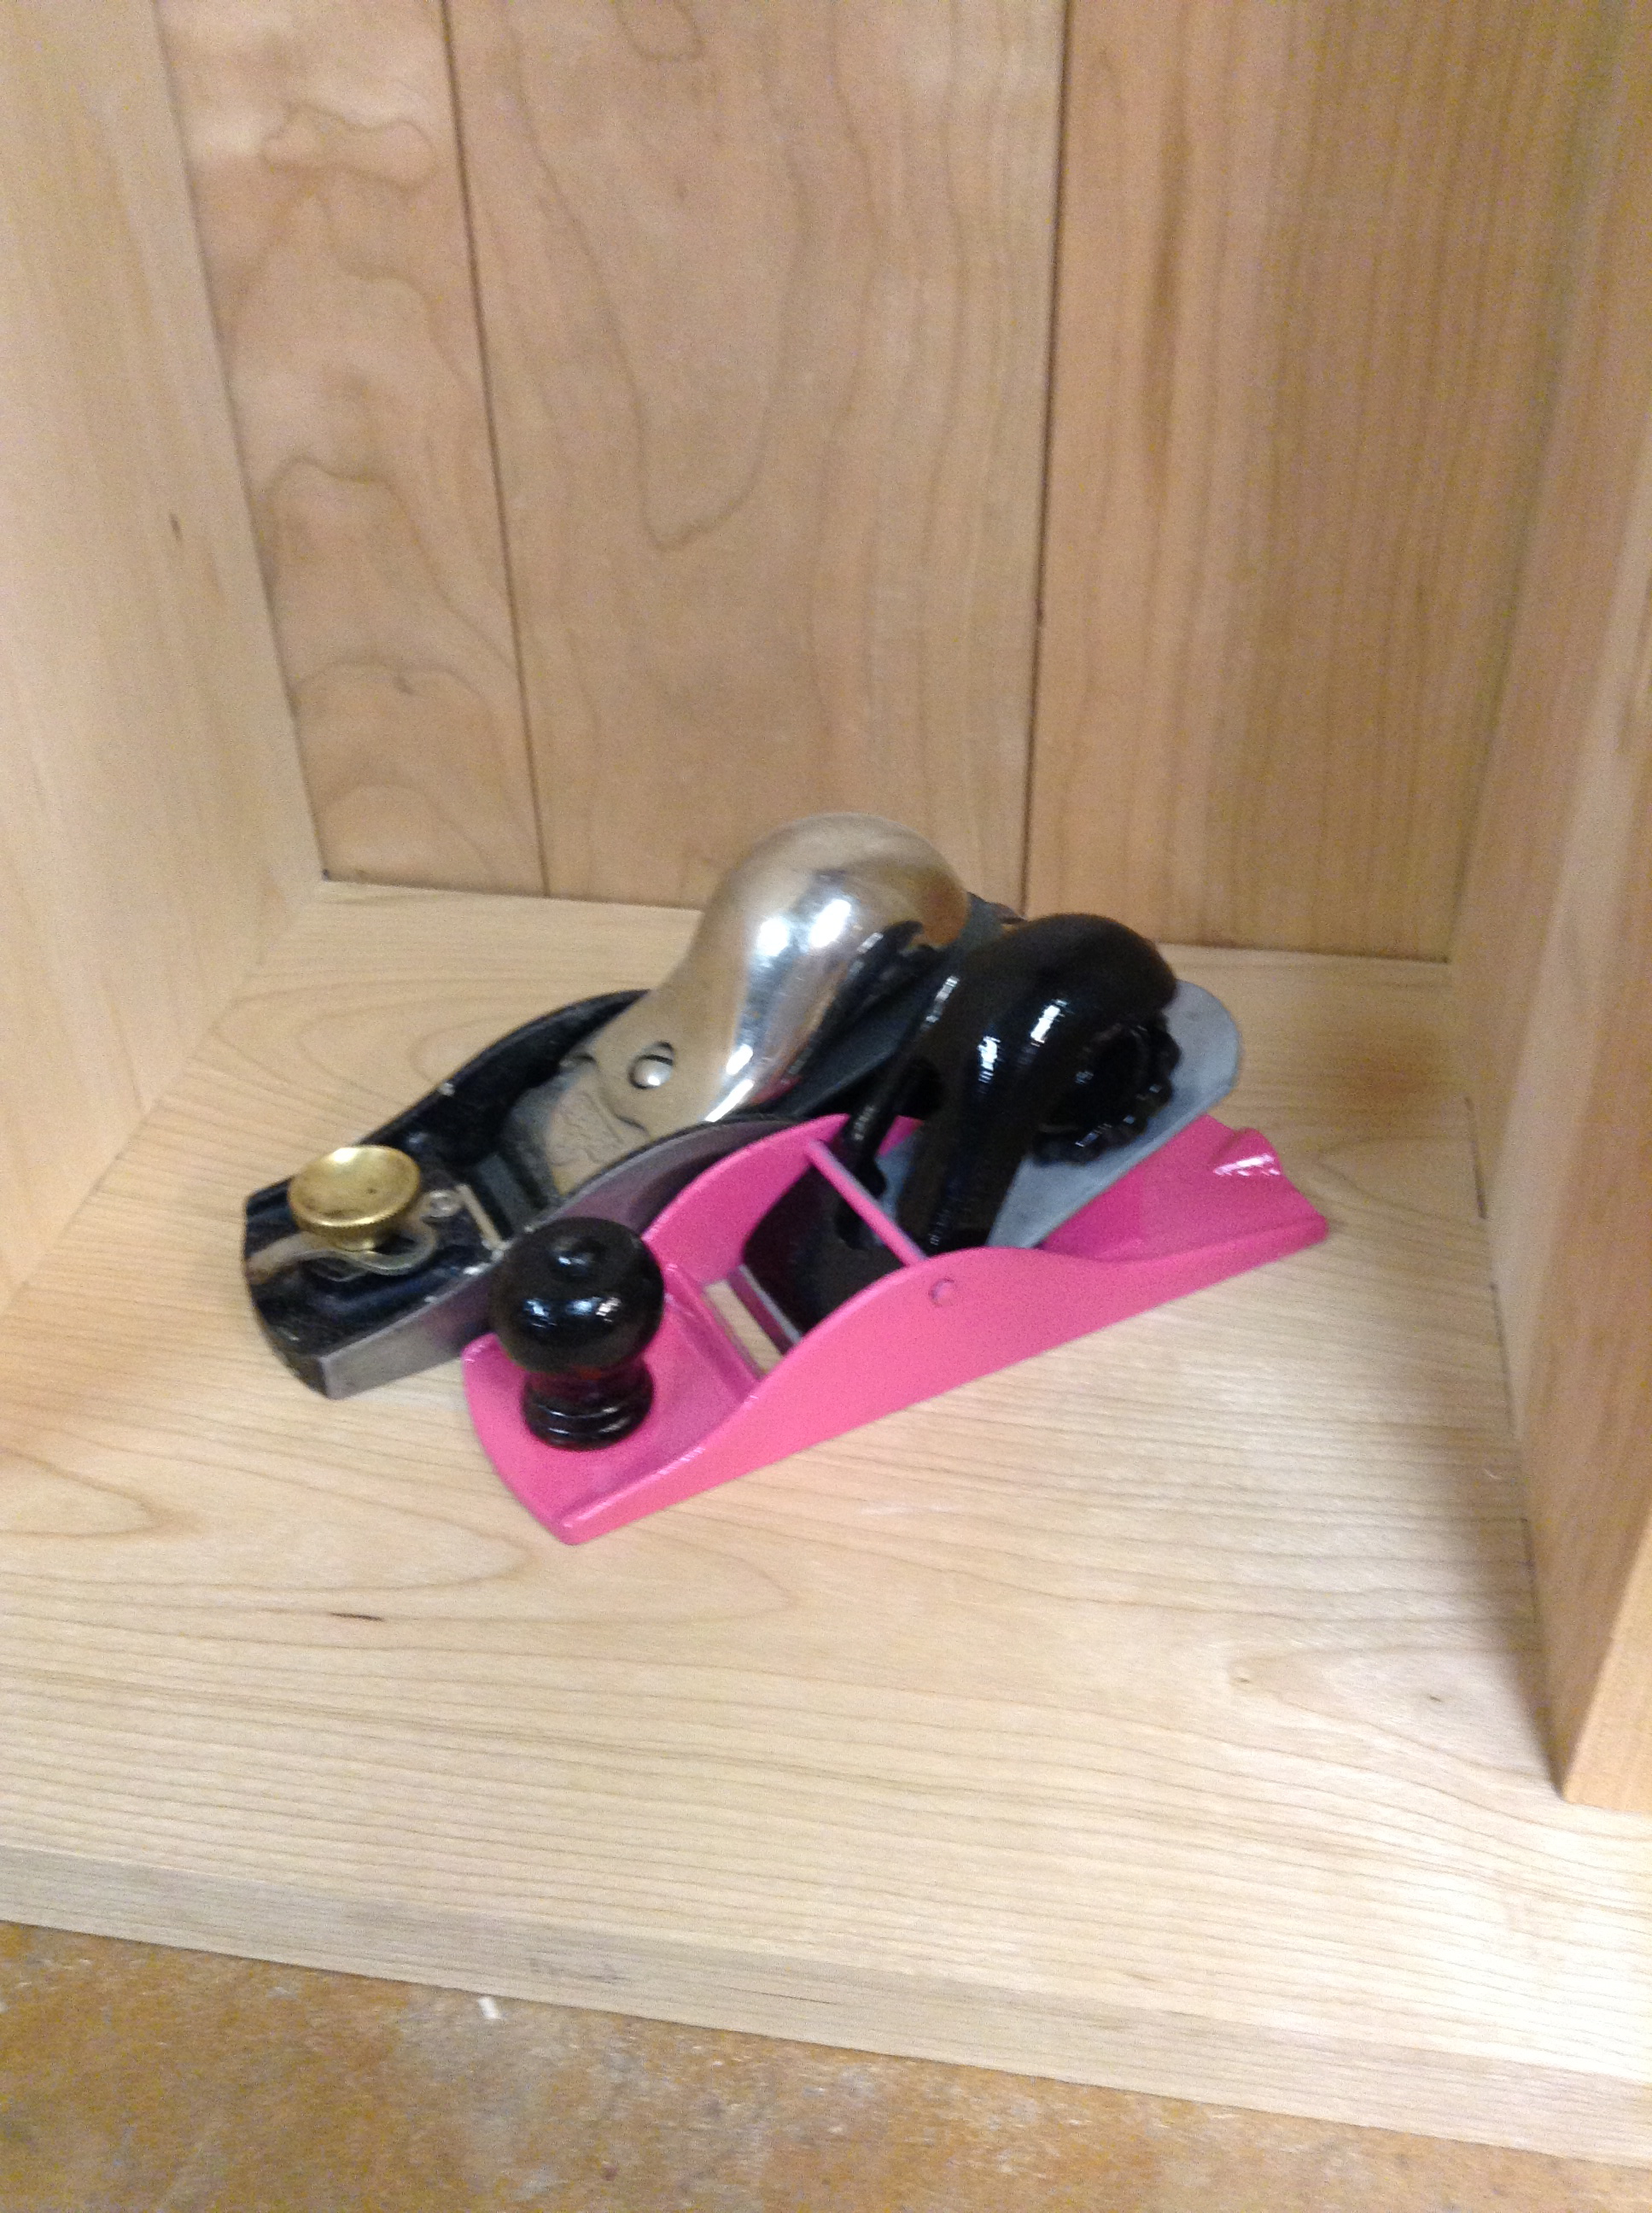
When Grandpa came for Christmas he brought along a couple of special gifts. A gentleman’s saw, block plane and this very unique and highly prized pink block plane. If you want one like it, you’ll have to make your own, but for now enjoy the picture of the one that resides in my daughters hand.
Back of the Saw Till
Several weeks ago I began the process of building a home for my handsaws. Admittedly I don’t have a handsaw problem…yet, however I do have a tool problem. I need a home to store them safely and this is why I have been building the tool chest and along the way a saw till. Following along with Shannon Rogers and the Hand Tool School I have built the saw till carcass and have reached a point where I need to prepare and install the back.
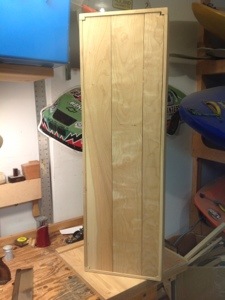
I prepared three boards approximately 1/2″ thick and then planned to cut a rabbit in the back of the carcass to support the boards.


Cutting the Rabbit along the inside of the carcass did not turn out as simple as it first appeared. Working without a plan sometimes gives you unexpected opportunities. In the case of the saw till the first chance to try a new skill came when I realized that I had not positioned the dovetails to hide the rabbit. I now had the job of cutting stopped rabbits that would not be exposed on the sides of the carcass.
I used my skew rabbit plane to cut the majority of the groove then using a chisel to finish them up leaving some material in the corner. Took a little more time than it should have, due to the chisel work but I am pleased with the result.
The back will consist of three boards and I have a choice of ship lapped joints or tongue and groove for their installation into the rabbit. After my great experience with tongue and groove on the tool chest bottom boards I decided to try it again on this project.
 I installed the 1/4″ cutter on my plow plane and proceeded to plow a groove on one side of the two outer boards. The other edge of these boards will rest against the carcass. I then notched the corner of these boards to fit the notches in the carcass.
As I mentioned in a previous post making the tongue for the joint using the veritas plow plane requires the installation of the conversion kit and blade. This is a simple process and only takes a couple of minutes to complete. One caution…clear an area of the bench so you can spot the screws and washer. I managed to drop the washer in a pile of shavings and for a couple of tense moments thought I had lost it. The pictures below show the additional skate which is part of the conversion kit. It is installed onto the plane and the blade fitted between this skate and the main skate.


After 10 minutes I have placed a tongue on both sides of the middle board and installed all three into the back of the till. A few more parts and I can get my saws safely off my bench and out of the way.

Different Plane – Different Shavings
If you haven’t noticed I take a lot of pleasure in watching the shavings curl up from a plane. There is something magical about moving a piece of iron across a board, watching shavings curl up past your hand and seeing a groove or rabbit appear behind. This is something that I missed when I was using power tools exclusively. As I reflect back over the last year I am also realizing that unless you are performing a repetitive task using the hand planes is not much slower. Let me introduce you to a few of the planes in my tool box (soon to be tool chest).
Plow plane – This has to be my favorite specialty plane. I use a Veritas Small Plow Plane available from Lee Valley Tools. A couple of months ago I really extended the usefulness of this plane by adding on the conversion kit which adds on an additional skate and allows you to use wider blades and most importantly cut tongue and groove joints. The second addition to this plane is the fence attached to the side. Veritas manufacturers the plane with holes for this attachment and I strongly urge you to add it soon after purchase. It greatly enhances the planes stability and therefore accuracy.

Skew Rabbit Plane – Moving Fillister or Rebate Plane. Lots of different words for this plane and yes they do have meaning. I have two rabbit planes a Stanley #78 and the Veritas Skew Rabbit Plane (pictured). Both of these planes are very capable of producing rabbits of varying widths. I find the Stanley #78 to be finicky and I have trouble maintaining the setting (mostly my fault, not the plane’s). When I first purchased the Veritas skew plane I had difficult leveling the blade for a 90 degree rabbit. I have since fixed this by paying more attention to the set up and adding a fence just like I did on the plow plane. What makes this plane a moving fillister is the addition of the spur which scores the work prior to cutting. This makes for a very clean crosscut. The skew blade pulls the plane tight against the face and cuts easily through the wood and the shavings are super cool…..
I have a fairly complete arsenal of planes, the vast majority of them used Stanley’s and I would have it no other way. Bringing a plane manufactured in the late 1800’s back to life and producing the same shavings as was made by a proud owner 200 plus years ago is a special feeling. I found that when buying used planes on Ebay or at tool meets, the standard planes are reasonably priced and readily available it easy to tell the condition of the planes and parts are available. The planes above were tougher to find and priced much higher (if you are on the East Coast you may have better luck). When putting together the Stanley #78 I had to go to two separate places for the fence and cutter. When you add in the shipping and parts there was not a lot of difference in price. The planes above are obviously new and were purchased after looking for their equivalent used counterparts. I decided that due to the complexity of these planes, difficulty in determining condition of the used planes and availability of parts that I would buy new. That was my personal decision and If you are looking for used planes there are many sources on the web, a great one is Hperkitten.com. If you haven’t found Patricks Blood and Gore you need to look. The other source is my father in law who does an excellent job of finding gems, but I’m not sharing that contact.


 orepass