Archive
Box Making – Bottom
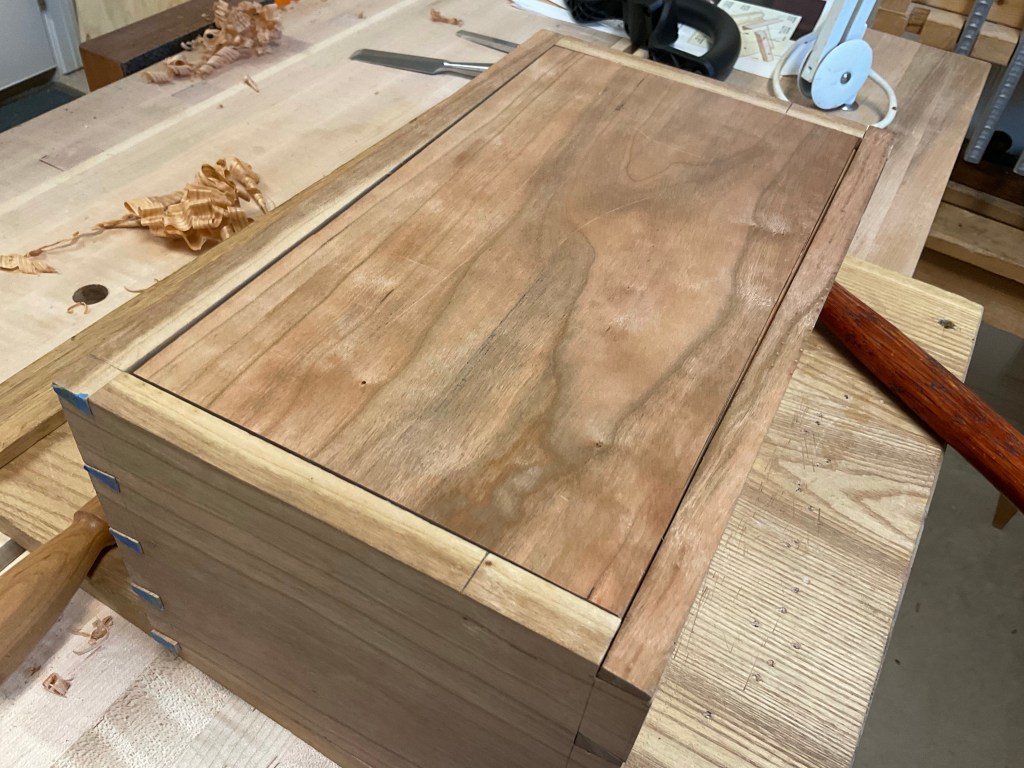
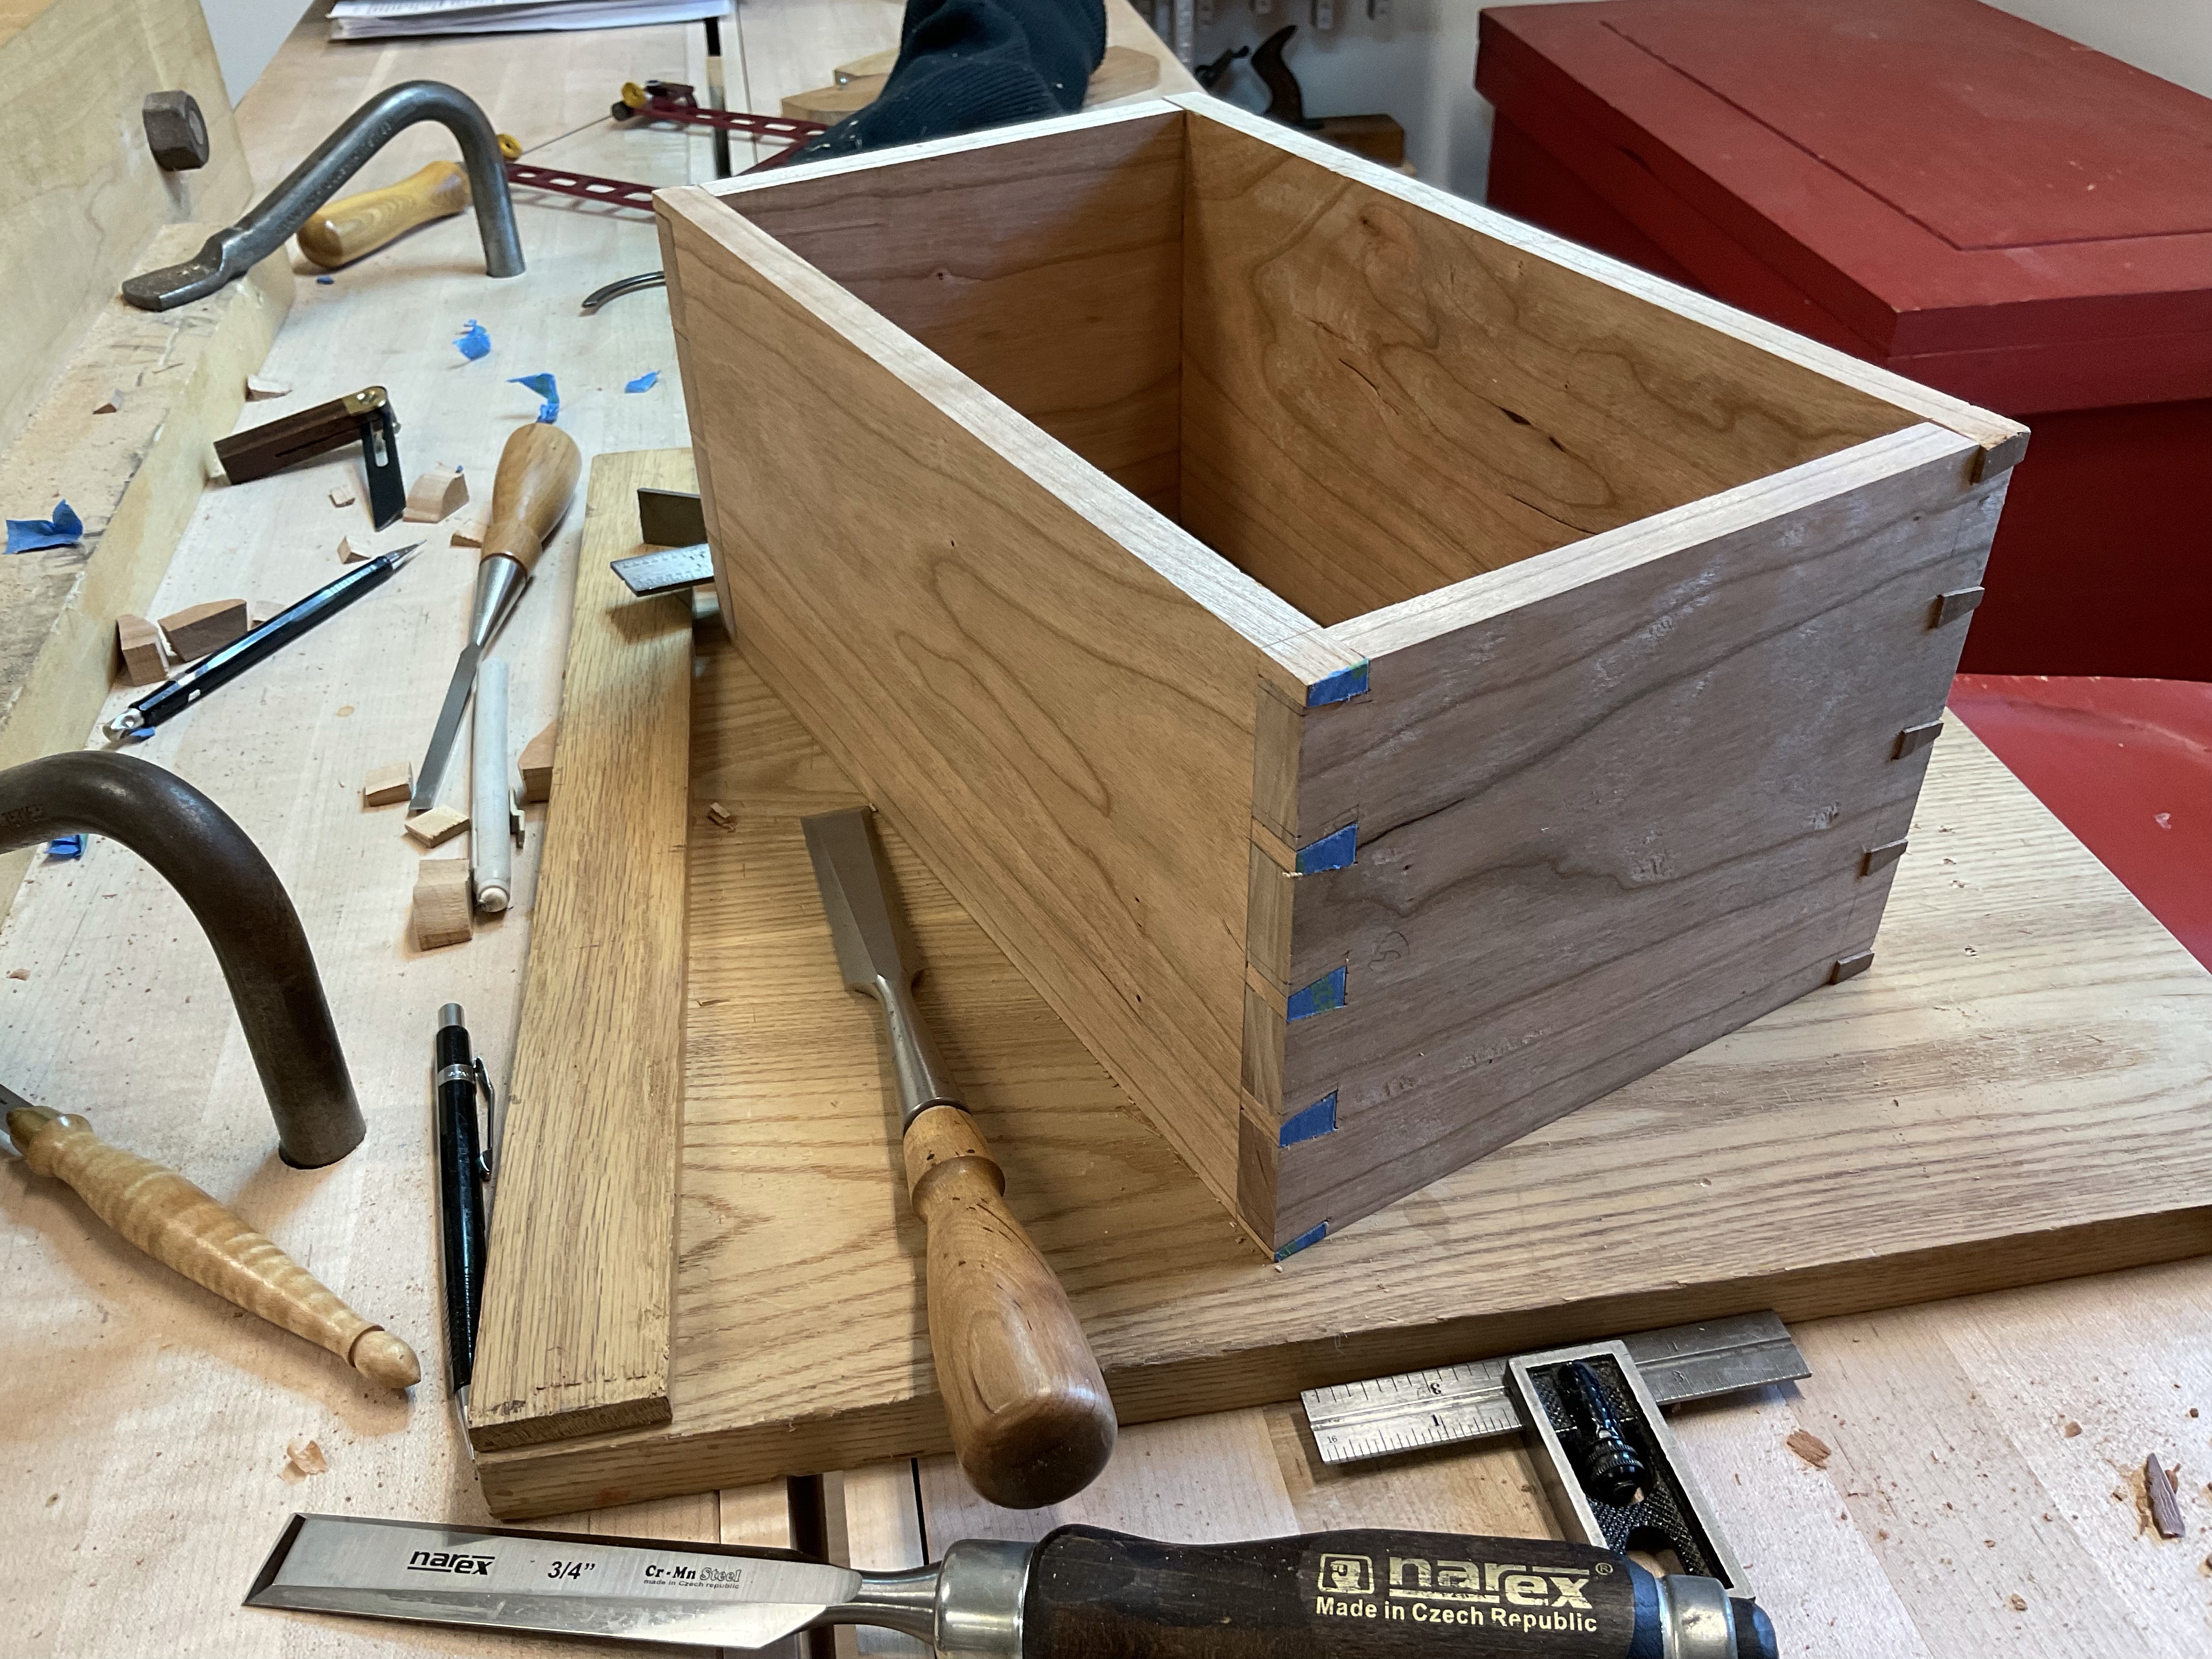
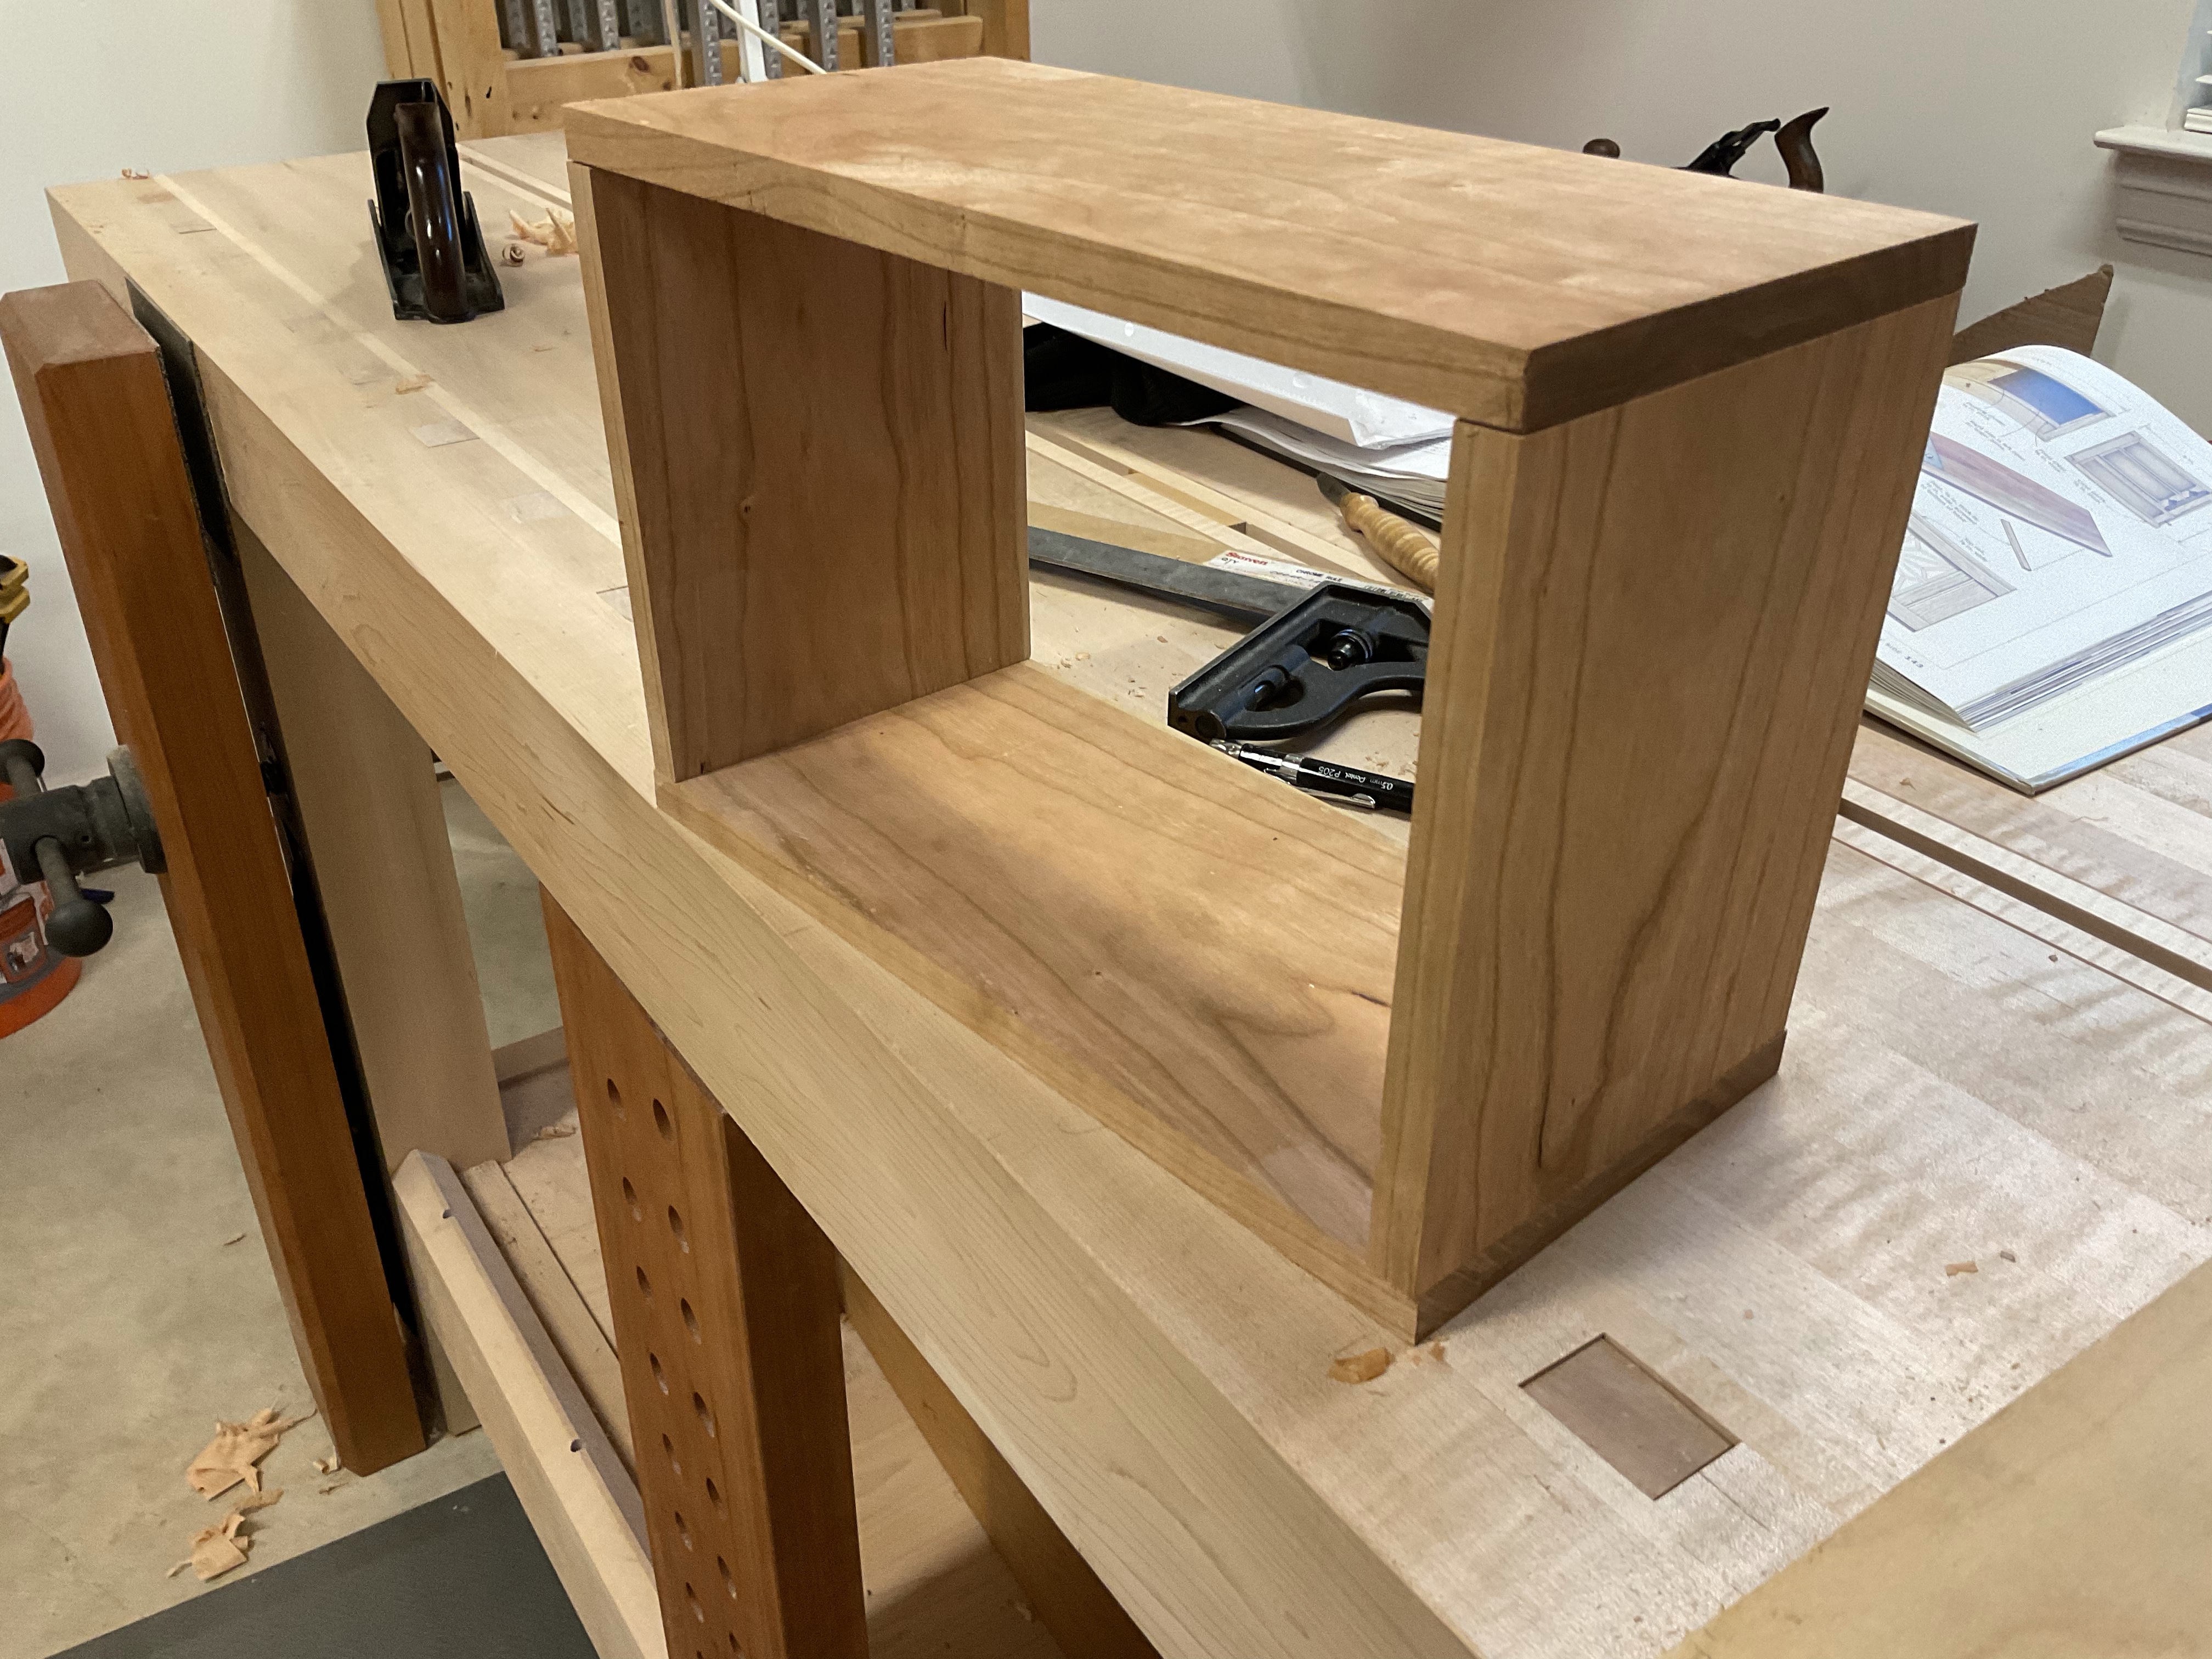
The sides of the box completed, I begin to look at the bottom design. the previous boxes that I completed had a bottom glued to it, simple and looked great but since this box will actually be turned on its side, it needed something different. Insetting the bottom into a groove will make the best use of space and provide a great look.
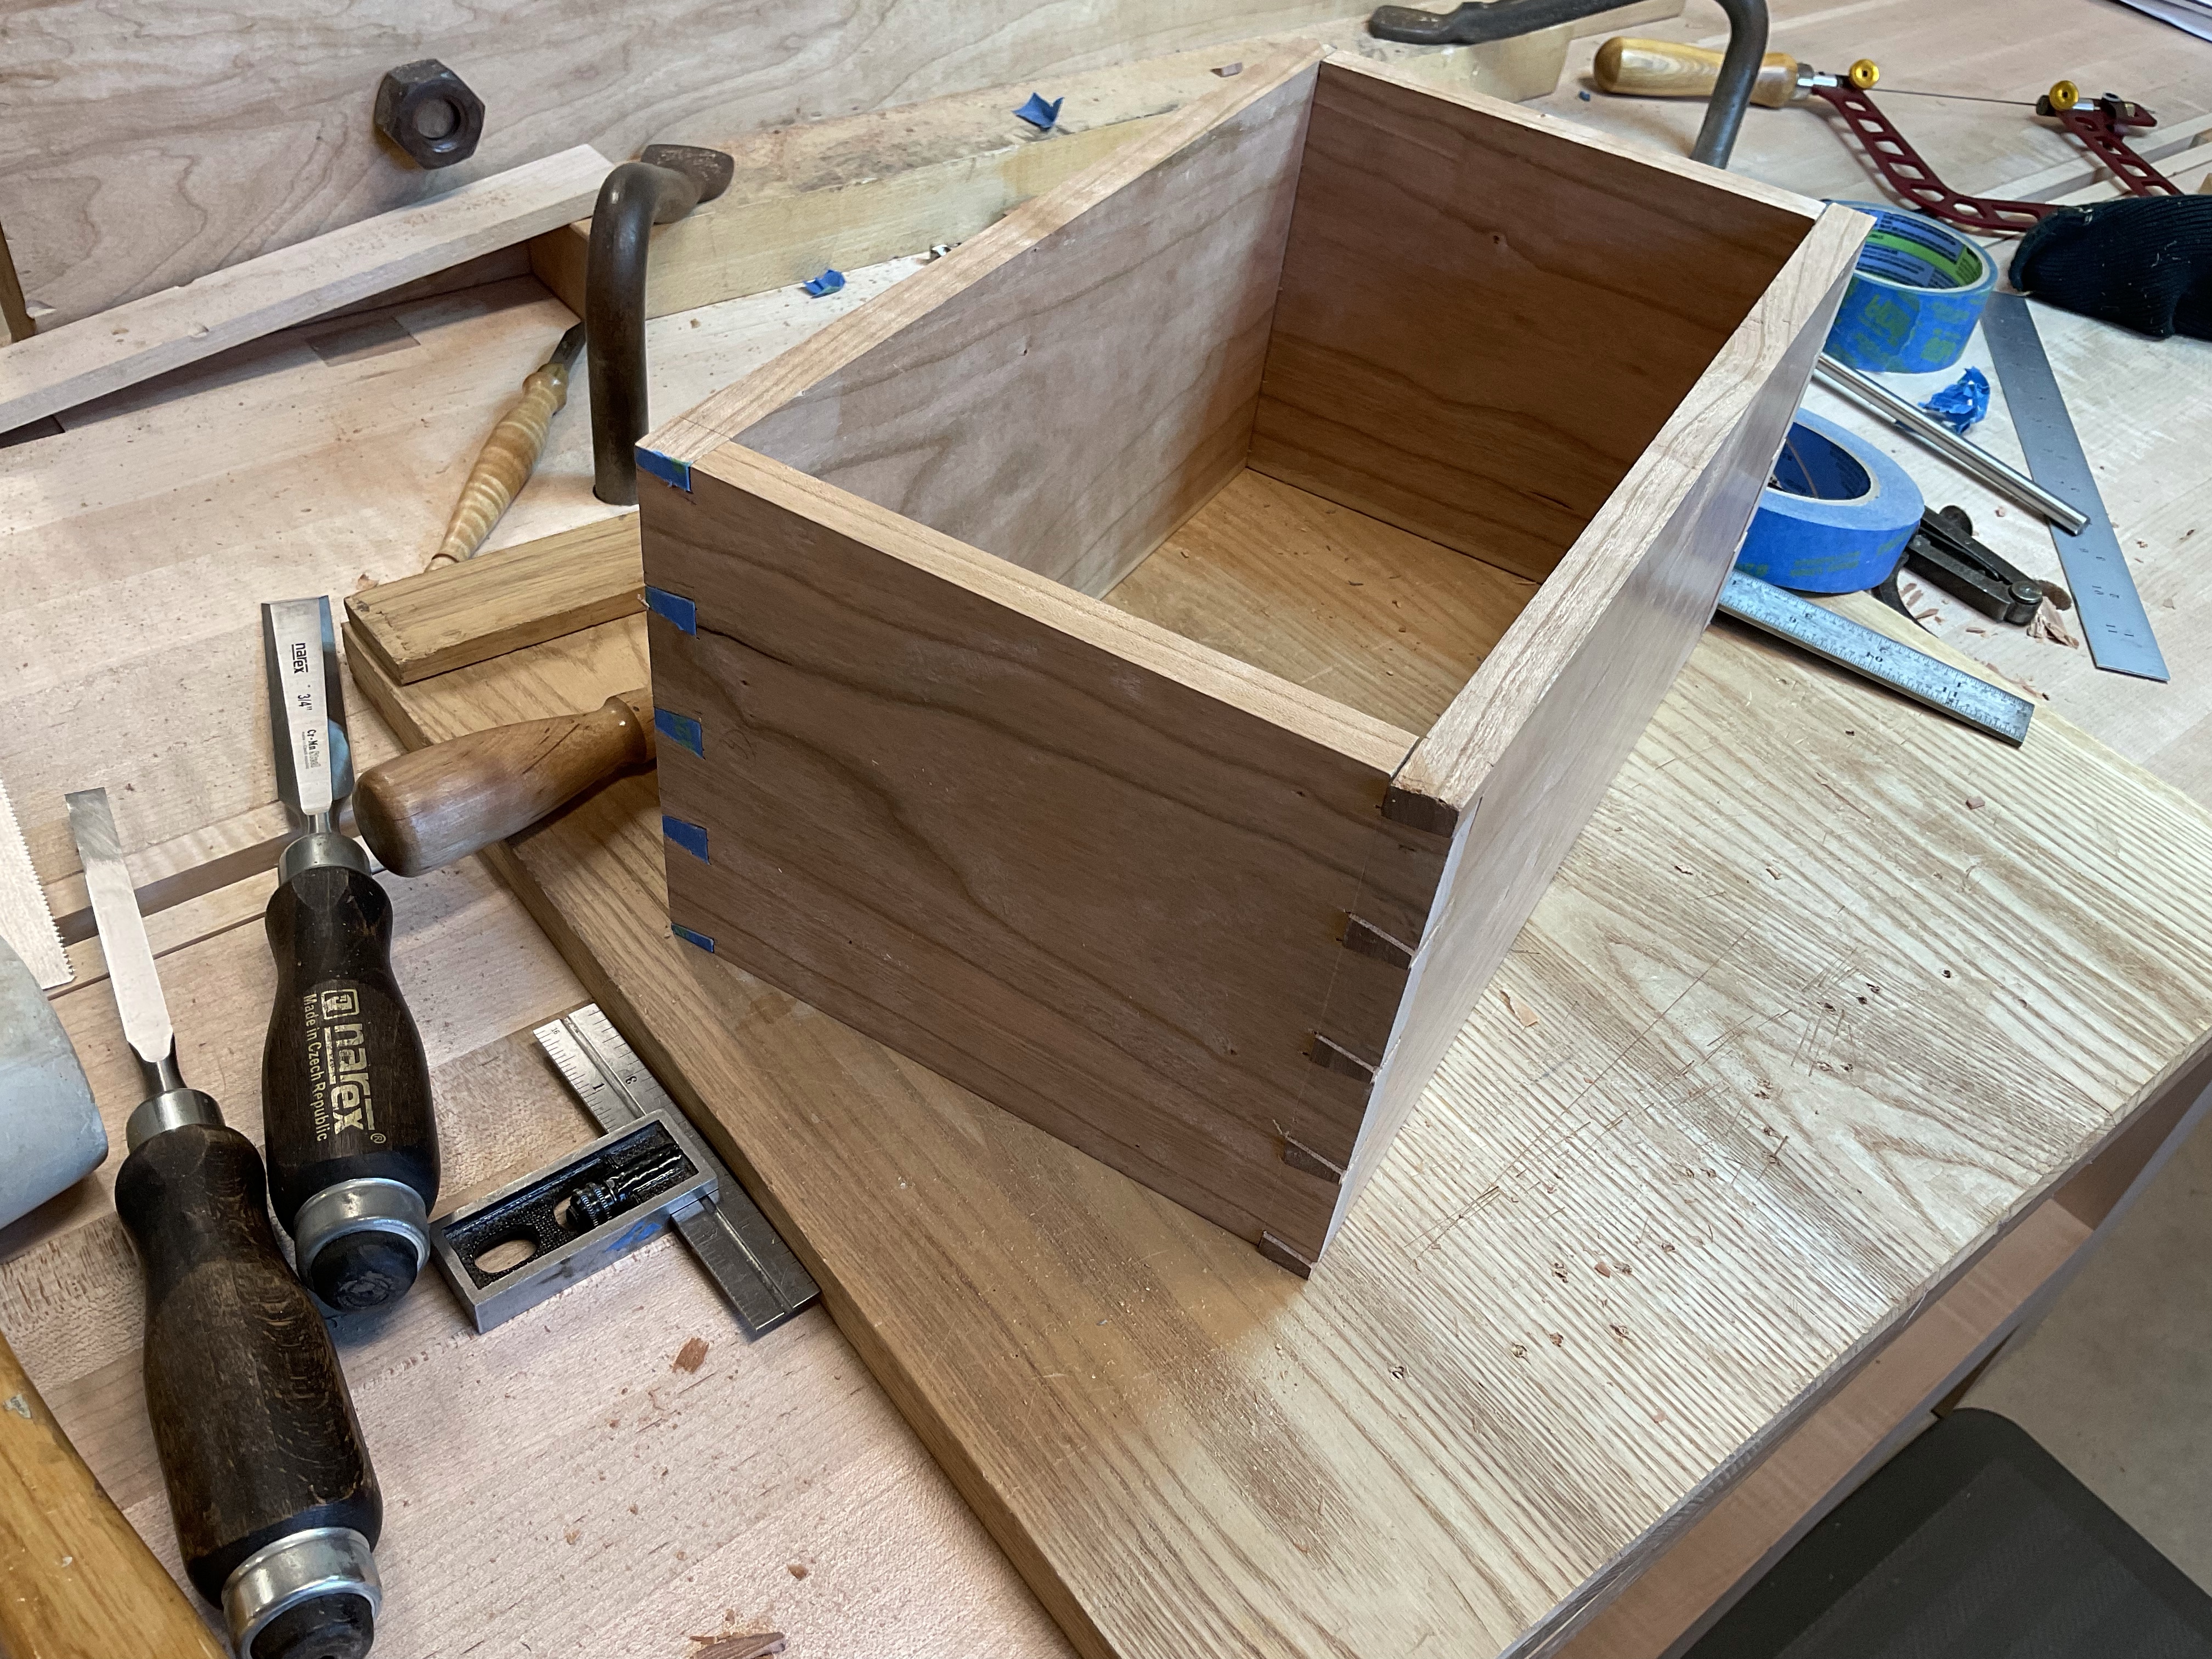

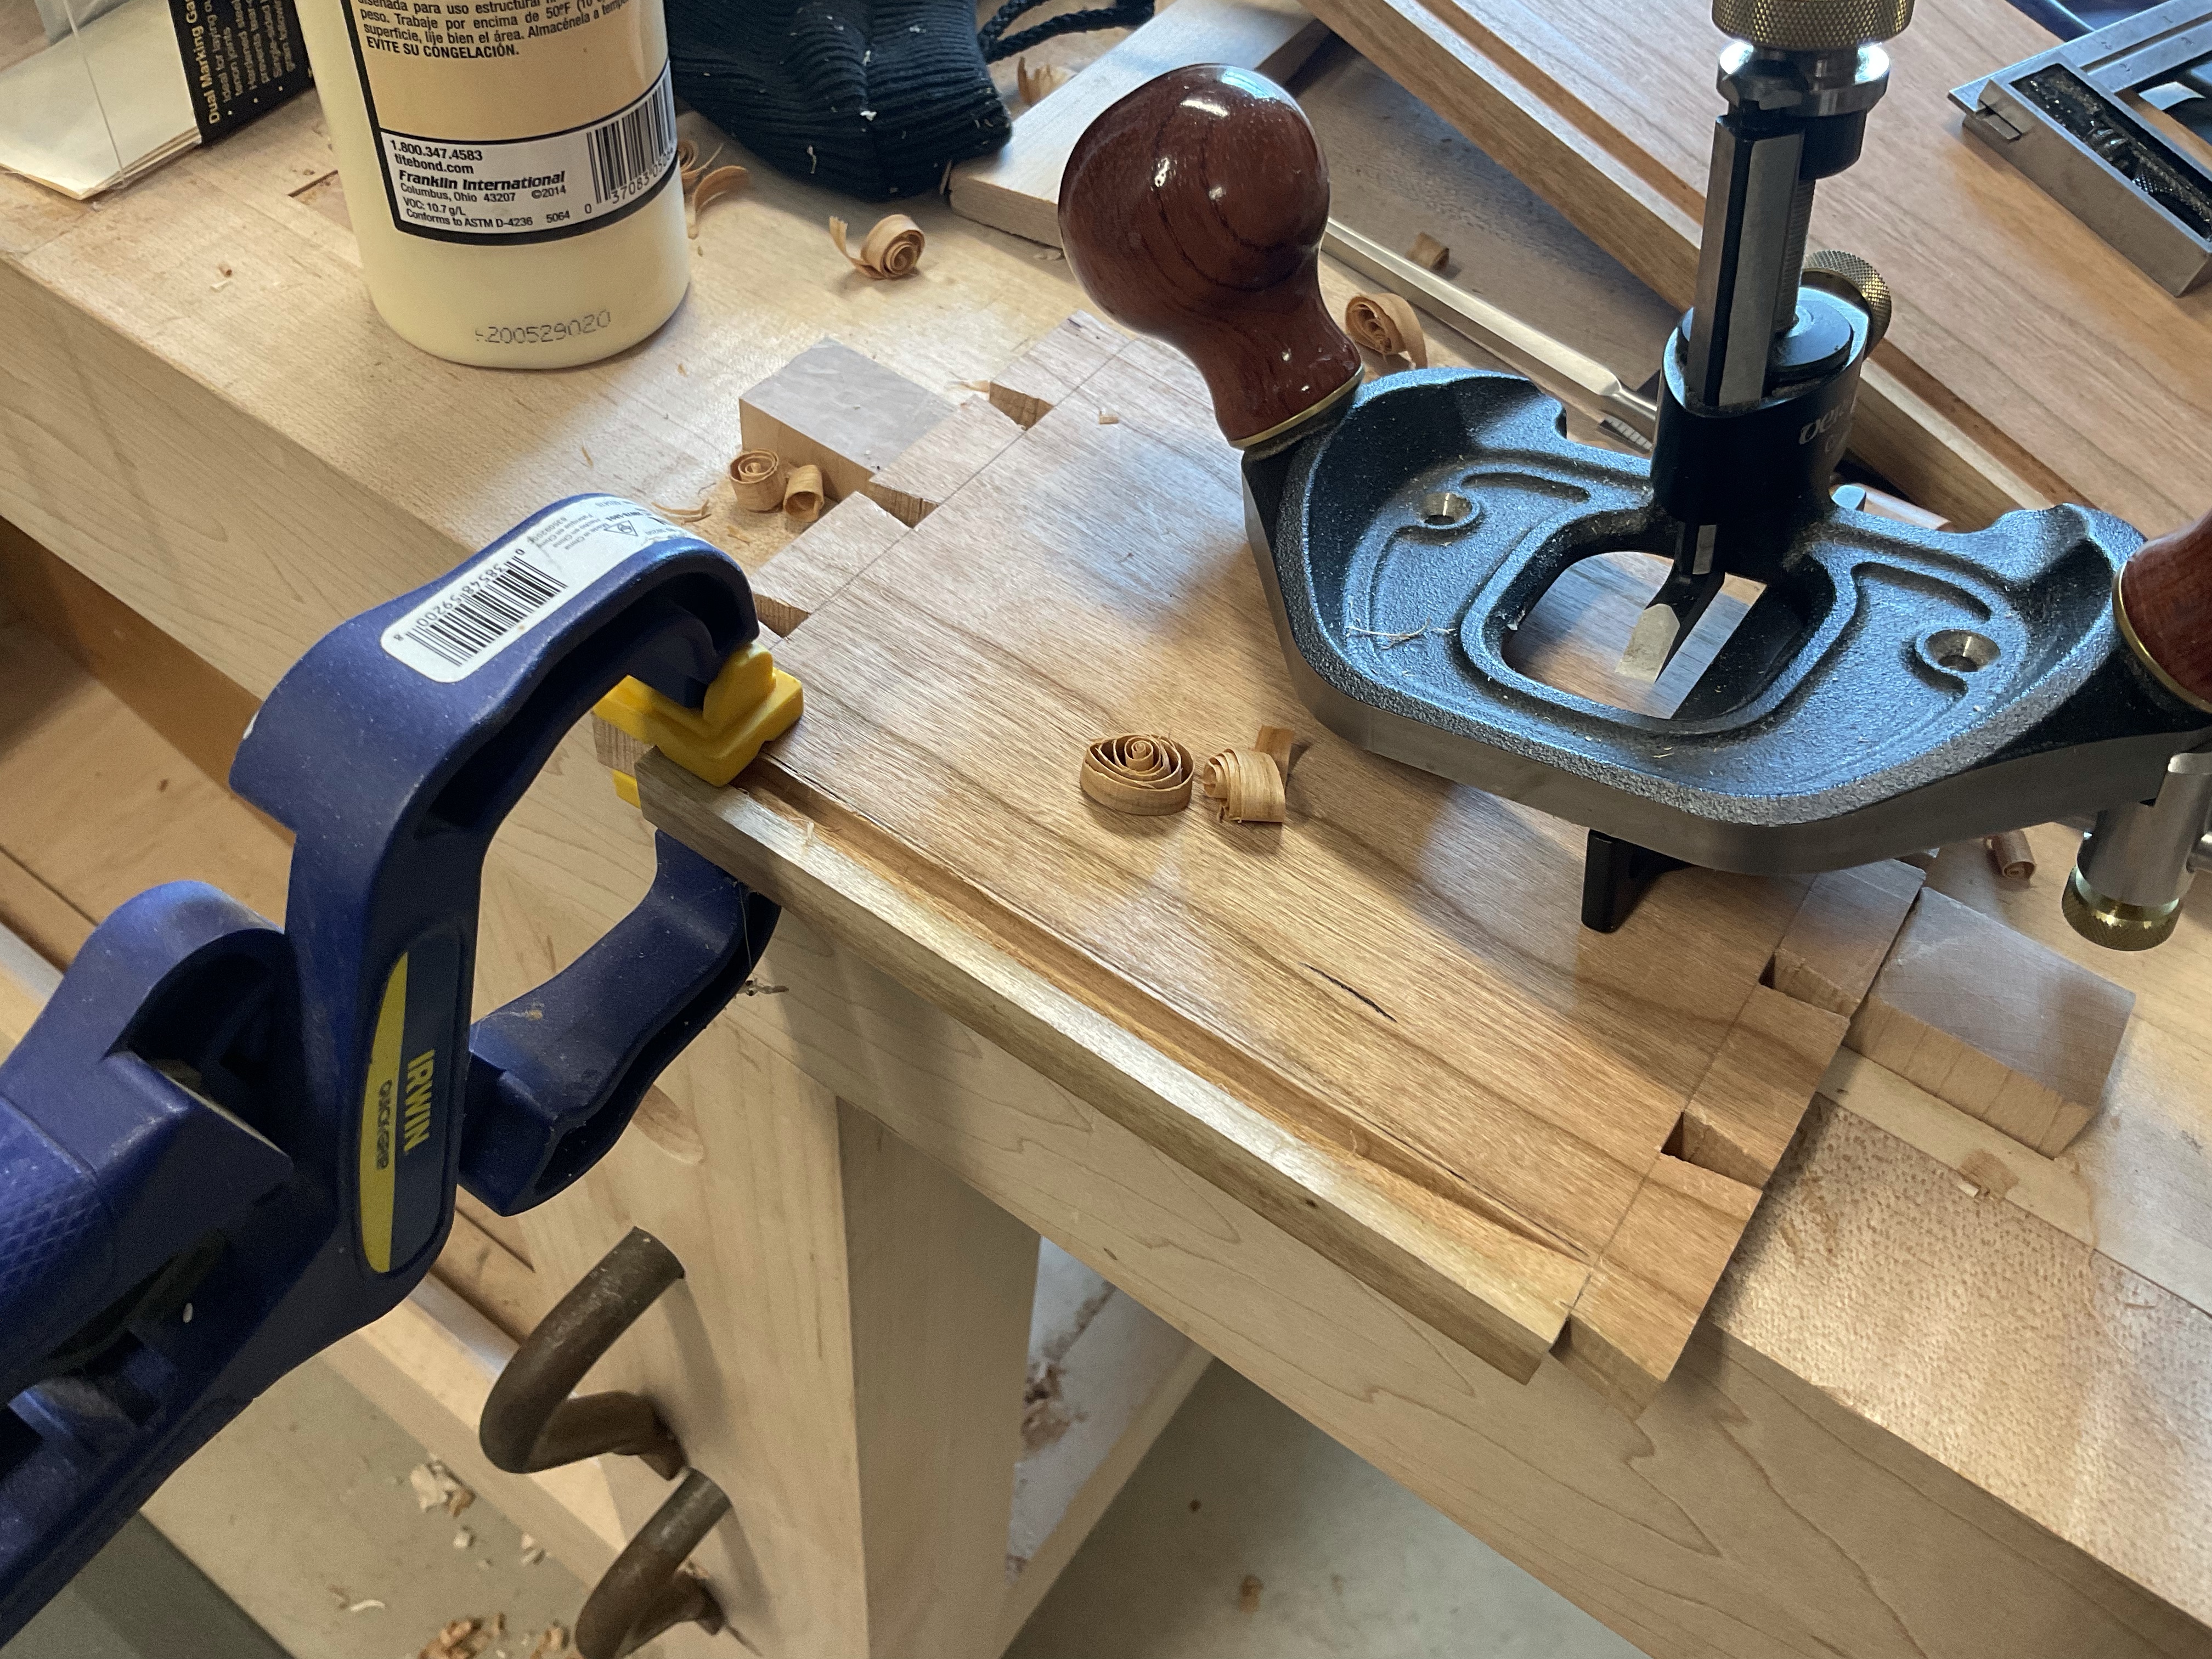
There are several ways to inset the bottom, I used my plough plane and set it to make a groove just inside the edge.
A couple of the rabbits ended in a dovetail so I had to use a chisel and router plane for these rabbits.

The actual bottom also was trimmed around the edges to fit but I did not get a photograph. on to the next step.
Box Making – Marking up Dovetails
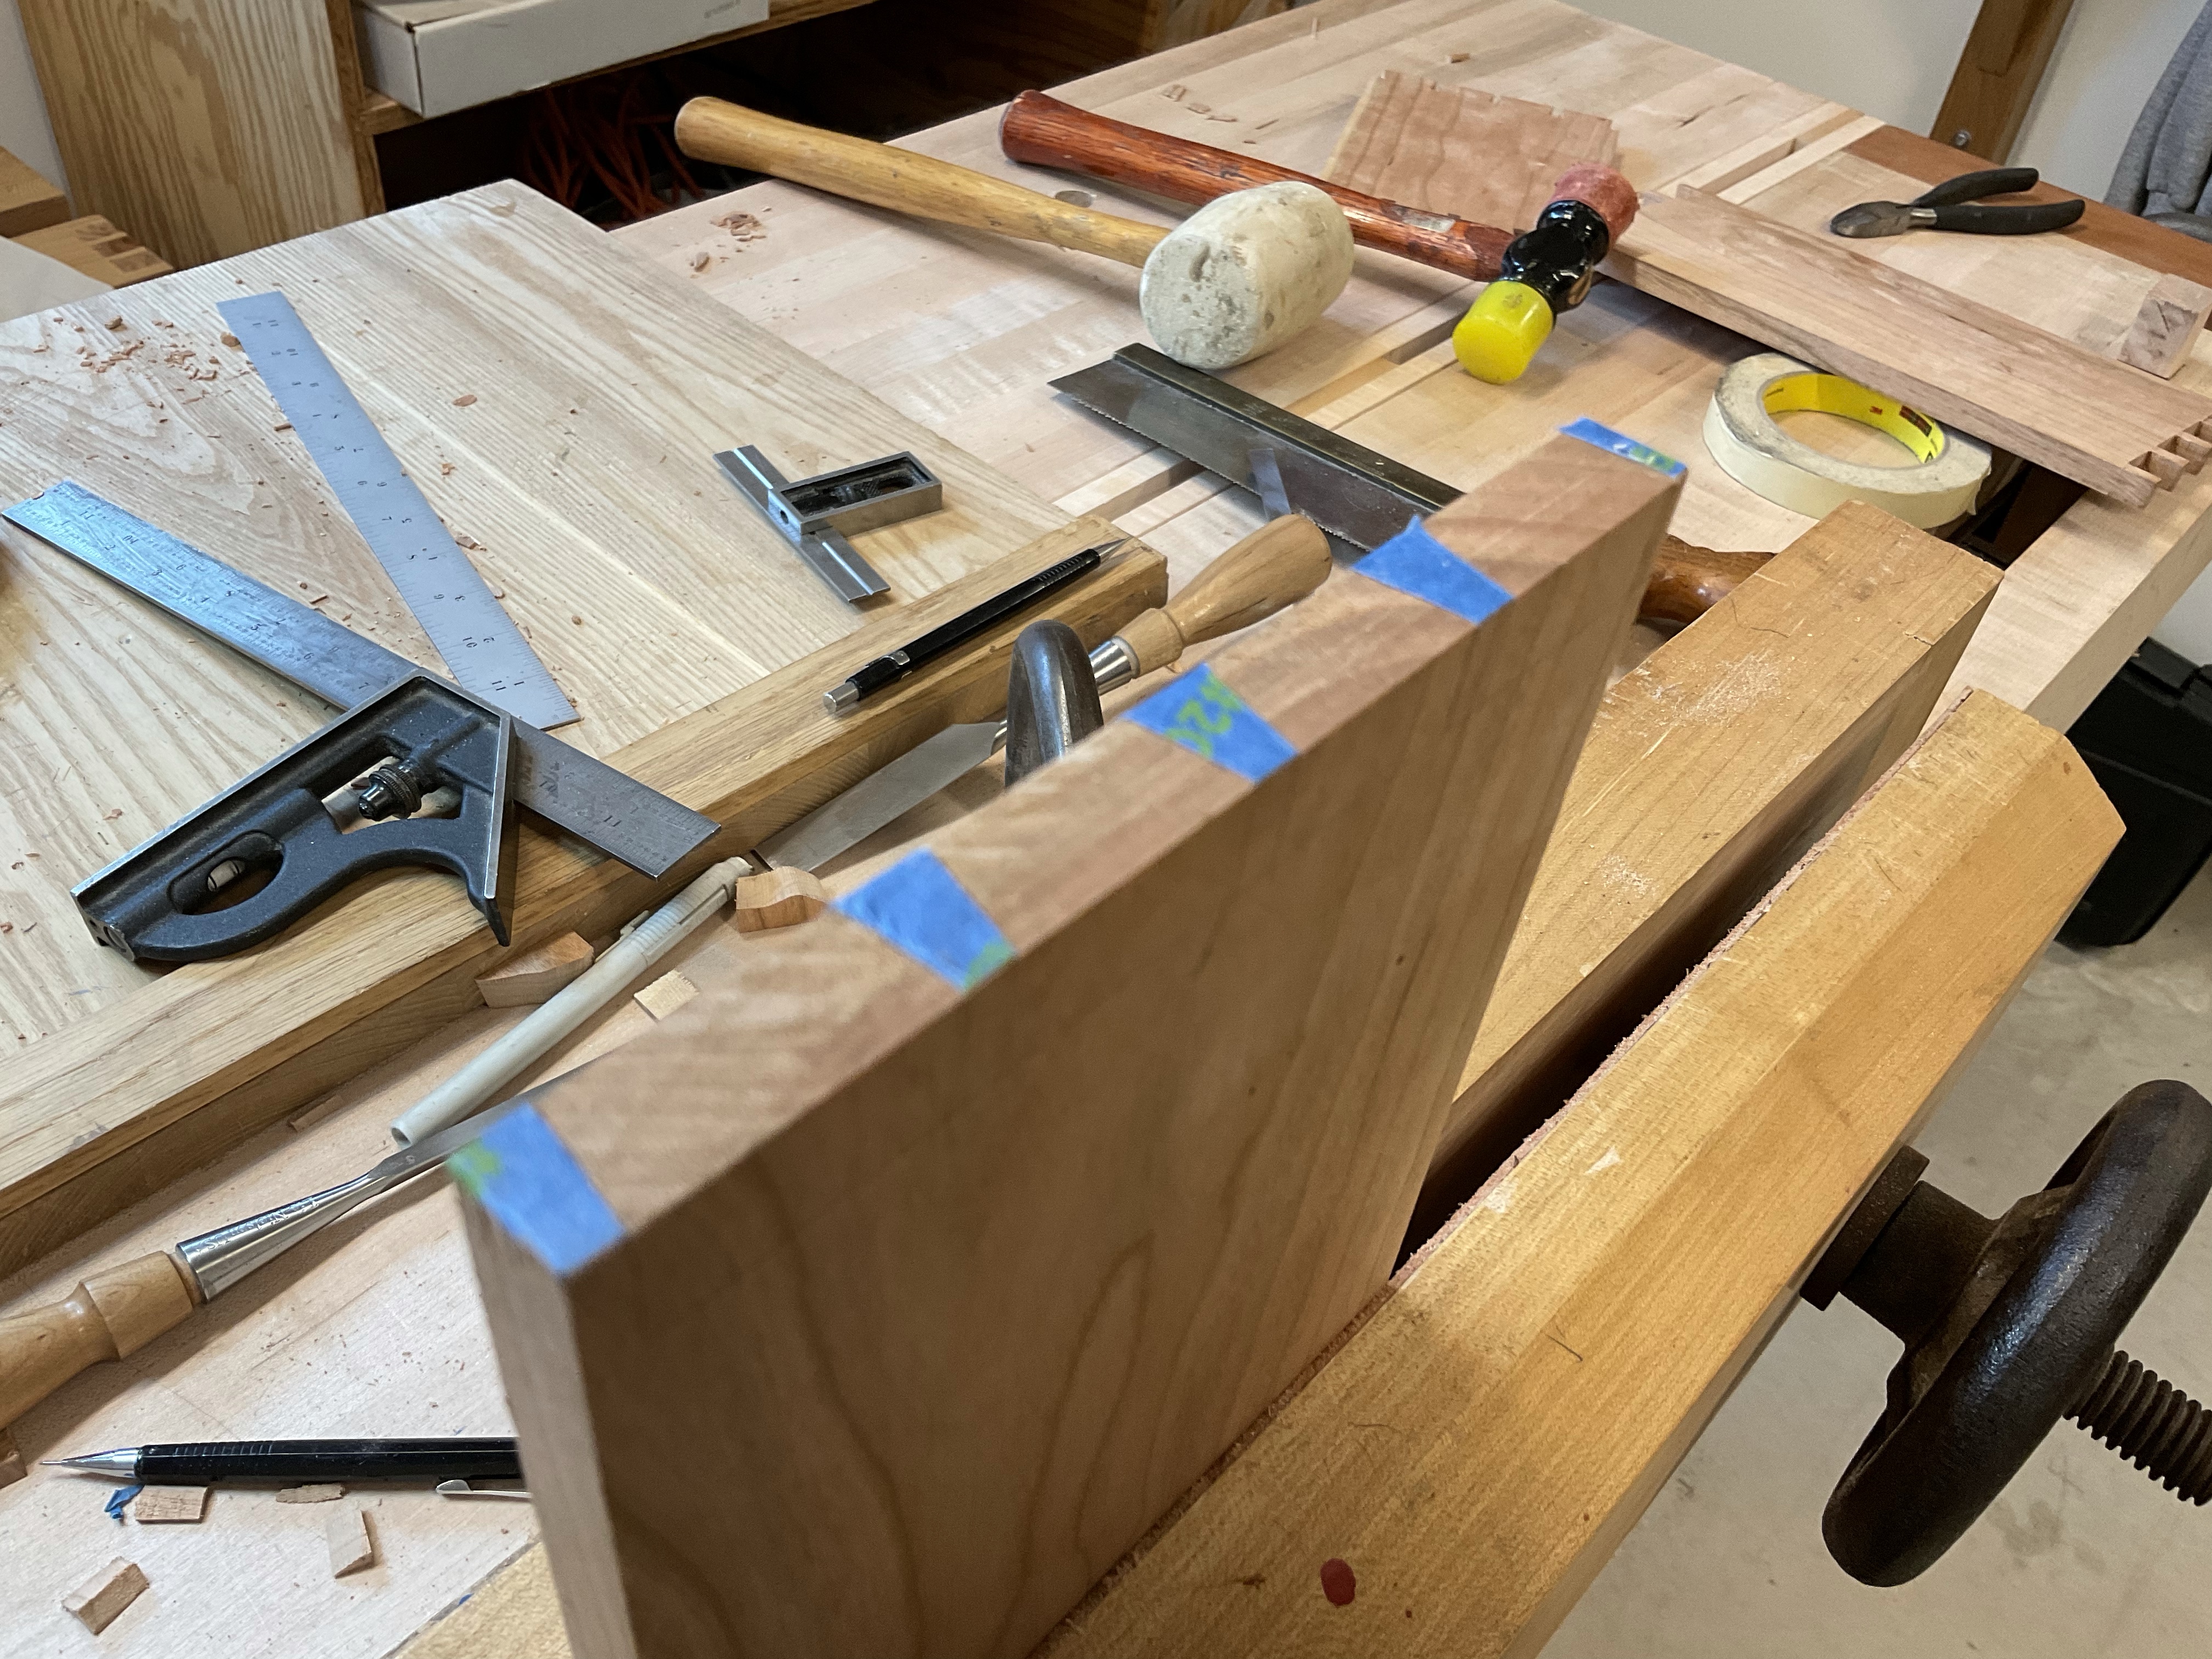
Looking through the posts on my site it’s been a while since I made a dovetail joint. The last appears to be the Roubo End Cap that I completed in 2019 and even longer ago since I made a box. Needless to say, I am rusty in my layout skills. Taking a few minutes to brush up on the use of dividers and dig out various tools I remembered the article that Mike Pekovich wrote about using blue tape and decided that this would be great time to give it a try.
Planing everthing smooth and square, I dug through the Fine WoodWorking articles until I found one that described the use of Blue tape. There are many articles, dig around and find the one that works for you.

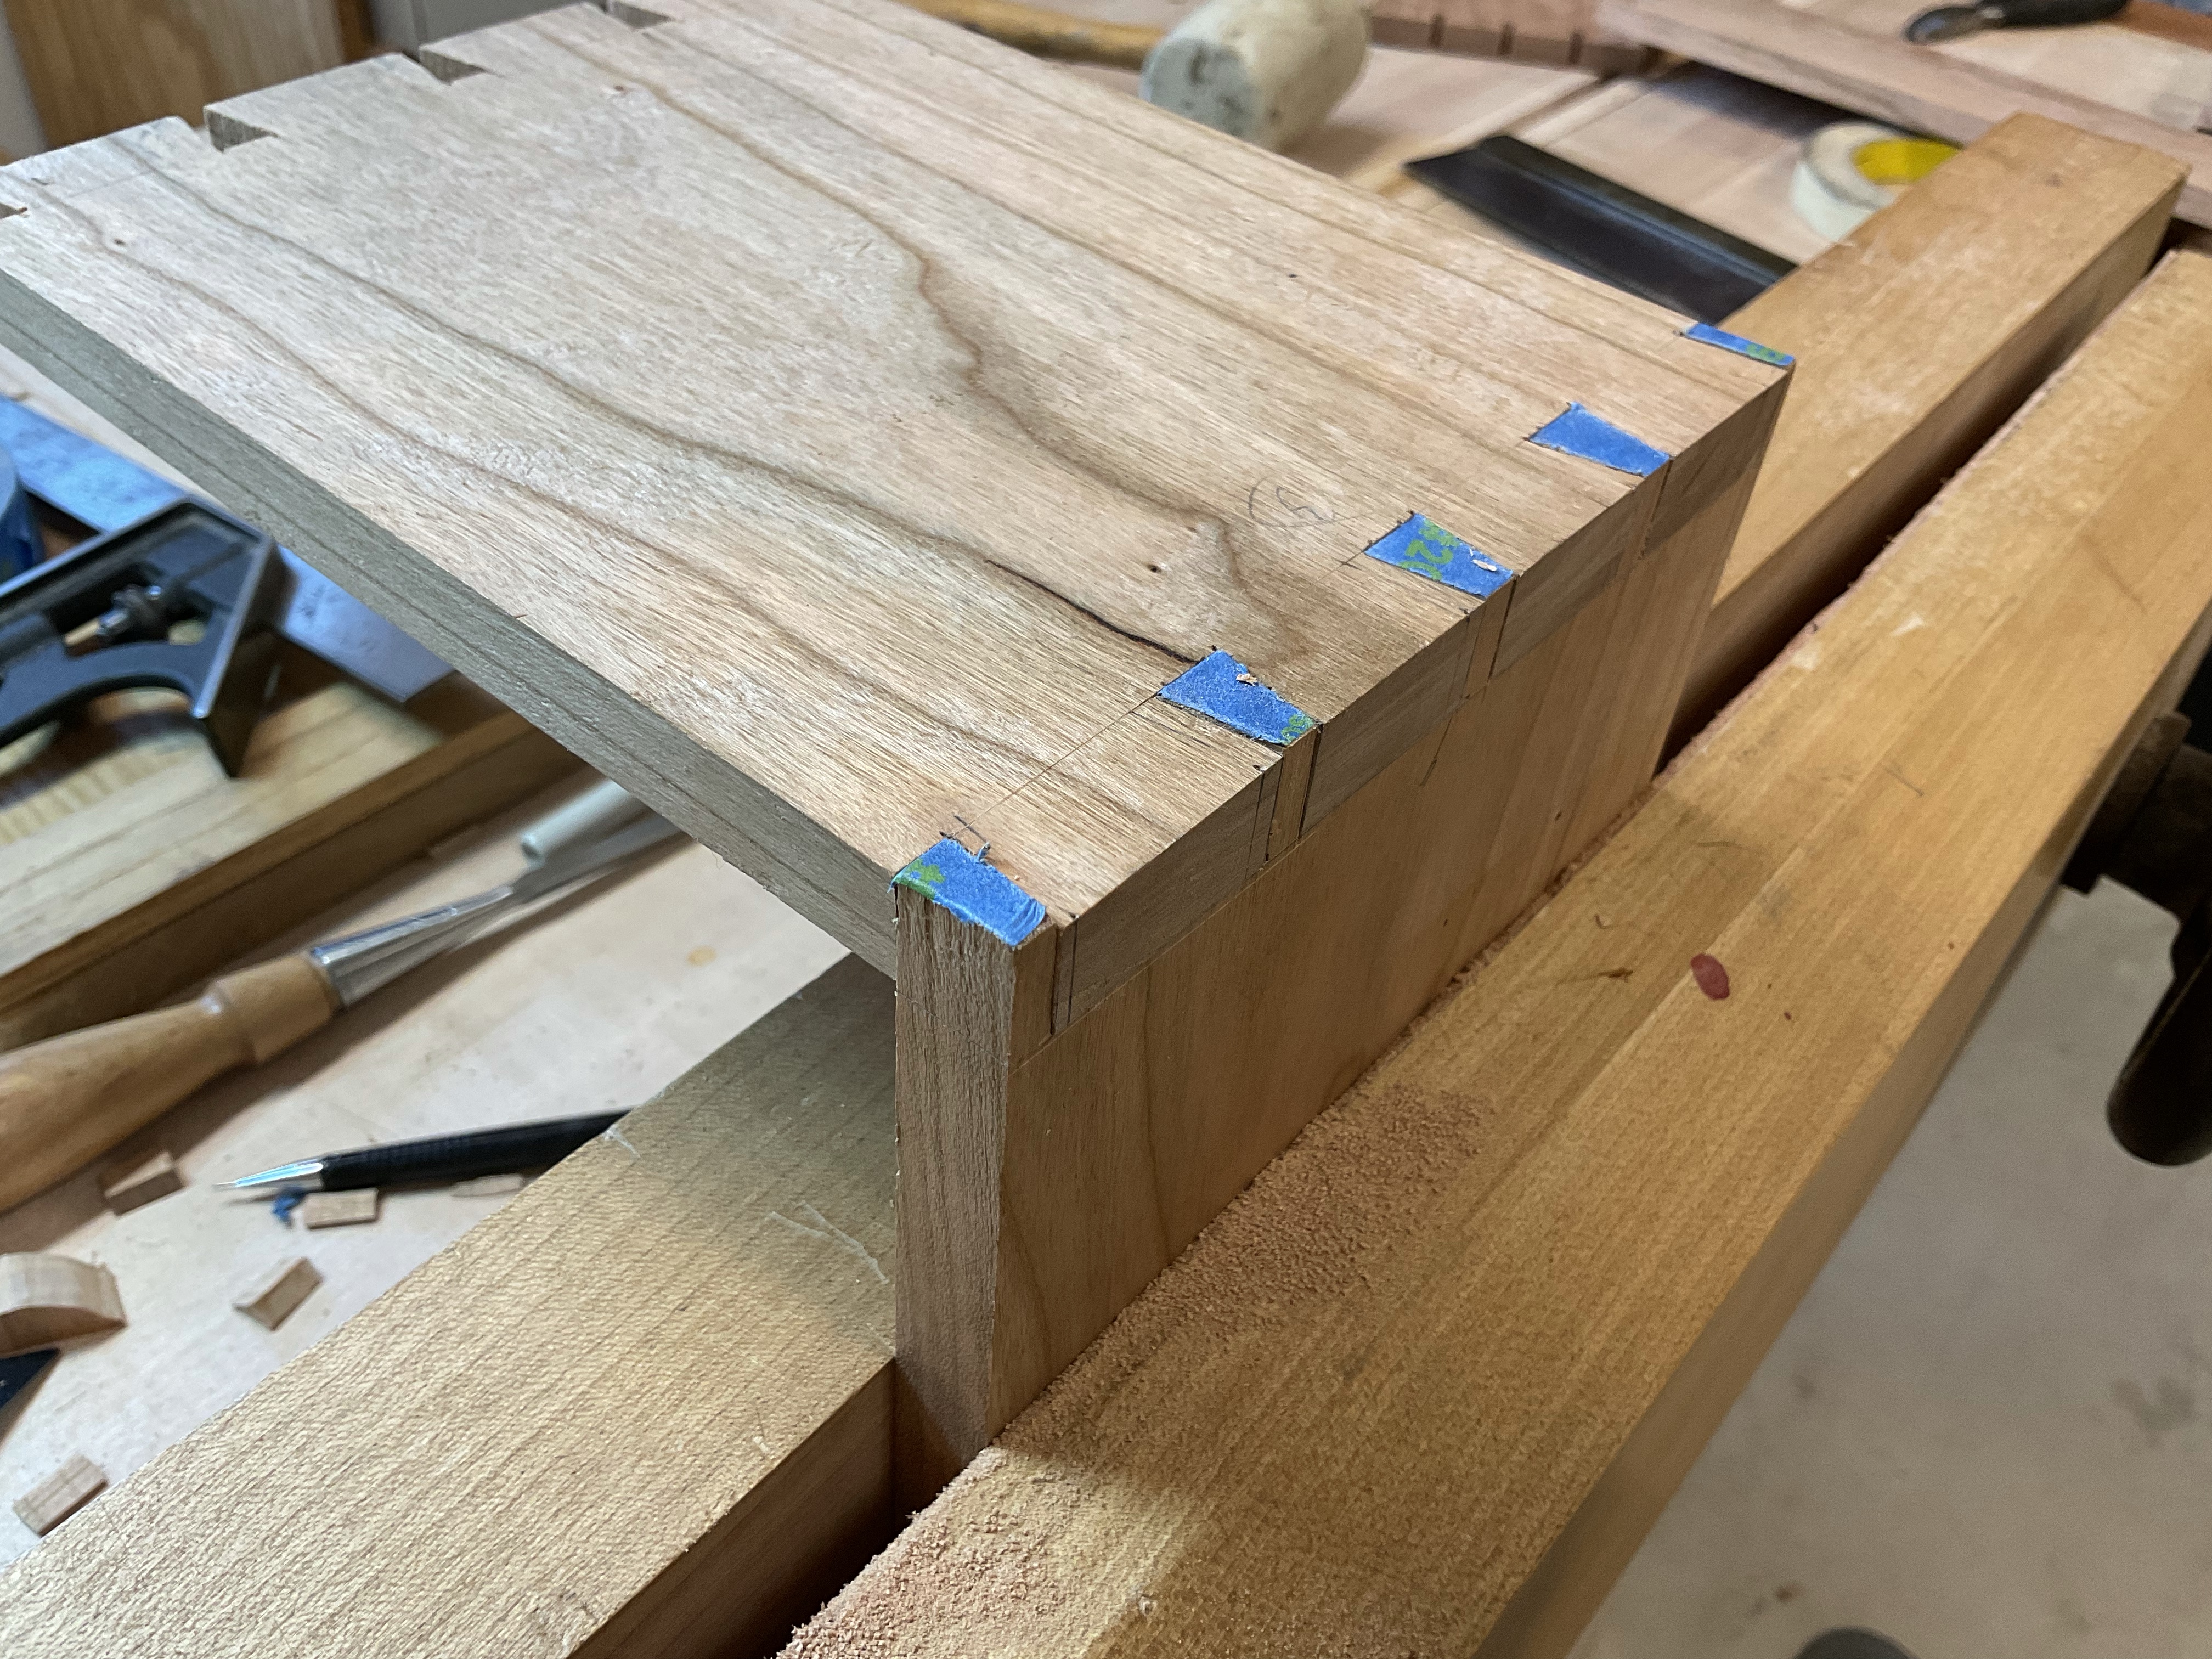
After grabbing the essential layout tools, I marked out the tails on one board and then placed blue tape on the board that will have the matching pins. After cutting out the tails I laid the tails board on top of the board to be marked out for the pins and using a sharp marking knife cut the tape. Then peelsd out the areas that need to be removed. Please read the article. I don’t intend this to be a blog on how to use the blue tape but the effectiveness of the method.

I then followed my method for sawing the doovetails and removing the waste. We have all seen the articles and comments about the blue tape method and indeed it work and extremely well. In fact I only had to adjust one pin which I actually over trimmed. Everything else fit right off the saw! The tape is easy to see and provides just enough edge to provide a guide for the saw. Definately an excellent technique.
Woodworking and Gardening
We all have multiple hobbies and quite often there are subtle links that tell a story of our personalities. Clearly in my case there is a very reasonable link between woodworking and white water kayaking. We all have those two base hobbies. Another likely hobby that we share is gardening. Since moving to Texas a couple of years ago we bounced between aprtments and renal homes until finally moving into a home of our own. While in those other properties I never had the chance to get a garden growing. This year I managed to get some basic vegetables. Unfortunately the tomato plants have struggled and not been overly productive. I attribute this to a lack of nutients and will be proceeding to a local farm to pick up some manure. In the mean time one of the easiest ways to improve soil is to add compost and since we all love woodworking and grass cutting we have some of the basic ingredients. Add some of the boxes and waste paper from our many incoming tools and we have the makings of some fine soil.

I placed a layer of grass clippings, followed by a layer of wood chips, then some scrap paper and a few shovelfulls of dirt. Next a little water and repeat for several layers.

After it is built I will turn it every coupe of days and occasionally add moisture. Hopefully I will turn these two waste products into more productive soil.
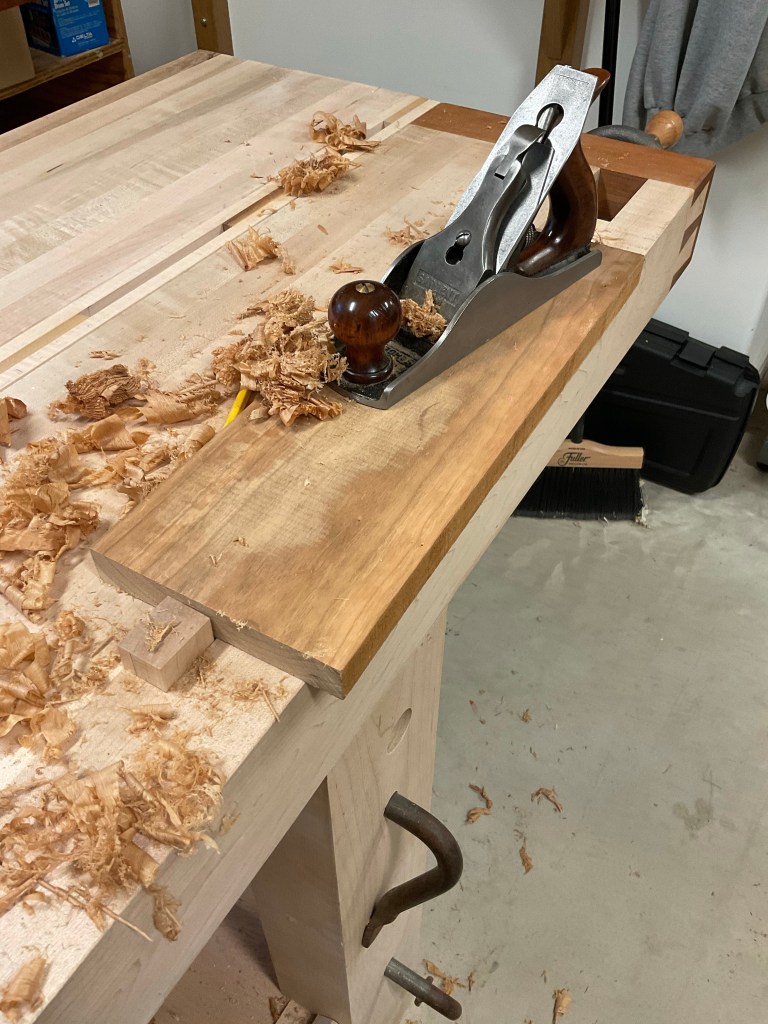
Box Making – Wood Prep
Local hardware stores provide great service and often have greater service then the big box stores. The 4MM bolt that I needed to fix the planer took me to three stores before it was found. I realize that everyone needs to make a profit and that it is costly to keep inventory that has low turnover but three stores to find two screws?
With he planer fixed and adjusted I proceeded to prepare the pieces for the walls of the box. The piece of lumber that I had was 25% pith so I ran it through the bandsaw and planer to get it down to the 1/2” thickness.
Careful with the order of the boards to maintain some congruity with the grain direction I could envision the dovetails and final look. Next I grabbed boards to glue up for the back and carefully laid them out to keep the grain looking similar.

After many years of woodworking its only in the last couple that I have made more effort to watch the grain and it certainly pays of in the finished project. Next dovetails and rabbits.
Case Miter Jig
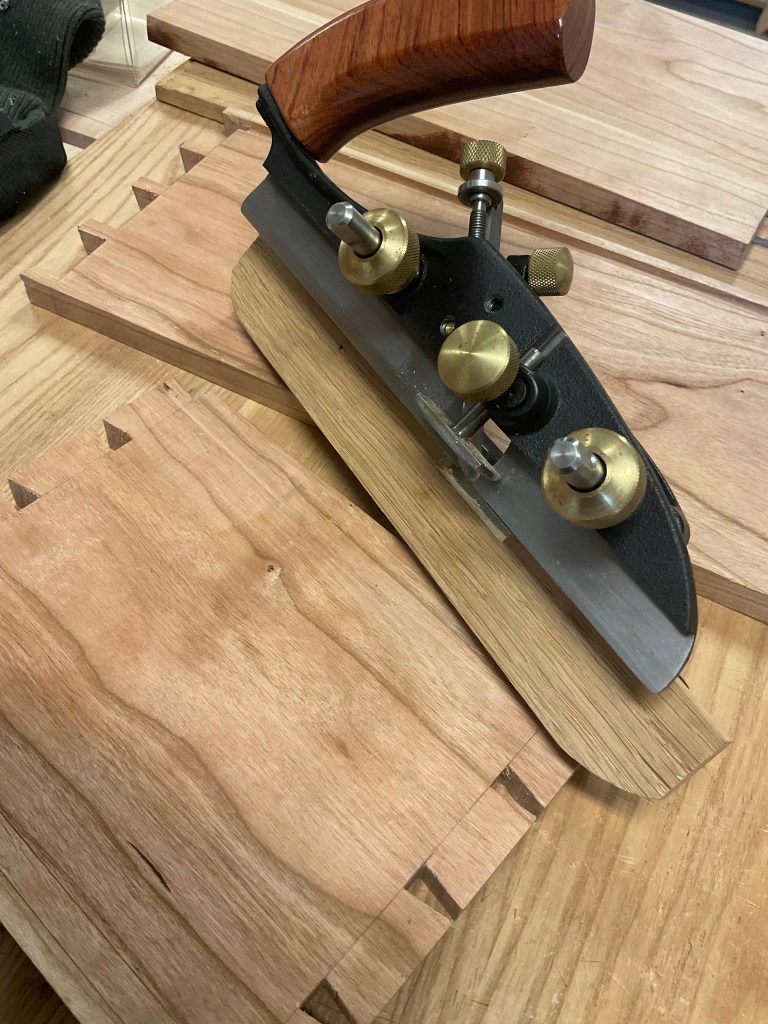
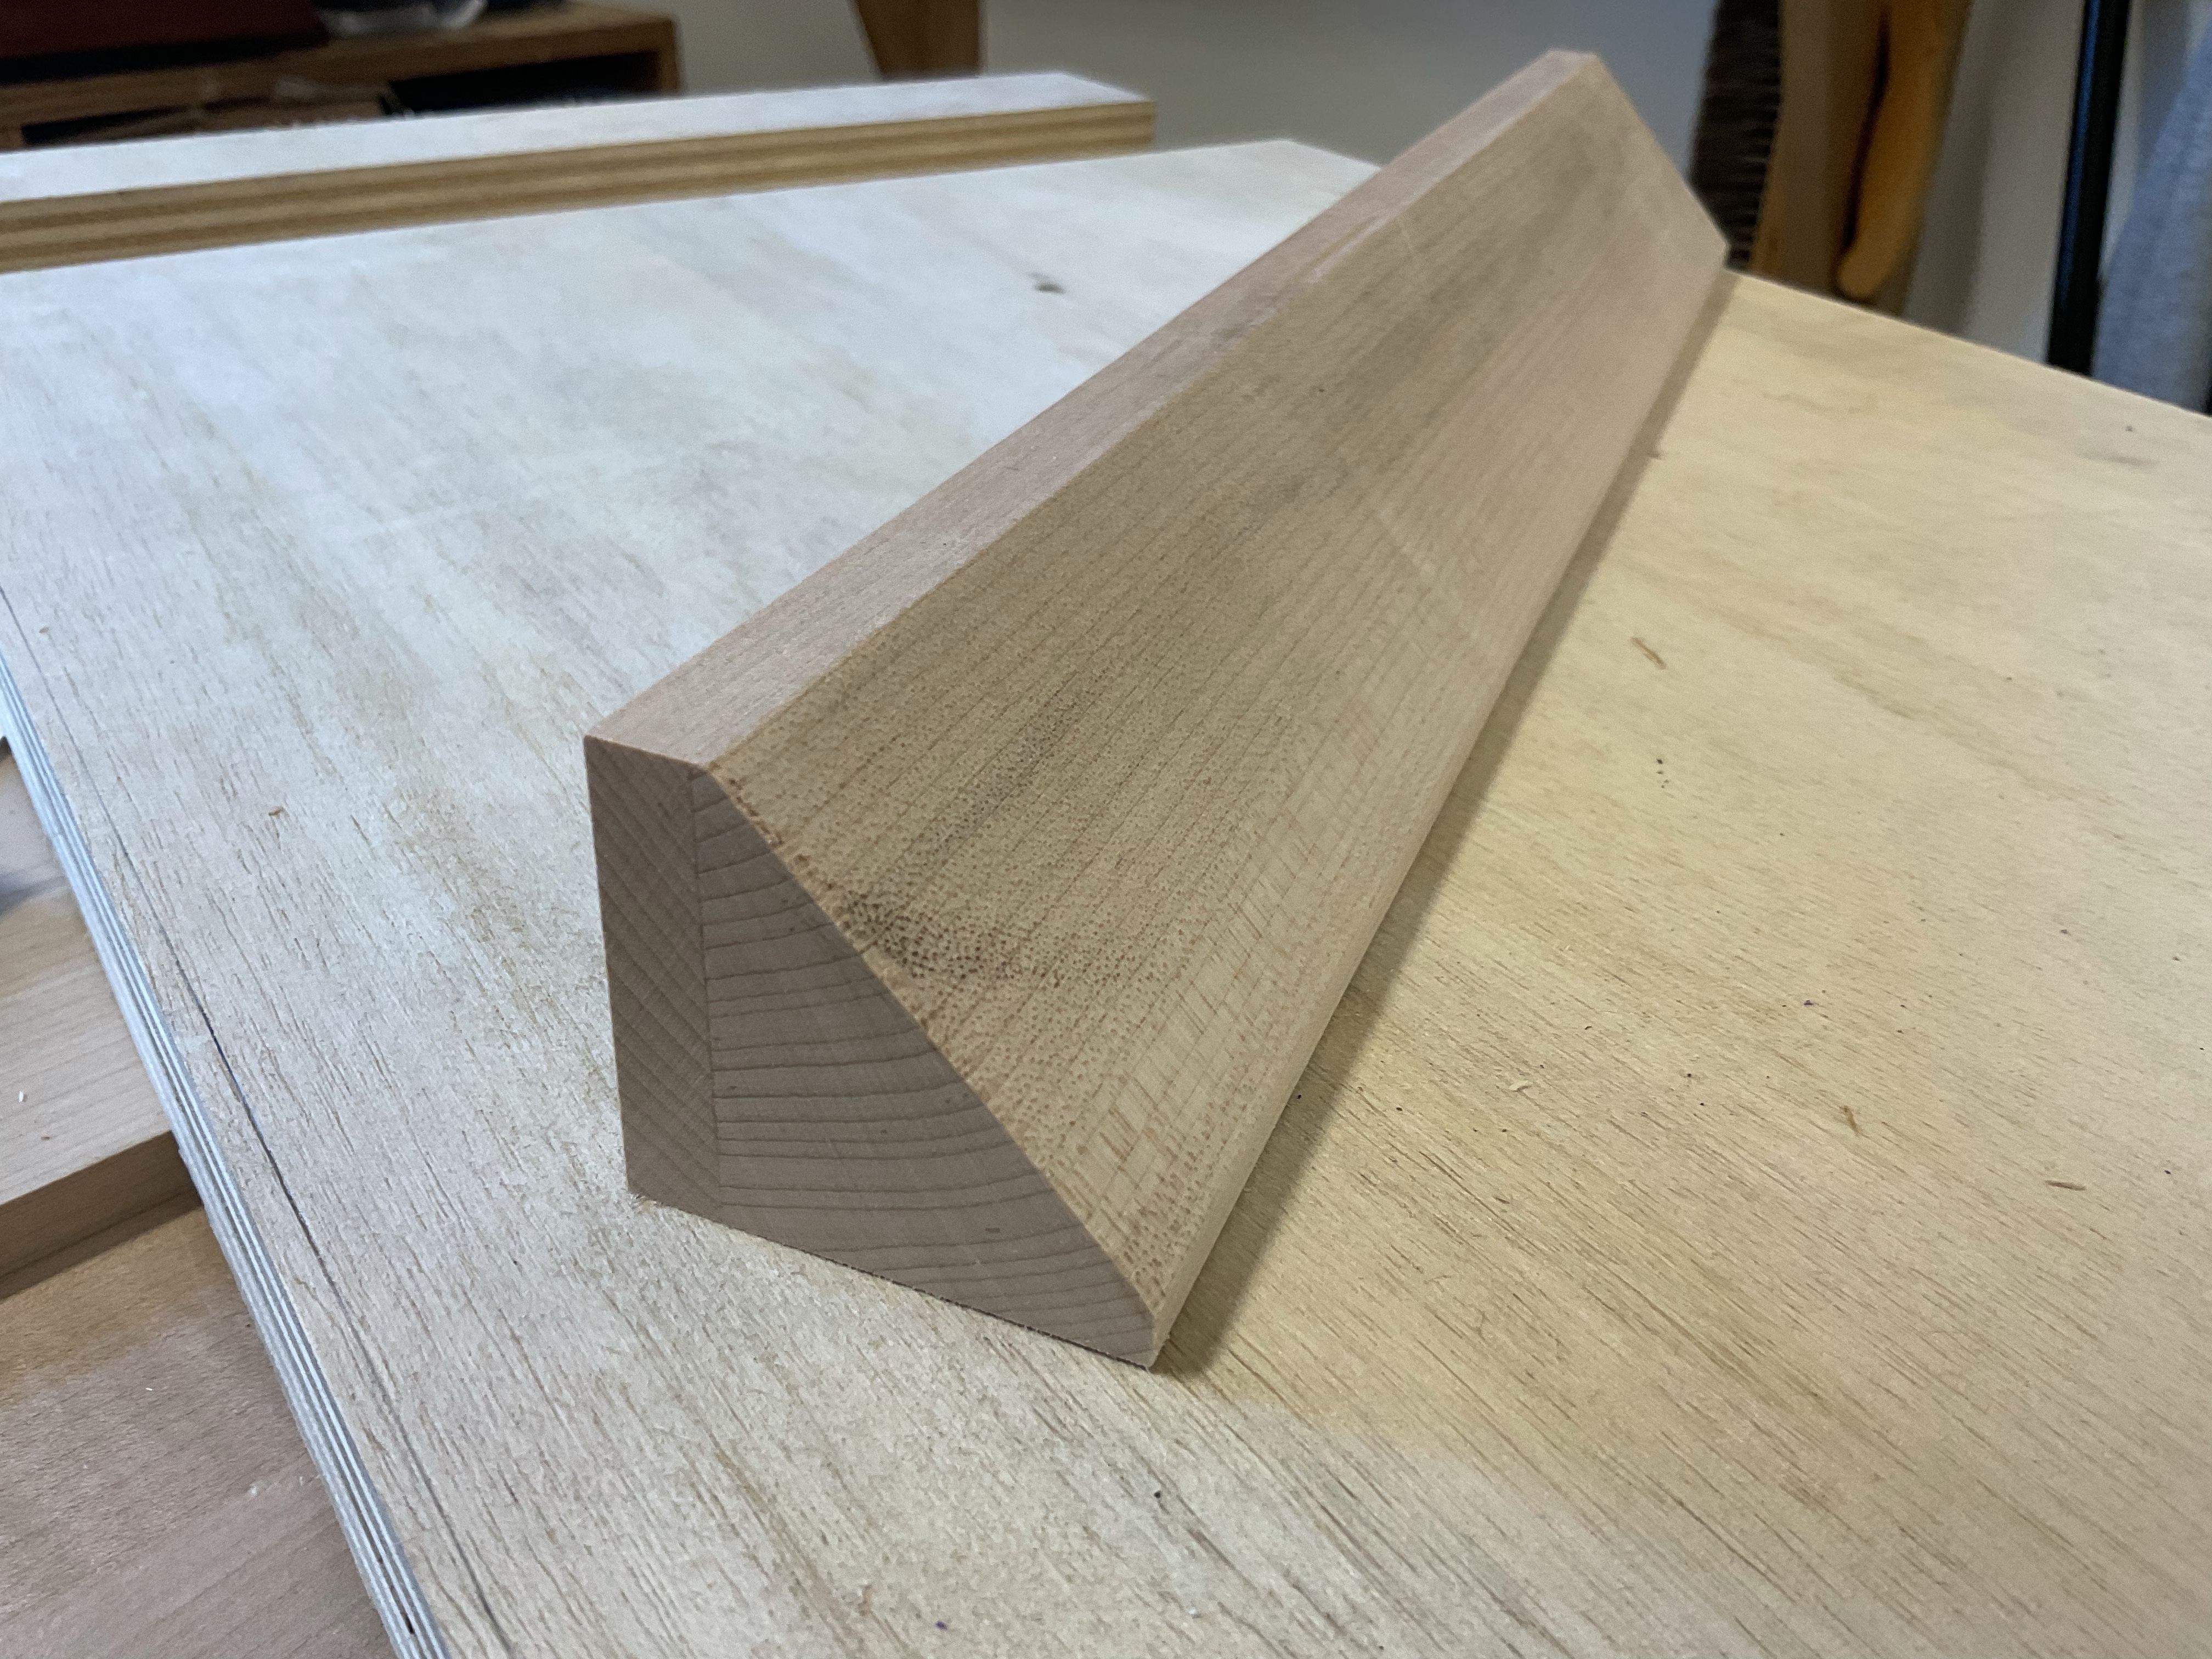
The Dovetailed Box Project has mitered sides on the case inserts. I thought of several methods to do this but with the visibility of these mitered corners realized that I had to try something different, my sawing skills may not be up to the task. searching through Fine Woodworking magazine I came across an article from May/June of 2017 which built a simple jig to ‘shoot’ these miters with a plane.
I guess that a table saw could be another alternative but I think using a shooting board will provide me with he results that I want without all the noise and dust.

The jig is fairly simple and I managed to use mostly scrpas to make it. All good jigs are made from scraps!
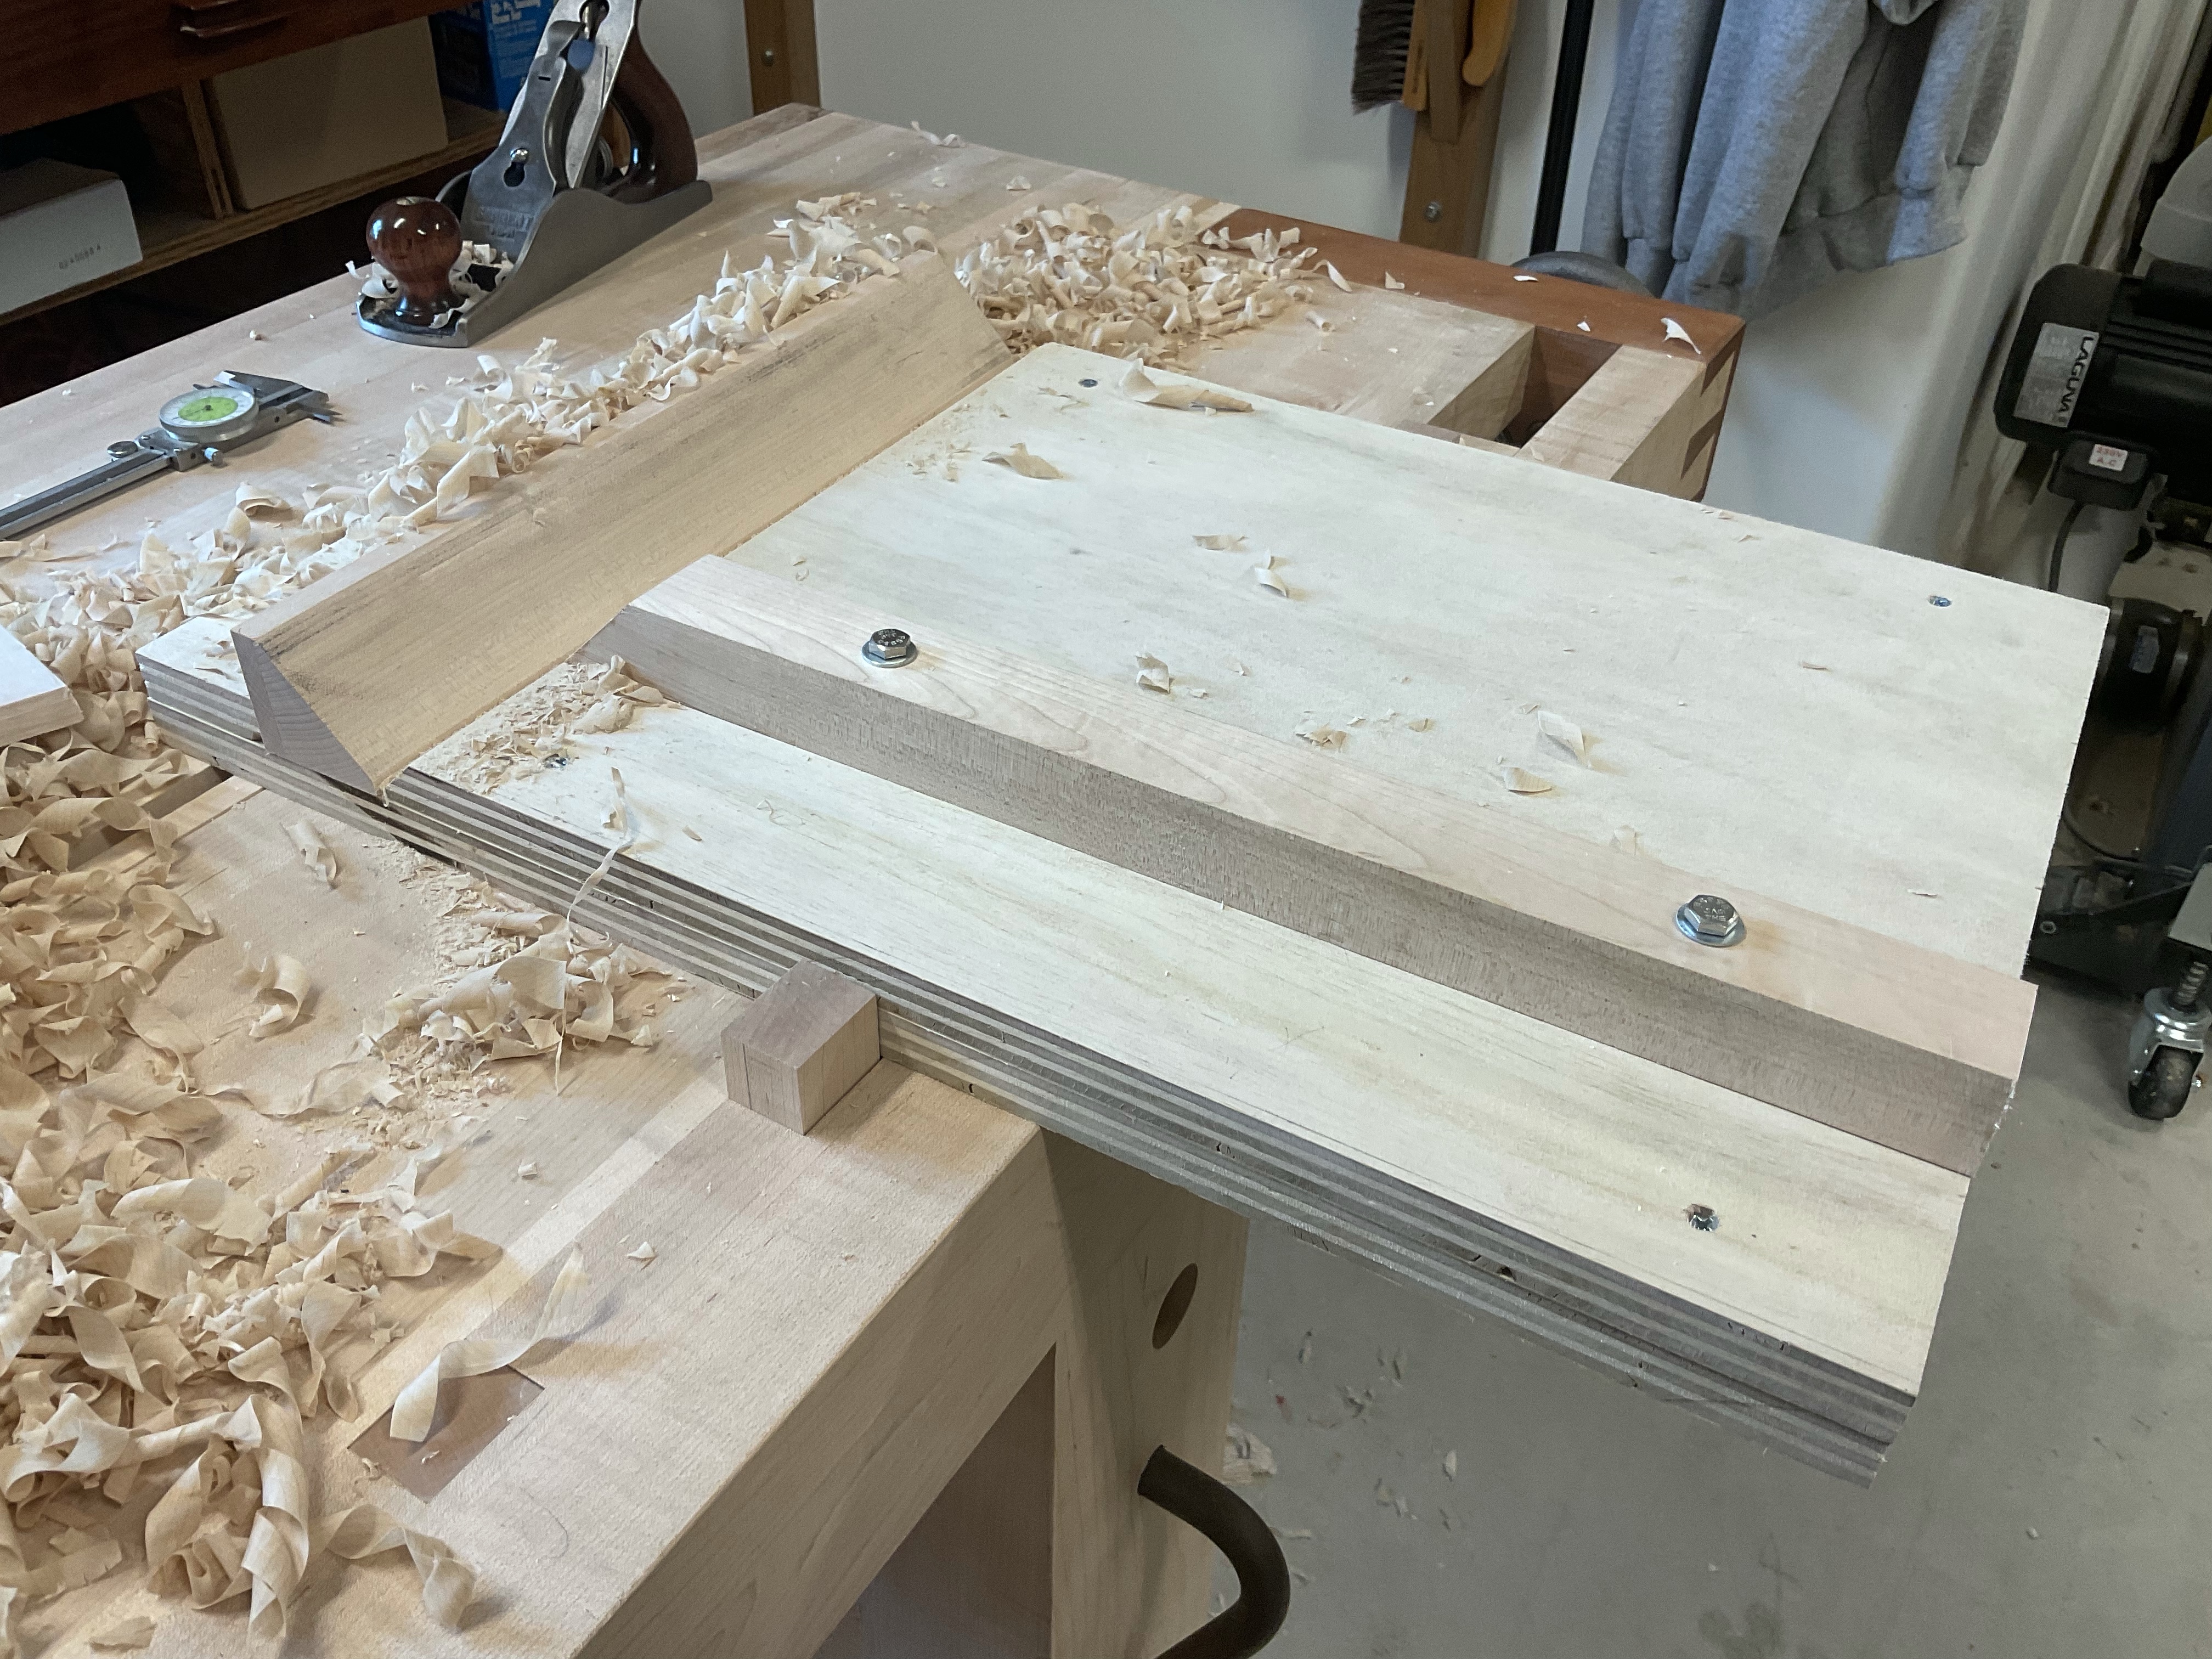
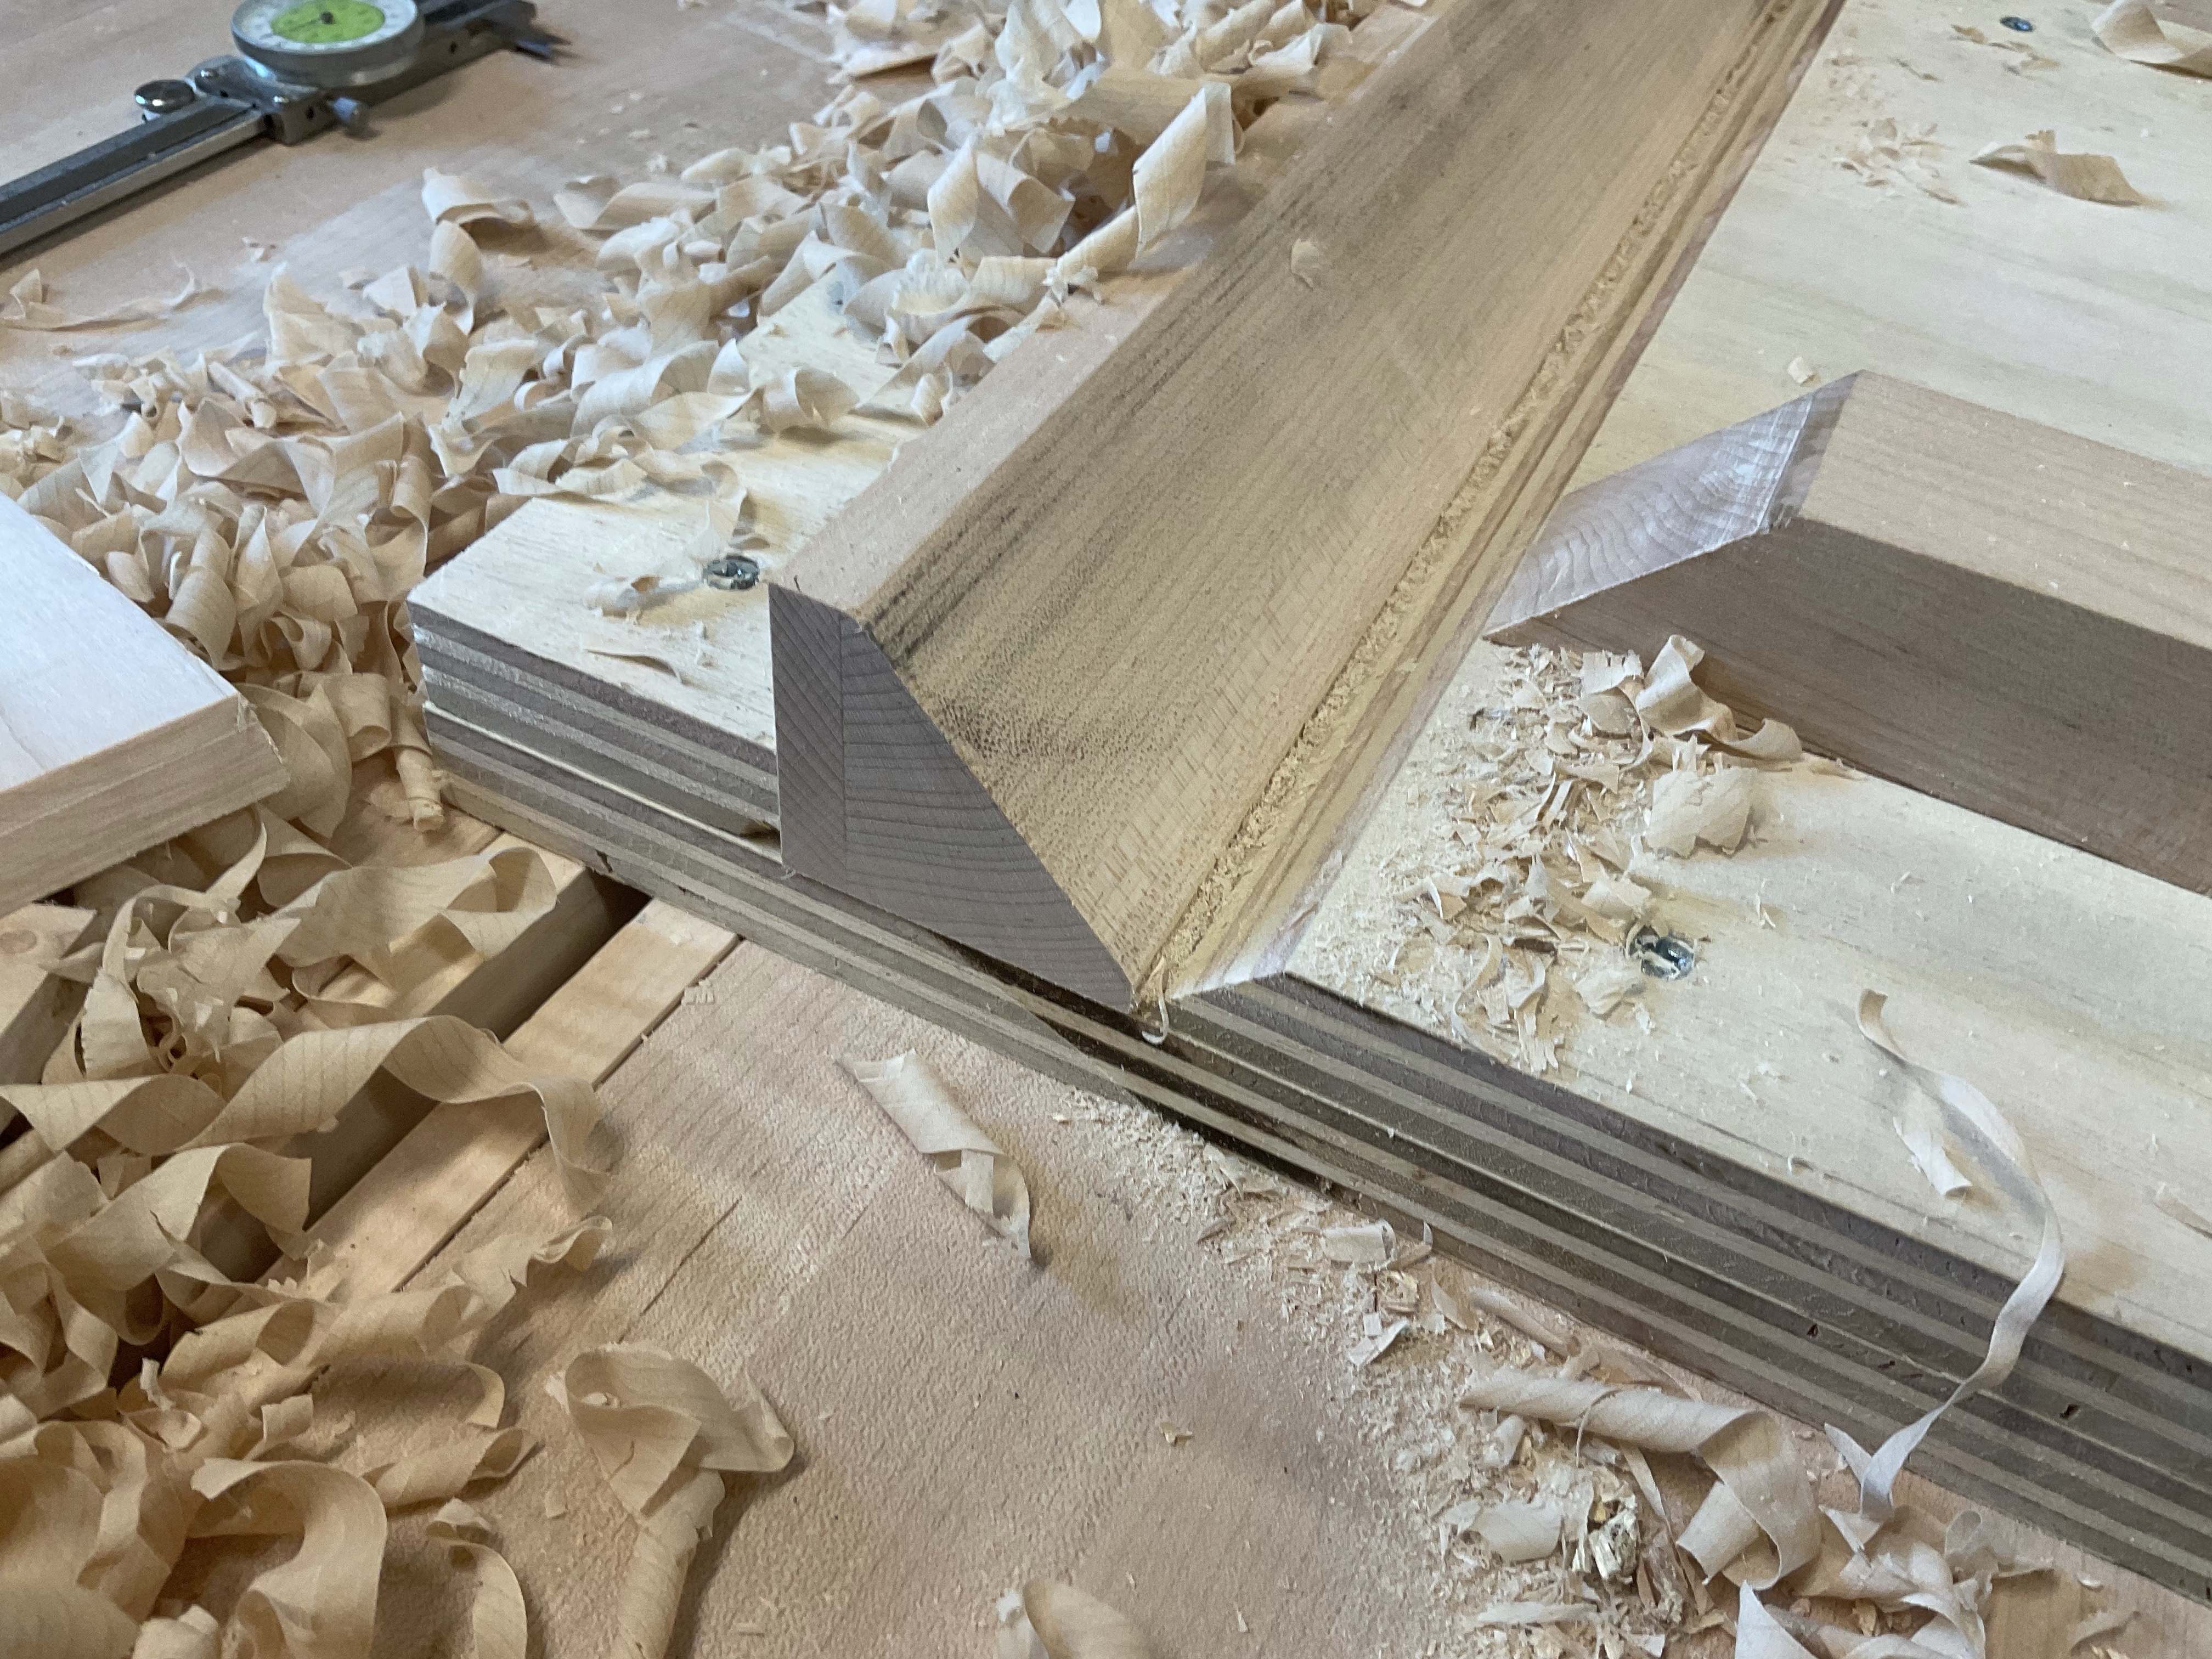
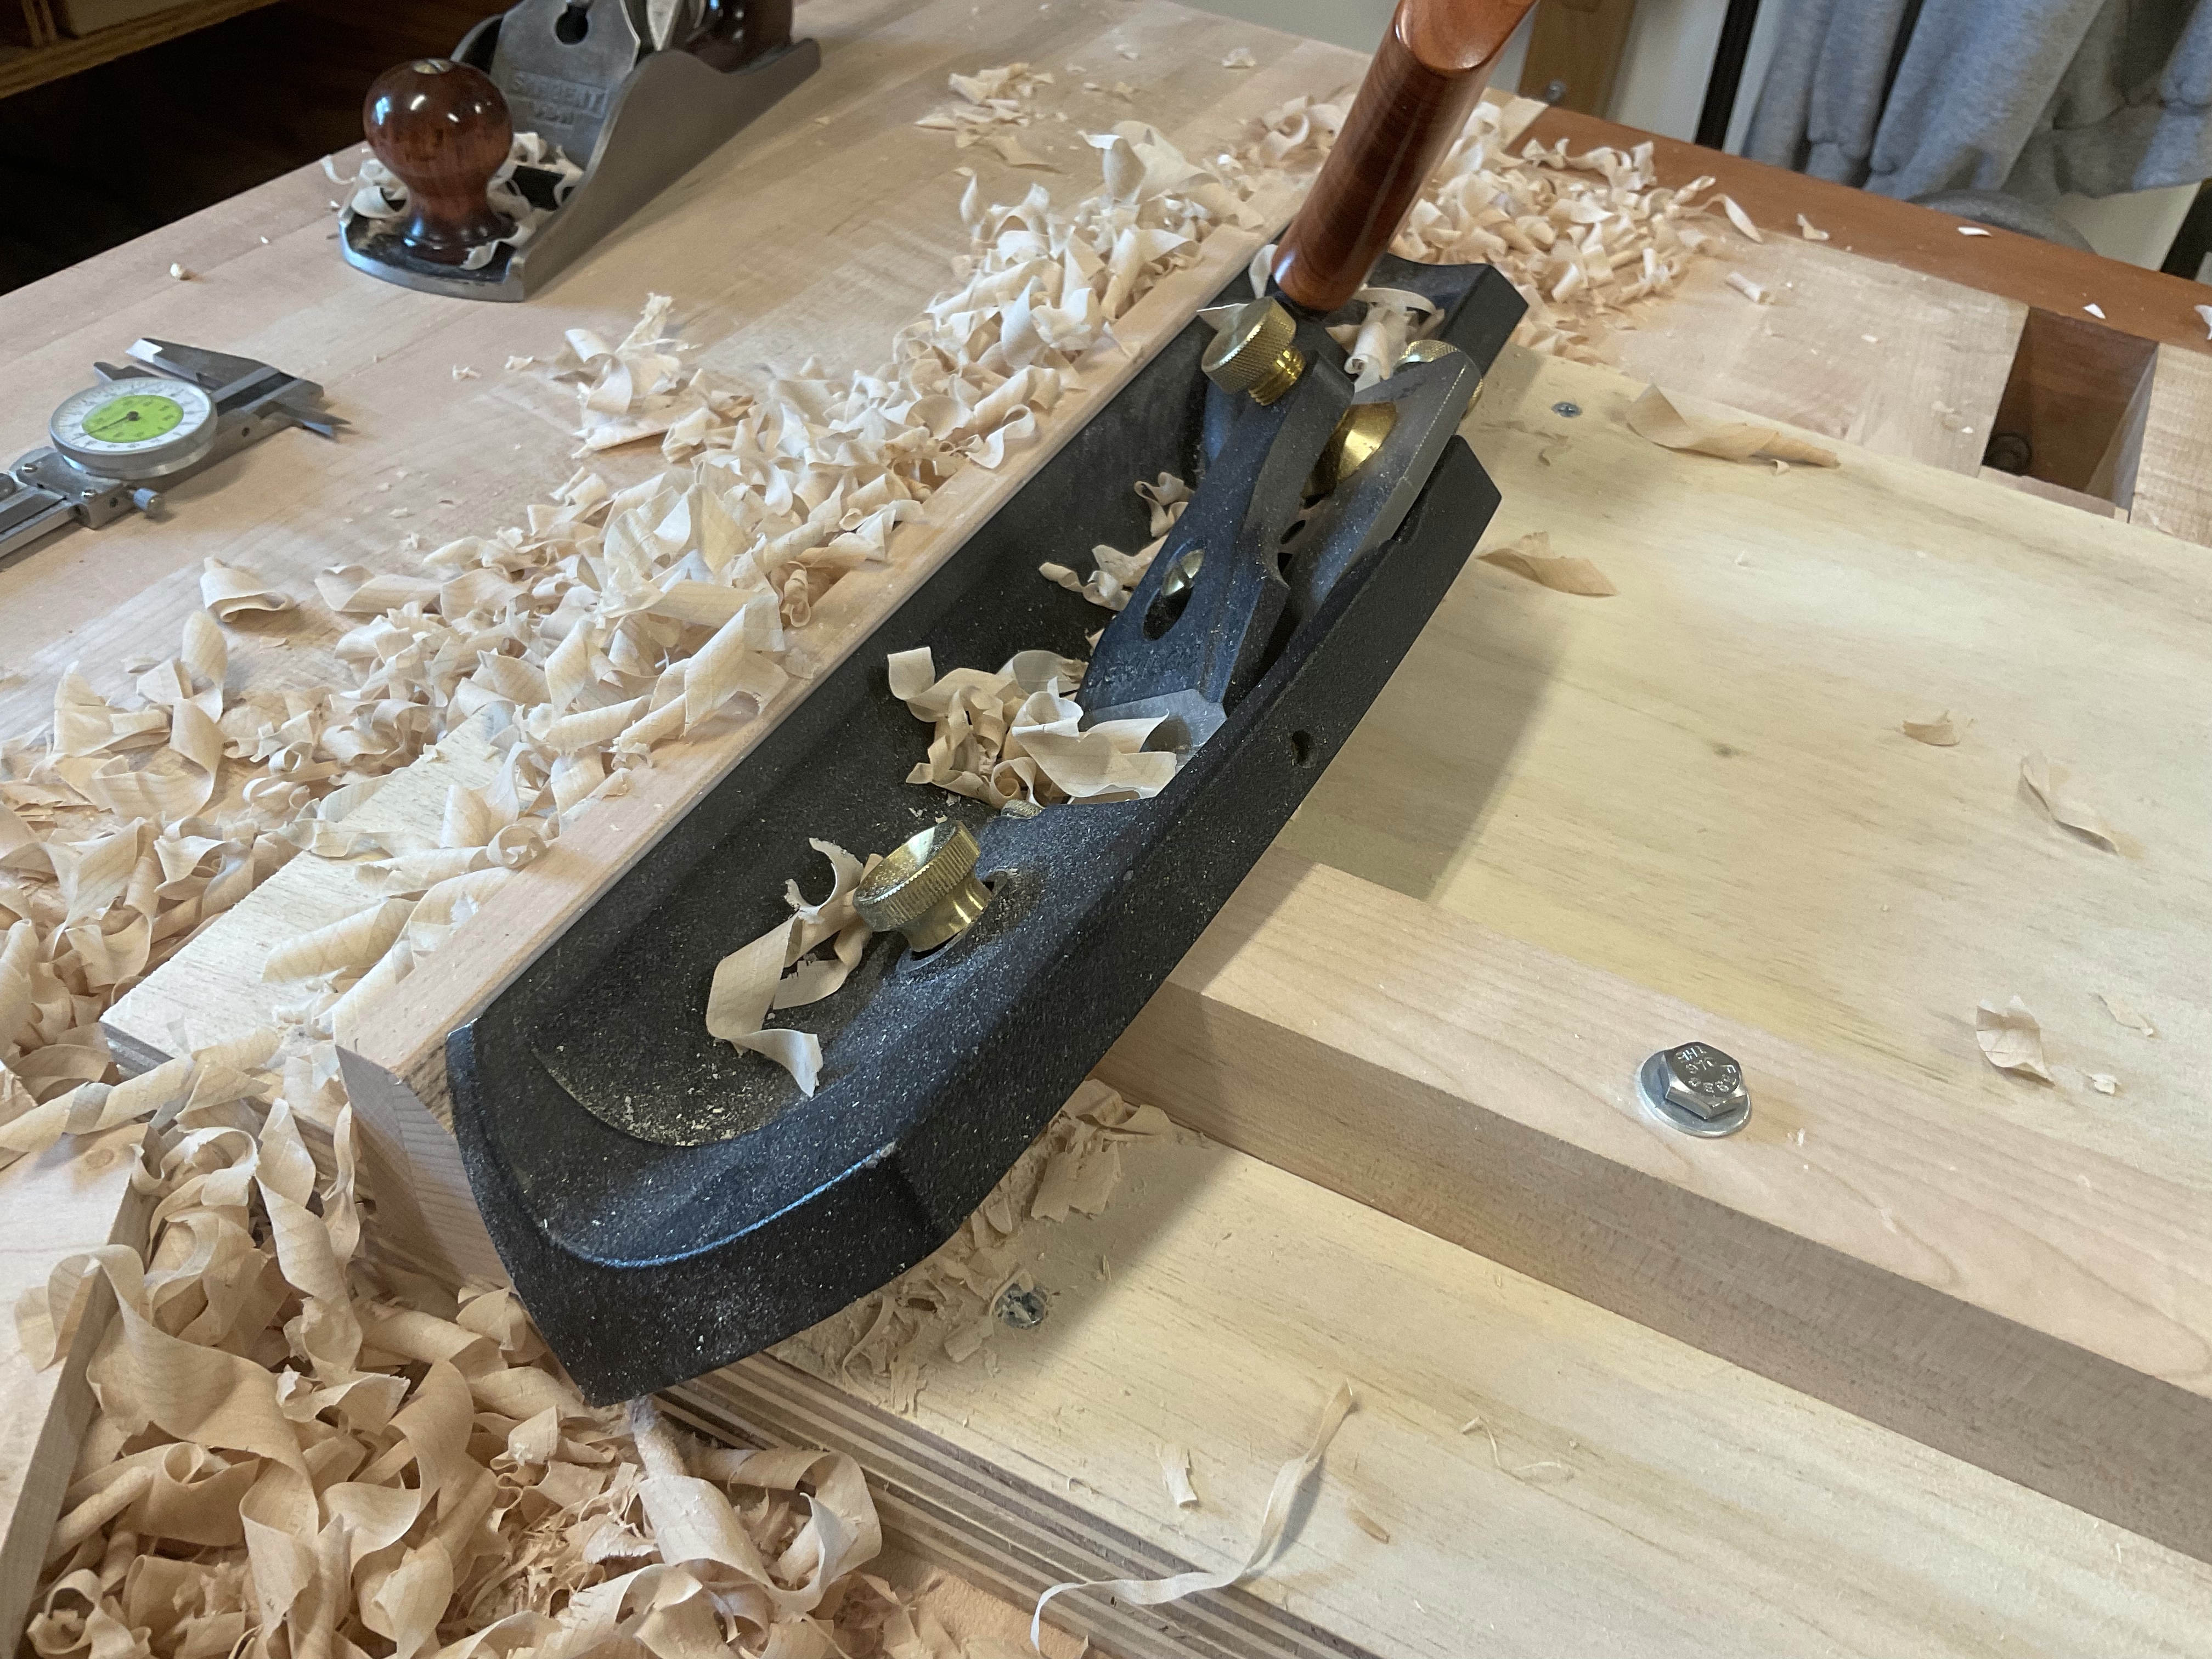
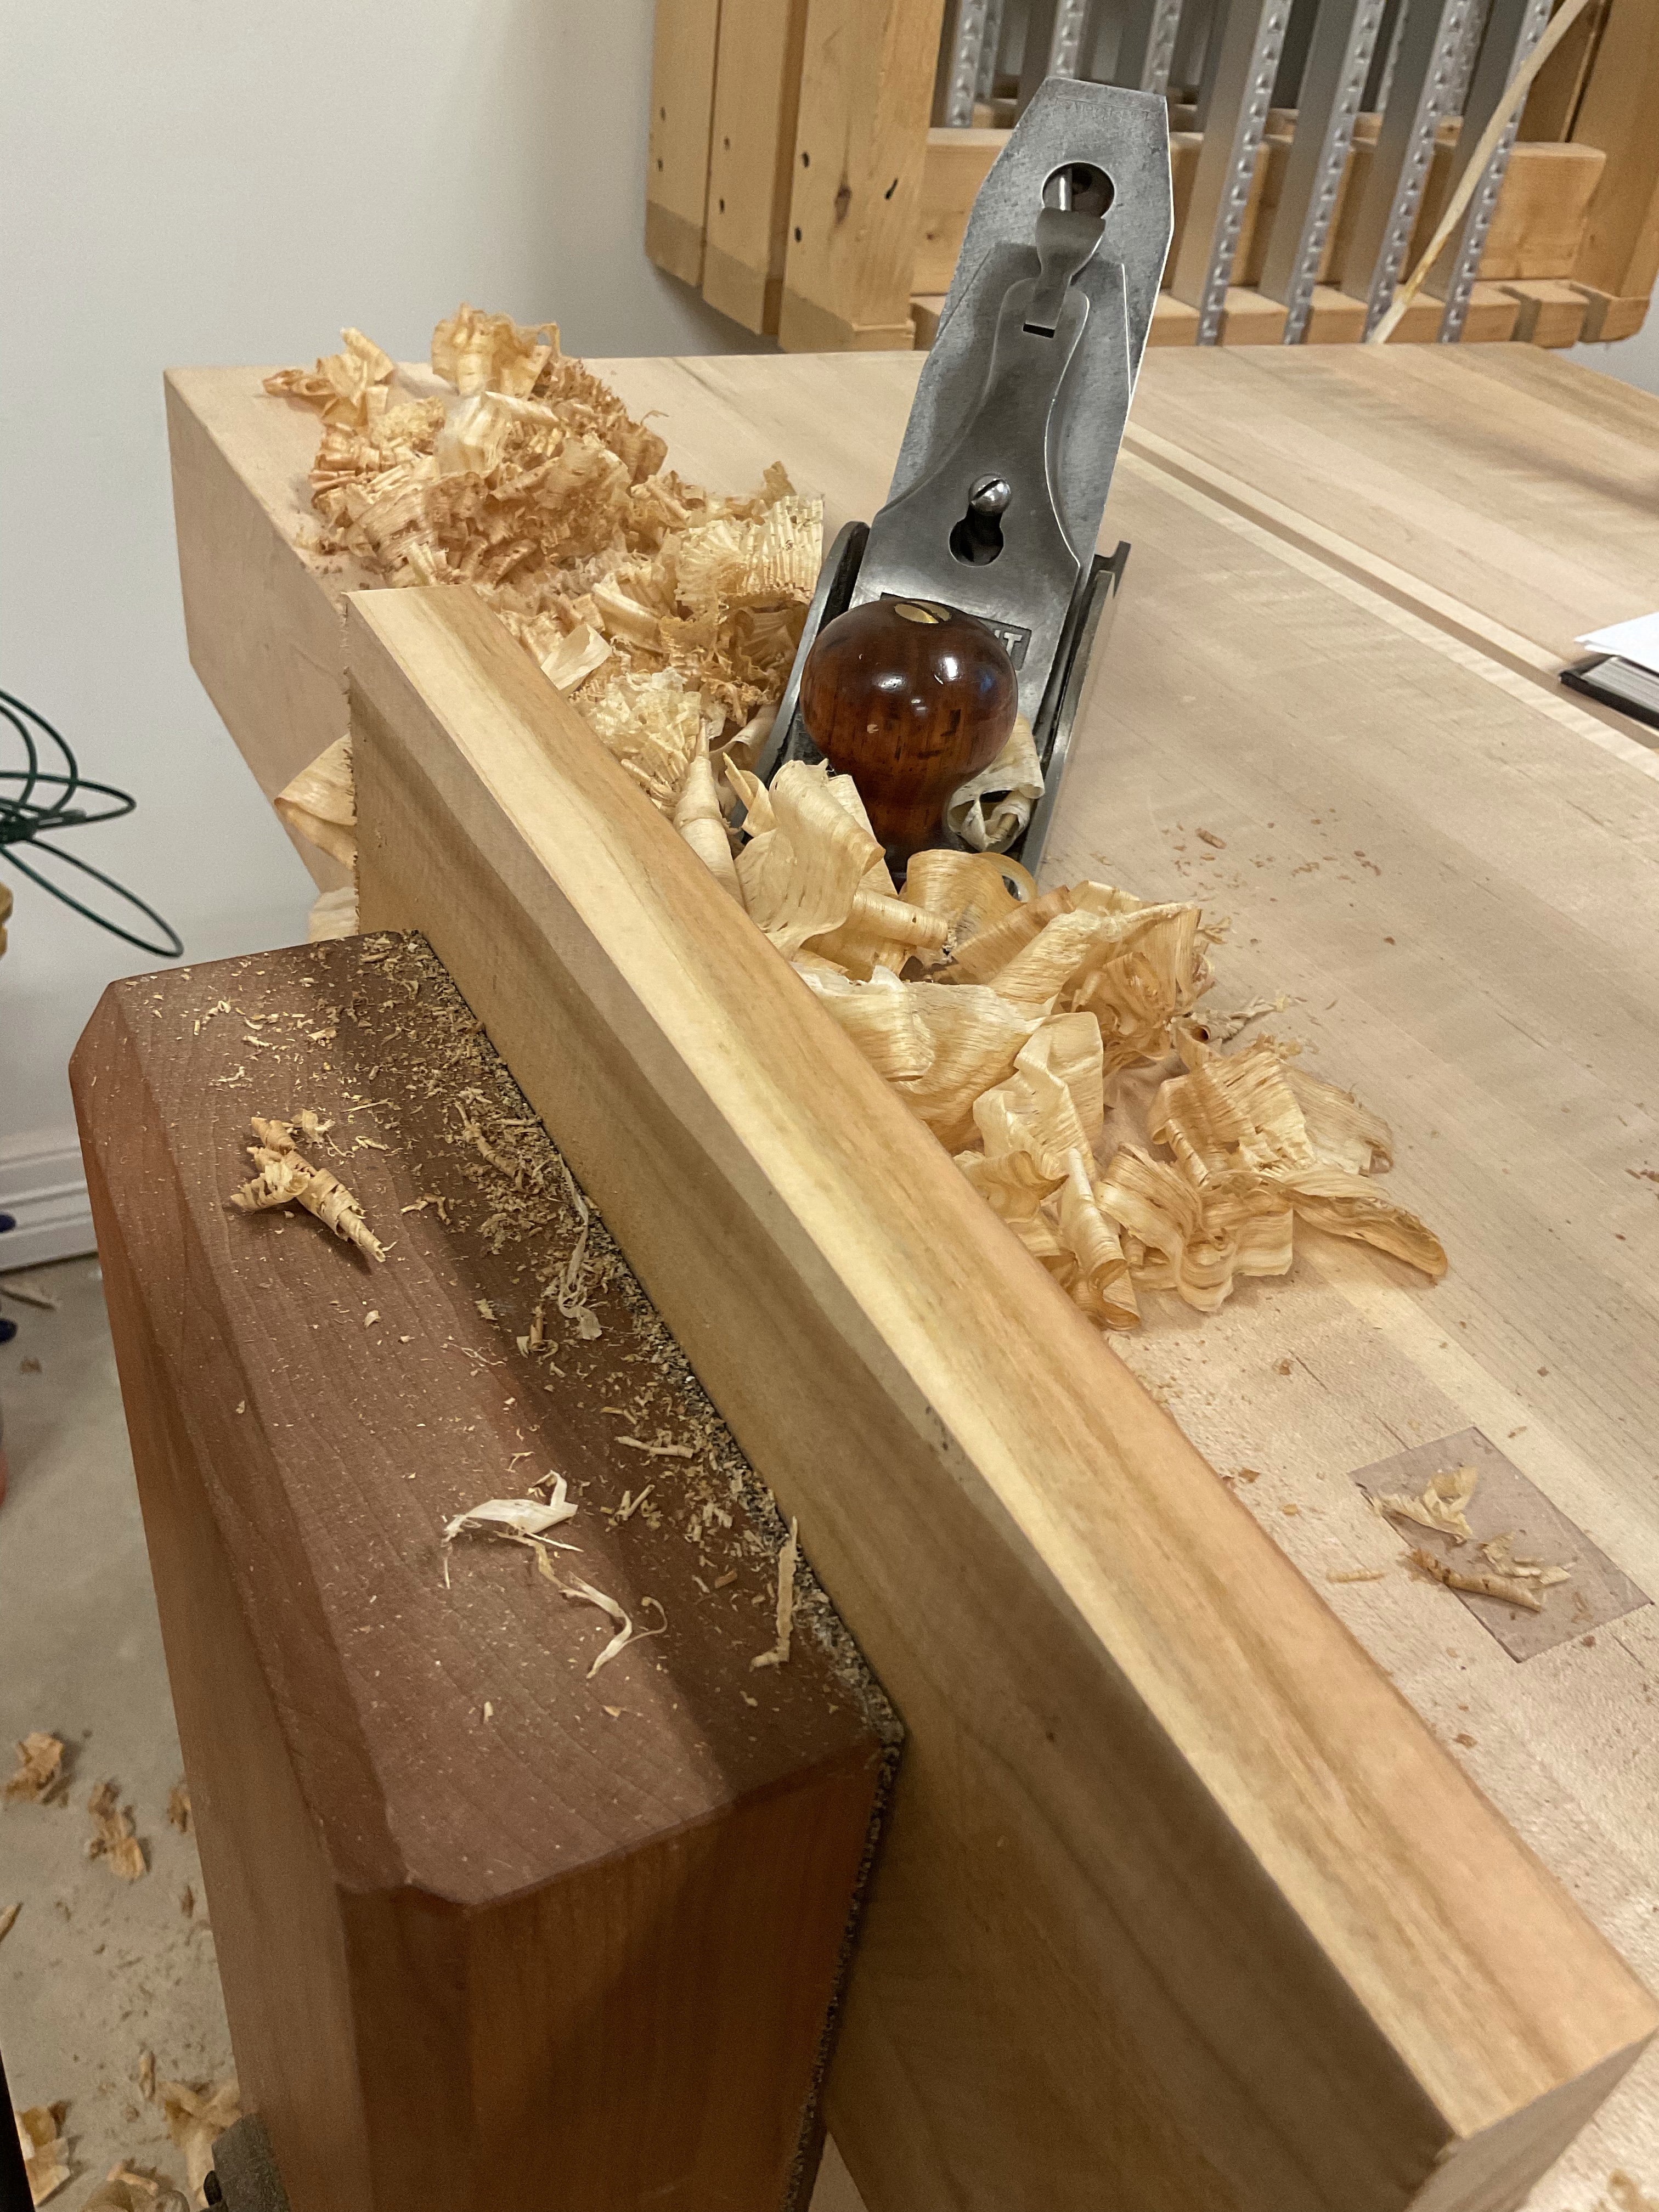
I used my shooting plane but you could easily use a number 5. And after a couple of test runs I had it tuned in and perfectly. mitered corners. This will let me try out inserts in the box that I’m making.

Powermatic 719A Mortiser Assembly
After the dramatic loading and unloading of the mortiser the cleanup and reassembly was fortunately very bland.

