Archive
Chisel Handle Fix
lie Nielsen makes great chisels, I only have one complaint which could be true of all socket chisels. The handle on the 1/8″ chisel will not stay attached. I’ve tried and blogged about some of the remedies I have used to keep the chisel together. The latest was hair spray. Today while using the chisel to clean out mortises it again came apart.
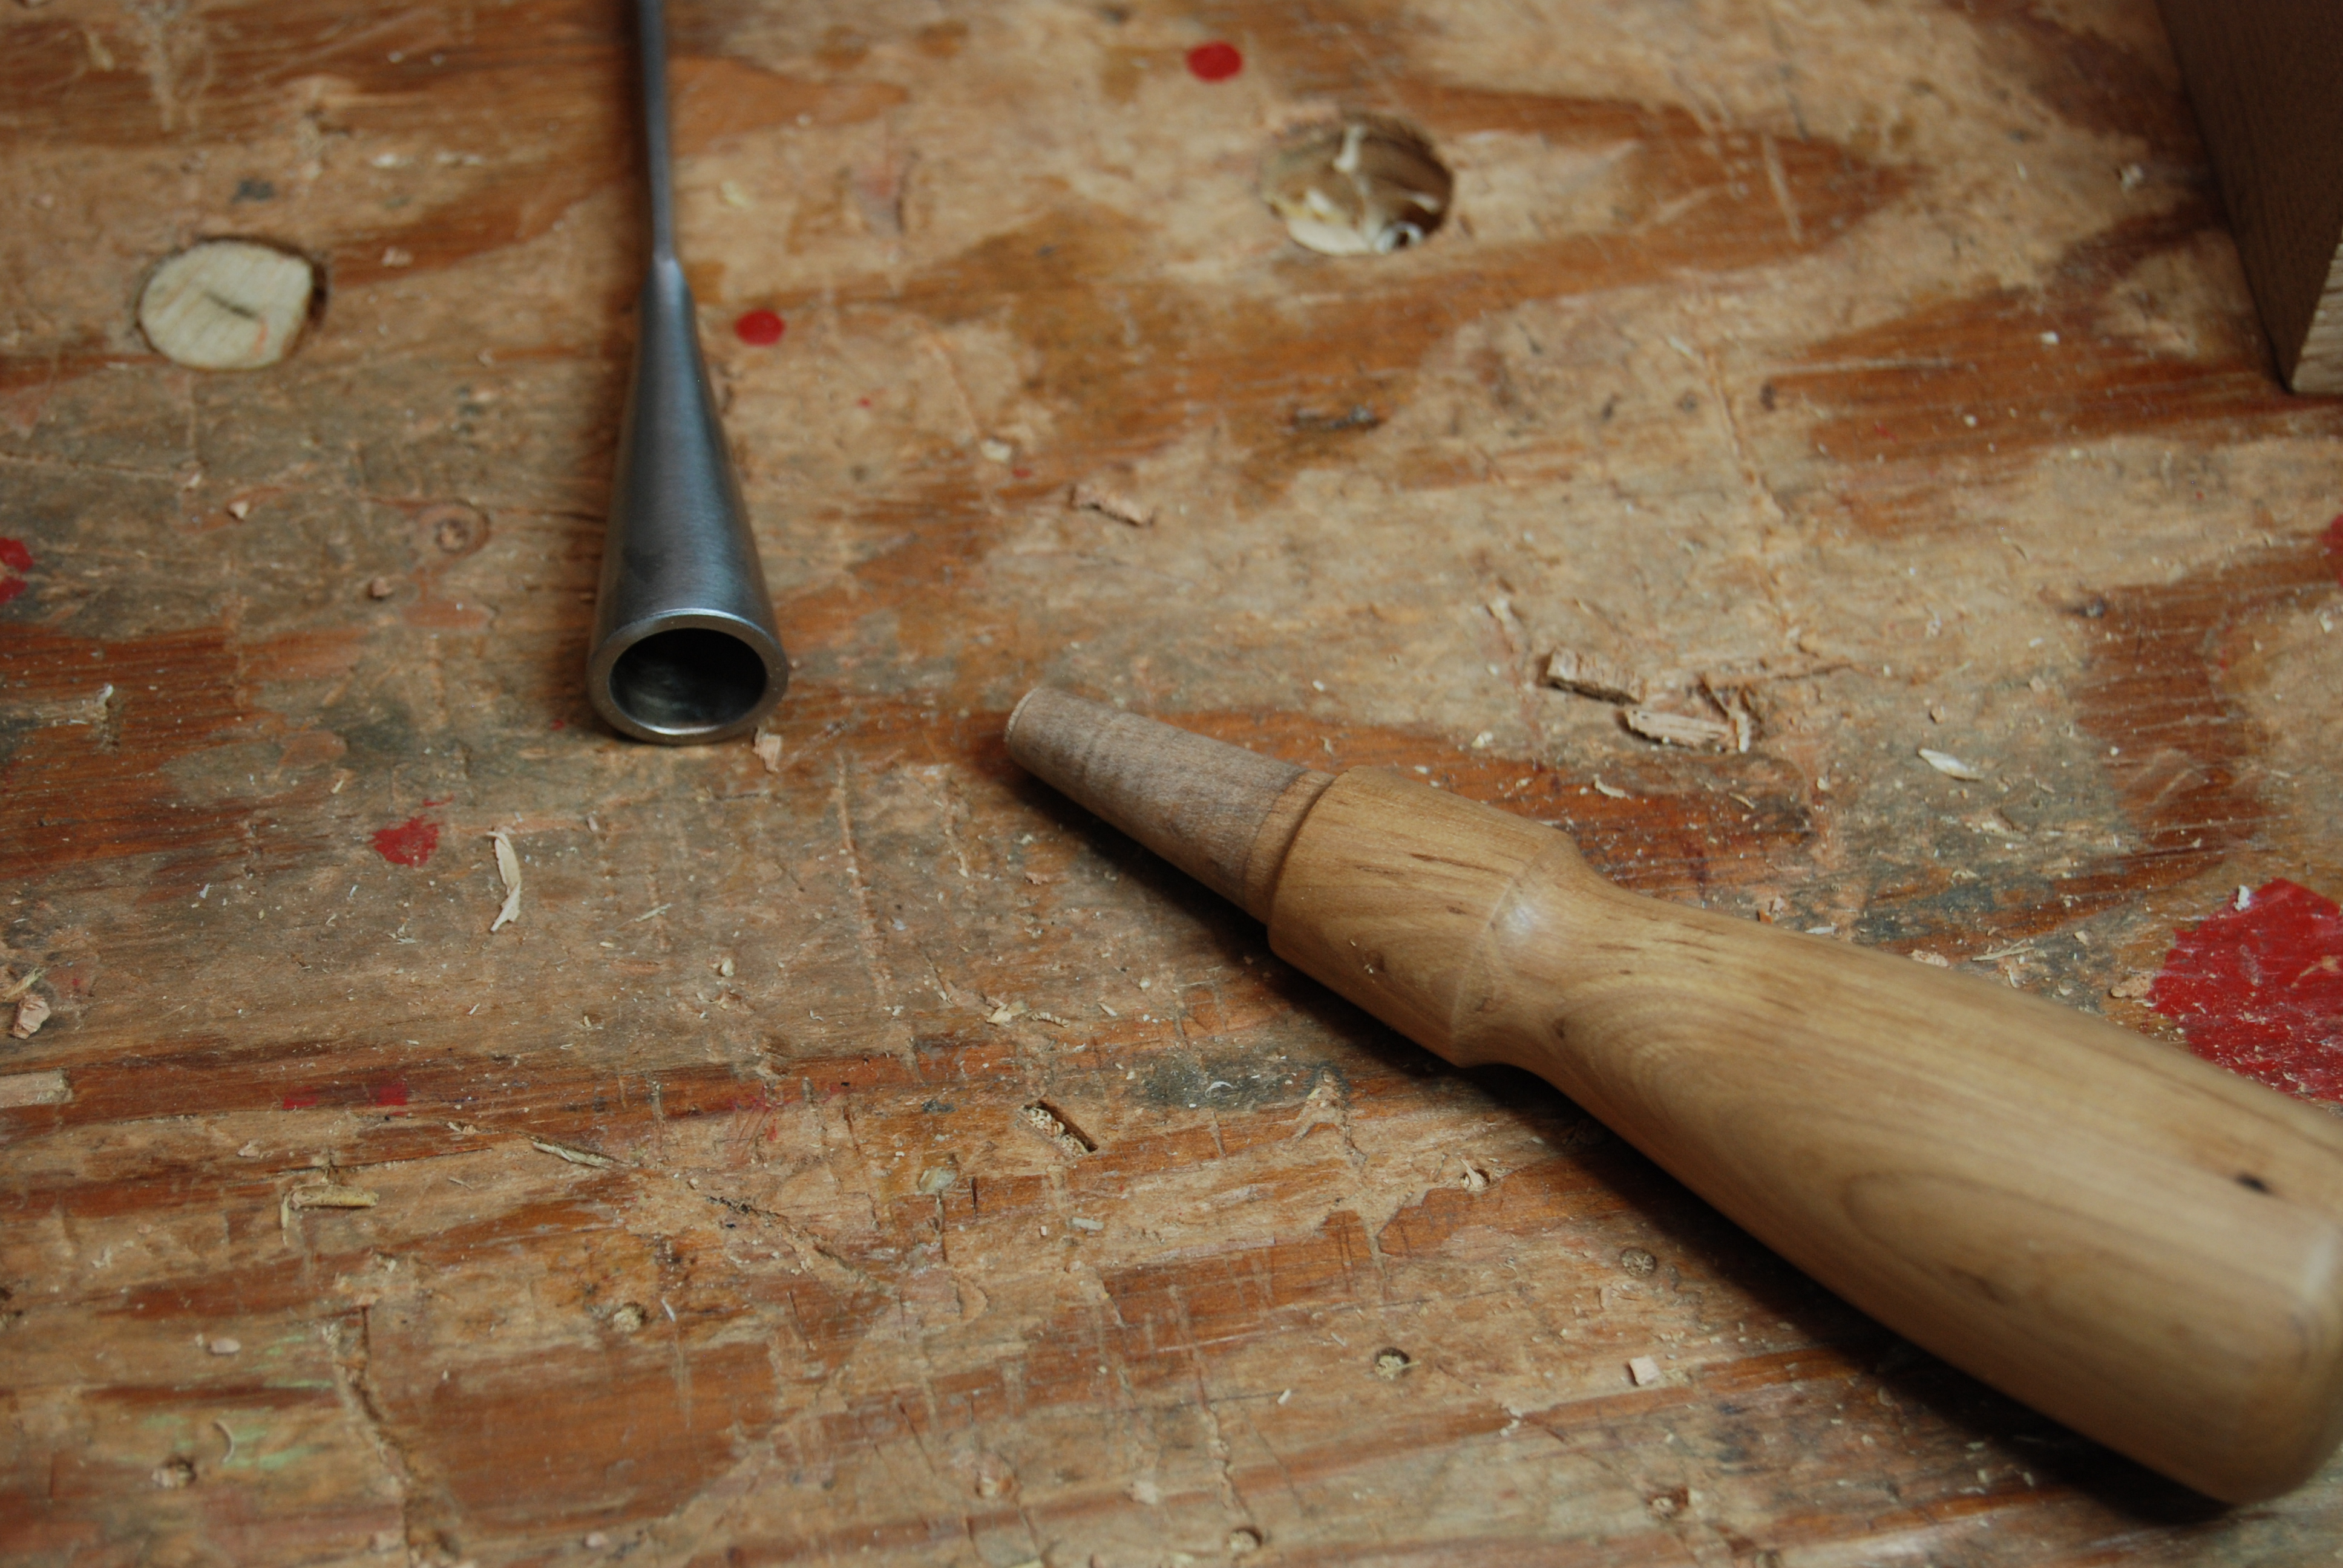
After a few seconds I remembered a comment from someone posting on my blog to try droping the handle into hot water and reattach.

Taking a break I boiled some water for the handle and some tea. Then i dorped the end in for a few seconds and slammed it back together.

So far so good.
Hospice Cart Mortises
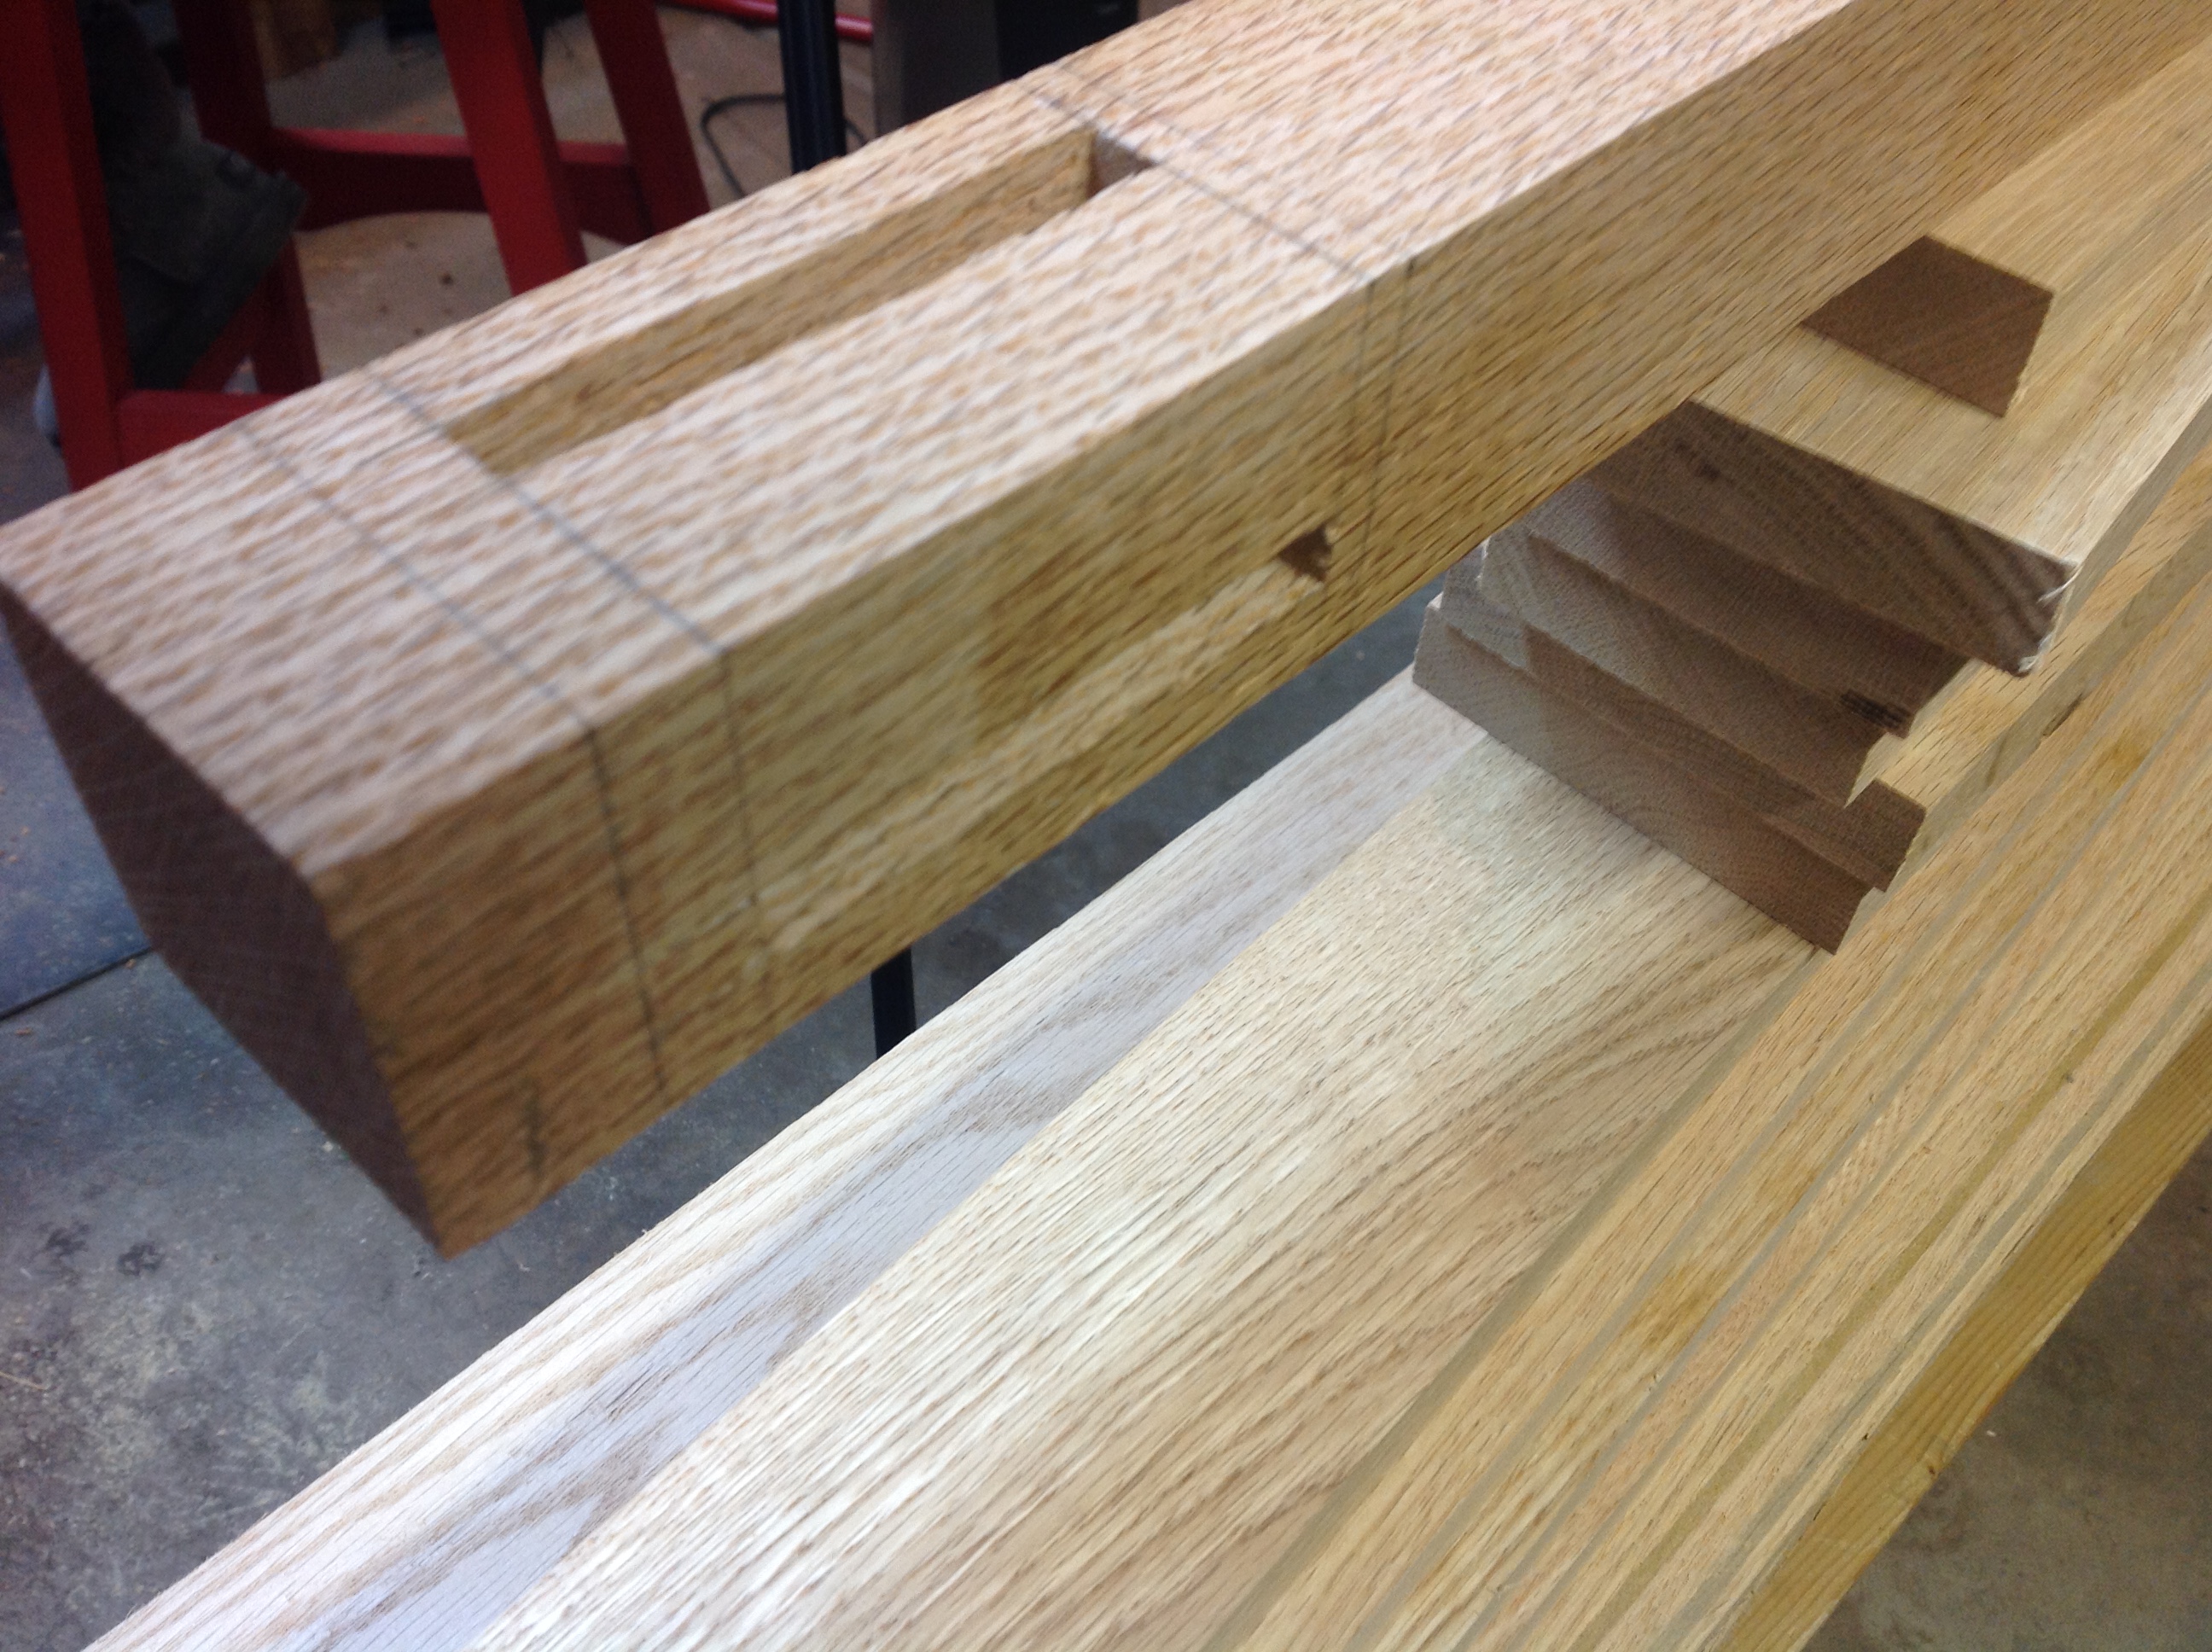
Each leg of the hospice cart has four regular mortises and one through mortise. I takes between 45 minutes to and hour for me to complete each leg.
 When chopping deep mortises like these I typically use a guide to ensure that I am vertical. If I’m angled incorrectly then it will make a big difference when the rail meets the other leg 38 inches away. The guide that I am using is adapted from Paul Sellers, it’s explained in an earlier blog.
Using a 3/8″ bench and mortise chisel I finished up on the mortises with little fanfare. Chopping mortises is like meditating, find a rhythm and chop away let your mind wander and enjoy the afternoon.

Hospice Cart Dimensioning
When planning to make an epic mistake on a project there are several areas that can go un-noticed until you are quite far into a project. Poor plans can lead to a missed cut usually in the latter portions of a project when the only option is to head back to the lumber yard for a new piece of wood. Bad measurements can have the same results and usually occurs when when you forget to add an inch to your measurement due to the damaged tape you refuse to throw away. Typically I prefer to layout a project incorrectly and then proceed to chop out several mortises before realizing they are on the wrong side of a leg. Not today, well not yet anyway.
Laying out the locations of mortises is something that I take very slowly checking and double checking to insure they are in the correct place. Fortunately today when I checked I found the problem immediately and was able to make a correction before chopping began. I’m sure I will make another mistake further along.

The rest of the day was spent dimensioning lumber and planing to the correct thickness. By the end of the day most of the parts were ready for joinery. I’m hoping over the next week to get the mortises chopped out so that next weekend can be spent fitting the tenons and gluing up the top and bottom shelf.
My mistake of the day was forgetting to publish the blog. Fixed today!
Hospice Cart Squaring the legs
After work I took an hour to do some final work on the cart legs. Started out by doing a little spring cleaning to my #7 plane. After a long winter each tool will get a good cleaning and wax to make sure there is no rust begining to form. I also took the time to sharpen an add a little oil to the frog.
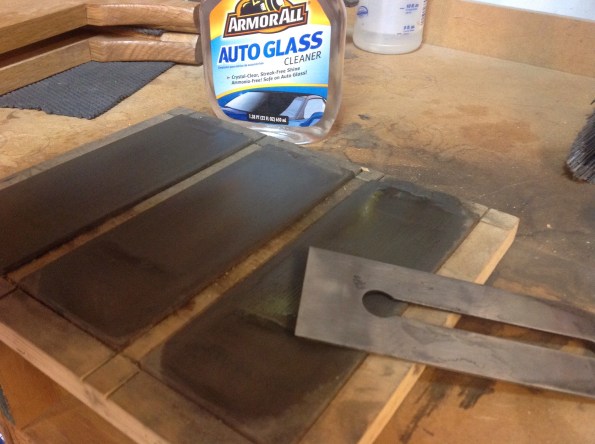 While I was sharpening I thought it worth pointing out the use of auto glass cleaner to lubricate the diamond stone. Someone along the way mentioned that since it contains very little water rust doesn’t form. Compare auto glass cleaner with regular glass cleaner and see for yourself.
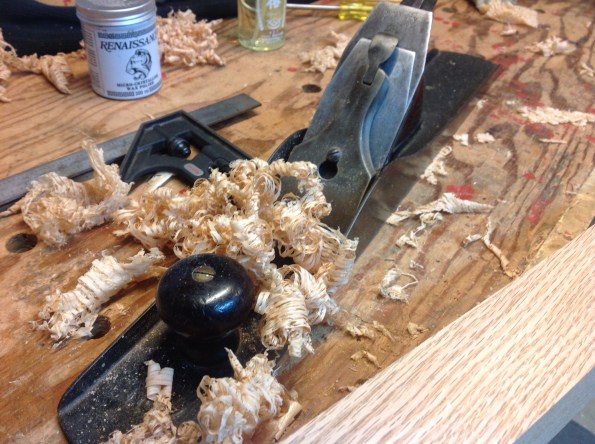 The sound of a freshly sharpened plane is very distinct from one that needs sharpening. It only took a few minutes per leg to get all of the sides square. Next up layout of the mortises. Four per leg plus a through tenon. Looking forward to a massive mortise session this weekend.
Hospice Cart
The Bar Cart will be donated to the local hospice for a fund raising event in a couple of months. I certainly have put some pressure on myself to make sure that I deliver the absolute best product possible. With the wheels completed I spent several hours yesterday drawing up plans and reaching decisions for the final dimensions. Over the next week the drawings will be cleaned up and placed on this site, although there will certainly be changes along the way.
With a cut list in hand I set out to my lumber dealer in search of White Oak Two hours later I was headed home with Red Oak. Why the change? There was a better selection of Red Oak, it was cheaper and most importantly they had some 10/4 for the legs. It will save me having to glue together boards to get my 2 1/4 in legs.
 First cut of the day, trimming the 10/4 down to make the legs. It was nice to get the Disston crosscut saw out and it took less then a minute to have a manageable size piece. I waxed it up before using it to ease the cut and give it a little protection. After a couple of hours I had four legs roughly dimensioned and read for final planing and cutting to length. The picture doesn’t show it, but a couple of pieces had some really nice medullary Rays.
 Hopefully I will get the would to final dimensions and layout all of the mortises so that I can have a mortise party next weekend. It’s nice to be moving ahead on a project. For a very rough diagram of the Bar Cart go back to my prior post on the wheels.
Cart Wheels 2
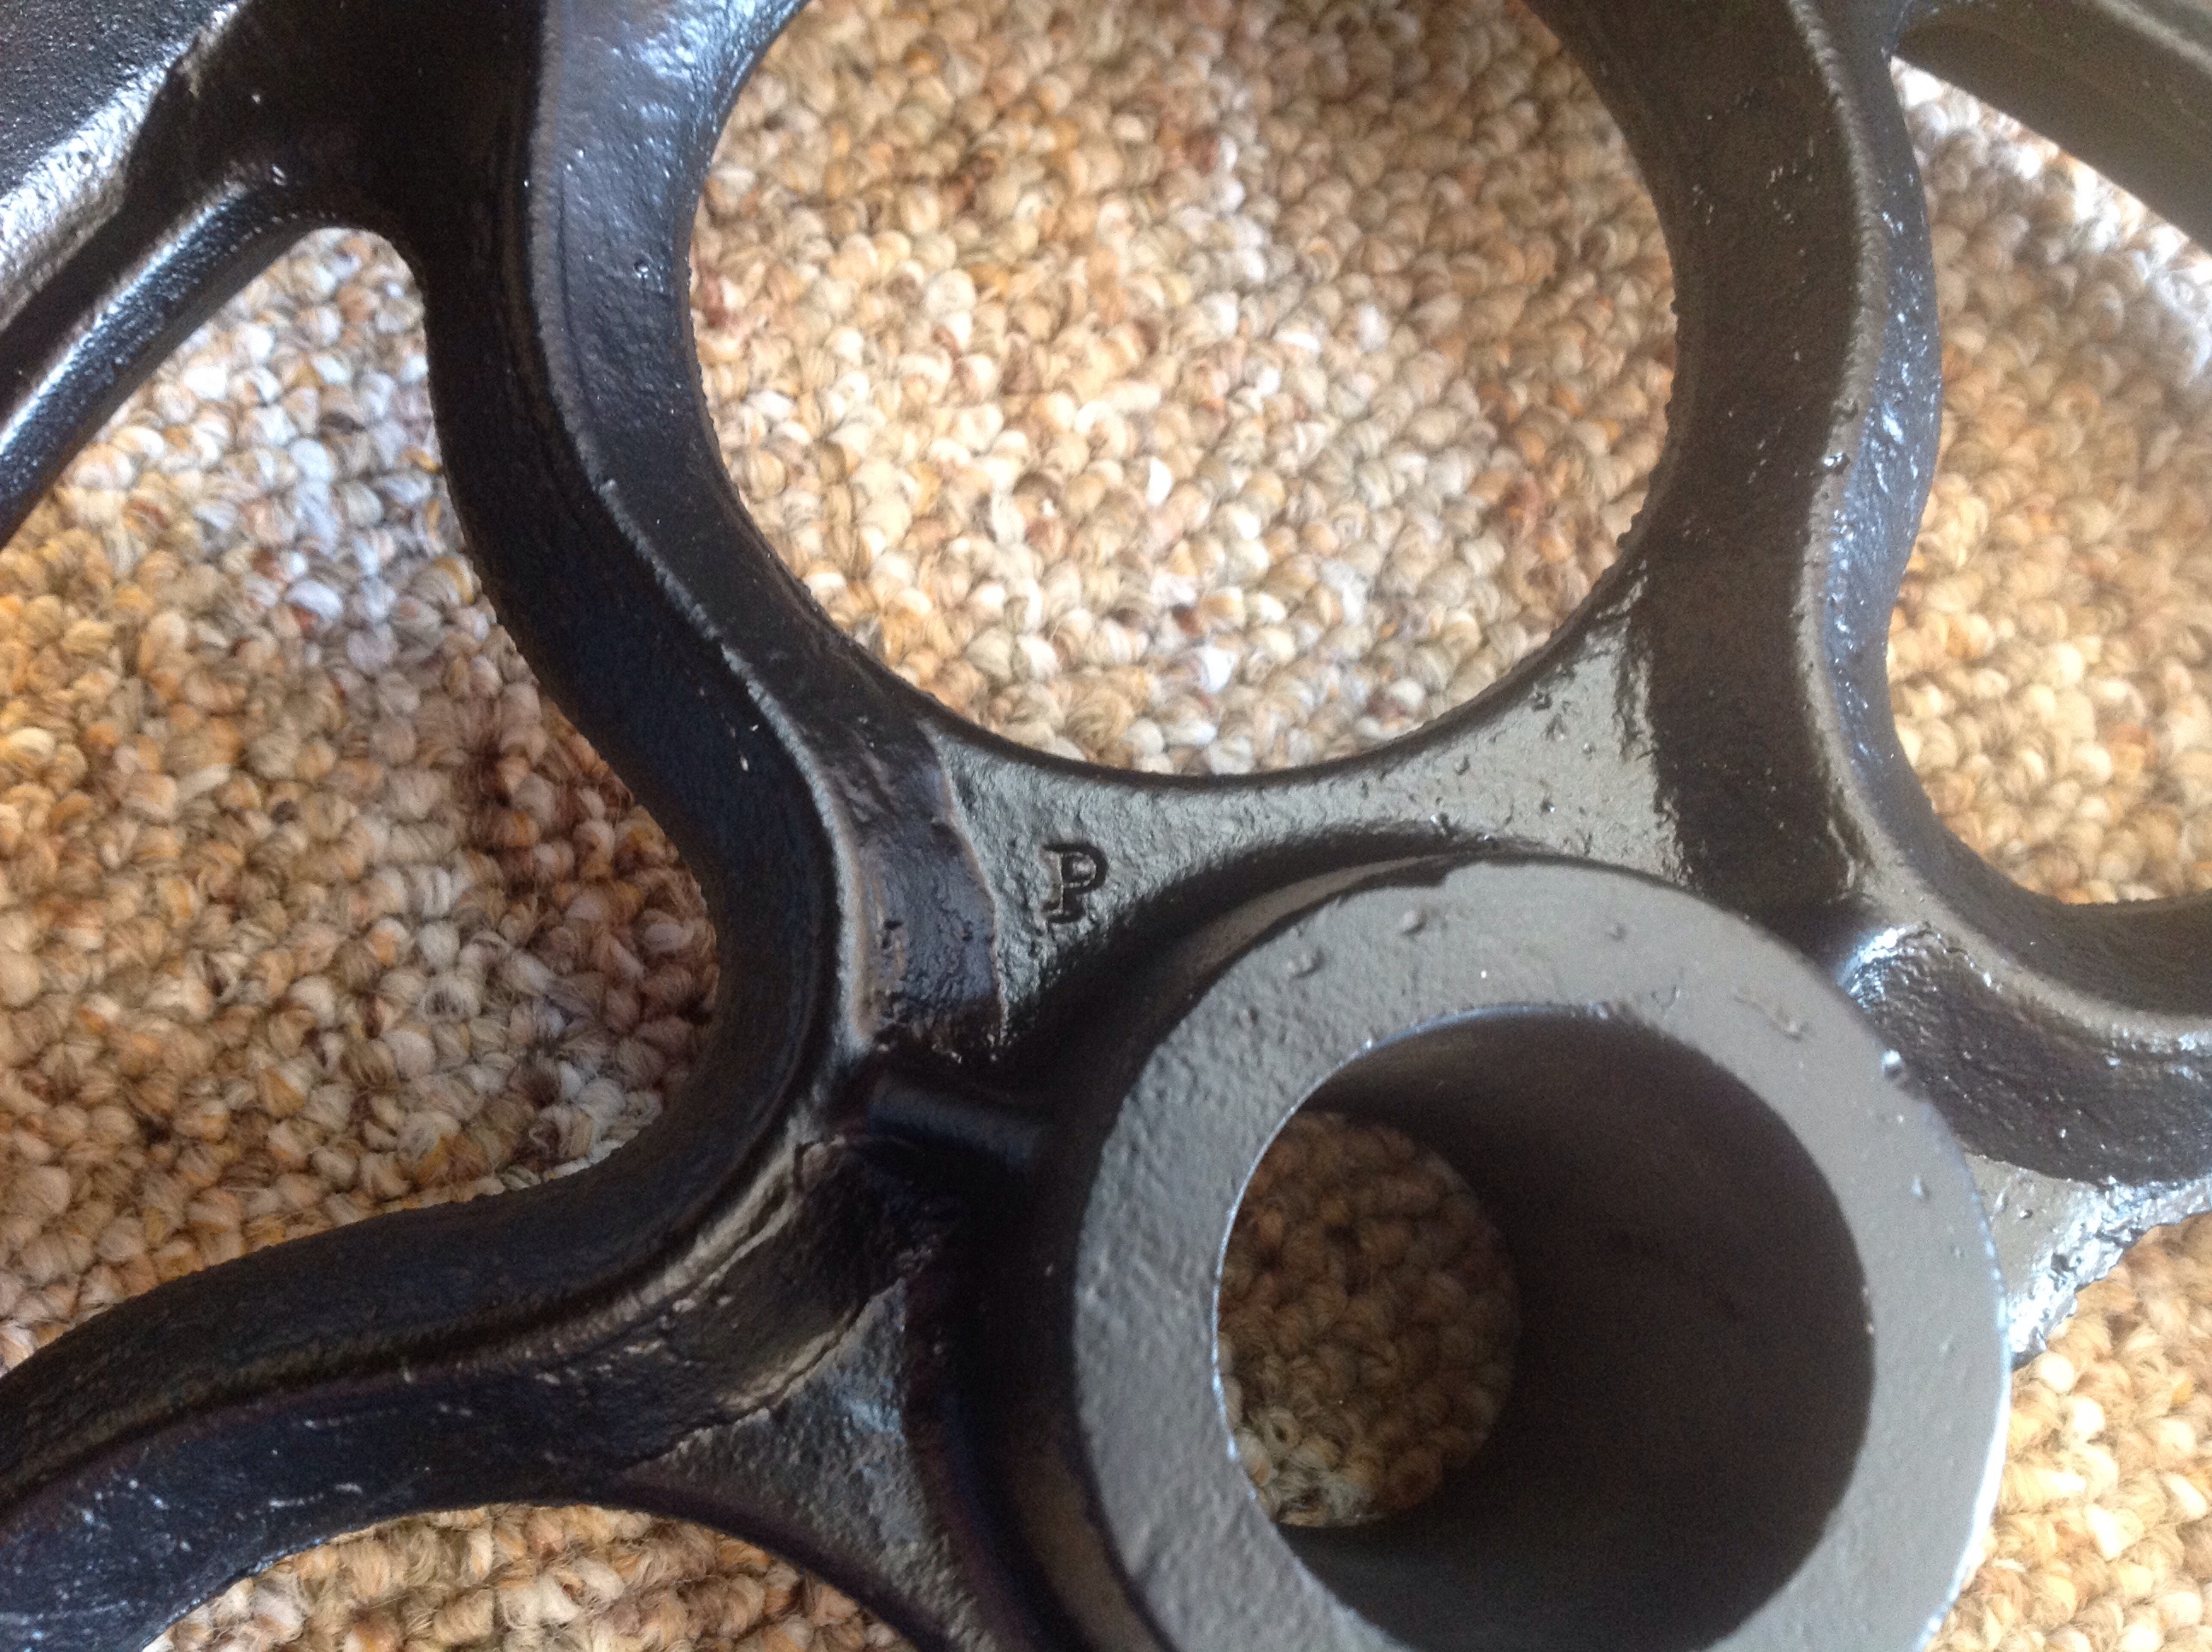
Picked up the cart wheels for the bar cart and they look great! Some discussion continues about which wheels to use for the first one so I’m still in limbo about the plans… 

I’m a little curious about the screw heads and how they played a role in construction. I didn’t notice them when I picked them up at the sandblasters, can’t play with them now that the paint is on. The inscription is W&P M14. The curves of the second set capture my eye and even include grease nipples, although I’m sure they will need to be replaced after being blasted and painted. 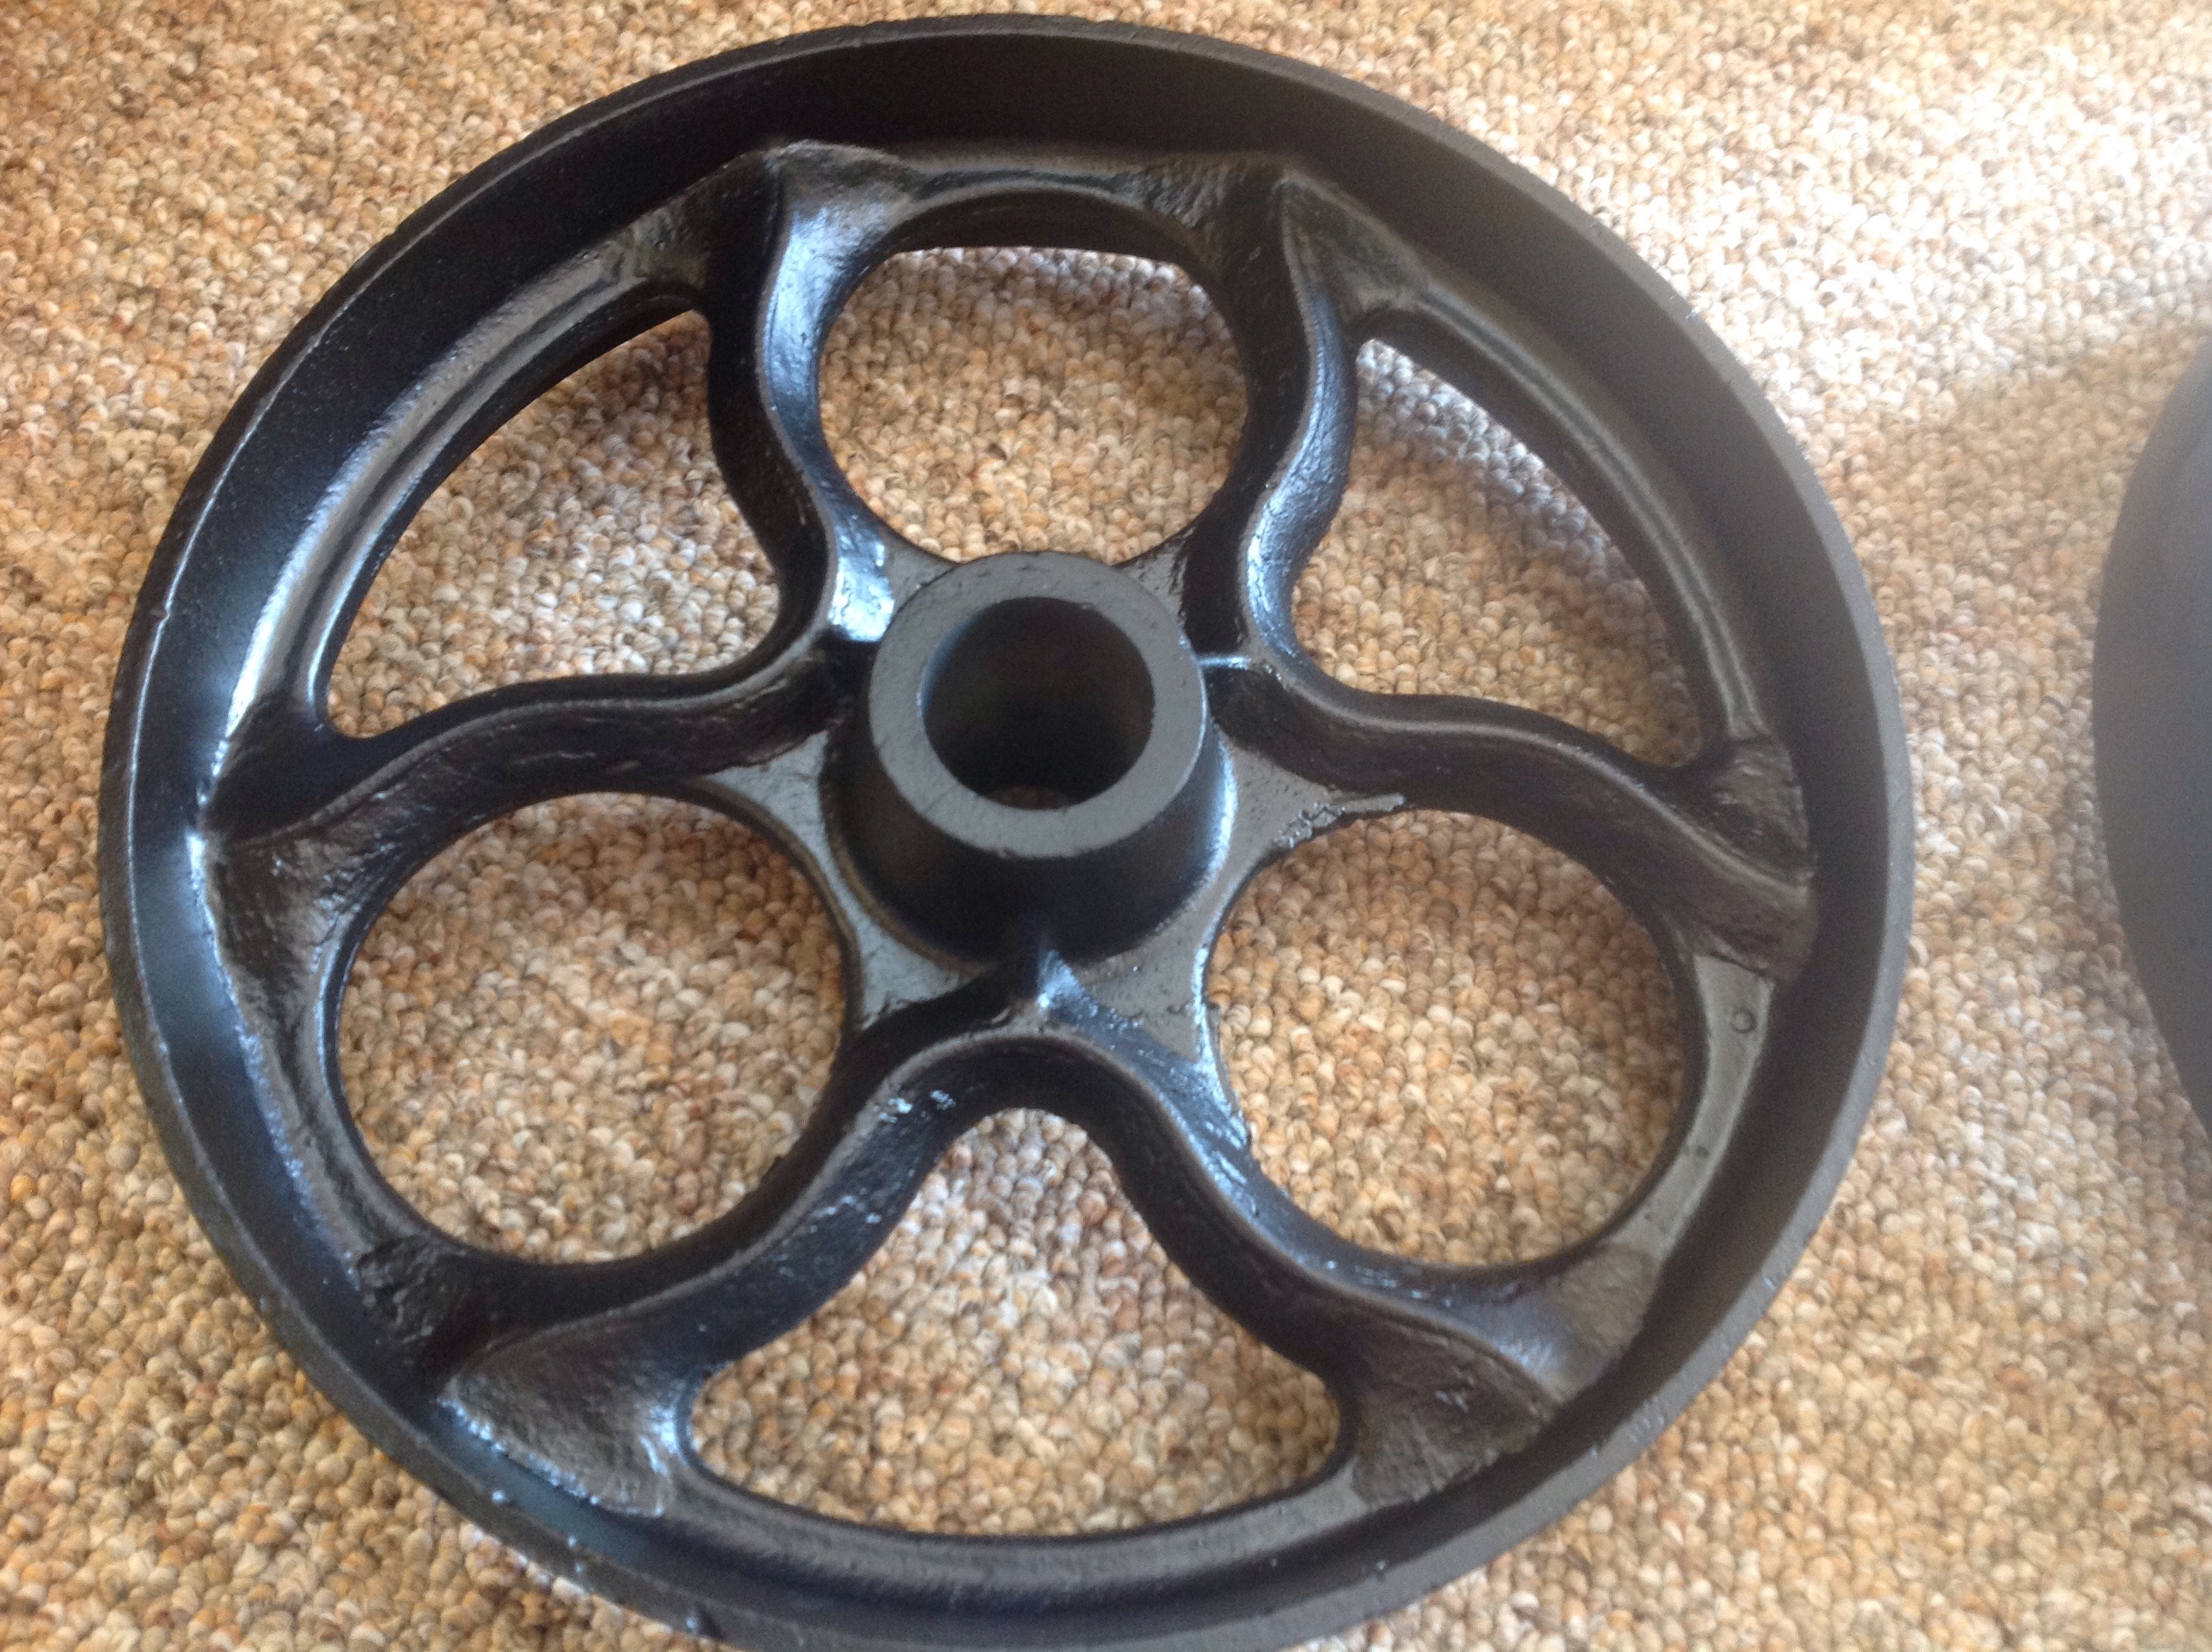
Shadow Box
The cart wheels were dropped off and then picked up from a local sand blaster. Next they went to a friends auto shop for a paint job. While waiting for their return I began to make a shadow box for my wife.
Beginning with visions of using some left over Sapele and imagining the beautiful look of the dovetailed corners I quickly had to reverse direction when the word paint was spoken. Nothing wrong with paint except I’m not a great painter and I have no intention of using a beautiful wood which will be hidden from view. Fortunately I found some pine in the corner and pressed on.


No dovetails have been cut since the small tool chest project so I warmed up with a couple pieces of scrap. After marking the tails I set to work sawing and then chopping out the waste.
You will notice in the pictures that I used a piece of scrap wood on the first cut, then used it as a guide for the other dovetails. This ensured they were all similar and made the layout process much quicker. Paul Sellers showed me this trick when I attended his foundations class.
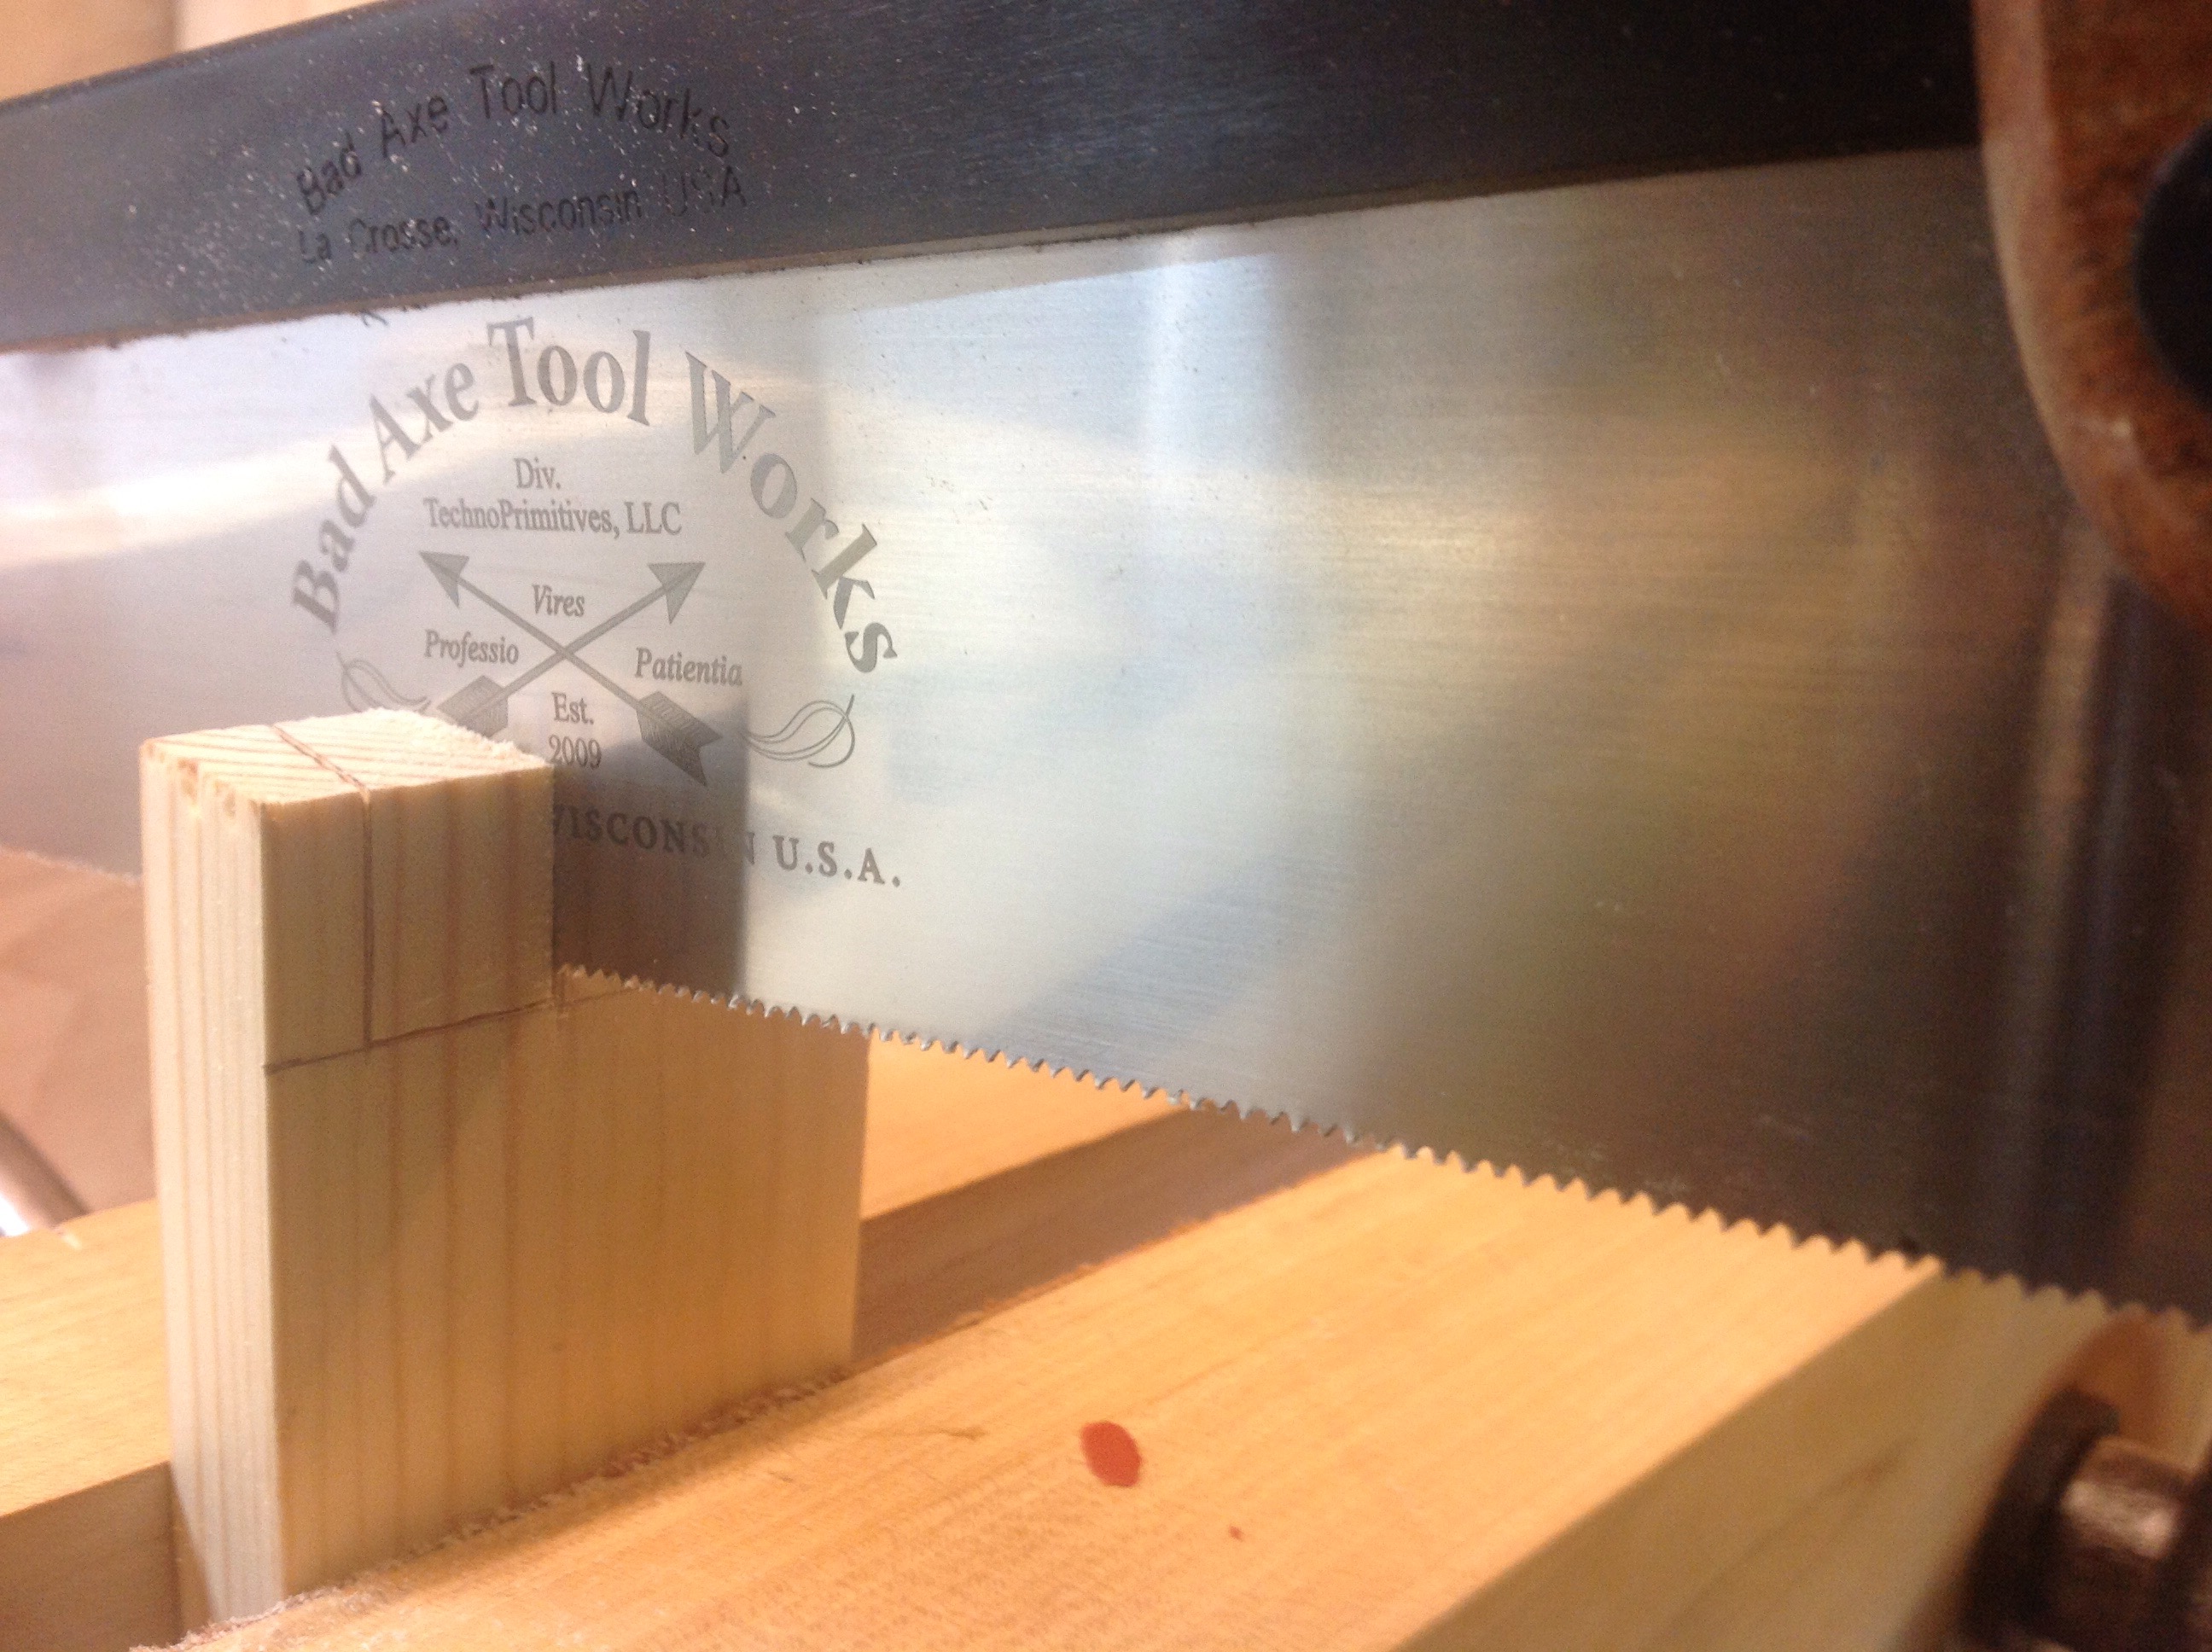
I was also greatly helped by a freshly sharpened Bad Axe Saw. When I was at the saw sharpening seminar, Mark Harrell took the saw and gave it a little personal service. It’s cutting great. Although I sharpen most of my own saws there is nothing like have a pro do it for you.
With the tails cut I chopped out the pins and within the space of three hours I went from some boards to a dovetailed frame.
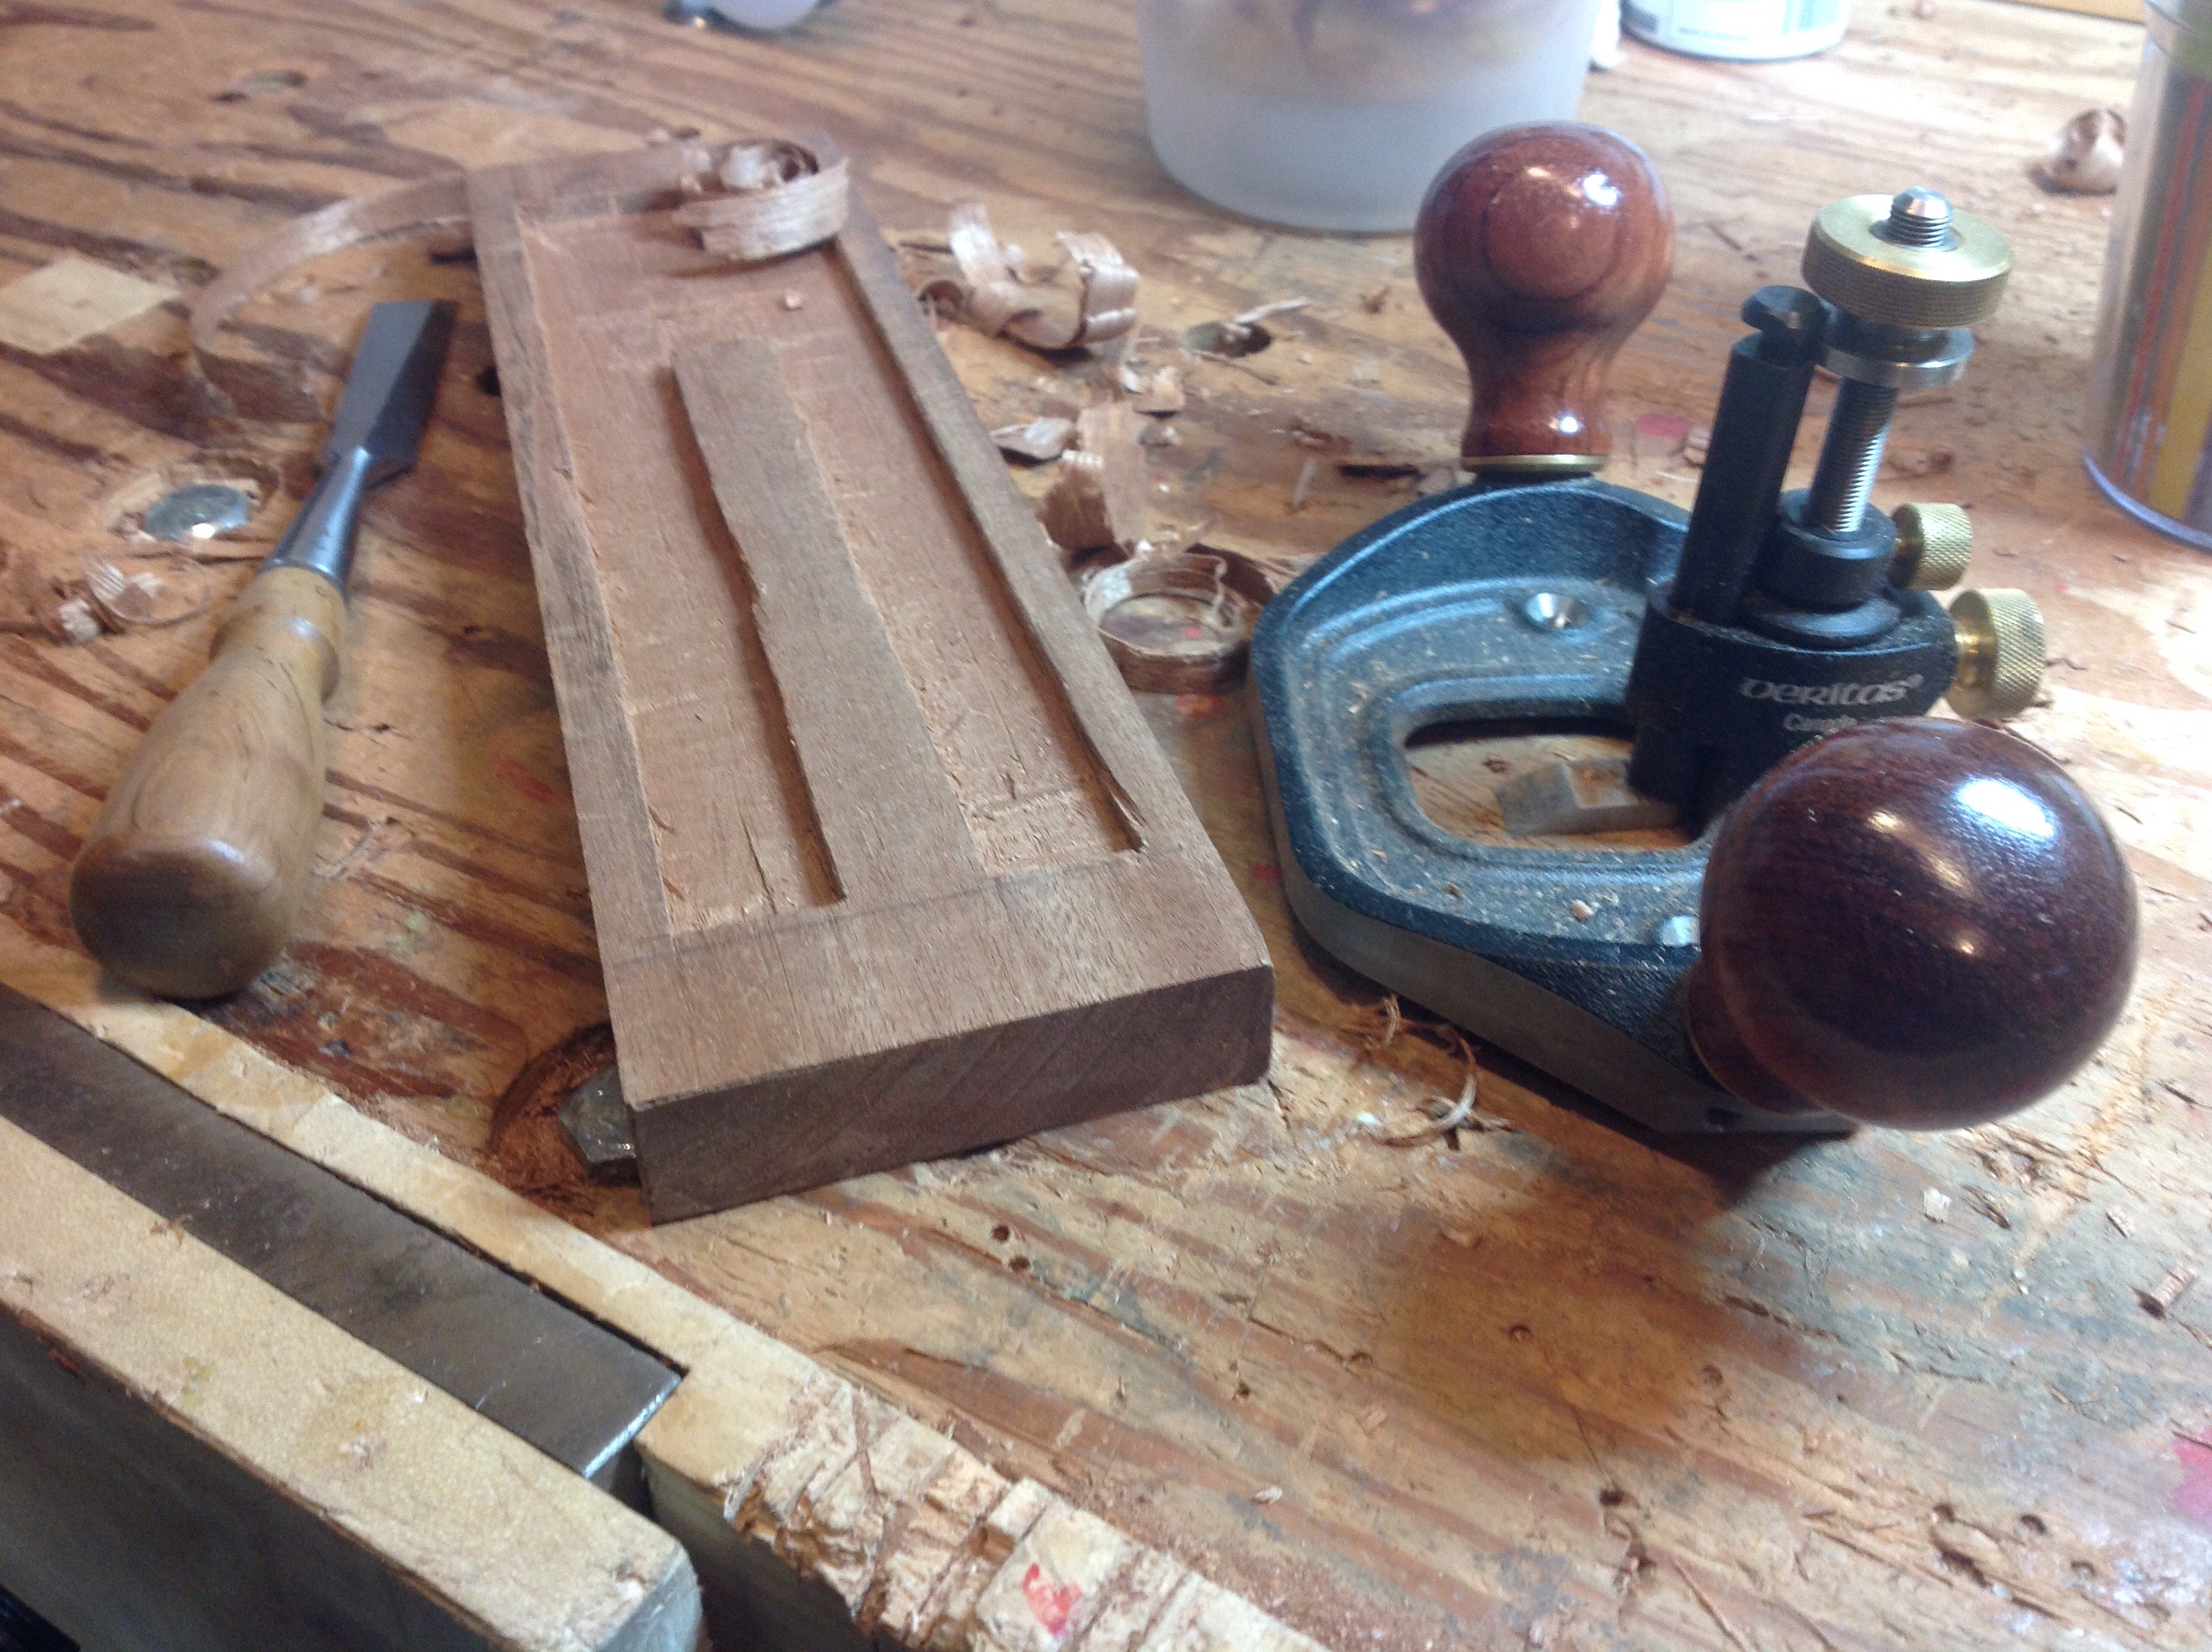
Next step is to cut the grooves for the glass. I used a couple of tricks to get this done. The first is to secure the boards using a clamp into my bench vise. this gives me all of the security I need and access for the plow plane. The plow works great everywhere except those ends where I can’t break through and expose the groove. I could fix this with some blocks inserted at the end of the process or switch tools. In this case I grabbed my router plane and using the guide finished up the grooves with little fuss.The final piece of construction is making the rabbit (rebate) for the back panel.


Cart Wheels
What do you do when it is below zero and the shop heater has no chance raising the temperature above freezing? Thinking, drafting, and planning! My wife spends a tremendous amount of time and energy volunteering and one of her favorite gigs is preparing for a hospice auction. This year I have been roped in to provide a cart that can be used as a bar. I have the picture below to work from.

Last weekend we picked up two sets of wheels and axles (I already sense a second cart). The wheels come from old factory carts and are heavy cast iron with a light coating of rust.

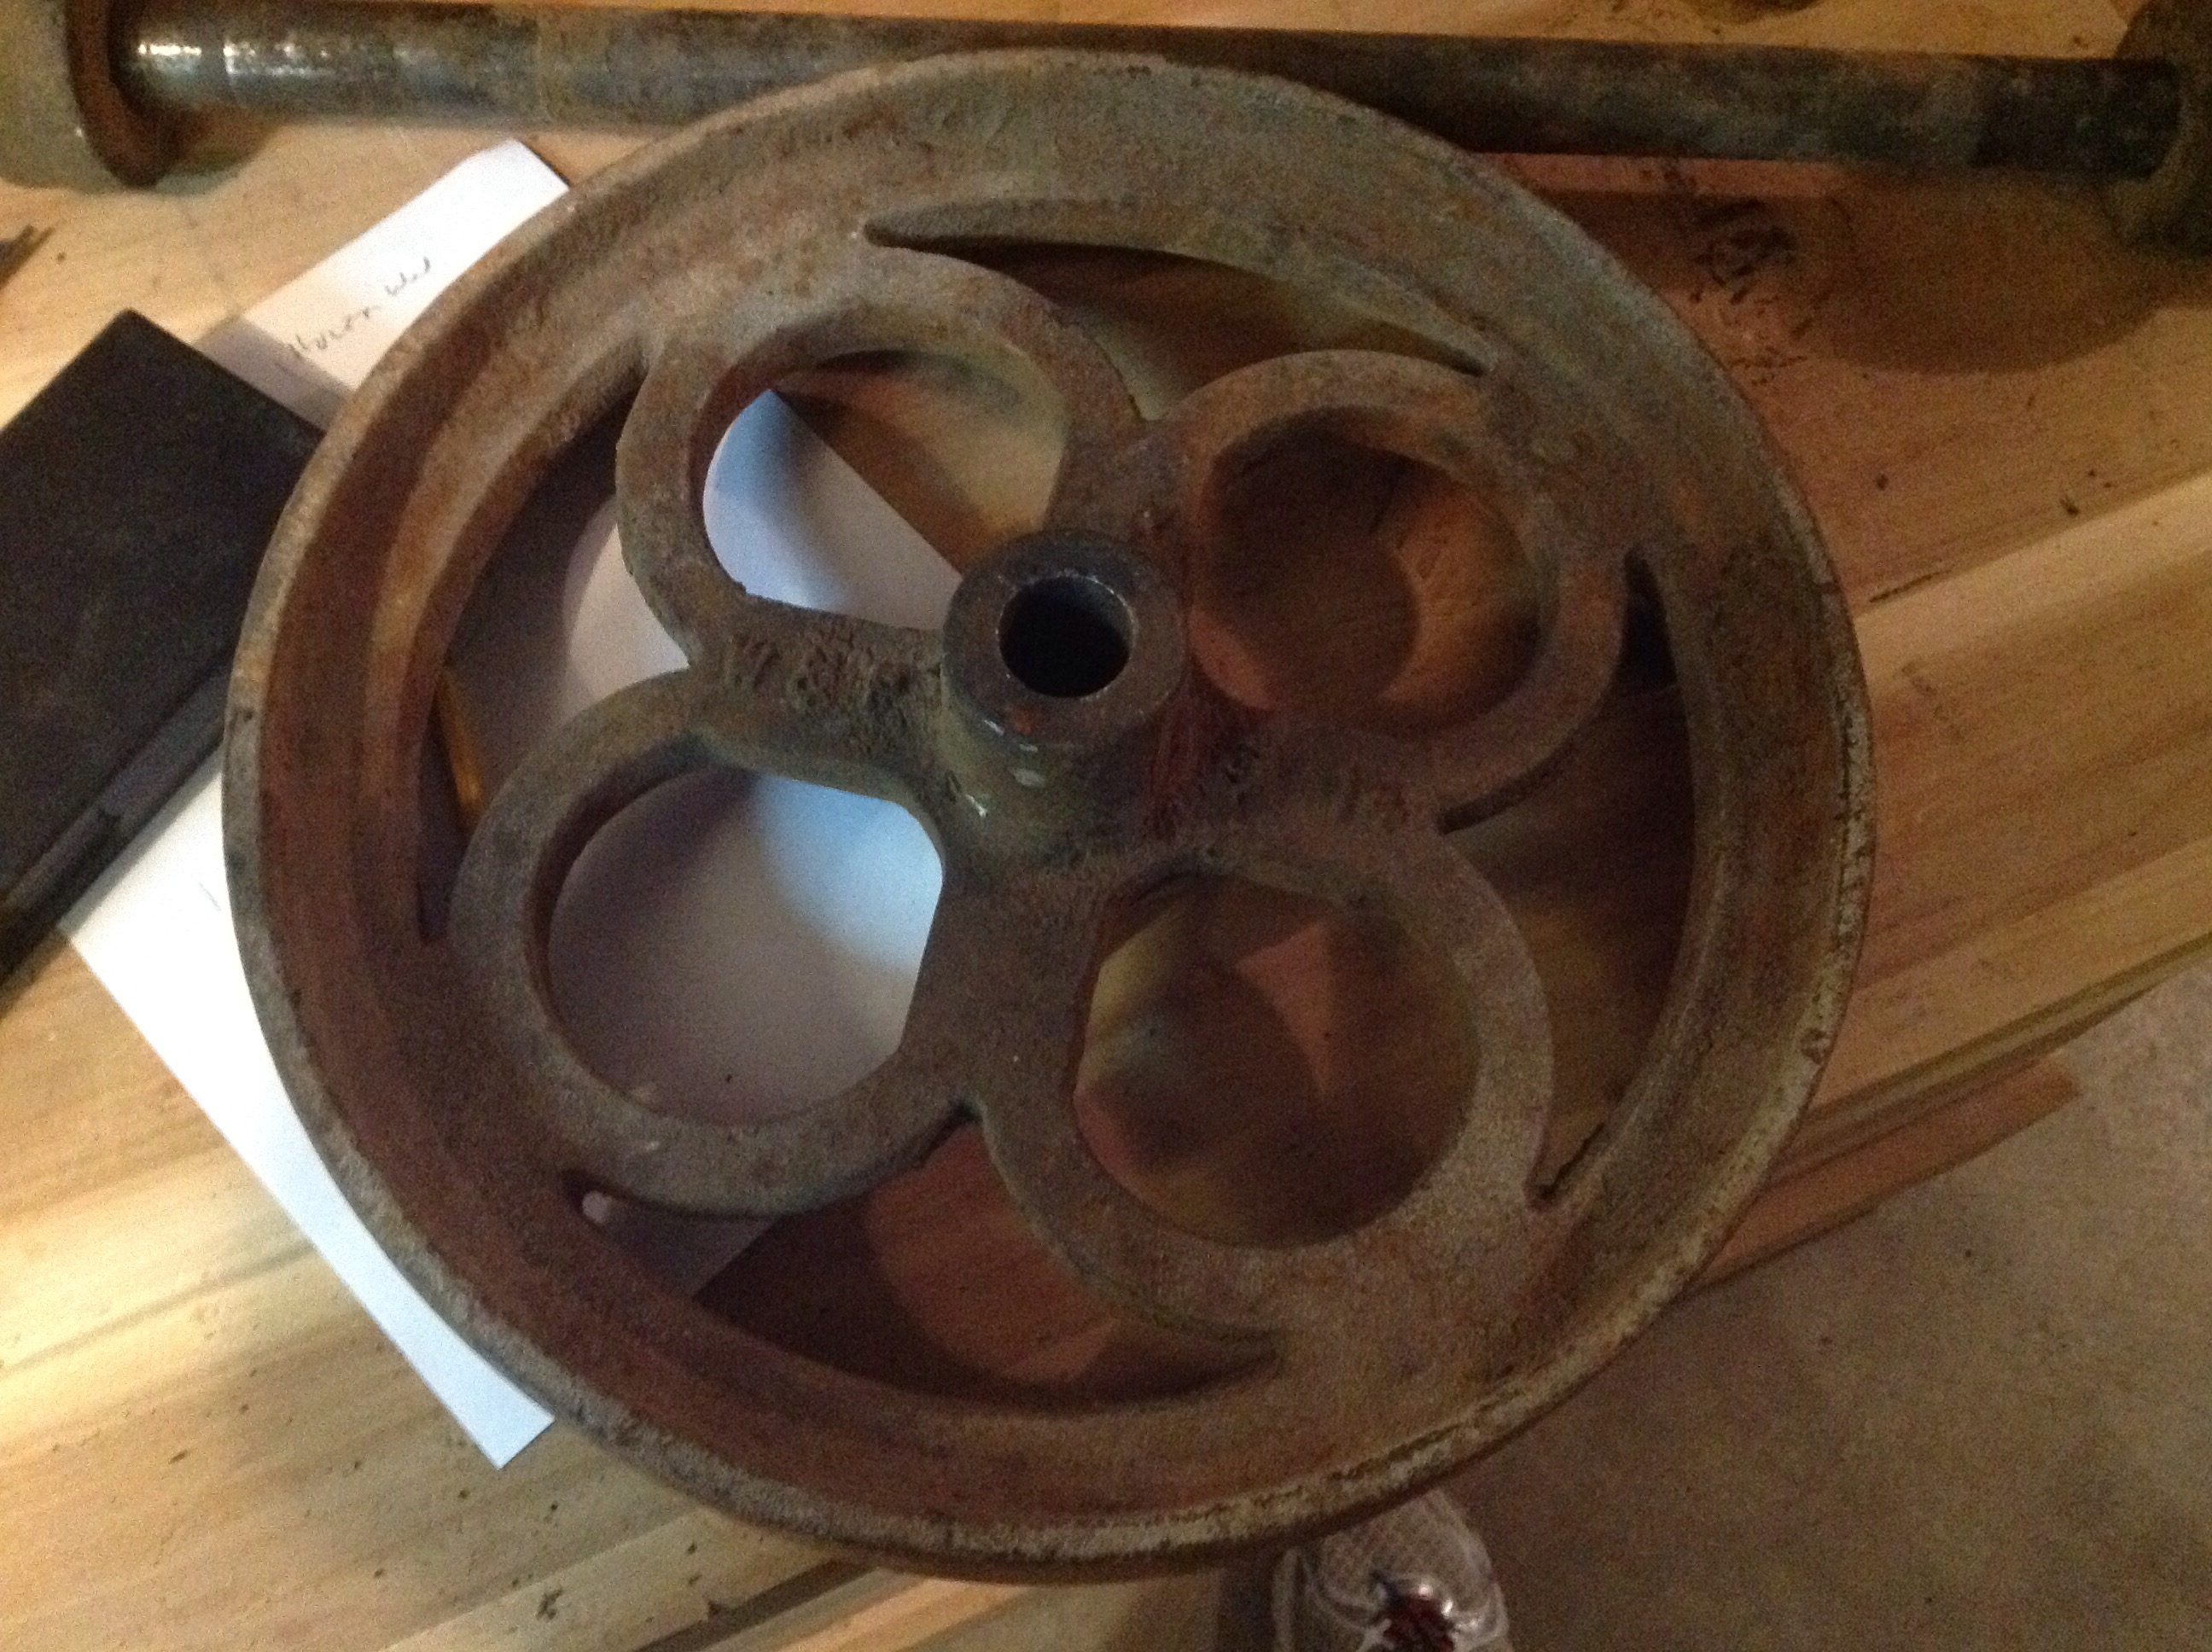
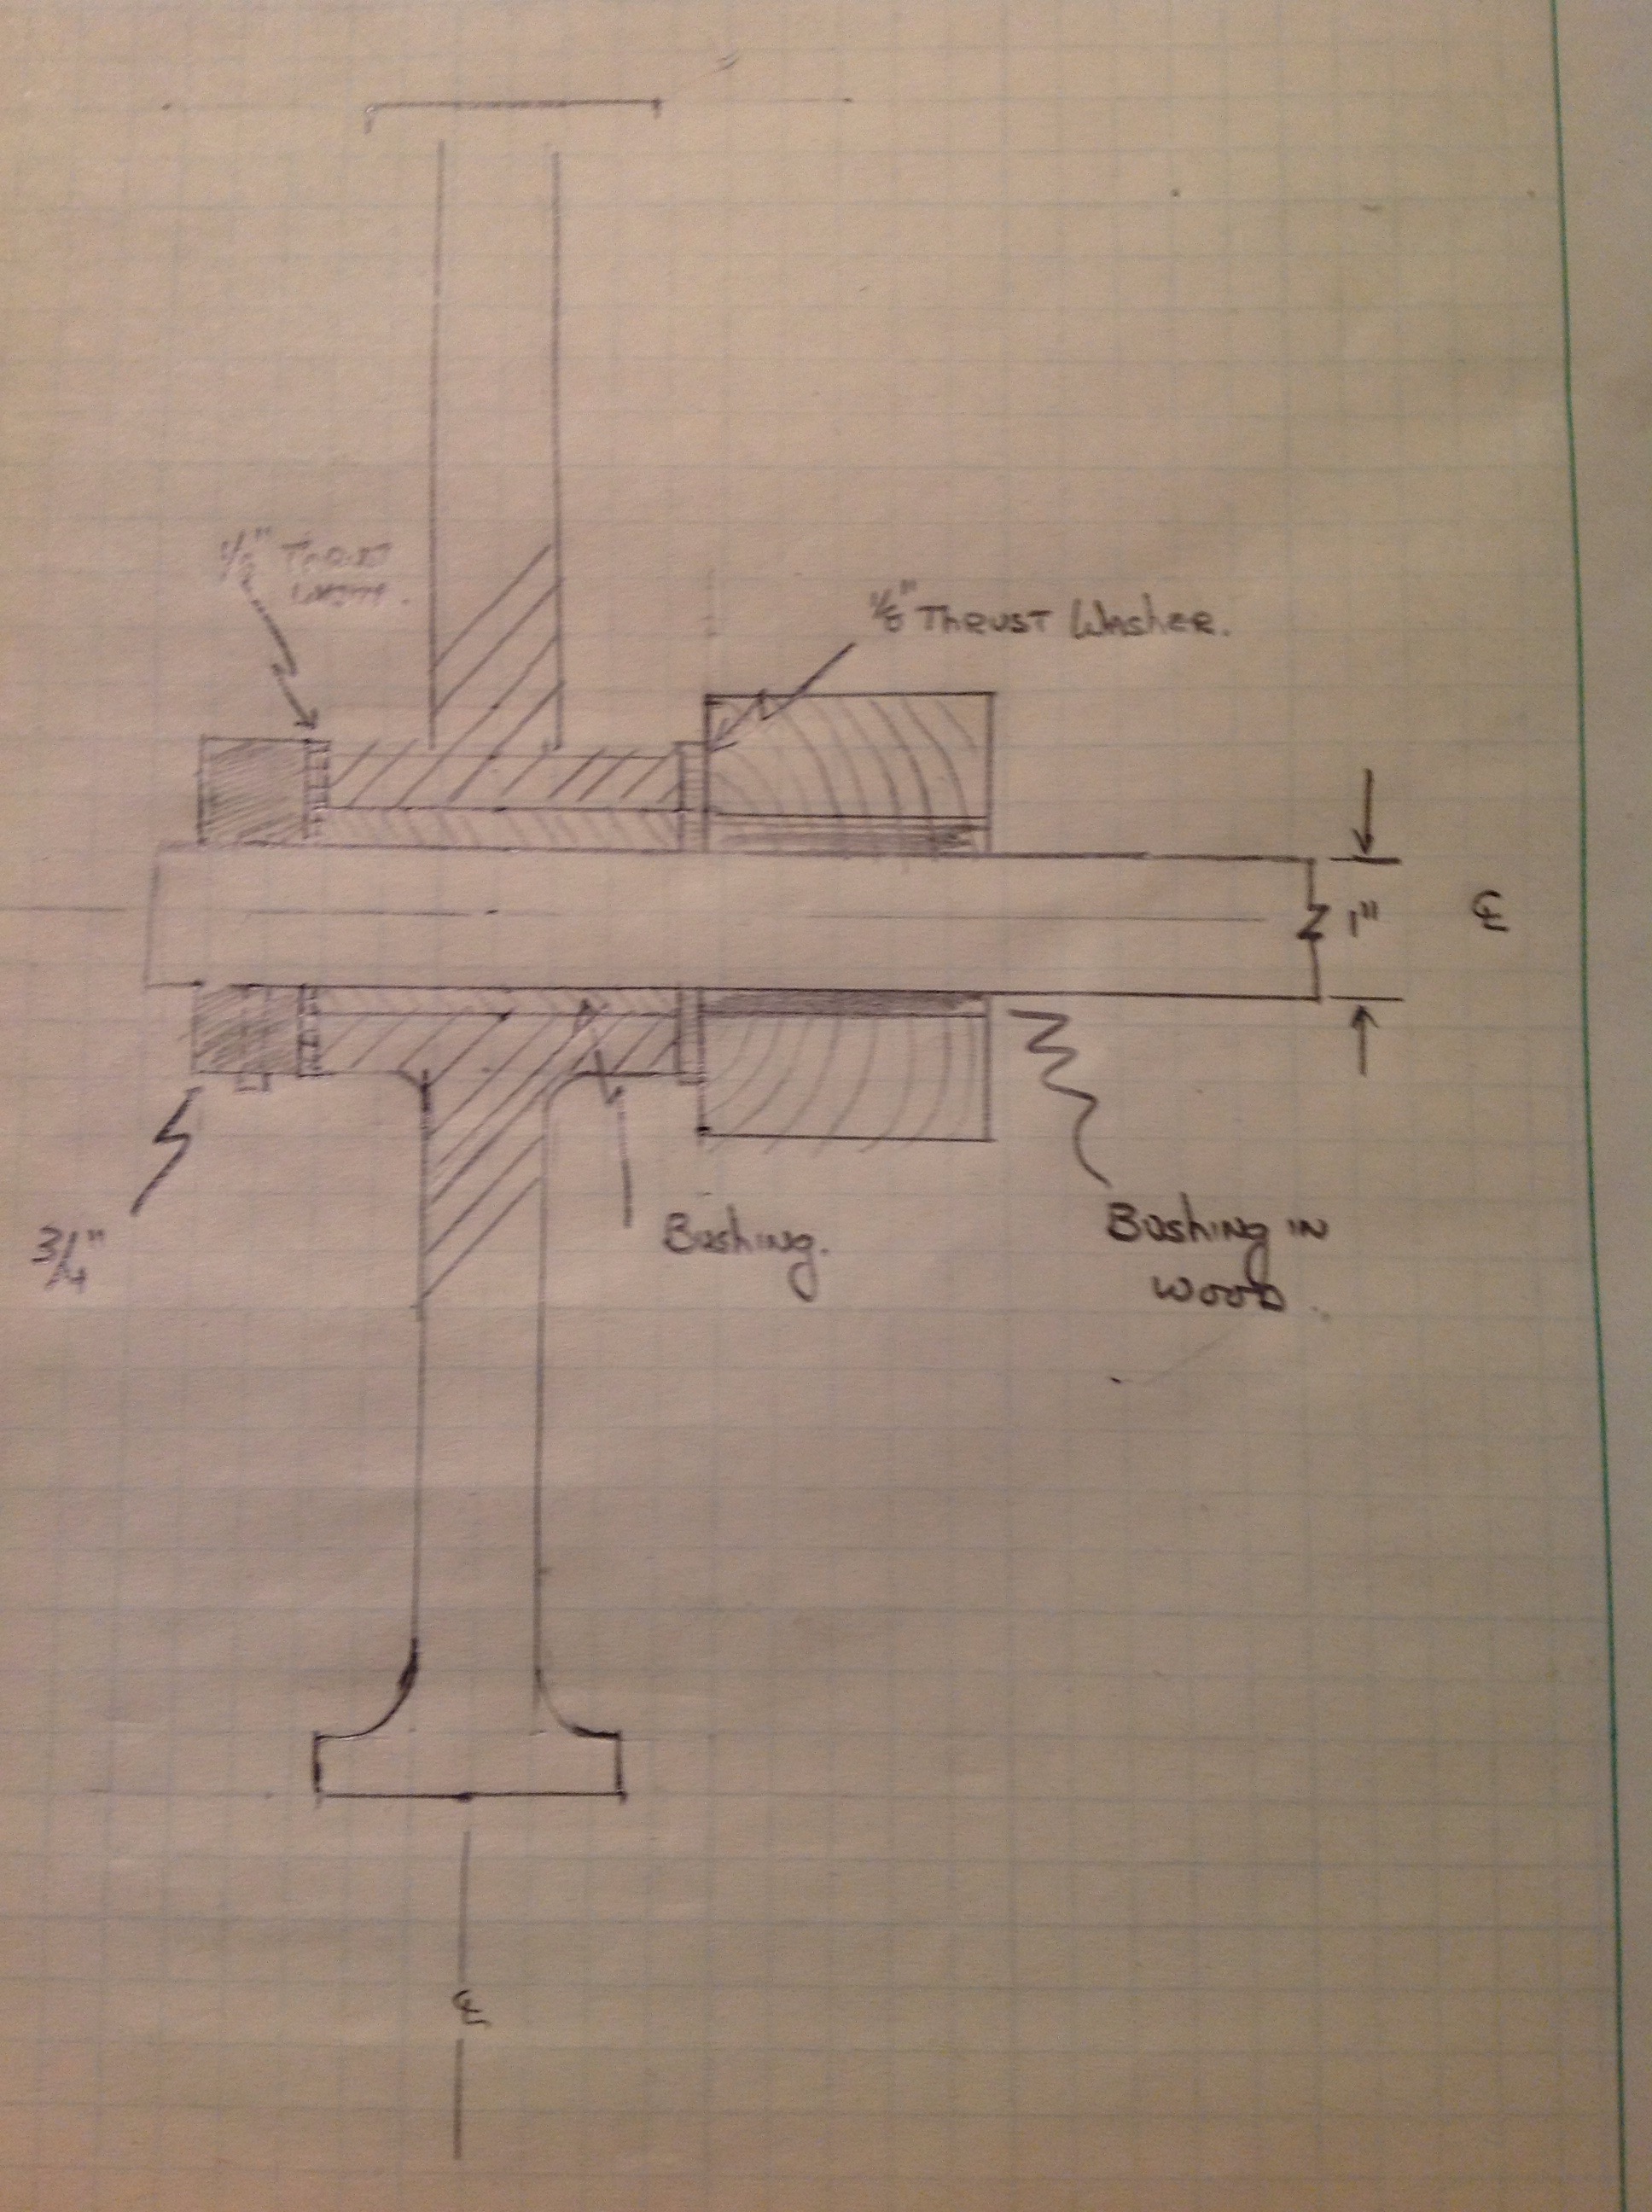
After a little bit of searching we found someone to sandblast them and another friend to give them a coat of paint. Before sending them off I took some measurements so I could move forward with the cart design. If these things were easy anyone could do it! It didn’t take long before the challenges started to add up. The first set of wheels didn’t fit one of the axles at all. May need some bushings to make them work. The second axle only fits on one of the other wheels the second wheel is 5/32 off ! My quick test fitting when we bought them involved one axle turned end for end into one wheel. Thank goodness for McMaster Carr. After a few hours of measuring and drawing and I’m ready to order bushings, washers and an axle that should put one set right. Didn’t have much else to do today with the cold so didn’t mind searching the recesses of my brain for what’s left of my engineering degree.
Catapult
Over the last month little time has been spent woodworking although requests from my family continue to poor in. There’s a tool chest, bar cart, two desks, table, picture frame and others already forgotten. So what do I do? Build a catapult!

Taking scraps from the small tool chest, parts are measured, dimensioned and planed. Working with Sapele is really nice and the swirls of wood and vibrant smell tickle all of the senses. The sides are rough cut with a saw then I chisel in the curves finishing with a spoke shave and #3 plane. Placing them in the vise they get a final smoothing to ensure they match.
The upright is shaped in the same way. The swirls of wood in this piece really catch my eye. Can’t wait to get some finish on it. With these components complete the base can be made and mortises cut to accept the sides and upright.

With everything assembled and holes drilled for the pins. Only the finish and something to hold the ball left. I used a couple of coats of shellac which brought out the color of the wood. I have yet to determine how to hold the ball so I used a dixie cup temporarily. I don’t have a lathe so may seek some help at my next woodworking guild meeting.


This catapult was designed by others to be used when teaching statistics and data collection. It was a great project especially when made with hand tools and My son and I spent a couple of hours testing the various settings and results.
Texas Heritage Woodworks
Like many woodworkers it is exceedingly rare to walk into another’s shop. The chance to try tools is not one to pass up. While I was a The Bad Axe Tool Works Sharpening School the chance to try out different tools was too good to pass up. Some were new, but many had been around the block several times.
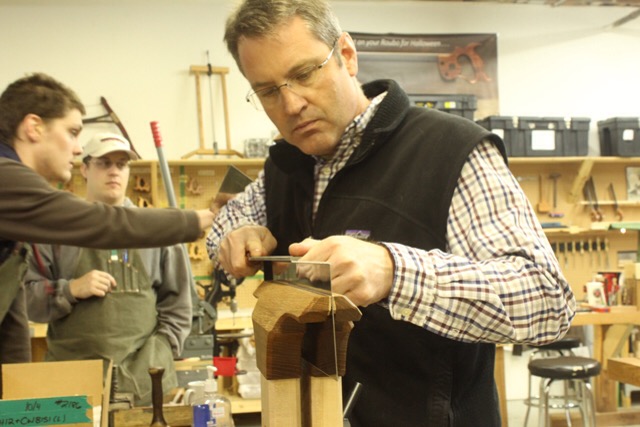
One of my favorite tools was this saw vise. It is exceptionally well made, clamps with an iron fist and is very attractive. I know, we pay little attention to how our tools look, but really take a second peak.
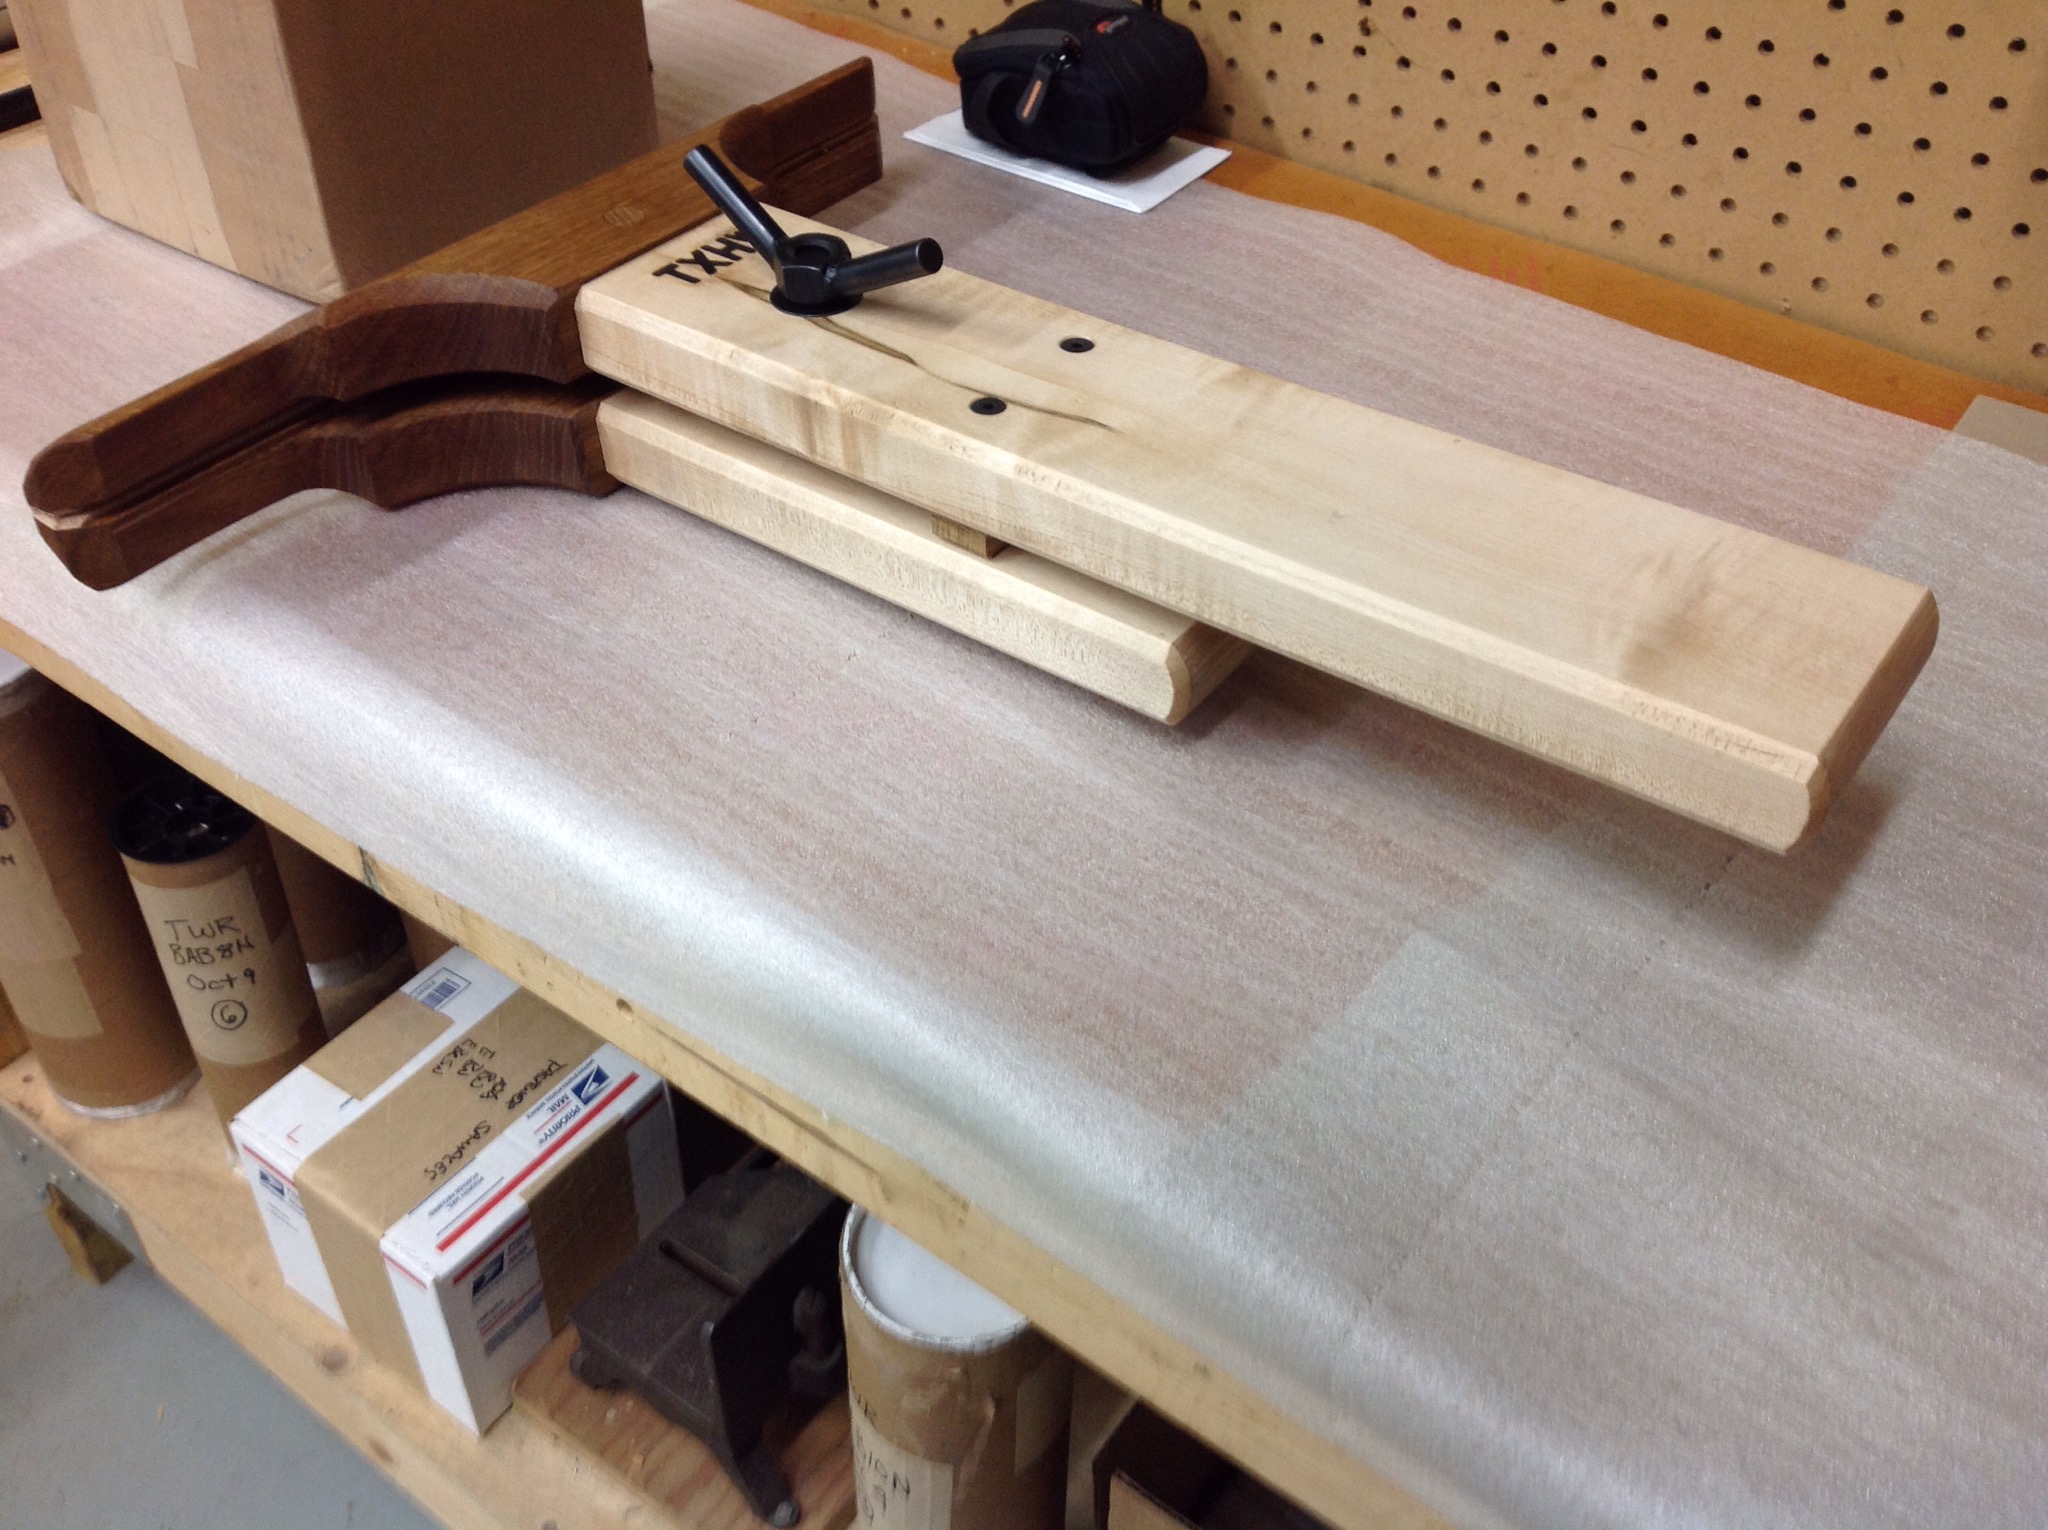
It was only after I had used the vise multiple times that I realized it was made by Texas Heritage Woodworks. Not sure if this is for sale or a proto-type, but it was very impressive. Contrary to my extroverted style, I went to the web site and told the owner Jason Thigpen what a great product it was. Which prompted a very quick response thanking me. While on the site I noticed some aprons and tool rolls and other products. They all looked great!
If you haven’t look around lately, there are many small businesses that are supporting our craft. These businesses often consist of one or two people following their dream. I try to support them when possible and at the very least let others know who’s out there….
