Archive
Handworks 2017
I discovered this post in my drafts, obviously it is a year old but brought a smile to my face as I remembered a great time so I shared it despite the poor timing.
Low clouds drift across the sky, a single drop of rain strikes the windshield, followed by an ever increasing number. Reaching out, I adjust the volume of Snap Judgement as the drops become a downpour. A couple of hours later I find myself slowing in Amana, IA. The rain, now a steady drizzle, could not dampen the spirit of people huddled under umbrellas waiting to enter the barn for Roy Underhill’s presentation. Walking towards the crowd, Norway John and I exchange a handshake, a smile and enter the barn.
Knowing what to expect at Handworks greatly improved my experience, As pointed out by Shannon Rogers on Woodtalk, Handworks can be crowded, however people are polite and will easily step aside if you want a closer look.

Handworks ebbs and flows and with a little knowledge you can get the most out of it. My plan was to enjoy the people and later in the day focus on the the specific, tools and vendors that have drawn my interest. The initial push into Festhalle for Roy Underhill’s talk and the giveaways, attracts the majority of people, so once finished I walked to the outermost buildings and worked back to the barn. By mid afternoon the crowd will thin and although tired, vendors will be relaxed and less busy.
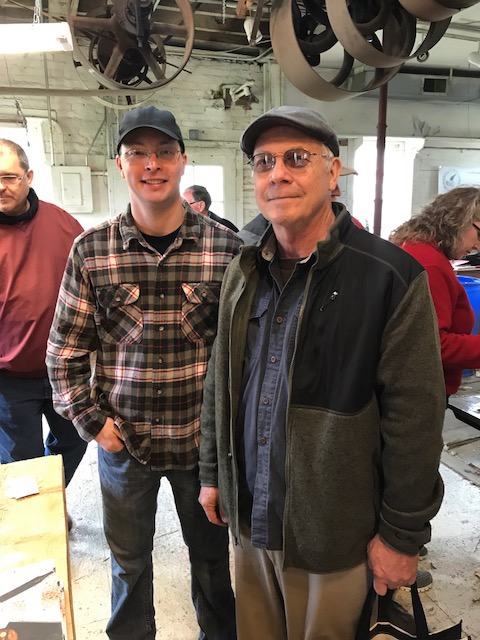
 Walking between buildings I quickly spotted Ben and the new guy from FineWoodworking Magazine. Handing them an OrePass Sticker and thanking them for ShopTalk Live, they passed me a shirt! More importantly I got a chance to talk and enjoyed a few thoughts and the advice from New Guy to try a Japanese Plane as a little relief from Hip Pain. I’m really glad to see them here enjoying the many vendors and companionship of their audience.
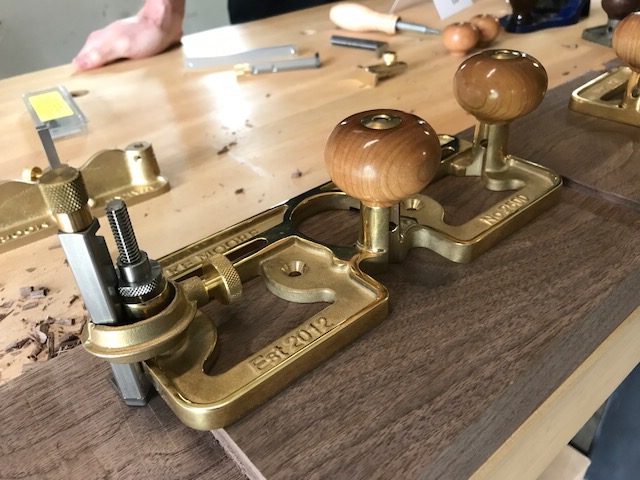
Next stop was Texas Heritage Woodworks to say hello to Sara and Jason. Two of the nicest people I know and a great companion on Instagram. Their Tool Rolls and the new Saddle Bag was very tempting! Further along I stopped by Plate 11 workbench Co. Their work benches could be found throughout Handworks, these give me an opportunity to compare heights, components and styles. I did learn a trick with the Moxon Vise. Springs inserted between the jaws make quite a difference.
Lunch at Handworks has always baffled me, seems that there would be lots of options; yet again I suffered through a mediocre sandwich however I met Kent. Really enjoyed getting to know him over a few bites.

I spent a few minutes talking with the Guys from Mortise and Tenon Magazine, had some good laughs and a photograph taken by the owner of Dubuque Clamp works.

Spending time with Mark Harrell from Bad Axe Tools was entertaining and educational as always and his son made a valiant effort to sell me a new D8 saw. Before leaving time was spent with Walke Moore Tools looking at their new Router Plane. It was fun to see and make comparison to the original Preston Plane.

Overall it was a fun day and I look forward to the Next Event.
Ideas – mortise jig
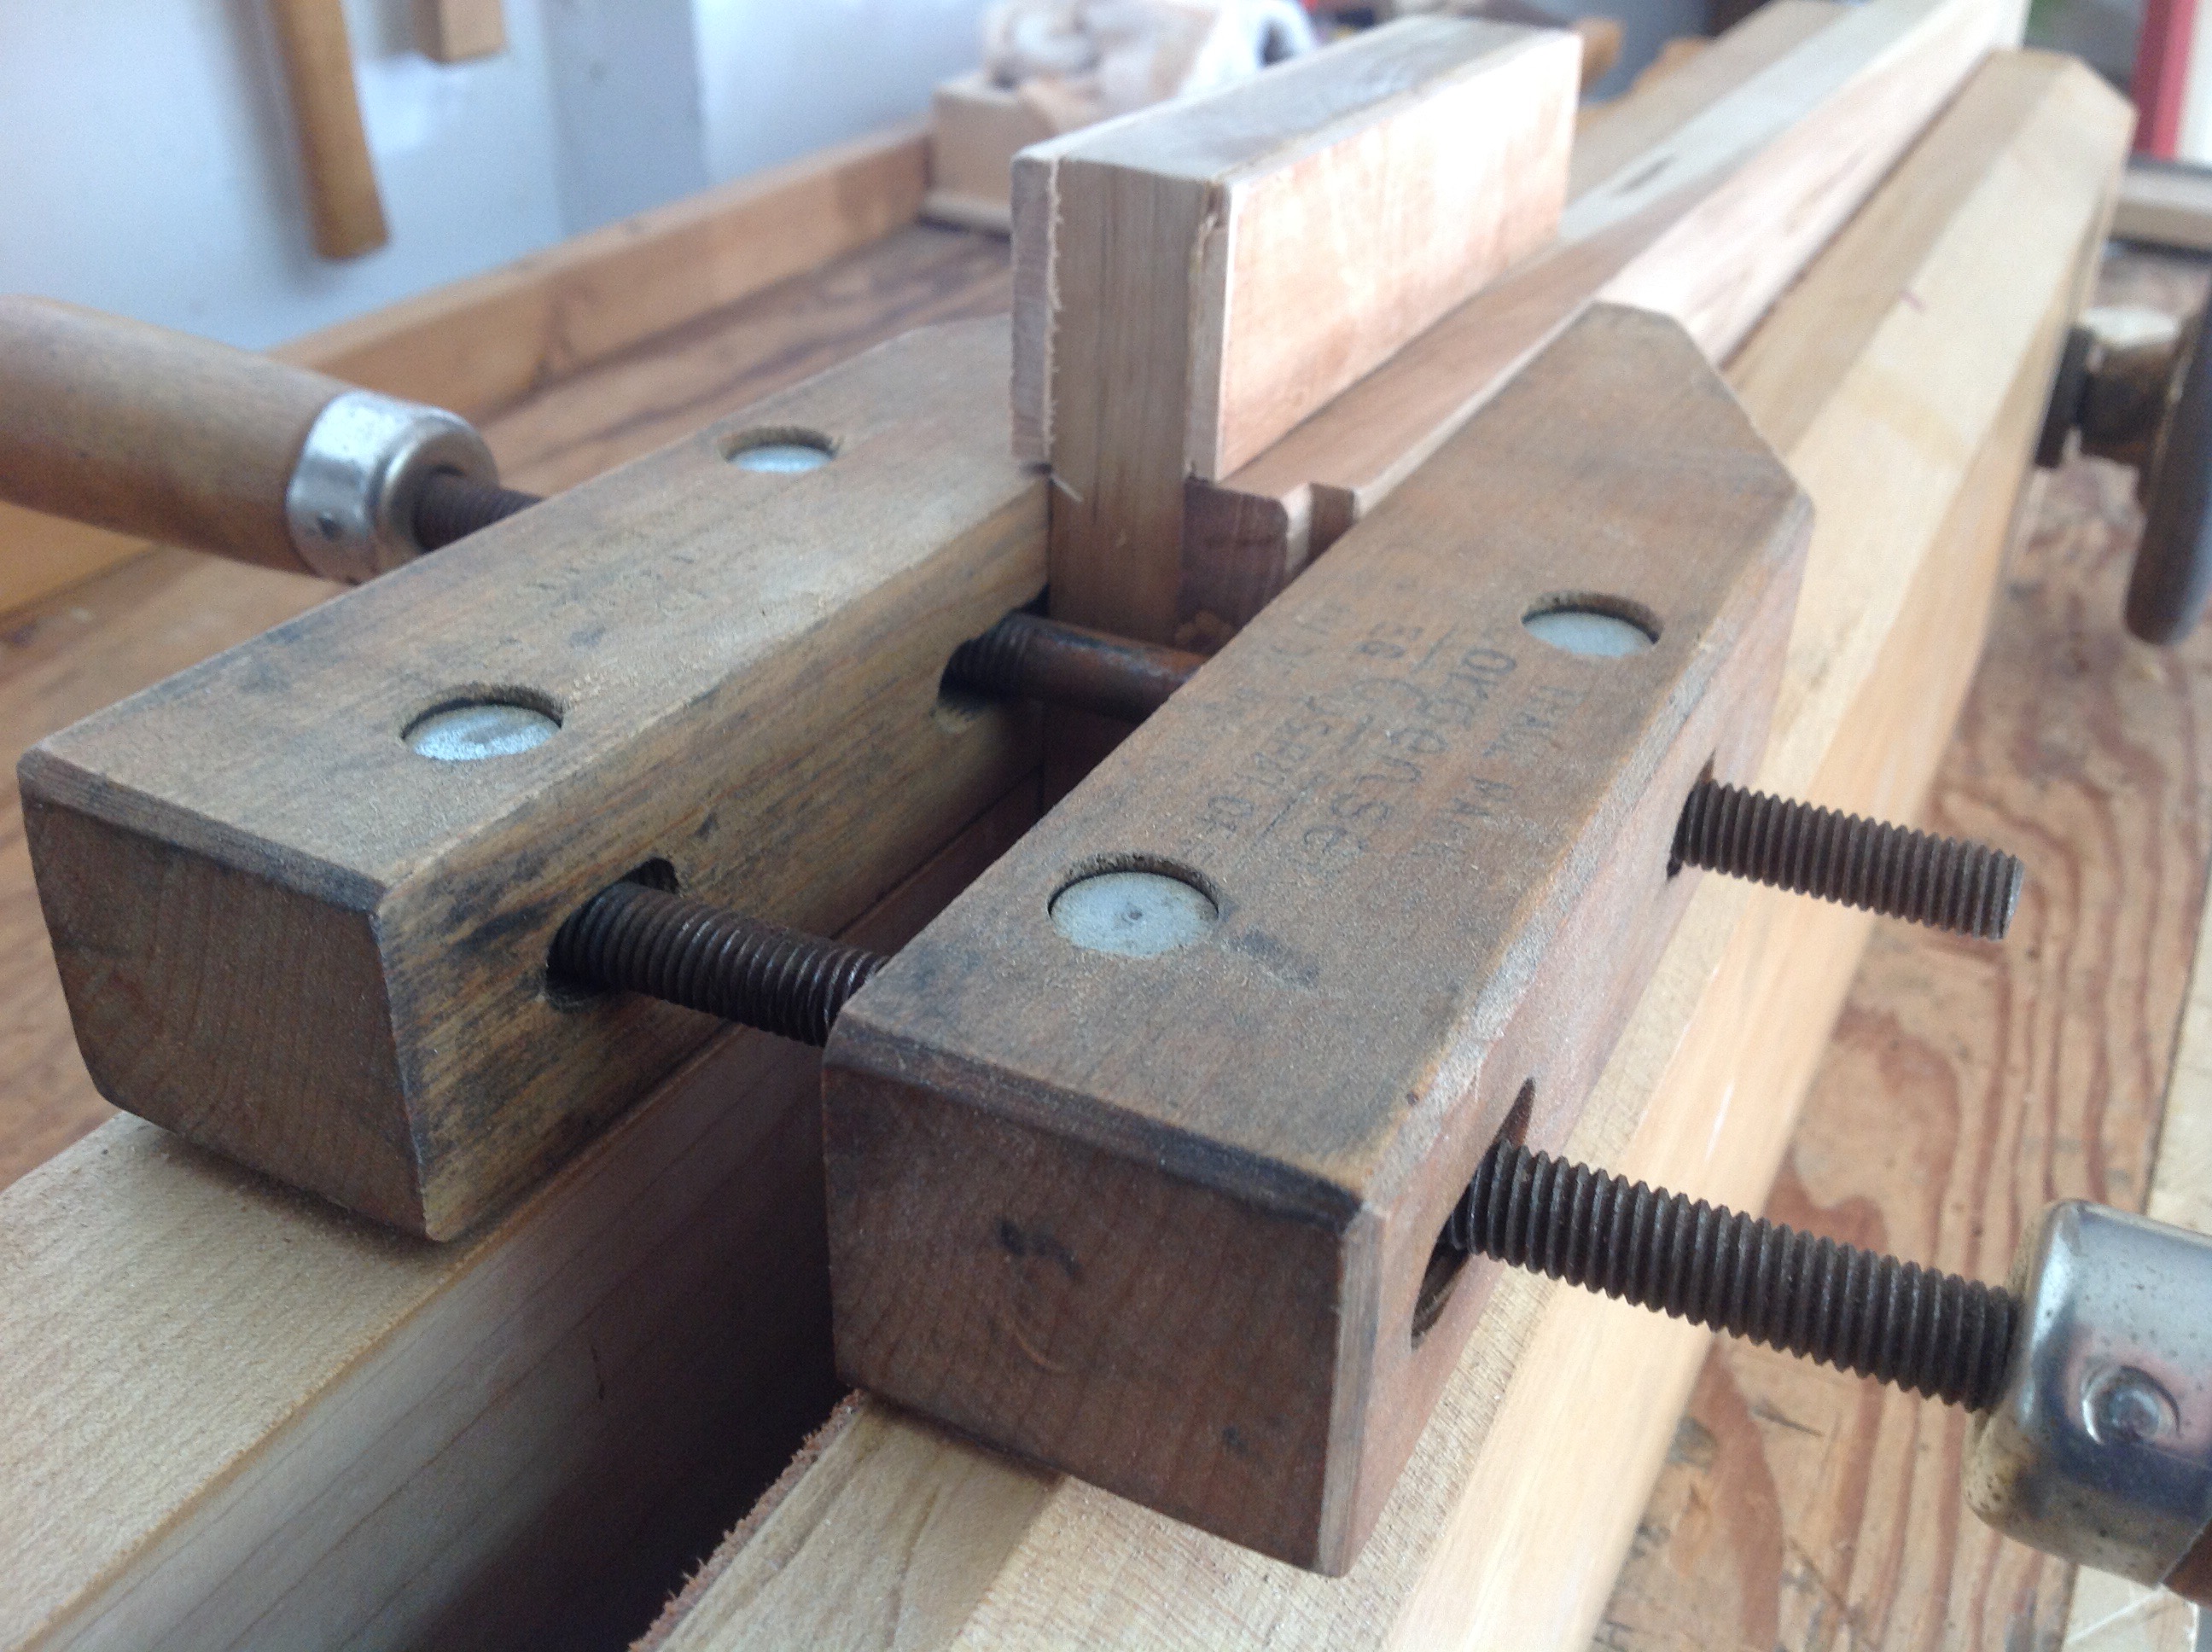
After posting about the mortise jig there were a couple of great comments. In particular the caution about ensuring that the jig is square to the board being mortised. This can be a frequent problem if your vise does not close evenly.

Posting the picture you can quickly see what can happen and imagine the effect.
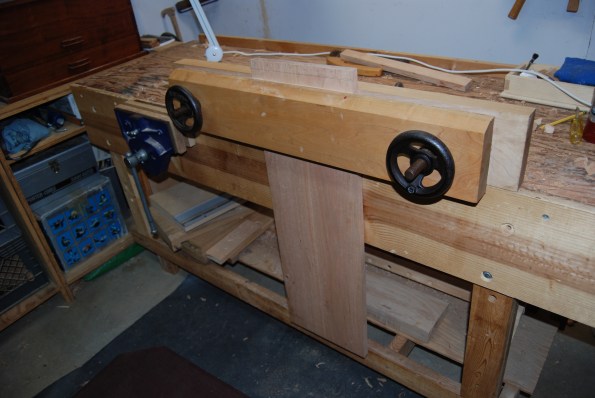
In the comments Matt quickly pointed out the potential problem. Here’s a solution I tried over the weekend that worked extremely well. The picture shows the clamps used in my moxon vise, but I also put it to work in my regular vise.

Along with this solution I also will take a close look at my bench vise and see if I can make some adjustments.
Thanks for all the comments!
Mortise Jig
One of the techniques that I learned a Paul Sellers 9day foundation class was the construction and use of a mortise jig. I don’t always use them these days, but occasionally I find them helpful. After my latest experience with making mortise and tenon joints it seemed prudent to take my time and make a new jig.
ITs really a sinple process and involves selecting a small piece of scrap to act as the back and then planing a seconpiece the correct thickness to act as a guide for the chisel. Once glued together and clamped (I sued my bench clamp) it acts as a great guide. I must have 6 or seven guides now of varying thickness.


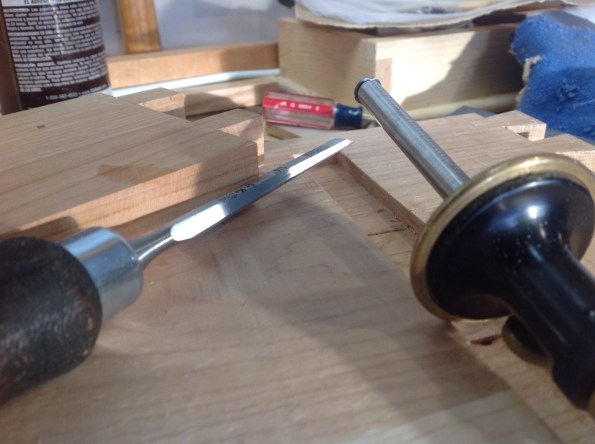
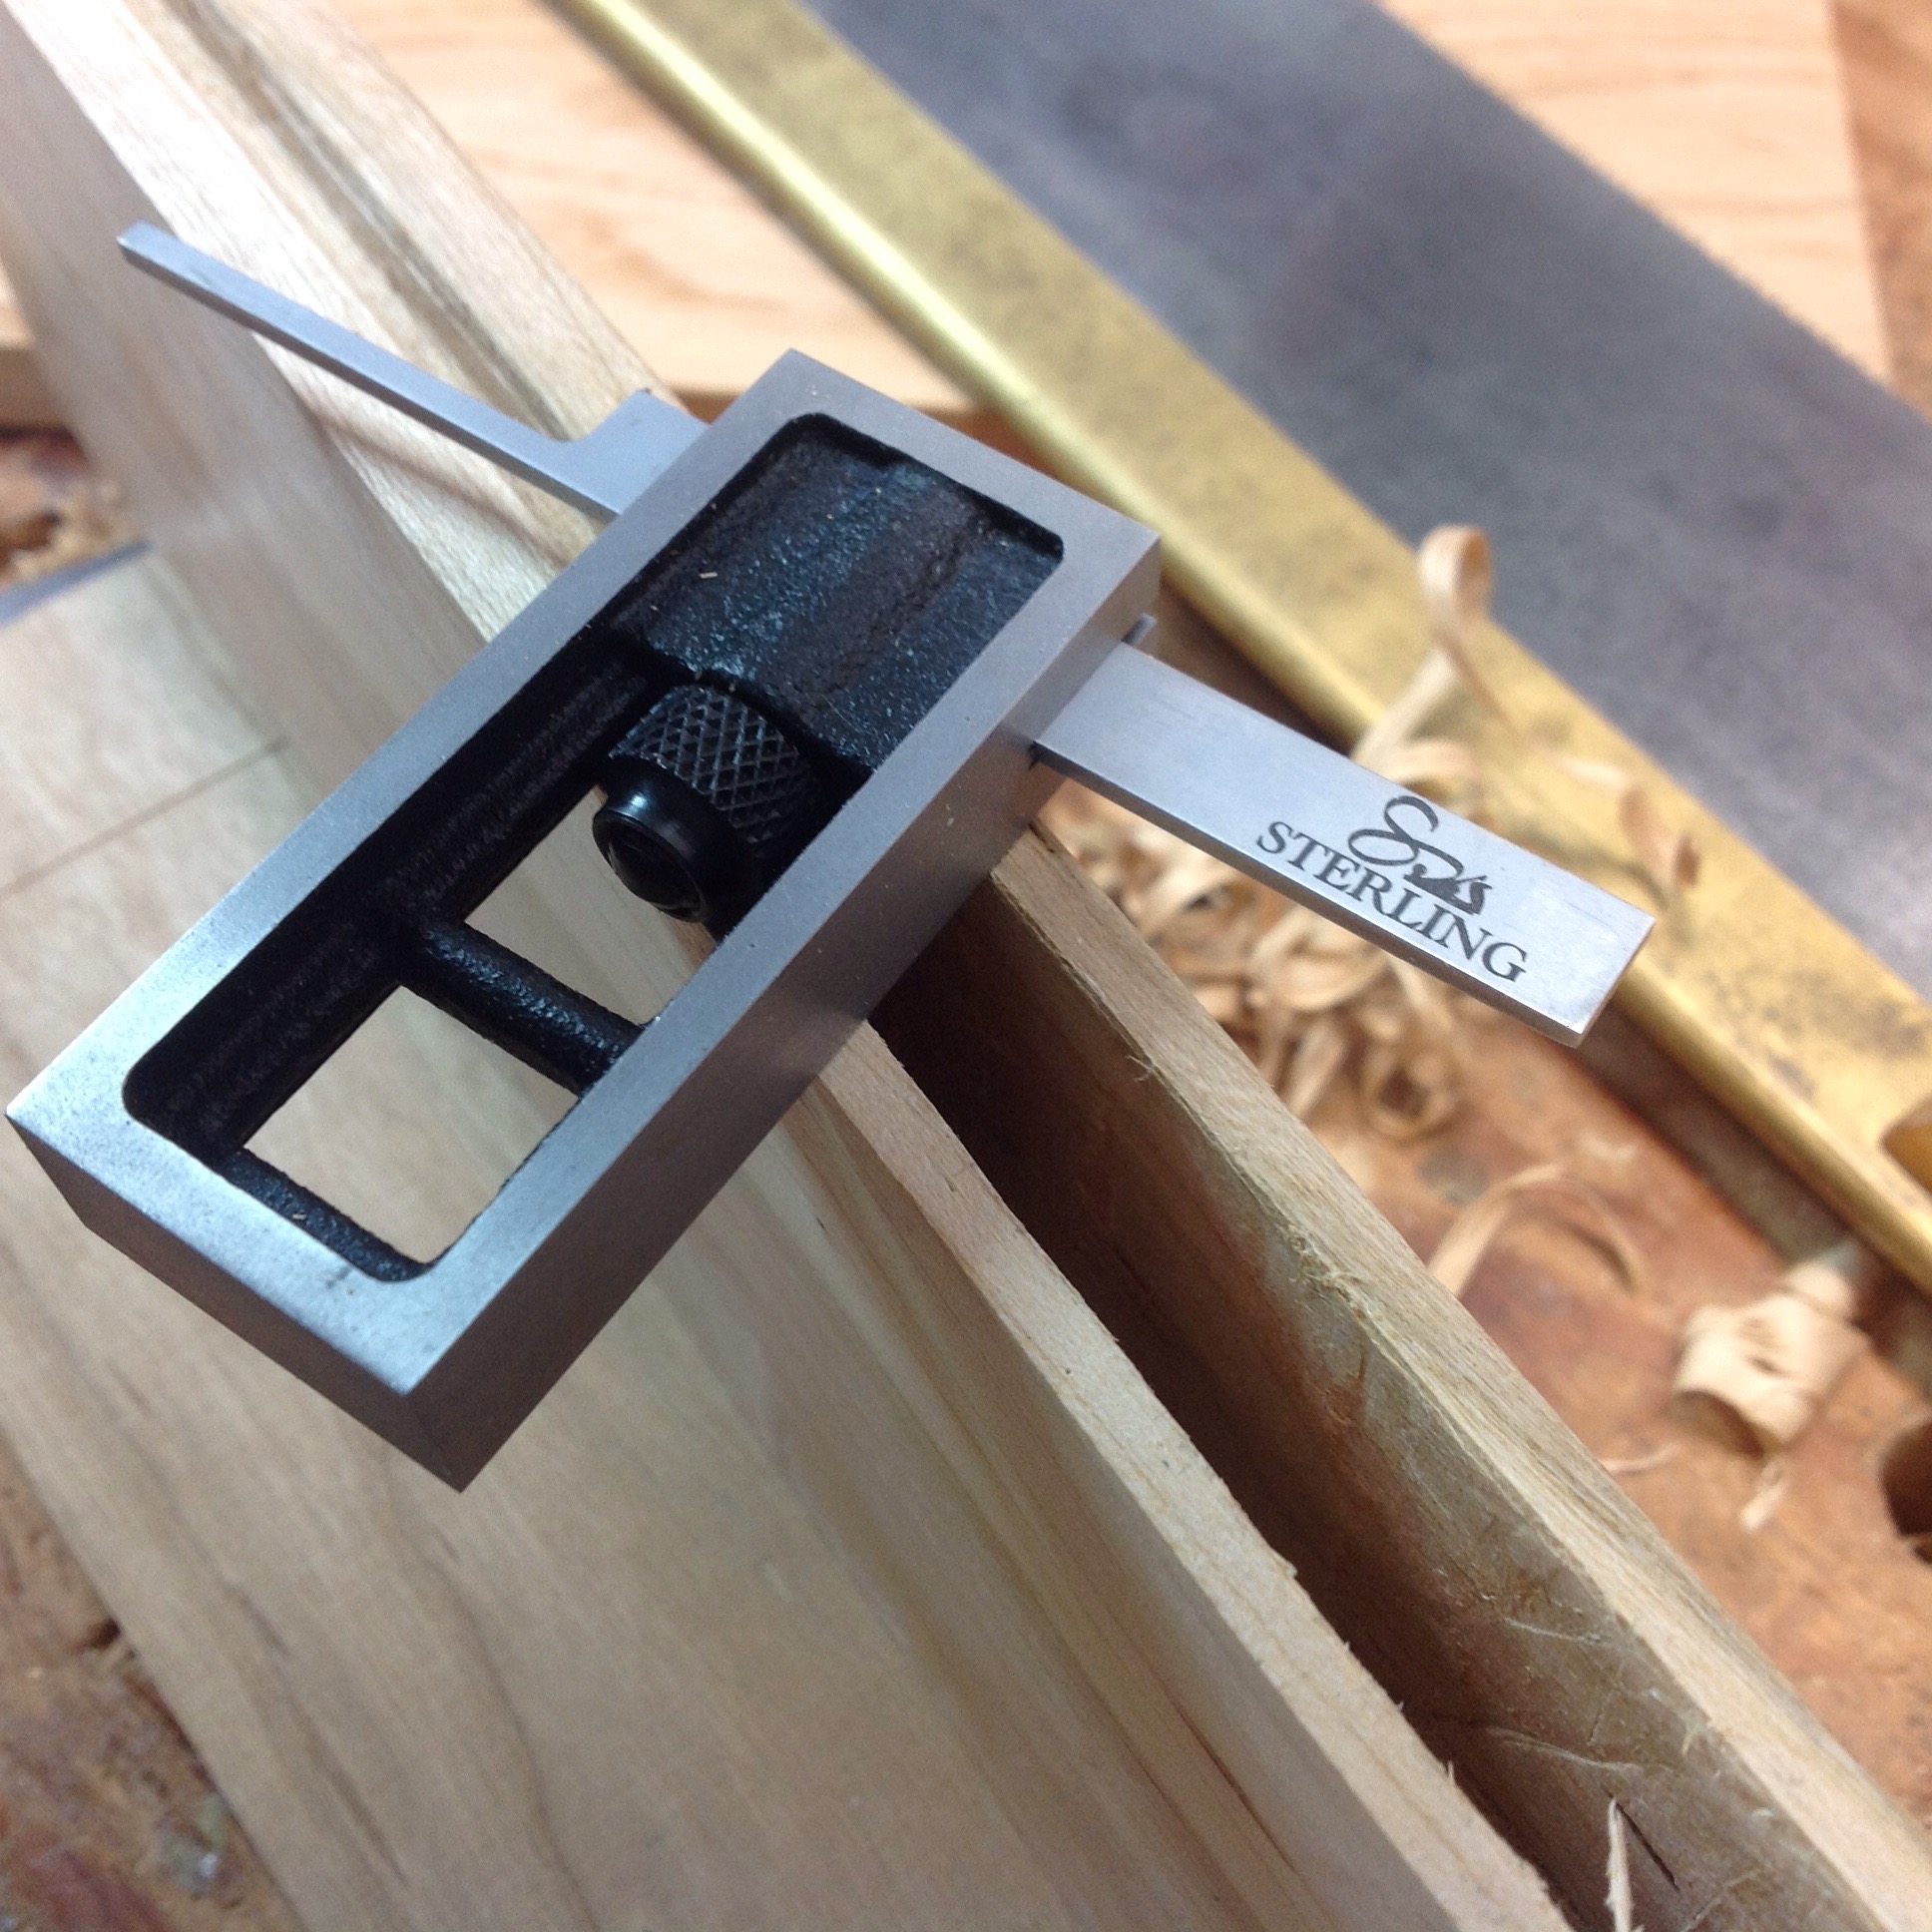
Sterling Tools
I admire many of the small toolmakers that provide the tools we use. Speaking to many of them at Handworks and swapping comments on this blog and instagram, they are a tremendous group of hardworking, creative people. Analyyzing the mortises and tenons that I made previously, it became clear that I needed tto take greater care when making the joints. My mortises required sides that were at the correct angle. My biggest problem is that I had not realized it until the joints would not fit and my method for checking less than optimal. Then I remembered the dovetail square made by Chris at Sterling Tools, the “blade” was narrower than my small square and would fit into the smaller mortises allowing me to see the angle of the sides. For a few dollars more it came with a 4″ or 6″ measure that was perfect for another task I had coming up. I’ll also give it a whirl when I get to my next dovetail project.
While on the site I also took a look at the protractor. Another tool that I have been looking for but had not found the right one. When the protractor arrived I was very happy with the construction, ease of reading and that the kknow b is metal. In the pictures it is hard to tell. One of the things I like most is the length of the ruler. In the picture you can see that I am abple to set the jig wheel on the ruler and measure the angle. Fantastic!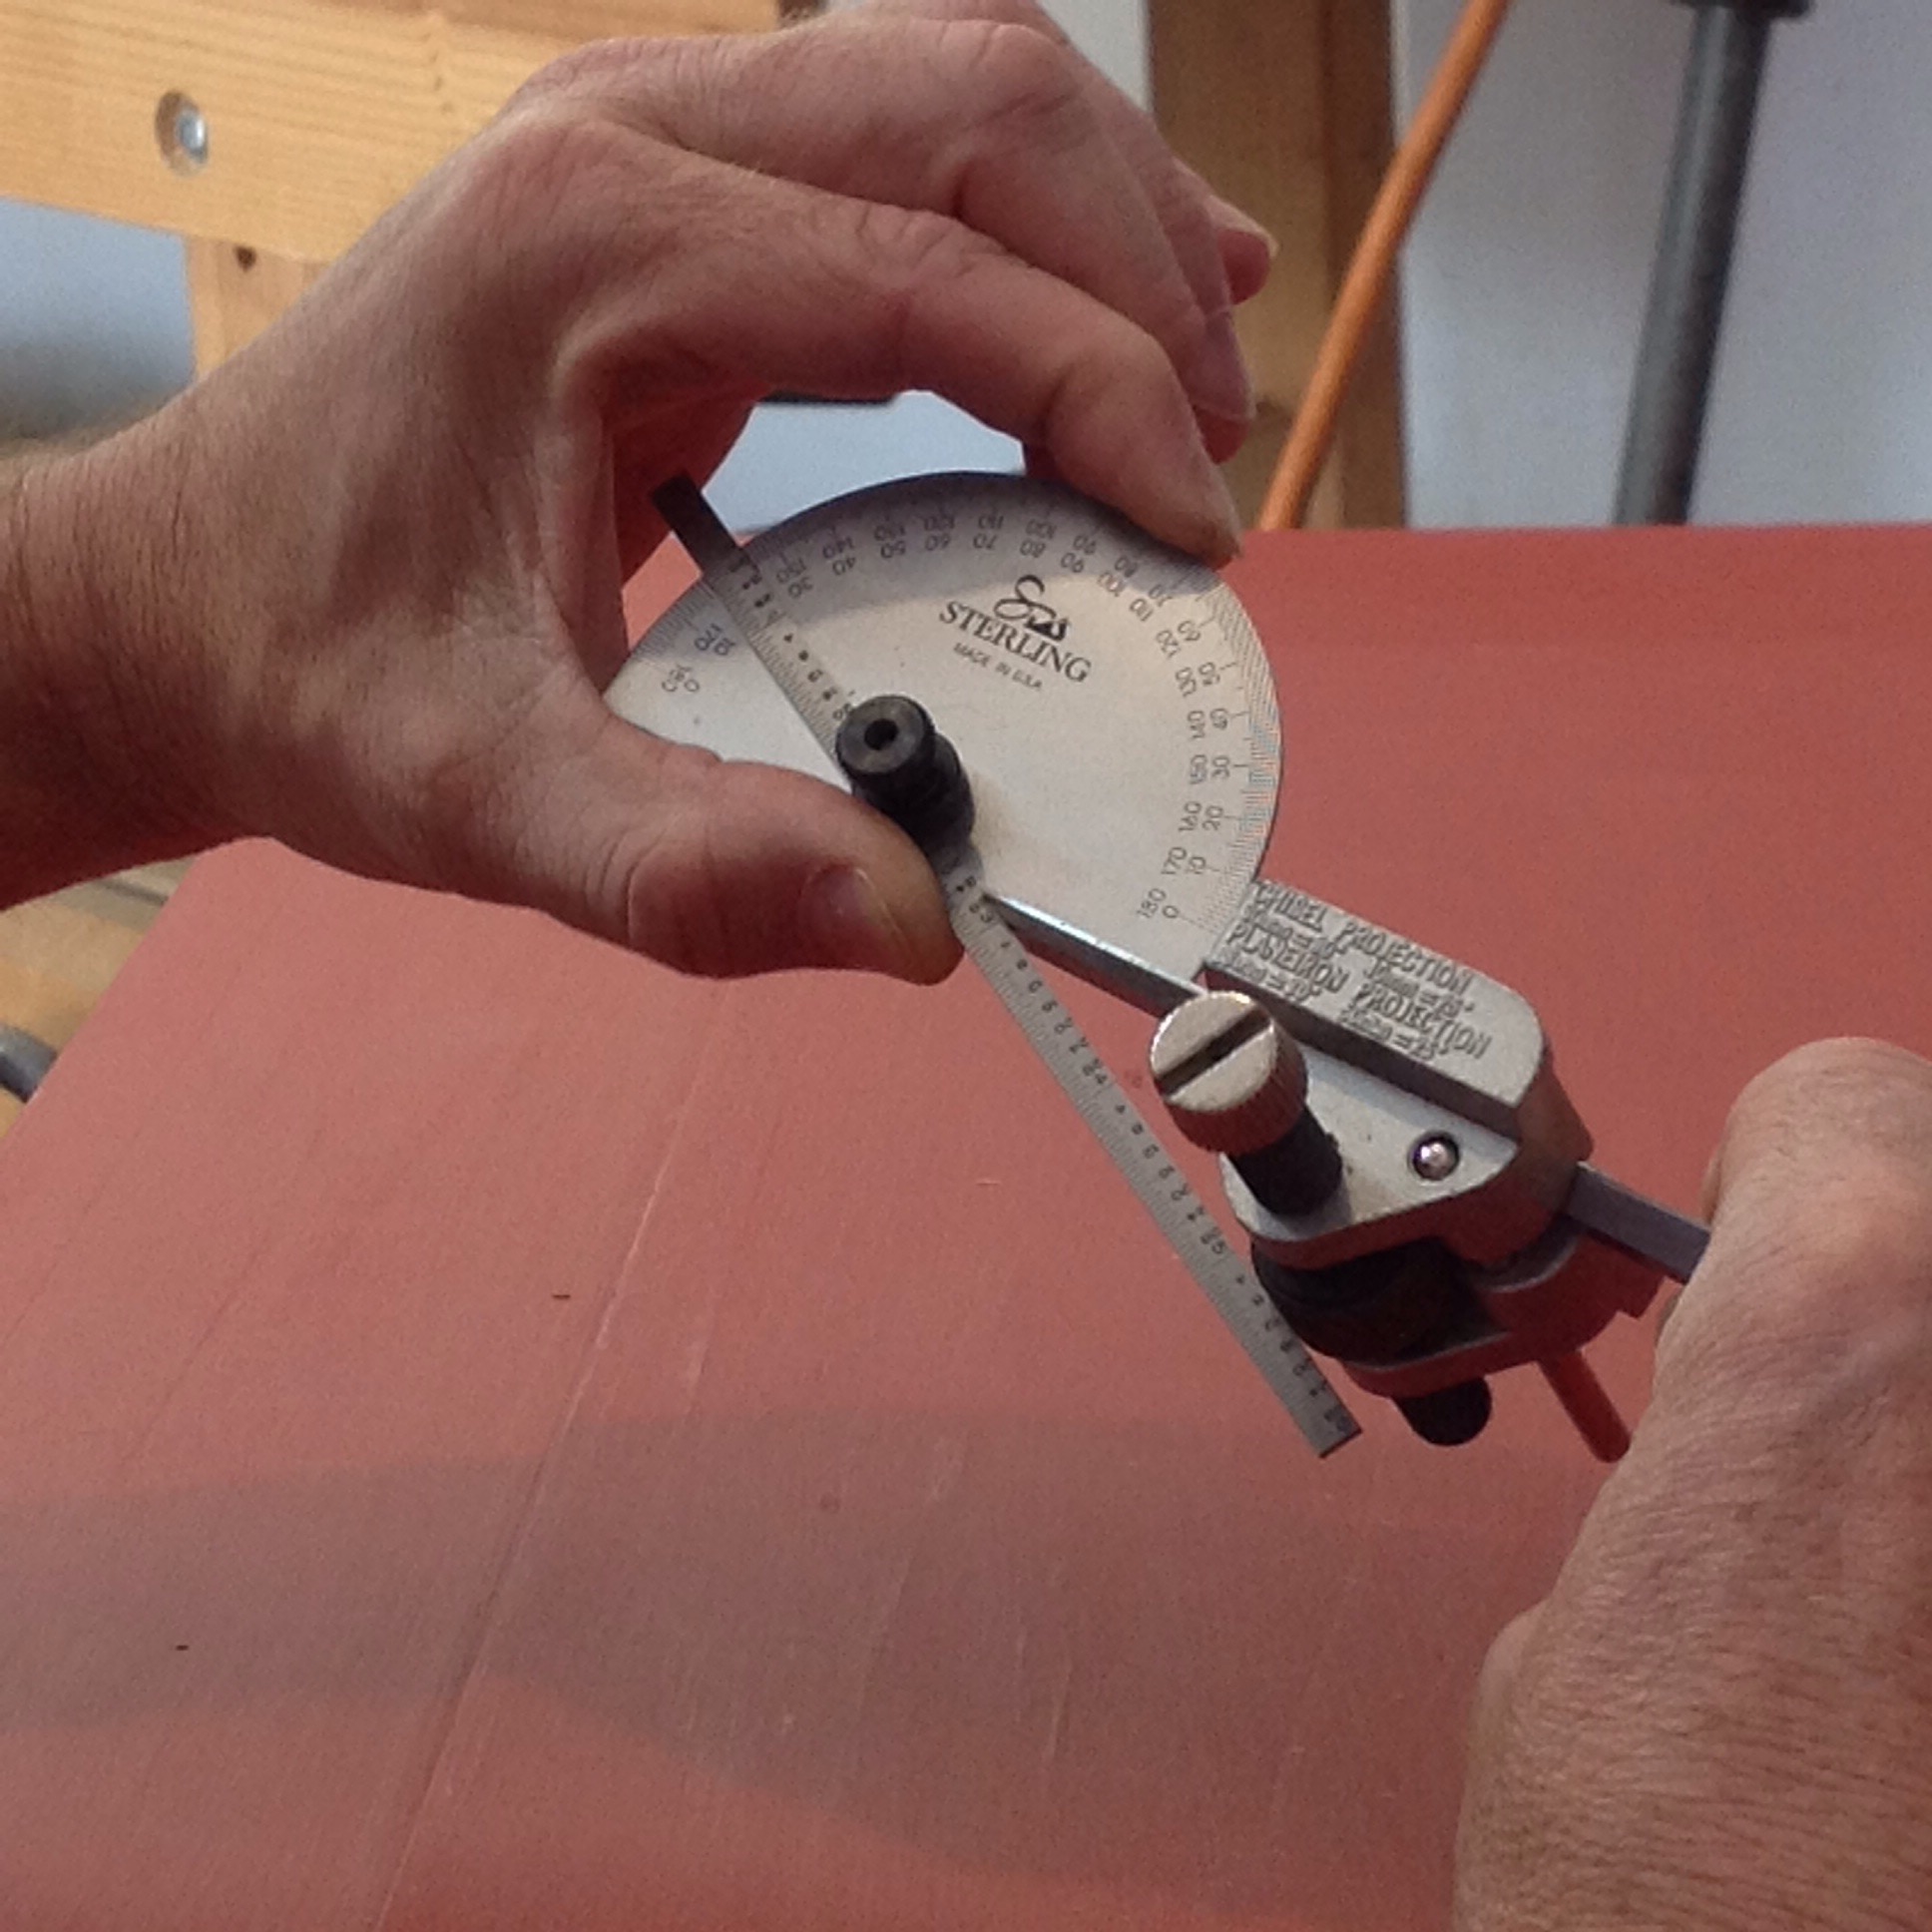
I’m not one to talk about the unboxing of tools but needless to say these tools are well made,, perform well and carefully packaged. I look forward to meeting Chris in person in the future, in the meantime Thanks for some great tools which I expect to use for many years to come.

Essential Hand Tools
Many woodworking books occupy my shelves. Several have been thumbed through multiple times, others such as the Anarchist Tool Chest have been read cover to cover, there are even a couple that have yet to be read. A month ago a new book was added to the shelf or let’s say may get added if it ever leaves my side. Essential Woodworking Handtools by Paul Sellers.

There are many reasons to acquire and read woodworking books, pleasure, curiosity, historical perspective, knowledge. This book fulfills all categories. Essential Woodworking Hand Tools is no small volume. It is a hefty 480 page, hardcover bound book packed with photographs and detailed descriptions. Reading it is a pleasure, I have found myself looking up one topic and 20 pages further on into the next topic before I realize it. The photography is great but more imortantly rlevant clearly showing the reader details that the word describe.Most importantly this book has not left my side since purchase. Turning to it multiple times is the greatest testament to its value.
Today there are several grooves that must be placed in the back of the tool cabinet. Struggling last time to get a clean groove in some difficult wood, I picked up the book and realized that in difficult grain I could use a mortise gauge to prepare the surface prior to using the plane, thought had not crossed my mind. This along with 18 more pages of information, some familiar and other new, all explained in well written text and clear photography.
Curious about router planes and how to use them when you have tenons of great length? It’s in the book! This came up in one of my blogs a couple of weeks ago and you guys gave me quick help. As an alternate it is clearly spelled out and described by Paul Sellers.
Want to know how to shargpen your router bits, saws, or drill bits? look it up. The wealth of information is amazing.
There is one essential tool missing from the book, which is the most critical item Paul taught me in his 9 day foundation class, “listen”. When I mention it today I hear in my mind his voice and the pause as the sound of the saw or chisel tells its tale. However the accompanying videos and his hard work on the web provide this as well.
This is a must buy book!
Workbench Confessions
A couple of confessions – My workbench is ugly; I’m envious of all those beautiful benches out there!
Not quite what you go to the confessional to admit, but for a woodworker it was tough. It’s been hidden away in my photos so let me introduce you. The bench is made up of one sheet of plywood cut in half and glued together creating a 24″ wide, 8′ long bench. The length is awesome although a few more inches of width would be nice. Given a makeover I would go to thirty or thirty two inches including a tray at the back.
A few years ago as I increased hand tool use, I began using a front vise and had to make several modifications. A 10″ wide board was added to the front along with doubling the leg width. Some cross bracing on the sides and the bench became very solid. My old vise stays on the side holding the strop for easy access. I made this bench as a teenager working with my father. It is a design from an old friend of his and has served well. Starting out, I certainly wouldn’t shy away from this bench. It’s cheap and works well.


But all of those other benches they sure have the looks!
Stanley 78
Tucked away in a drawer,a Stanley 78 rebate plane rested, handle worn, blade dull.Its moment now close at hand, the light spilled into the drawer absorbed by the japanned handle, but flashing from the blade. The touch of cloth across the body with life protecting camelia oil and and the coarseness of diamonds across the blade fully prepared it for a return to full duty.


Bringing a tool back to life is one of the joys of woodworking, be it a hand tool or machine. This plane sat for a number of years until there was a need and as I cleaned and learned about it on the web, I gained an appreciation for the subtleties of the tool. It also raised a few questions. Recently a couple of articles have appeared about the use of Rebate (rabbit) planes, Shannon at the Renaissance Woodworker put together a great video discussing correctly setting the cutter and blade to prevent stair stepping the rebate. Chris Schwarz had an article along similar lines.
The question that remains is the design of the edge guide. At first glance the single arm of the Stanley 78 seems flimsy and I question its ability to maintain a consistent rebate, certainly when compared to the Veritas Plane’s double arms which are stiff. Perhaps the position of the single arm at the front of the guide allows the plane to maintain a critical distance at the point of the blade such that the rear of the plane can be ignored. Maybe Veritas is too precise and holding the guide rigid exacerbates any misalignment in parallelism between the blade, cutter and guide making it a more difficult tool to use? Conversely has Veritas improved on a 78 flaw?
Or maybe I need to put the tool to work, clear my head and make shavings…..
Veritas Plow Plane Upgrade
A favorite plane in the tool chest is the Veritas Plow Plane. Reading this blog you may notice that many comments exist on the joy of curly shavings. Several people have commented on the inability of the depth stop to hold. I’ve not had this problem, possibly because I am super aware and monitor it constantly.

A month ago Veritas – Lee Valley came out with a modification to the stop to correct this problem. It is nice to know that Veritas monitors its tool’s performance and not only improves new tools, but is willing to modify existing tools. On top of the changes to the depth stop a change to the plane body would allow the use of beading blades. With a few clicks of the mouse a box was on its way to my address and with some clear instructions I disassembled the plane and sent the parts for modification back to Veritas. Approximately two weeks later my plane returned.

From the consumers perspective the system for disassembly packaging and shipping worked great. Over the next few months we’ll see how the depth stop works. Below is a picture along with pictures of the new beading blades, they come in 3 sizes and work quickly and simply. A nice add on to an already great plane. I’m looking forward to trying it out over time.


Veritas Shooting Plane
With the shooting board complete it’s time to give the shooting plane a whirl. Over the last couple of years I have been watching eBay, antique stores, and shows for the Stanley 51 shooting plane. Last fall I finally saw one in person while at the Midwest Tool Collectors meet. It, along with a fine looking #52 shooting board sat quietly in a display with a monstrous price tag; after a few moments I hesitantly asked if I could take a look and with a nod permission was granted. In my hands its weight was evident, and it looked well maintained and ready to work. However unable to overcome the price I moved on. This may not be the last time I see a #51, but It will be the last time I’m specifically looking to purchase one.
Seeking other avenues I turned to Lie Nielsen and Veritas. I like both companies and have tools from each. This past year at the hand tool show in Iowa I had looked at the Lie Nielsen #51 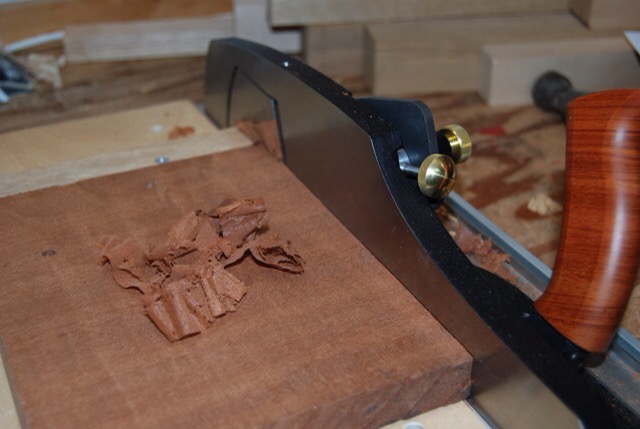 and the Veritas Shooting Plane. They functioned well, felt good in my hand and appeared to be what I was looking for at a more reasonable price than the hard to find original version. Coming towards the end of the year I had to make a choice and feeling confident with the quality of each, reading every review I could find, I put in my request for the Veritas version. Am I happy with the decision absolutely! Would I have been as happy with the Lie Nieslen…most likely. So instead of a review, here’s my introduction to the Veritas Shooting plane.
The first observation of this plane is its weight, too lazy to grab a scale, I’ll just say it is surprisingly heavy. It has a very sleek modern look like many of the Veritas tools it have similarities to the original tool but many improvements.
When purchasing the plane there is a choice of o-1 or PMV-11 steel. There have been several positive reports on the PMV-11 steel so I sprung for the extra $12. Without another blade It’s impossible to make a direct comparison, but at this point I am very pleased, it holds an edge and sharpens easily.
It took a few minutes to get the plane adjusted to plane an exact 90 degree face. but once done with the allen bolts tightened I don’t expect to do it again apart from minor adjustments.

There are many new experiences with this plane, bevel up, blade steel etc. I’ll take some time to fully understand it, but so far I like what I have.
Many of you know that my tools are stored in the garage. They live in my small tool chest or in the larger anarchist tool chest.This subjects them to all the temperature changes the midwest can offer and I have at times struggled with surface rust. With more experience (better maintenance) this has become less and less of a problem. I do keep each of my planes in a plane sock. Some of you will yawn and chuckle, but I have found them very effective and have not had to clean rust from a plane in a few years. I’d strongly recommend trying them if you are struggling with rust. There are many places to purchase them, mine happen to come from Lee Valley tools.


Hanging Tool Cabinet – Shelf
The bottom of the cabinet consists of two drawers topped with a shelf. The shelf is carefully fitted using dados and through mortises.

The dados come first, one on each side. Laying them out carefully, I placed both pieces together marked with a knife and then began work with a chisel followed by the router plane. The router plane is the most used plane I own beside my number 4. If you are new to hand tool woodworking it is a must have tool. I use a Veritas model, but there are many others out there.

In a short period of time the dados were complete.