Archive
Through Mortises by hand and Machine
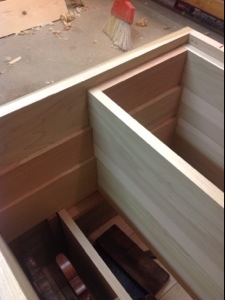
The mortiser is now accurate and producing straight mortise walls. That means its time to get out the chisel and mallet. I know of no mor e accurate way to cut a mortise than to do it by hand. The plans for this coffee table are to have through mortises for the shelf and side boards. I love the look of the through tenon and would not miss the chance to add them to a piece of furniture. Here’s an example from a previous project.
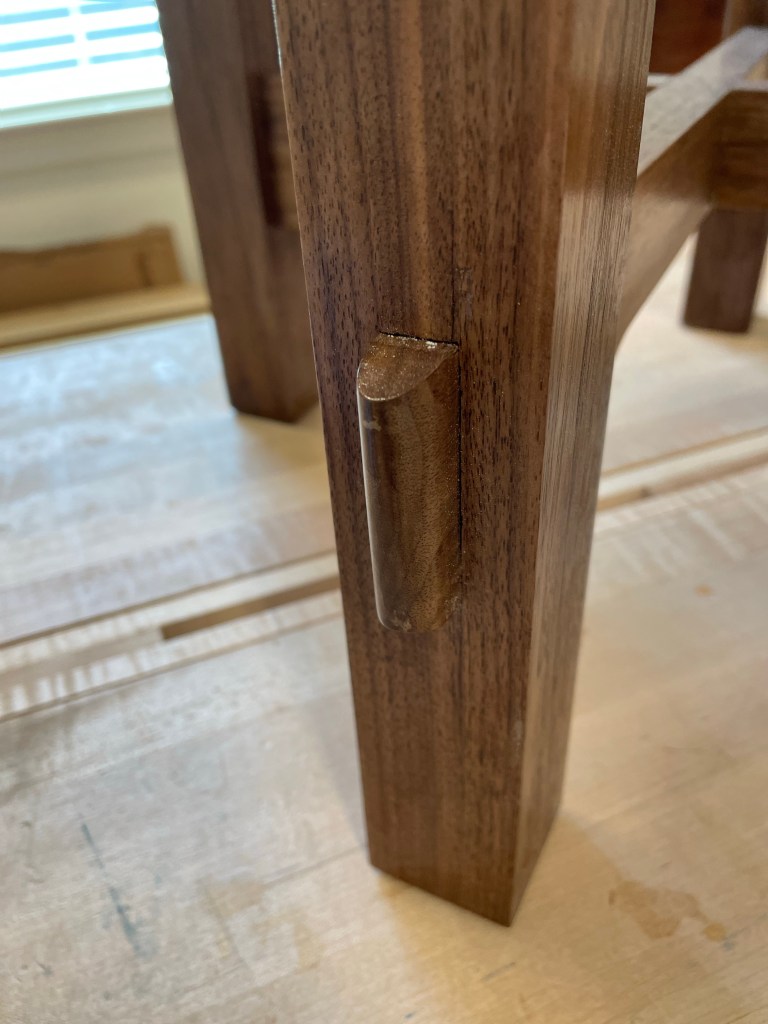
My plan for these tenons is to cut a shallow mortise on the face of the legs and then finish it by using the hollow chisel mortiser connecting through from the back. This gives me the advantage of a very accurate mortise where is shows and the speed of the machine where it doesn’t.
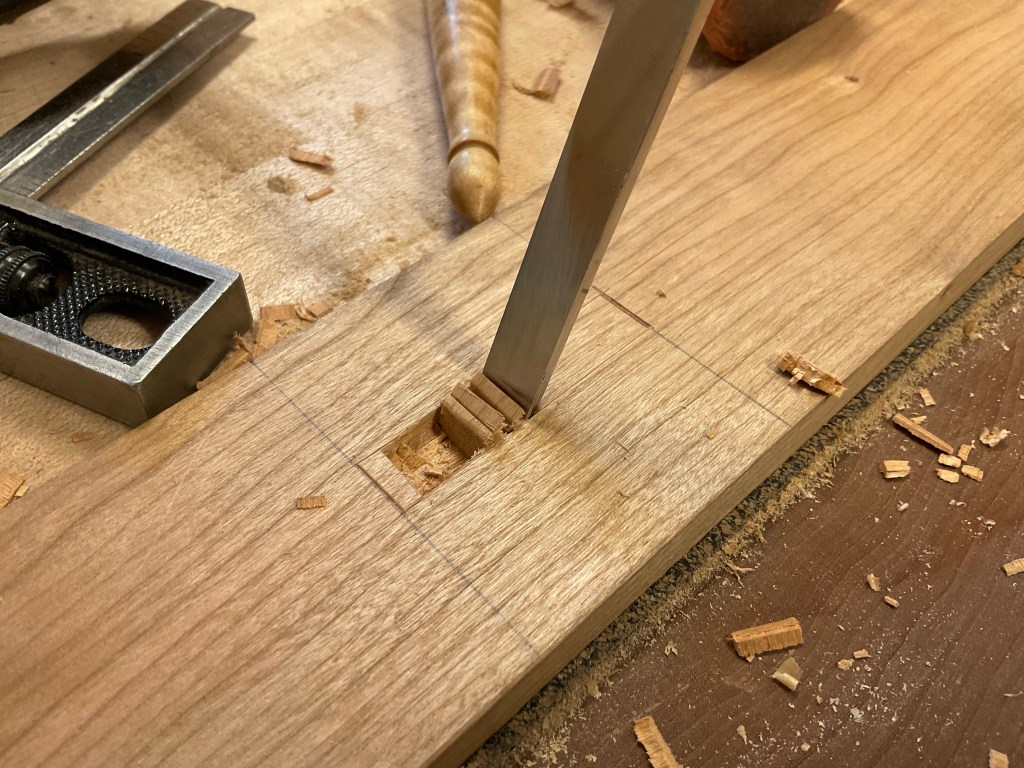


Layout is critical especially since all of the mortises I cut are connected to all of the other table components. If I make a cut incorrectly is will cause the table to finish twisted at best or not fit together and require recutting or remaking the parts.


The marking age that I typically use for this is from Veritas and I have come to trust its simplicity. I have use some of my older mortise gauges with little problem but i like using the Veritas gauge and circular cutters. Also I’m not paid for the tools I’m showing. I just find they work so I share them.
With all of the mortises laid out and the mortises on the show faces cut out by hand I turn the legs over and use the mortiser to remove the rest of the material. Some careful chisel work and the mortises arecut efficiently and accurately.

New Sharpening Jig
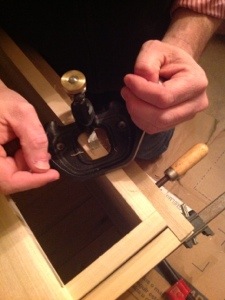
It didn’t take long to realize that I needed to replace the old jig, a couple of crooked chisels and I opened the IPad and began to peruse the usual spots for tools. Deciding against a like for like replacement, I looked at the Veritas Jigs, after all my friend John at WoodworksbyJohn uses a Veritas MK II sharpening jig.
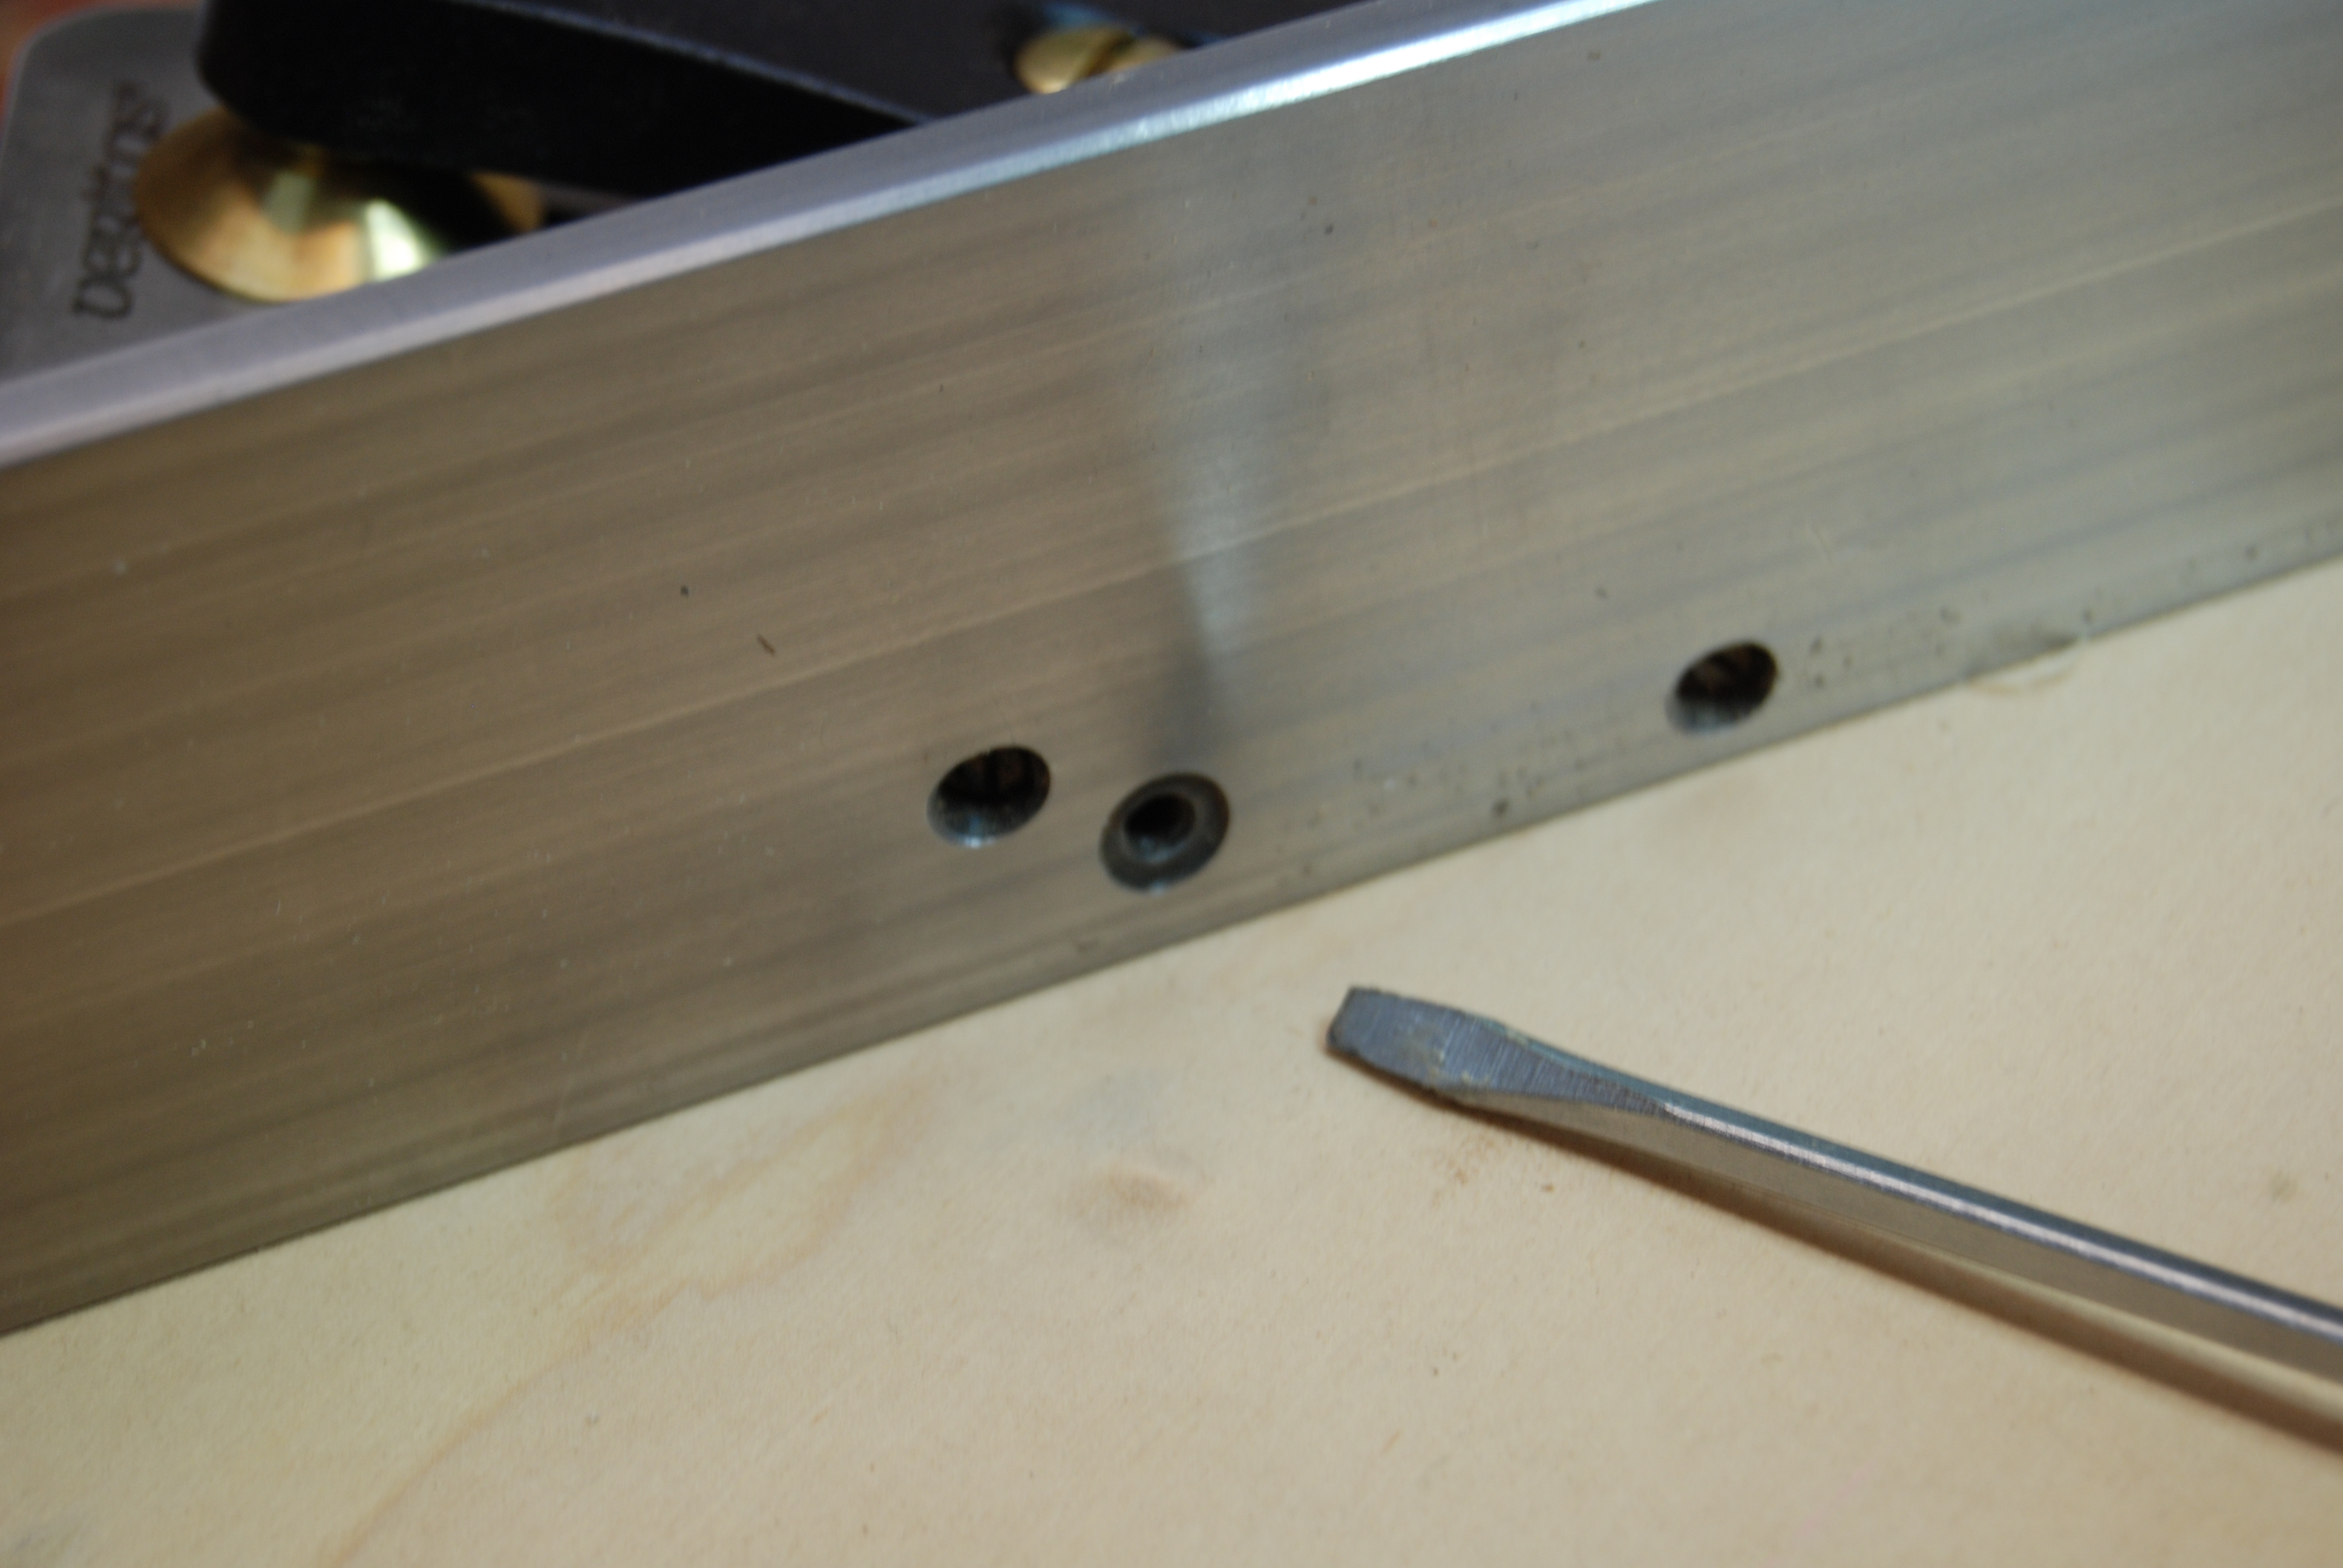
Several years ago I had the Veritas Honing guide, it worked ok and came with he angle setting jig shown below. I did however have one frustration and it may be just me but The chisel or plane blade frequently shifted. Unlike the Eclipse style jig this one does not have anything to rest the side of the tool against to ensure it sits perpendicular to the stone. I still use it for angled blades etc, but this minor frustration was what led me to the eclipse jig in the first place. THe newer Veritas MK II jig may have resolved this problem and John noted it was the one he used however I couldn’t quite tell if it had fully eliminated this problem.

There are a couple more jigs out there and I looked at the one made by Woodpeckers, It was a one time tool and no longer in production but looked like a possibility. I have never owned a Woodpeckers Tool but perhaps one day. Finally I looked at the product produced by Lie Nielsen and after a little research decided that this is the investment I would make. I liked the Eclipse Style guide and it functioned well and the Lie-Nielsen Honing Guide is similar although pricier and appears to be better made.

After a week and sharpening chisels and planes it works really well and apart from being expensive I like it a lot. I certainly could have gone the cheaper route and purchased another Eclipse style knock off, but so far I’m very satisfied. I for those of you saying just sharpen Jigless, I hear you but sometime I’m not going to listen!
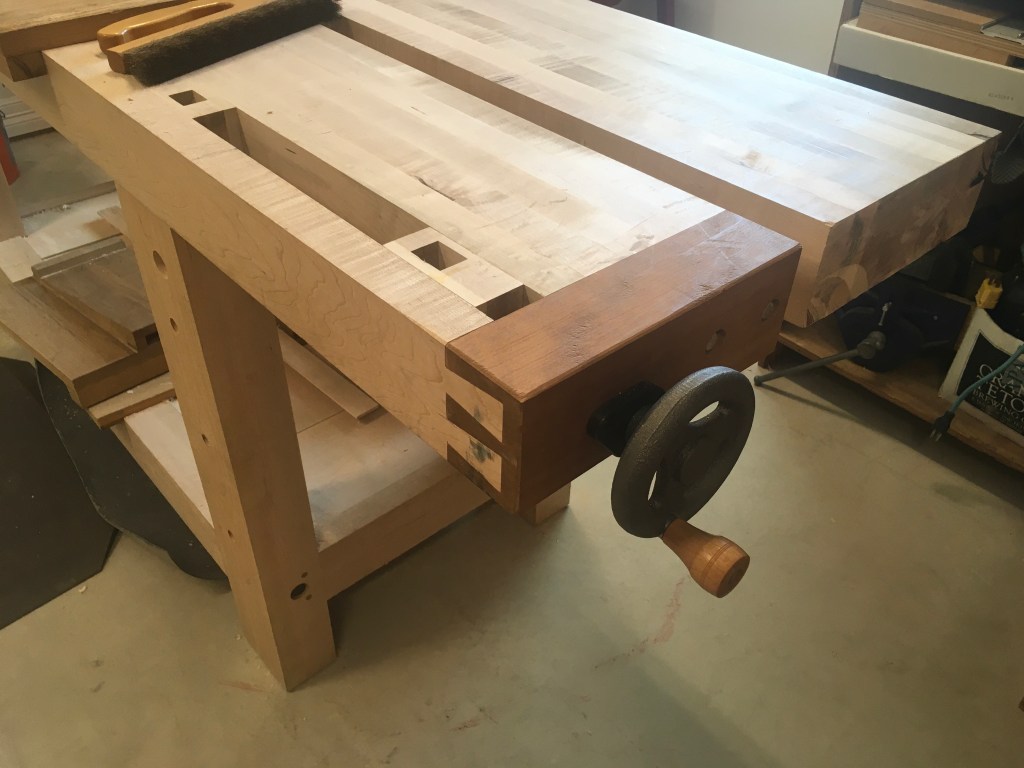
Roubo Bench Tail Vise
A year of waiting to woodwork has produced one lone thought, where the heck was I. Looking at the bench I recall a frantic weekend to put together as much as possible and carefully pack the benchcrafted parts. However remembering the step I was about to take is in a recess of my mind. One thing is clear, I need to complete the tail vise or Front vise before moving forward.

After some contemplation I set to work on the tail vise. It appeared to be a quicker installation and I’ve yet to determine the shape of the chop on the front vise. It took time and some final adjustment, but I inserted the rails into mortises, adjusted the bolt holes and screwed it together.
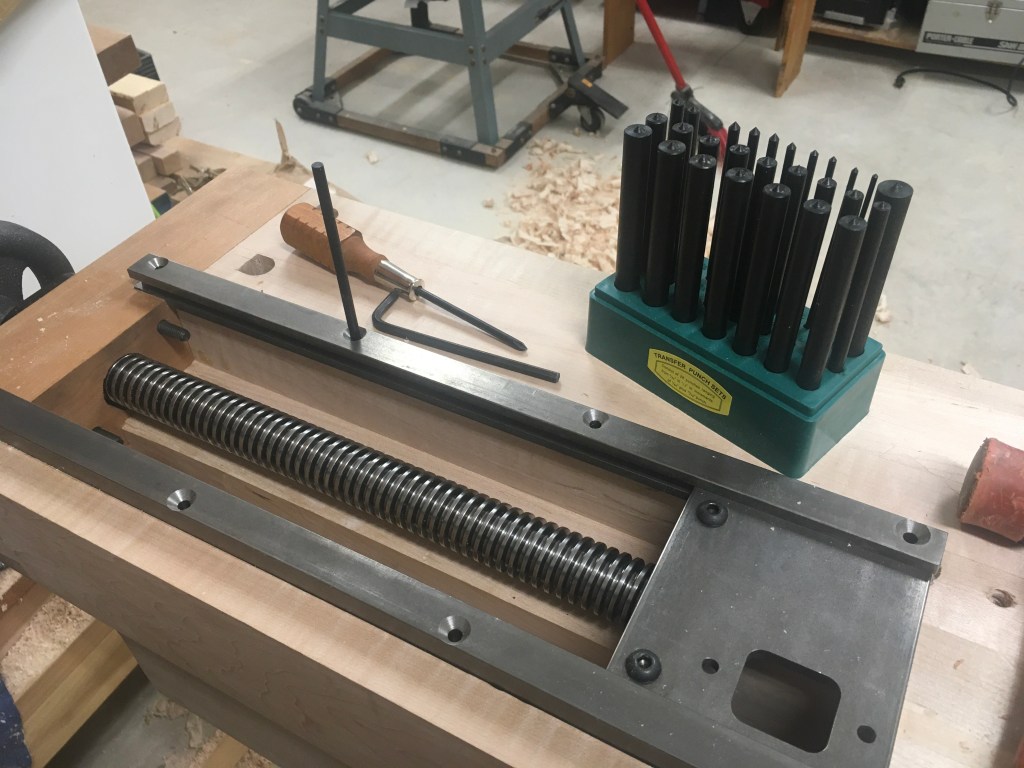
Really happy to have the center punches to mark the holes. It’s one of those tools that aren’t essential but make a difference. I picked mine up at Lee Valley but I think you can get them most woodworking stores.
Some work the plane and saw and it’s all together.
Veritas Shooting Plane
With the shooting board complete it’s time to give the shooting plane a whirl. Over the last couple of years I have been watching eBay, antique stores, and shows for the Stanley 51 shooting plane. Last fall I finally saw one in person while at the Midwest Tool Collectors meet. It, along with a fine looking #52 shooting board sat quietly in a display with a monstrous price tag; after a few moments I hesitantly asked if I could take a look and with a nod permission was granted. In my hands its weight was evident, and it looked well maintained and ready to work. However unable to overcome the price I moved on. This may not be the last time I see a #51, but It will be the last time I’m specifically looking to purchase one.
Seeking other avenues I turned to Lie Nielsen and Veritas. I like both companies and have tools from each. This past year at the hand tool show in Iowa I had looked at the Lie Nielsen #51 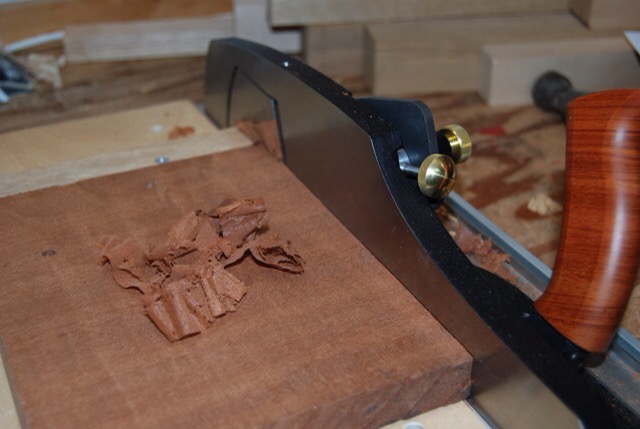 and the Veritas Shooting Plane. They functioned well, felt good in my hand and appeared to be what I was looking for at a more reasonable price than the hard to find original version. Coming towards the end of the year I had to make a choice and feeling confident with the quality of each, reading every review I could find, I put in my request for the Veritas version. Am I happy with the decision absolutely! Would I have been as happy with the Lie Nieslen…most likely. So instead of a review, here’s my introduction to the Veritas Shooting plane.
The first observation of this plane is its weight, too lazy to grab a scale, I’ll just say it is surprisingly heavy. It has a very sleek modern look like many of the Veritas tools it have similarities to the original tool but many improvements.
When purchasing the plane there is a choice of o-1 or PMV-11 steel. There have been several positive reports on the PMV-11 steel so I sprung for the extra $12. Without another blade It’s impossible to make a direct comparison, but at this point I am very pleased, it holds an edge and sharpens easily.
It took a few minutes to get the plane adjusted to plane an exact 90 degree face. but once done with the allen bolts tightened I don’t expect to do it again apart from minor adjustments.
There are many new experiences with this plane, bevel up, blade steel etc. I’ll take some time to fully understand it, but so far I like what I have.
Many of you know that my tools are stored in the garage. They live in my small tool chest or in the larger anarchist tool chest.This subjects them to all the temperature changes the midwest can offer and I have at times struggled with surface rust. With more experience (better maintenance) this has become less and less of a problem. I do keep each of my planes in a plane sock. Some of you will yawn and chuckle, but I have found them very effective and have not had to clean rust from a plane in a few years. I’d strongly recommend trying them if you are struggling with rust. There are many places to purchase them, mine happen to come from Lee Valley tools.


Drawer Bottoms
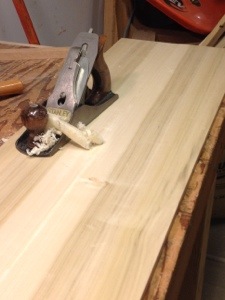
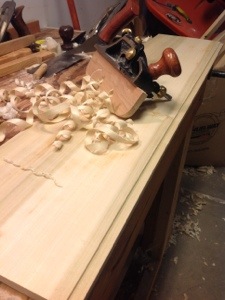
The drawer bottoms are straight forward. After milling poplar boards down to 1/2″ I glued them up to the required width. I was a little sloppy with the glue so it took a little time to clean up, then finish plane with my #4 smoother. Since I decided to deviate from Chris Schwarz’s plan to nail the bottoms to the sides, I needed to rabbit the edges to match the 1/4″ groove. I used my Veritas Rabbit Plane (moving fillister). I find this plane a little finicky to set up, but once I have the blade at 90 degrees it works wonderfully. The shavings come off in a nice twist. A nice component on this plane is the nicker which makes cutting across the board neat and clean. I considered doing this part on the table saw with dado blade,s but after I had the plane set it went so quickly, I did it by hand.
Tomorrow I will look at the fit of my tools in the drawers, then glue them together. Looking around the garage it appears that I now have all of the components to finish the Tool Chest. Time to start thinking about the next project!
Toolchest – Drawers
There have been several posts concerning the drawers in the tool chest. Many of them deal with the softer wood used in the chest to keep it as light as possible. Wear along the drawer bottoms appears to be the problem with many people advocating the use of a harder wood for the runners and glued to the bottom of the drawer sides. My chest has been made out of poplar because of the weight and lower cost so I have been considering my options and have come to the conclusion that it is already too heavy to manhandle and I should use any wood that suits me! Now there’s a bold statement.
In the end I will use oak for the runners and the sides of the drawers. This should place the harder wood at the wear points and keep the cheaper poplar along sides. The first step is cutting all of the runners and support. This must be done first so that the drawer measurement is accurate. I measured and cut apiece of Oak that is 1 1/4″ wide to support the bottom drawer and the runner fro the second drawer. This runner is supported by the saw till guide and a support in the corner of the chest which is 1″ square oak. The next runner sits on top of this one and is the width of the chest. The top drawer will sit on this runner. The photograph shows all of the runners and drawer slides in position.
All of the drawers are dovetailed together. In the book Chris Schwarz nails the drawer bottoms on. I could not bring myself to do this. Since I used oak sides for the drawers I feel confident that the drawer wear will be under control. The botttoms are made of two pieces of popular 1/2″ thick with a 1/4″ rabbit around the sides. To control movement I will ship lap the boards.
As of this post I have completed dovetailing two of the drawers before being driven out by the cold. My little heater managed to creep the temperature up to 30 degrees but it was not enough. I’ll have to wait for warmer weather, hopefully next weekend it will get into the low 40’s.
Tool Chest Hardware

I spent a couple of days looking around local stores for hinges that would work for the tool chest. It is very difficult to find narrow hinges that will work on the 7/8″ carcass. Finally I ordered hinges and a lock set from Horton Brasses. They seemed expensive, but are very well made and operate smoothly. I’m thinking money well spent and will add to my tool roll for future reference.
Traditionally when installing hinges, I have used a powered router and a chisel in the corners with varying success. On the chest I did it all by hand in less time, with much better results. The hinges were laid out using a marking knife and round mortising gage, then I deepened the marks using a chisel. I adjusted my hand router to a portion of the total depth and after a few passes reached final depth and cleaned up with a chisel. Drilling the screw holes with my eggbeater drill gave me good control and I attached the hinges with the steel screws included in the package from Horton Brass. They also sent brass screws which I will install when the tool chest is complete. Best of all, I didn’t all in the living room while the shop was too cold to work.

Different Plane – Different Shavings
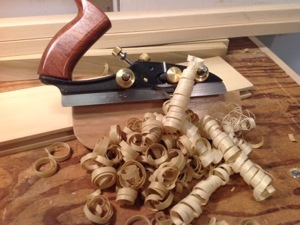
If you haven’t noticed I take a lot of pleasure in watching the shavings curl up from a plane. There is something magical about moving a piece of iron across a board, watching shavings curl up past your hand and seeing a groove or rabbit appear behind. This is something that I missed when I was using power tools exclusively. As I reflect back over the last year I am also realizing that unless you are performing a repetitive task using the hand planes is not much slower. Let me introduce you to a few of the planes in my tool box (soon to be tool chest).
Plow plane – This has to be my favorite specialty plane. I use a Veritas Small Plow Plane available from Lee Valley Tools. A couple of months ago I really extended the usefulness of this plane by adding on the conversion kit which adds on an additional skate and allows you to use wider blades and most importantly cut tongue and groove joints. The second addition to this plane is the fence attached to the side. Veritas manufacturers the plane with holes for this attachment and I strongly urge you to add it soon after purchase. It greatly enhances the planes stability and therefore accuracy.

Skew Rabbit Plane – Moving Fillister or Rebate Plane. Lots of different words for this plane and yes they do have meaning. I have two rabbit planes a Stanley #78 and the Veritas Skew Rabbit Plane (pictured). Both of these planes are very capable of producing rabbits of varying widths. I find the Stanley #78 to be finicky and I have trouble maintaining the setting (mostly my fault, not the plane’s). When I first purchased the Veritas skew plane I had difficult leveling the blade for a 90 degree rabbit. I have since fixed this by paying more attention to the set up and adding a fence just like I did on the plow plane. What makes this plane a moving fillister is the addition of the spur which scores the work prior to cutting. This makes for a very clean crosscut. The skew blade pulls the plane tight against the face and cuts easily through the wood and the shavings are super cool…..
I have a fairly complete arsenal of planes, the vast majority of them used Stanley’s and I would have it no other way. Bringing a plane manufactured in the late 1800’s back to life and producing the same shavings as was made by a proud owner 200 plus years ago is a special feeling. I found that when buying used planes on Ebay or at tool meets, the standard planes are reasonably priced and readily available it easy to tell the condition of the planes and parts are available. The planes above were tougher to find and priced much higher (if you are on the East Coast you may have better luck). When putting together the Stanley #78 I had to go to two separate places for the fence and cutter. When you add in the shipping and parts there was not a lot of difference in price. The planes above are obviously new and were purchased after looking for their equivalent used counterparts. I decided that due to the complexity of these planes, difficulty in determining condition of the used planes and availability of parts that I would buy new. That was my personal decision and If you are looking for used planes there are many sources on the web, a great one is Hperkitten.com. If you haven’t found Patricks Blood and Gore you need to look. The other source is my father in law who does an excellent job of finding gems, but I’m not sharing that contact.
