Archive
Hanging Tool Cabinet – Shelf 2 oops
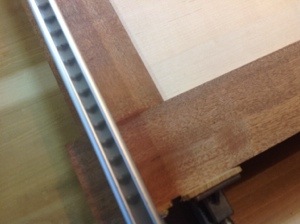
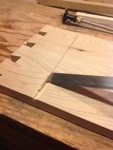
The shelf not only fits into the dado but also consists of a pair of through mortises. Through mortises are a great challenge and enhance the appearance of a piece along with making a great joint. After milling the shelf pieces I carefully measured and cut out the two pins.

Upon completion of both ends it was immediately apparent that my great looking pins were not correct so I milled another piece and started again.
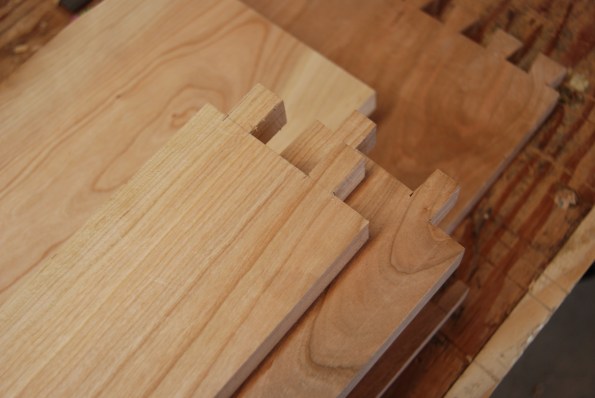
I missed the subtle step so decided that more practice was in order. The photo above shows both pieces, the bottom one being correct.
Next is the creation of the mortises for the tenons. Making a through mortise is all about careful measurement followed by patient chiseling.
Hospice Cart Middle Shelf
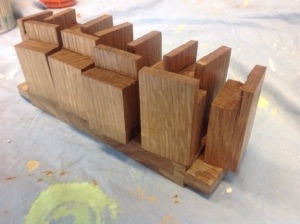
Wanting to add to the cart design, I used the middle shelf from my coffee table project as a guide. Once all the pieces were cut, eight mortises and their machining tenons needed to be chopped.
 In previous posts I’ve shown several of the ways I use for cutting tenons. If the wood grain will allow, my favorite is to use a chisel. After marking the tenon with a knife and marking gage, I use a saw to cross cut the bottom of the tenon, than several test chops need to be made to evaluate the grain direction.
The test cuts allow me to look at the grain direction If the grain is straight or moving aware from the marked tenon lines I can proceed. Anything else and I am relegated to the saw. In the picture you can see that all is well and the tenon cheek is easily revealed. If I’m lucky the majority of my tenons can be chopped an fitted with a little bit of paring.


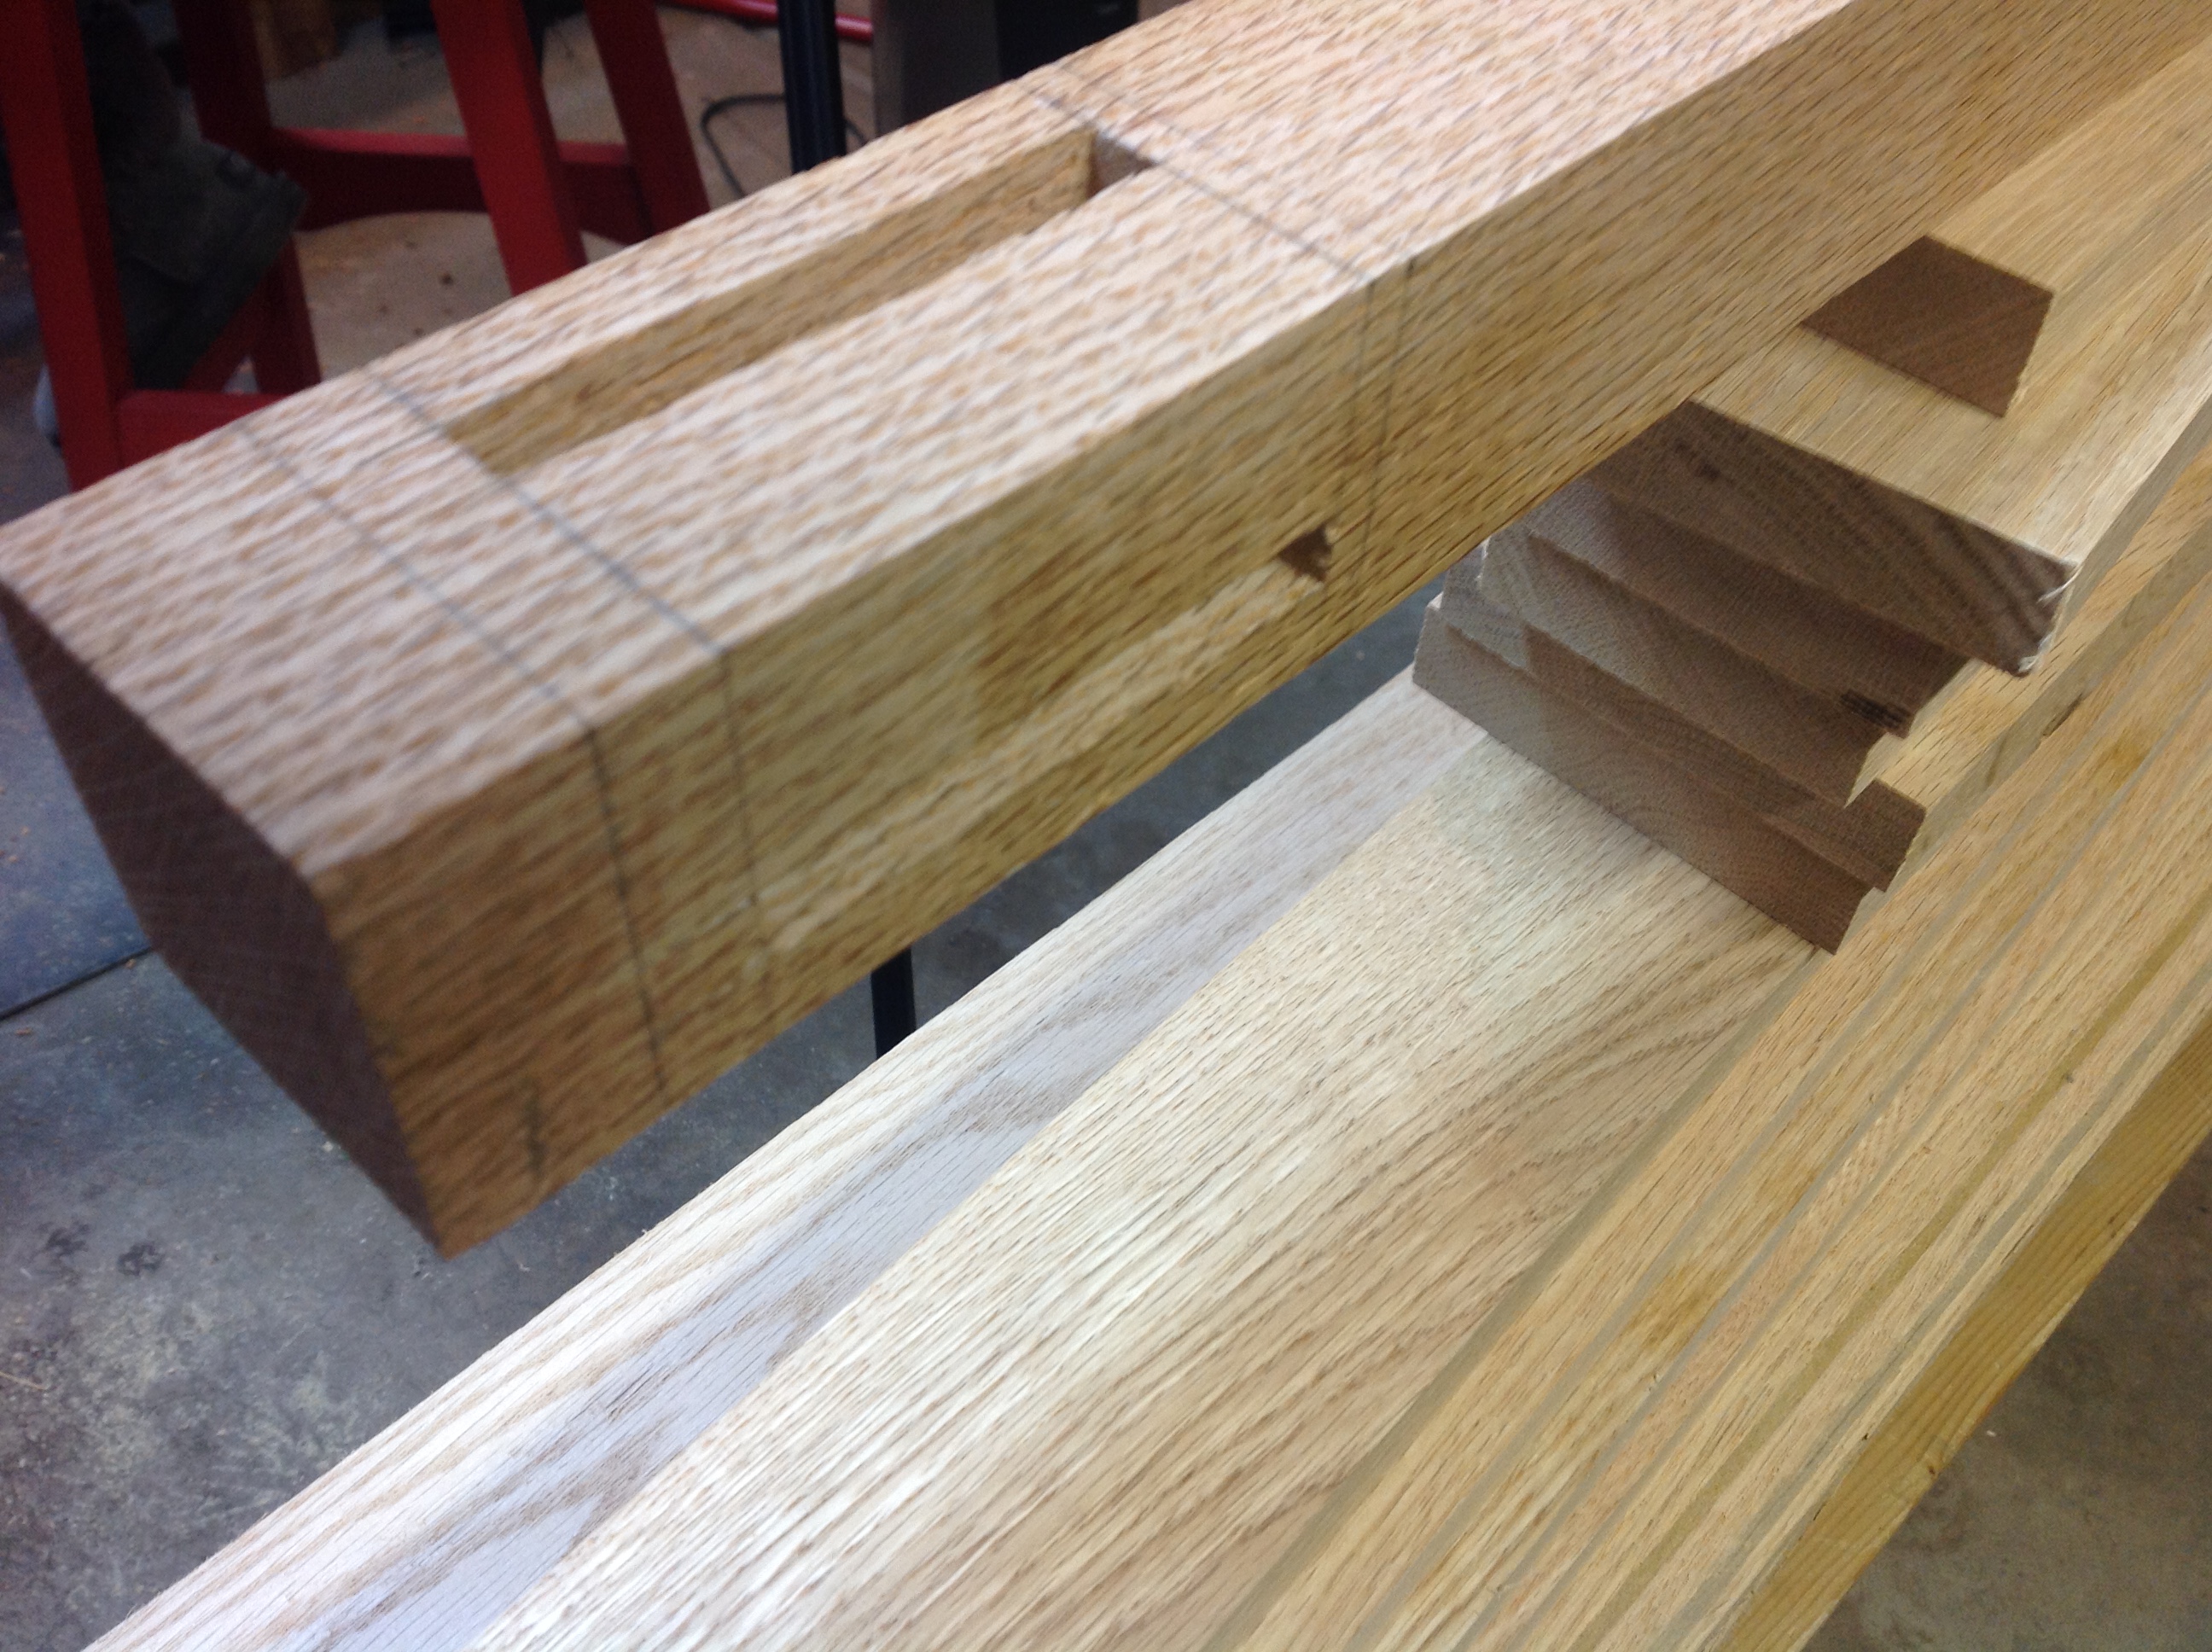
Hospice Cart Mortises
Each leg of the hospice cart has four regular mortises and one through mortise. I takes between 45 minutes to and hour for me to complete each leg.
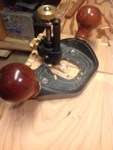
 When chopping deep mortises like these I typically use a guide to ensure that I am vertical. If I’m angled incorrectly then it will make a big difference when the rail meets the other leg 38 inches away. The guide that I am using is adapted from Paul Sellers, it’s explained in an earlier blog.
Using a 3/8″ bench and mortise chisel I finished up on the mortises with little fanfare. Chopping mortises is like meditating, find a rhythm and chop away let your mind wander and enjoy the afternoon.

Small Tool Chest Bottom
The bottom of this tool chest is a frame like the lid, with a single panel. Looking closely at the grain I took a chance and decided to split the waste from the tenons using a chisel. This is definitely my preferred method to remove the waste and if all goes well, much quicker.
Grain direction is the critical element when using a chisel to remove the waste. After laying out the tenon and sawing along the bottom I look at the grain and try to determine where it will split. If the grain looks like it will split into the tenon I stop, grab my saw and cut the tenons. If the grain looks like it will split parallel to or away from the tenon I place the tenon in my vise and make some test cuts.
 I place my chisel approximately half way into the waste and and on one side and give it a tap. Watching the split I can confirm that the wood will split where I intend. I then move to the other end and a place my chisel half way and make another test tap. If this works I go ahead and remove the waste. Using this method of checking each end of the tenon has been particularly helpful with the Sapele. The grain can change dramatically over a few inches and where I can use a chisel on one end of the tenon I may not on the other.
I saw two of the tenons and split the other two and quickly finish the mortise and Tenon joints. Most of the joints fit well, but I still have a little bit of work to smooth the joints. Rigging up a clamp n my vice I am able to support the bottom while I use a plane and cabinet scraper to smooth all of the parts. Sapele has been fun to work, but I could never have gotten by without my cabinet scraper.


It’s Finished!!
 With the finish on the table and the wax complete I can attach the tabletop to the base. This is an exciting time for this project, it seems like it has taken a long time to reach this point and I look at the table and see the many lessons that I have learned. I spent a few minutes making some turn buttons then used some screws to attach the table top to the base. I tried out a new countersink that my father in law picked up and it work brilliantly.
As I stood there and looked at the finished product I am very pleased. It turned out well, but that’s not really what makes me happy, it’s the hours of careful hand work, the lessons in patience and challenge of a mistake. I’m also very happy and thankful for all of you that have posted comments, made suggestions and come along for the ride. It’s been a lot of fun.

Coffee Table Undershelf
 Grabbing my measurement and marking tools I began laying out the mortises for the undershelf. after all what good is a coffee table if you have no where to stash the games and magazines when the neighbors come over.
The plans call for through mortises on the sides of the shelf although as I look at it I think I may not cut them through. Seems that it may be too much joinery and instead of adding to the piece draw the eye away for the whole. All of the final pieces are placed on the shelf long rails and I sat and stared contemplating the effect of the exposed joints.
While I was day dreaming (contemplating) my design adviser stopped by and affirmed that the piece did not require any more through joints. Why i even contemplated it I will never know the answer was so clear!

Mortise Guide

The coffee table has three mortises in each leg and and eight more supporting the shelf. Chopping mortises by hand is like running. The first steps are rife with anticipation, the next come with labored breath, but with training and patience a rhythm is developed that helps clear the mind and ends in an intense focus. It’s probably a little too far out on the limb to describe it has “mortise chopper’s high” but it is a very calming work.
Ensuring crisp edges especially where a through mortise is chopped takes practice. Helping a long the way is this little guide that Paul Sellers introduced me to a month ago. It is simply two pieces of wood and a small piece of counter top that can be used to guide the chisel along one edge. Making two of them one 3/8″ and the other 1/2″, they can be placed adjacent to the mortise and as long as I register the chisel against it, I will maintain a very nice edge.


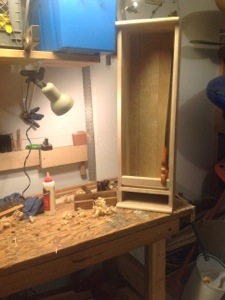
Saw Till Shelf
The sun is out and the thermometer is hovering near 50 degrees. Opening the garage door the light has flooded into my corner of the garage and I can hear the birds chirping outside. I feel like a prairie dog cautiously lifting its head above the burrow and looking around. Woodworking in natural light is a great improvement and I’m looking forward to a long list of spring projects.
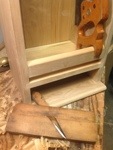
Today before I begin something new, I plan on tackling one of those projects that has lingered long enough. The tool chest is complete and I have cleared my bench of tools, but there remains 5 saws that have cluttered up the top of my cabinets for months. Dusting off the carcass of my saw till I struggle to recall what I have to do to finish it up and make room for new projects.
Glueing together two boards I prepare to make a shelf to divide the saws from a future drawer. Then after planing it square and to the correct thickness, I cut dados across the till sides. First I mark the bottom of each dado with my square and marking knife. Using a chisel; a knife wall is created and I cut the side of the mortise with a saw using the wall as a guide. Placing the shelf in the slot, the marking knife is used to mark the other side and a second knife wall cut. Eventually I use my router plane to complete the slot. This is repeated on the opposite side. Final fitting of the shelf is done with my plane.
I now need to decide on a piece to support the saw handles and hold the saw in place. Shannon Rogers in the Hand Tool School mortised a piece across the front of the till covering the shelf joint. I have decided to go a different route and create a mortise and tennon joint and inserting a cross piece to hold the saws. The crosspiece is cut to size and to add a little change in the till I decide to round over the top. I have one pair of hollows and rounds and this seems to be an ideal time to try them out. The wooden planes make short work of the cross piece and I went ahead and rounded the top and bottom of the till to match. I use Paul Sellers mortising method to cut mortises on each side

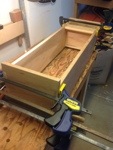
After test fitting the cross piece and mortises I glued up the case using hide glue. All went together well and I now have most of the components for the saw till. Remaining on the project is to install the back, make french cleats to hang the till onto the wall and come up with some means to separate the saw blades on the back of the till. Another day and I should be done. I am very excited to get my saws off of the bench and move onto other projects. Now if I can just figure out where the wall studs are…………..
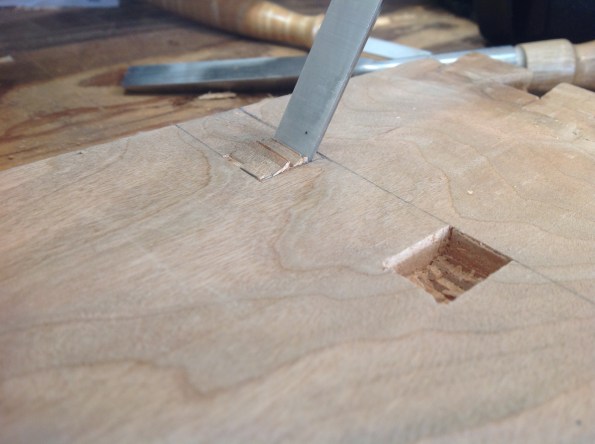
Tool Chest Lid – Mortises
Woodworking presents challenges and different techniques on a regular basis. Often it is as simple as planing figured wood or getting a great fit with a dovetail. Today presents an entirely new challenge cutting a through tenon. I have made plenty of mortise and tenon joints, even some that looked great, but I have never made a through Tenon. Follow along and feel free to critique.
 The lid of the tool chest is of frame and panel construction. All of the boards are 7/8 poplar and I spent time ensuring they are square and smooth. Laying them on the chest I marked the lengths with my marking knife around the entire board and then used my paring chisel to prep the edge for a first class saw cut.
After sawing all of the frame boards to length I cut grooves to receive the panel into each side of the frame boards. I really like using my plow plane to cut these groves. There is something calming in the sound of the plane slicing through the wood and feeling it curl up past my finger tips. In about 15 minutes I have plowed grooves in all four boards and am ready to cut the tenons.

I placed the boards on the tool chest again to mark the location of the tenon joints. If you are a 100% hand tool person skip the next sentence. I took each of the frame boards over to the table saw and cut the tenons. After all it was 30 degrees in my shop. Cleaning up each of the tenons with a block plane only took a few minutes and I test fitted in the groove plowed earlier. I’ve been researching making through tenons for the last several days without a Lot of luck. I did stumble across a very neat video from Paul Sellers showing a side view of his method for cutting mortises, this is the method that I intend to use. I also plan on marking the mortise on each edge of the boards and cutting from each side to prevent tear out.
Many of my tools are used and have come from estate sales, yard sales ebay, hand me downs etc. I looked for mortising chisels for quite some time, even through the piles of chisels at the Midwest Tool Collector Association and decided to purchase new. Pricing was not much different so last summer I ordered two new chisels from Lie-Nielsen, the first mortise chisels I have ever owned. This was my chance to put them to use making a very deep tenon.
 The mortise is marked out using my marking gauge and knife being careful to account for any minor differences in the width of the mortise sides. Using my paring chisel I carefully removed material adjacent to the marks then chiseled out the first 1/4 to 1/2 inch. Turning the board over I transferred my marks from the front edge to the back and marked the mortise location in the groove. I could never have done this with a pencil. Taking out my drill I attached a 5/16 auger bit and proceeded to drill out the waste. I drilled within 1/2″ of the mortise on the other side. Next using my mortise chisel and bench chisels I removed the rest of the waste. Well that’s the way it worked in two of the mortises……Fortunately two of them will be covered by the dust seal. I learned several things along the way; starting the mortise 3/8″ in from the side is two close. I split the side on the second mortise and moved the last two in to about an inch. Take your time on the initial cut. I took twice as long to do the third and the fourth and it shows. Practice..Practice.
Next step is the Panel for the lid, dust seal, then glue up. It’s starting to take shape.


