Archive
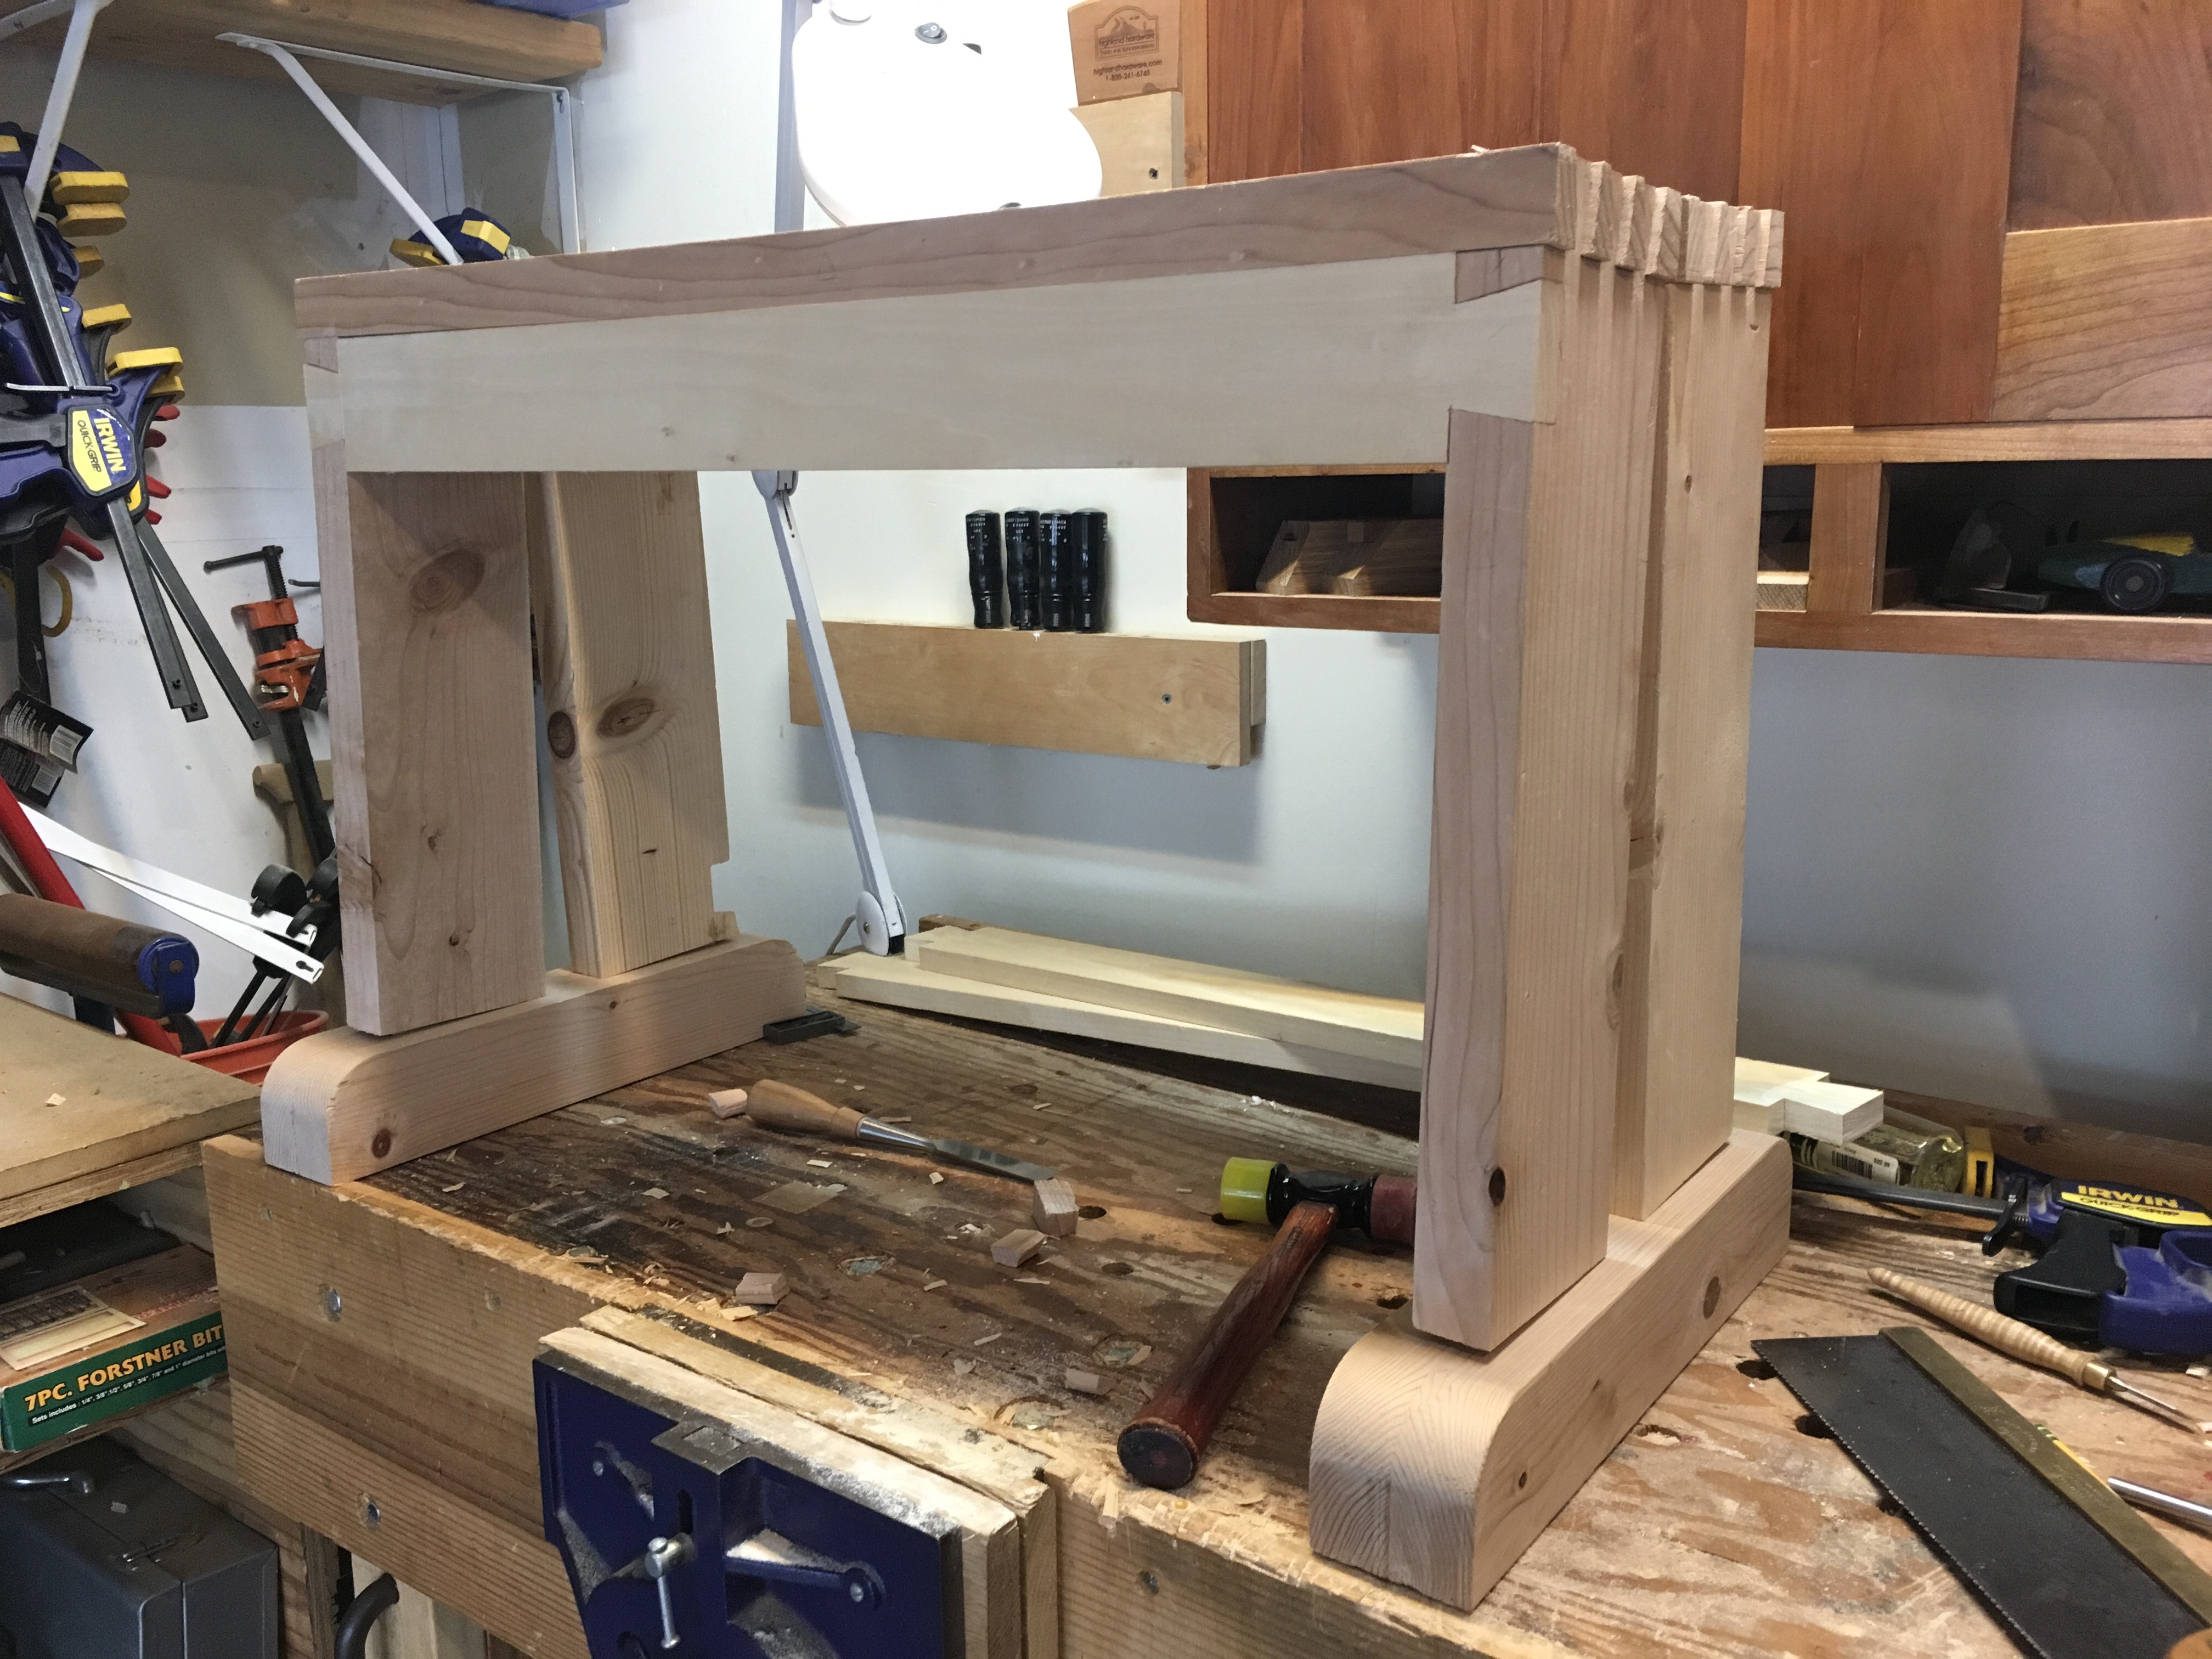
Kitchen Guitar Stool -Legs
Stools are fairly simple structures. Legs, aprons, cross braces, and seats. The challenge comes when making them strong and stable, adding angles to joints. The design that Becksvoort developed uses mortise and tenon joints for the aprons and tapered rungs fitted into tenons to provide cross braces. His choice of tapered rungs makes great sense. They are simple to make and using an angled hole is quicker and simpler than using a square mortise. Additionally, the rungs will not show the wear of square braces. Since I don’t have a lathe, I will be making angled mortises and tenons.
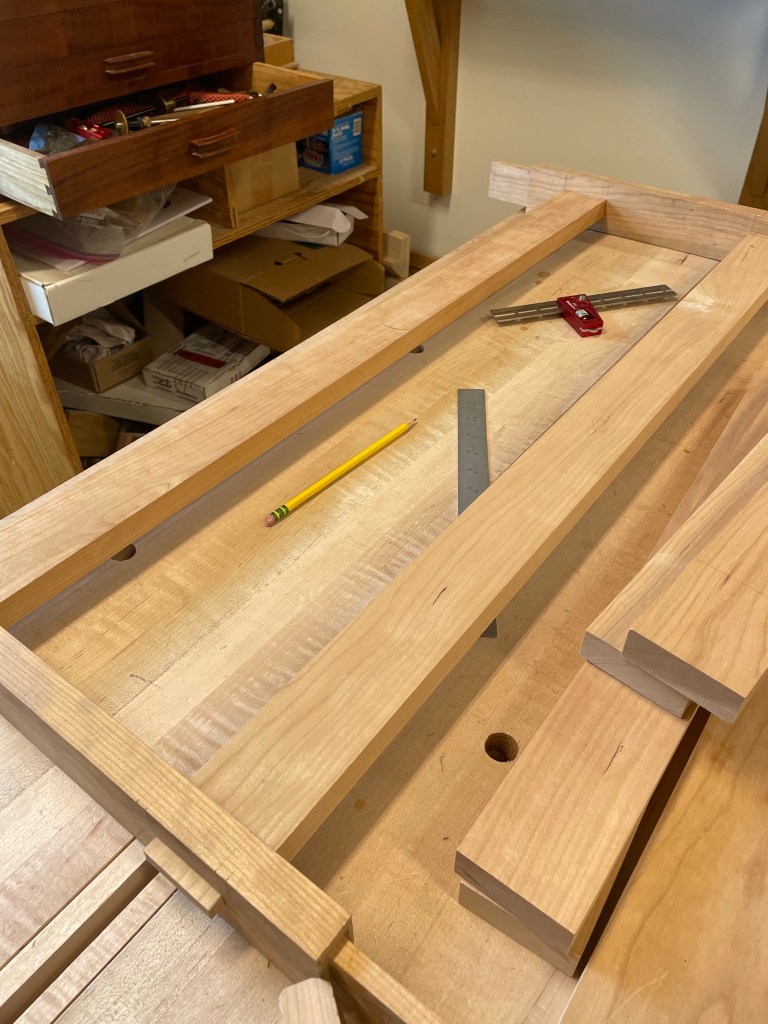
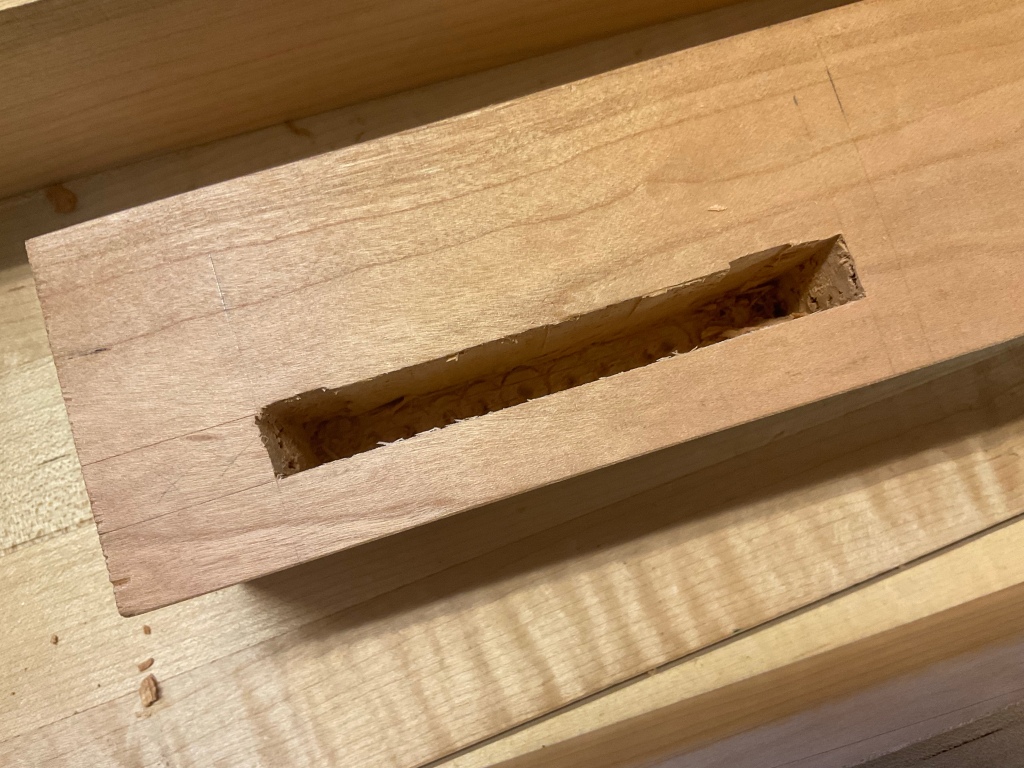
After dimensioning the legs the apron mortises were cut using my powered mortiser (love this machine) The great thing about Becksvoort’s Apron design is that the apron tenons are angled allowing the mortises to be straight.


Now for the aprons and tenons to fit into these mortises. Angled legs create great challenges and the use of straight mortises means that the Aprons must have angled tenons.
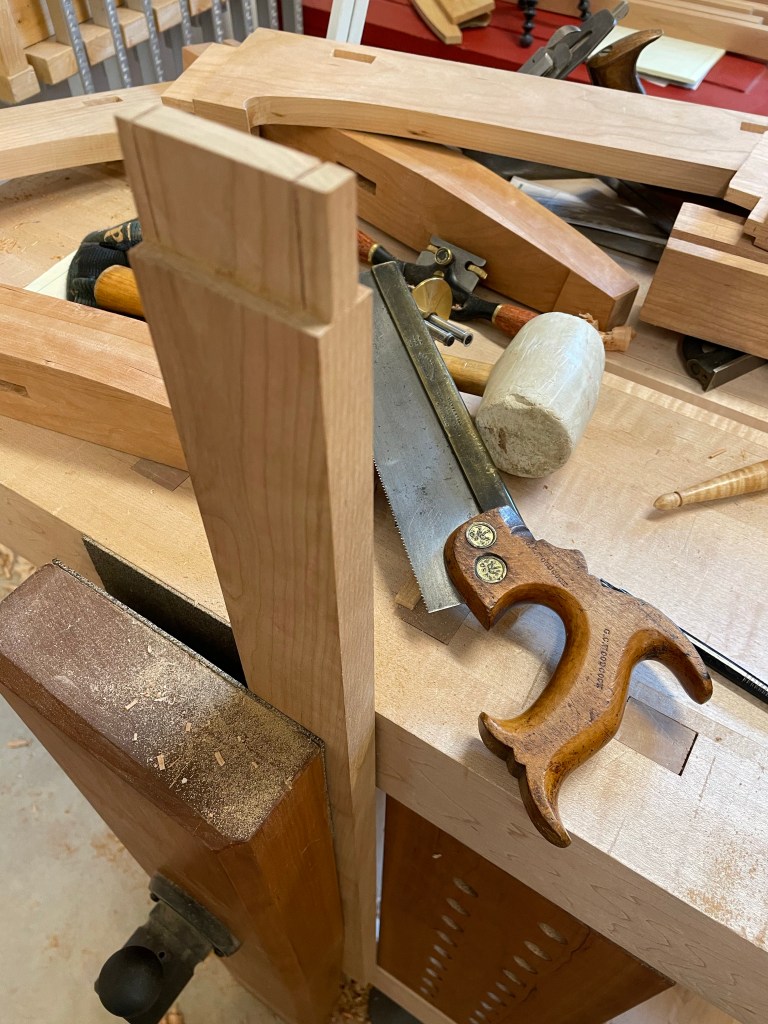
Length was made on the Tablesaw using my mitre sled followed by cutting the tenon by hand. There’s many ways to cut the tenon and as an afterthought probably some more accurate methods, but getting out the hand saw was quick and I need the saw to adjust the width anyway.


Lastly I cut them at a 45 degree angle. It’s a simple pleasure to make the cut.


As a larger challenge the plans called for the angles to be different for each side. Don’t tell anyone but I ignored the two degree difference. I’ll see at the end if this was a mistake.
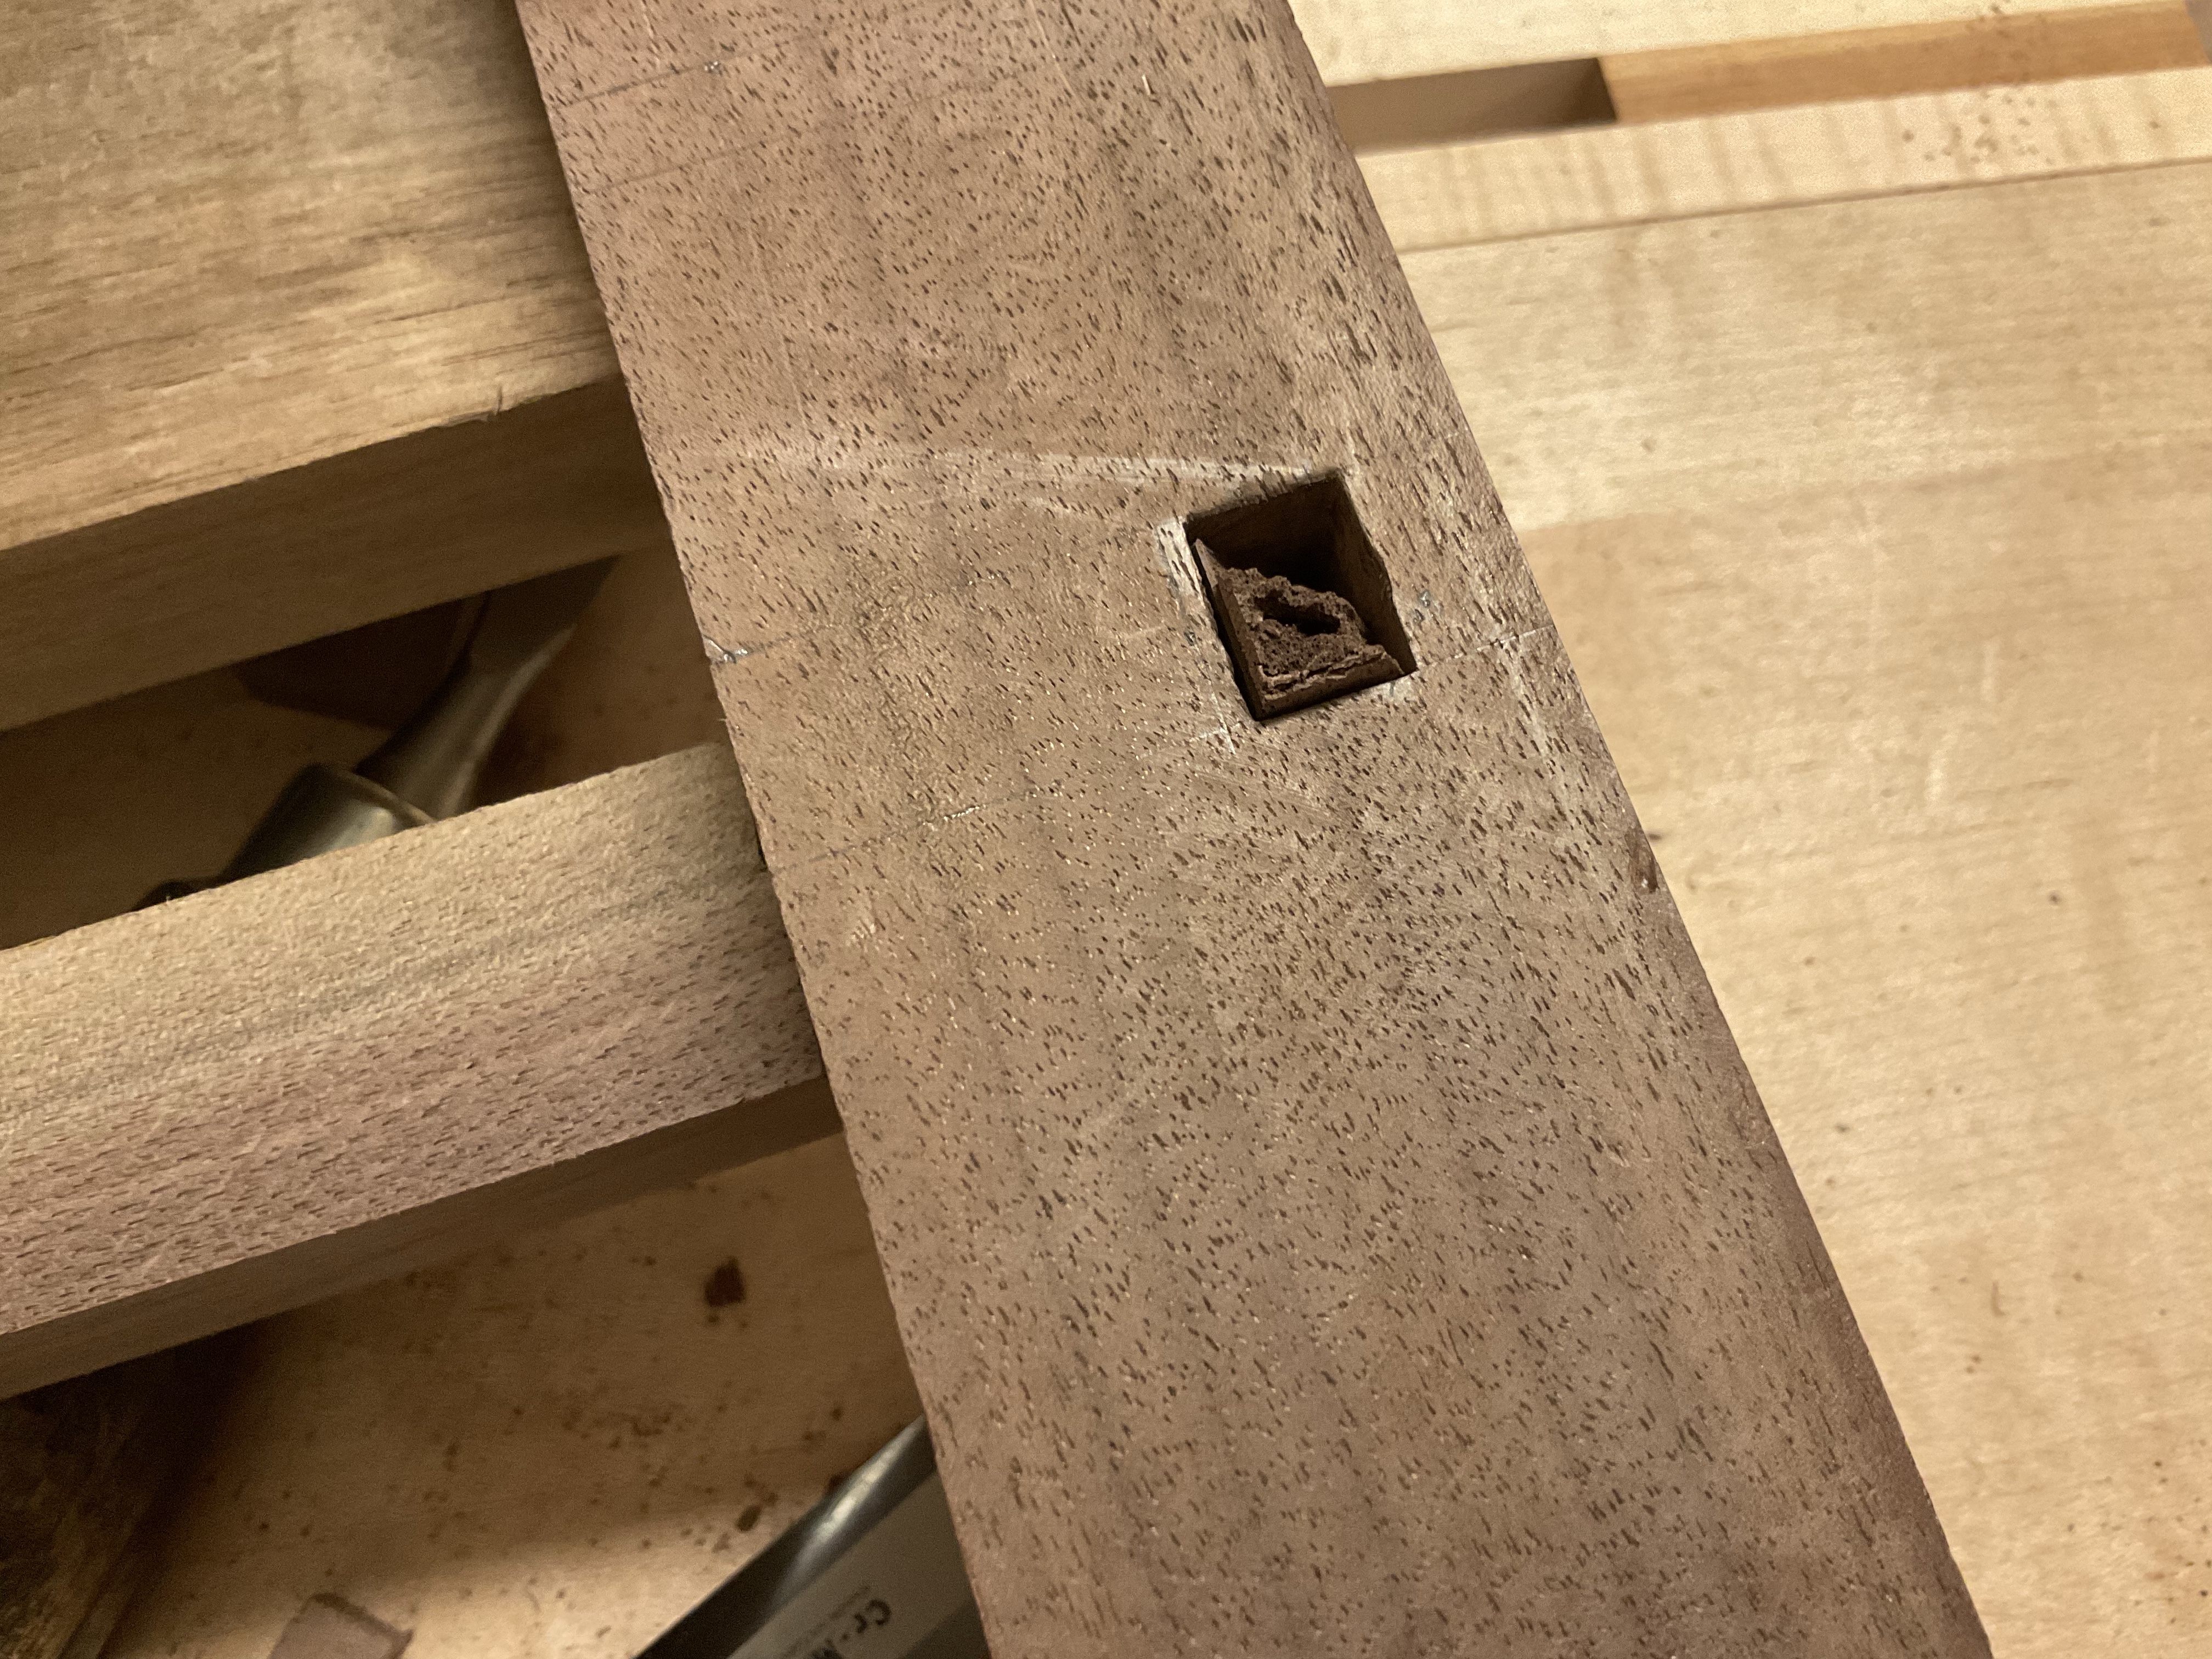
Self proposed challenges. The little things that didn’t go quite as planned. The precise cutting of the tenons was enhanced by miscutting the length not once but twice. this left the mortises slightly long. Not a big problem just required a small piece to infill the mortise. There was also the problem with the runaway drill. We all do multiple projects and I accidentally used the leg as a backstop for drilling a hole. Since this is a piece for my own use I just plugged the hole and moved on.
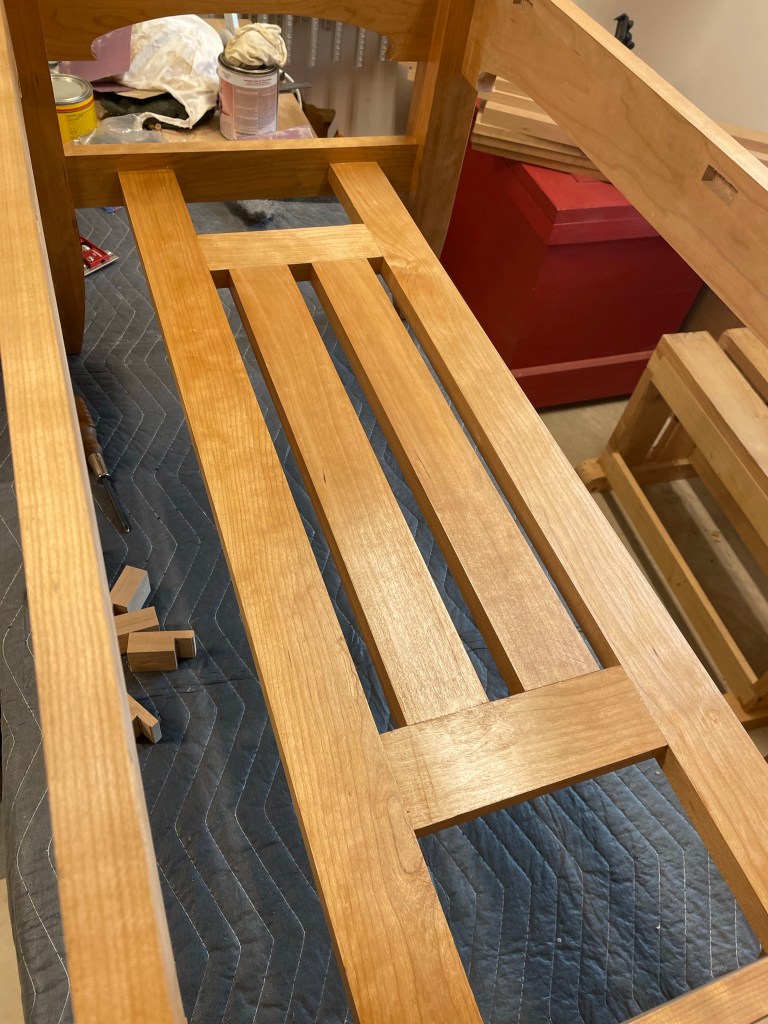
Cherry Coffee Table – Completed
All of the parts are completed and the final steps are in sight. Clean up and sanding, installation of the top are all that is left.


Like most of my projects I intend to use shellac and finish with a coat or two of wax. It’s a very simple finish and easy to repair. Starting with the top I applied layer after layer of Shellac with intermittent sanding. I did do this table slightly different than prior projects. I have always used a brush to apply the finish and after looking at prior projects thought that a rubbed finish may eliminate some of the drips and problems. Taking an old T-shirt I carefully wiped on the layers and was very happy with the process and the finish. Interestingly, the same week there were some comments on the fine woodworking podcast that spoke exactly to the use of a pad versus a brush. Strange how these coincidences occur.
Once the top and base were finished I had to attach the top. Previously I had cut mortises in the rails so all I had to do was make the wooden brackets and attach them in with brass screws.

There are several fun lessons in this project and the curves in the legs and rails add an element of lightness to the appearance of the project. I really like the look of the chamfered top. The joinery is a challenge and when it is completed your skills have greatly improved, and who doesn’t like the look of a through tenon!


Cherry Coffee Table – The shelf
The reason that I like to build this table is the shelf and through mortises. In the original project by Paul Sellers he talked about the amount of practice that the large number of mortise snd tenons provide. He is absolutely correct snd since doing the first piece I have no fear of this joint whether produced by hand or machine.
The shelf is a great opportunity to think about selection of wood and matching as much as possible. The pieces I select have all come from a single board. It is not as easily viewed as the top but it definitely draws the eye. Once the wood is selected the outer shelf rails must be fitted to the lower end rails. These are done with through mortise and tenons in the same fashion as the through mortises on the legs. This can be a challenging fit and my advice is to assemble the table and place the shelf side rails on top of the side rail for marking. This is most easily done with the table in clamps.

Once the rails were marked the tenons were cut to match the mortises (cut in a similar fashion to the previous blog). A few things to think about as you are doing this. The table needs to be clamped and all of the angles checked to make sure it is in its final position. I actually had to put a clamp diagonally across to make a slight adjustment. Exact marking and measurement will be essential. There are many joints to come and getting these four correct will make things much easier.

Once the tenons are cut, they must be fitted into the side rail. If all goes well you will end up with a tight joint.

Once the two outer rails are in place and the fits have been adjusted, lay out the remainder of the shelf pieces and mark them.


Maybe I’m unusual but I really enjoy matching all these parts and getting the fit perfect. Also its ok to make a mistake here, I actually ended up cutting a board short and had to make another.
Mortiser Adjustments
It takes time to learn the tips and tricks of the tools we use and often if everything is operating correctly there is little need to explore manuals. When I acquired the Powermatic Mortiser last year, I spent some time cleaning it and browsing through the manual. The machine has performed well, until I noticed that it was not holding the longitudinal (best description I could come up with) setting and creeping as I made longer mortises.
My first instinct was to check the alignment of the drill bit, but it appeared to be correct. Next I compared the movement of both the lateral and longitudinal adjustment wheels and noticed a distinct difference. The longitudinal adjustment turned freely while the lateral was stiff.
It was clear that I needed to find a way of holding the adjustment and looked for a knob on the handle similar to those on table saws…not there. After a little thought, I discovered the gibs on the side of the table and then the wing nut.

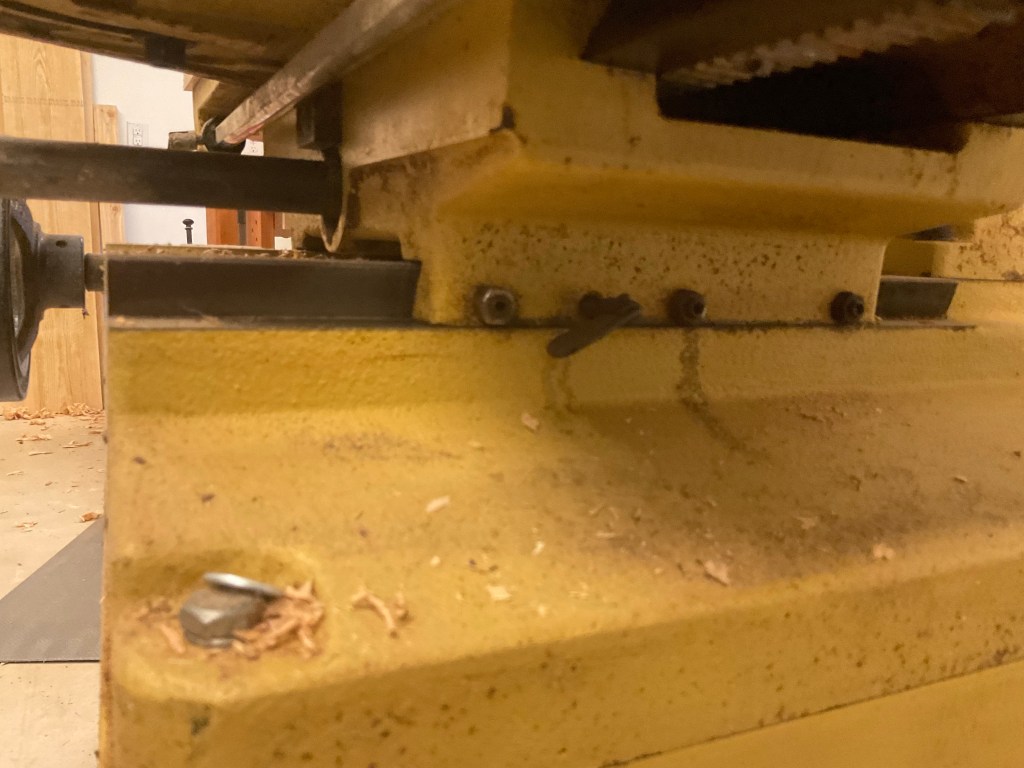
Additionally I went back to the manual to see if there was any advice on how tight to set the gibs. Interestingly there is no mention of these adjustments and the although they are pointed out in the parts diagram and list, the purpose is not obvious.

I started writing this blog to share a little bit of information, however it has really made me come to realize that many of the tools and skills we acquire over time require a certain amount of basic knowledge of mechanics, a willingness to try and fail and access to information. Fortunately the internet can provide a great resource and if you are in luck there may be someone you follow or a neighbor that is willing to answer your questions.
Walnut Coffee Table – Side Rails
Making the upper and lower rails was an exercise in planing boards and cutting tenons. I did most of the work by hand and forgot to take pictures.

Oops. The lower rail is just over an inch square, when I was test fitting the pieces I realized that I left one of the tenons longer than the others and when pulling it loose it snapped. I used the mortiser to drill out the broken piece and made another to fit. Lesson learned. Lower rails should have thicker tenons.


Finally I was able to assemble the table legs and sides.

The glue up was relatively uneventful.
Saw Bench
Several years ago I built a small saw bench. It’s worked well with a few minor issues along the way. Looking at the added screws and structural repairs I began building a new bench several months ago. It’s been a busy summer and it’s progresses very slowly.
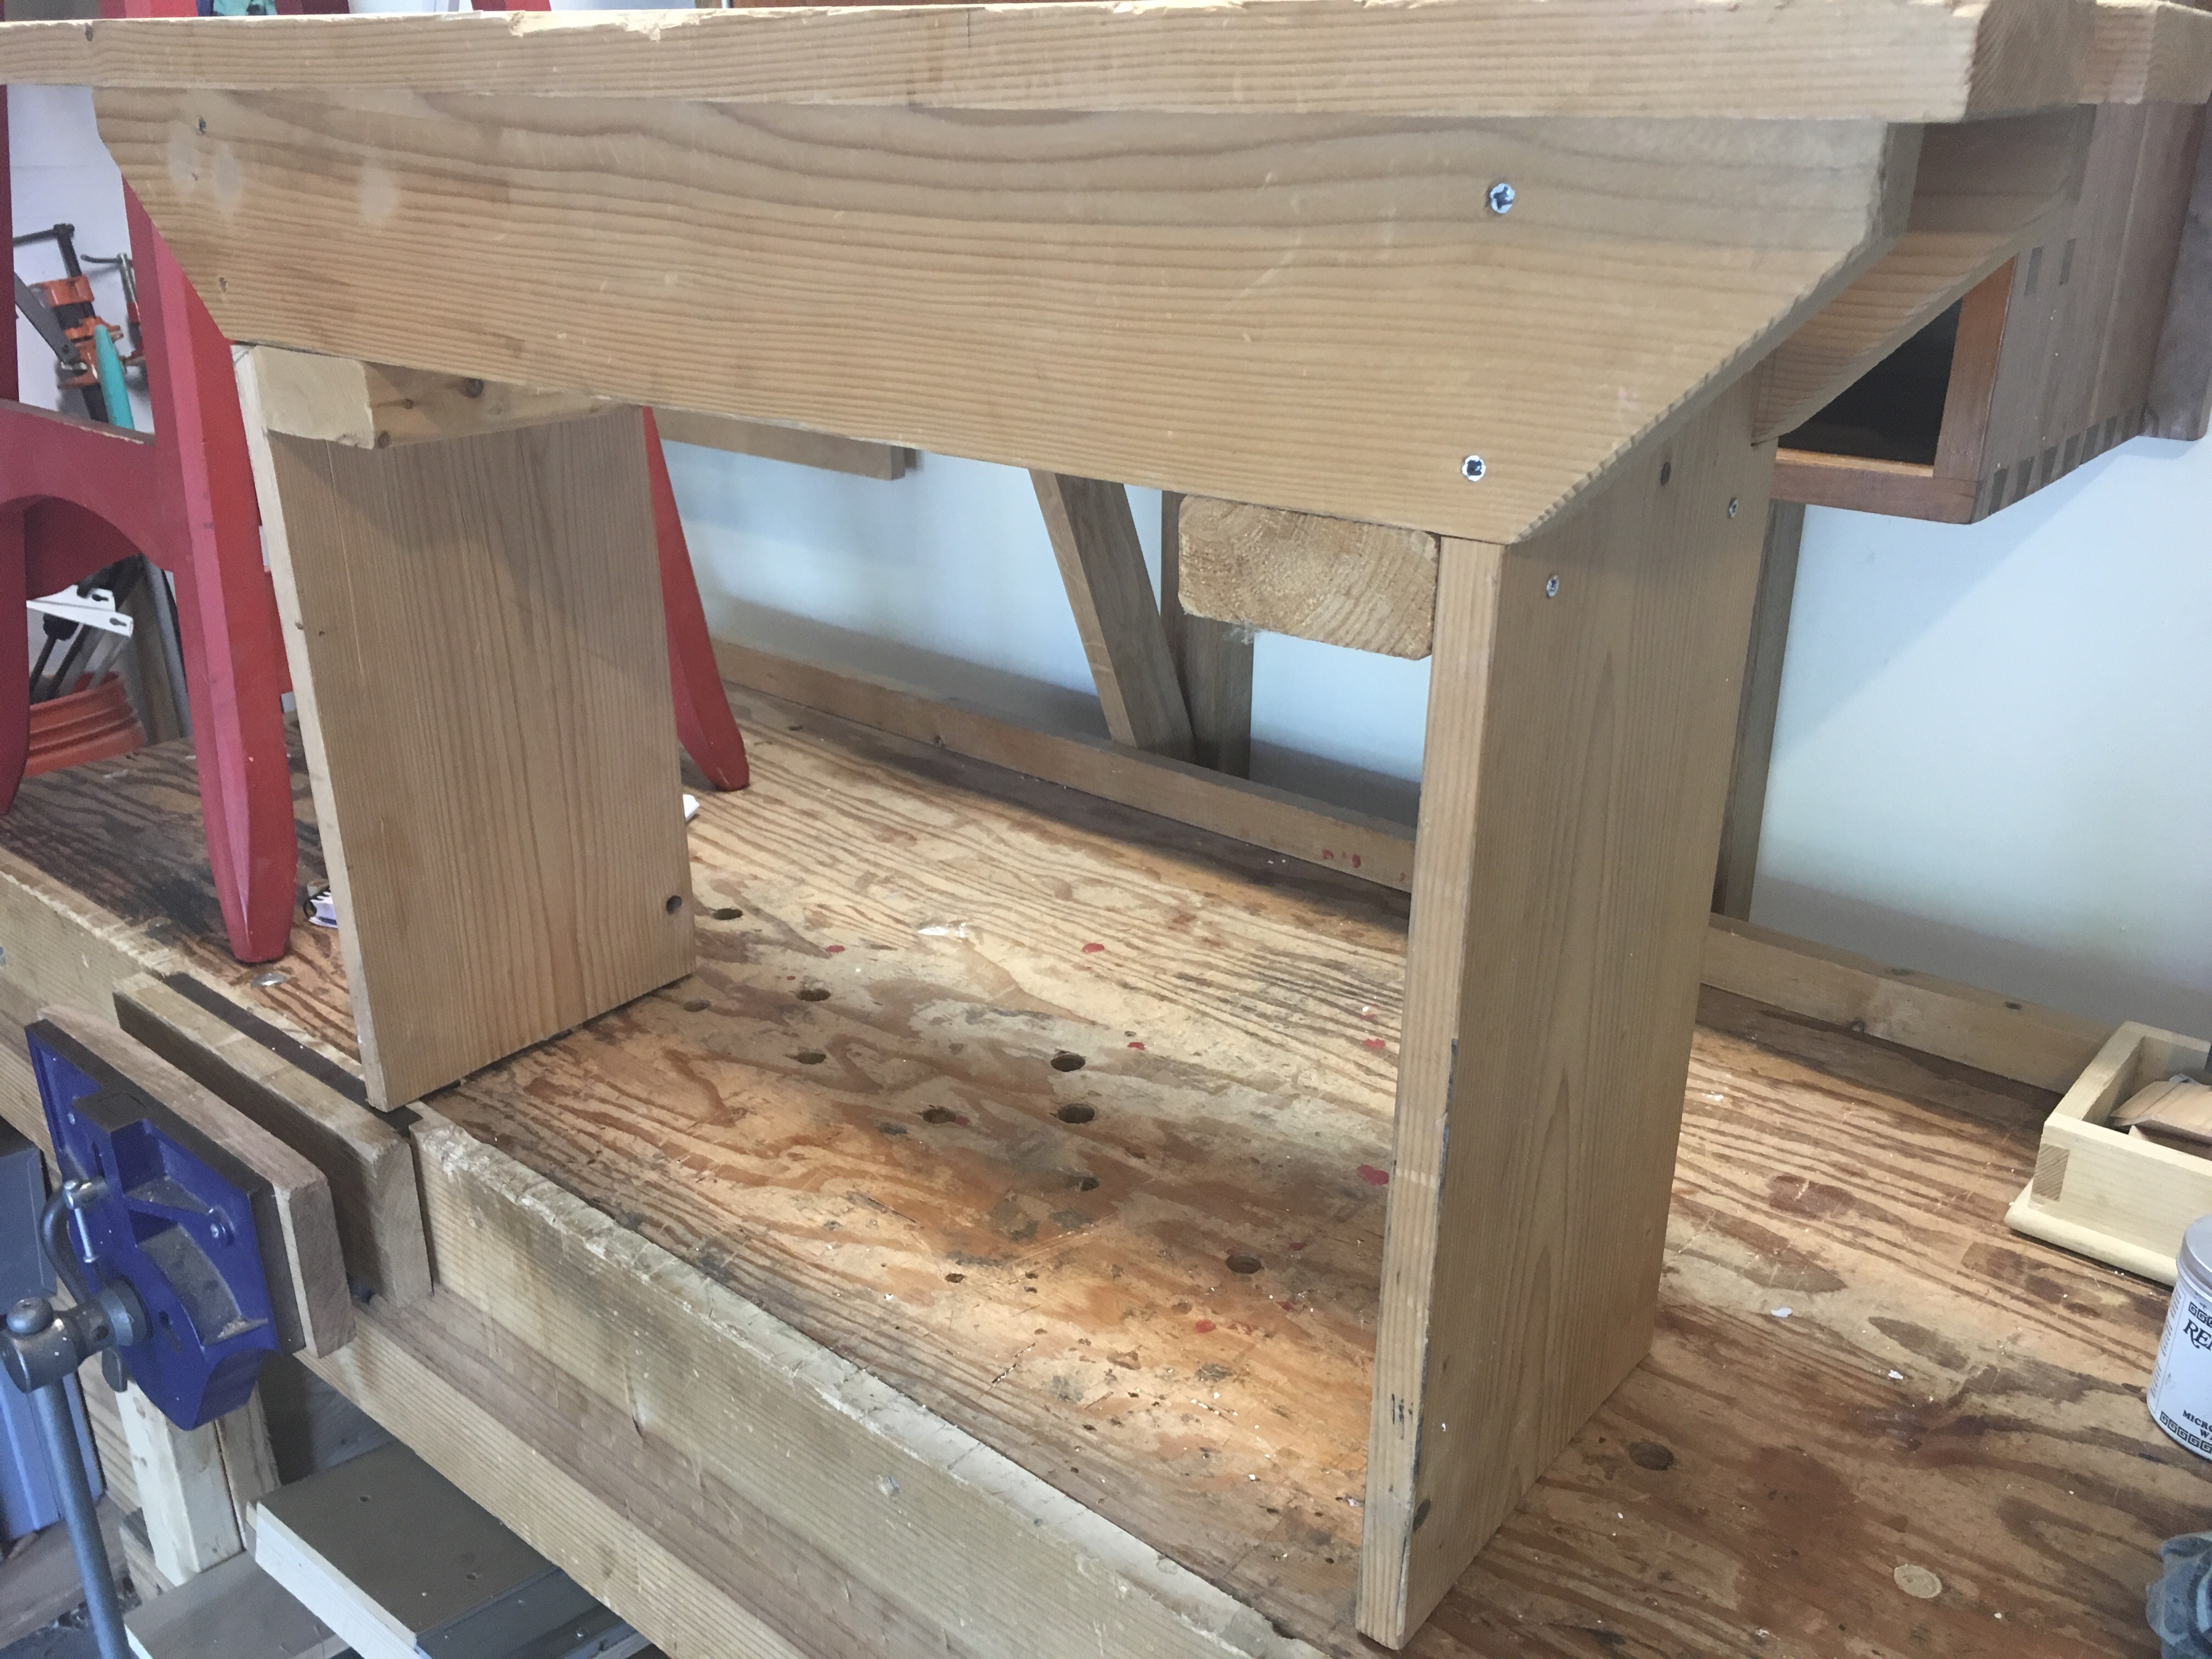
The new design was selected back in May and in the next couple of weeks it will be complete. The two goals for the new bench was integrity and refreshing skills.
The design has allowed me to practice dovetail and mortise/tenon joints. The one complaint I have is my choice of lumber. Using several old boards of SPF was cheap but it certainly isn’t as enjoyable as hardwoods of white pine. However it’s a tool for the shop and all good practice.
Mortise Jig
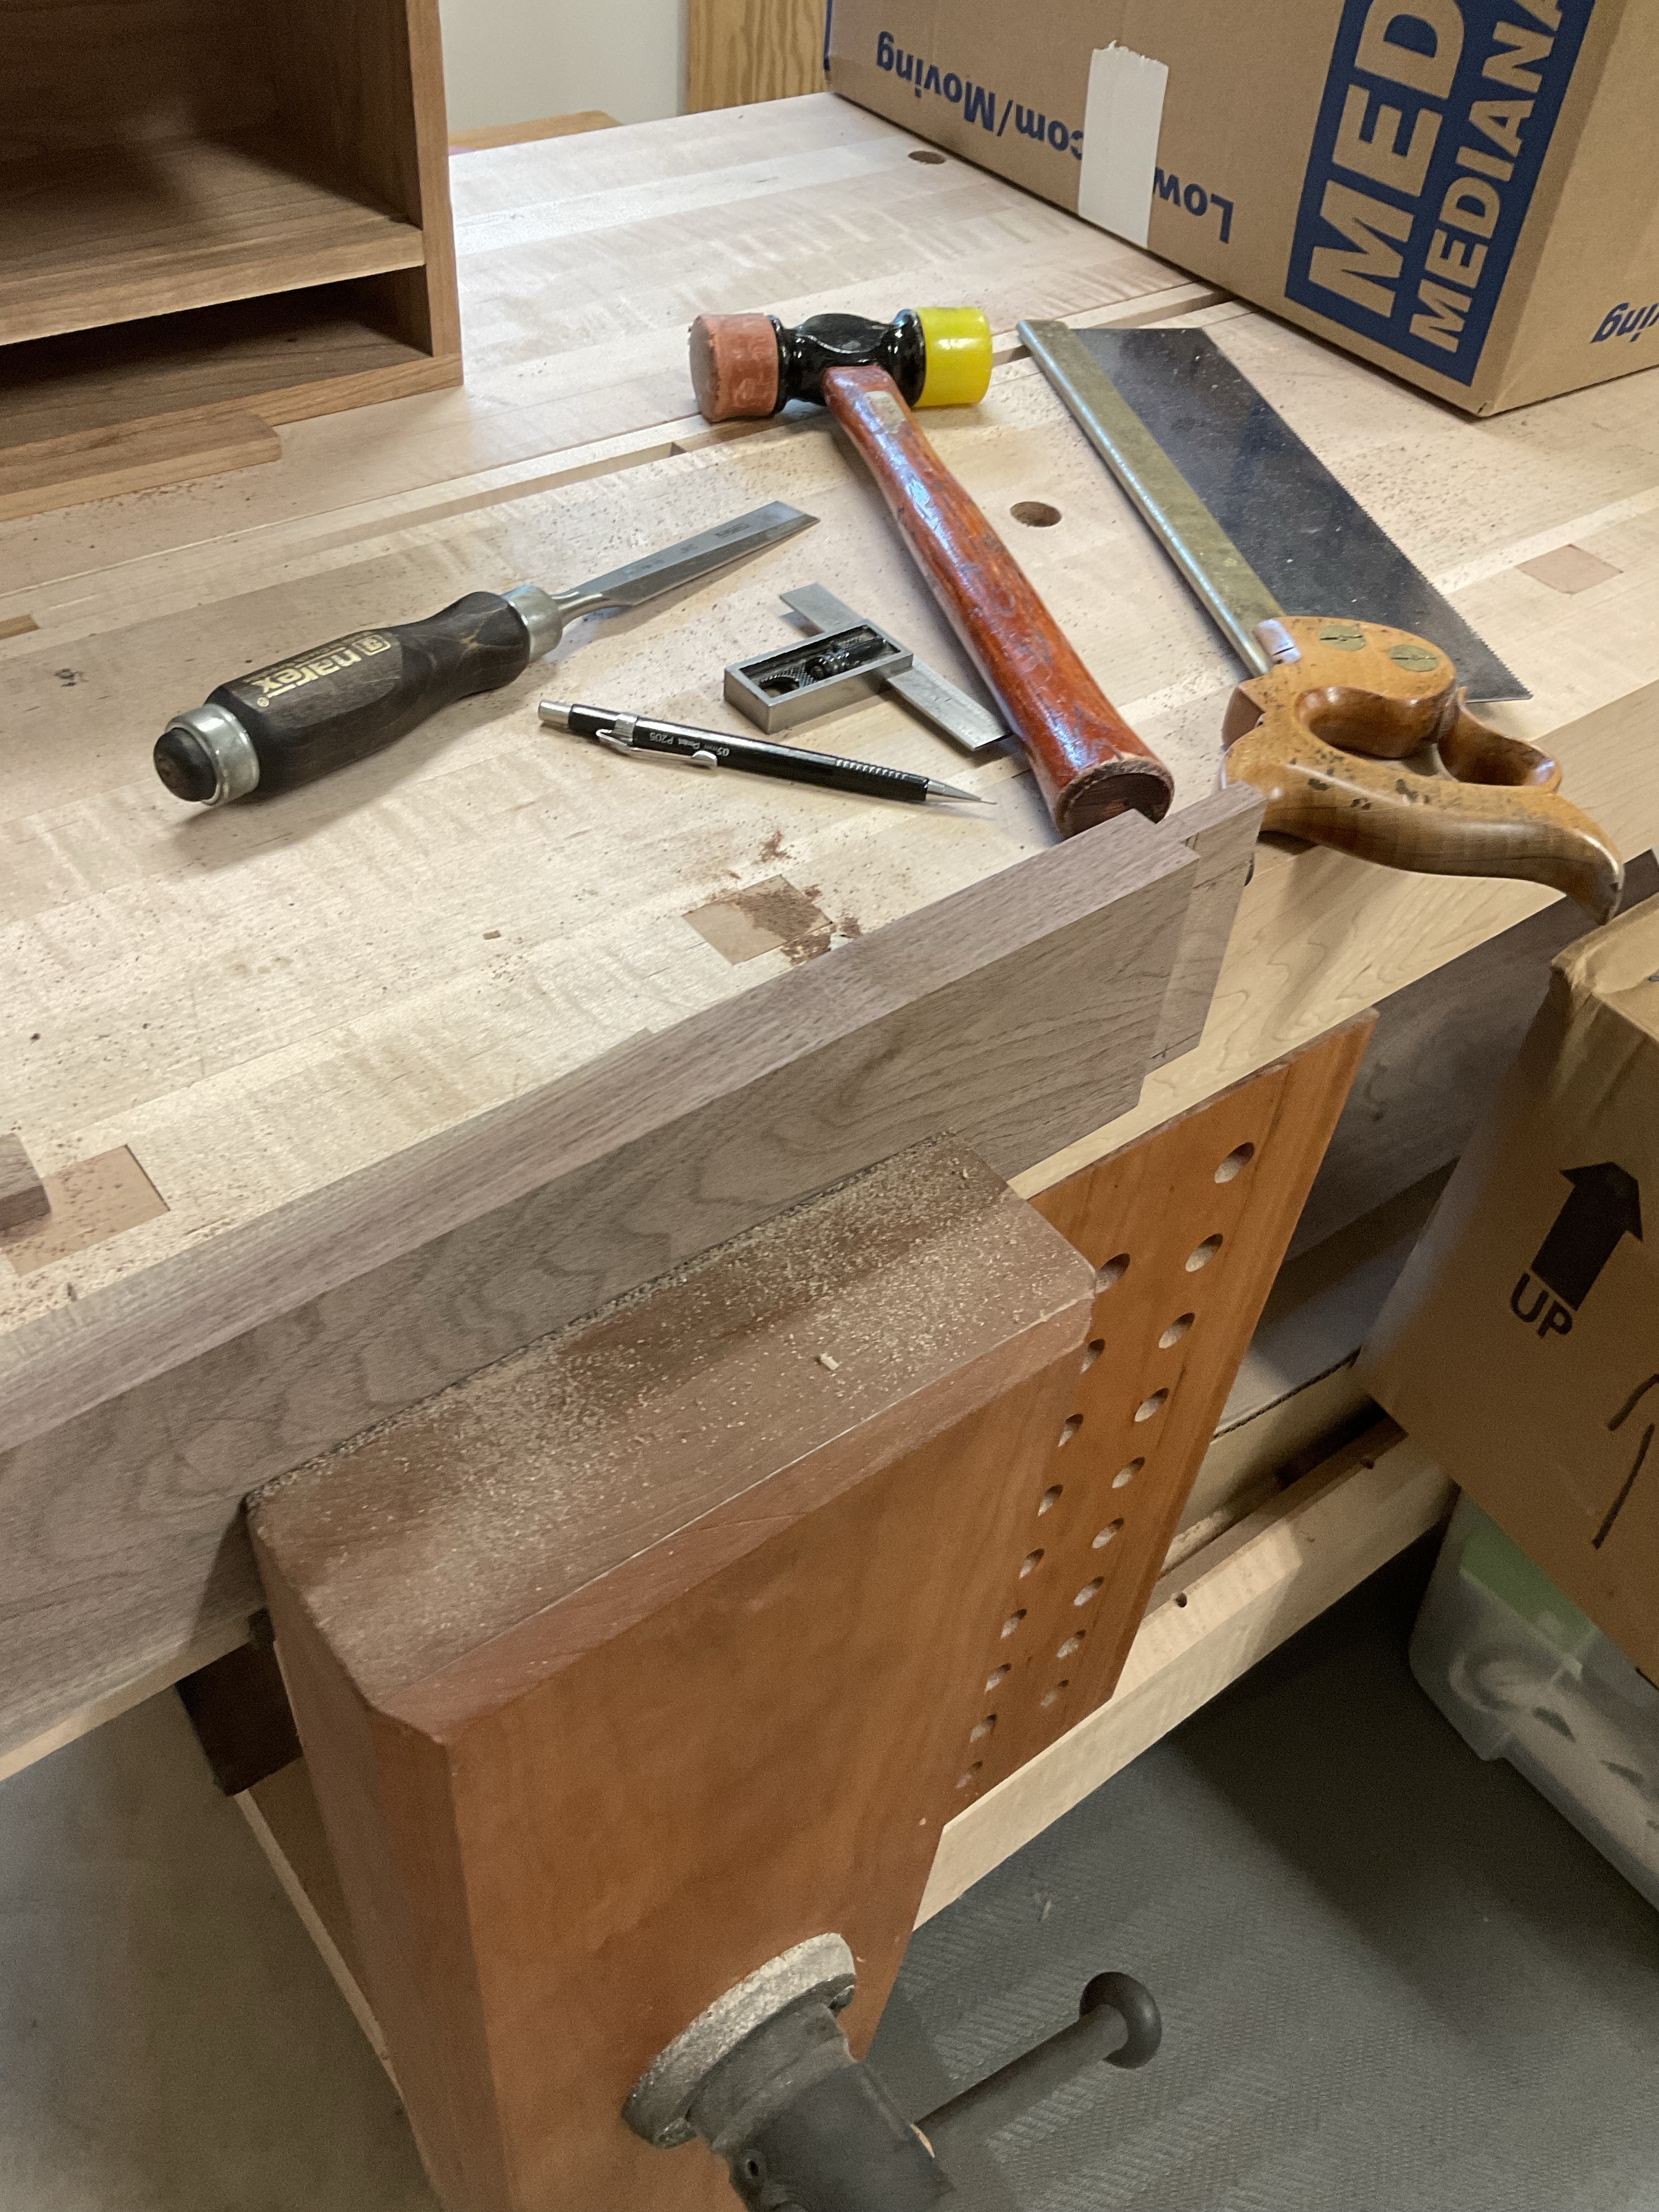
One of the techniques that I learned a Paul Sellers 9day foundation class was the construction and use of a mortise jig. I don’t always use them these days, but occasionally I find them helpful. After my latest experience with making mortise and tenon joints it seemed prudent to take my time and make a new jig.
ITs really a sinple process and involves selecting a small piece of scrap to act as the back and then planing a seconpiece the correct thickness to act as a guide for the chisel. Once glued together and clamped (I sued my bench clamp) it acts as a great guide. I must have 6 or seven guides now of varying thickness.


Hanging Tool Cabinet – The Back
Beginning on the back of the tool cabinet this morning, I had several clear goals. The first was to ensure that my tennon accuracy immproved and I tried out many of the ideas that you gave me for improving my router us on the tenons. The second was to improve the quality of the groves that were made in some difficult grain cherry that I have been using.


Accuracy first comes from preparation of stock and I spent quite a bit of time ensure that everything was square and of consisten size. This included sqaring all of the ends on the shooting board and a lot of careful checks. There is no sense trying to be accuracte if your board tapers fropm one end to the other.
Next came measuring and marking. the back consists of four boards tenoned together and a groove inside to accept the back. I took great care to measure from the same faces and edges to eliminate probelms cause by minor discrepencies.


Once completed the grooves neede to be ploughed into the boards. I had looked up in Essentials of hand tool Woodworking some details about using plough planes and Paul Selelrs suggested that in difficult grane to use a mortise gauge to pre cut the groove. I’ve struggled with a few pieces of this cherry and was glad for the advice. However I had to risk it all when I didn’t have a 3/16 blade for my plane and ended up have to use a 1/8 carefully from each side to make the correct width. It all worked.
Seems that I didn’t get much done but I learned alot and hopefully over the week will get a chance to shop the mortises for the Tenons.
Hanging Tool Cabinet – Shelf Panel
With all of the shelf parts prepared, some twice, mortise and tenons completed and fitting nicely thanks to more care and a router plane. My attention turns towards the panel I glued up last week. After trimming it to size I need to cut rebates on all of the edges. If you saw my post on the Stanley 78 Rebate plane last week you may now realize that this is what I used to cut the rebates around the edge of the shelf.


Once the rebate is complete it is glued into the frame. Which now thanks to reworking a few parts looks pretty good.


Planing the shelf and fitting the ends into the cabinet side took a little time but it is the last piece before glueing it together.
Hanging Tool Cabinet – Shelf divider
I’ve never counted the number of times I assemble and disassemble a project as I build. It’s part of the process and and essential for measuring and fitting each piece.The cherry in this project is fighting me. The change in humidity and temperature is causing the parts to swell and I have had to adjust the dovetails. Unfortunately there are a couple of cracks which hopefully will disappear with some adjustment.


With the through tenons done and the case reassembled I can measure carefully for the center divider. This is another through tenon so I took care in all of the measurements. The photographs below show the shape of the divider and the final product.


Slowly the cabinet is beginning to take shape.
