Archive
The Soul of a Saw
Walking into my shop you can see what is important. A band saw sits near the door, rust accumulates on the table, the blade wrapped around the adjustment knob and a spider seeks its next meal. Across the room is a jointer covered in dust and rust from lack of use. The metal cold, lifeless.
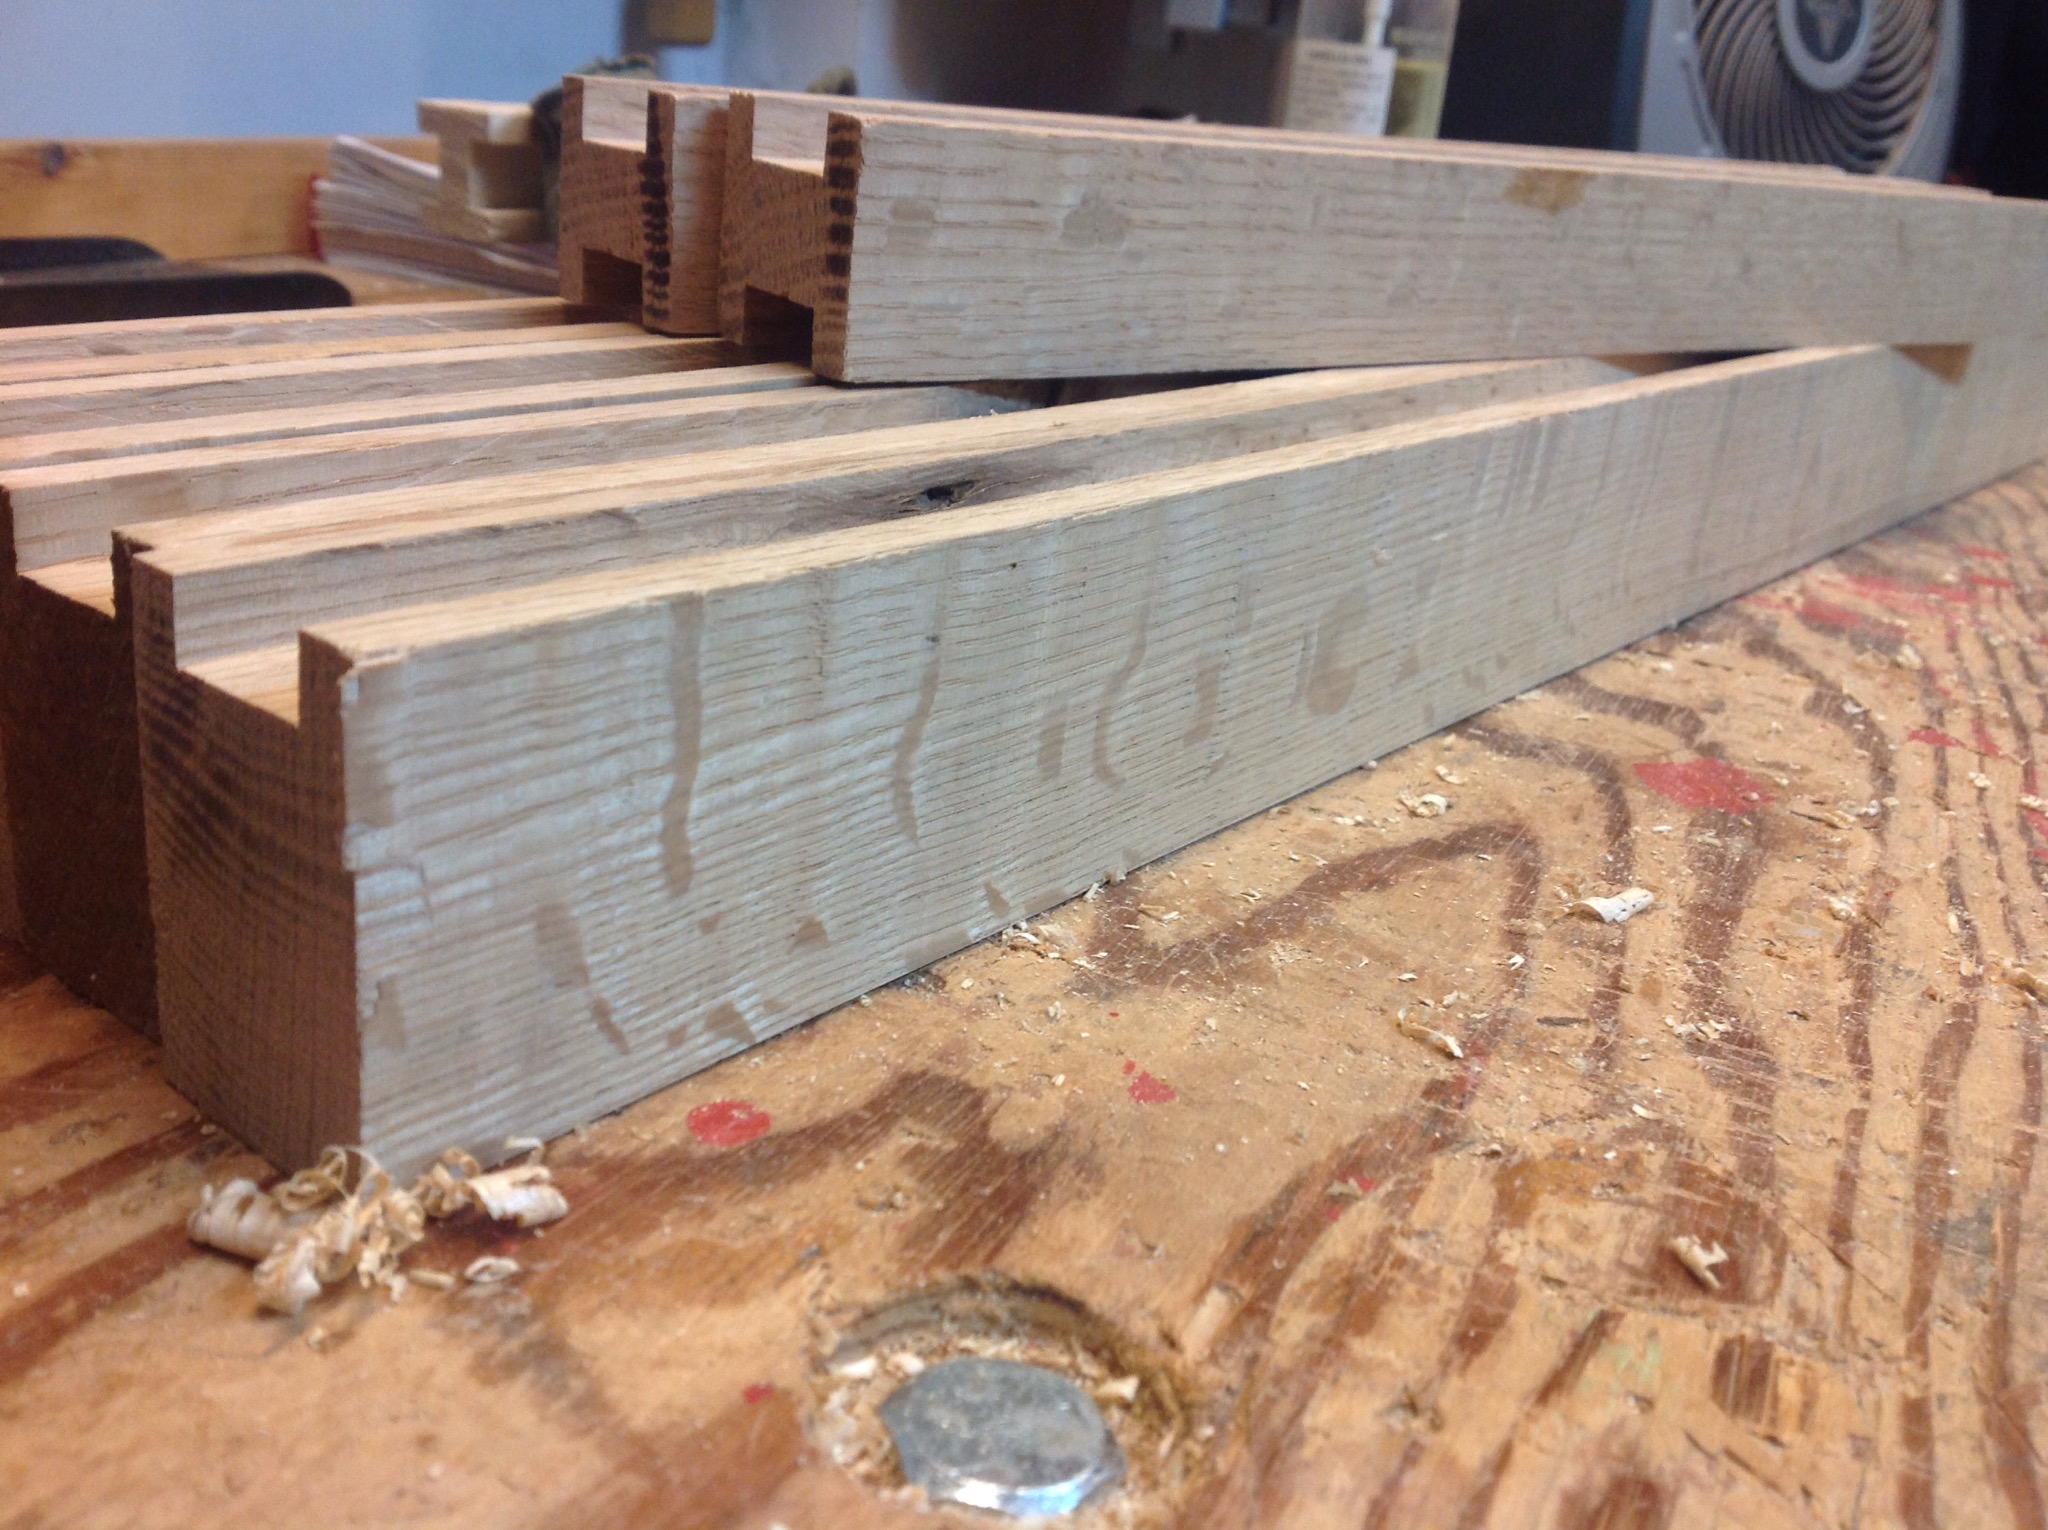
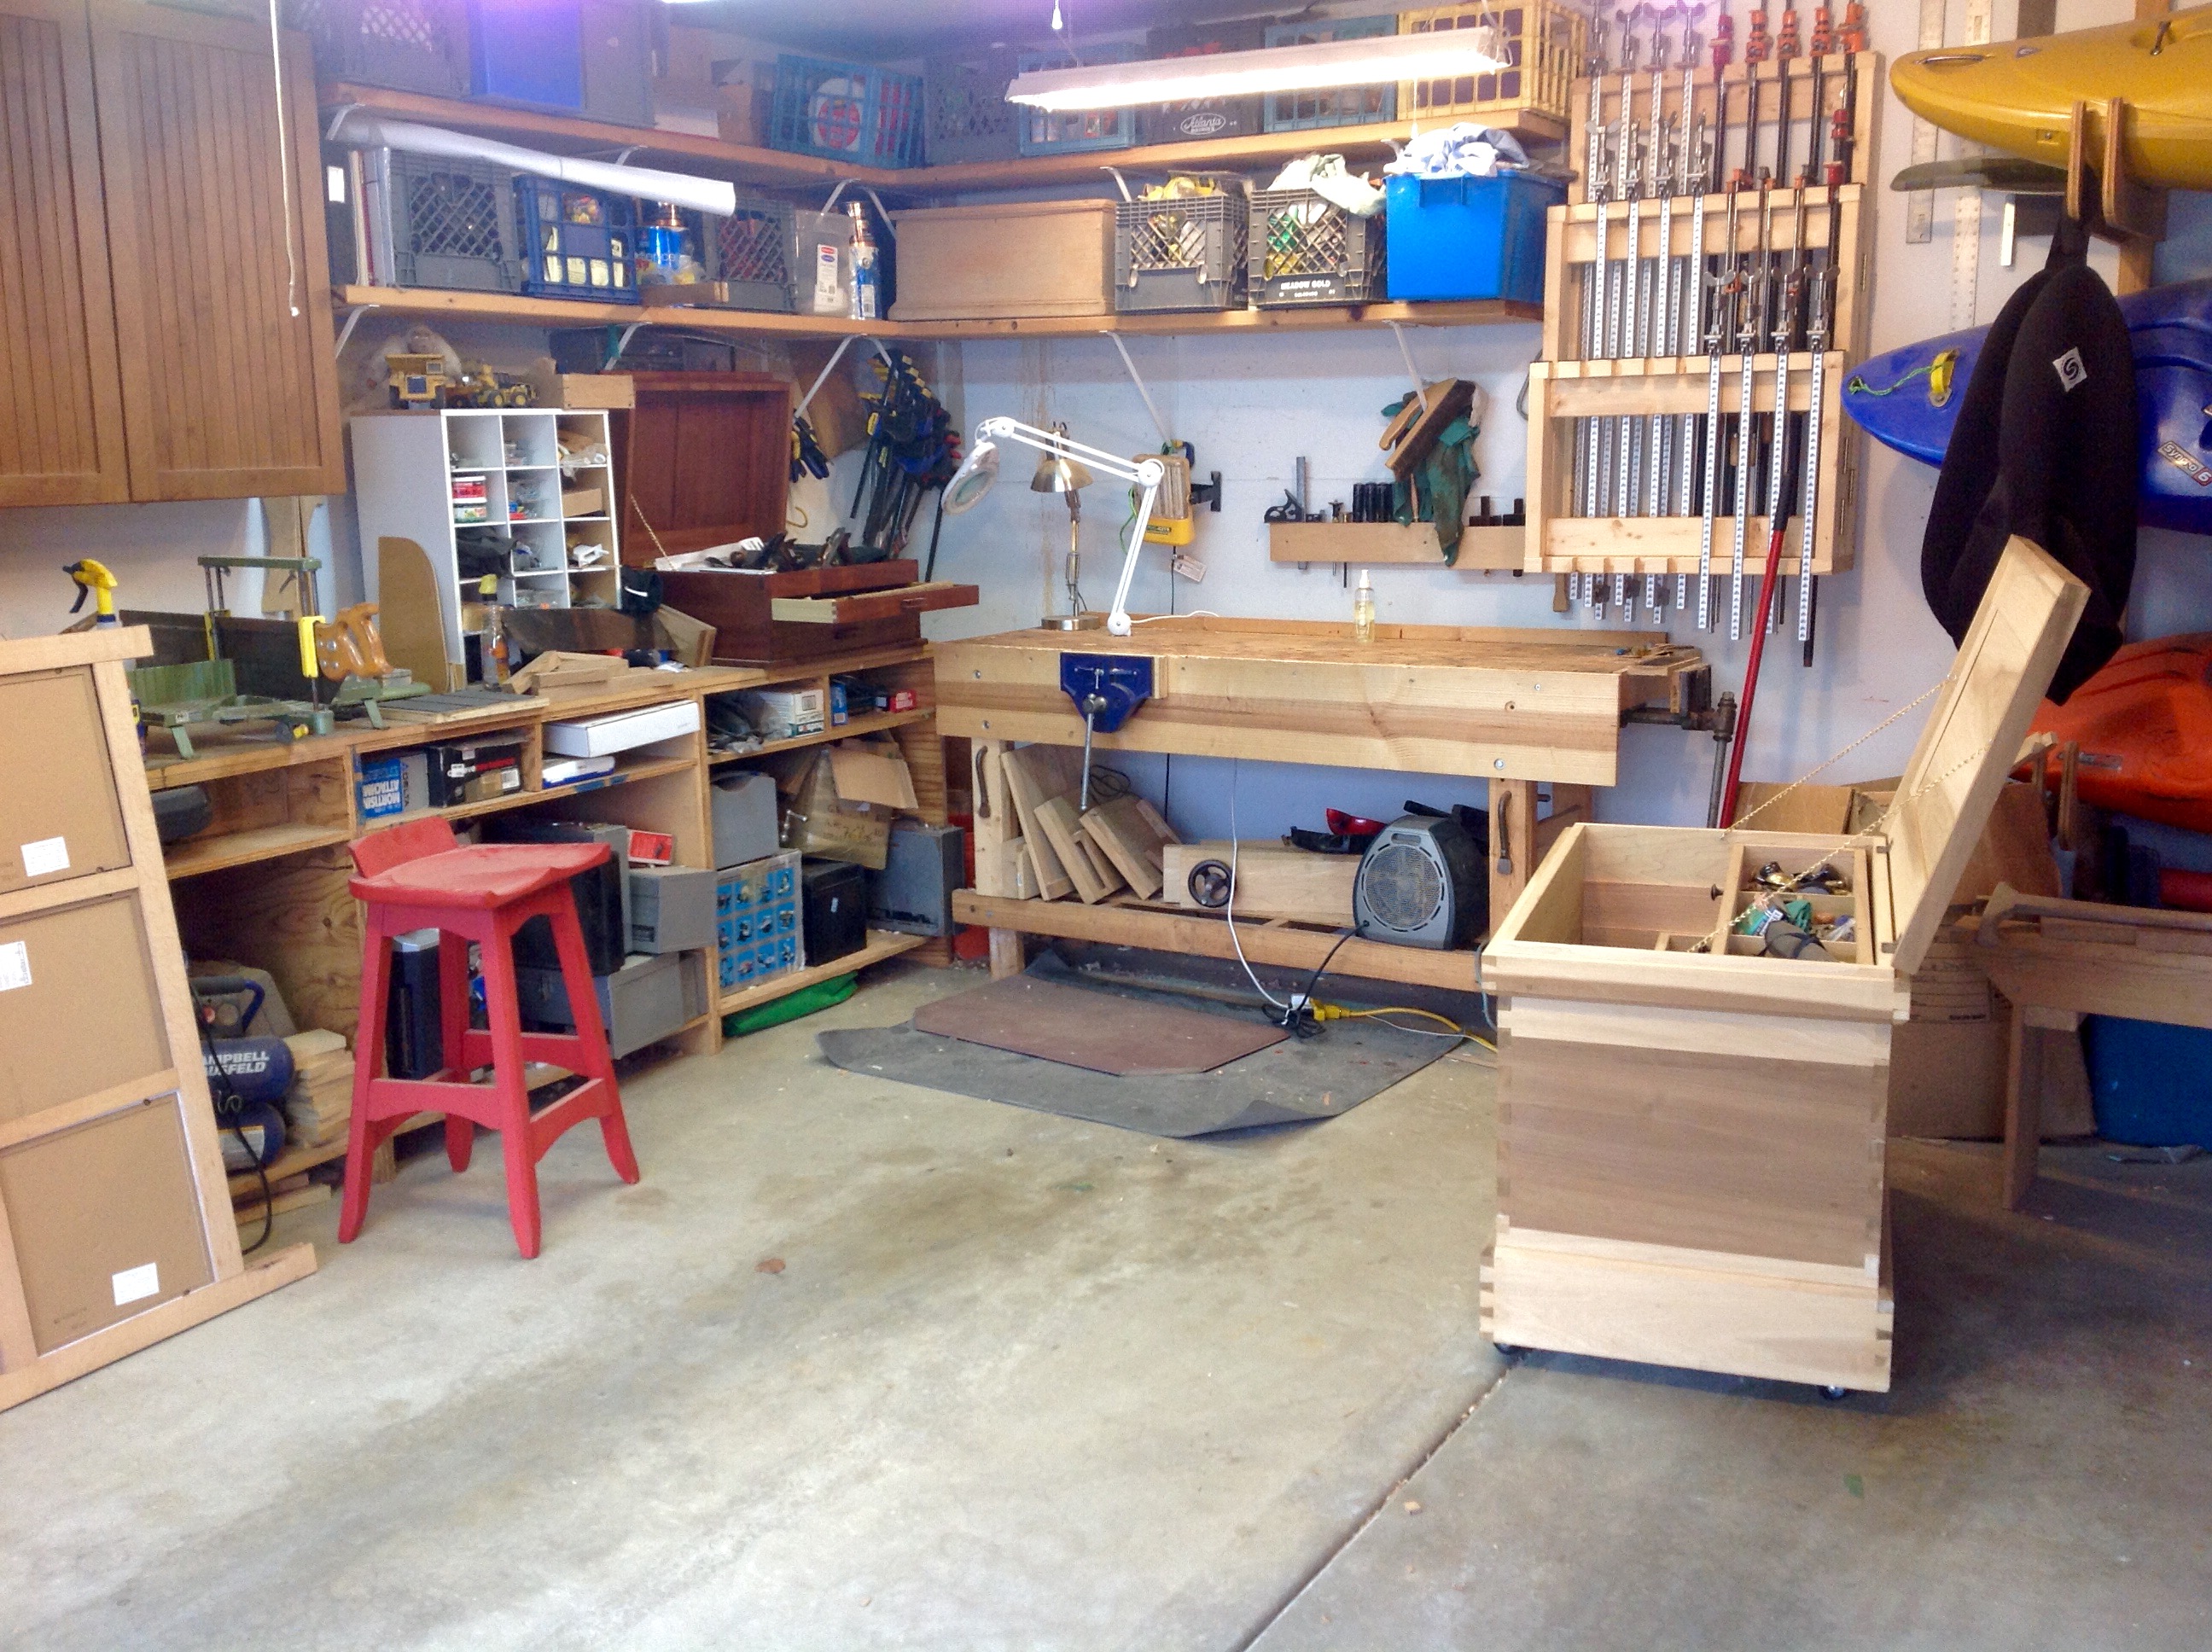 Before you is a bench, not a Nicholson or Roubo, but a bench built by a teenager and his father, modified and strengthened to fit a new purpose. Looking to the right is a large chest unfinished, but inside tools stand oiled and sharp anticipating the next task. On the left a smaller chest immediately at hand. Beneath the lid sit planes needed each day wood is worked. In the first drawer, chisels, marking knives and measuring tools. The second drawer contains saws, R.Groves from the 1790’s and Bad Axe Tools from LaCrosse. Across the shop,diamond plates ready to sharpen, unfinished projects and lumber unworked.
As a new project begins I reach for specific tools, some I put to use, others give me a sense of place. The mortise gage with is curved edges fits carefully in my hand, the Stanley number 7 brings to mind the many lives it has touched over 125 years. The R. Groves saw shows the marks of several lifetimes work. These tools hold secrets that are out of my grasp, but they pull me in. As the metal passes through the wood fibers, the tools speak, the handles warm and their soul shines.
Why do certain tools have a soul, while others sit cold and lifeless?
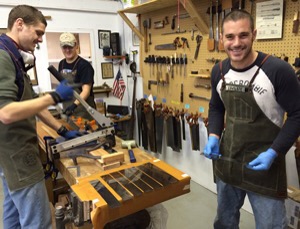 Spending the weekend sharpening saws with the team at Bad Axe Tools I had time to reflect on the art and science of tool making. Years seeking knowledge past and present, months finding the best steel and components and hours of sharpening, all for the birth of a saw. Watching the team I learned the steps of assembly, the areas of caution, I saw the precise movement of hands and eyes seeking perfection. I began to realize that components are only a small part of the soul, the majority comes from the passion of the saw maker.

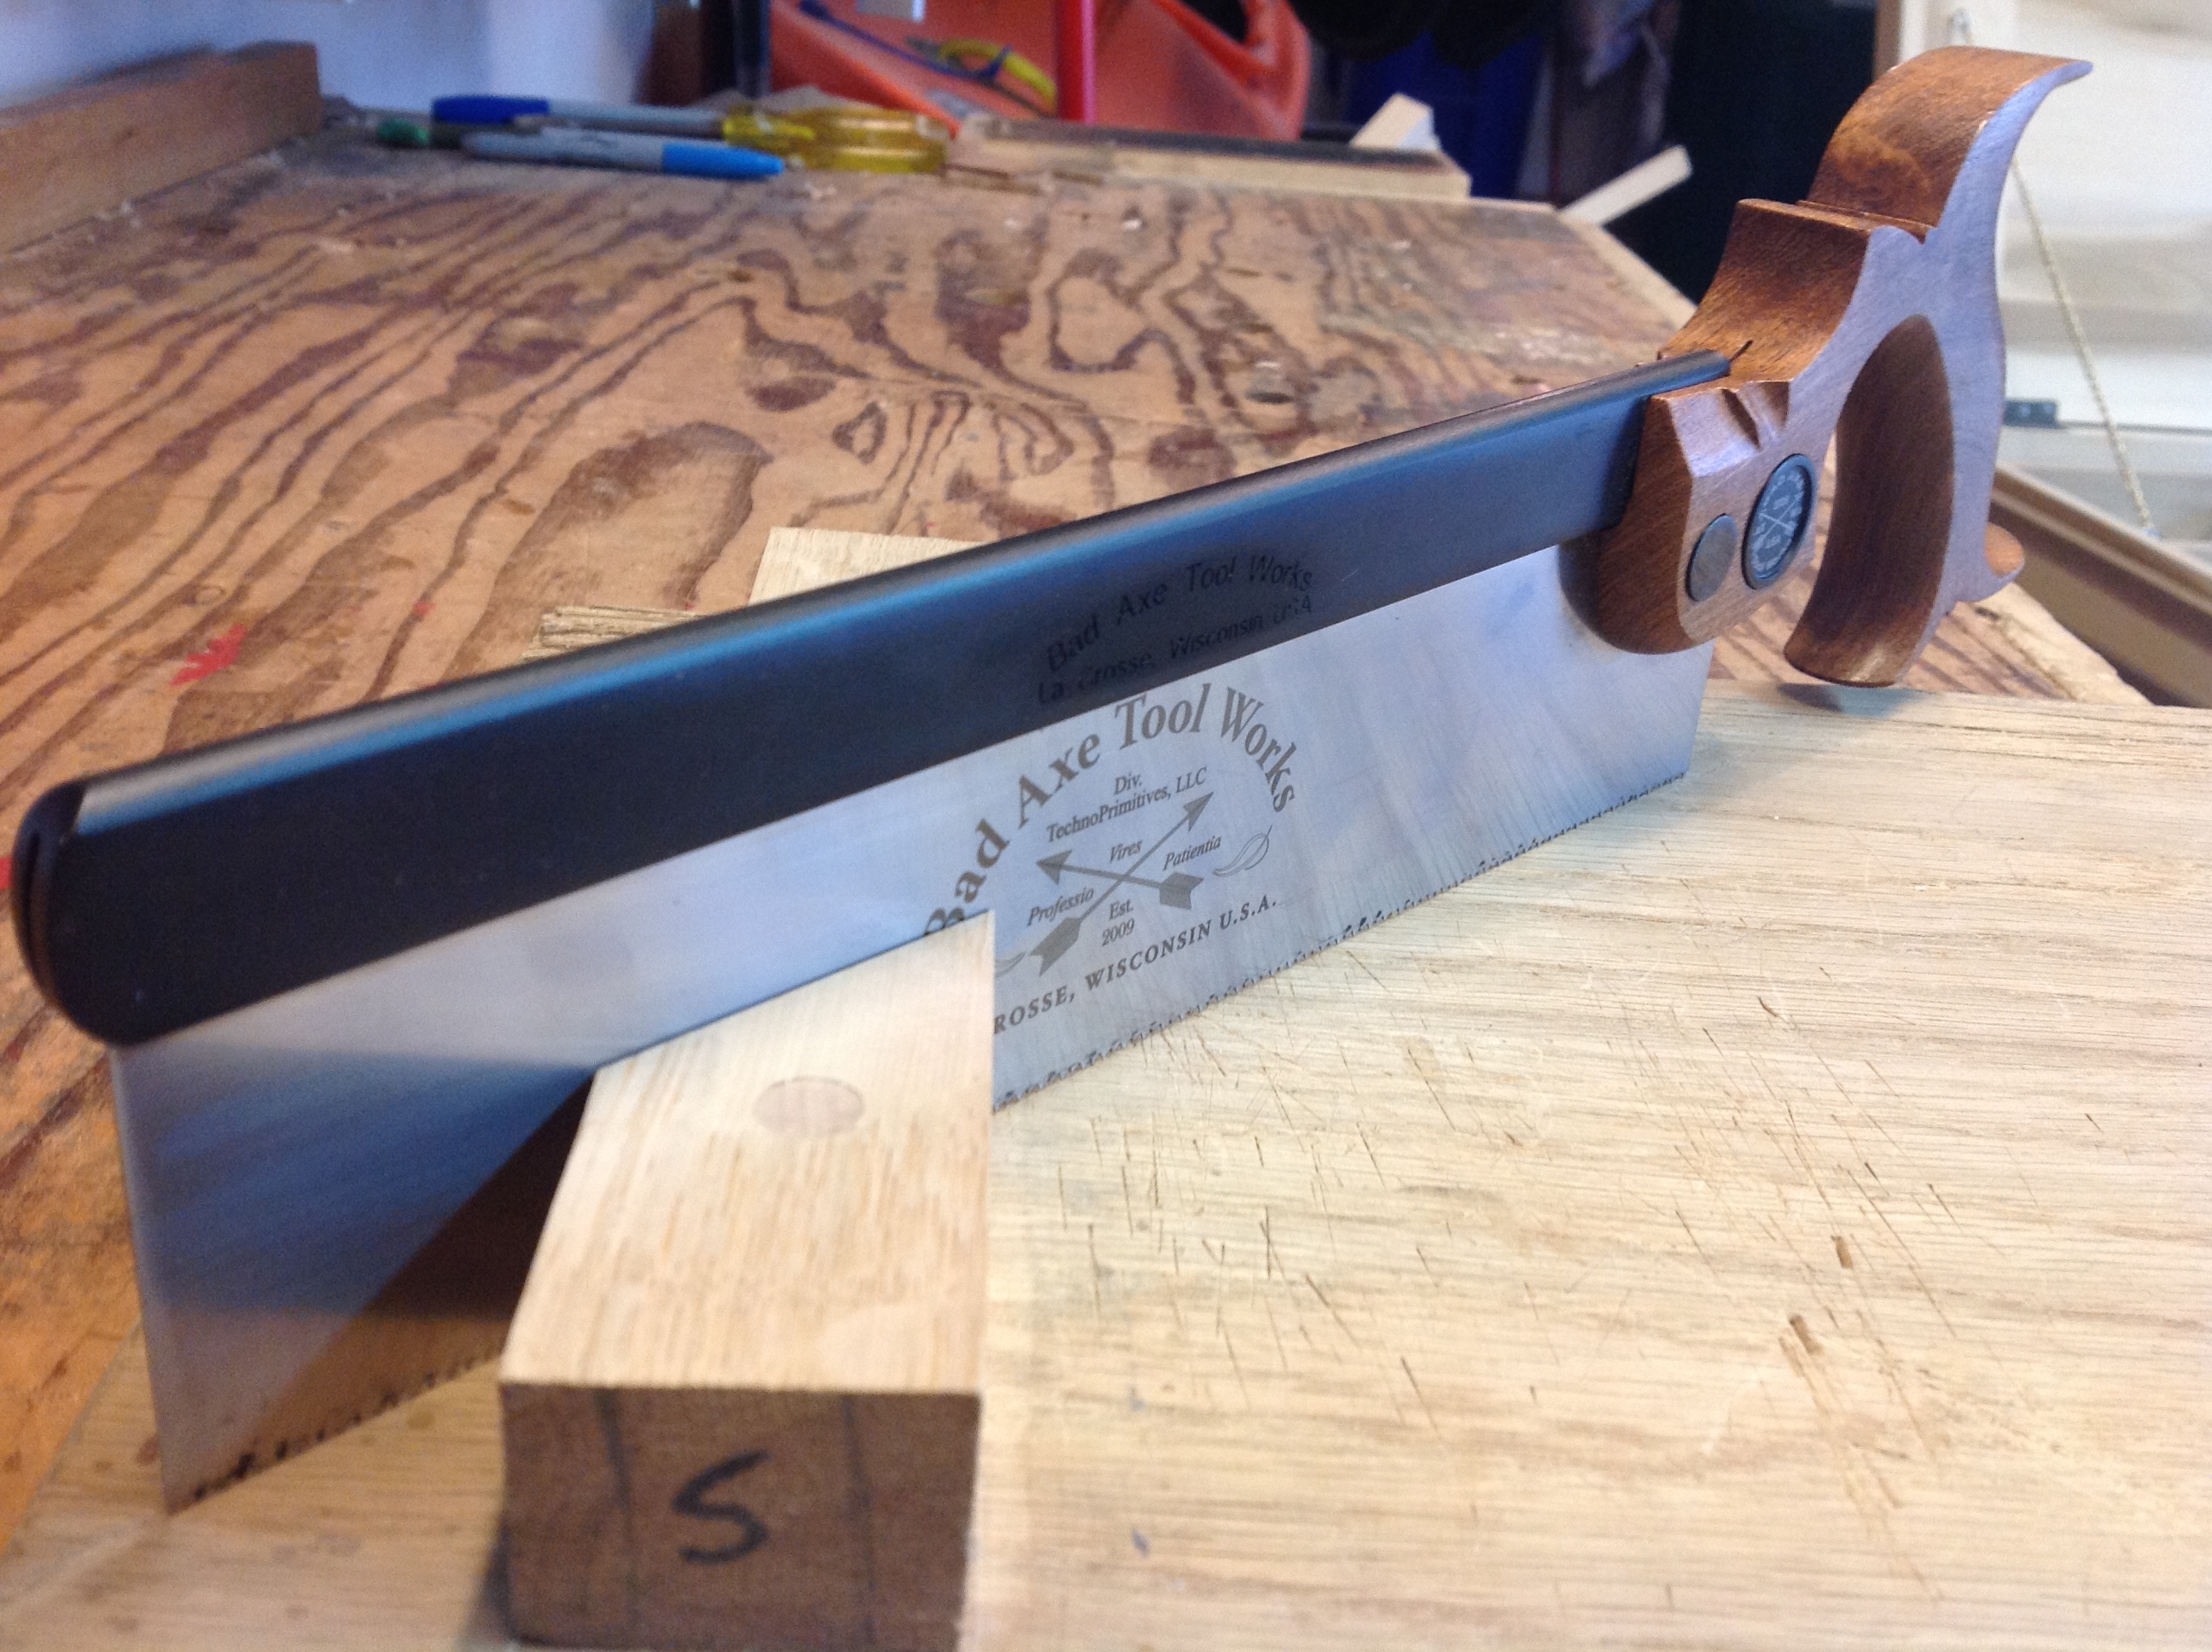
Walking into Bad Axe Tool works you sense that passion is in abundance. Listening to the team build saws I feel my responsibility grow. The responsibility of the saw user to assemble the last piece of soul. As the the saw is worked and furniture built. Hands wear the handle, files shape and sharpen the blade, coats of wax and oil seep into the back and handle, scratches and dings appear. The saw becomes experienced and the soul strengthens and grows. When the time is right, and the saw passed forward, the soul becomes the responsibility of another and another. My Bad Axe Tool Works 15 ppi dovetail saw….
Perhaps you should consider tools with soul……..

There are no shortcuts
I spent 4 hours last weekend working on a Christmas gift for my daughter before throwing in the towel. The idea was good, the plans were good, the wood was bad. When I listened to my daughters plan, I began envisioning how to build it, the obstacles I would meet and how to overcome them. Upon walking into my shop area, I threw it all out the window in order to use some of the scrap lumber I had on hand. Taking twisted scraps of poor quality pine I planed and chiseled until I was totally dissatisfied with the results.
Tonight I spent two hours dimensioning some red oak, cutting grooves and enjoying my time in the shop. What a difference the right lumber makes.
Saw Blade Maintenance
Most of my blogs cover the hand tool aspects of my woodworking. like many of you I do use power tools when it makes sense. Today I wanted to quickly dimension several piece of lumber so the table saw came out.  After the first cut I realized I had to make some changes, burn marks marked the freshly sawn edge and I could hear the saw struggle with what should have been an easy cut. Removing the blade, build up was obvious on each tooth.
Grabbing a pair of gloves, oven cleaner and a grocery bag. I sprayed each tooth, placed the blade in a bag, tied the bag shut and let it sit for an hour. Not sure where I picked up this method of cleaning a blade but it works well and is quick.
While waiting for the magic to happen I cleaned the surface of the saw and waxed it. then decided to check the alignment of the fence.I have done this periodically and every time I find that the alignment has strayed so it was with little surprise that I had to spend a few minutes making adjustments to the fence.
The saw is a Delta contractors saw made in the early 90’s. Noting fancy but it has been adequate over the years.  My only real grip has been the need to make this fence adjustment over and over again. As long as I remember to continue checking, it should not be a problem going forward.
Opening the grocery bag I pulled out the saw blade and wiped away the oven cleaner. In a couple of minutes I could see that it had worked its magic and all of the accumulated residue was gone.
Placing it back into the saw, I double checked its alignment and found no issues.
Once buttoned up the saw was ready to work. Grabbing the oak I continued to dimension the pieces I would need to make the Craftsman style lantern. The cuts were correctly aligned with no burn marks and I sensed no more struggle from the saw.

Flea Market Wanderings
 Over the last couple of weeks I’ve done little woodworking. Spent most of my time running and working. This weekend I’ve been a little under the weather so spent a couple of hours wandering the local flea market.
Noticed this workbench which didn’t appear to be more then 28″ tall but extremely well made. Had bolts so it could be disassembled. My first thought was a child’s work bench but looking at the top it had a lot of use. I kept looking for moulding planes, but had little luck. I came across many rabbit planes some bench planes and even threw out a number on a saw vise. but no one seemed to be in the mood to haggle and prices were high.
The market did get my mind churning as I looked at antiques and new pieces. The latest trend seems to be reclaimed lumber table tops and chests. Some well built, many assembled with nails. I also saw many pieces of stained glass that had been framed. It would seem that with the weight of some of these pieces a mortise and tenon joint or pegged saddle joint would have been more appropriate.
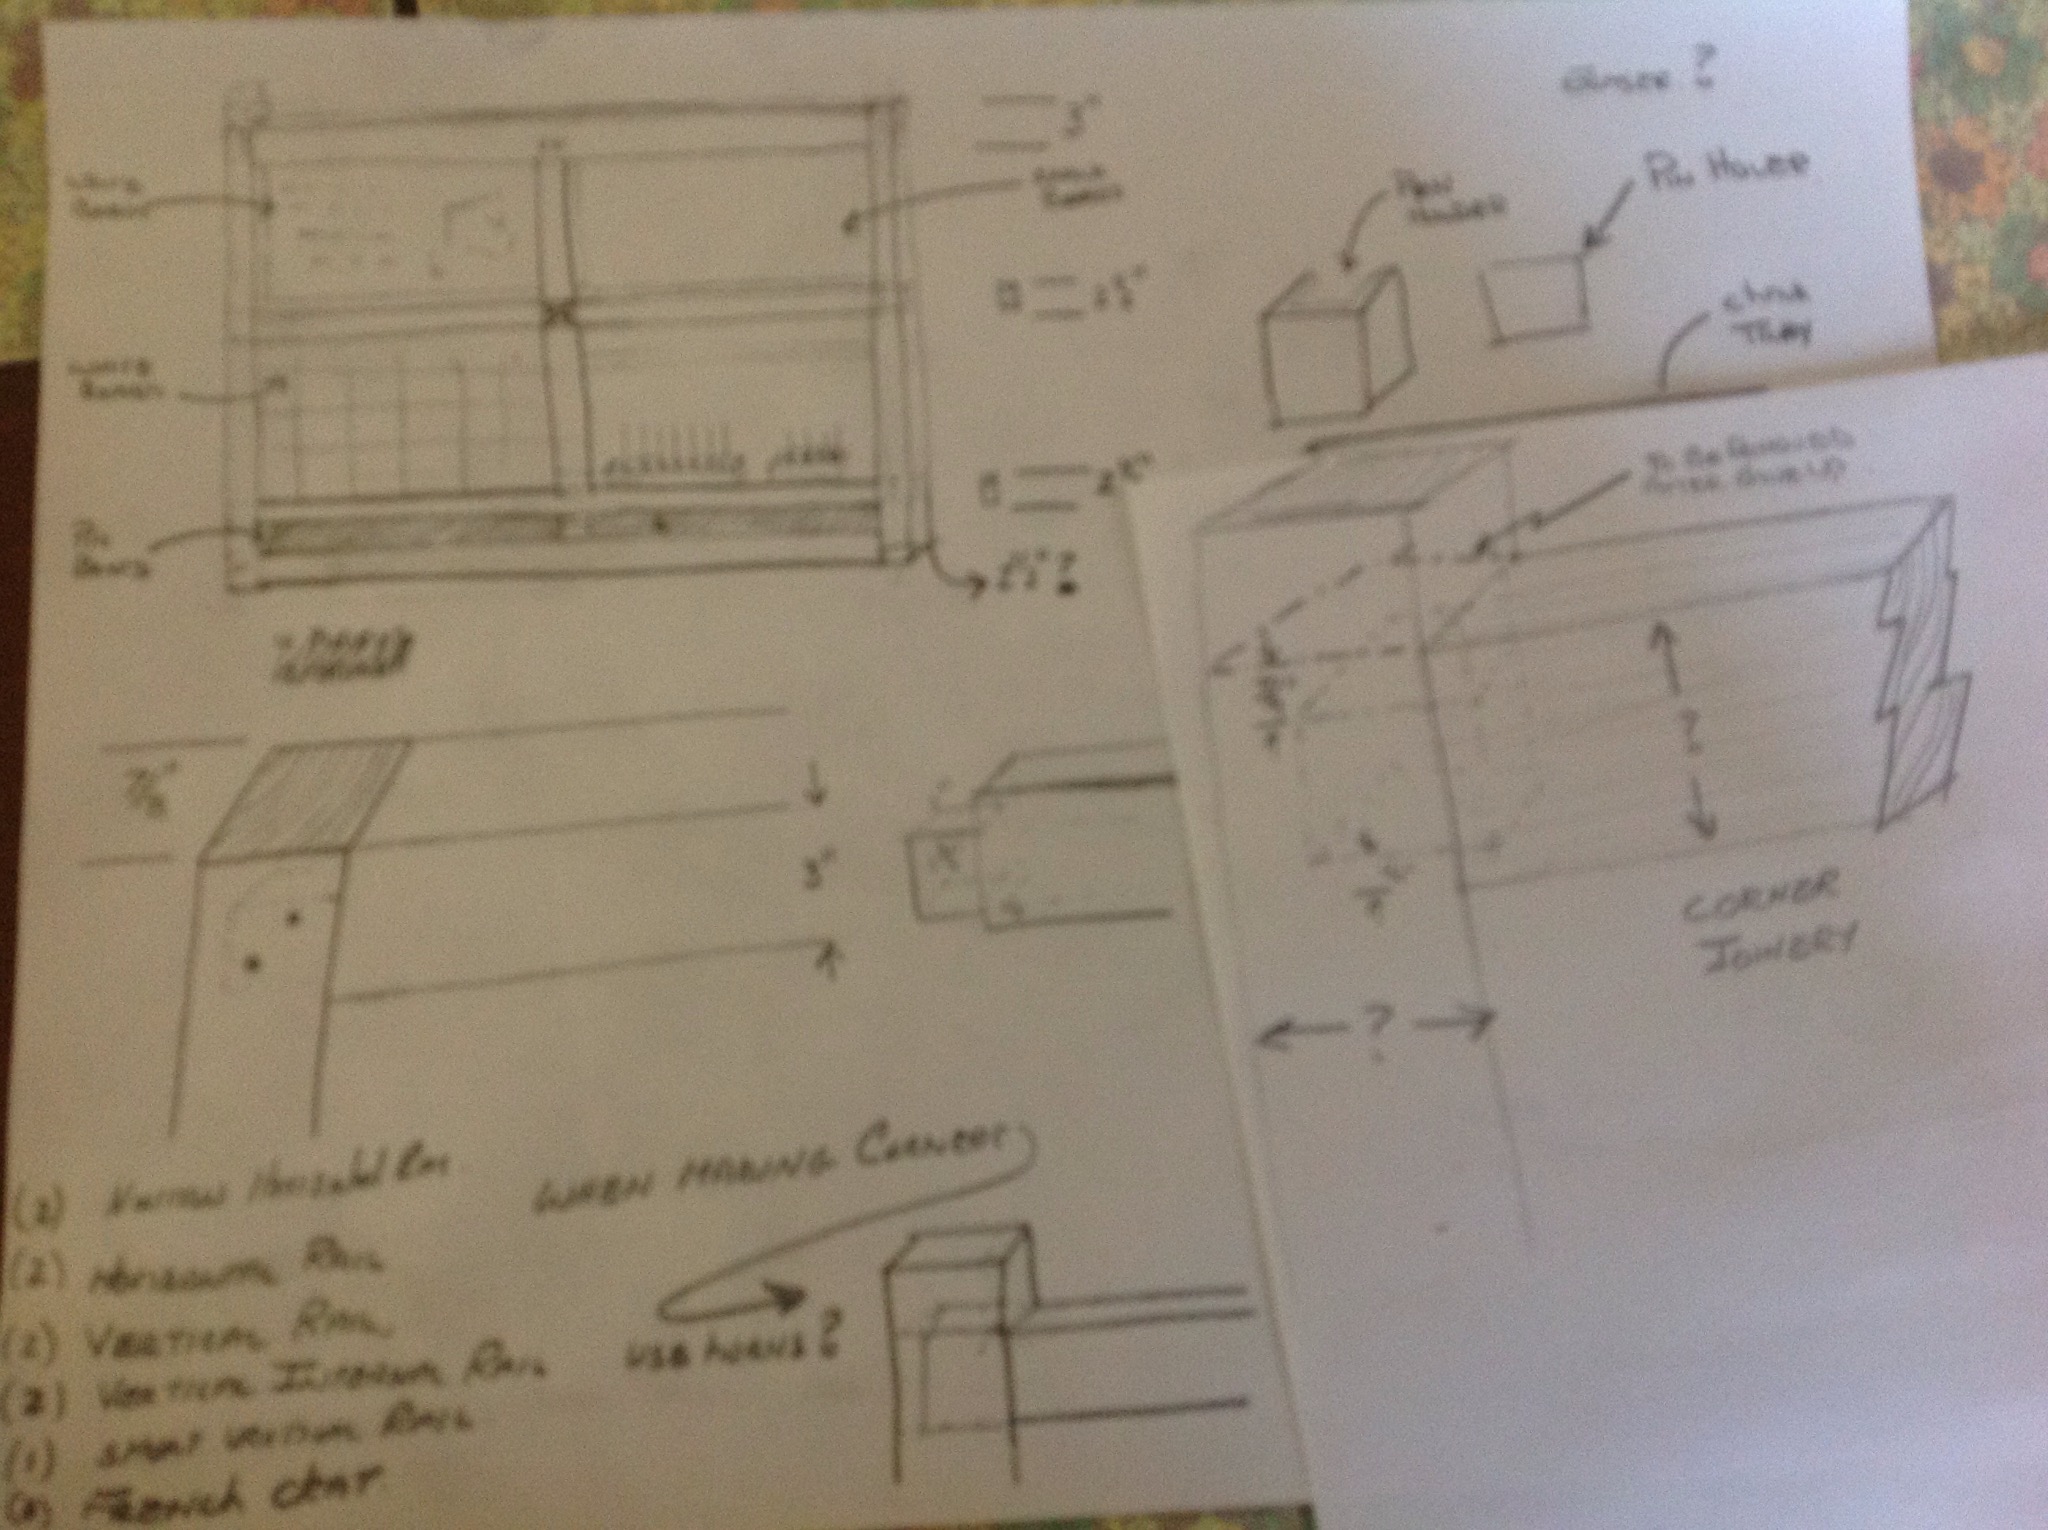
The best part was that I began to plan my next project….An organizer for my daughter. She showed me a picture in a magazine that she liked and I began plotting out the joints and pieces. If I am luck I can get it done for Christmas.
An Empty Bench
Typically there is a list of projects that I want to tackle. Since finishing the table last weekend I have cleaned up a Stanley #12 that has been sitting under my bench. Discovering that the blade angle is adjustable. Not sure how I missed that, but I’m looking forward to trying it out an some particularly gnarly wood.
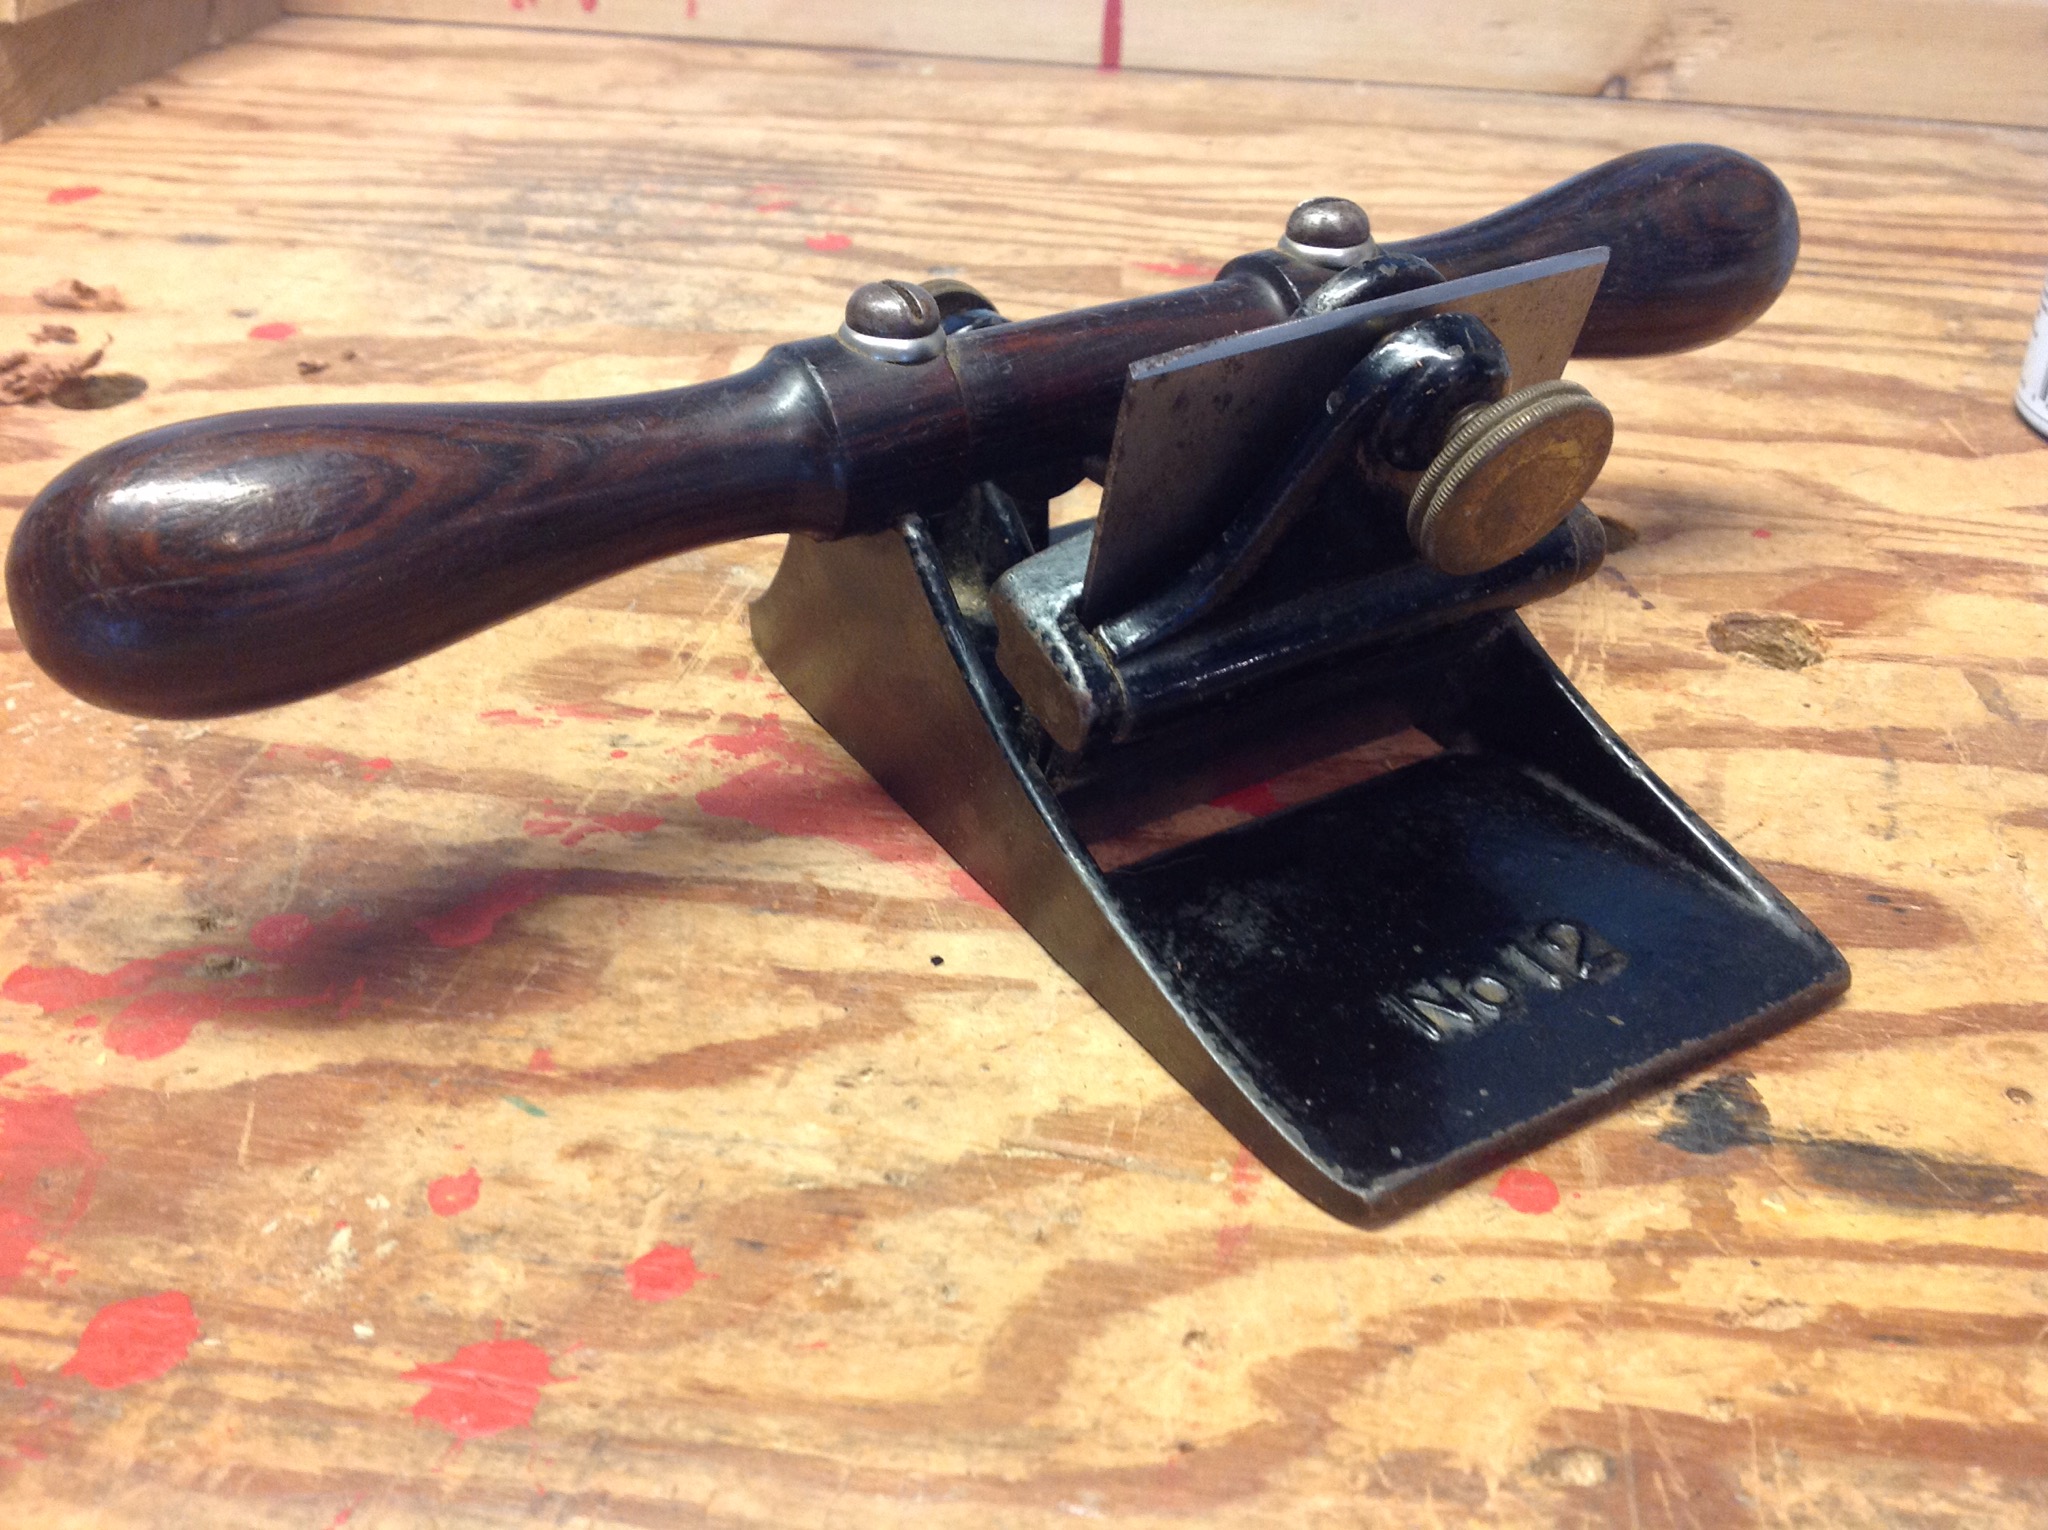
The plane cleaned up nicely and with a little oil on the threads the angle adjustment works easily. As I sharpened the blade I realized that it had a moderate camber. The blade is not overly long and looks well used and with the camber I wonder about what this plane has seen. Digging around on the web,there was not a lot written, so I’ll have to keep reading and do some experimentation. If anyone has some experience or resources I’d love to hear from you.
Sitting next to my bench are plans for Paul Sellers Arts and Craft Lantern. Stock is selected and it is also by the bench. I recently realized that Greg Merritt prepared the plans for Paul. They are awesome! Greg stops by my blog as I’m sure he has visited yours and always adds some great comments. If you have’t seen his work take a look.
Next I spent some time figuring out how to use Instagram. Eventually adding a link on the right side of my blog. If you tap on the picture it will connect to that site and you can see a couple of pictures. Over time I will use it to drop in quick snapshots. Hopefully through that link I will be able to cross paths with a new group of woodworkers and learn new skills and designs.
Digging around in a coupe of boxes I pulled out this transition plane. I use it occasionally and enjoy the feeling of its wood sole gliding across a board. Seems that many people have a dislike for these planes although it combines the adjustability of the Stanley bench planes with the wooden sole. Beside a couple of moulding planes and a curved plane it is the only wooden bodied plane I own. Whenever I use it, I think about finding a transition smoothing plane and giving it a try. A quick coat of oil on the metal parts and some Danish oil on the wood and I tucked the plane away until I need it.
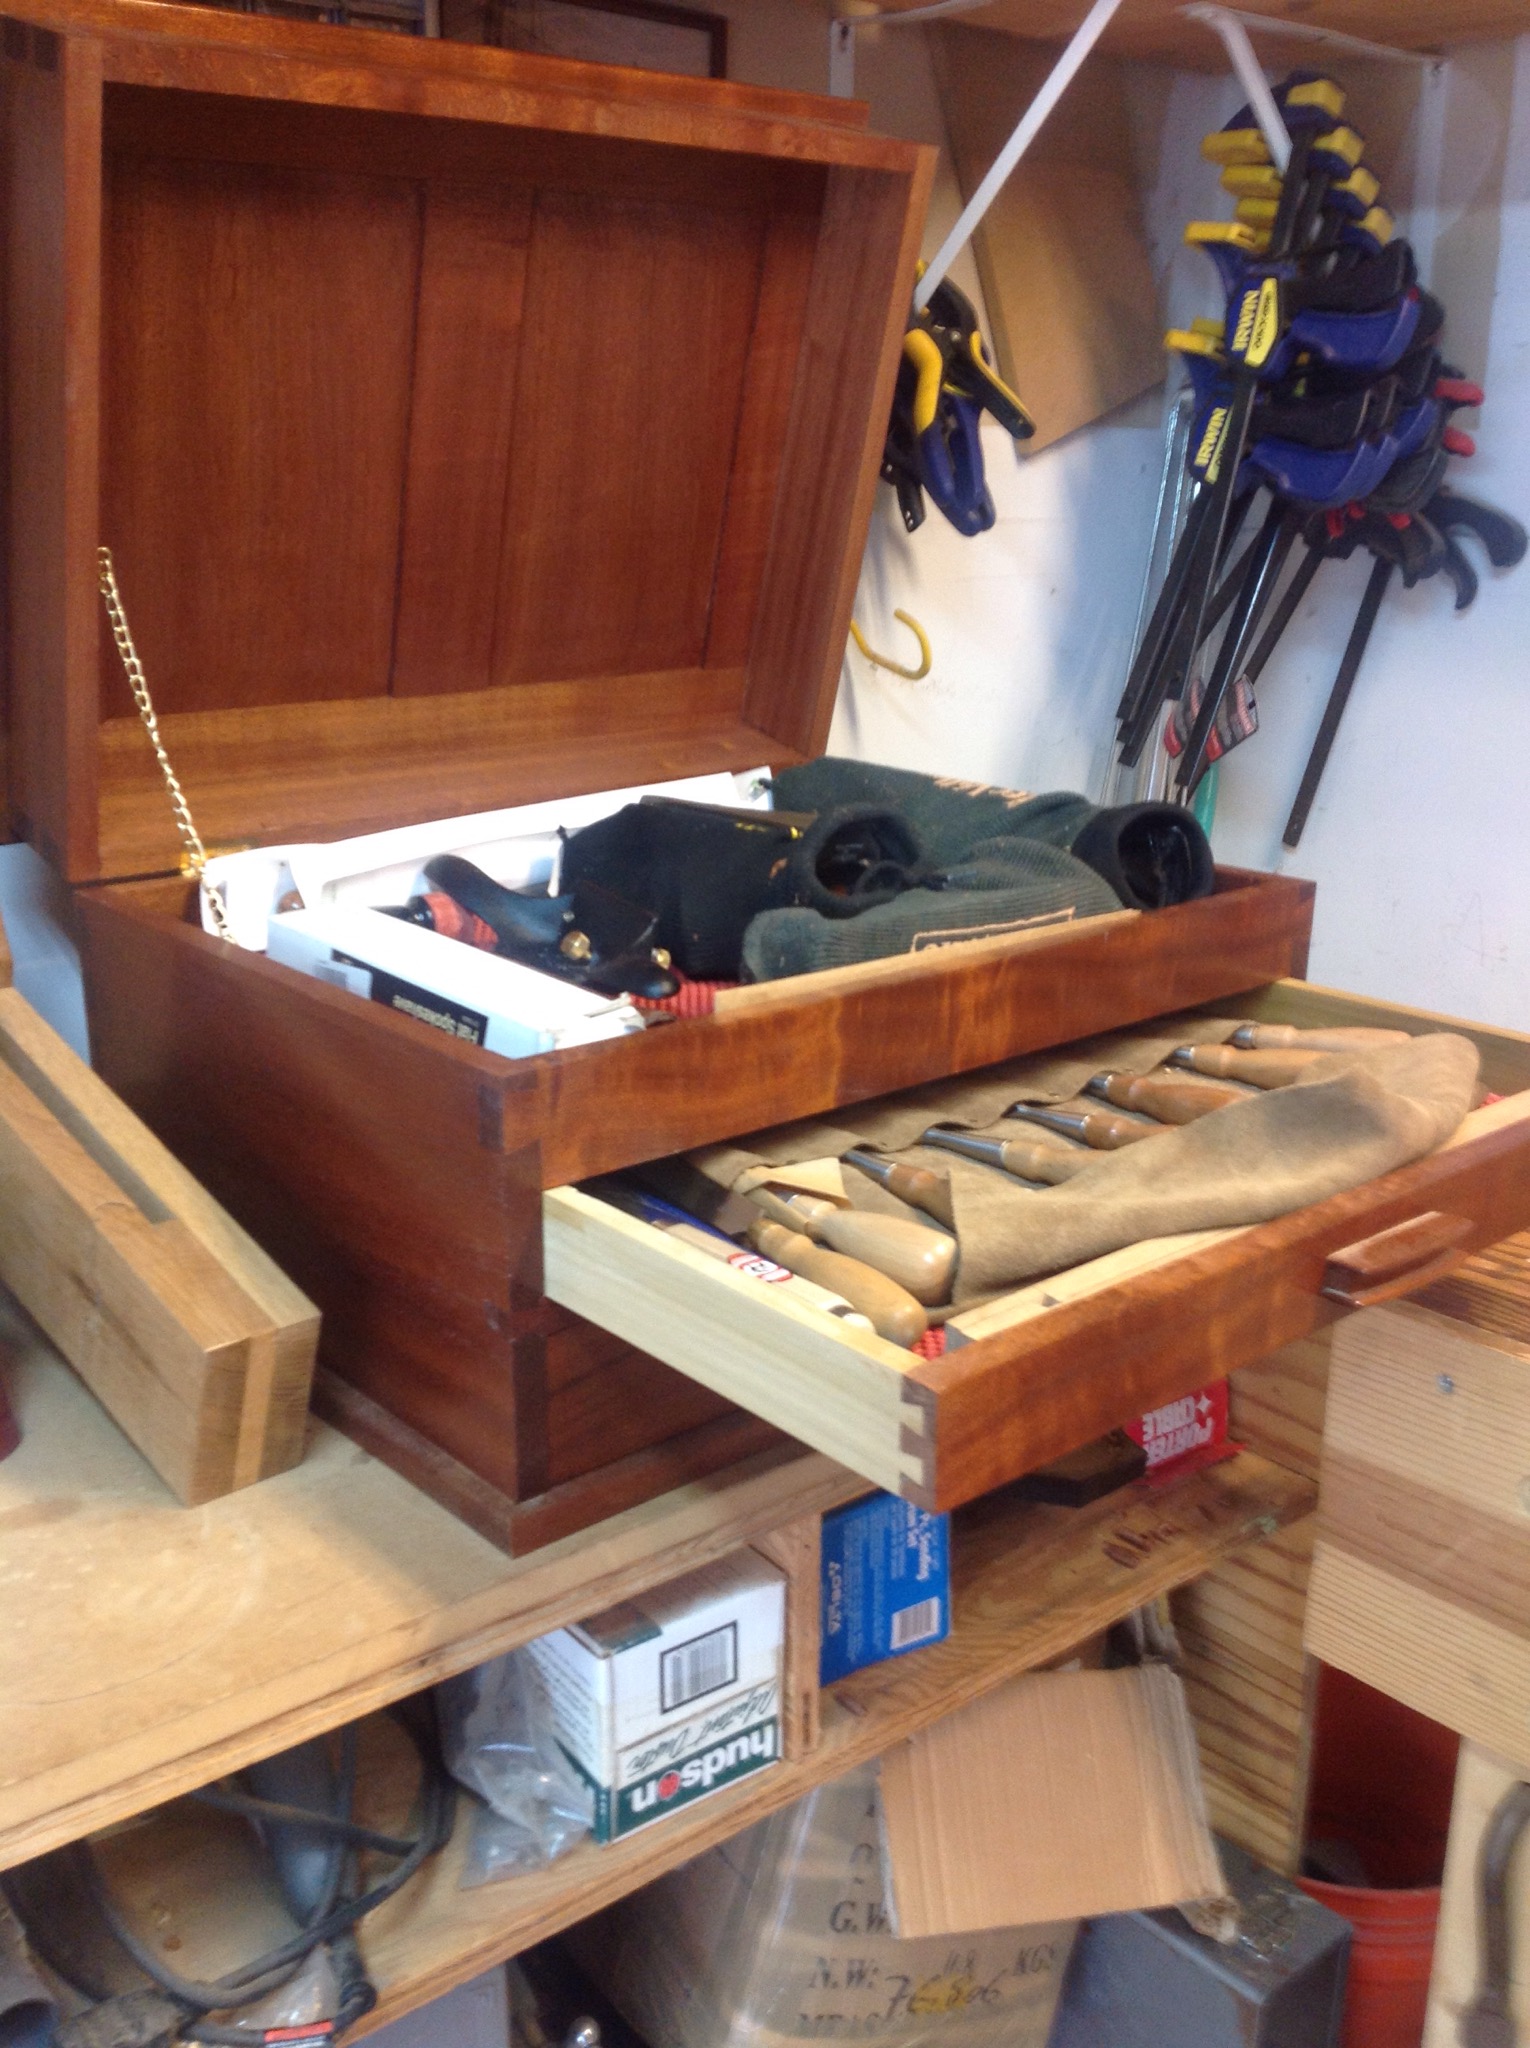
Then I sharpened all the chisels and planes that are kept in my small tool chest. These are the ones I use constantly and keep close at hand. Keeping the planes in plane socks seems to have solved most of my rust problems during the seasonal changes. Working in an unheated space like most of you is always a challenge for tool maintenance.
Thats a basic summary of my week. Not a lot of woodworking but some much need time caring for tools and preparing for my next project. The big question is what will it be? For now the bench is empty.
Arts and Craft Side Table Finished
A final coat of wax this morning and the side table is complete. This was an enjoyable project, the joinery was a challenge, but the project small enough to complete relatively quickly.


The through mortises have such a different grain then other parts of the table. It makes the careful fitting worthwhile.
As I tidy my bench and spend time sharpening planes and chisels my mind wanders. I smile at my small tool chest as the tools are put away; I look across at my son sitting upon the shop stool, for a moment it’s peaceful.
Arts and Craft Side Table – Finishing
This morning was spent easing the top edges and preparing for finish.

Using a spokeshave the edges were trimmed. Took a little time and I found myself reversing the spokeshave, angling side to side and all but standing on my head to work through the various grain direction. Finally the edges were complete.
Attaching the top only took a few minutes and then I did a quick sanding, looking for tool marks and pencil marks that needed to be removed.

Finally a coat of sanding sealer is on and I will add another coat before the day is done.
Arts and Craft Side Table Top
Most of you know that the majority of my woodwork is by hand. Typically the only time I use power tools is during my stock preparation and then only after hand planing one side and the edges by hand.
The top of the arts and craft side table is round. As I thought about the best way to cut it, I decided to pull out my very dusty bandsaw and make a quick jig. 30 minutes later I had a quarter of the top cut, a stalled blade and a big mess. An hour later I had a roughed out table top cut with a hand saw and smoothed with a #4 and spoke shave. There’s still a little more work to get it perfectly round and smooth but sure was a simpler more peaceful process.

Side table Glue Up
A beautiful morning to spend a couple of hours dovetailing the upper rails to the legs of the table. Then I began the careful process of erasing all of the pencil marks, chamfering the bottoms of the legs so they don’t splinter and a quick sanding.
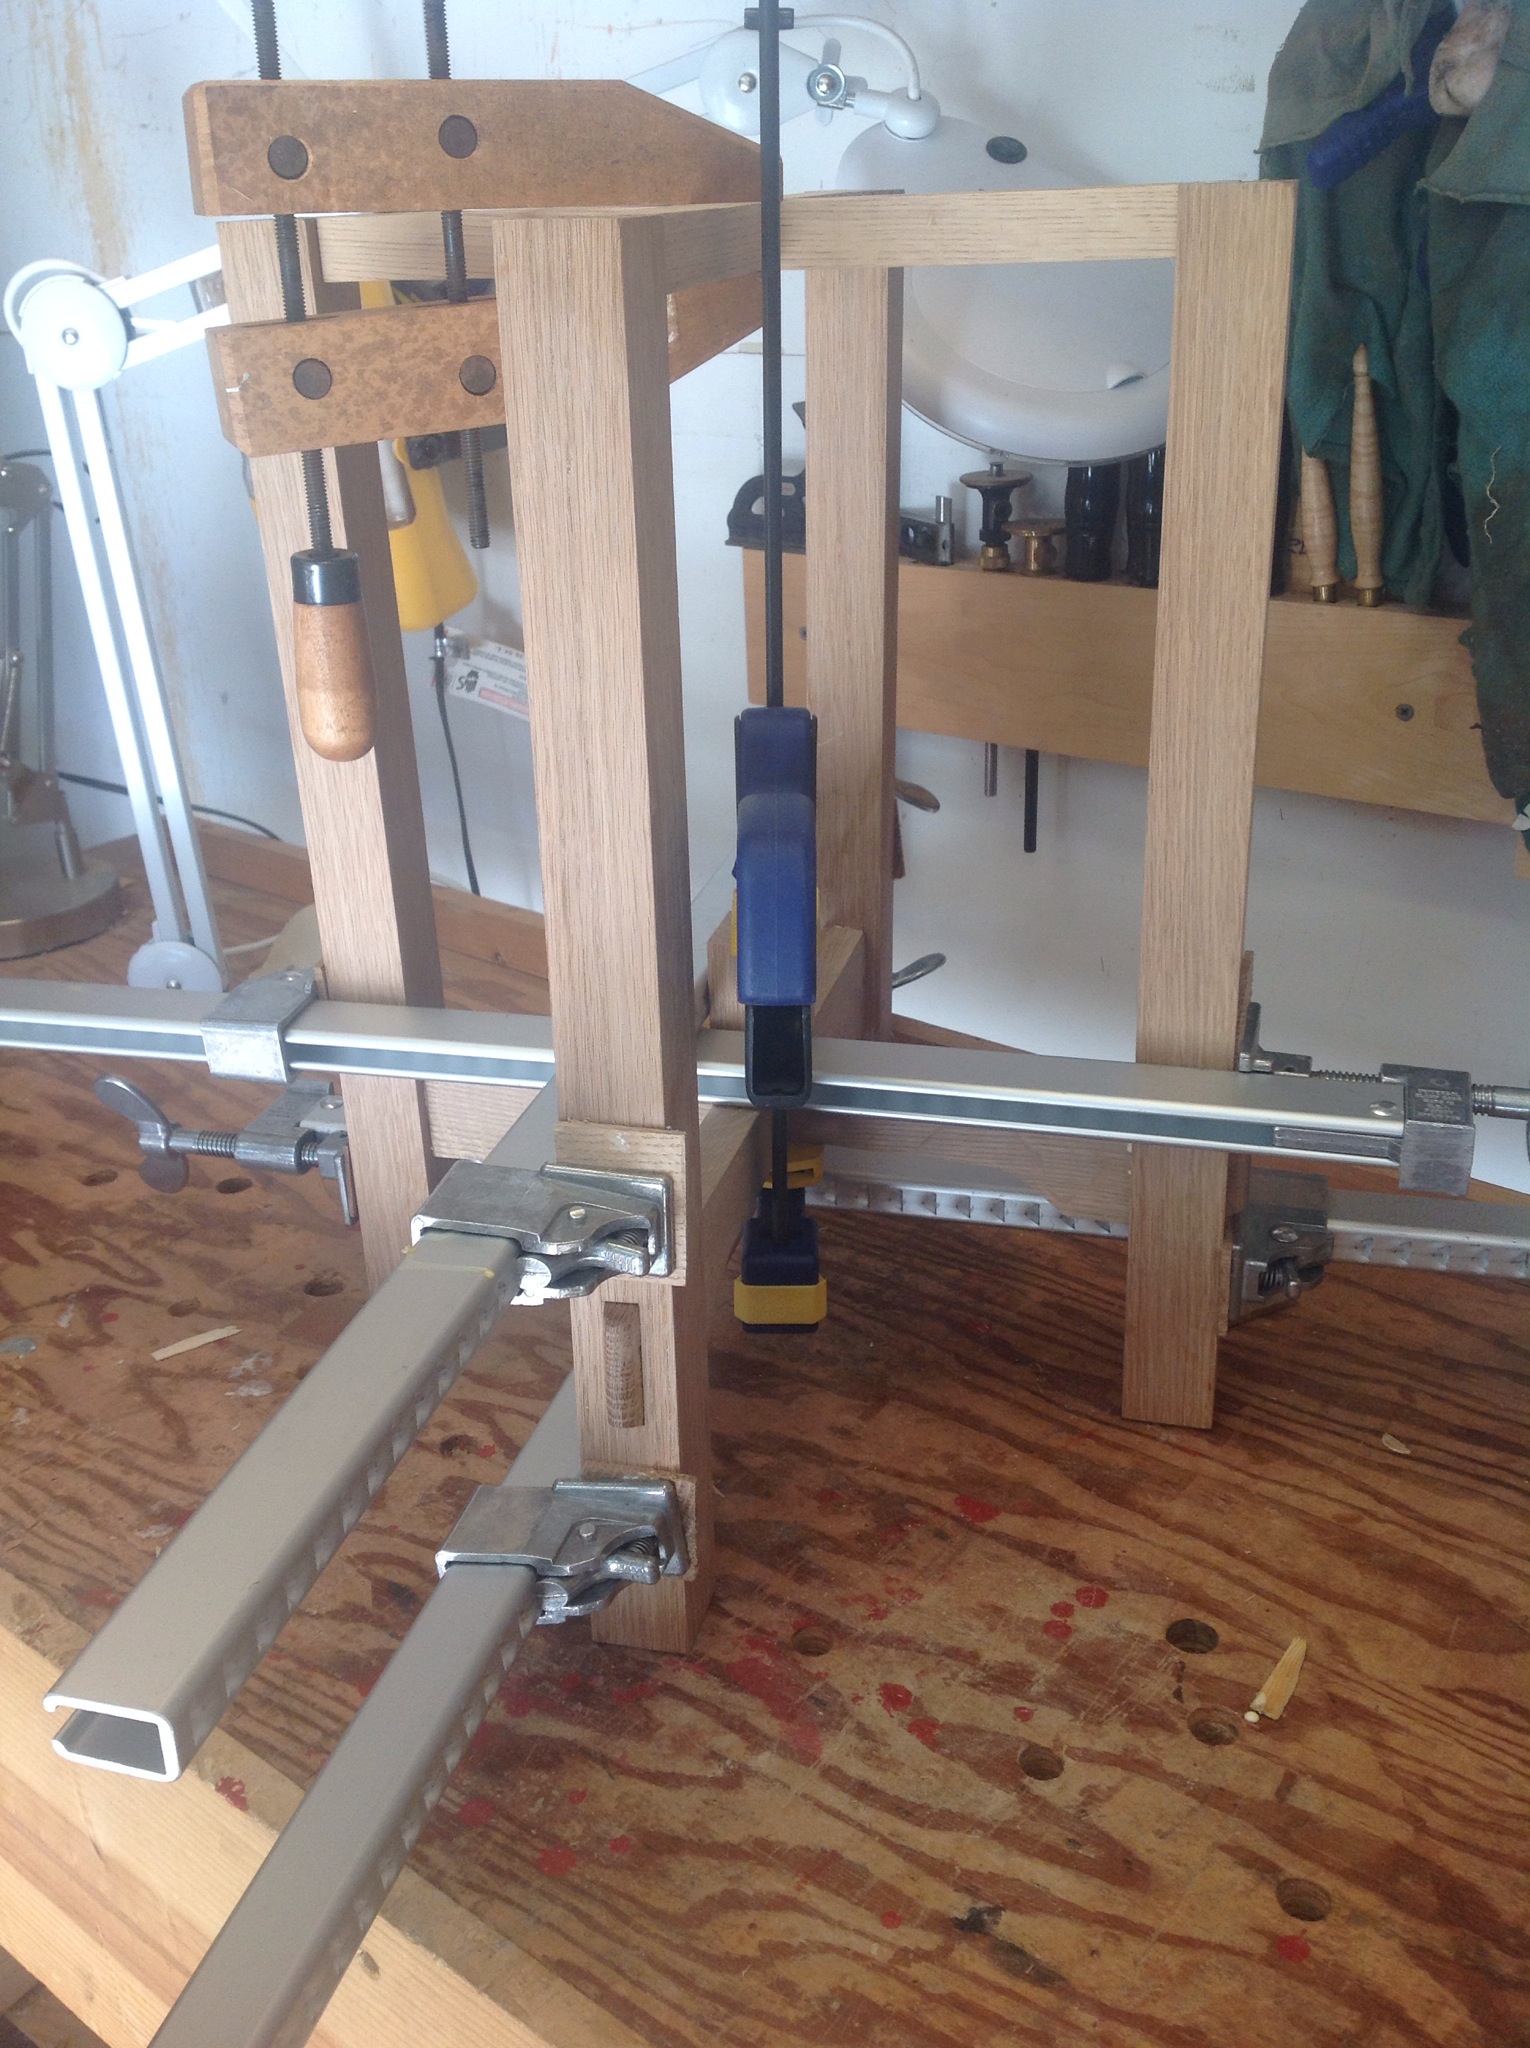
Glue up went without a hitch until I tried to insert one of the lower rails upside down. Fortunately the mistake was obvious and quickly rectified. With the clamps In place there was little do do except begin gluing up boards for the top.
Not sure how to finish but I am considering a natural look without stain to match the coffee table a made last year.
