Archive
Cherry Coffee Table – The shelf
The reason that I like to build this table is the shelf and through mortises. In the original project by Paul Sellers he talked about the amount of practice that the large number of mortise snd tenons provide. He is absolutely correct snd since doing the first piece I have no fear of this joint whether produced by hand or machine.
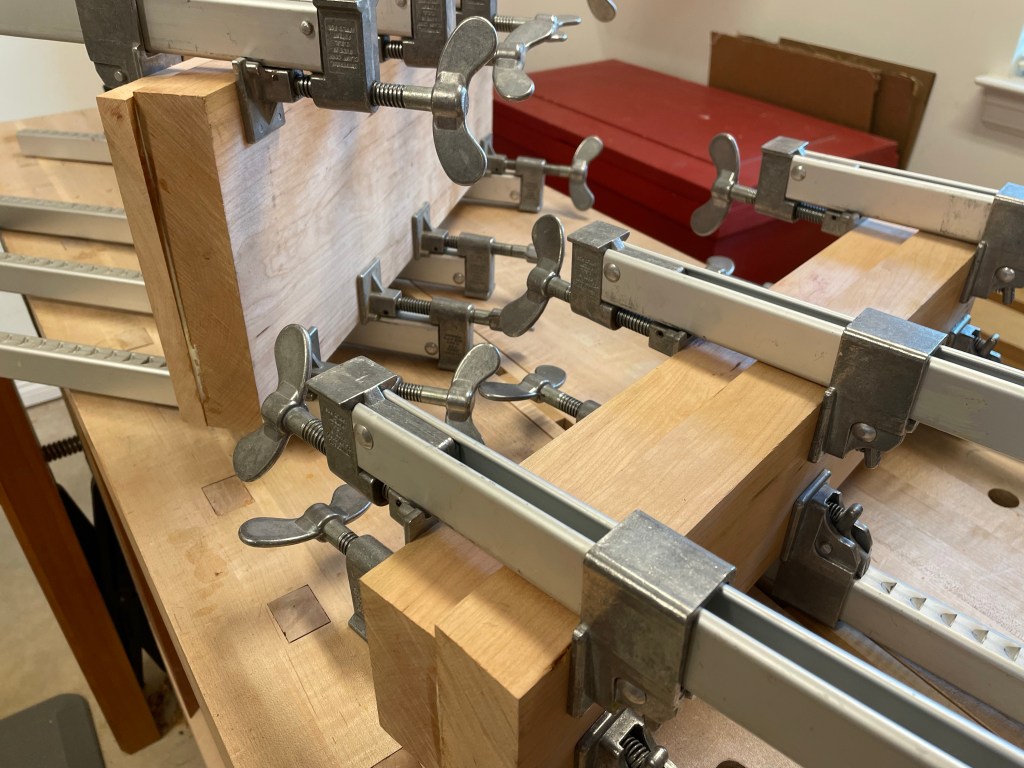
The shelf is a great opportunity to think about selection of wood and matching as much as possible. The pieces I select have all come from a single board. It is not as easily viewed as the top but it definitely draws the eye. Once the wood is selected the outer shelf rails must be fitted to the lower end rails. These are done with through mortise and tenons in the same fashion as the through mortises on the legs. This can be a challenging fit and my advice is to assemble the table and place the shelf side rails on top of the side rail for marking. This is most easily done with the table in clamps.

Once the rails were marked the tenons were cut to match the mortises (cut in a similar fashion to the previous blog). A few things to think about as you are doing this. The table needs to be clamped and all of the angles checked to make sure it is in its final position. I actually had to put a clamp diagonally across to make a slight adjustment. Exact marking and measurement will be essential. There are many joints to come and getting these four correct will make things much easier.
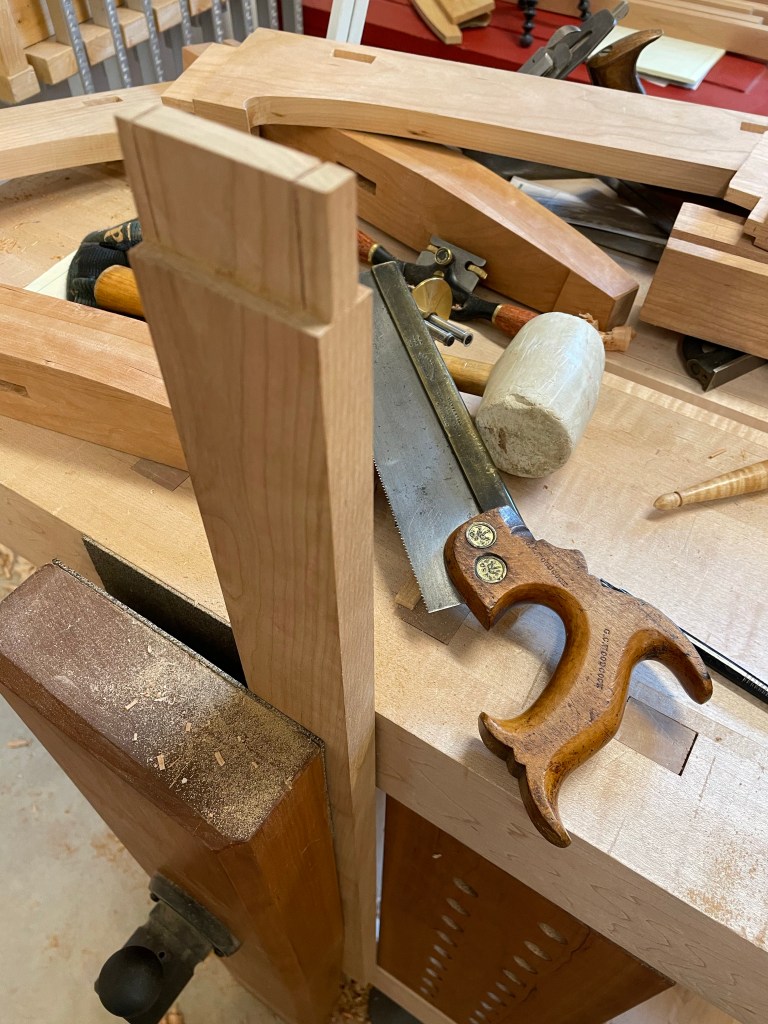

Once the tenons are cut, they must be fitted into the side rail. If all goes well you will end up with a tight joint.

Once the two outer rails are in place and the fits have been adjusted, lay out the remainder of the shelf pieces and mark them.
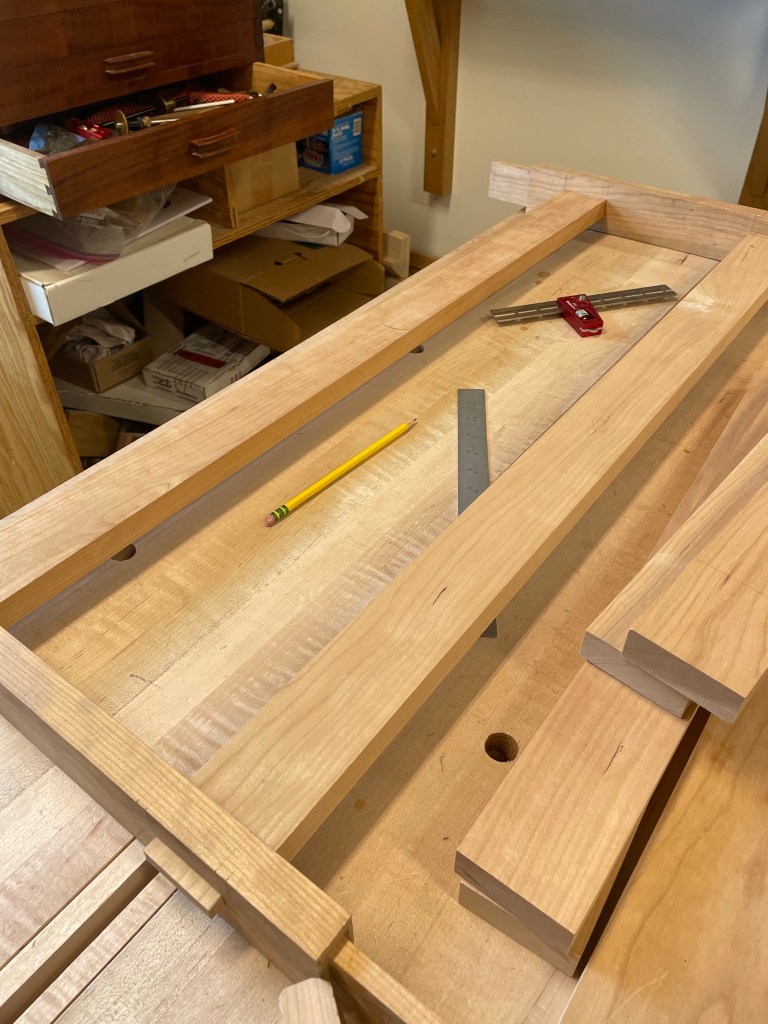


Maybe I’m unusual but I really enjoy matching all these parts and getting the fit perfect. Also its ok to make a mistake here, I actually ended up cutting a board short and had to make another.
Cherry Coffee Table Shaping the Legs
When I began woodworking, the thought of making a curve was very intimidating. Looking at a piece of furniture I found it difficult to envision how shapes were made and what tools are required. Thanks to the internet and classes from Paul Sellers, I realize that with a little practice most things are possible. The shaped legs are really a matter of using hand planes to cut to the desired shape or trim with a saw and shape with a plane.

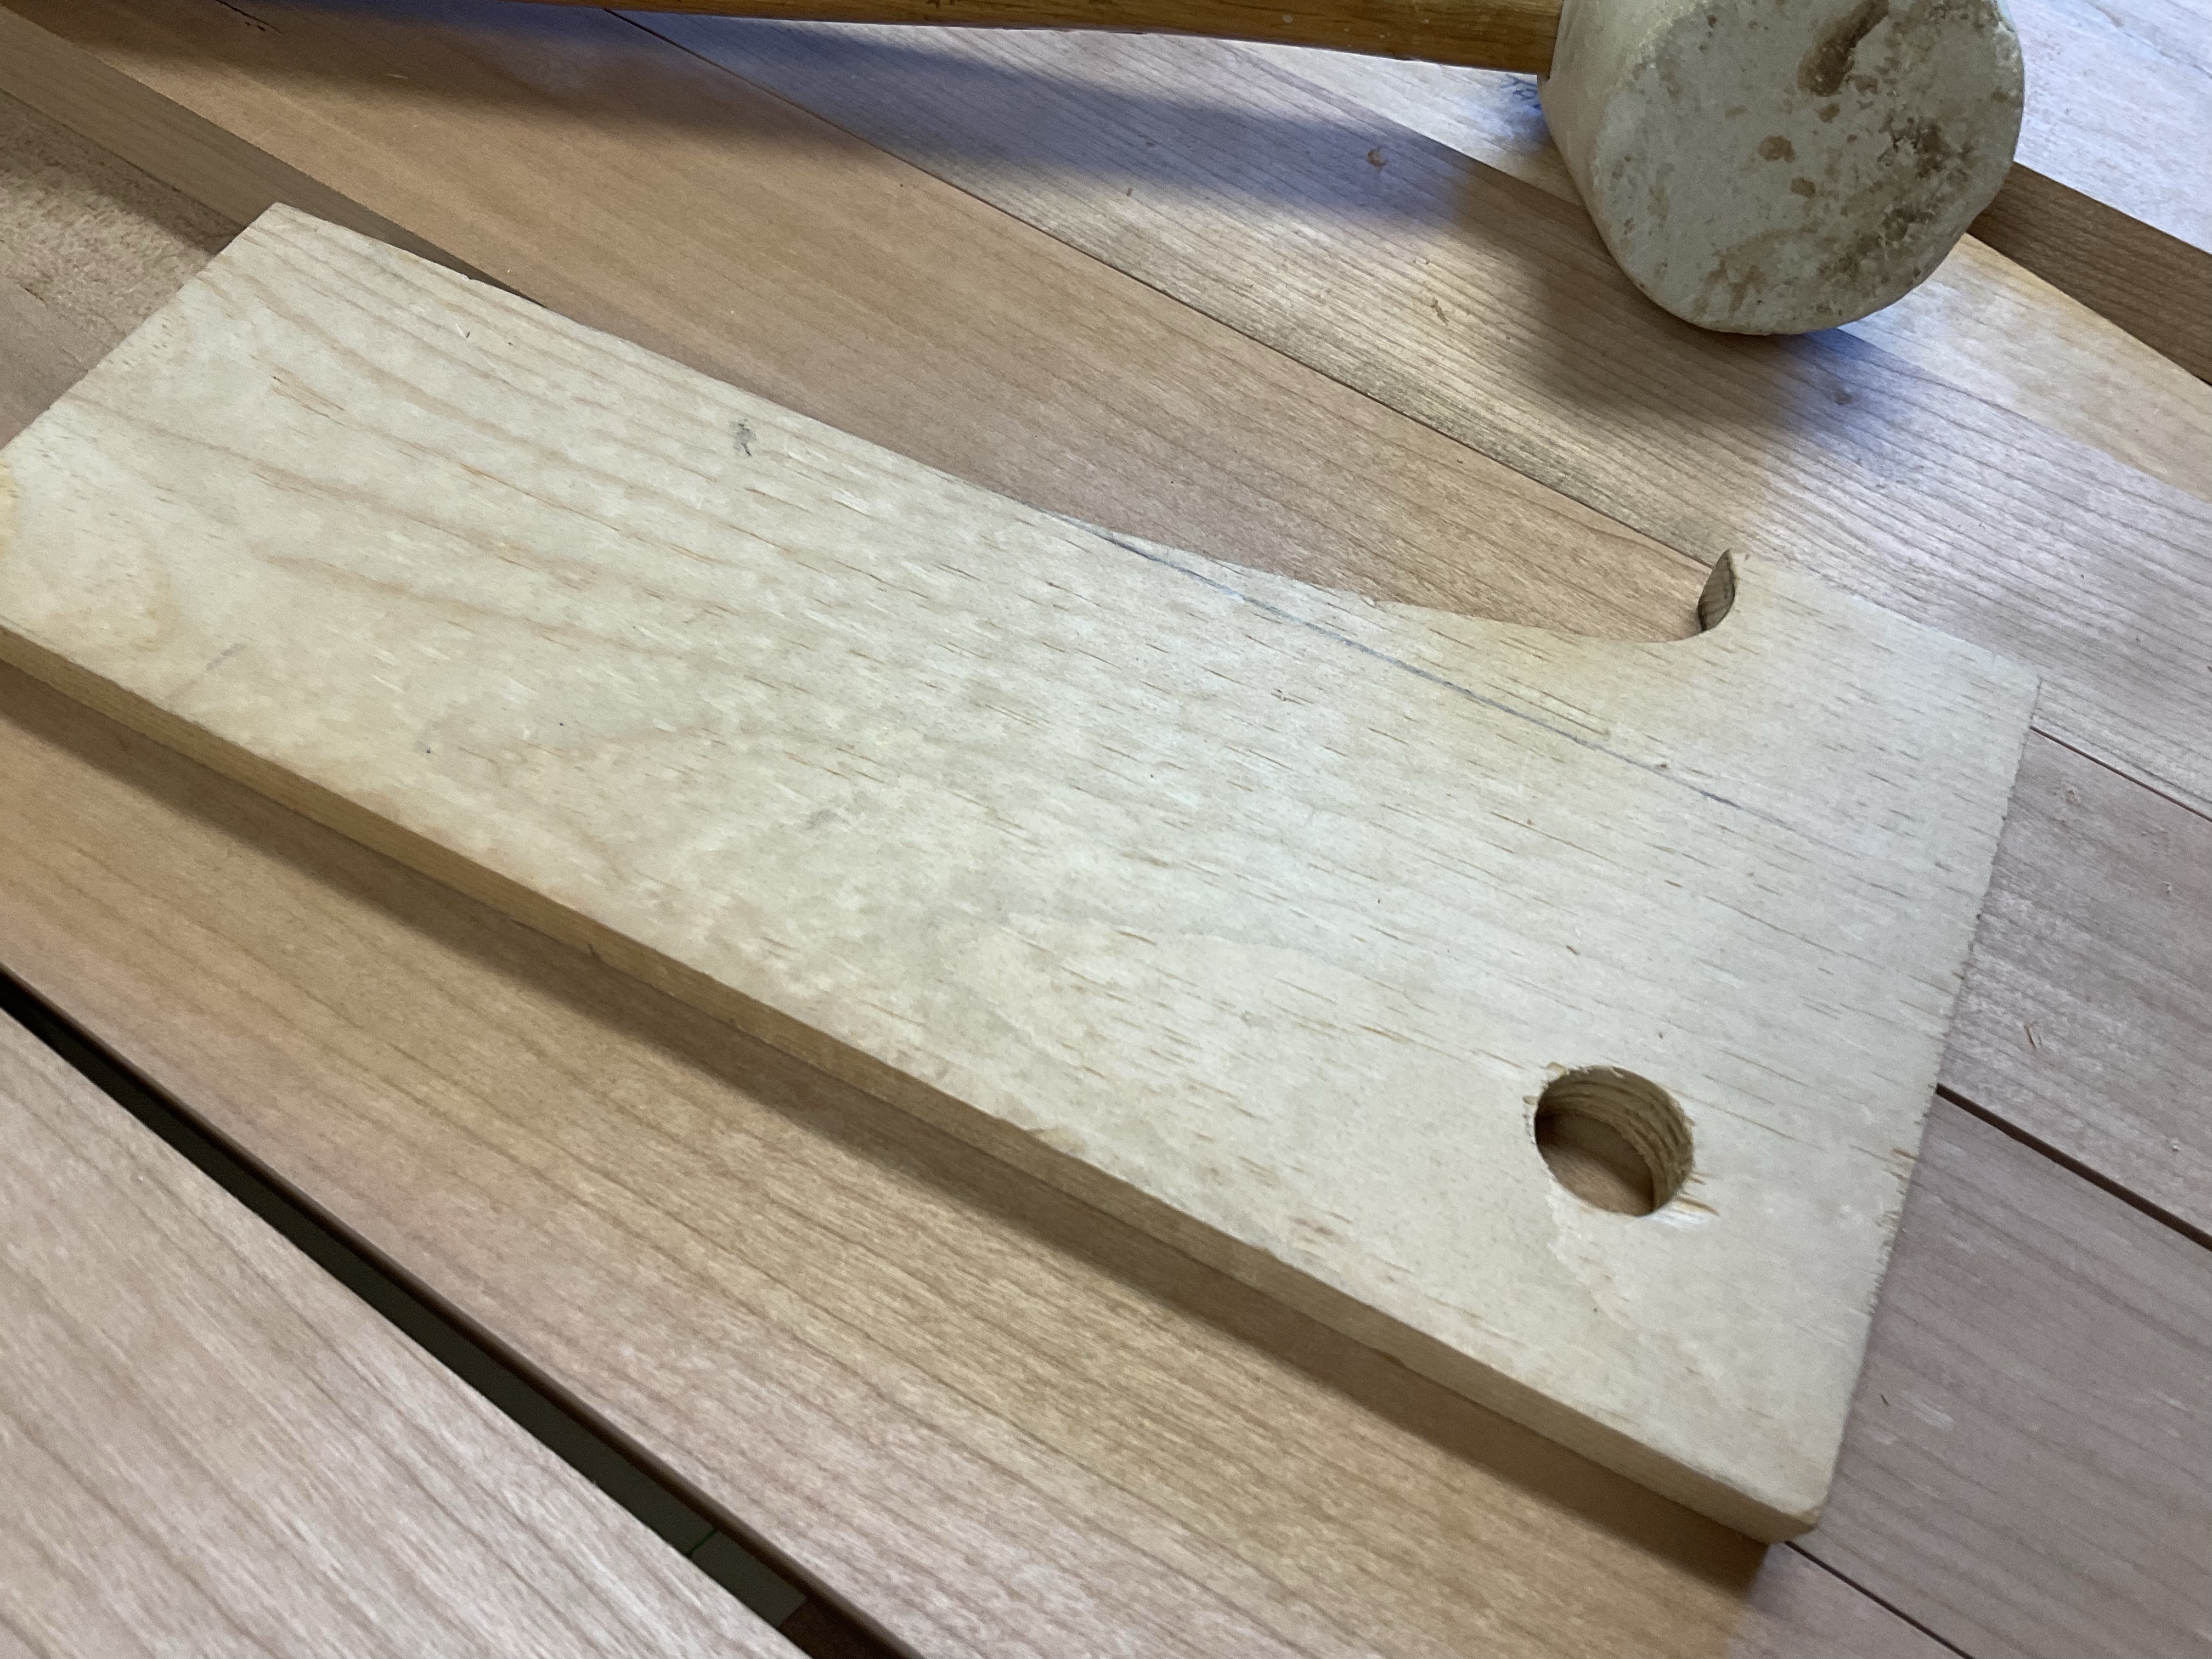
The leg design has curves on the two inner sides leaving the outside edges flat. The result of this design is that layout has to be done for one side at a time, else you cut off the pencil marks. There are several ways to remove the waste, Chisel, Bandsaw, Saw. Previously as shown in the link I did this with a saw and chisel. It’s quick and efficient. Using Cherry I wasn’t sure if the technique would work as well and didn’t want to have a chisel dive out of the waste into the leg. So I opted to use a bandsaw to remove the majority of the waste and then a plane to smooth the leg.

The photograph shows the curve already on the left side of the leg and progress on the curve on the top of the leg. It’s amazing how much the color of the leg had changed in just a couple of days. Notice the top area where I am planing to the line vs the section on the lower part of the picture.
I also took the opportunity to chamfer the edges on the bottom of the leg to prevent tear out. Again this was done with a sharp hand plane.

Removing woodworking dents.
Dents, big or small, shallow or deep often befall a careless woodworker and I’ve been careless. As each leg was prepped, I noticed a dent on one side.

This wasn’t a small issue that a little sand paper would handle, but a large dent on the front face.

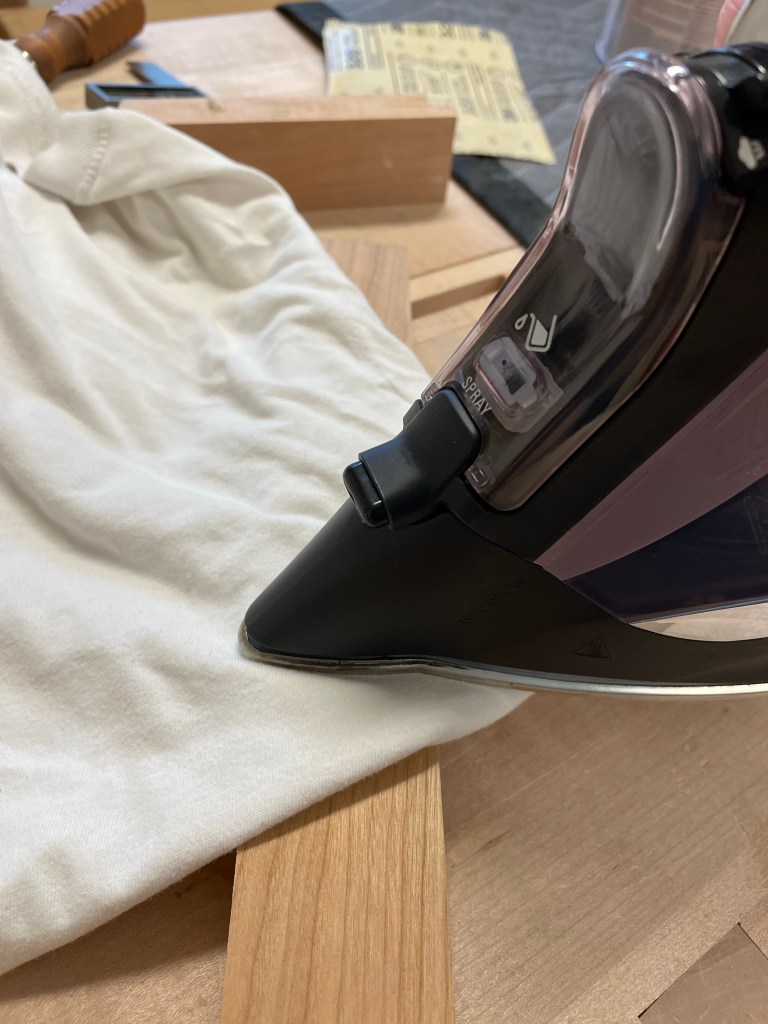

Grabbing an iron and a piece of an old t-shirt I proceeded to steam out as much of the dent as possible. In this case I was unable to remove it all but enough that a few plane strokes could take care of the rest.
Just informed that if I’m posting my wife’s iron on the web, I must give her credit for the tool.
Shaping the Rails – Coffee Table
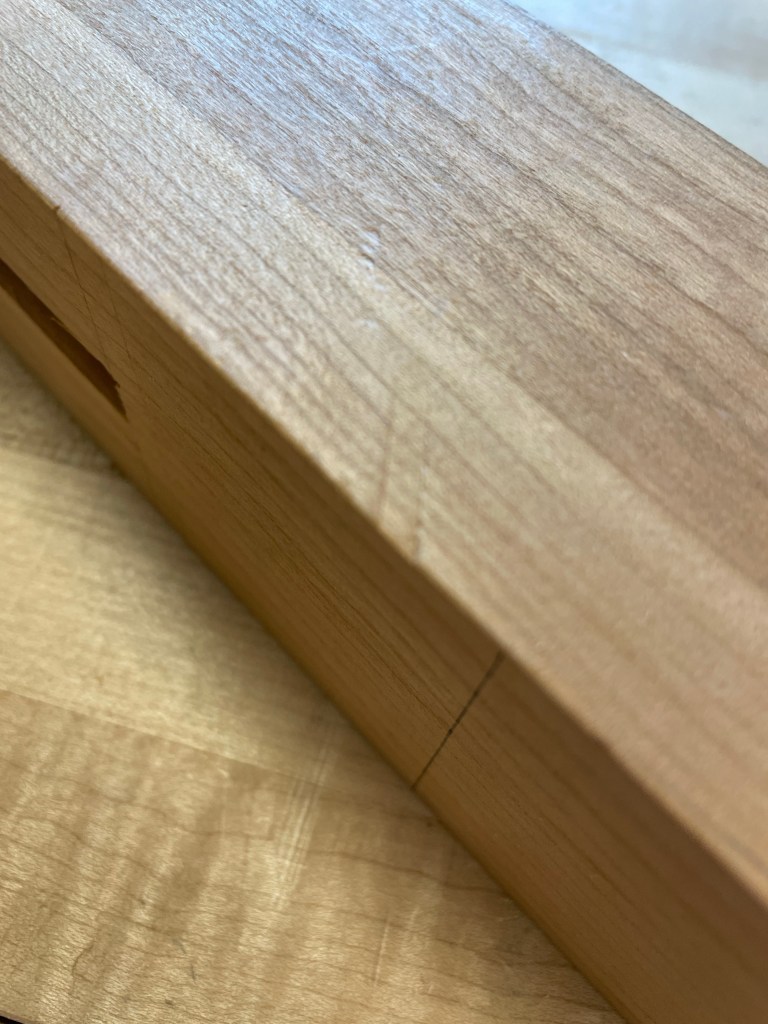
The rails for this table have a couple of design elements that are straightforward to cut but a bit of a fiddle to sand. I took my time to avoid additional finishing work. The curves change the look and feel off the table and I added a couple pictures at the end of the blog showing the before and after pictures of the side rails.
Following all the normal steps for side rails, dimensioning, cutting and fitting tenons, I added value to the boards at each step. Woodworkers understand that the time to make a mistake is early in the process. Each step or change adds value (time and effort) to the piece and a mistake becomes more costly.


Next came marking the curved shape. In my secret stash of old patterns I kept the original coffee table pattern so I used it along with a straight edge to draw a pencil line.


The corner of the curve is simply a 7/8” hole. I made a little jig for my drill press and drilled from both sides to have a clean hole. Next the curve along the length was sawn at the band saw. There’s many other ways to do this and in my prior build I use and a saw and chisel to removed the wast and a spoke shave to clean up the curve. Both methods are quick and relatively easy. I don’t think there was much difference in the time to clean up the curve.

Cleaning up the edges is made easier with care in the drilling and layout, I used a spoke shave, scraper and sand paper wrapped around a dowel. Below is a picture showing the impact of the curves on the rails. I like both versions they just provide a different feeling. Next I’ll show the making of the shelf which is in the photograph above.


Walnut Coffee Table – Legs
There is a point in the woodworking journey that an epiphany occurs. As you look at the work of others and study pictures on line or in articles you realize that all of you hard work to make tight joints and smooth tops doesn’t make for the perfect piece. Suddenly you realize the importance of wood selection and grain, shadow lines and many small details. I’m not sure when that realization occurred but I’m certainly aware and trying to work on executing on that knowledge.
One of the people that raised my awareness was Mike Pekovich. I’ve seen articles and videos where he uses grain to its greatest potential, producing stunning projects. Paying attention to the grain in the legs of many of his projects really shows what a dramatic difference can be made. Focusing on a cross section of the 8/4 walnut board


Through Mortises by hand and Machine
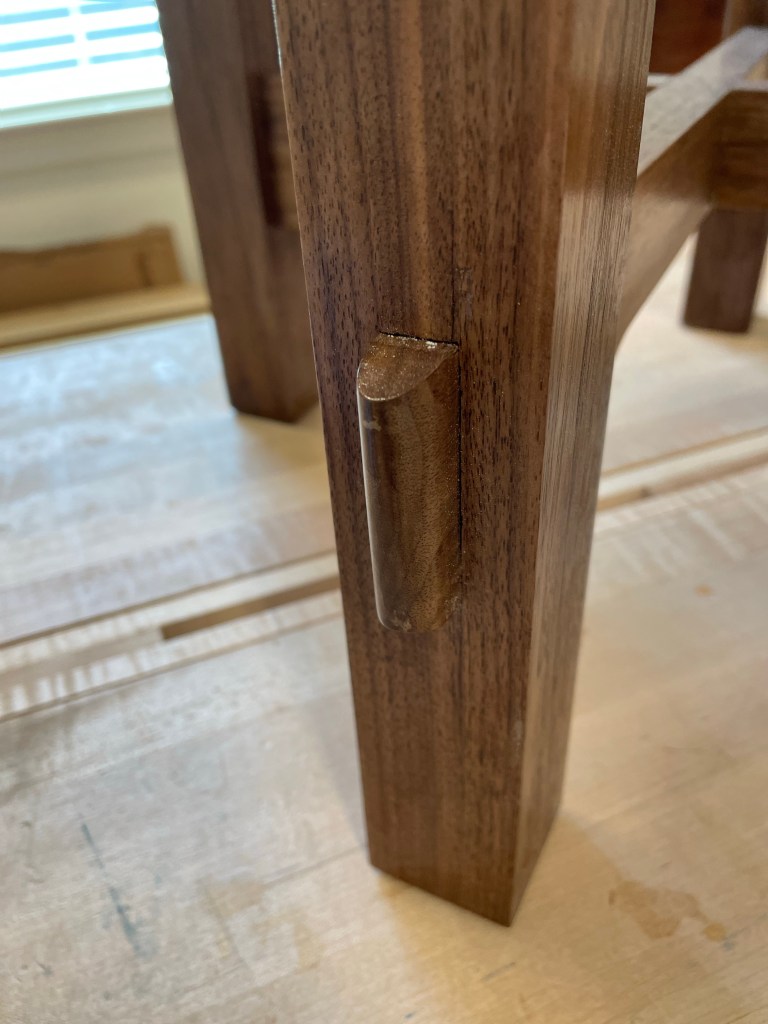
The mortiser is now accurate and producing straight mortise walls. That means its time to get out the chisel and mallet. I know of no mor e accurate way to cut a mortise than to do it by hand. The plans for this coffee table are to have through mortises for the shelf and side boards. I love the look of the through tenon and would not miss the chance to add them to a piece of furniture. Here’s an example from a previous project.
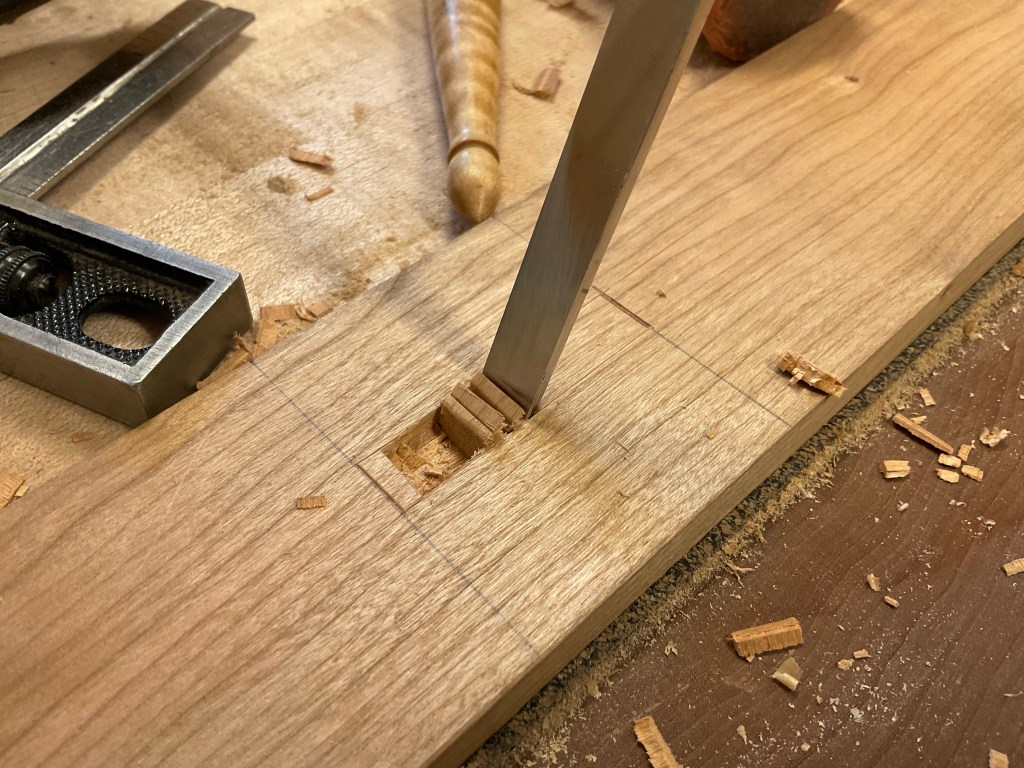
My plan for these tenons is to cut a shallow mortise on the face of the legs and then finish it by using the hollow chisel mortiser connecting through from the back. This gives me the advantage of a very accurate mortise where is shows and the speed of the machine where it doesn’t.


Layout is critical especially since all of the mortises I cut are connected to all of the other table components. If I make a cut incorrectly is will cause the table to finish twisted at best or not fit together and require recutting or remaking the parts.


The marking age that I typically use for this is from Veritas and I have come to trust its simplicity. I have use some of my older mortise gauges with little problem but i like using the Veritas gauge and circular cutters. Also I’m not paid for the tools I’m showing. I just find they work so I share them.
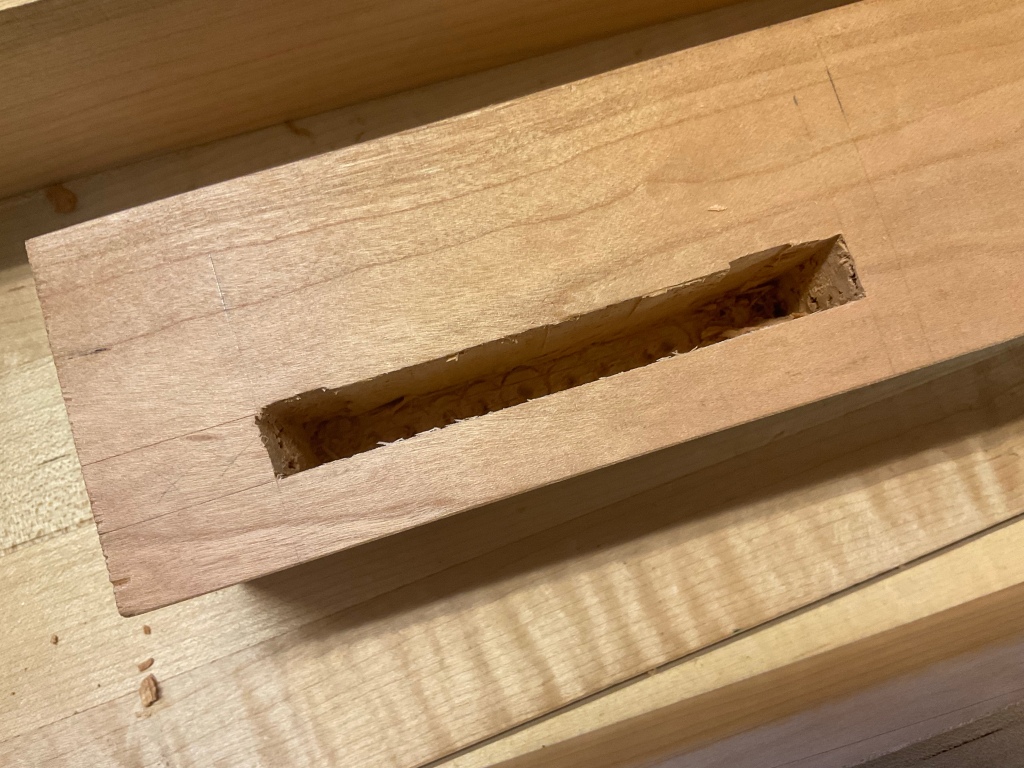
With all of the mortises laid out and the mortises on the show faces cut out by hand I turn the legs over and use the mortiser to remove the rest of the material. Some careful chisel work and the mortises arecut efficiently and accurately.

Mortiser Adjustments
It takes time to learn the tips and tricks of the tools we use and often if everything is operating correctly there is little need to explore manuals. When I acquired the Powermatic Mortiser last year, I spent some time cleaning it and browsing through the manual. The machine has performed well, until I noticed that it was not holding the longitudinal (best description I could come up with) setting and creeping as I made longer mortises.
My first instinct was to check the alignment of the drill bit, but it appeared to be correct. Next I compared the movement of both the lateral and longitudinal adjustment wheels and noticed a distinct difference. The longitudinal adjustment turned freely while the lateral was stiff.
It was clear that I needed to find a way of holding the adjustment and looked for a knob on the handle similar to those on table saws…not there. After a little thought, I discovered the gibs on the side of the table and then the wing nut.

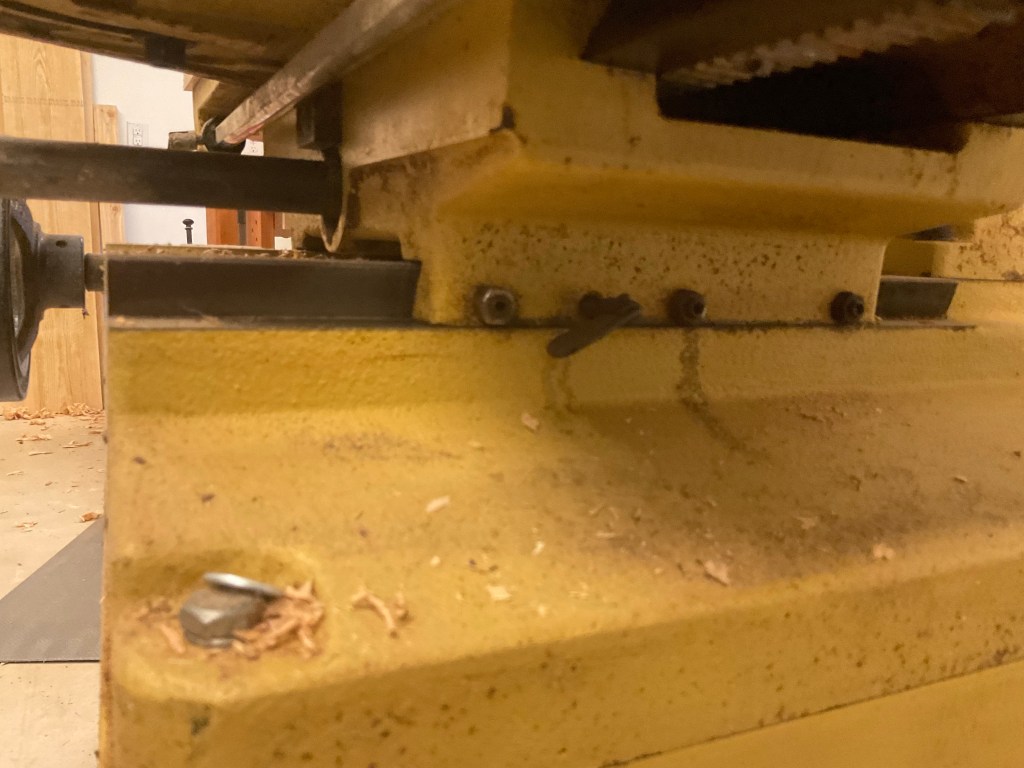
Additionally I went back to the manual to see if there was any advice on how tight to set the gibs. Interestingly there is no mention of these adjustments and the although they are pointed out in the parts diagram and list, the purpose is not obvious.

I started writing this blog to share a little bit of information, however it has really made me come to realize that many of the tools and skills we acquire over time require a certain amount of basic knowledge of mechanics, a willingness to try and fail and access to information. Fortunately the internet can provide a great resource and if you are in luck there may be someone you follow or a neighbor that is willing to answer your questions.
Cherry Coffee Table – Prep
Several months ago while picking up lumber for the Walnut Coffee table, I also purchased lumber for a cherry table. I’m glad I made the purchase at that time since prices have increased dramatically. My vision for the table changed at the last minute when I thought about how much I enjoined the joinery on the Paul Sellers table I made a few years ago. I used a similar shelf on the bar cart as well. I’m just a gluten for mortise and tenon joints.

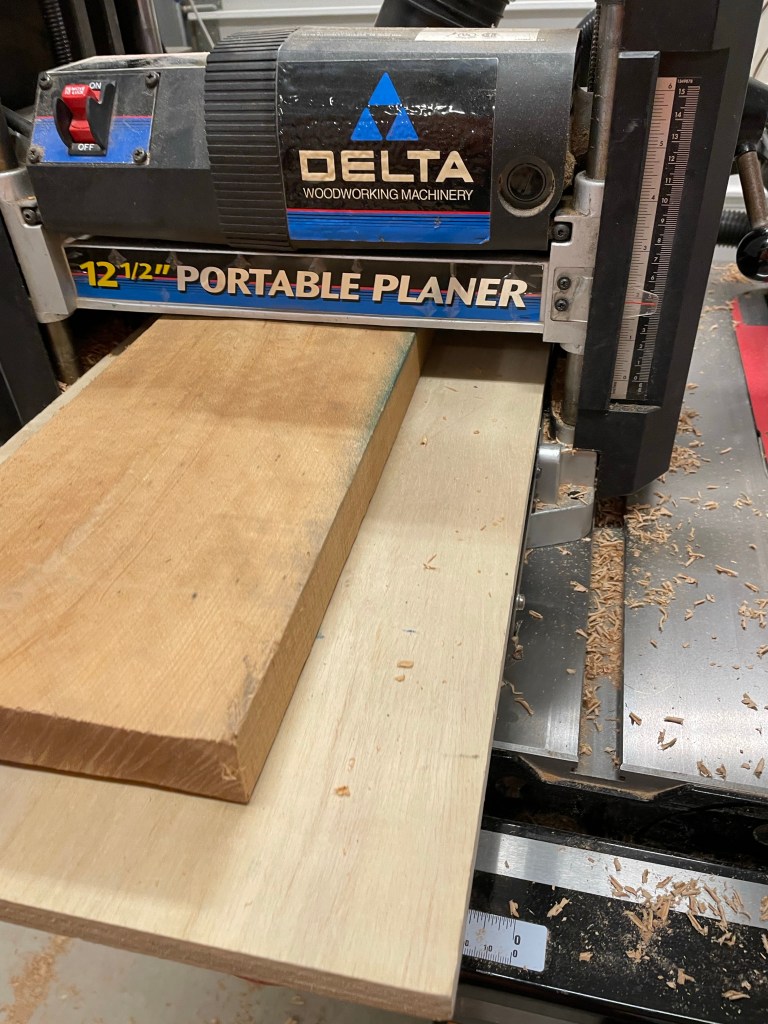
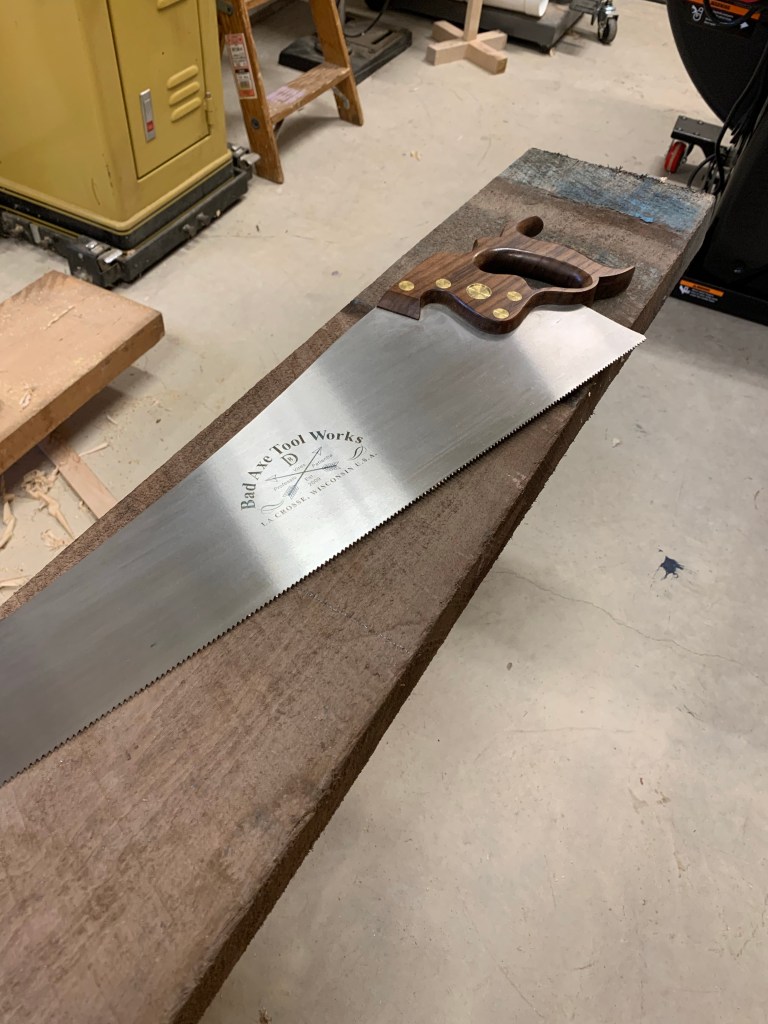
When I purchased the lumber I had smaller legs in mind so was content with 8/4. Now I’m going to need to stretch it so that I can get 2 1/4 finished legs out of it. Several of you have noticed an increased use of power tools in the last year. I have always used power tools where it makes sense and hand tools where they are most effective or I get more joy. Most projects start with the break down of stock and I always reach for my hand saws. Today I grabbed the Bad Axe D8. It’s pure pleasure to use this saw. As I write this post I went back and realized that I have had this saw for five years and It seems that long enough to truly recommend it.
Since I am using rough lumber, I flattened one edge with my hand planes, in this case a Stanley #7. Then used the planer for the remainder of the dimensioning, I talked about the use of sleds in the planer rather than the jointer in a previous post.
In order to make the legs the correct dimensions I needed to glue a 1/2” strip before cutting the board into individual legs.
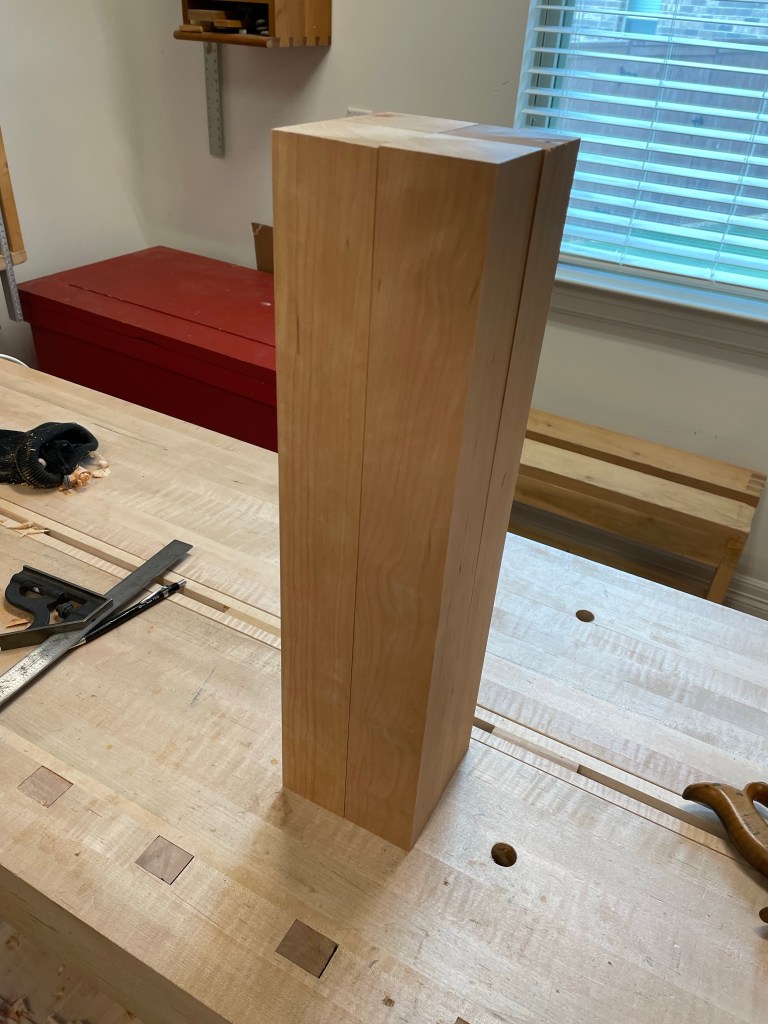

Now the hard part, which side faces out…….
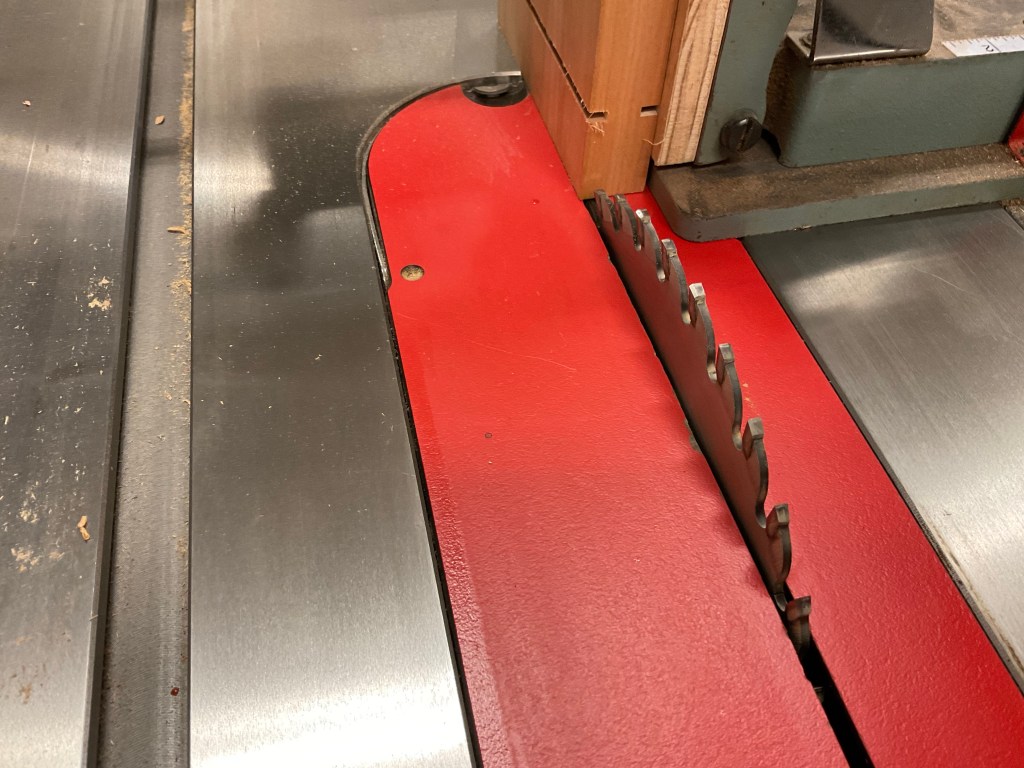
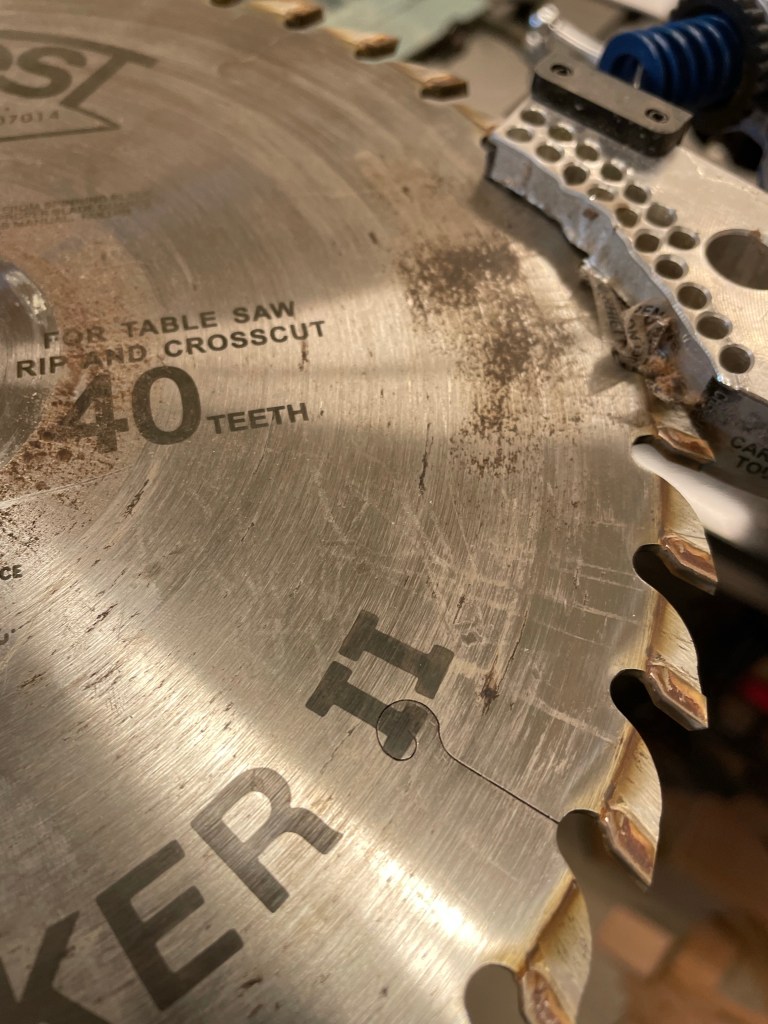
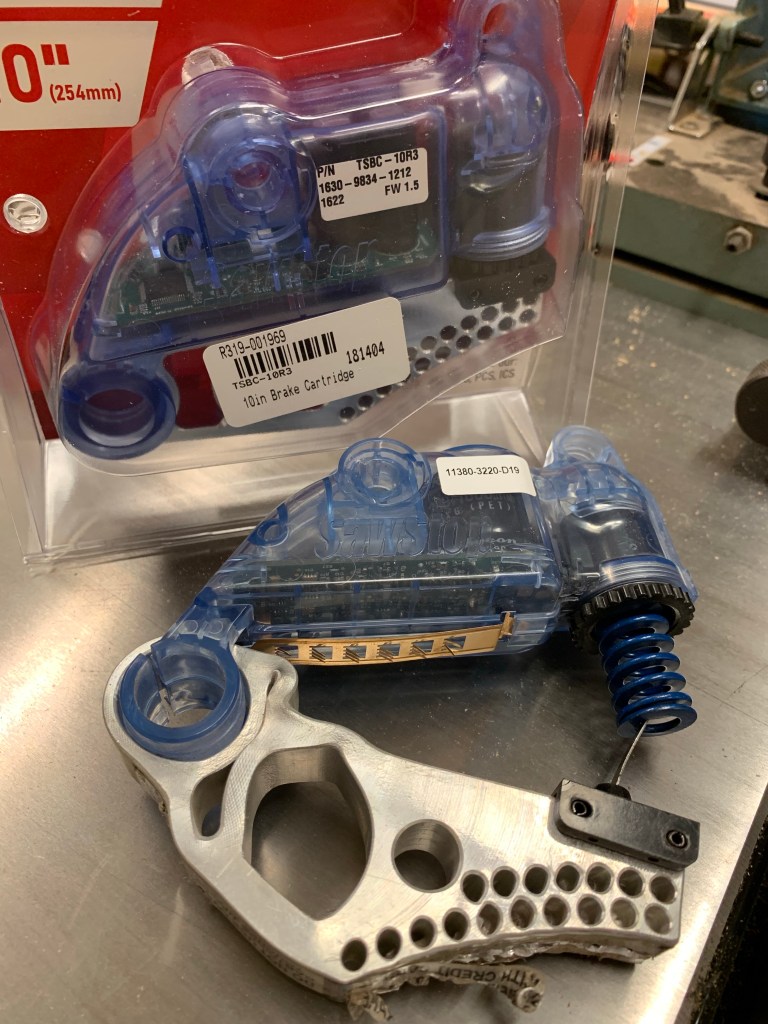
Saw Blade Returns
The saw blade that I damaged with the saw stop a couple of weeks ago has returned with the repairs complete and resharpened. I’m absolutely amazed with the speed of the service. It was shipped on a Monday and back in my hands 12 days later!

Expensive Milli-second
Often the worst part of a mistake is admitting it and the barrage of questions that follow. I’ve always believed that the only way to get better is to admit your mistakes, share them so others don’t make them and take your punishment. Today I packaged up my Forrest saw blade for repair and resharpening and purchased a new Sawstop cartridge, not due to a possible injury, but because I brought a tenoning jig too close to the blade.
A couple of changes since this event occurred. I have added a piece of plywood to the surface of my tenoning jig to move the cast iron further from the blade, I will in the future be cutting on the outside of the tenon not on the inside.