Archive
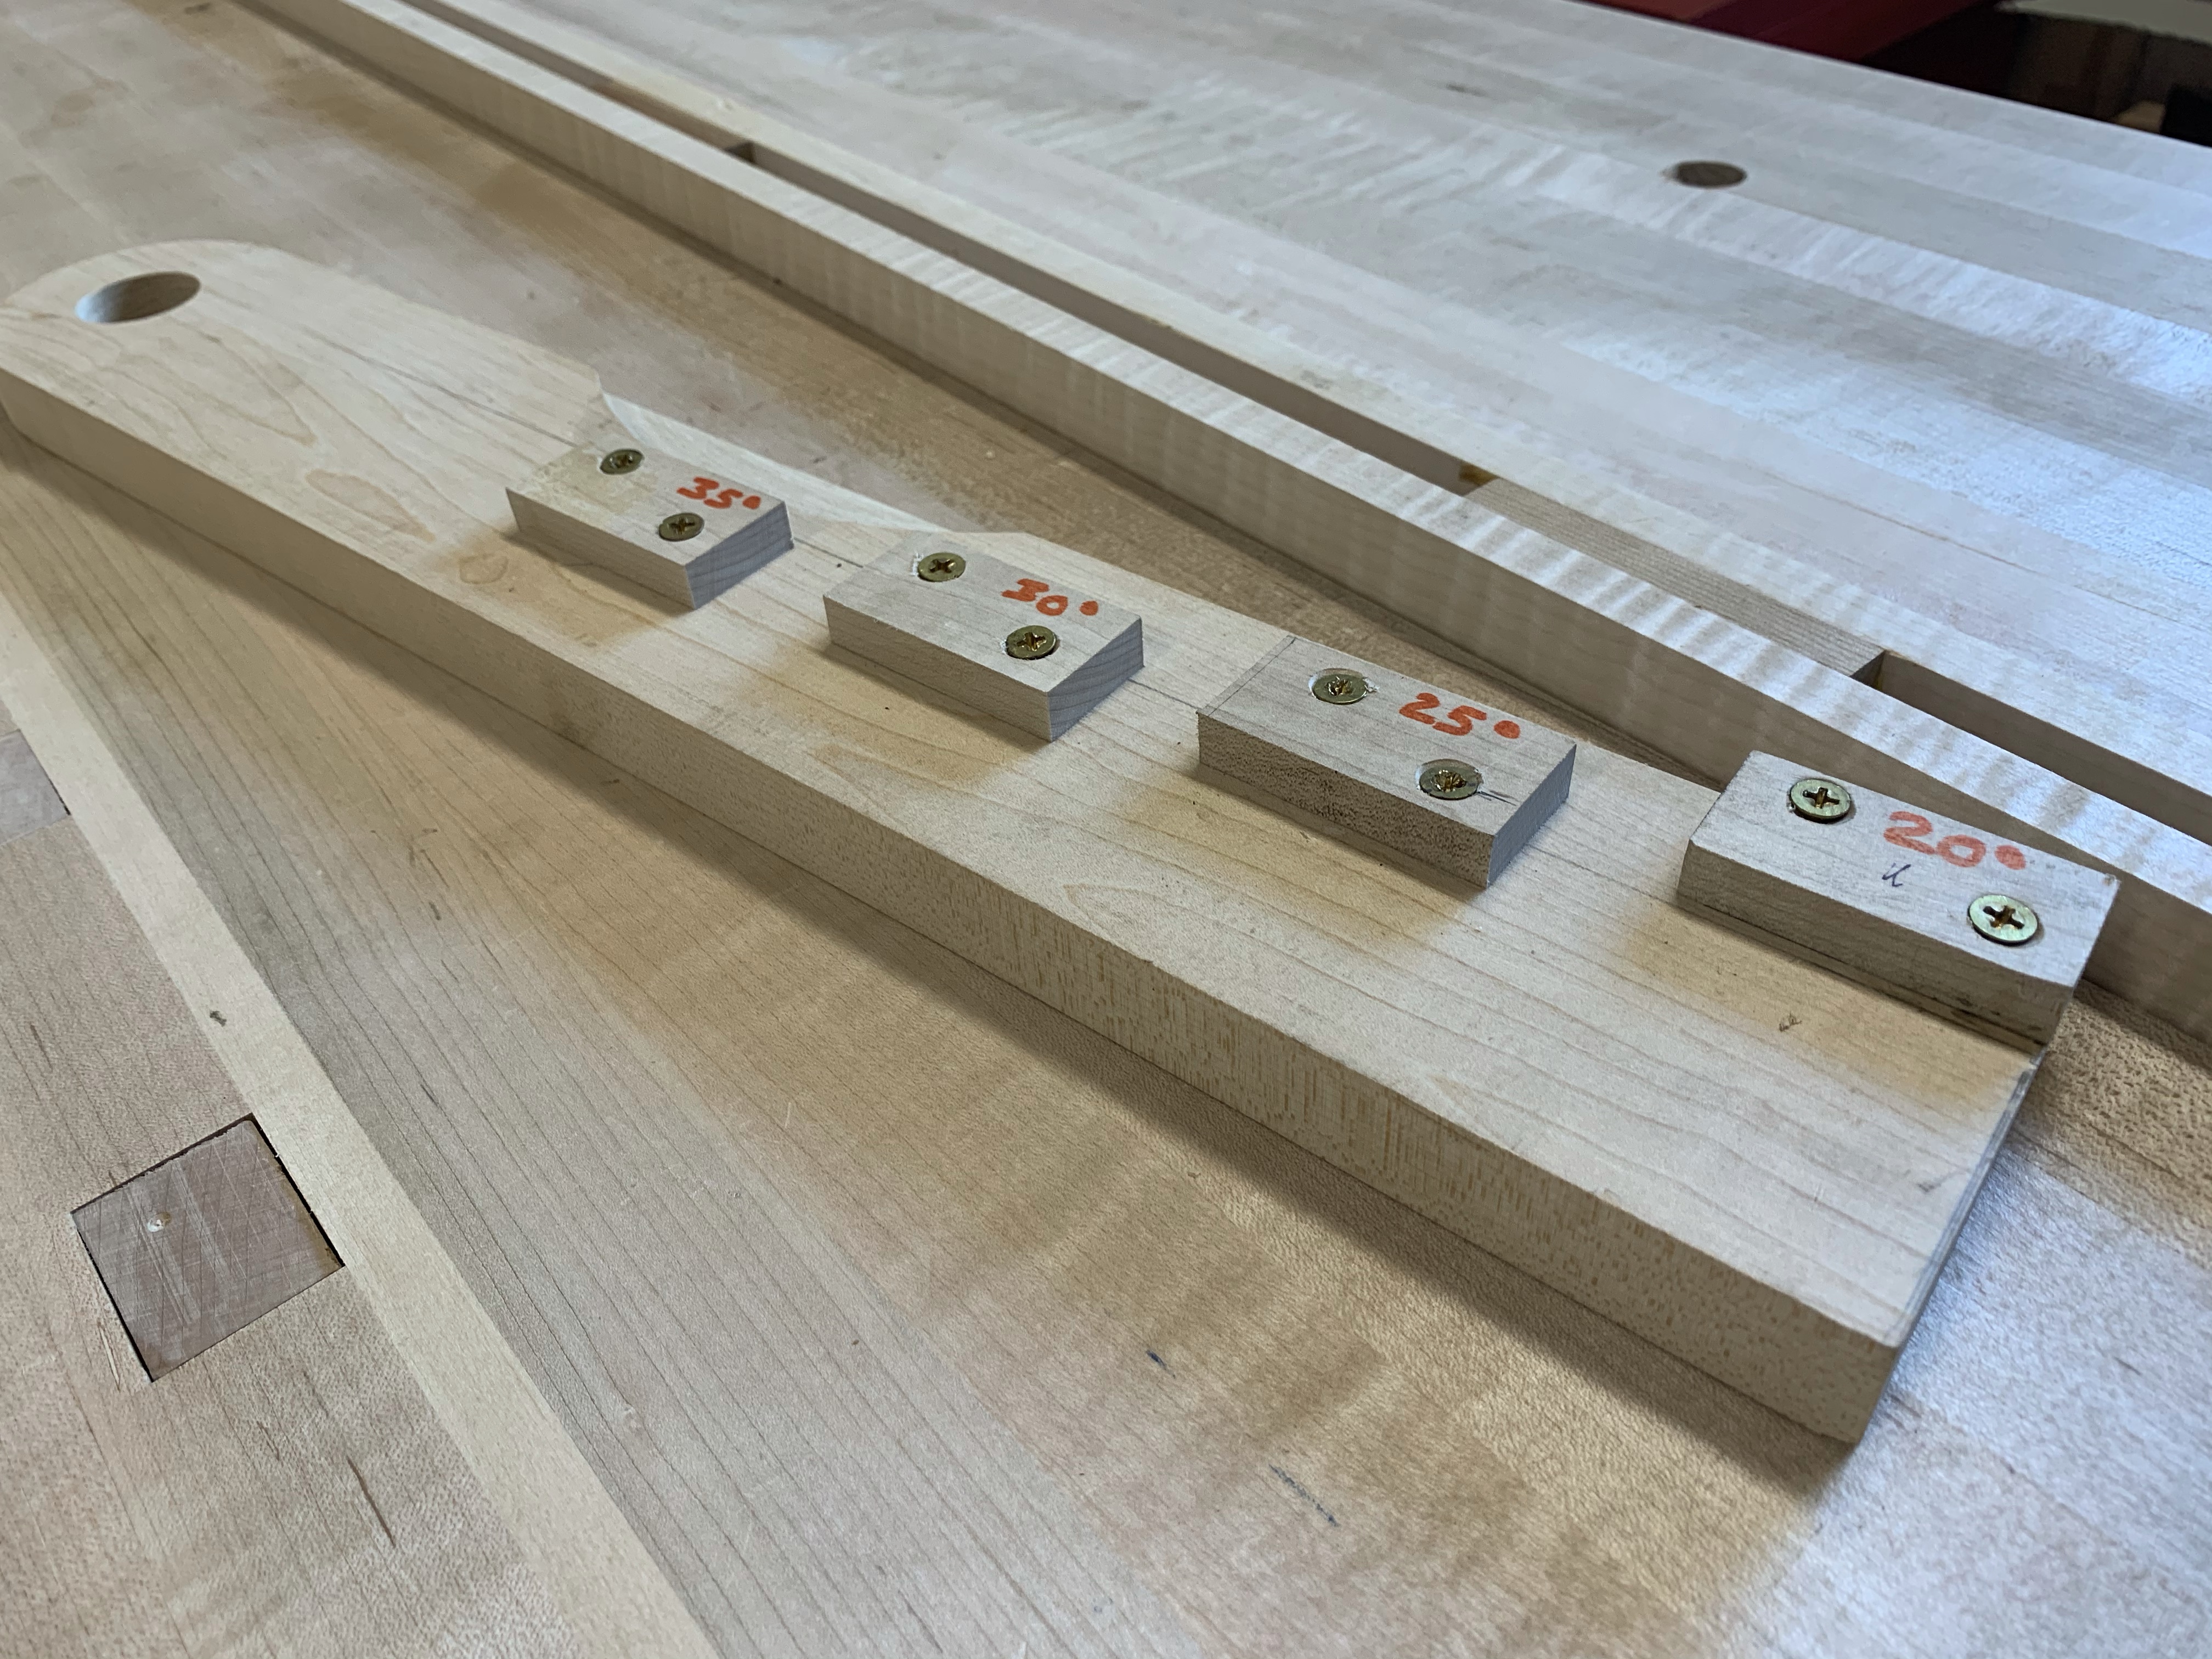
Sharpening Angle Settting Jig
It always amazes me how long I can put off making a simple jig that can make things so much easier. The Angle setting jig that I made this week is the perfect example. If you use any of the Eclipse, Veritas, or Lie Nielsen jigs for sharpening you know that the repeatability of the sharpening angle is critical to the speed of sharpening let alone the performance of the plane or chisel. Many companies provide an angle setting jig with the sharpening jig. There are other systems that people use and it appears the simplest is to set the distance from the end of the blade to the edge of the jig

These distances don’t change as long as you are sharpening similar blades in the same jig and in this case the perfect angle is not as important as the consistency of the angle. Again THE SAME SHARPENING JIG. Notice the difference In length between the Veritas and the Lie Nielsen.
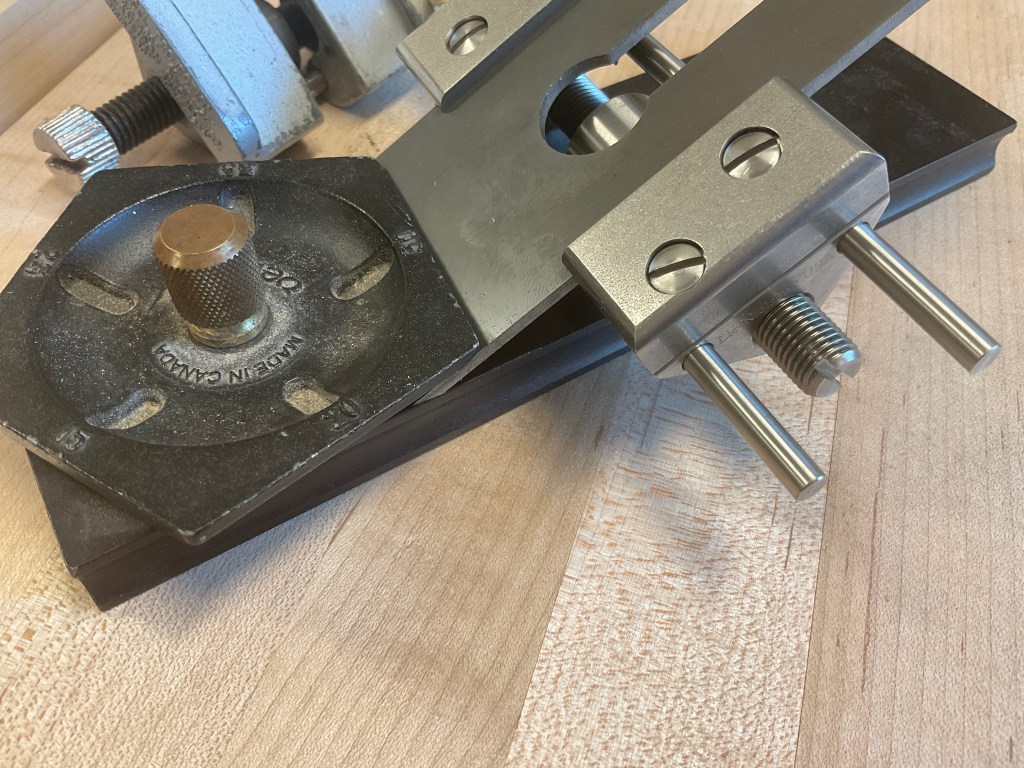
The jig I made this week is a basic copy of one built by Denab Puchalski of Lie Nielsen. I found scraps in the bins cut them to size and after a few measurements glued and screwed each to the board. Most went well, one I had to plane to make it exactly parallel to the board edge. Once finished I drilled a hole so I could hang the jig on a wall. This has made sharpening easier and more consistent and that’s always a good thing.


Plane Aid – Flattening and Sharpening
Finished up the four planes this morning after using the 5th for parts. I hope that everyone is satisied with the results. The two Stanleys turned out to be a little more difficult than normal due to the blades not being particularly flat. I’ve never had that problem before but spent more time sharpening then has been typical. I also took the time to print out a couple of links that will hopefully help in the future showing the sharpening tools that I use etc.
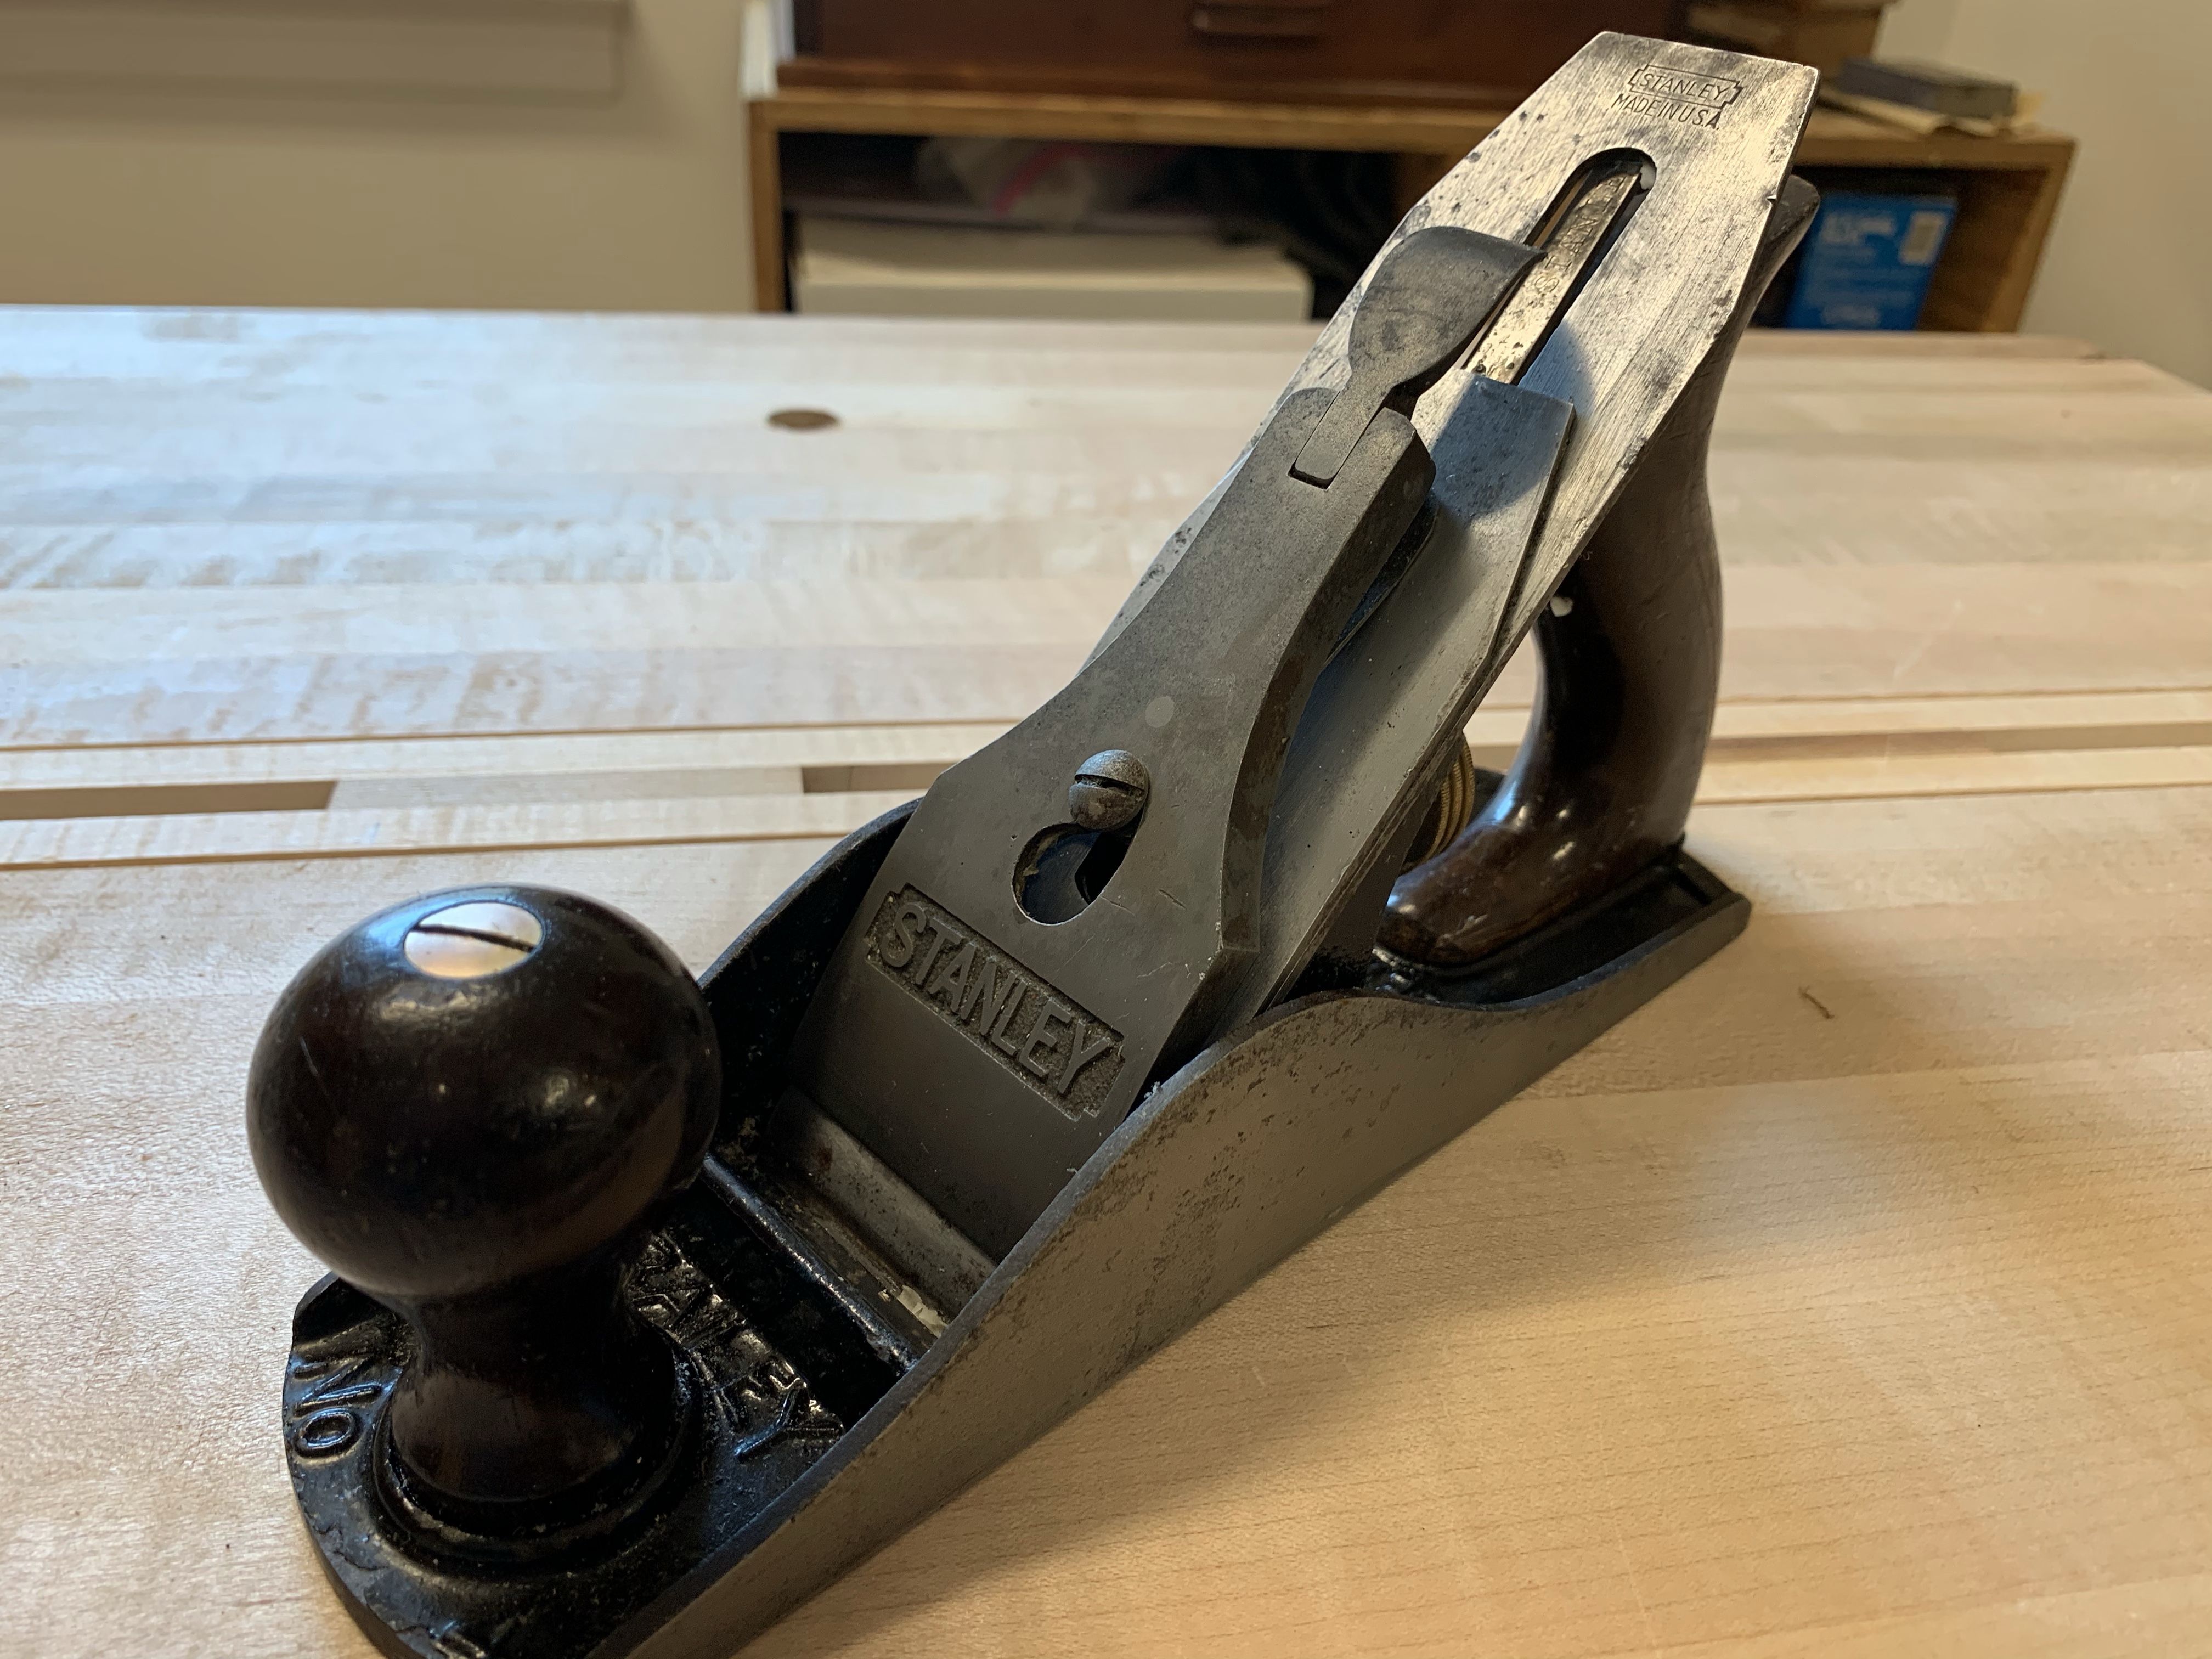
After taking the #4 apart and repairing the front knob I disassembled and got all of the rust and gunk off the plane. Flattening the sole wasn’t a problem and I made sure that all of the bolts and frog were clean and fiunctioned correctly. The problem sarted with the blade which did not clean up easily and took quite a bit of elbow grease along with some 800 grit sand paper and wd-40. Once clean I sharpened it and noticed that the back was nowhere near flat. This may be why the ownwer had problems sharpening. Eventually I put it on a 400 grit stone and worked it flat. I’ve had blades that were concave in the middle but this had a side that put up a fight. I sued my basic sharpening system, diamond stones strop sand an eclipse style guide. Next I had to spend a little time with the cap iron making sure its leading edge fit snugly to the blade. All in all it is a nice plane and should be a great add to the tool chest.
The block plane is a craftsman with aluminum cap. I tidied it up flattened the sole and sharpened the blade. This took very little time and will make a great little plane. The small plane also took only a little work after getting the rust off. This was another plane where the high grit paper and wd-40 came in handy. Sometimes these tools have all kinds of spill on them and using a degreaser makes the difference


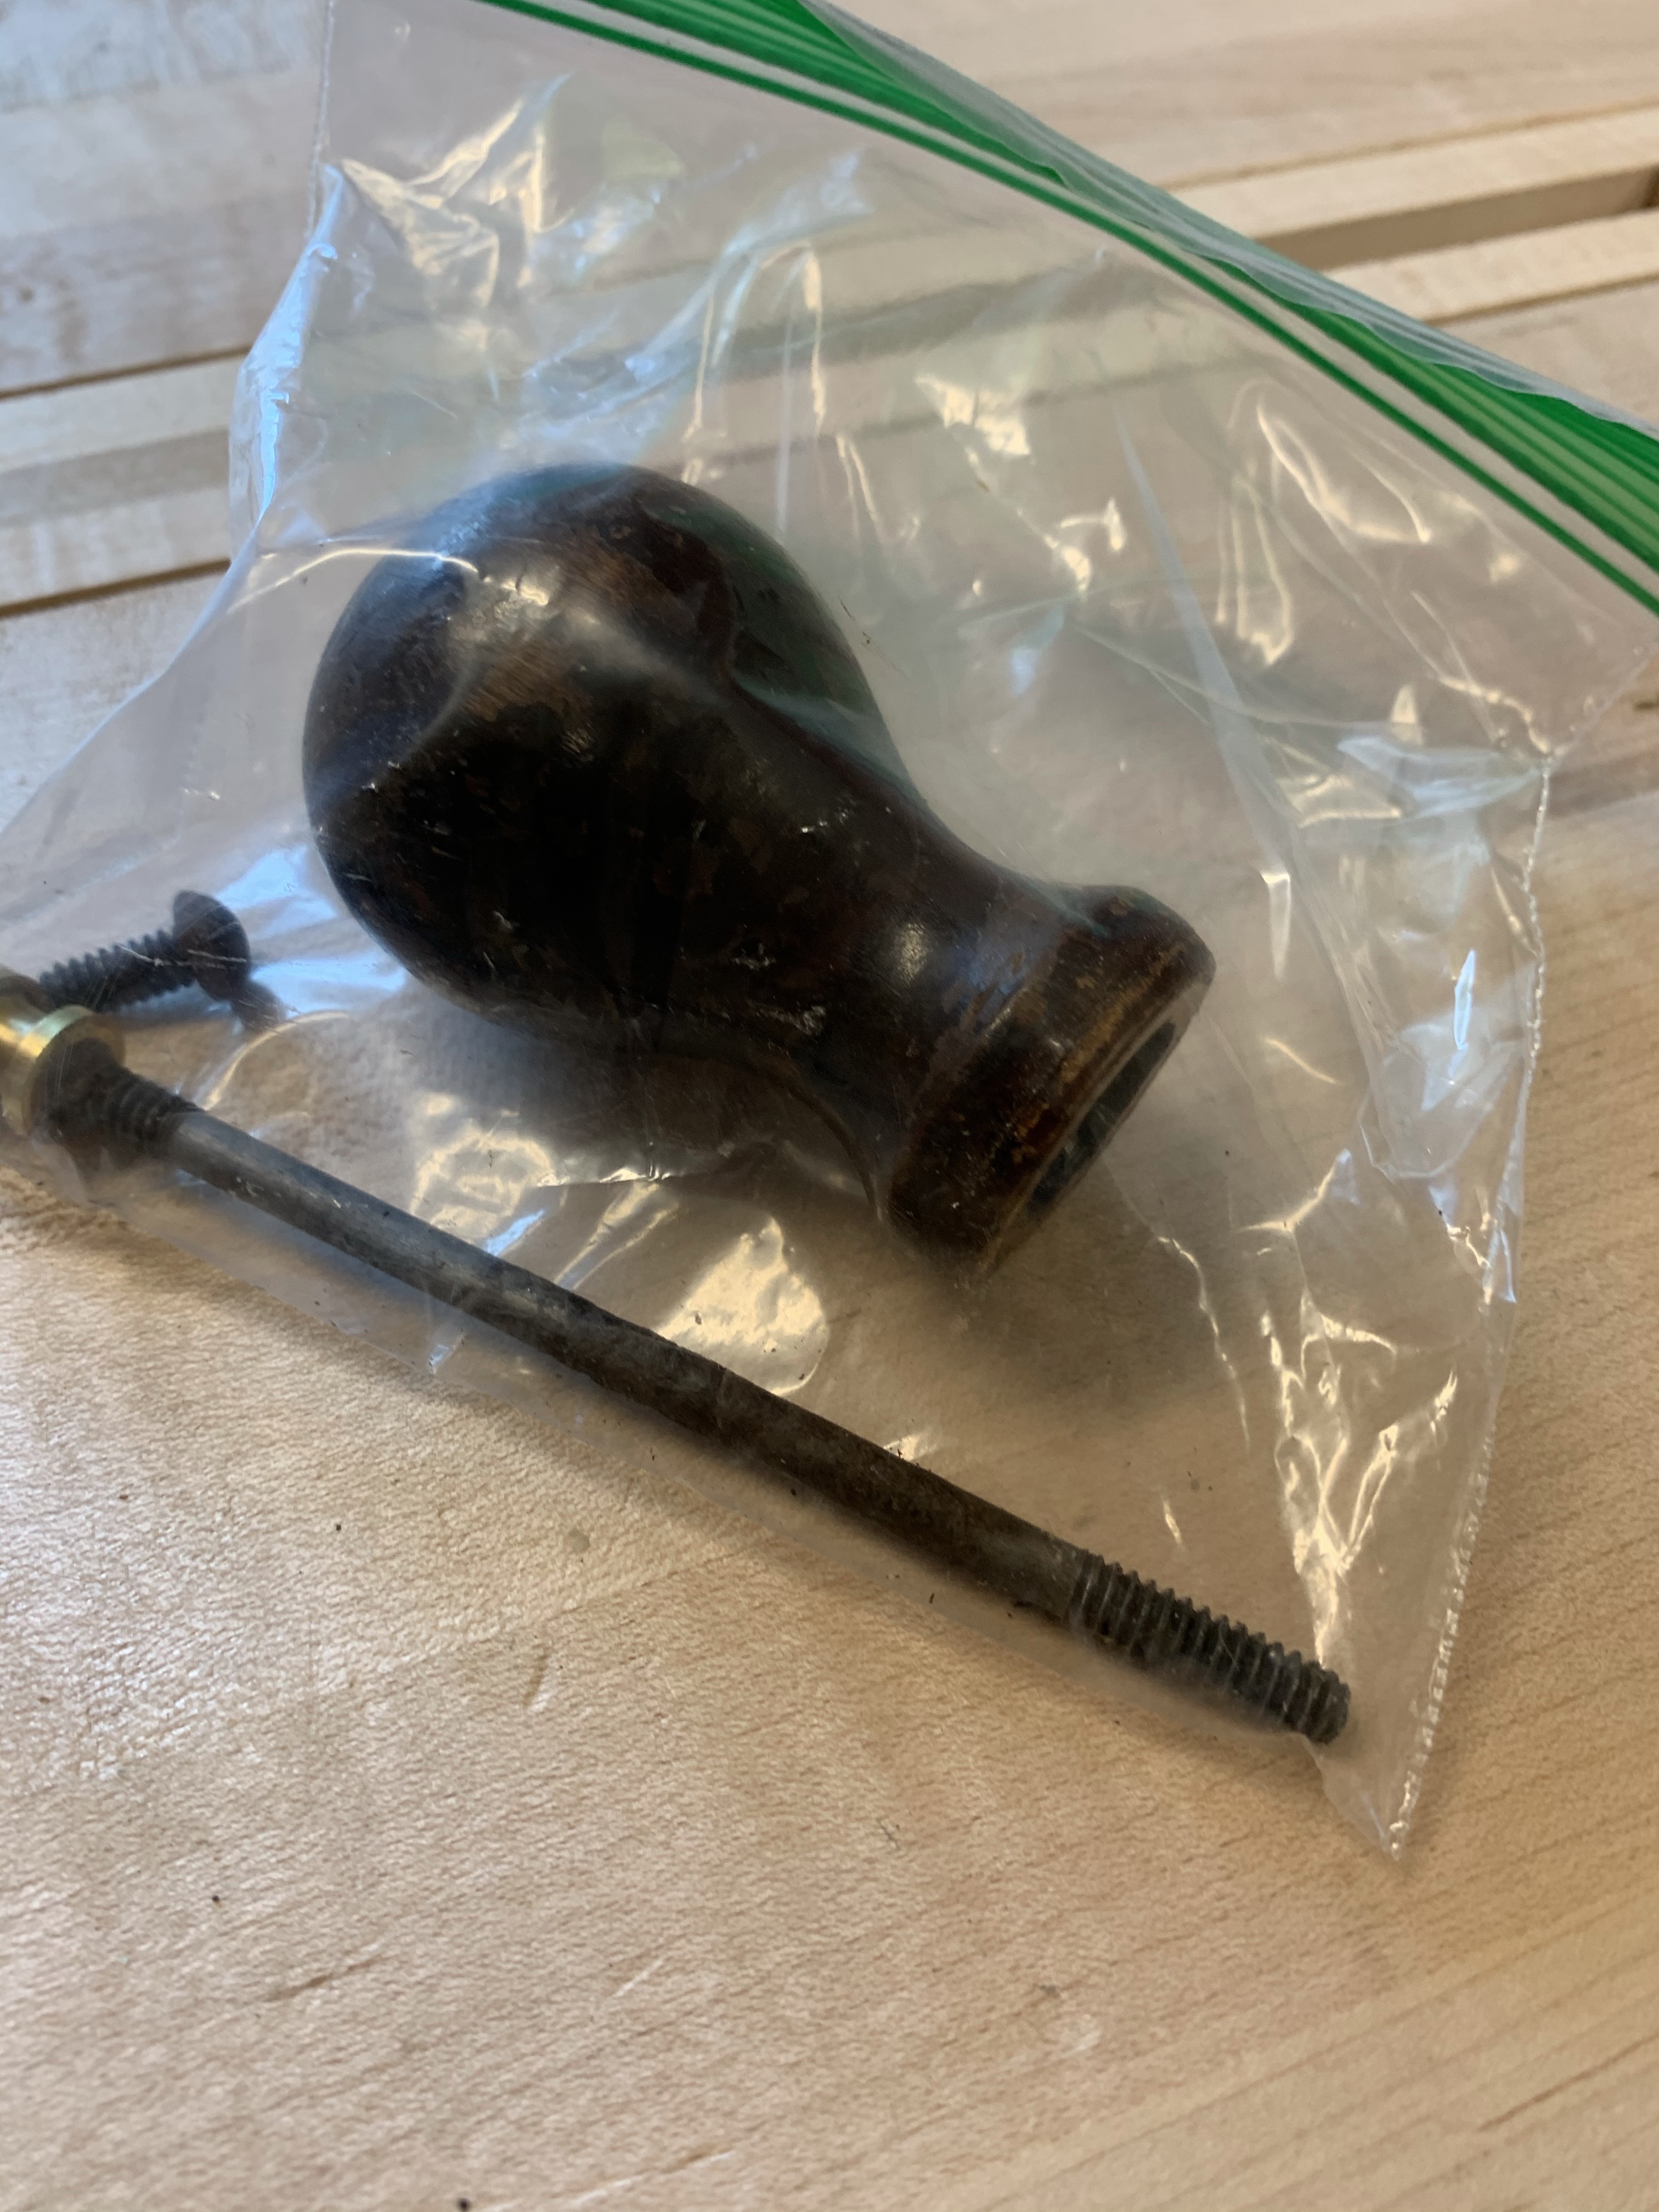
The final plane I worked on, fought me all the way and I think that it could still use a little polishing. There were two #5 planes in the box and after some thought I decided to use the newer plane for parts. I like the older style frogs. The handle from the plane was broken and although not too difficult to fix I did not have an old broken handle to source the rosewood from and felt that maple would be a poor choice. Thus I used the handle from the newer plane. The only downside being the use of a non brass screw to attach it. I placed all of the parts in a plastic bag so that the owner would have them for later repairs. The sole and blade needed quite a bit of work. Once cleaned and flat everything was sharpened and lubed. I also put quite a bit of wax on the sole and took it for a test run. Hopefully the owner is happy with the result.

Woodworking Withdrawl
Note to self; when moving and storing woodworking tools for an extended period of time keep a few nearby to sharpen, hold in your hand and polish.
It’s been several weeks since the tools were packed away. They are now in storage and may be there for several months. I’ve read many blogs, articles and comments that reflect on the curious need to touch and look at your tools. Clearly I have a touch of tool..itis, wood..itis and design..itis and I have no idea how to pass the time until the tools are again in their rightful place. Some of the more obvious symptoms:
Sharpening – A desire to sharpen tools. This is a very strangle affliction, sharpening is a necessity not a desire.
All Fine Woodworking Articles look like excellent projects – Any magazine must appeal to a wide audience and Fine Woodworking is no exception. Typically I look through and one article grabs my eye, currently I want to build every project.
Lee Valley Website – Admittedly Lee Valley is a favorite source of tools, however I don’t typically scroll through it endlessly looking at the tools I already own.
The infamous unfinished bed – I’m considering finishing the bed I made 20+ years ago. Why now?
Dog Holes and Mistakes
When choosing a new bench design the dog holes and integral dogs drew me to the Roubo. Planing boards is a pleasure except when you don’t have a great method to hold them on your bench. Paul Sellers’ is adept at using his front vice, and I admit it has worked well for narrow boards. I’ve also used boards positioned across the end of the vice as a planing stop. However the ability to use a tail vice and adjust to any board length has great appeal.
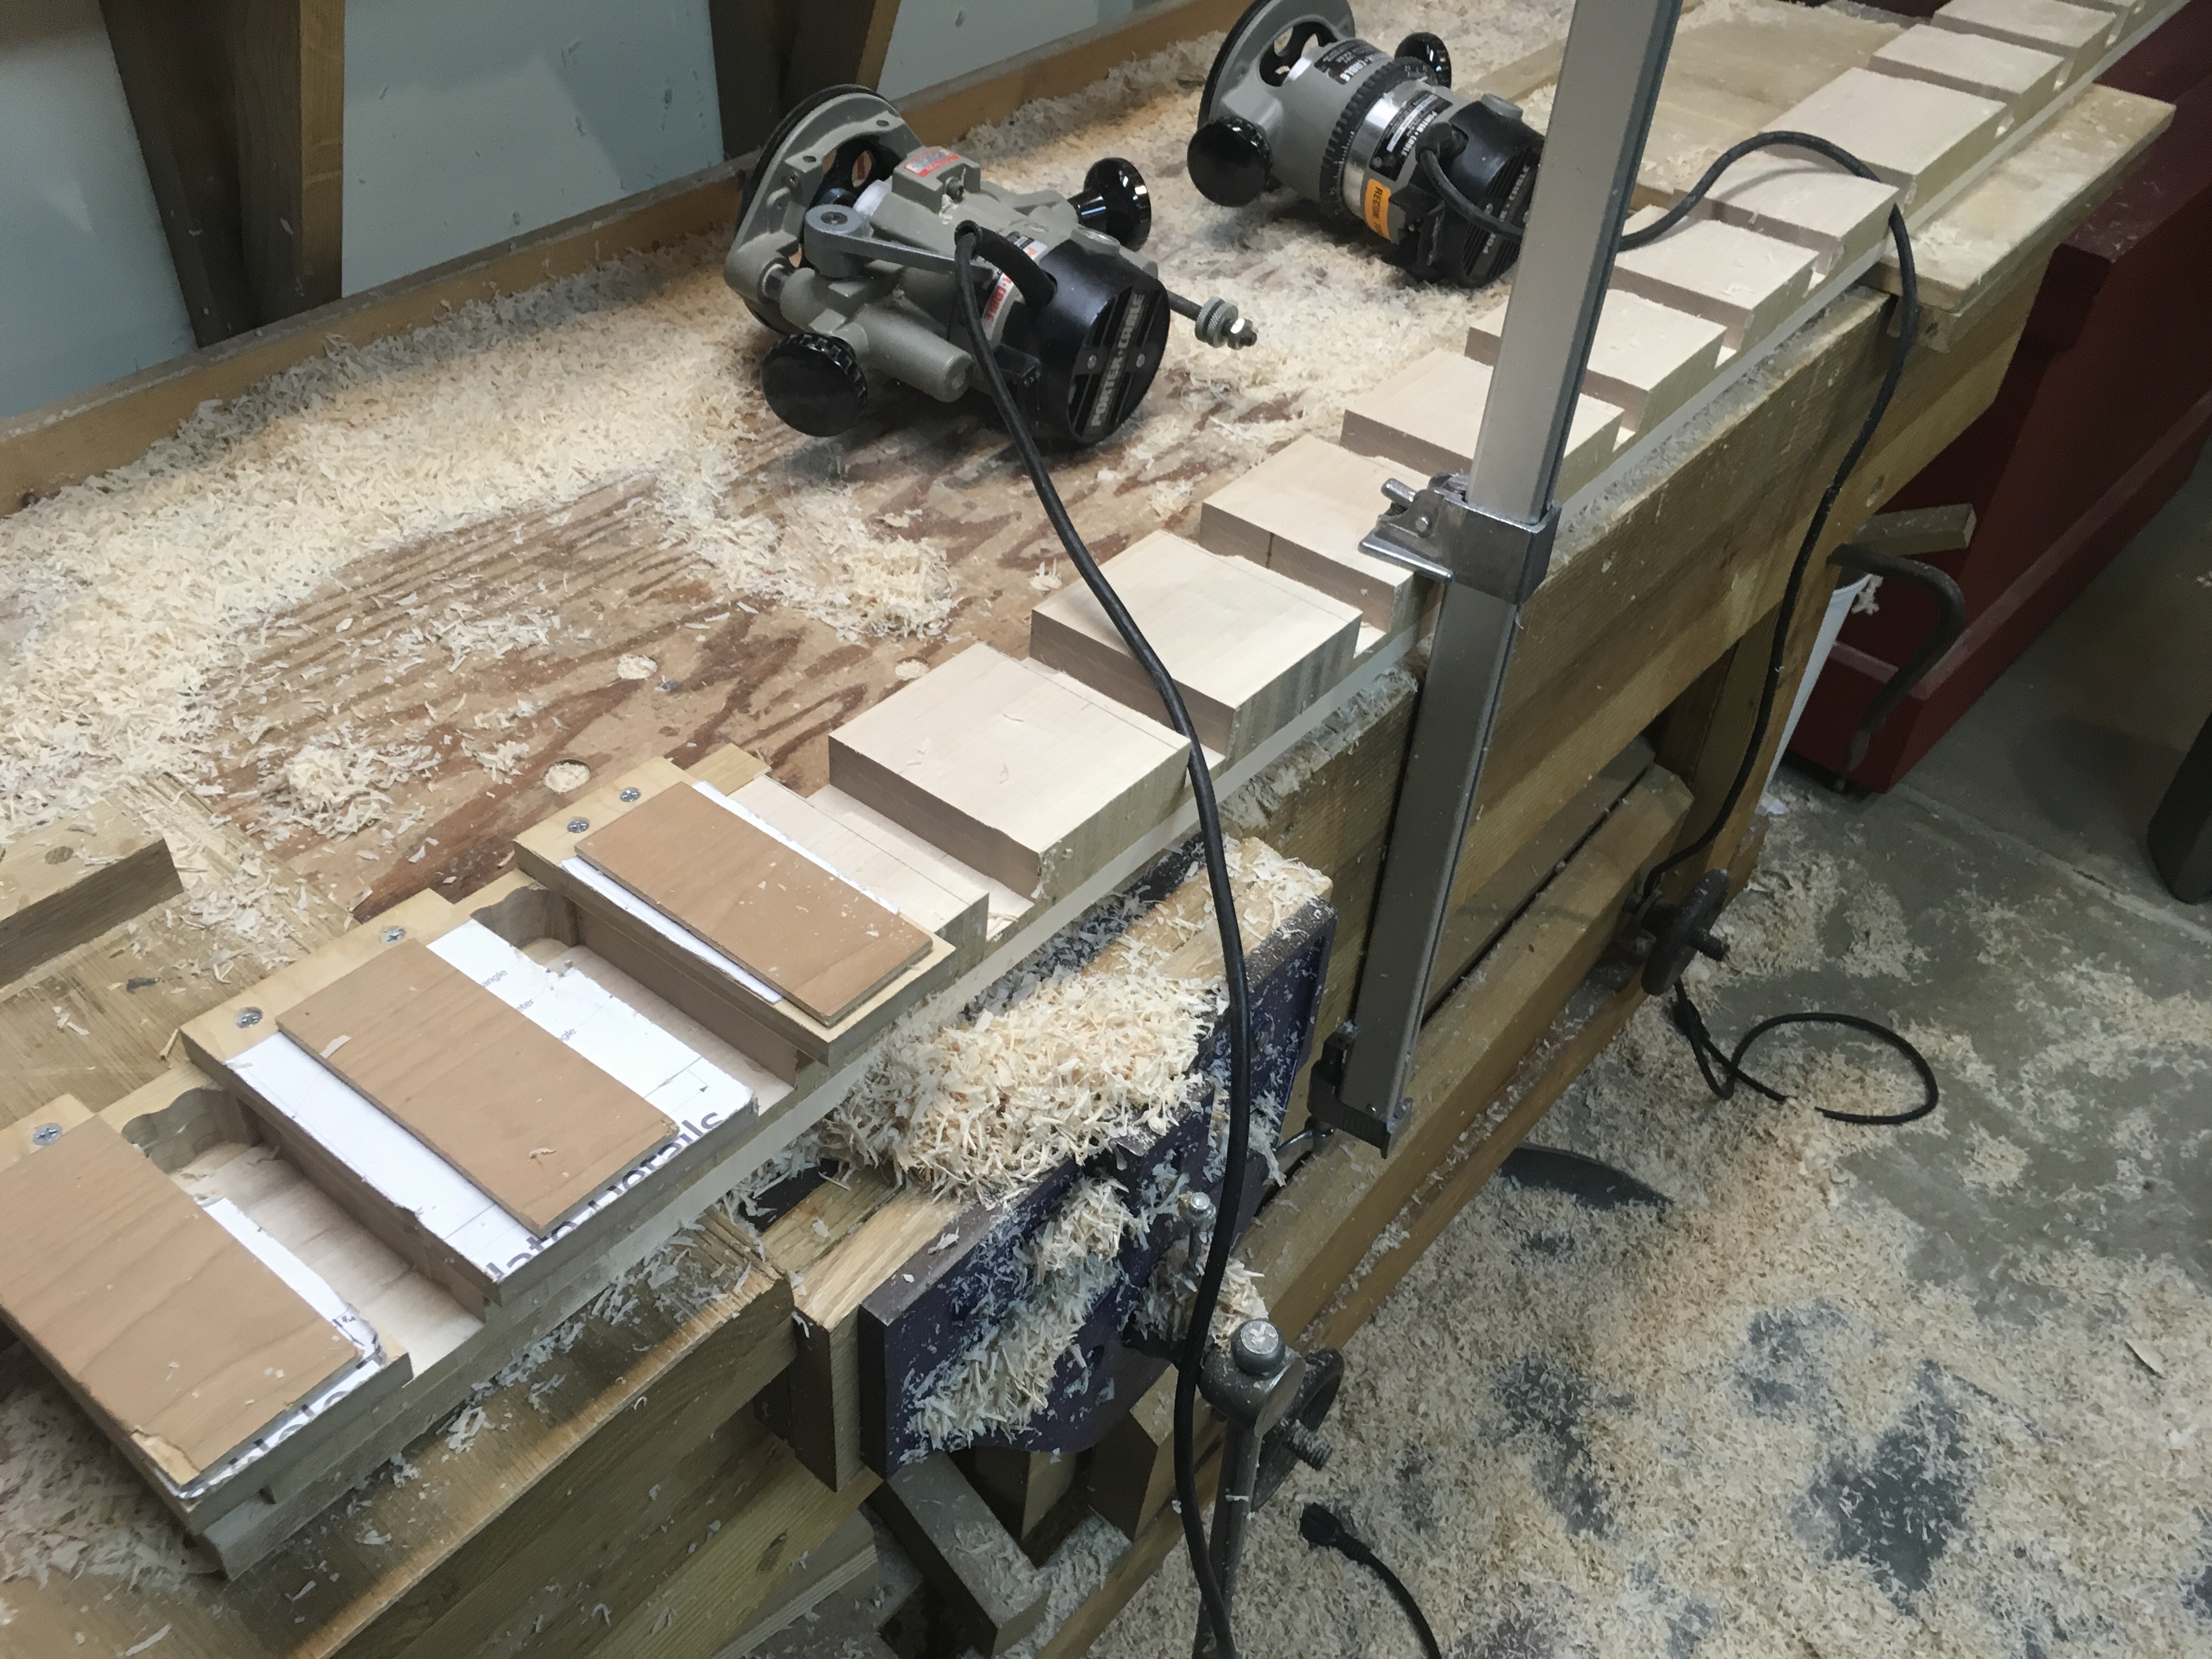

Most of you will notice that a router and template was used in this process. Before hand tool woodworking I did most of my work by machine and I still have most of them. You can’t beat machines for repetitive processes. Except when you stop paying attention and oops.

A little plug will take care of that. I routed one dog hole too far.
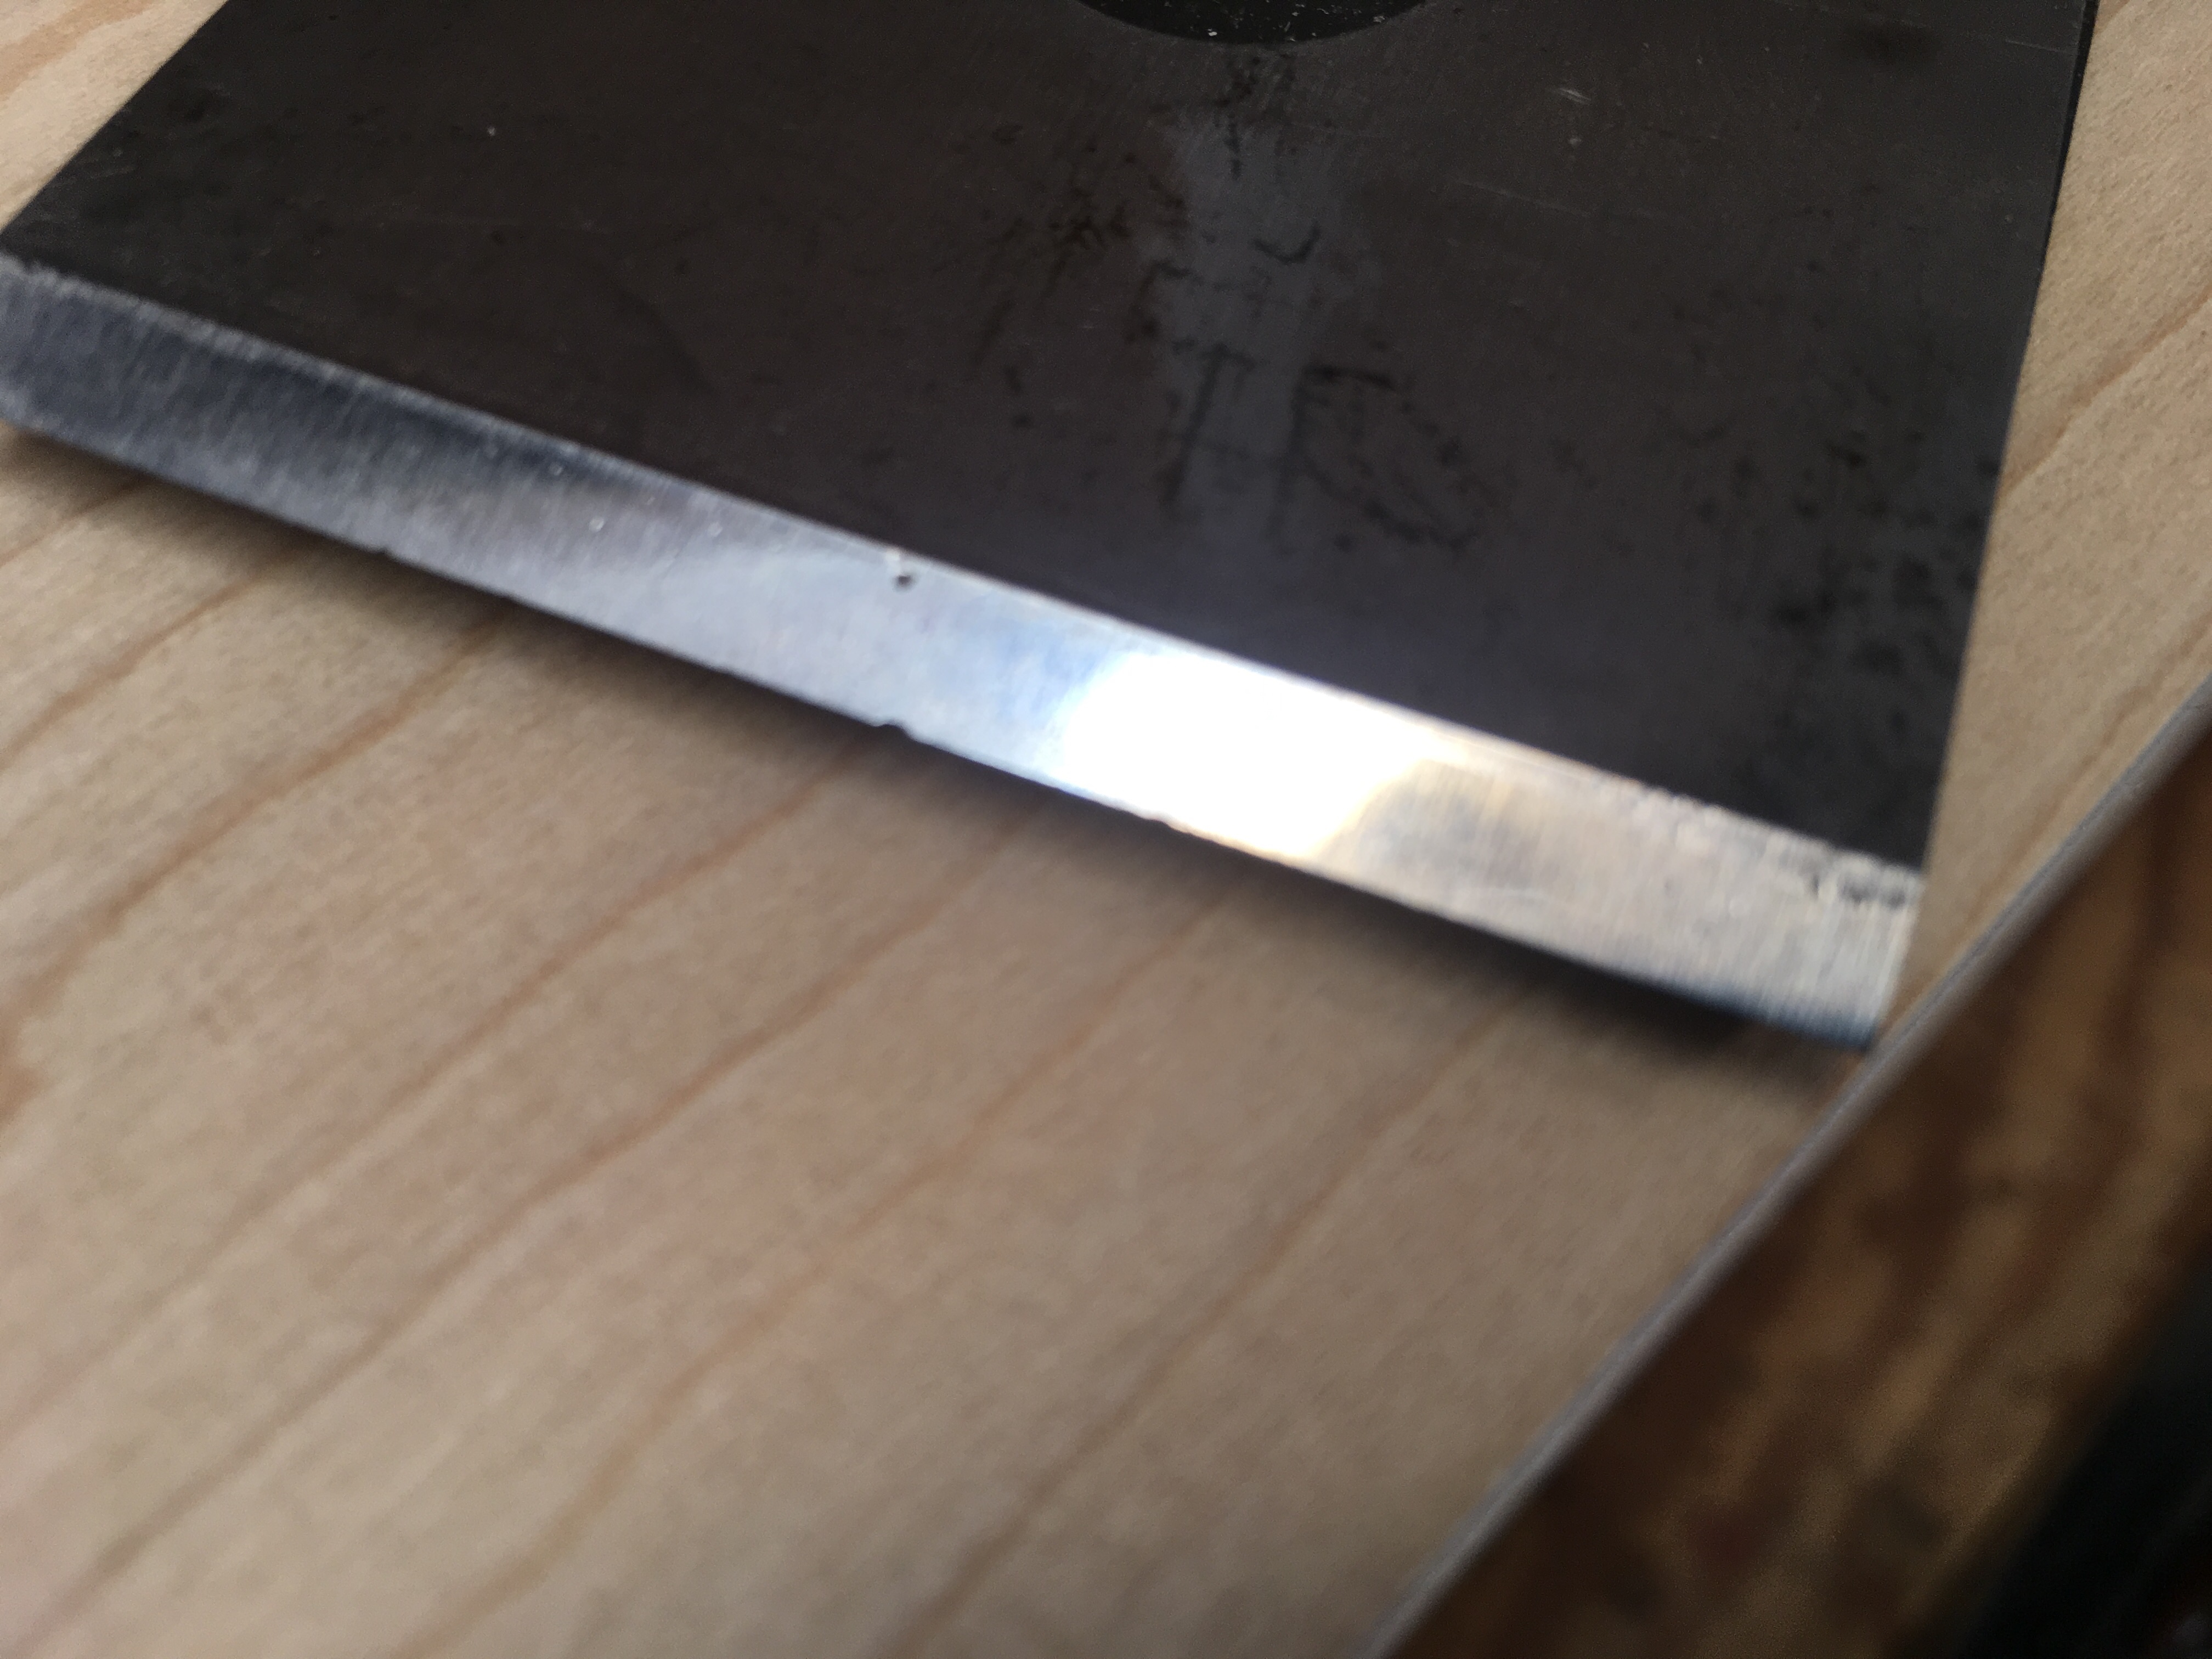
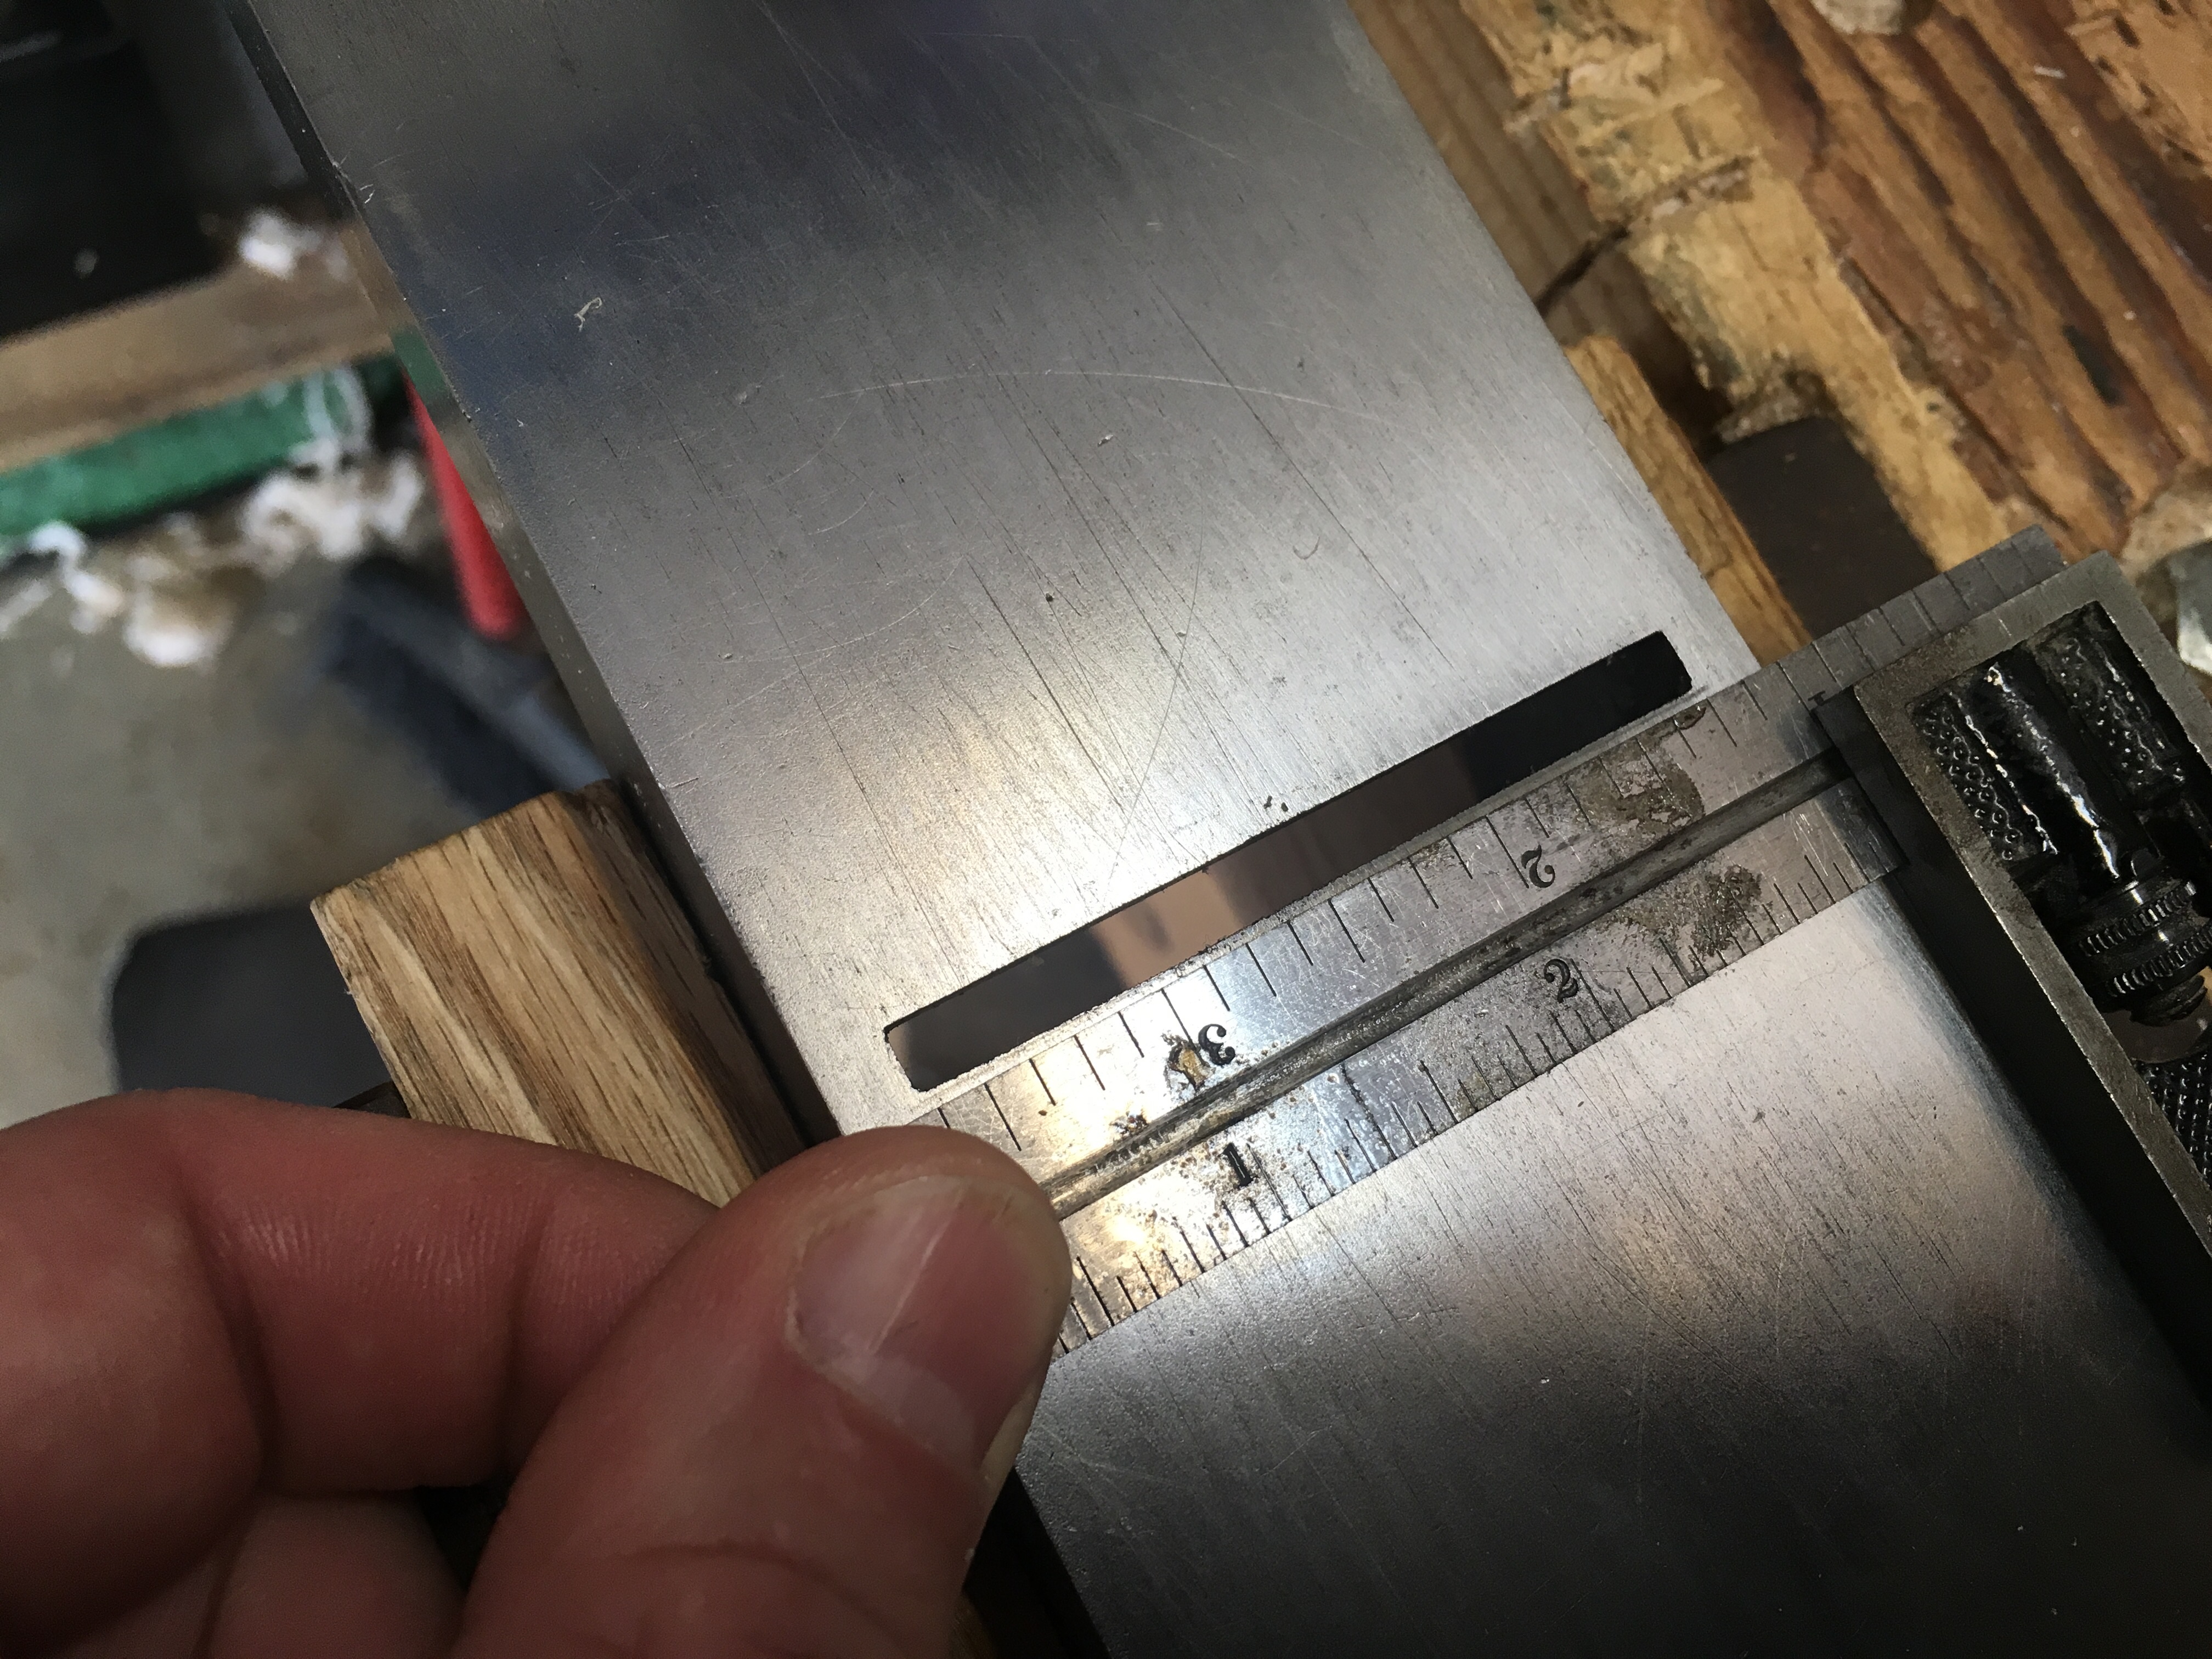
Stanley #7 Blade Change
Using my Stanley #7 plane last weekend to clean up the face frame for the new workbench, it became apparent that the blade must be chipped. This is not the first time that this has happened with this blade and it’s becoming clear that it must be something in the metallurgy.
A year ago I tucked away a Veritas PM11 blade and chip breaker and the time has arrived to install it. First, the plane bed needs to be modified to accept the larger width blade. A quick line with a straight edge and work with a file and in 10 minutes its ready to go.
Some of you will be asking my opinion of the PM 11 blades, and having them in one other plane for a couple of years I can say I have been happy with their performance. I have not used any blades apart form the original Stanley and the PM 11 so I cannot compare them to other newer manufacturers.

Tool Cabinet Supports
Moving the cabinet around to install hinges, shelf supports and doors has become quite a challenge. There isn’t a scale nearby, but even before tools are placed inside it’s quite hefty. Fortunately there are supports to be built that will fit underneath.


The supports consits of a pair of dovetailed boards with a brace. The dovetail is unique and was fun to make. I admit that I did have some trouble getting the angles correct on the brace and the fit is not as snug as I would like, but there are plenty of lessons in mistakes.Unfortuantely I only have the three photographs that I took while making the parts.
What was I thinking? Coffee table top.
There is a certain amount of skill required to produce a high quality mistake. Over several years I have continue to practice these skills and have developed a healthy resume:
Shelf installed upside down, mortise hole in wrong place, cut board on wrong line , marked line on wrong board, cut wrong board, installed table top upside down, there are more mistakes too numerous to mention. There are also the mistakes that only I can see…you know the ones that you have to point out to people and they always say, “I would have never known”. Finally after years of research there is a new mistake that I can add to my resume:
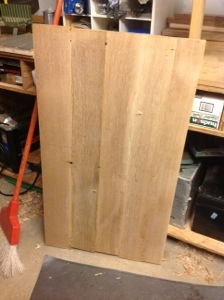
Glue the wrong board into the table top! In the photograph the second board is much darker than the rest (photo does not do it justice at all.) This is really not the type of mistake you should try at home, please leave it to the professional mistake makers….the board that was supposed to go here is still sitting on the bench ready to go………now where’s that saw!
1 hour later…..On second thought that board doesn’t look so bad
2 hours later…. Maybe if I begin to plane it I’ll get a better look at it.
4 hours later… Now that I have all this time into it, why cut it up?
Smoothing the table top was really fairly easy. Most of the work was done with my Stanley # 4. Once I had isolated some of the problem areas on the board I grabbed my cabinet scraper and card scraper and cleaned up all of the areas of funky grain and areas that I had tear out. The cabinet scraper that I used came from Veritas and once I figured out how to effectively sharpen the blade and turn an edge, I had some beautiful shavings. In fact when I completed planing and scraping, sanding was done with the one piece of paper shown in the picture.
I sawed the top to size and then grabbed a hand plane to smooth the edges. With a very sharp blade it always amazes me how well a hand plane cuts across the grain on the edges of the board.


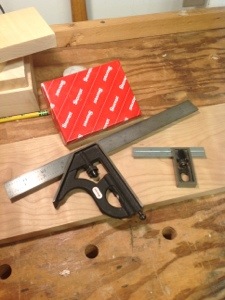
My Favorite Marking and Measuring Tools
There are four squares in my tool box, two that I use every week, one that is used a few times a year and one that is my neighbor square. One more hangs high on my wall just in reach.
When I was 8 my father presented me with a few tools for Christmas; a hammer, two screw drivers (flat head and Phillips), a six inch adjustable wrench and a square. These tools were purchased from Sears and proudly have the craftsman name on the side. I still have all of these tools in my tool box with the exception of the hammer which remains in his tool box. All of these tools are still used with the exception of one……the square.
There is nothing special about the square it has a red plastic handle and metal edge marked off in inches. I used it until twelve years ago to build book shelves and beds and many other projects around the house. Until I went to a class on table saws at Highland Hardware. In this class they talked about setting up the saw and how to square the blade using a board cut on all sides to check for accuracy. As in most classes they pointed out the tools you could purchase from their store to help you master your craft including several machinists squares made by Groz. I didn’t need any tools since I had a nice craftsman square and besides I had just forked over cash for the class.
In my garage I went through the suggested set up for my saw and to my amazement it was not square. I repeated again and again, same thing. In frustration I sat down on a 5 gallon bucket and stared out my garage door. Three hours later I had a new 6″ Groz machinist’s square and a table saw that was cutting true lines. The old square was relegated to the back of the tool box. My woodworking took a dramatic leap forward as joints fit and I spent less time making adjustments.
I later ended up with a 12″ Stanley combination square that was accurate and could handle wider boards. The Groz was used on my machinery, it’s heavy weight helped it to stand accurately when adjusting blade settings and the Stanley combination square became my marking square . This worked great until we moved, and the Stanley square was misplaced. I replaced it with a similar square and ready to work checked it with the Groz, it was not square. I returned the square assuming it was unique and checked the entire store stock about 8-10 squares. None of them were accurate!
Back to the 5 gallon bucket for some contemplation and after some research a red box showed up at the house with a Starret 12″ square. This was another leap since it operated smoothly was easy to ready and had a definite feel of quality. The Starret squares are not low cost but they are worth every penny. A year later another red box arrived with a 4″ Starret square. It is now my favorite; used for marking joints, checking edges for square and many other tasks. The message in this blog is purchase the most accurate measuring and marking tools you can, they affect every cut you make.
I almost forgot my neighbor square. I am happy to loan tools to my friends that understand their value not only in cost but the joy they give me. I am even happier to go aong and give them a hand. However, I have not loaned out my Starret squares, but I do keep an old combination square for their use. There are some tools that mean that much.