Archive
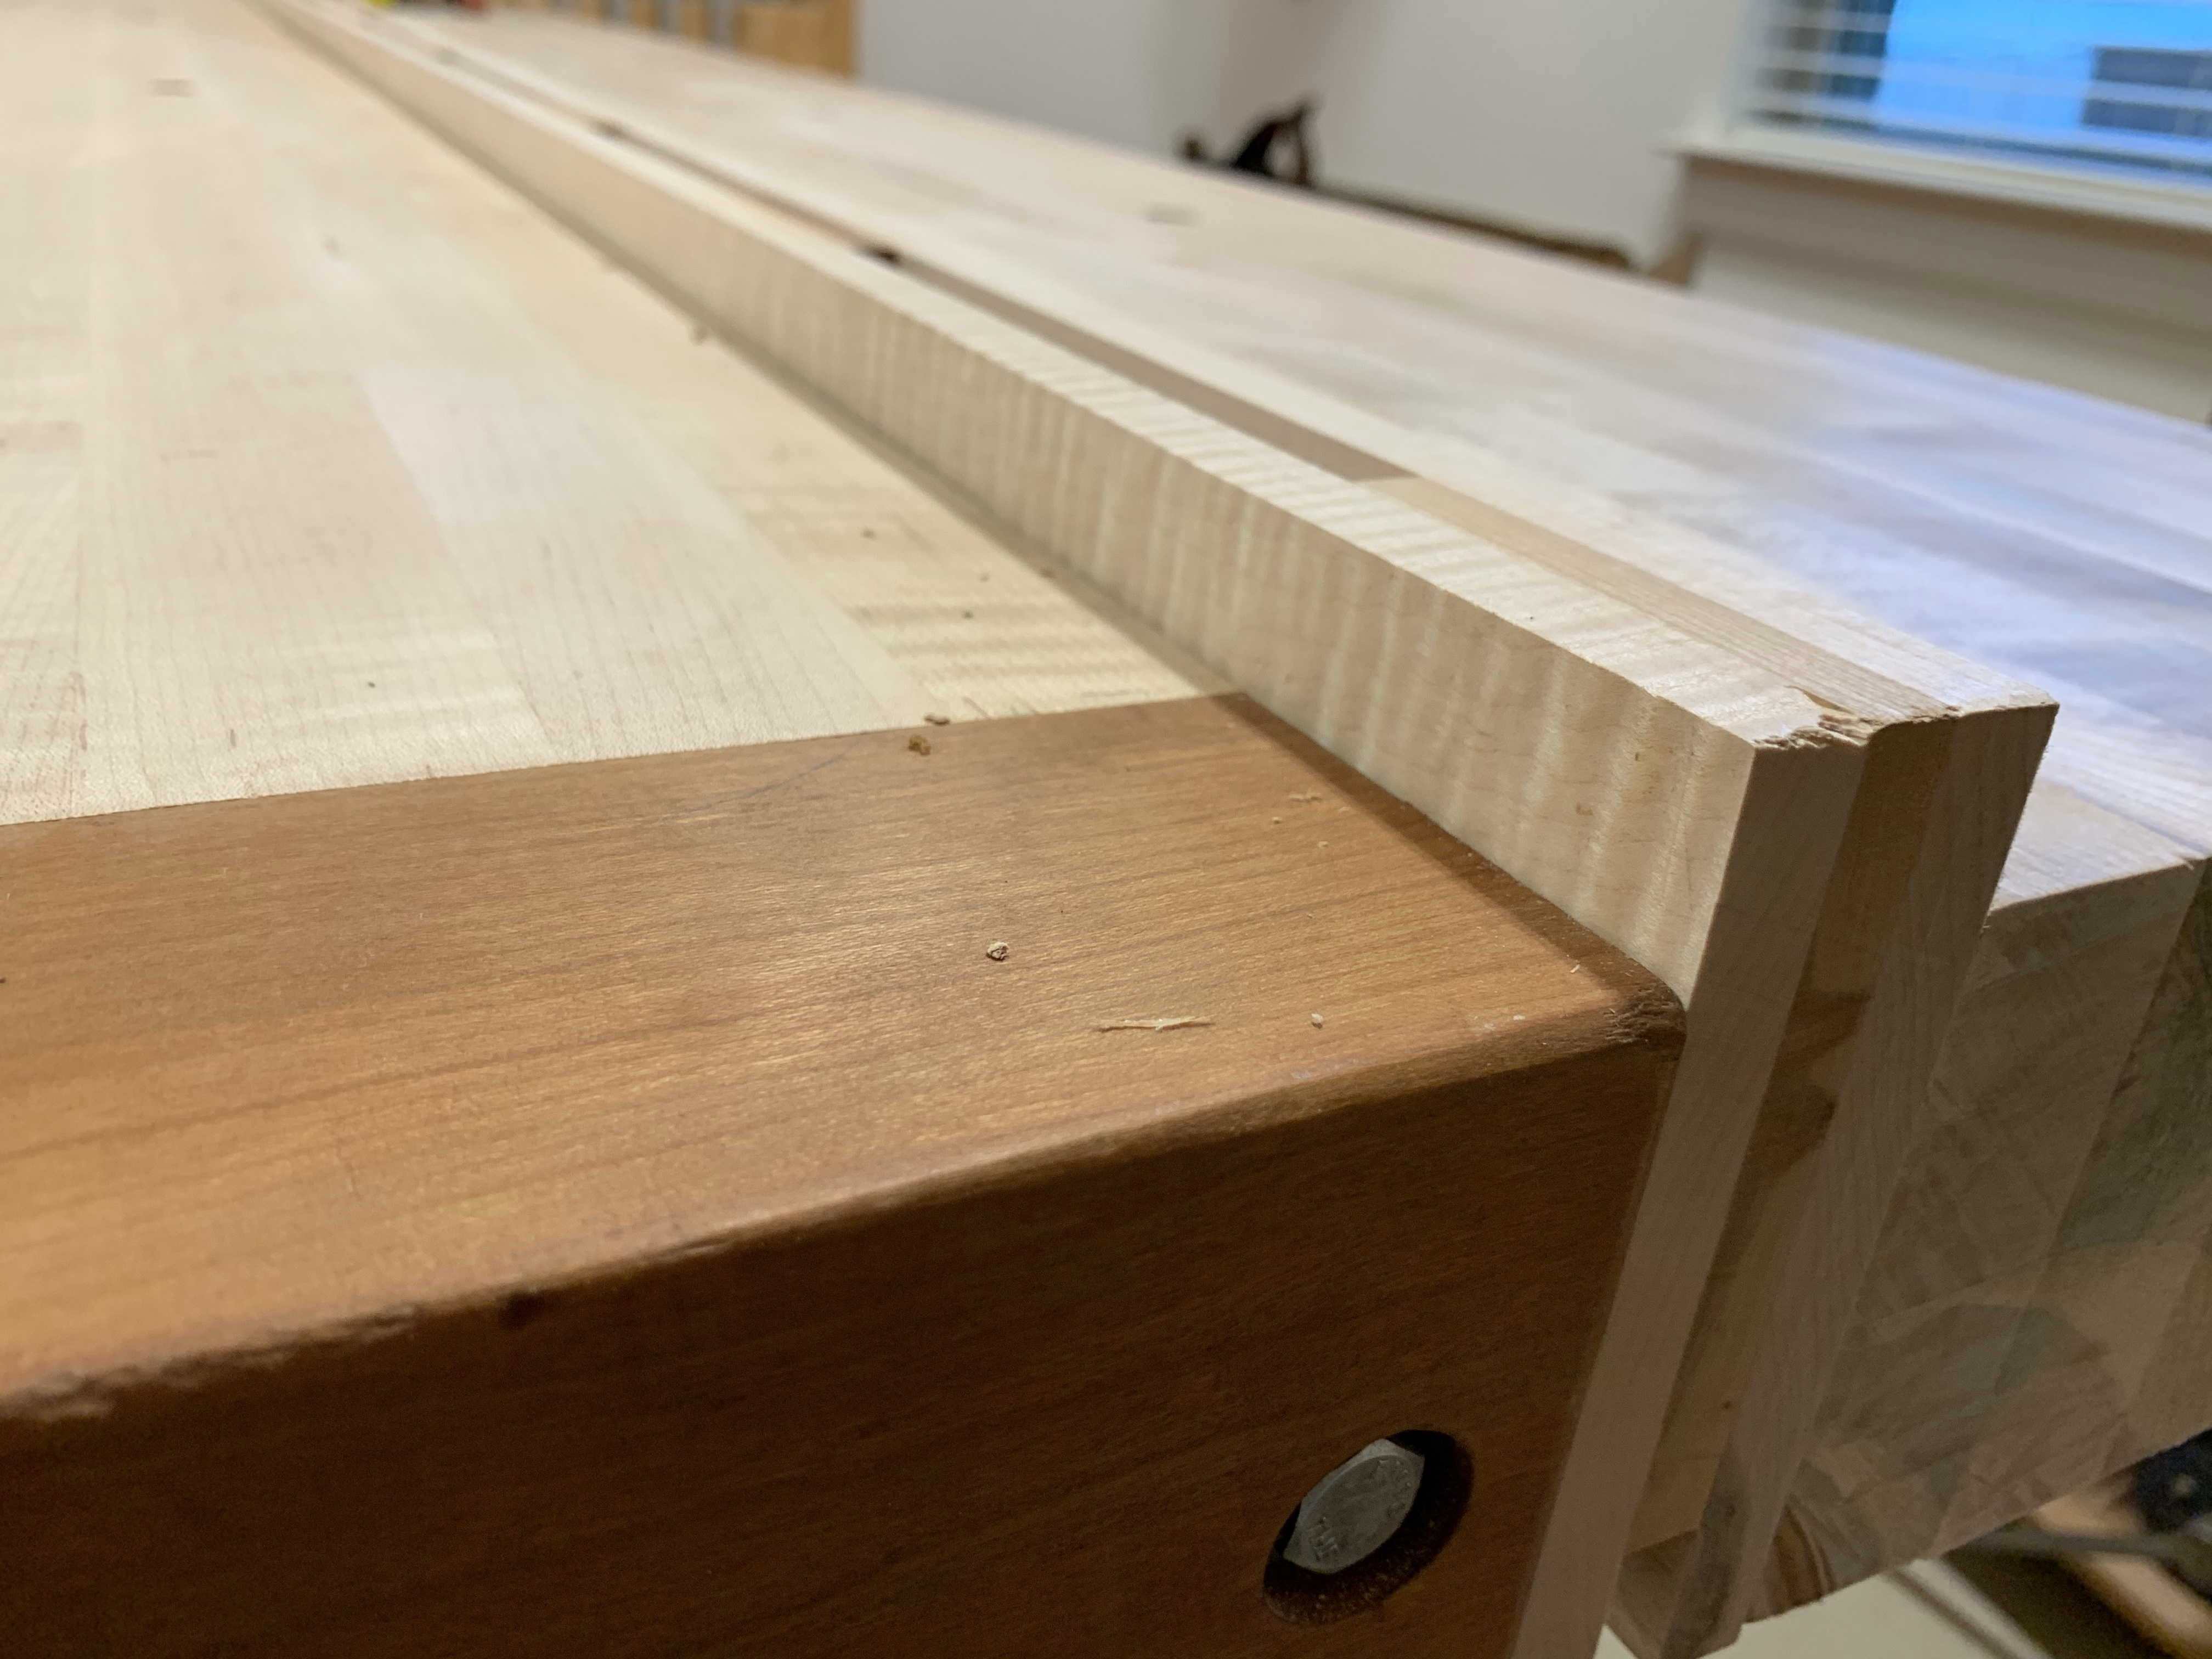
Roubo Gap Stop Revisit
Last week I posted about my Roubo gap stop. This was actually written last November and I failed to post it. This week I revisited the gap stop and made a few changes. Below is a picture of the puppy you saw in the post 40lbs heavier.

The gap stop was functional but with a very humid spring it needed some adjustment. After looking at it carefully I decided that it really needed to be reworked. First step was to correct the gap between the two bench tops.

I unbolted the sections and using a #7 Plane worked them down to the correct width. Next I found a couple of new boards and dimensioned them carefully, removing all of the twist and getting them to the correct width. The new boards along with a couple of extra blocks were glued together and when dry they only needed minor modification to fit into the slot. The rebuild of the gap stop took approximately half the time that I spent trying to fit and adjust the improperly made first stop.
Sharpening Jig failure
I sharpen planes and chisels both free hand and with a jig. There’s no rhyme or reason as to why I choose one method over the other , it just happens. Last week when I had 4 planes to sharpen I used a jig. They were in poor shape and I knew they would need extra effort.
The first three were sharpened with an Eclipse style jig. They are inexpensive and work well. I failed to notice that the wheel in the jig was not turning and managed to flatten it.

The final plane was sharpened by hand……..I imagine this is a very low cost part, but impossible to get. May have to reconsider my sharpening methods.
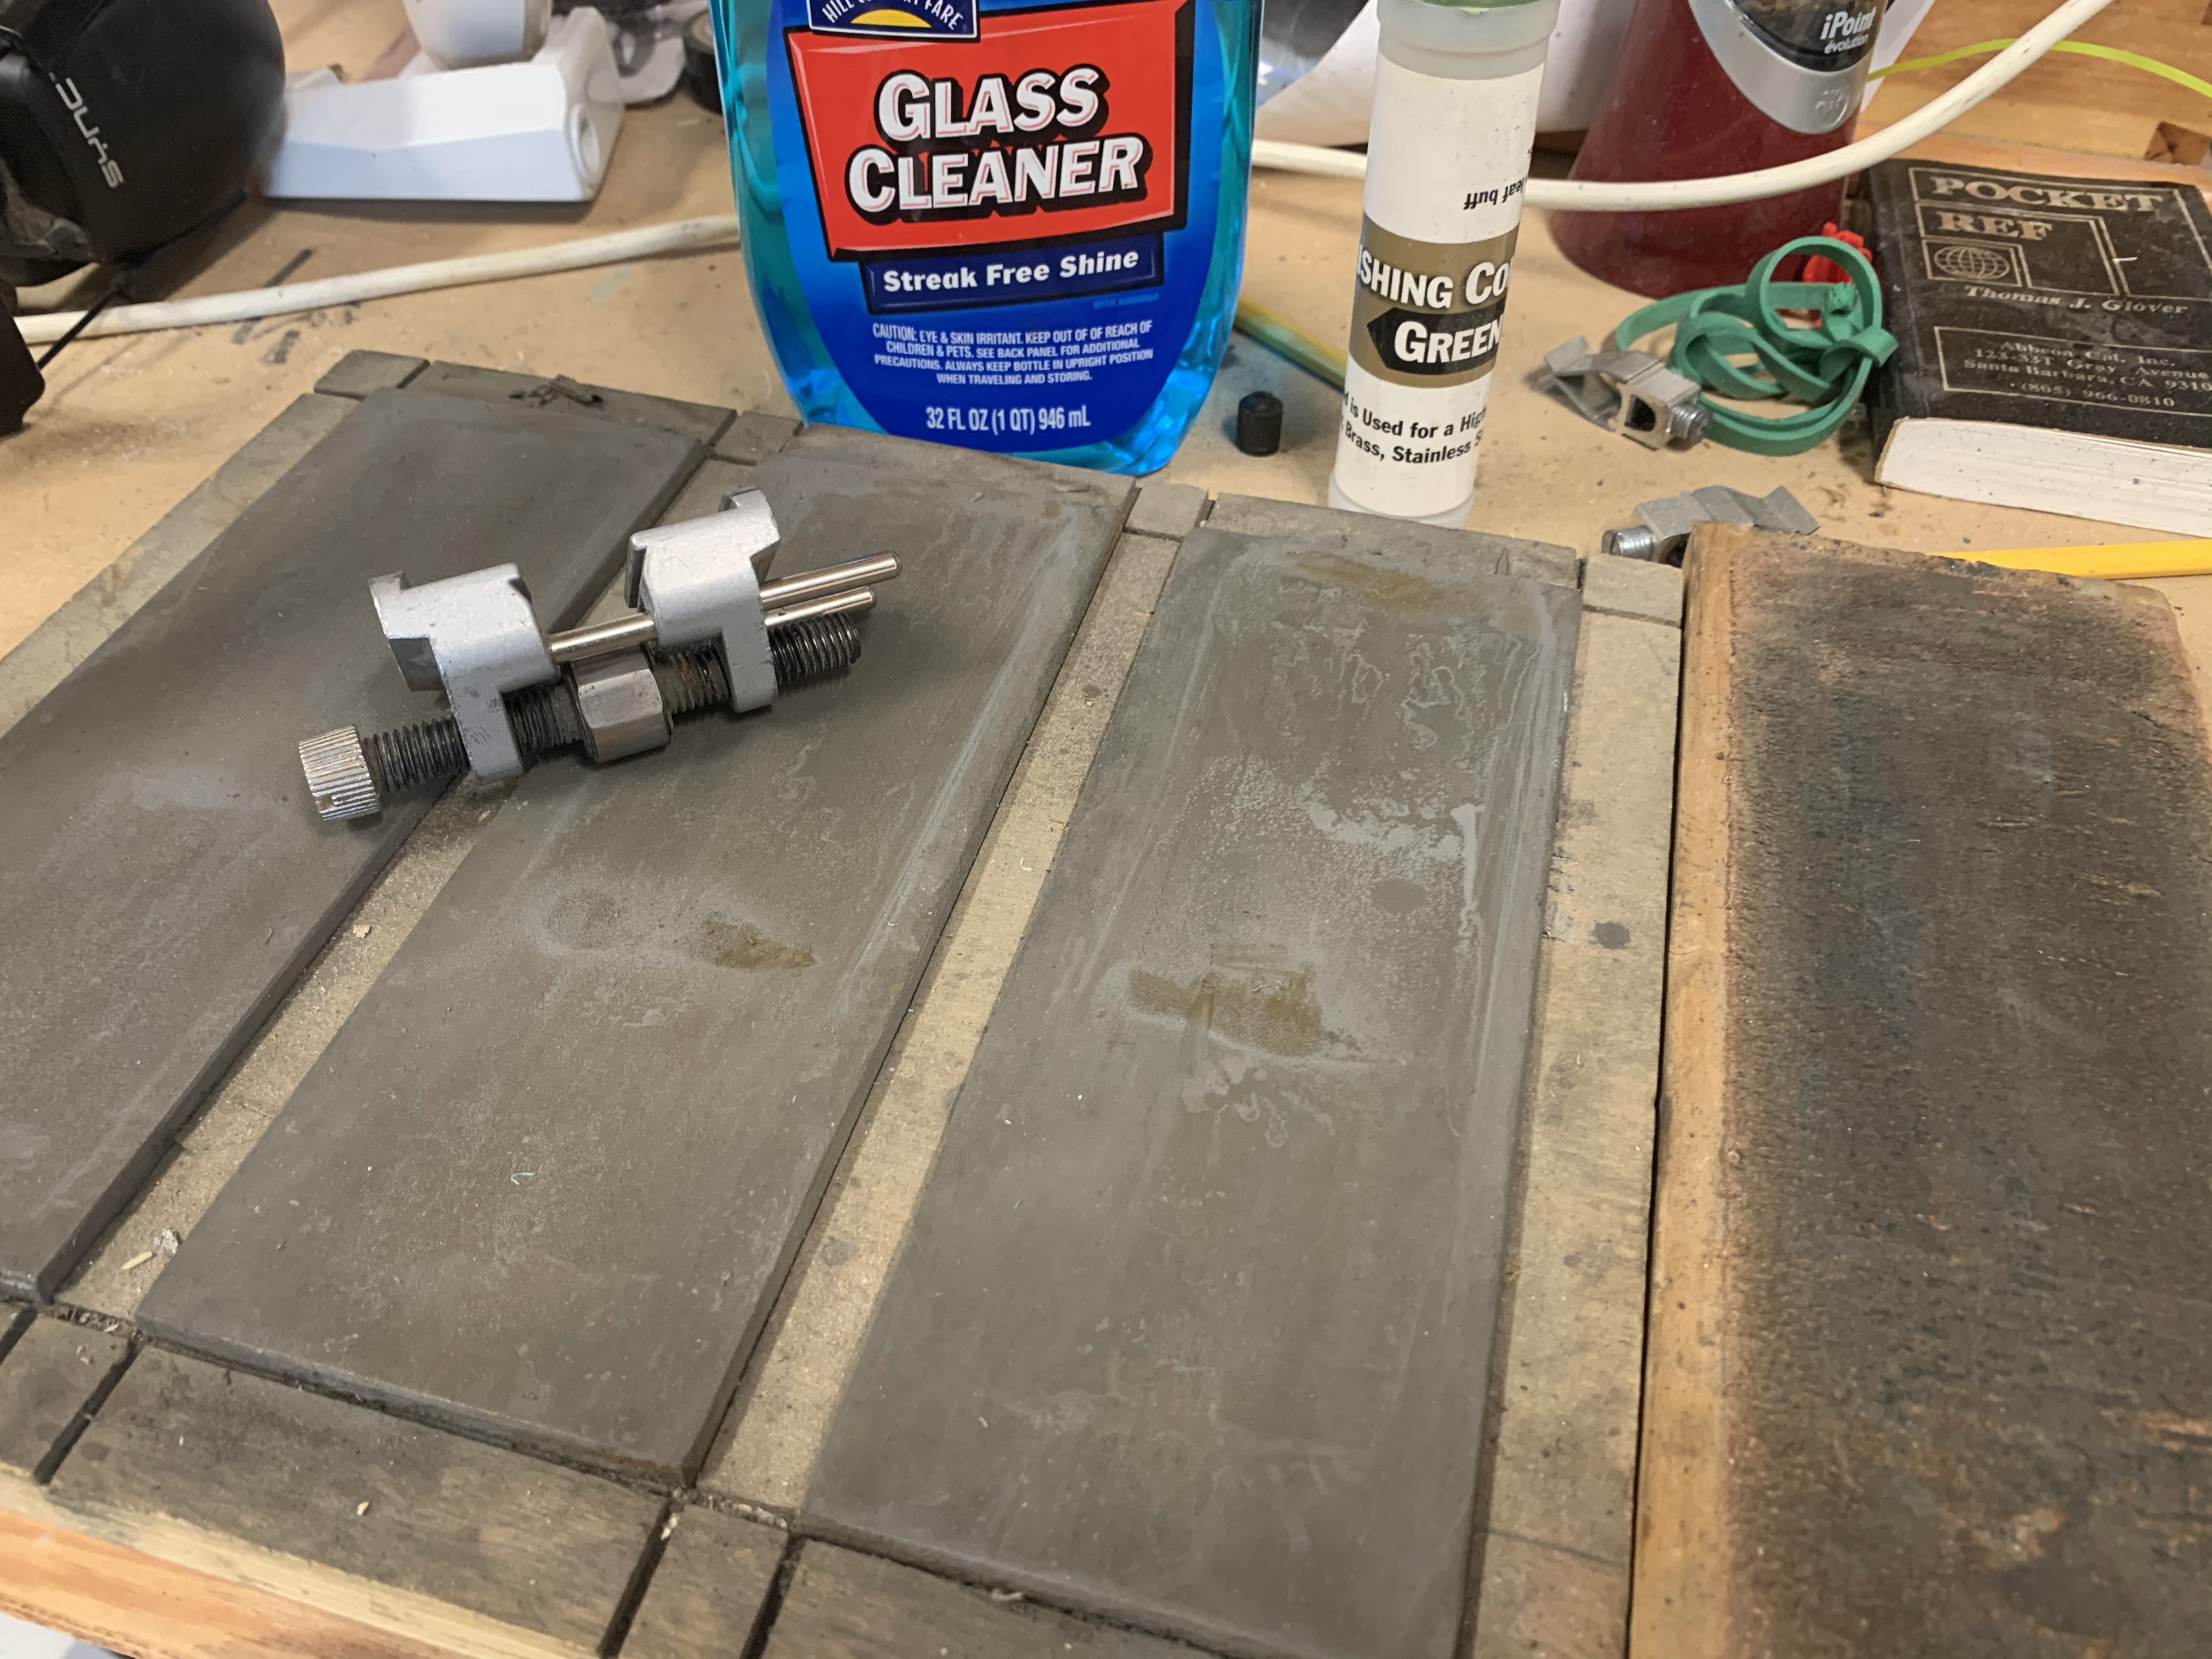
Plane Aid – Flattening and Sharpening
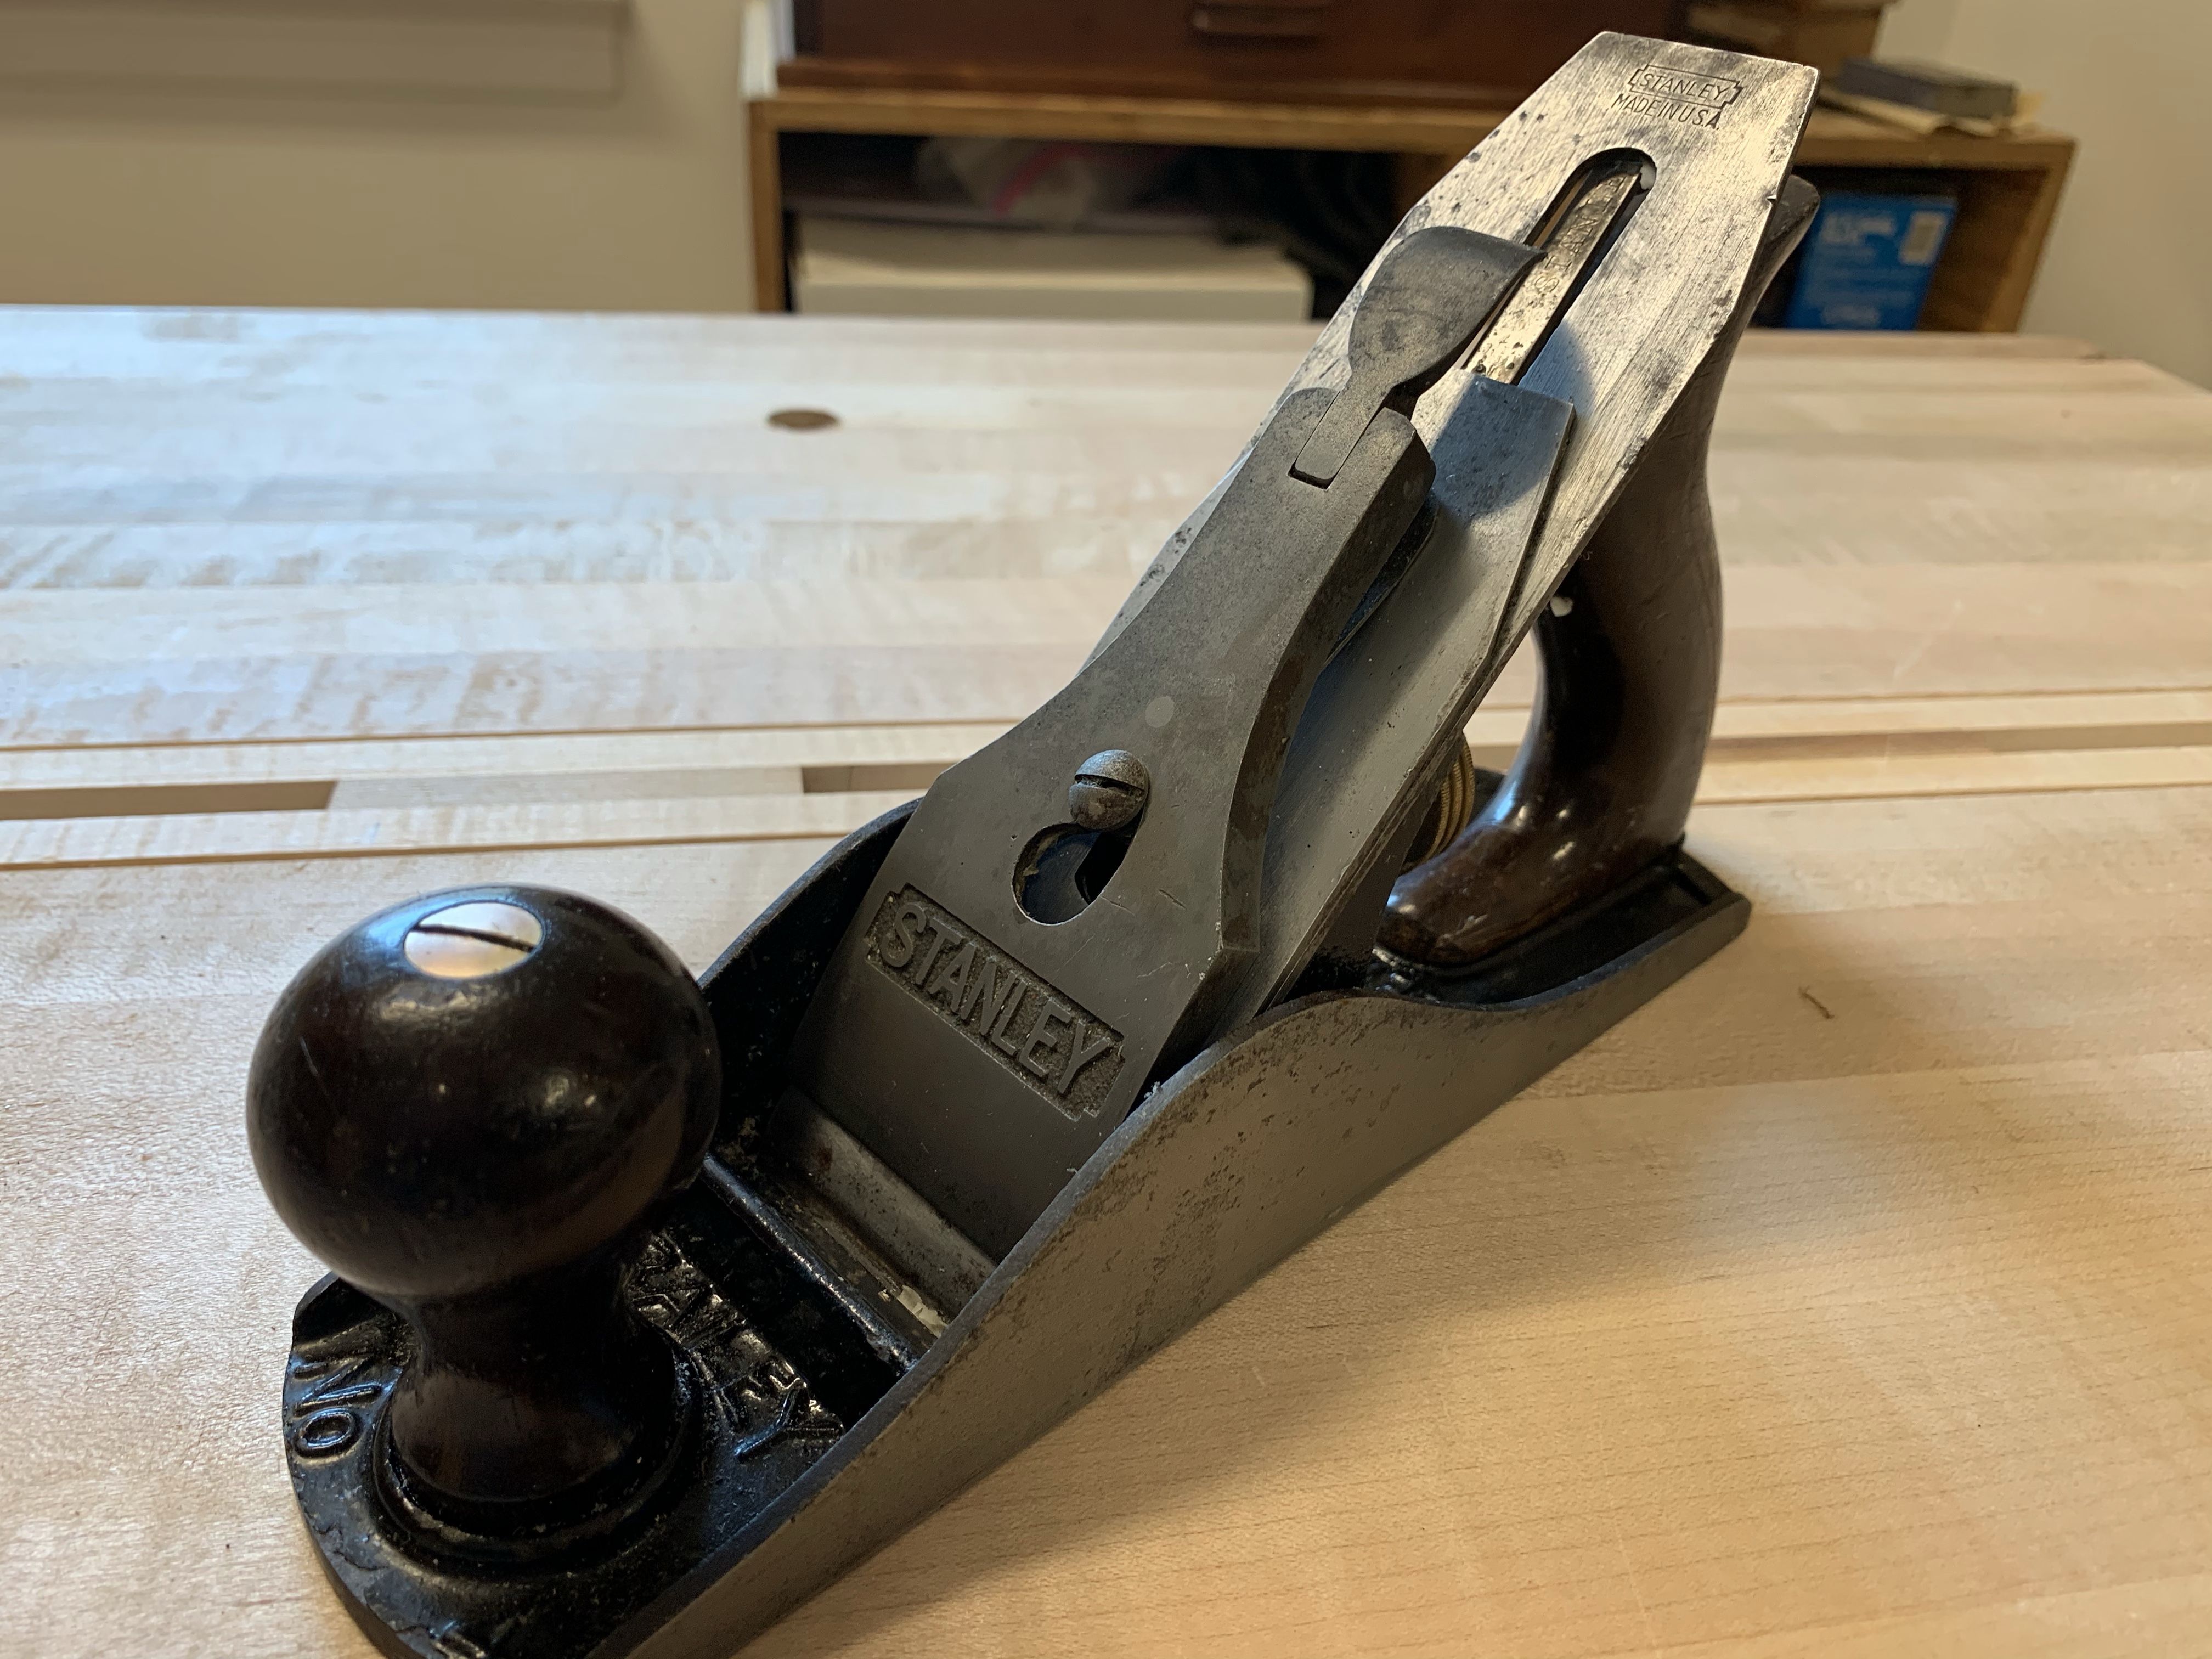
Finished up the four planes this morning after using the 5th for parts. I hope that everyone is satisied with the results. The two Stanleys turned out to be a little more difficult than normal due to the blades not being particularly flat. I’ve never had that problem before but spent more time sharpening then has been typical. I also took the time to print out a couple of links that will hopefully help in the future showing the sharpening tools that I use etc.
After taking the #4 apart and repairing the front knob I disassembled and got all of the rust and gunk off the plane. Flattening the sole wasn’t a problem and I made sure that all of the bolts and frog were clean and fiunctioned correctly. The problem sarted with the blade which did not clean up easily and took quite a bit of elbow grease along with some 800 grit sand paper and wd-40. Once clean I sharpened it and noticed that the back was nowhere near flat. This may be why the ownwer had problems sharpening. Eventually I put it on a 400 grit stone and worked it flat. I’ve had blades that were concave in the middle but this had a side that put up a fight. I sued my basic sharpening system, diamond stones strop sand an eclipse style guide. Next I had to spend a little time with the cap iron making sure its leading edge fit snugly to the blade. All in all it is a nice plane and should be a great add to the tool chest.
The block plane is a craftsman with aluminum cap. I tidied it up flattened the sole and sharpened the blade. This took very little time and will make a great little plane. The small plane also took only a little work after getting the rust off. This was another plane where the high grit paper and wd-40 came in handy. Sometimes these tools have all kinds of spill on them and using a degreaser makes the difference


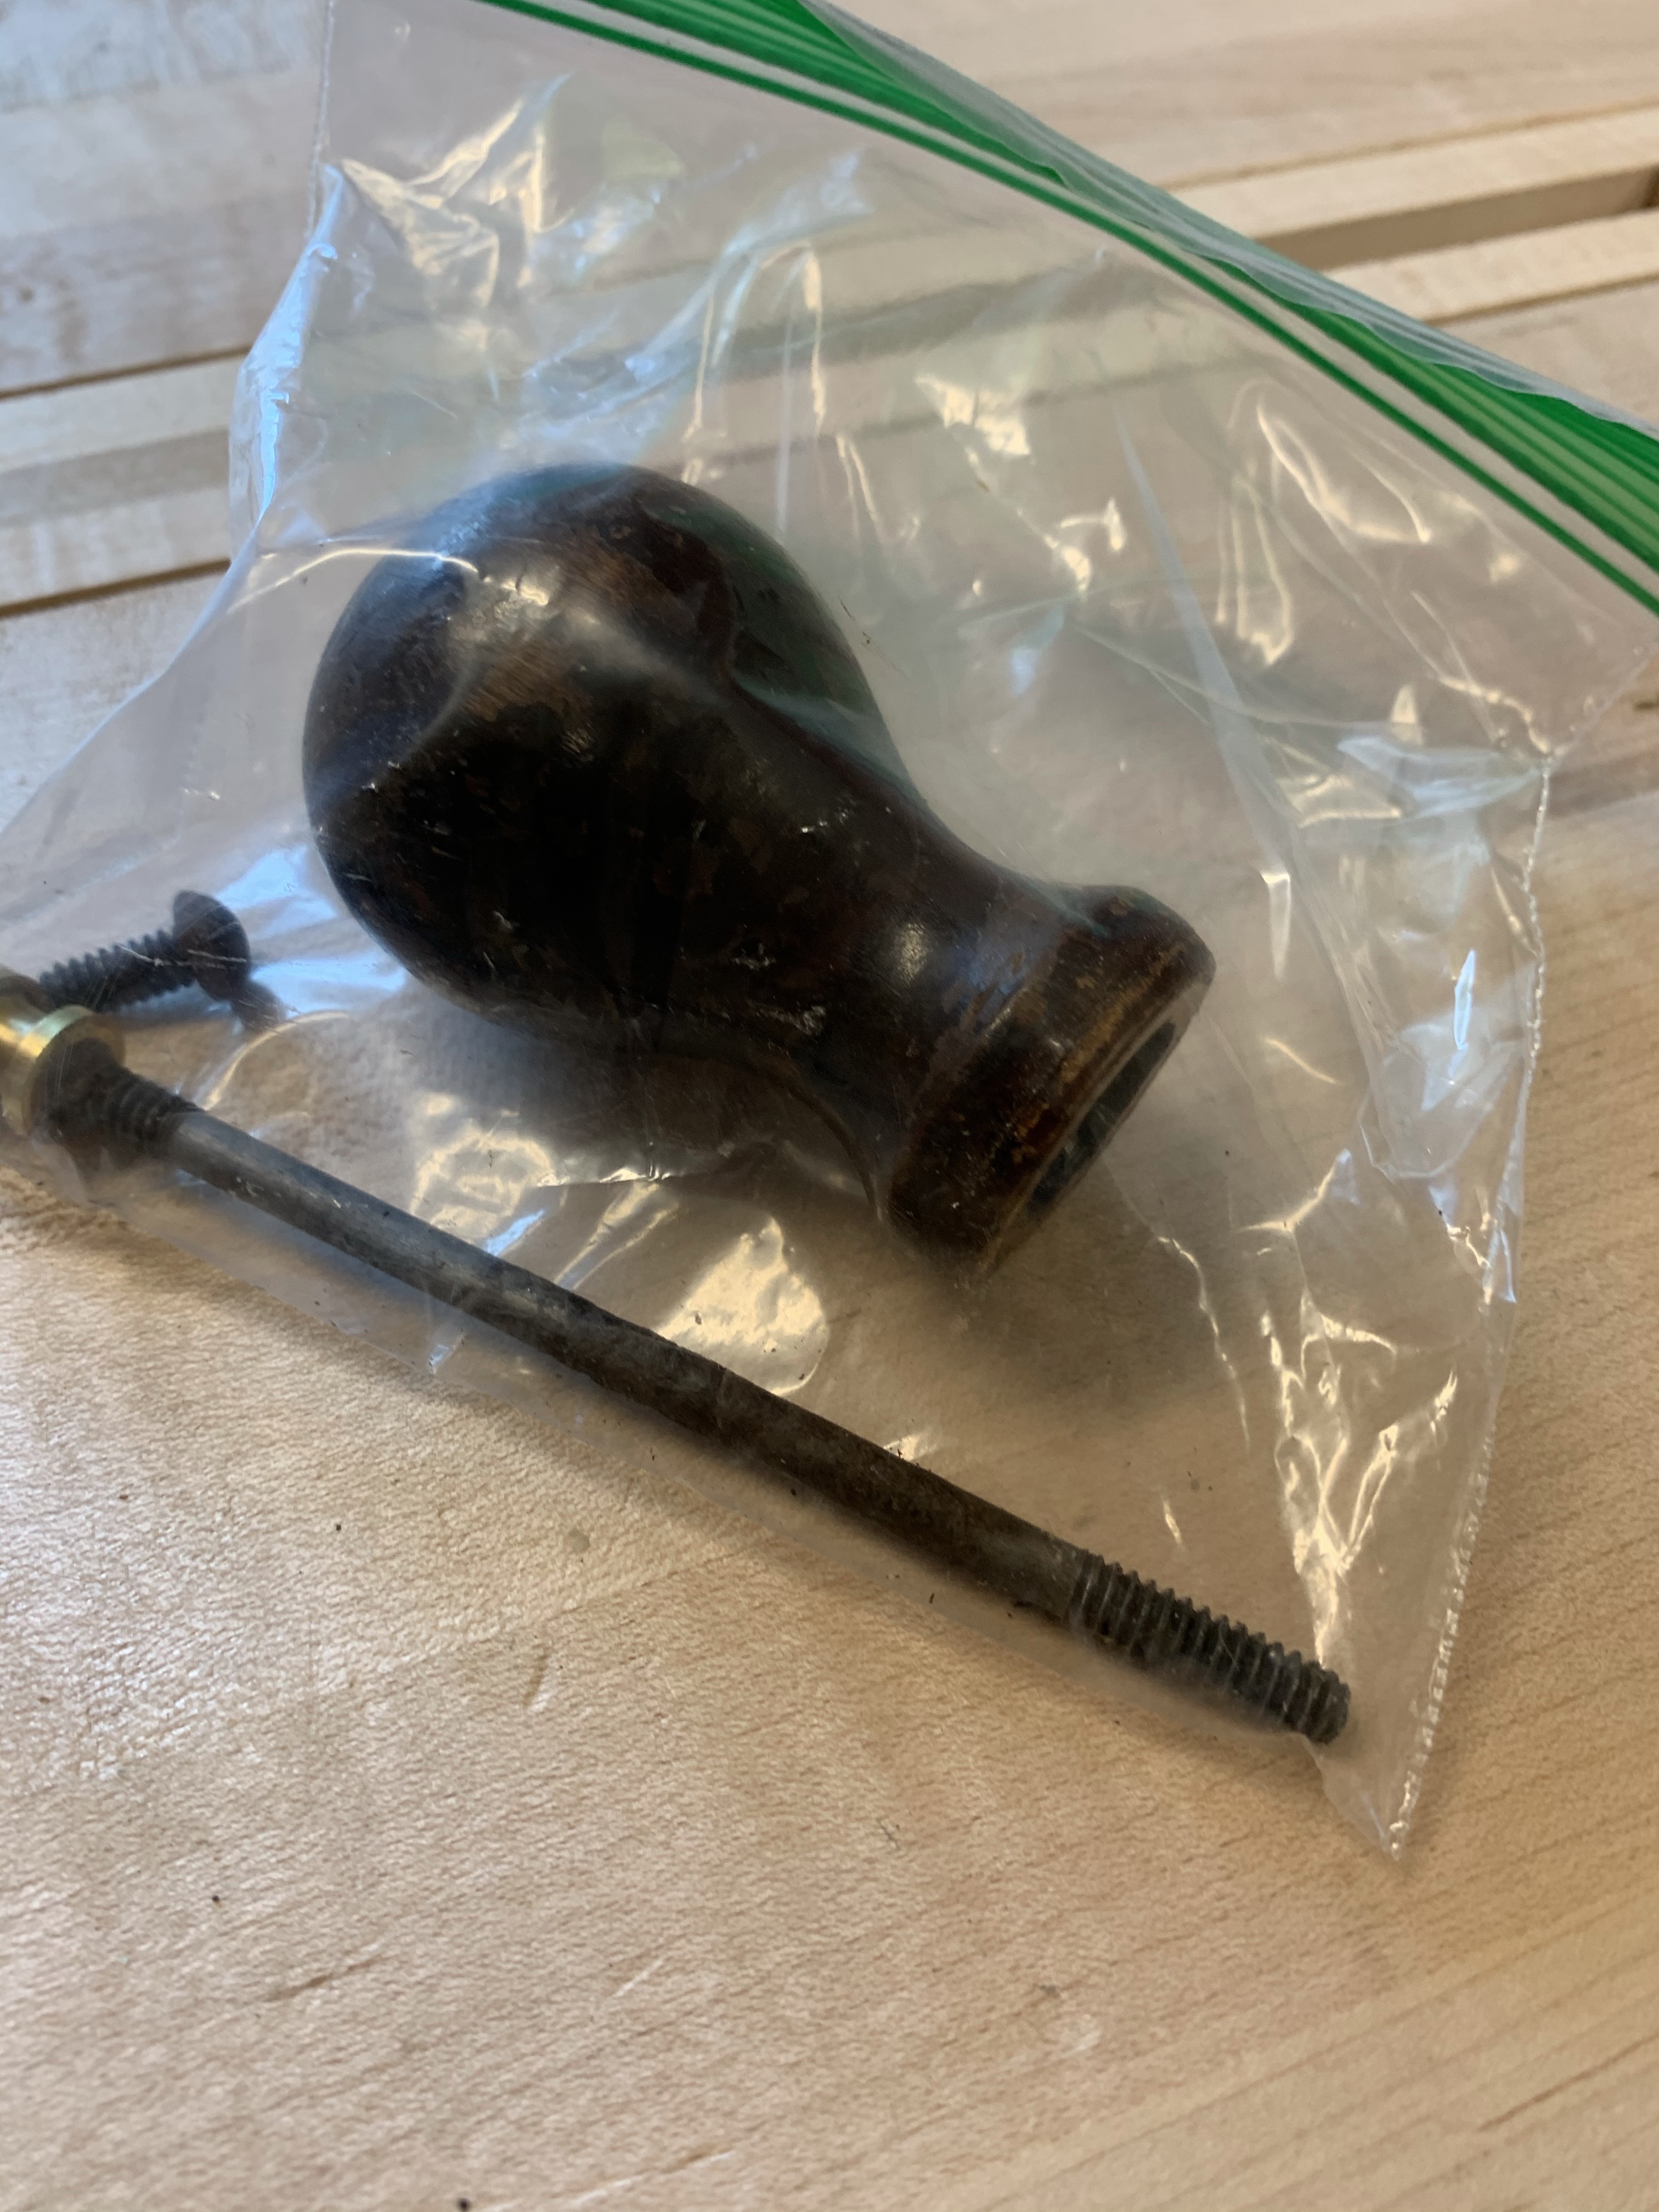
The final plane I worked on, fought me all the way and I think that it could still use a little polishing. There were two #5 planes in the box and after some thought I decided to use the newer plane for parts. I like the older style frogs. The handle from the plane was broken and although not too difficult to fix I did not have an old broken handle to source the rosewood from and felt that maple would be a poor choice. Thus I used the handle from the newer plane. The only downside being the use of a non brass screw to attach it. I placed all of the parts in a plastic bag so that the owner would have them for later repairs. The sole and blade needed quite a bit of work. Once cleaned and flat everything was sharpened and lubed. I also put quite a bit of wax on the sole and took it for a test run. Hopefully the owner is happy with the result.

Firewood to Lumber
A coworker shared some firewood with me a couple months back; while unloading it I noted that several of the pieces were very heavy. The wood appeared to be oak, but I wasn’t sure and after setting up my bandsaw the opportunity to take a peak arrived.
My first step was to build a sled that along with a couple of wedges would hold it upright and allow me to create one flat edge. As you can see the sled is nothing fancy, a few pieces of plywood screwed and glued together.
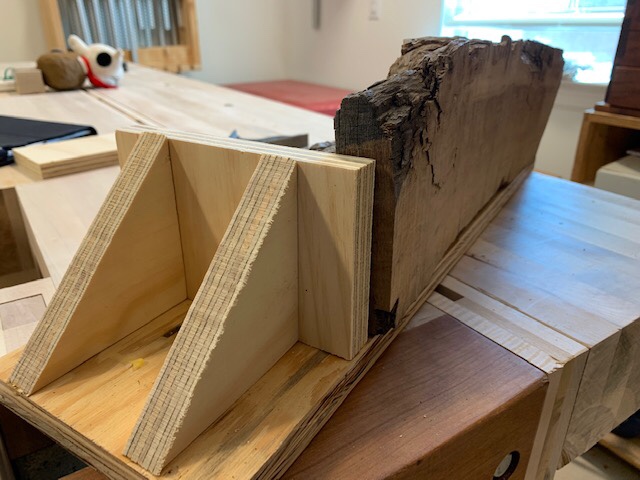
Setting up for the first cut I noticed that the piece had several cracks running vertically. I guessed that this may be indicating that it happened to be qtr sawn so that is how I placed it onto the sled for the first cut. As the bandsaw sliced away the rough surfaces, underneath was a beautiful piece of oak with some very nice medullary rays.
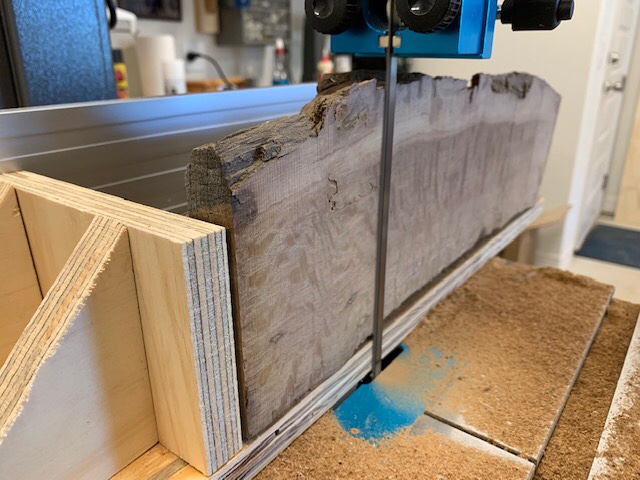

Cutting the wood into 3/4” thick pieces I was left with a several nice boards that will make a beautiful box. I think I may give it to my firewood suppler. You never know what is hidden away under the bark and rough exterior.

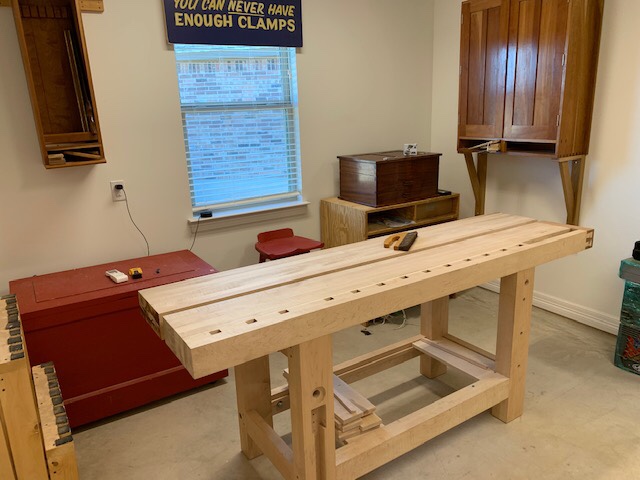
Roubo Bench Tail Vise
A year of waiting to woodwork has produced one lone thought, where the heck was I. Looking at the bench I recall a frantic weekend to put together as much as possible and carefully pack the benchcrafted parts. However remembering the step I was about to take is in a recess of my mind. One thing is clear, I need to complete the tail vise or Front vise before moving forward.

After some contemplation I set to work on the tail vise. It appeared to be a quicker installation and I’ve yet to determine the shape of the chop on the front vise. It took time and some final adjustment, but I inserted the rails into mortises, adjusted the bolt holes and screwed it together.
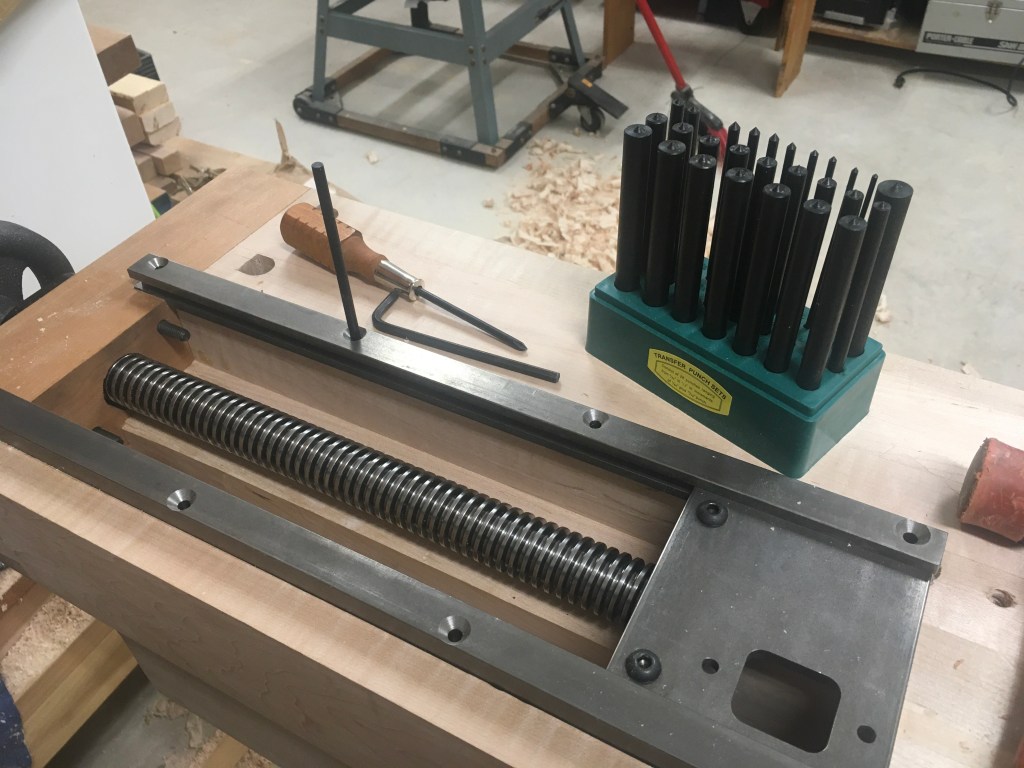
Really happy to have the center punches to mark the holes. It’s one of those tools that aren’t essential but make a difference. I picked mine up at Lee Valley but I think you can get them most woodworking stores.
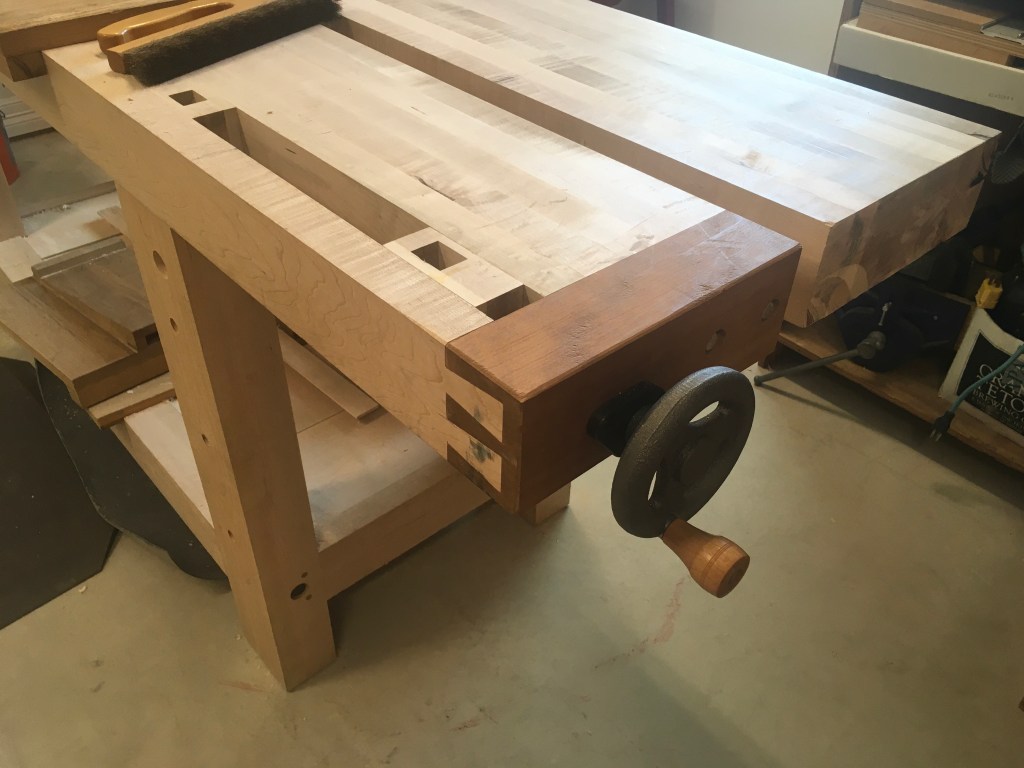
Some work the plane and saw and it’s all together.
Supermax Air Filter from Laguna
Packing up my shop over a year ago revealed a lot about my woodworking. The most noticeable is the amount of fine dust coating everything. Although most of my work is done with hand tools I do use a planer and tablesaw to speed up stock preparation. It’s safe to say that most of the dust comes from these operations and in spite of using a dust collector, more needed to be done.
After a small amount of research, a Supermax Air Filter arrived at my front door and after some planning and help I mounted it to the ceiling joists. If you want to see the unboxing video, there isn’t one, but I’ll provide a brief description. Grabbing my pocket knife, I slit the tape closing the cardboard box, flipped the box over, slid the box over the styrofoam and gently removed the air cleaner. After checking that all the parts were there I stared at the 60+ pound machine for a couple of weeks until I figured out a safe way to install it.
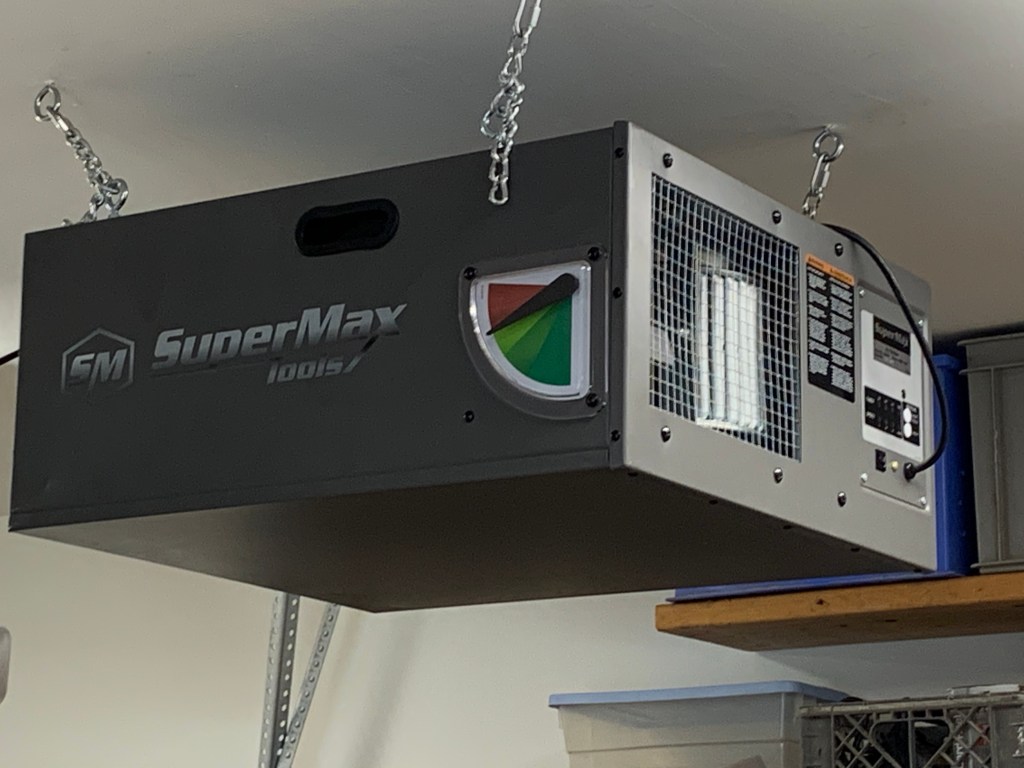
I’m looking forward to trying it out and if you want to know more shoot me an email.
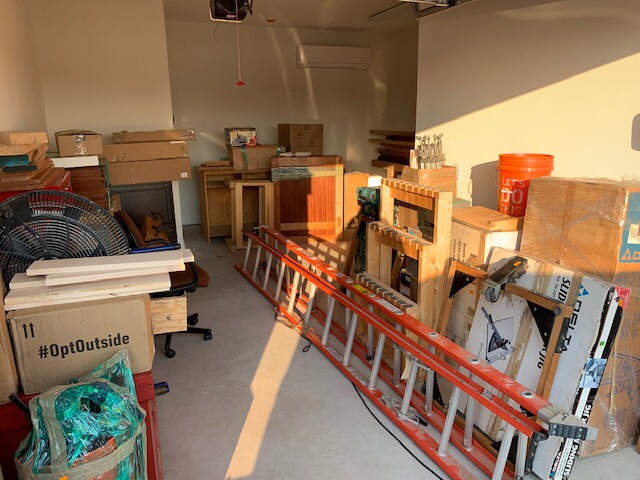
New Shop – First Look
September arrived and with it a new chapter in my woodworking journey. As boxes began to disappear and in their place a collection of objects began to occupy rooms , I snuck a peak into the garage. Piled up in front of me below boxes and stacks of lumber lay my work bench, tools and cabinets. It wasn’t long before they were assembled and after some shifting placed where hopefully they will remain. Shuffling through the packing material I located tools and screws to hang my wall cabinet and saw till. The tool chest was placed on a floor cabinet and the anarchists tool chest rolled close at hand.
If you only look at this half of the shop it is beginning to take on the appearance of order but the hidden half of the space still needs much work. Hopefully with a weekend ahead I can find homes for the needed tools and sell what I don’t need.
Woodworking Withdrawl
Note to self; when moving and storing woodworking tools for an extended period of time keep a few nearby to sharpen, hold in your hand and polish.
It’s been several weeks since the tools were packed away. They are now in storage and may be there for several months. I’ve read many blogs, articles and comments that reflect on the curious need to touch and look at your tools. Clearly I have a touch of tool..itis, wood..itis and design..itis and I have no idea how to pass the time until the tools are again in their rightful place. Some of the more obvious symptoms:
Sharpening – A desire to sharpen tools. This is a very strangle affliction, sharpening is a necessity not a desire.
All Fine Woodworking Articles look like excellent projects – Any magazine must appeal to a wide audience and Fine Woodworking is no exception. Typically I look through and one article grabs my eye, currently I want to build every project.
Lee Valley Website – Admittedly Lee Valley is a favorite source of tools, however I don’t typically scroll through it endlessly looking at the tools I already own.
The infamous unfinished bed – I’m considering finishing the bed I made 20+ years ago. Why now?
Old Tool Chest and Layout Tools
Looking through the photographs I took while wandering through antique shops and wanted to share an interesting tool chest that I came across.
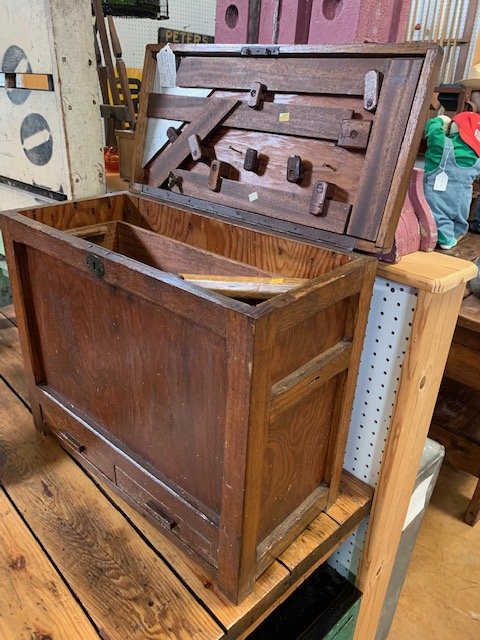
Certainly someone can do a decent job of dating the chest. It wasn’t the chest that made me take a second look, but the layout tools that were carefully stored under the lid
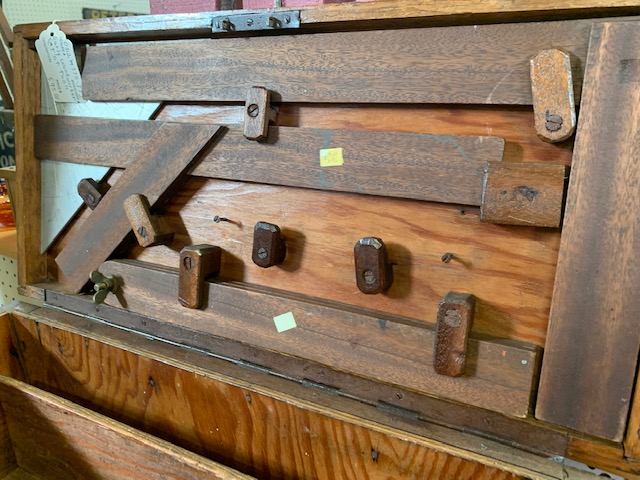
Neatly stowed in the lid is a square, 45 degree (best guess), compass, metal triangle (square) and somethiing missing. Certainly the craftsman that used this tool box had a specific task that required these tools. Anyone have a thought?
A couple of other benches were in the store, enjoy the photos.


Bench Dog Design
Wandered through an antique shop today and noticed several benches and tool chests. Typically I prefer junk stores since their pricing is reasonable and people understand what you are looking for and how it’s used. During my wanderings there were several benches, but the dogs on this bench caufgt my eye.

Perhaps I should have looked at the price of the bench, but by the time I was in this part of the store sticker shock had worn off and I was in cruise mode. It’s a very nice bench with decent proportions and a couple of nice vises that worked well. I imagine this will ultimately end up in a kitchen somewhere.
The bench dogs were quite large and moved smoothly up and down. They were held in place by a thin piece of wire.


They did not appear to hve been used often but I can imagine the wire would eventually create a groove in the bench top. Don’t think I will change the design on my bench but always fun to look at options.
