Archive
Another Side Table
There’s a little cherry left over and I think it will be enough to make another round side table. So I grabbed the plans which I didn’t follow last time and won’t follow this time and gathered up the lumber.

Then I stopped everything because I had not sharpened my planes after the prior project and went out to play ball with my daughter’s dog, my friend Tim wonders why he never sees any finished projects?

Flattening and dimensioning the lumber did not take long and I spent some time looking at the previous tables to see if there were elements to change or add. The Walnut table I made a few months ago had several nice elements and the only thing I may consider is do I want to place a lower shelf on the table. I can do this at the end of the project so will probably consider it for a while.

Checking a couple of measurements from the prior table and its off to work or the grass needs to be cut.
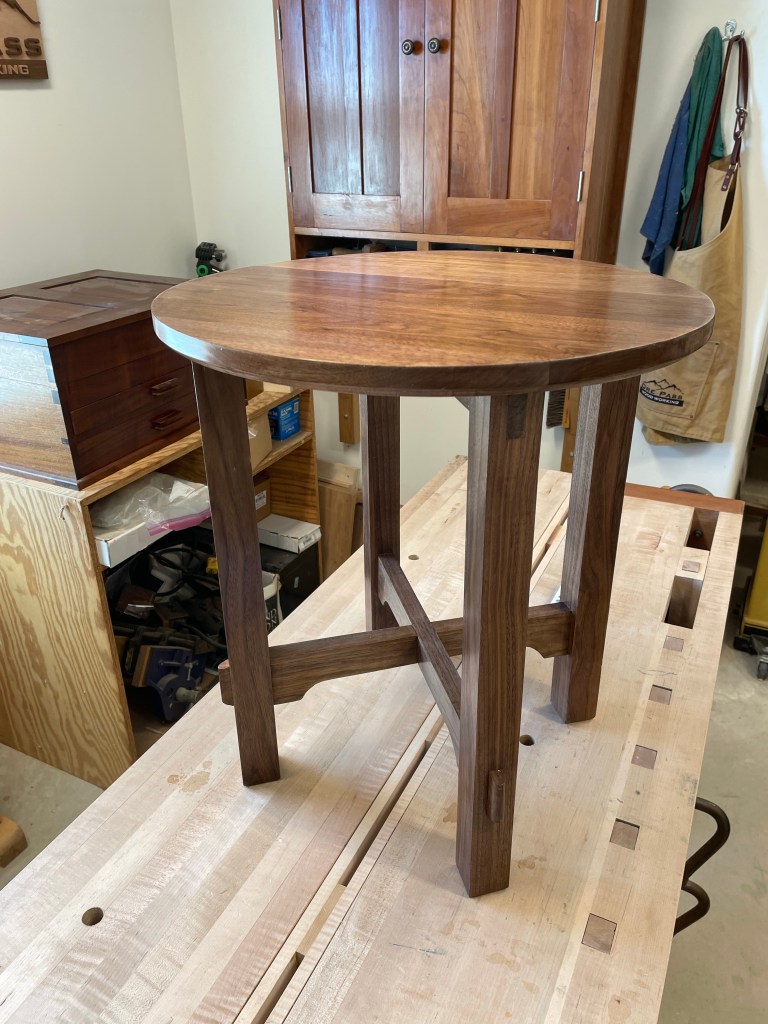
Walnut Side Table – Finishing the Top
The Walnut side table has been a very enjoyable project. It was small had fun joints and is very useful. The top was screeed to the legs using oversized holes and brass screws, and once complete a final coat of finish was added.

A couple of features that add character were the use of the bridal joints and through tennons along with chamfering the top. I am particularly happy with the chamfer and how it lightened the top by giving it a thinner profile.
Thanks for following along, time for a new project!


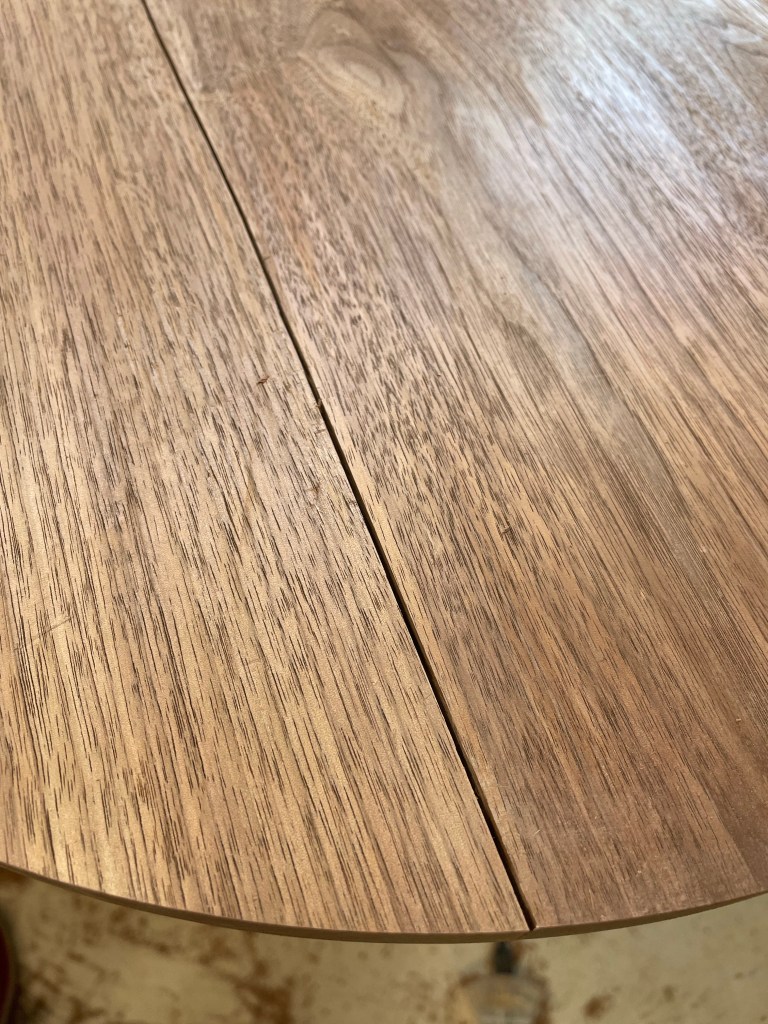
Walnut Side Table – Top Cracks
After gluing up the Table Top, rough sawing the circular outline, routing and then chamfering I guess the glue joint on the table decided it had enough.It’s a clean break most of the way down the glue line so I just added a little more glue worked it into the joint and clamped it up. Not a bad problem to solve!
Walnut Side Table – Top
Looking through various books and images I’ve been considering the impact of changing the edges of the table top. When I made the Arts and Craft Side table a few years ago the top was approximately 7/8” thick and I wonder about the impact of a different edge. Many authors discuss “lightening” the look of the top with chamfers.
Before we work on the edges let’s get the top built. Using the smaller jointing sled mentioned in one of my previous posts I Milled up stock for the top and glued them together.
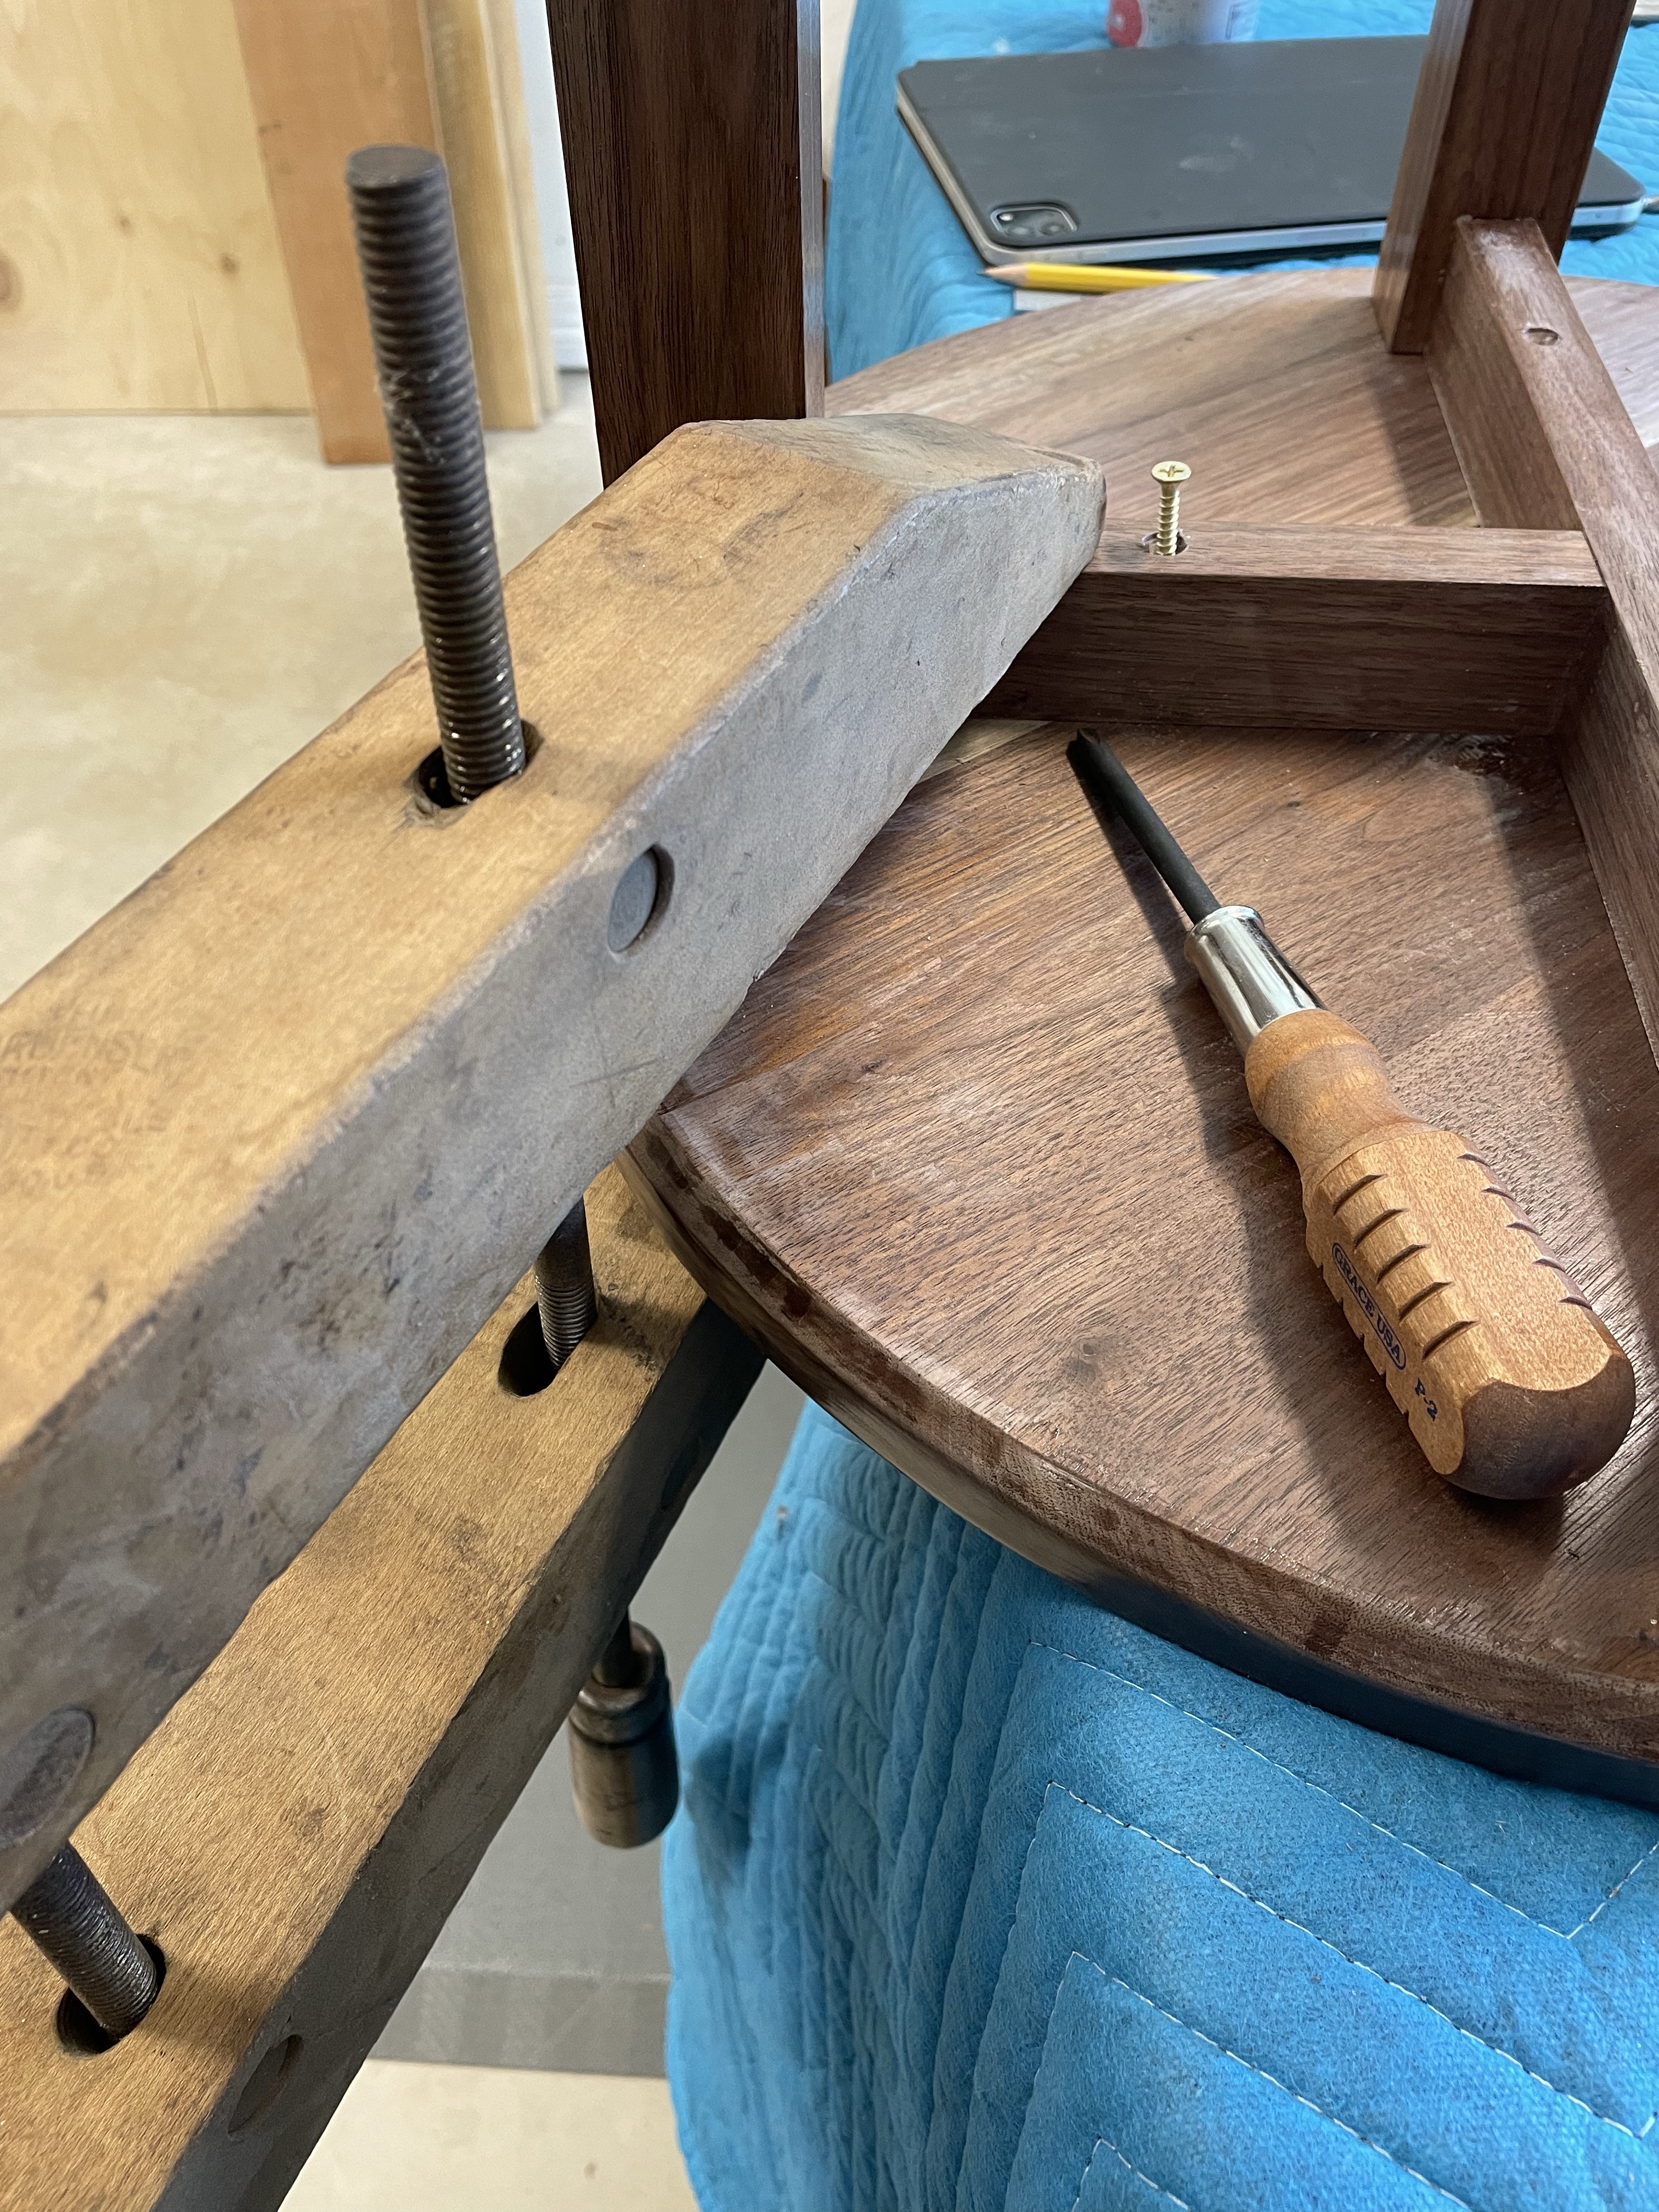
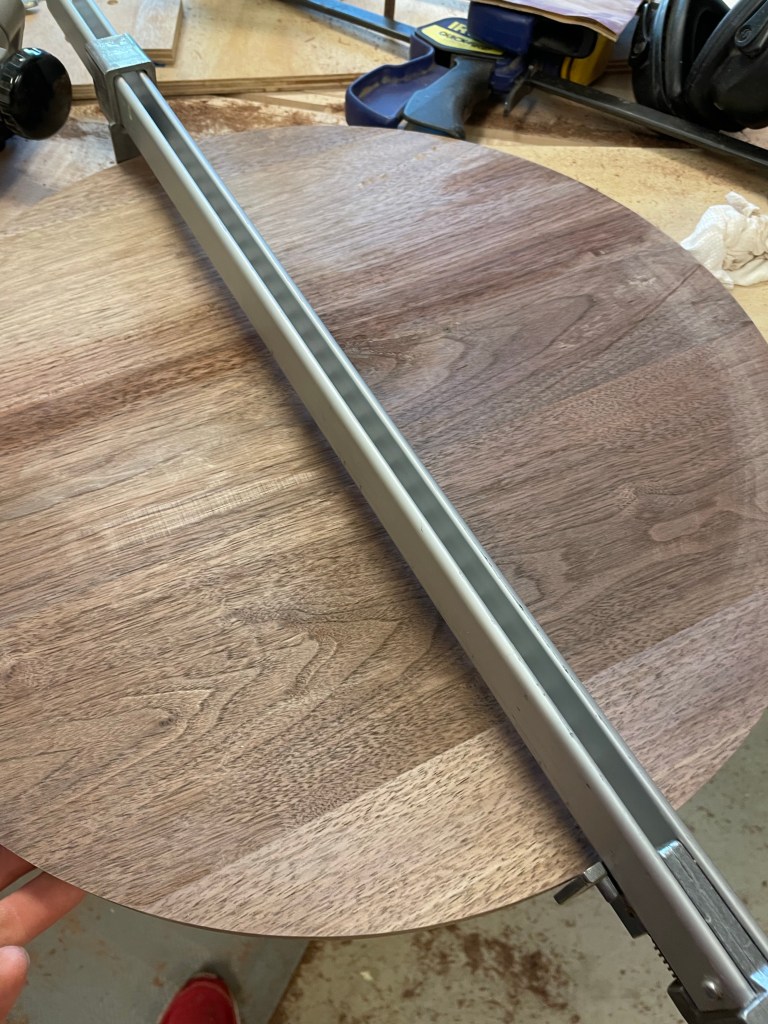
Next I planed the top flat (one day I’ll do a better job in the glue up and have less work to do). Reviewing my notes from the Arts and Craft Side table it was obvious that I had a heck of a time with the circular top. There’s several ways that I could tackle it, Bandsaw, router, hand saw so I spent a little time researching alternatives and came to the conclusion that I will trim with my bandsaw and using my router to fine tune the circle. Using a Fine woodworking article a jig was made and the top trimmed into a circle. If you are a Fine Woodworking Member or have access to a library here’s the article: 4 Jigs for a Fixed Base, September-October 2014.
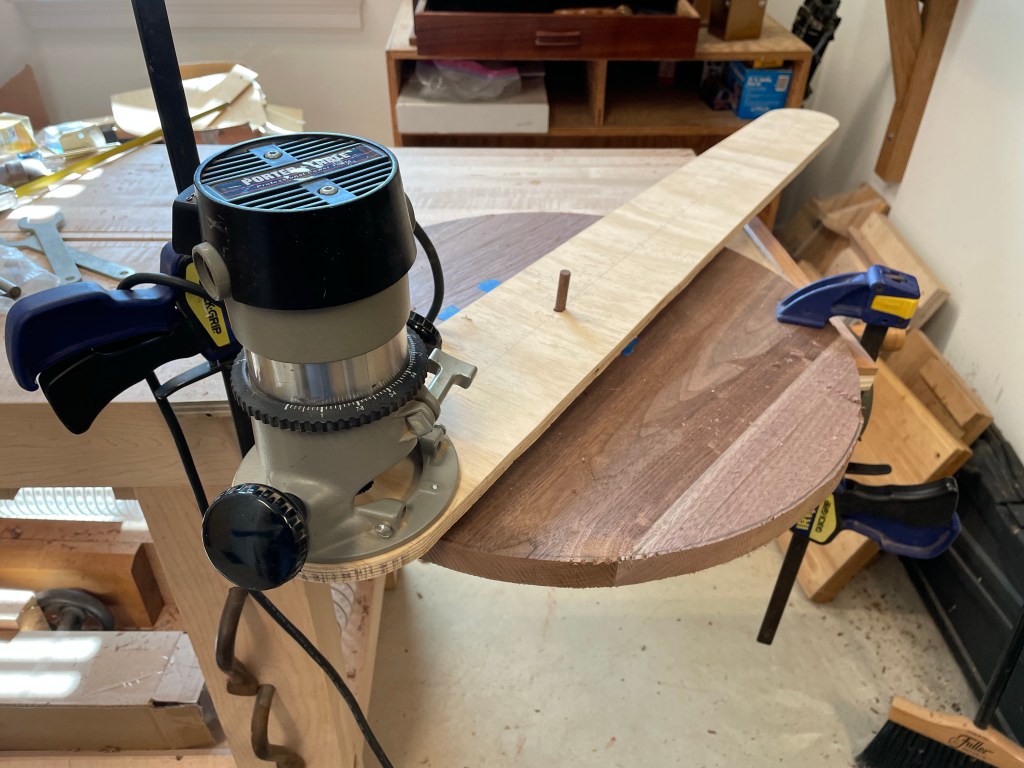
I trimmed the circle first with a flush cutting bit and then I followed along with a chamfer pit. The Chamfer posed a minor problem since the hole was smaller than the router bit. I had to make a quick base to take care of the problem.


I’ll write more details on the jig and how I attached it in another article.
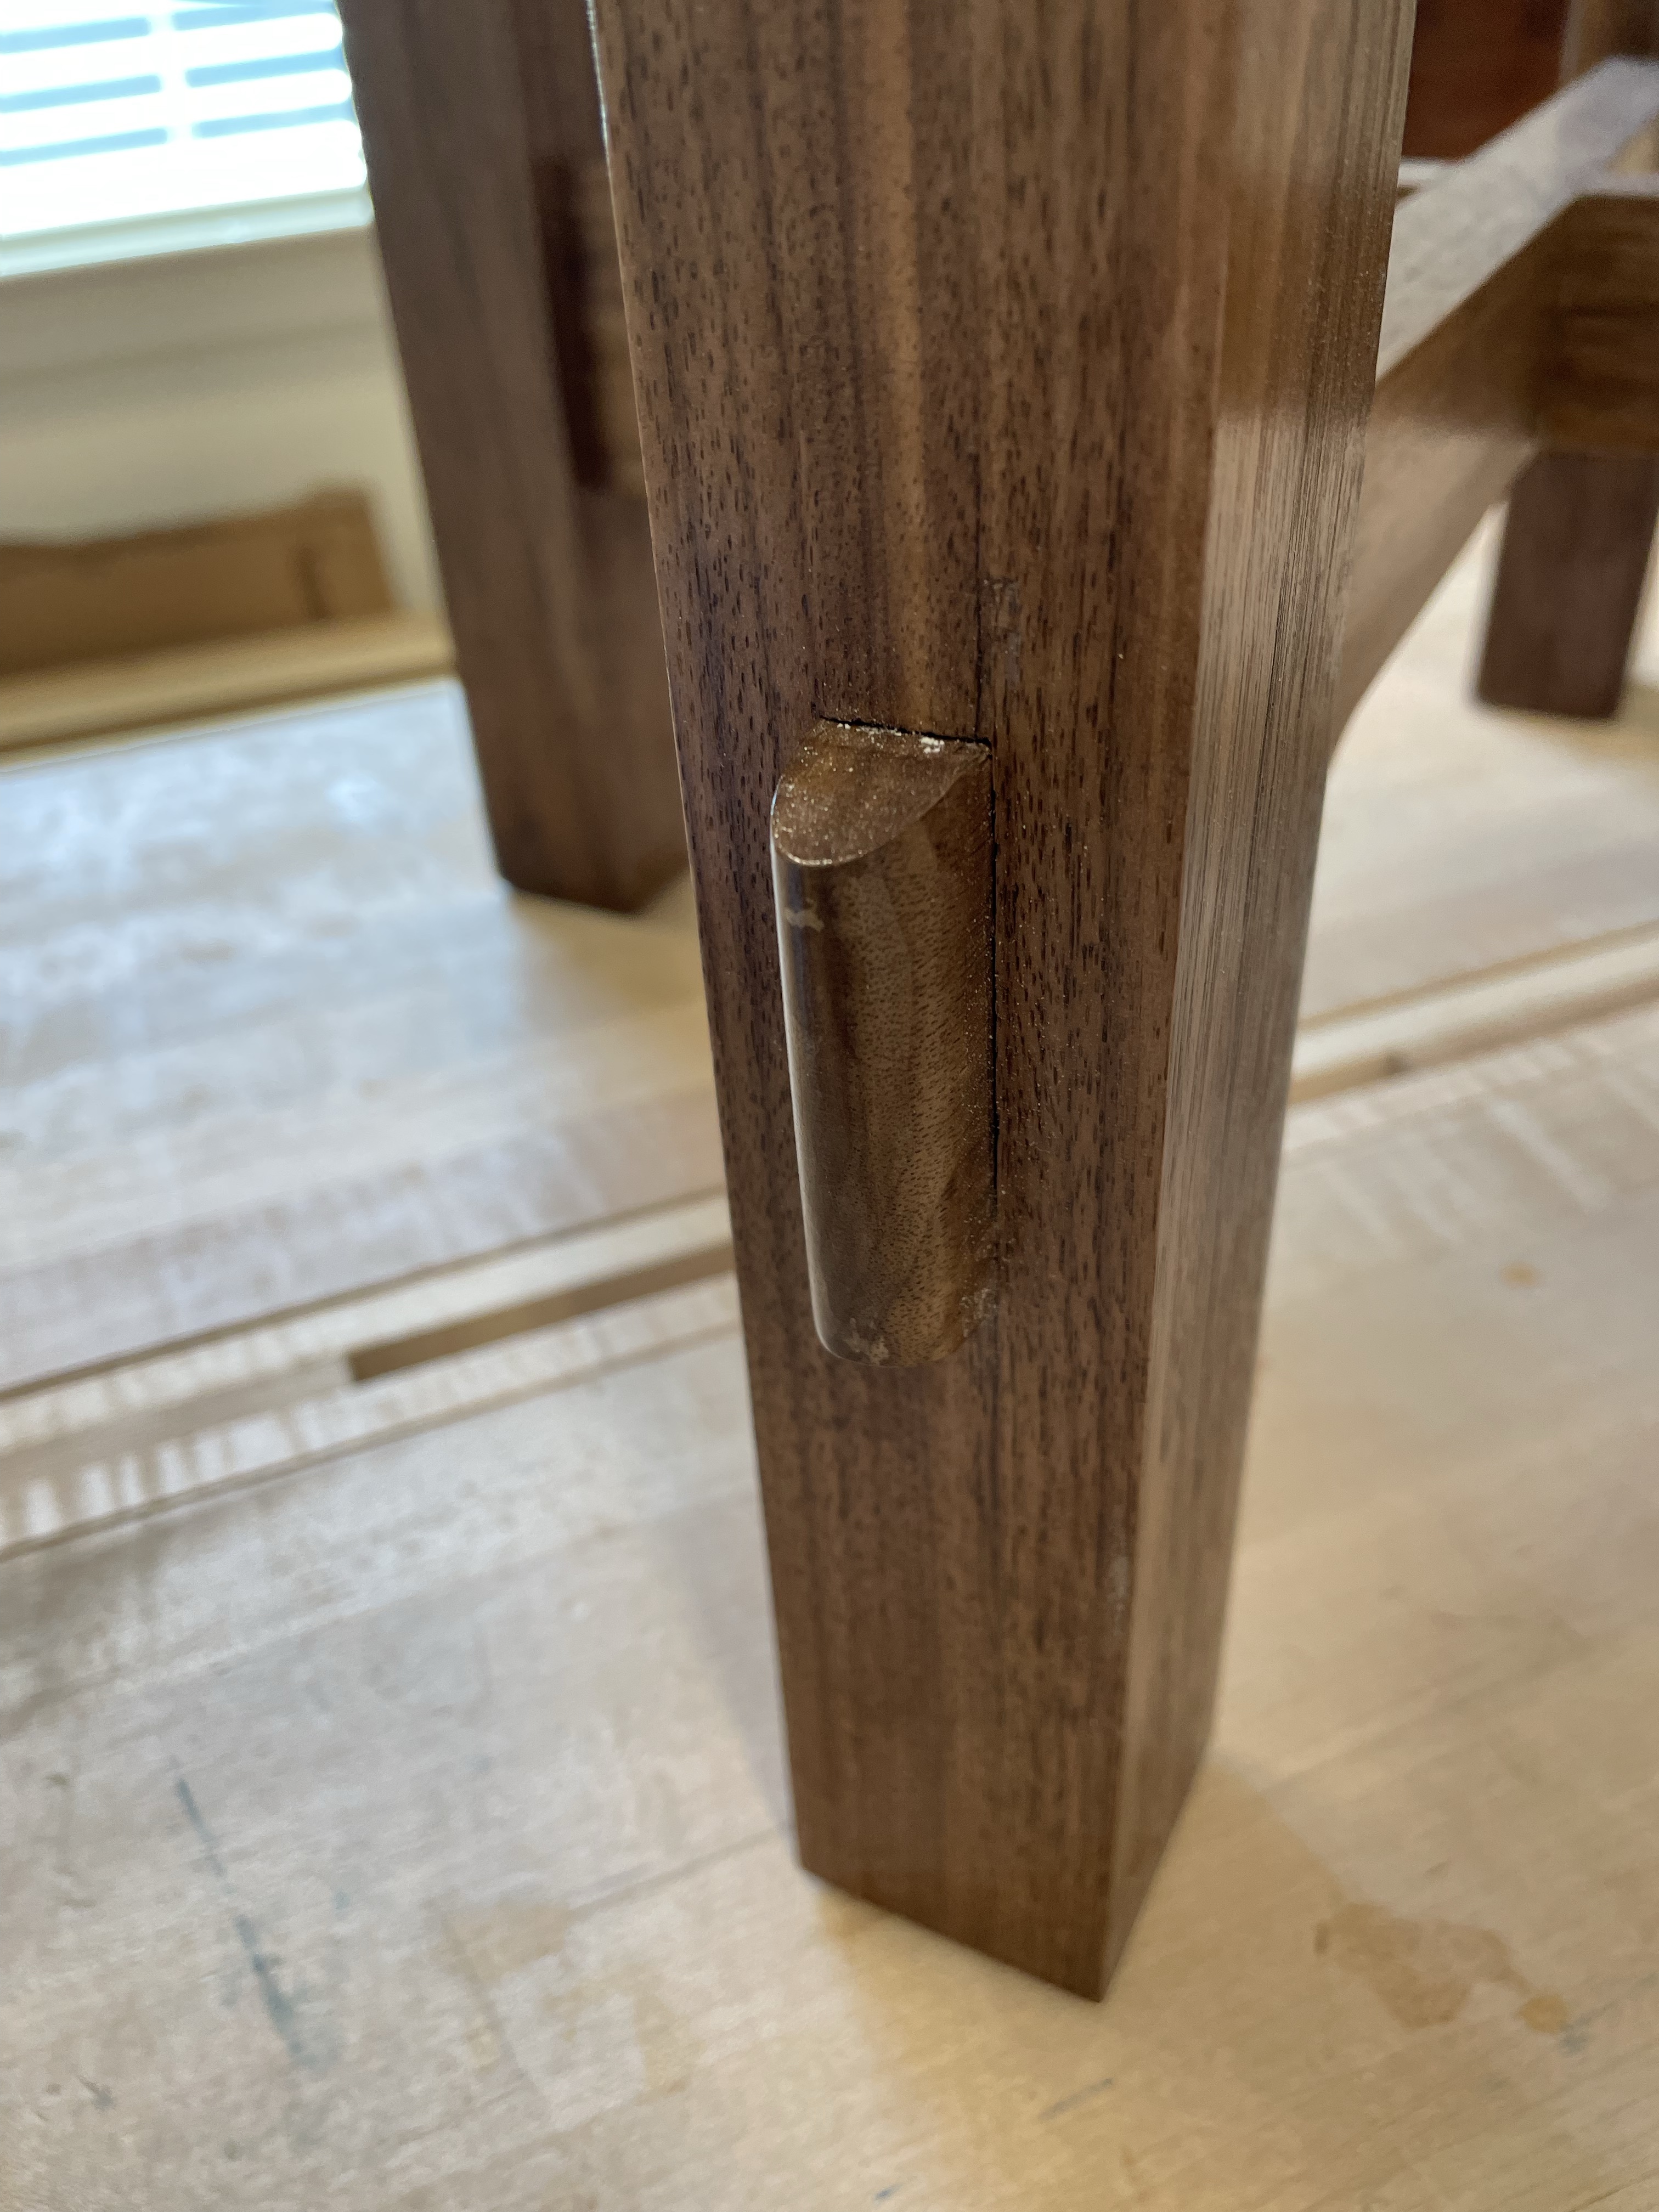
Walnut Side Table – Rounded Tenons
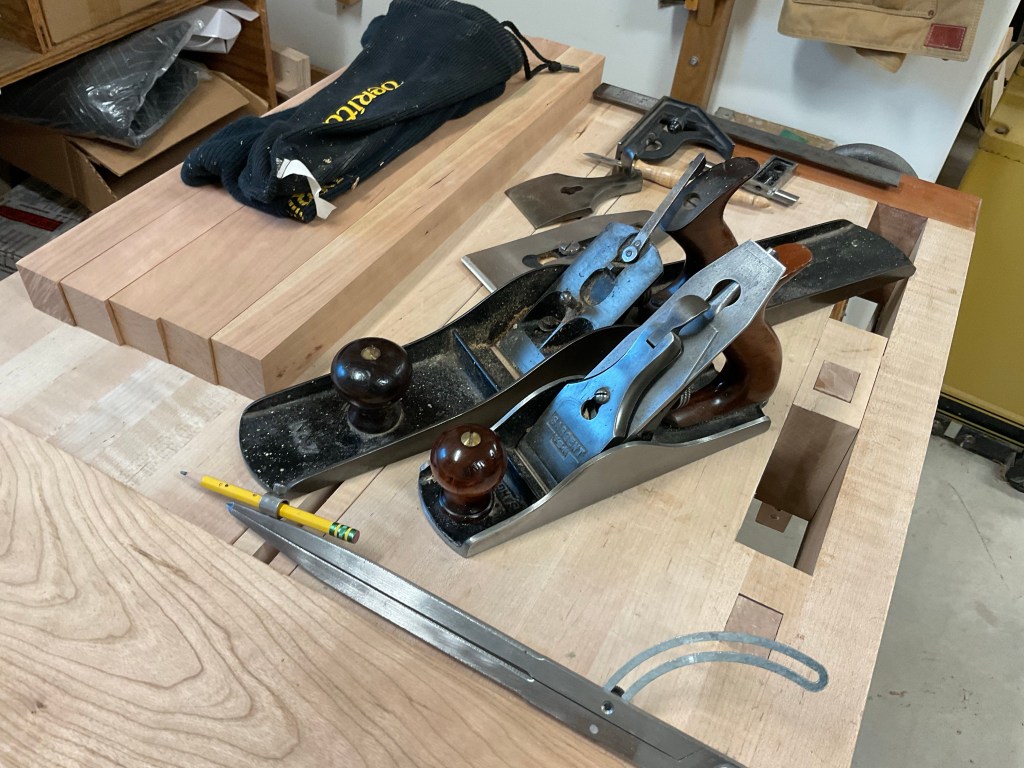
Several years ago I had the opportunity to take the 9 day foundations class from Paul Sellers. It was an incredible experience and one that I doubt will be available in the future. Paul has moved onto Woodworking Masterclasses and Common Woodwork as a platform to reach a larger audience. One of the projects in this class involved through tenons and a lesson in the versatility of the hand plane. If you have never tried rounding over end grain, pull out a board, sharpen up your plane and give it a go.
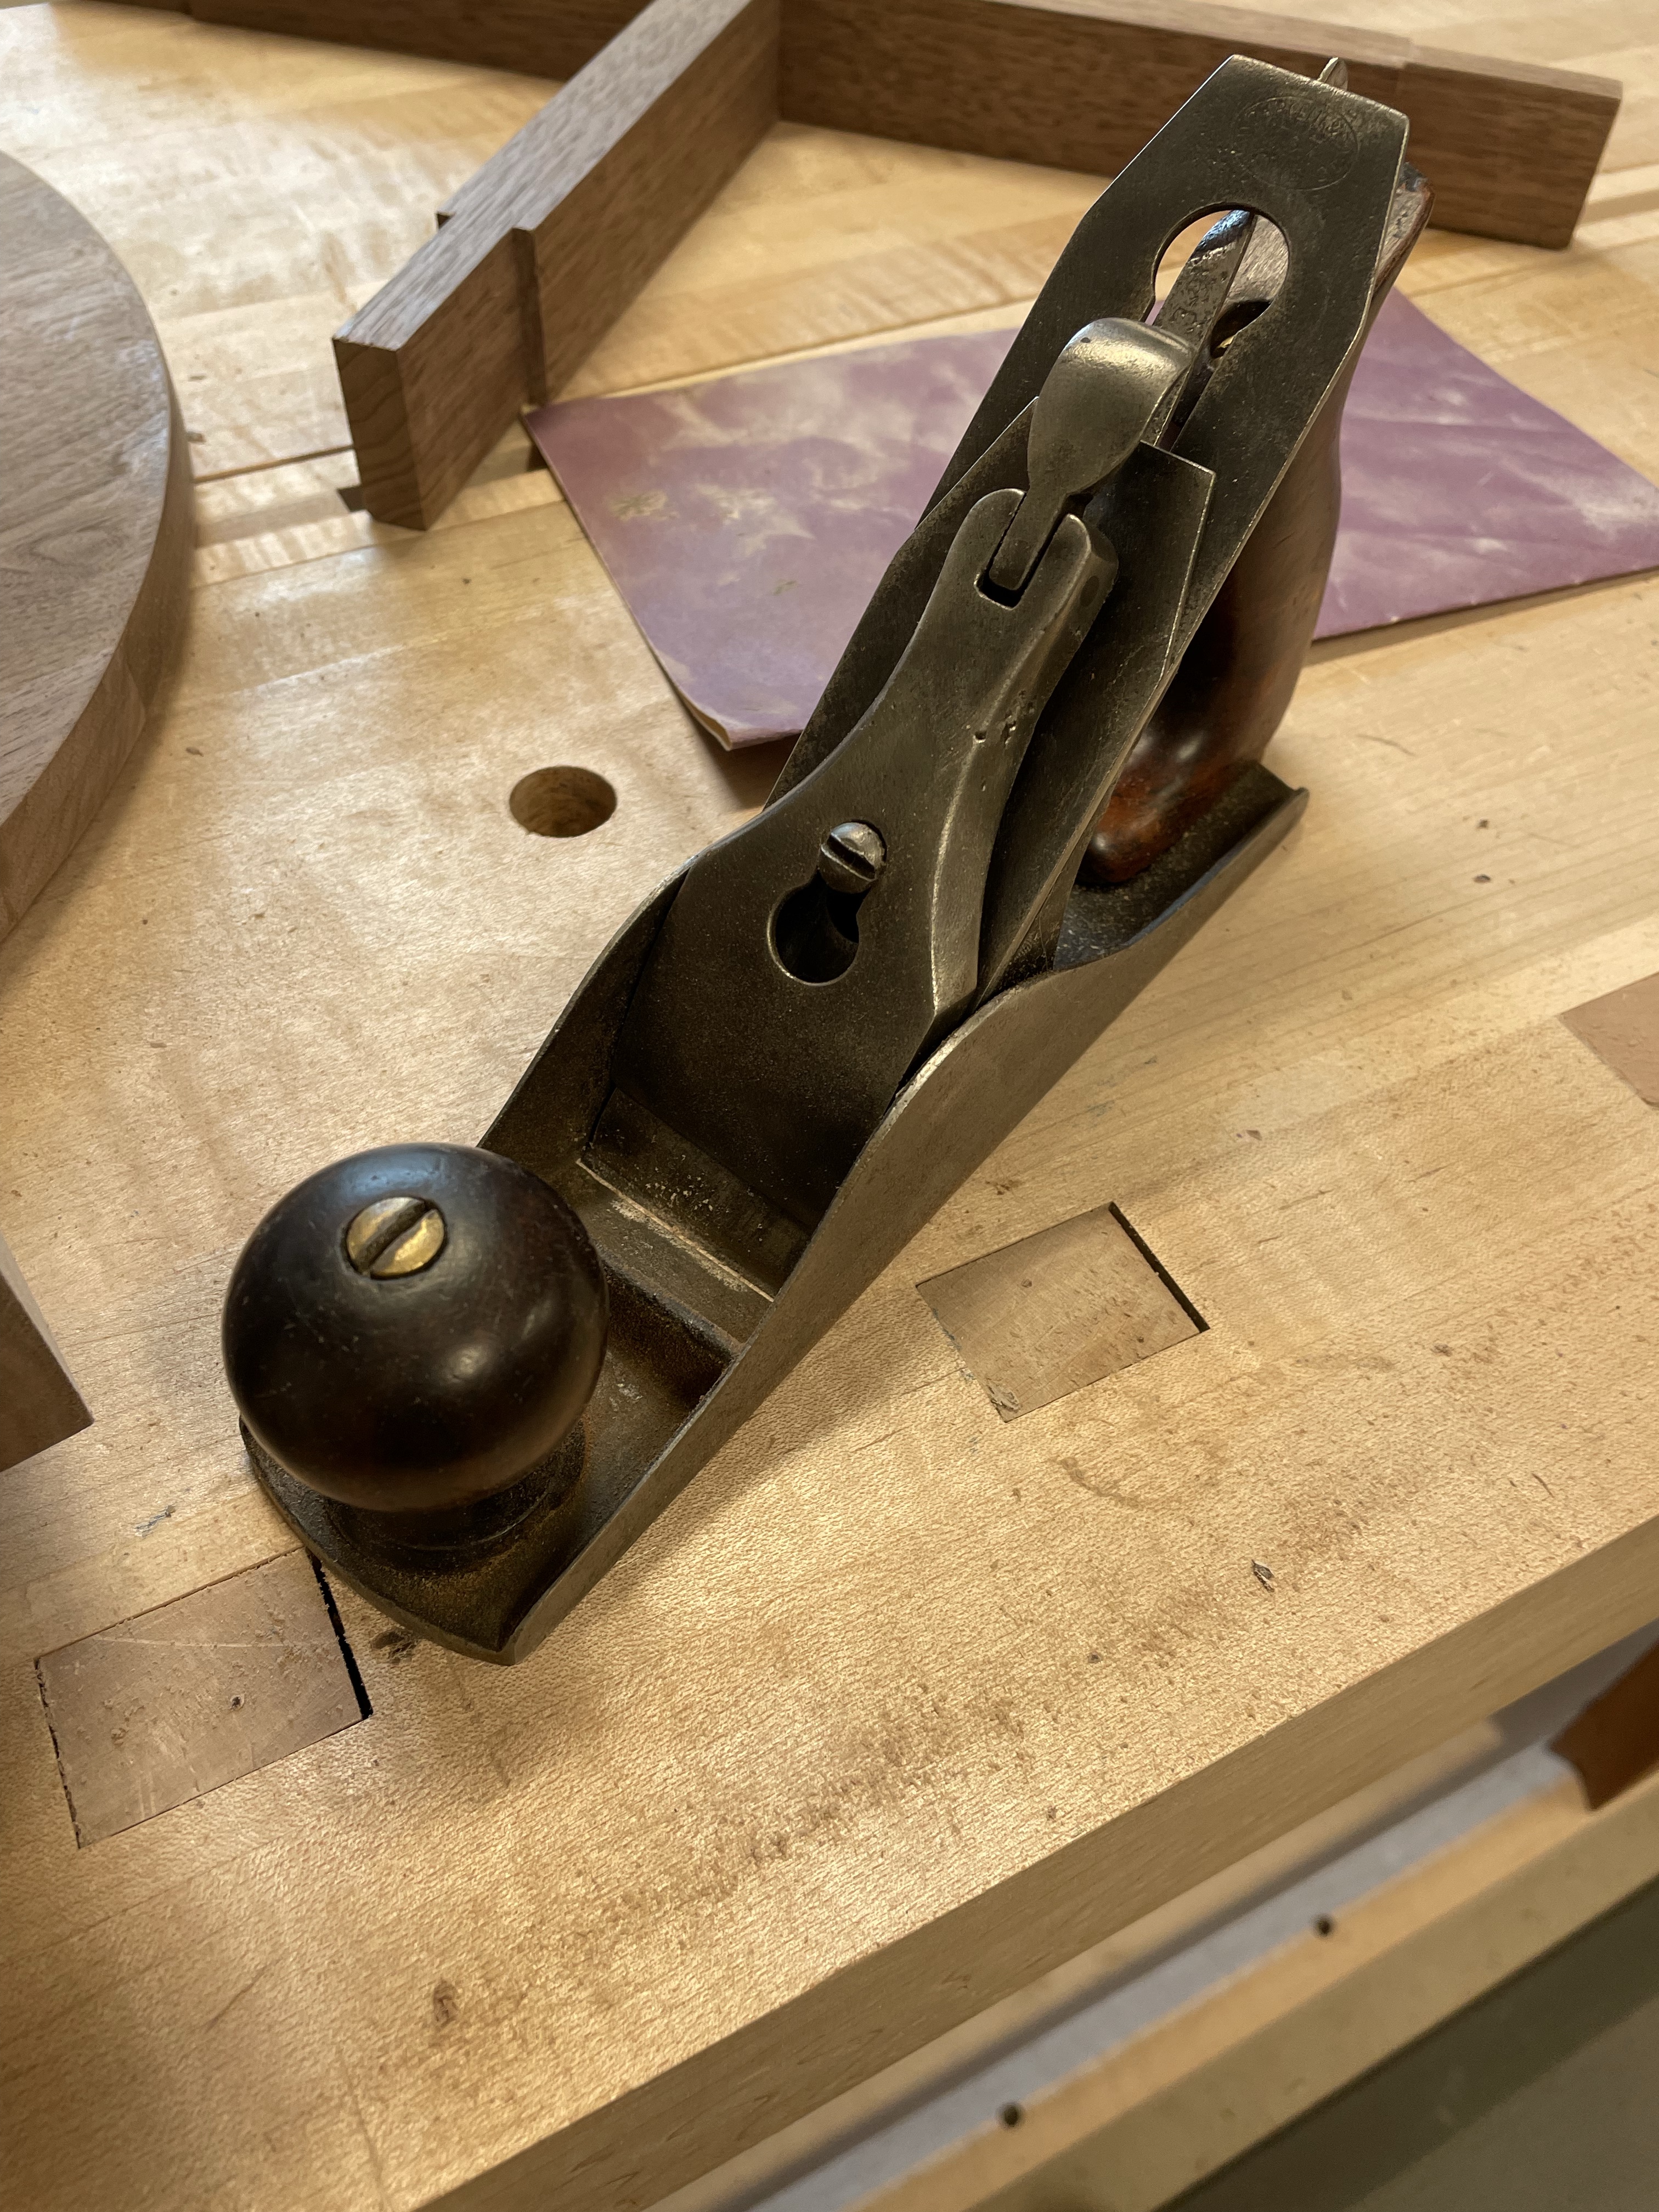
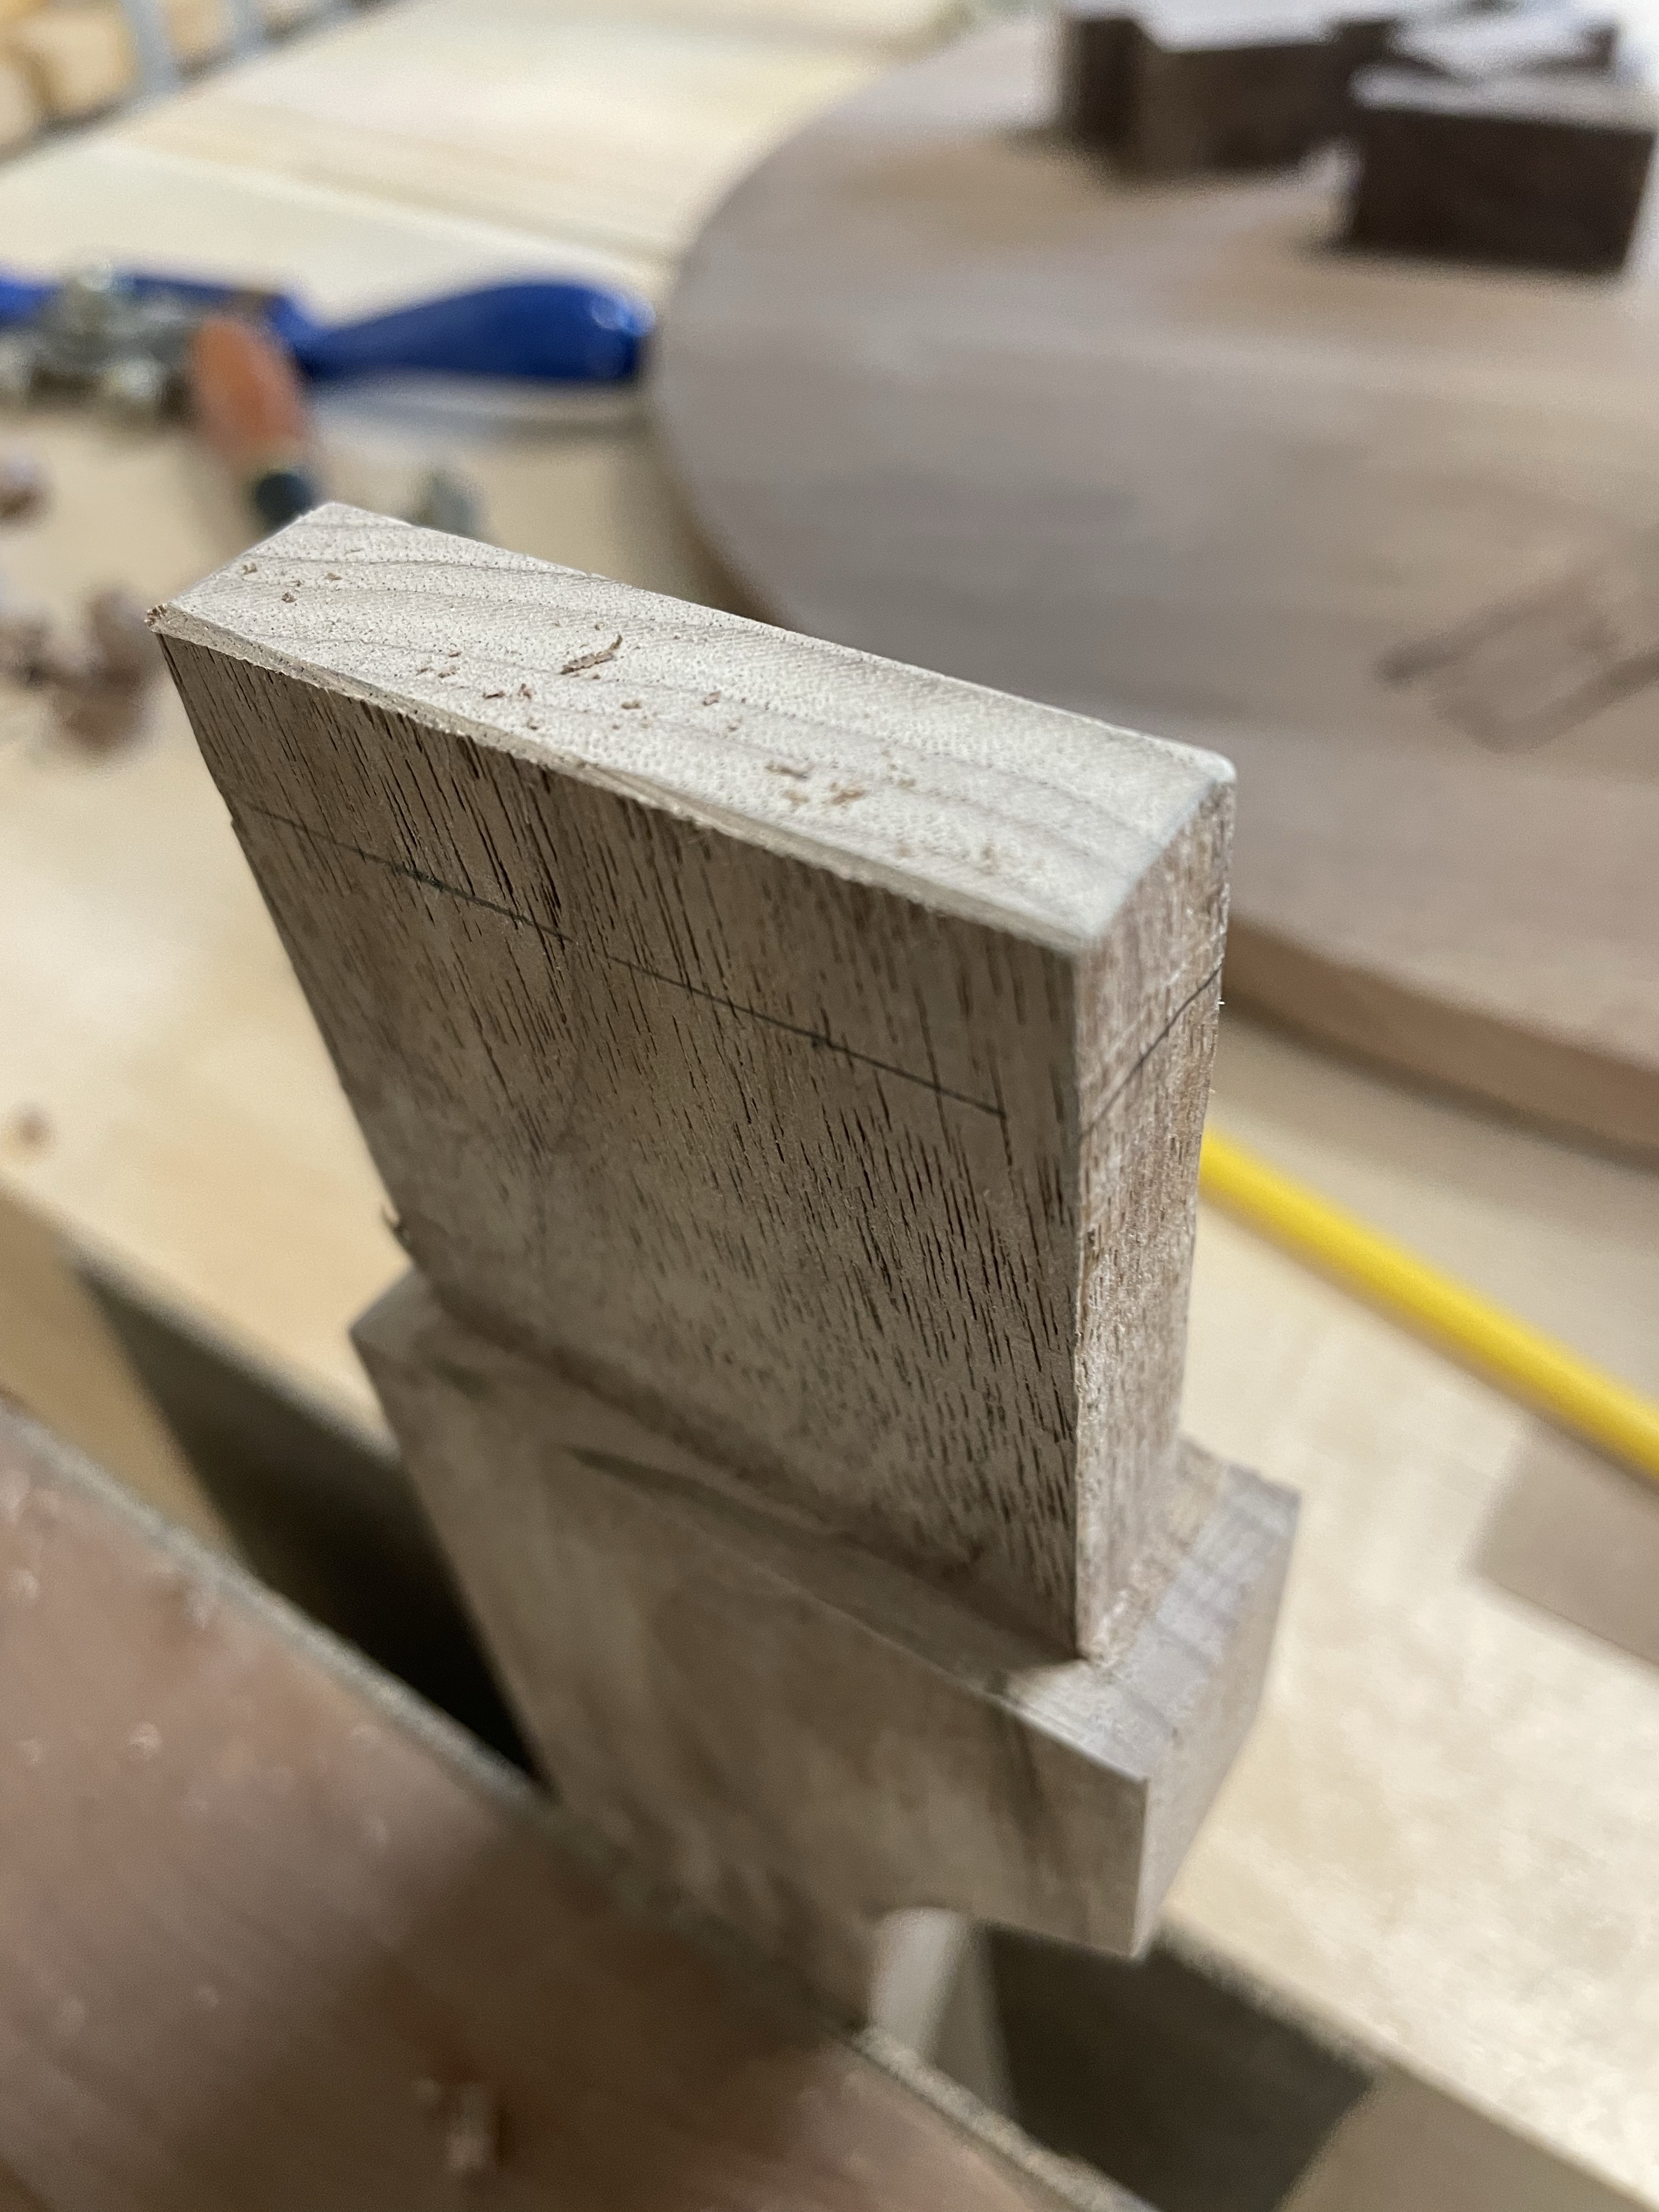
Working end grain requires a sharp blade. A few minutes on the diamond plates and the plane was ready to go. Working across the tenon I take small slices of wood working up and down the tenon until its rounded over. Watch for tear out on the ends although they will later be chamfered with a chisel. When the tenon looks balance a file or sandpaper can be used to smooth out the finished product.
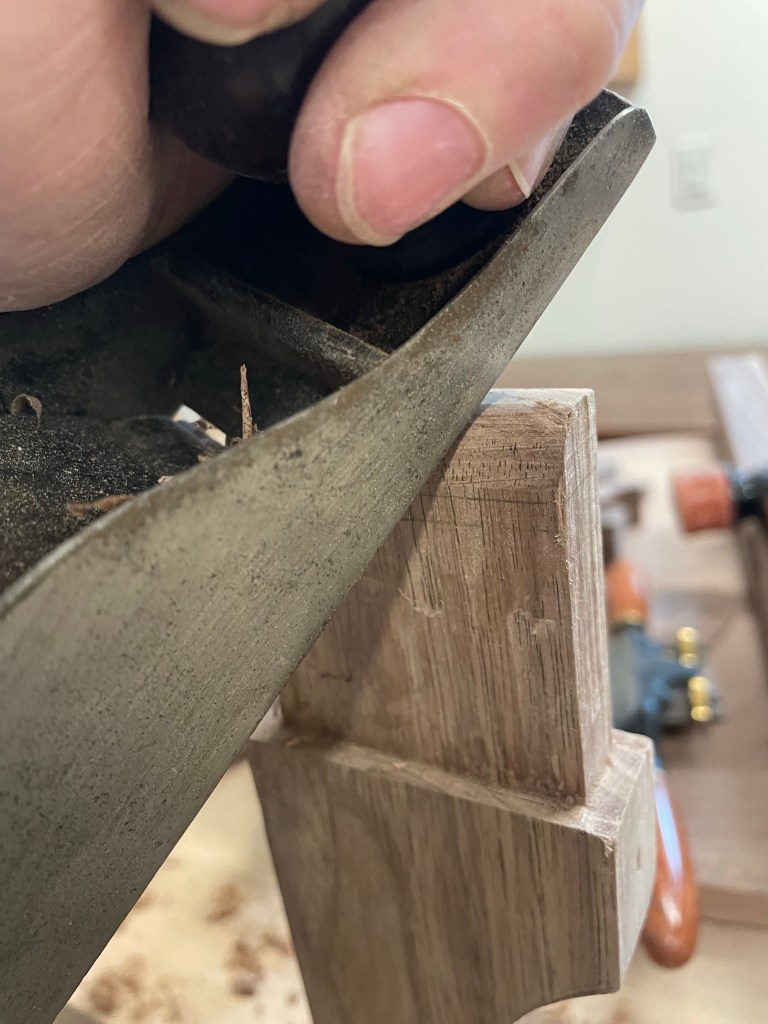

The final act of the rounded tenon is chamfering the ends. This removes any tear out and gives a nice finished look. Using a chisel it only took a couple of hits with a mallet and they are complete. And if you chip out by the tenon a little superglue may just handle the problem.


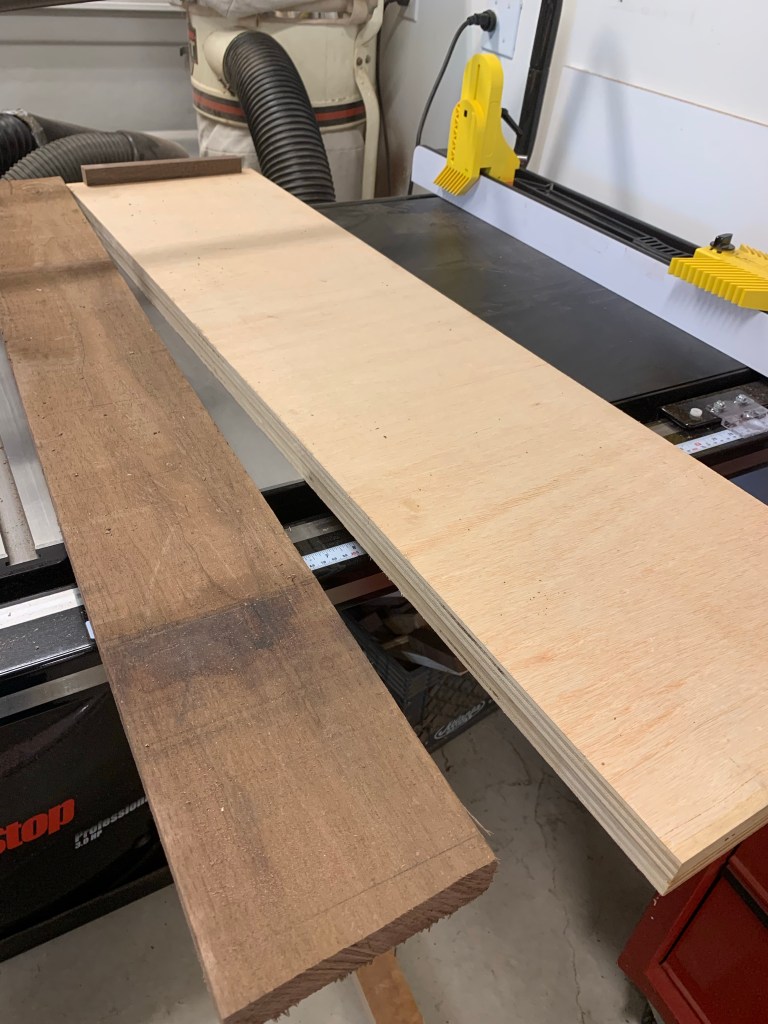
Walnut Side Table – Lumber
There are always a few additional boards left over when completing a project, these boards could sit on a rack for years collecting dust. Perhaps a small table could put them to use?

Several years ago I gathered up various pieces of White Oak from a coffee table build and built a round table that has been exactly what was needed in our living room. With a few modifications I’ll do the same with the Walnut. Legs first then moving on to the other parts of the table.

Walnut coffee Table – Top
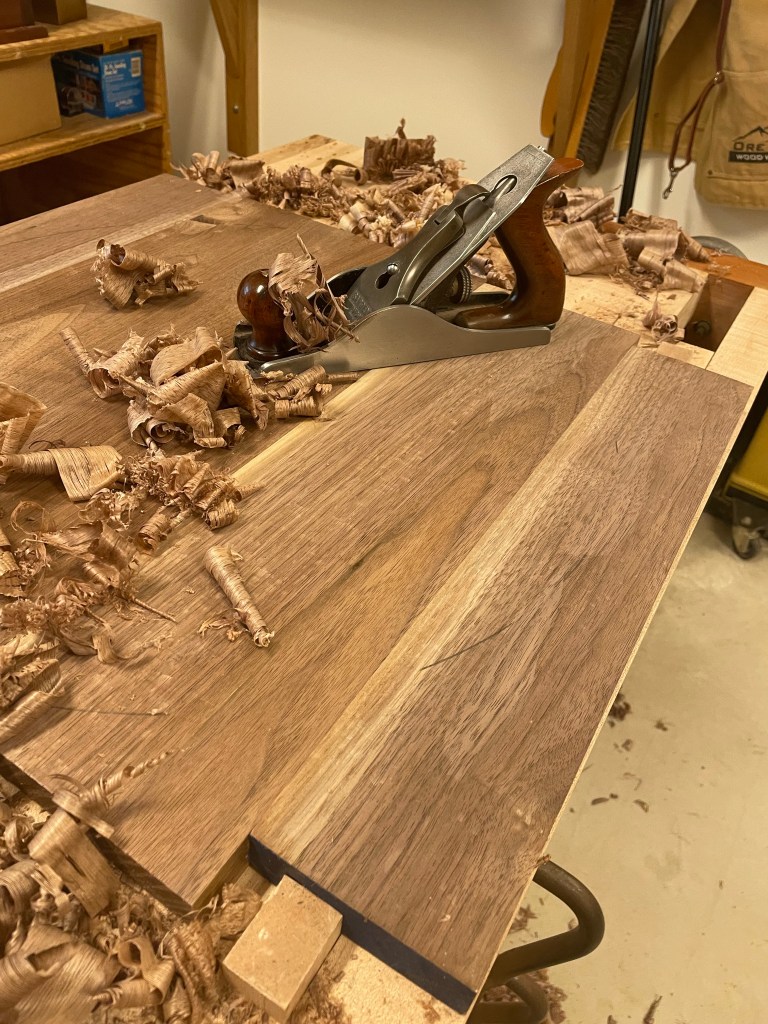
I have heard many people discuss whether to make the top first or last. I don’t see any reason to do one over the other. For this project the top was done last. Milling was typical slog of passing boards through the jointer followed by hand planing the edges and running the opposite edge through the table saw.
I used two planes to work the edges. Stanley #4 to rough the edges followed by a #7. I needed the longer plane due to the 48” length of the boards.
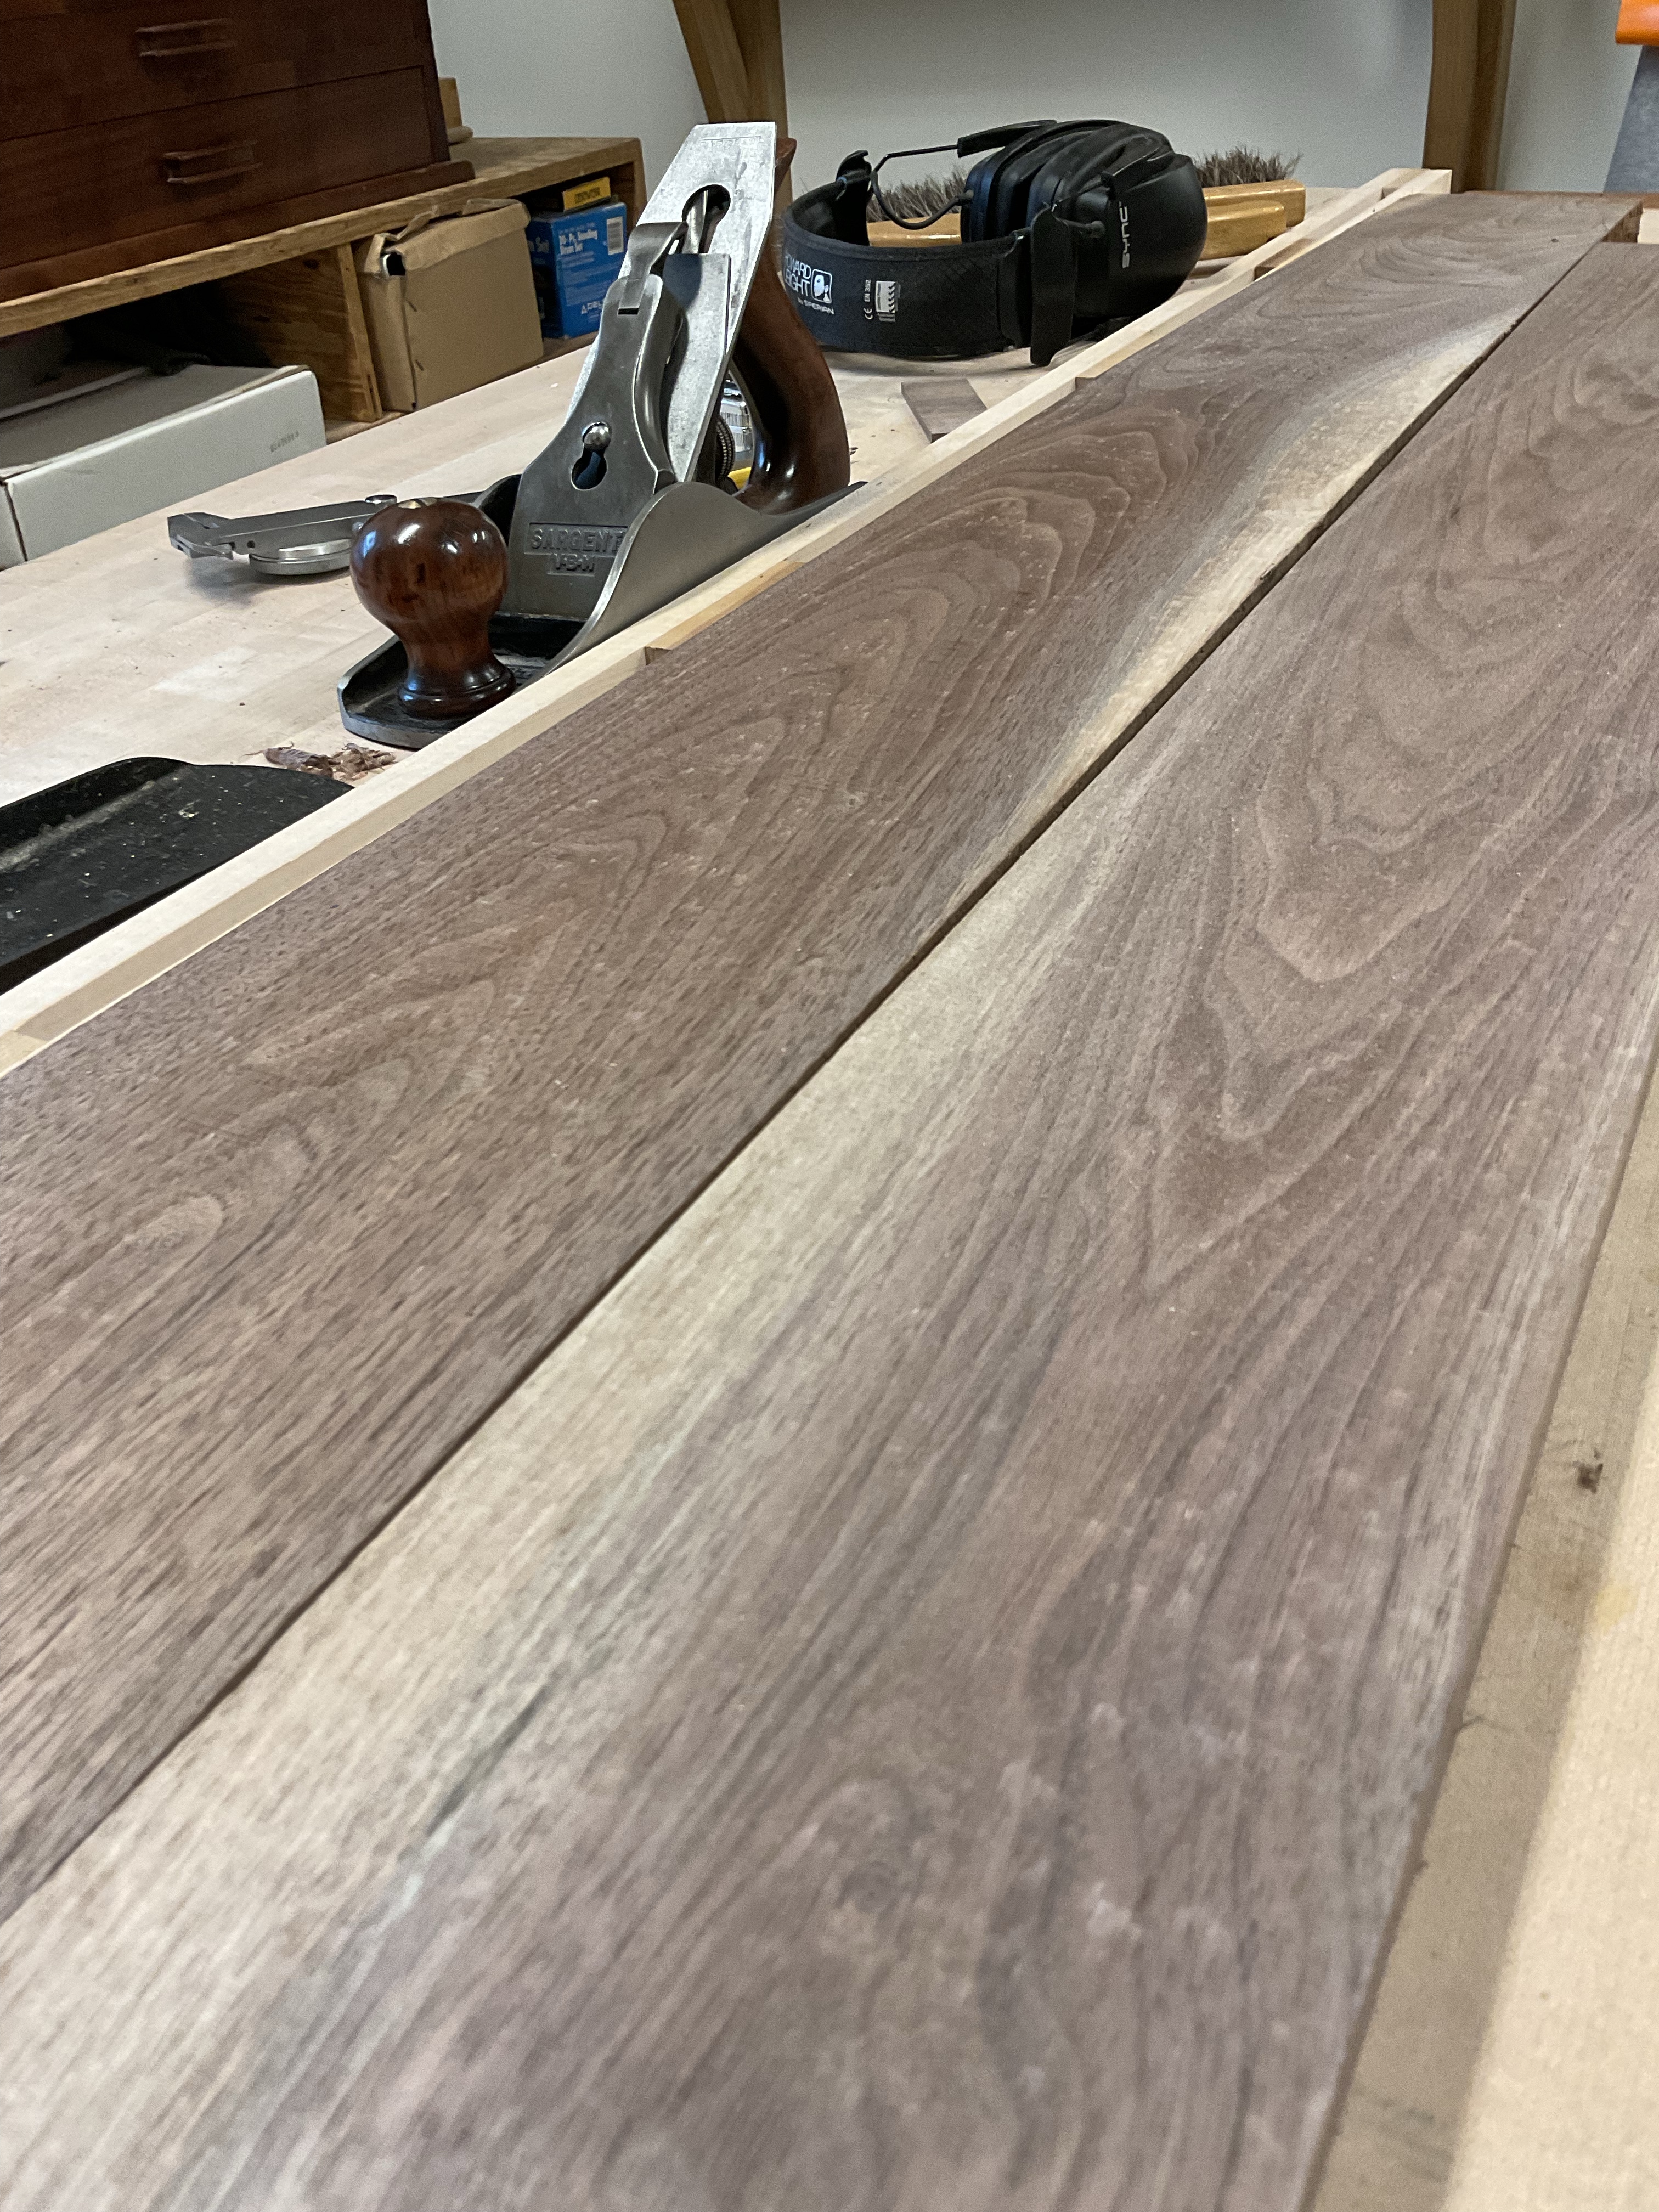

With the edges jointed and parallel I glued up the top and let it sit overnight. The next day was spent planing and smoothing. I did notice a couple of knots which will need to be filled.

Trimming the edges was done on the Tablesaw and hand planed with a very sharp plane. I also noticed a couple of Knots that needed to be filled, so as you read I am also reading about how to use Epoxy.
Walnut Coffee Table – Side Rails
Making the upper and lower rails was an exercise in planing boards and cutting tenons. I did most of the work by hand and forgot to take pictures.

Oops. The lower rail is just over an inch square, when I was test fitting the pieces I realized that I left one of the tenons longer than the others and when pulling it loose it snapped. I used the mortiser to drill out the broken piece and made another to fit. Lesson learned. Lower rails should have thicker tenons.


Finally I was able to assemble the table legs and sides.

The glue up was relatively uneventful.
Walnut Coffee Table – Lumber
Procrastination is an art that I suppose could continue for ever. Today however was the time to begin preparing the material for a walnut coffee table. Walnut is a new species in my shop and I’m looking forward to learning about its desire to be turned into furniture.

All projects begin with a plan followed by choosing and preparing lumber. The dimensions for this table are roughly based on a previous table I made designed by Paul Sellers. It’s a simpler table but should satisfy its future owner. I used the same method for preparing the wood as I outlined in the Jointing without a jointer blog and it worked great. This is where I made the longer sled to fit the lumber needed for the side rails and top. Not long after the picture was taken I realized that I forgot to hook up the dust collector. The magical on off switch doesn’t work if the hose is disconnected.

Walnut milled nicely on the planer and I even milled several pieces by hand.

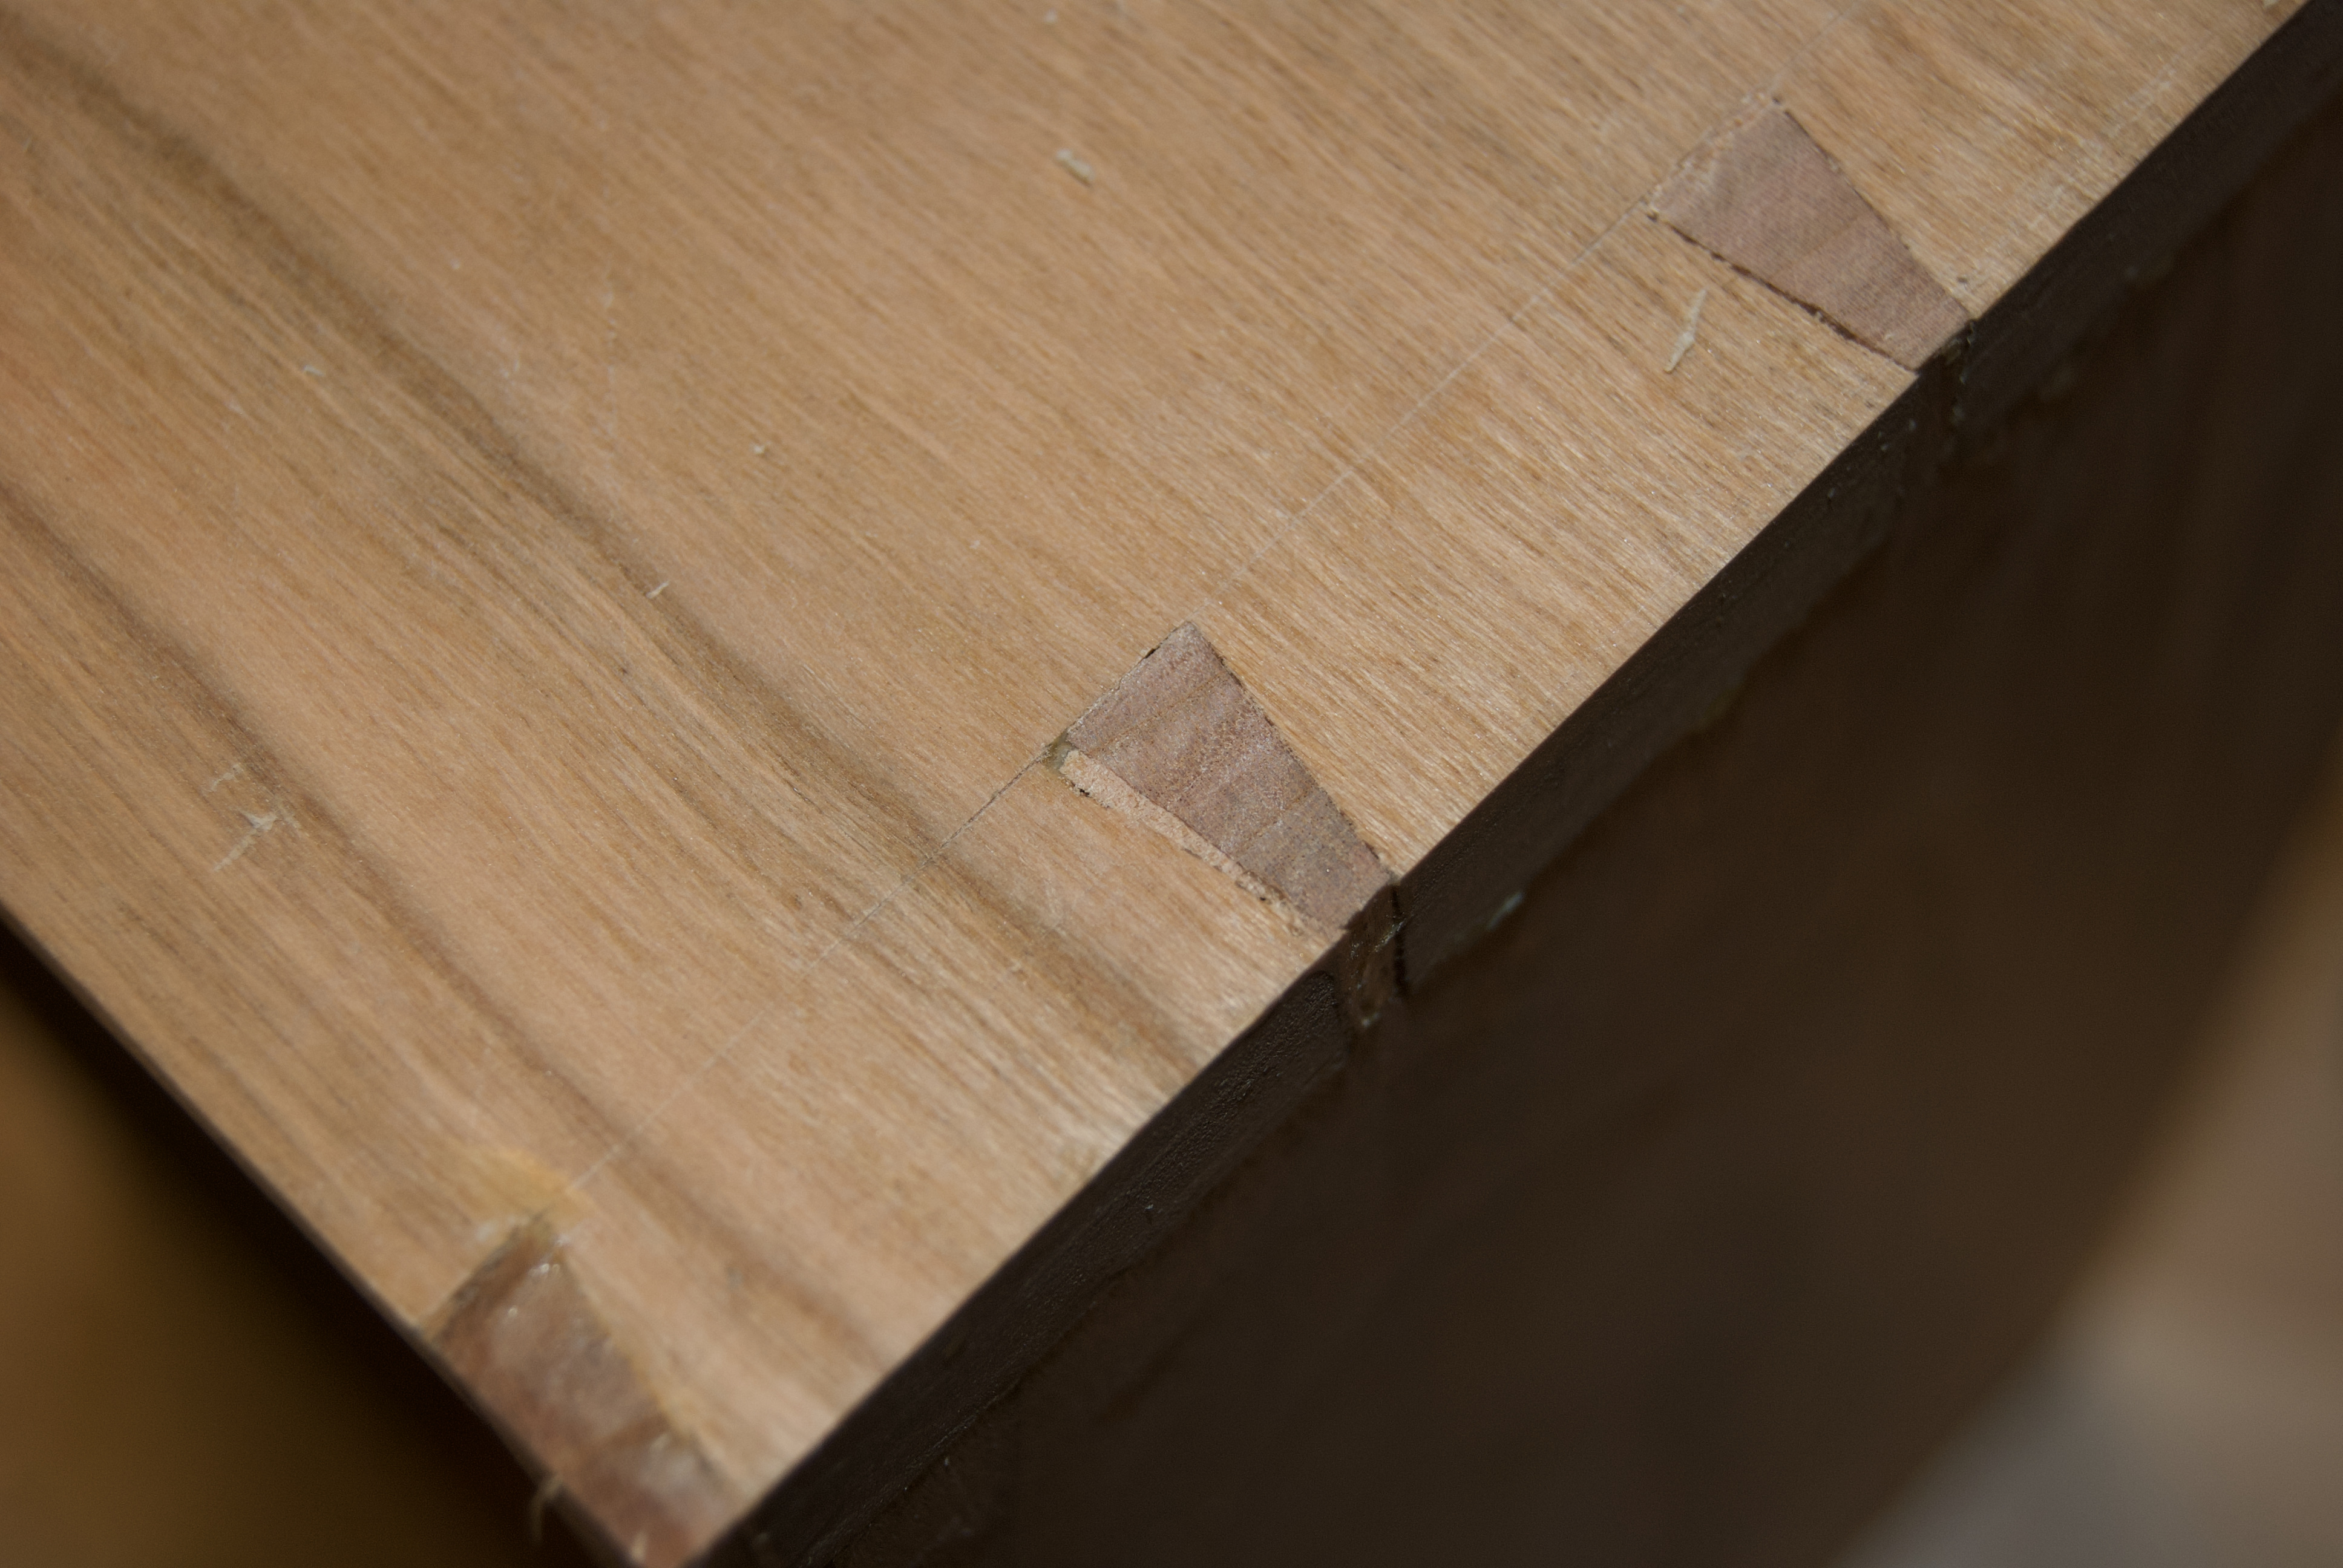
Box Making – Every Dovetail deserves an adjustment
There are people that make perfectly fitting dovetails every time and I don’t envy their lack of opportunity to adjust the dovetails they make. Typically I will have at least one dovetail that needs some work along with a saw cut that went a little too far and perhaps somewhere the wood chipped. Frequently I can also pick out the dovetail that was cut first. Which suggests that I should make a practice dovetail to increase my focus before beginning on the real thing.
With this box I have three corners that look good with only a couple of minor changes required but the fourth corner needs a little work. Nothing major the joints are strong and fit well just a few cosmetic touches.

Filling in the minor gaps is simple, find wood that is similar in color ensure you match end grain to end grain and long grain to long grain and trim the wood to fit the gap and glue in place. Once the glue is dry trim with a chisel and plane it smooth. In most cases the gap disappears and will never be noticed. If needed you can fill in some fairly large gaps!